
Glass Jar Transformation: Apothecary Stencils & Gold Hardware
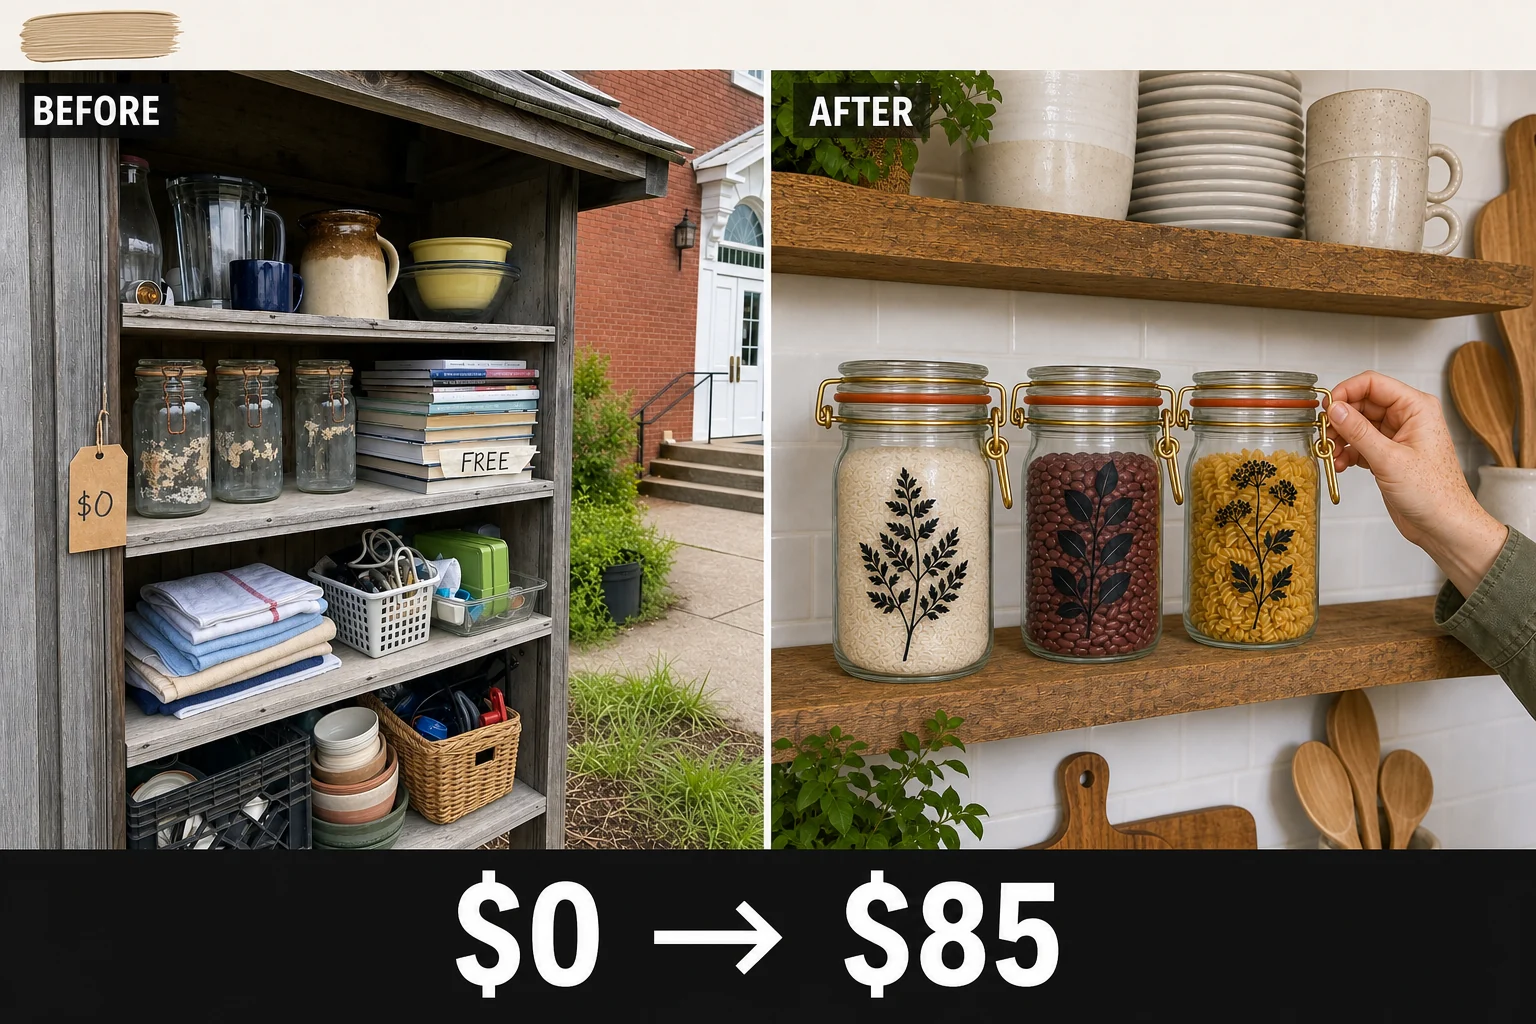
Three free glass jars sat on a neighborhood swap shelf destined for the recycling bin. This transformation turns dirty glass and rusted wire into pristine apothecary-style storage with crisp botanical stencils and bright gold hardware.
Assessing the Swap Shelf Find
These three glass jars were sitting next to a stack of books on a covered neighborhood swap shelf, marked with masking tape reading free. The molded glass shape and wire-bale mounting dimples were perfectly intact, but the pieces looked heavily neglected and destined for the recycling bin.
- Rusted wire bales made the locking mechanisms difficult to open and visually unsightly.
- Faded adhesive labels left peeling paper and sticky residue that completely obscured the clear glass fronts.
- Cracked and brittle orange rubber rings meant the jars were no longer airtight for food storage.
Project Valuation and Resale Potential
High-quality vintage glass storage featuring custom apothecary-style stenciling and restored hardware commands a premium in boutique home decor markets. This aesthetic upgrade far exceeds the cost of basic craft supplies, creating an attractive piece for buyers seeking unique kitchen organization.
| Item | Cost |
|---|---|
| Purchase Price | $0 |
| Adhesive botanical stencils | $9 |
| Matte black glass enamel | $6 |
| Foam pouncers | $3 |
| White vinegar | $2 |
| Metallic gold spray paint | $8 |
| Replacement silicone gaskets | $7 |
| Total Investment | $35 |
| Estimated Resale Value | $85 |
| Value Gain | $50 |
The final estimated resale value is an editorial estimate rather than a guaranteed sale price. Upgrading basic household items with opaque black botanical silhouettes significantly increases their appeal compared to standard clear glass containers.
Step 1: Safely Dismantle the Rusted Hardware
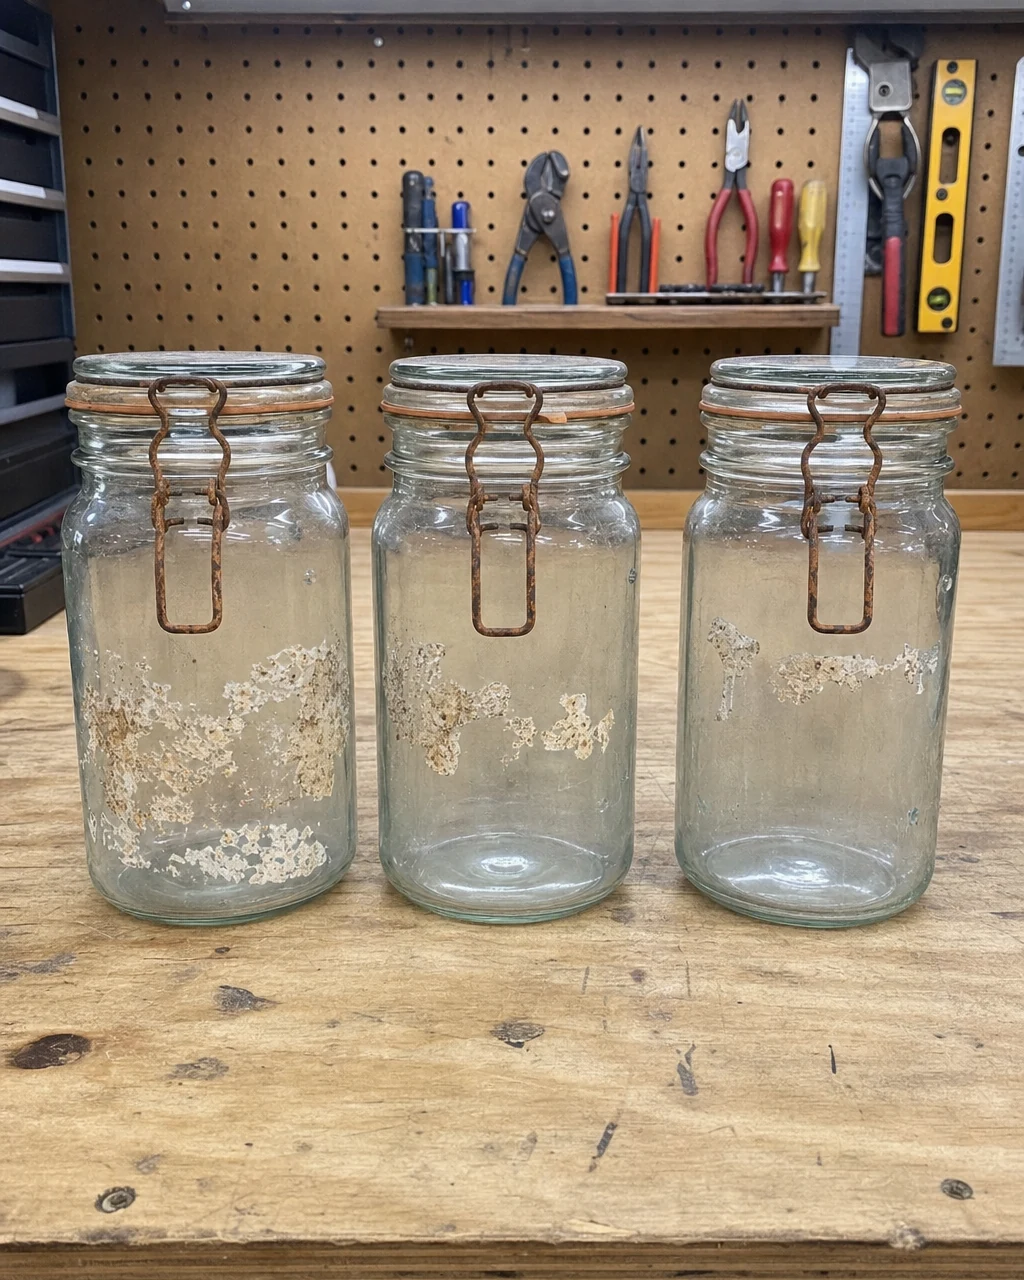
Inspect the assembled glass jars for cracks and assess the heavily rusted hardware before beginning the teardown. Unclip the wire bales by hand to separate the glass lids, main bodies, and brittle rubber gaskets for individual processing. Wear safety glasses in case the brittle rusted wire snaps under tension. The jars are now fully dismantled into glass bodies, lids, wire bales, and old gaskets.
Step 2: Scrape Away the Stubborn Adhesive
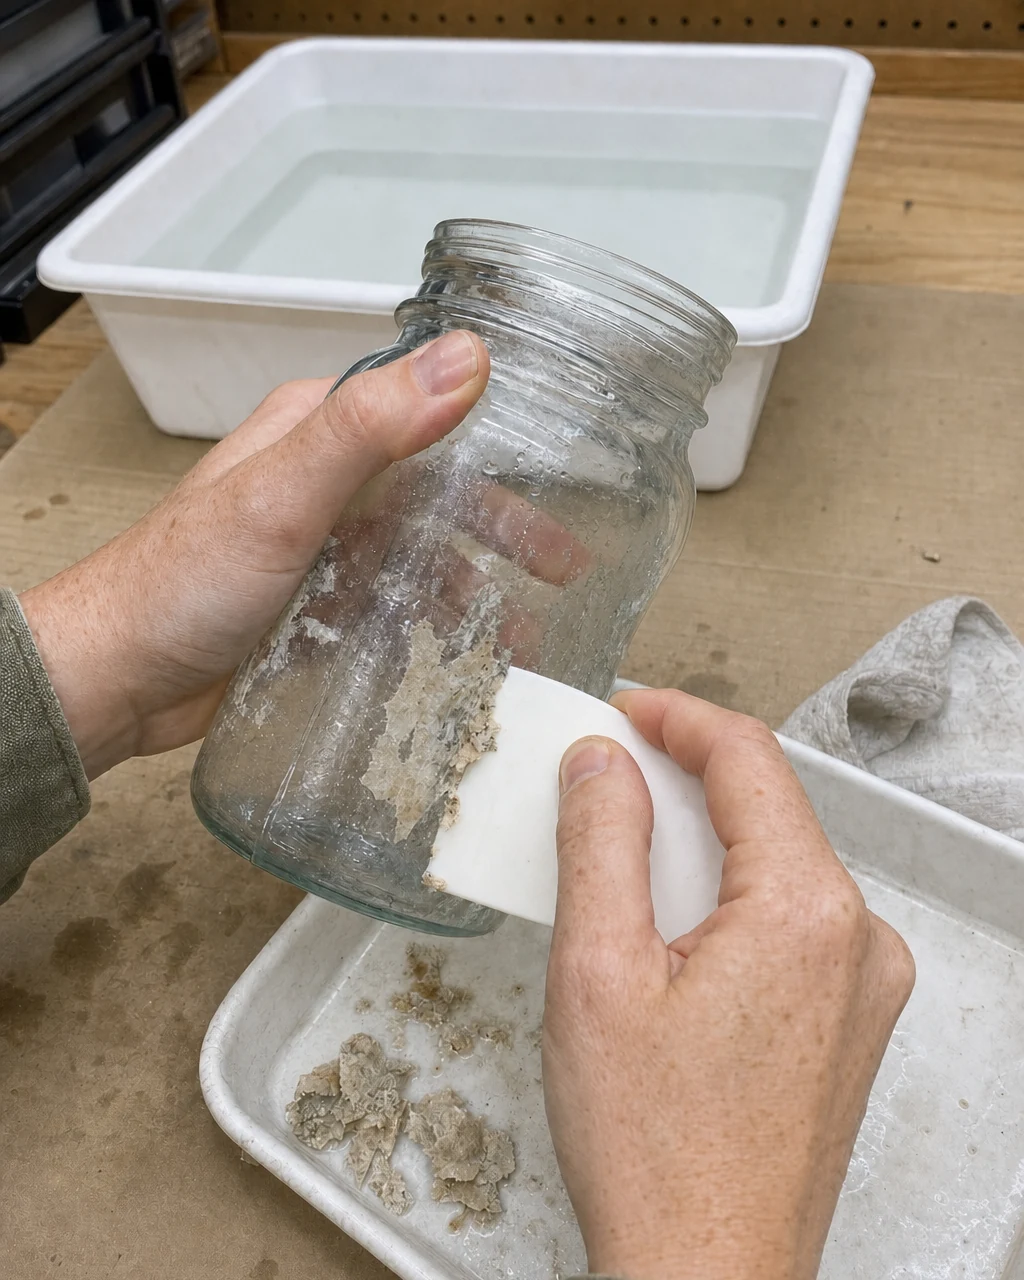
Apply warm soapy water to the faded paper labels to soften them thoroughly. Scrape the soaked paper and gummy adhesive off the glass cylinder using a plastic scraper until the surface is completely bare. Keep the plastic scraper at a low angle to avoid slipping and scratching the glass. The glass jar bodies are now completely clear and free of adhesive residue.
Step 3: Apply the Botanical Stencil Design
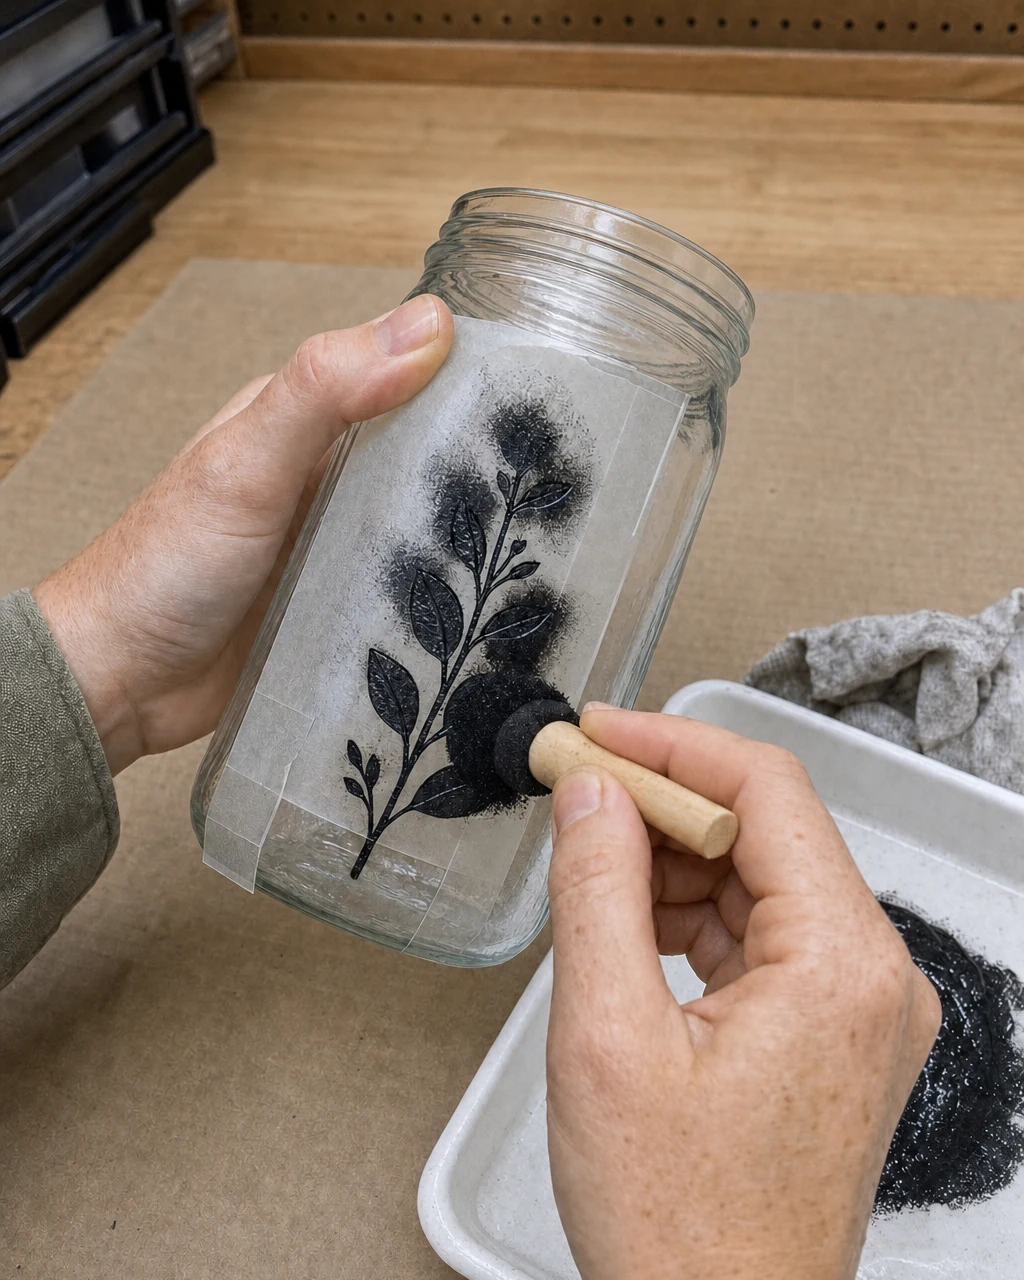
Position the adhesive botanical stencil on the glass front. Dab the matte black glass enamel paint over the design using a foam pouncer, then peel the stencil away immediately to ensure crisp lines. Work in a well-ventilated area when using enamel paints. Allow the enamel to cure for 24 hours until a crisp, opaque black botanical silhouette remains on the clear glass front.
Materials checklist
Step 4: Dissolve the Heavy Rust Buildup
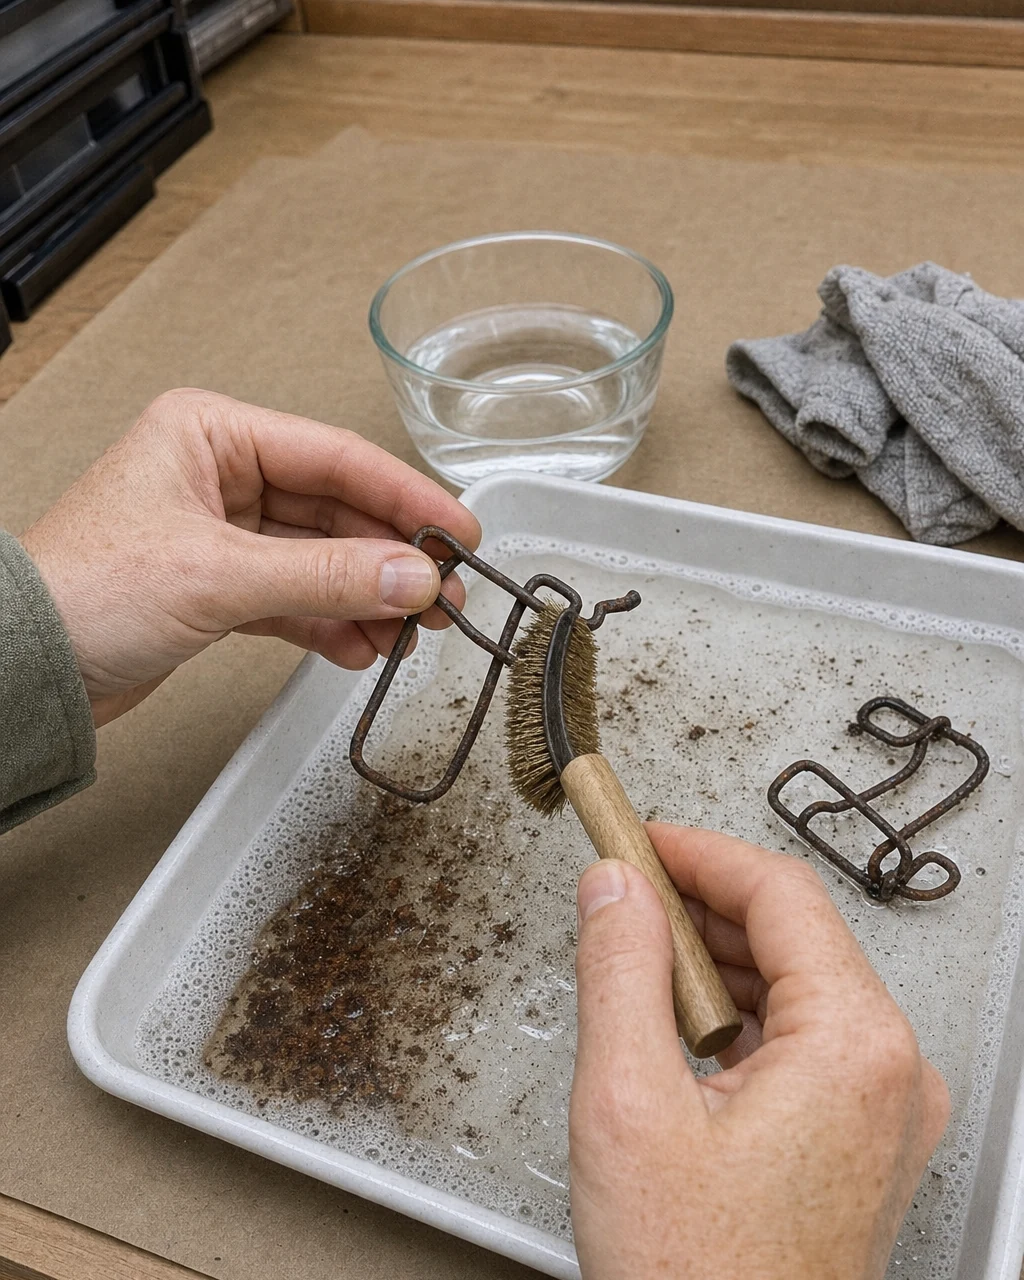
Submerge the detached wire bales in a glass bowl of white vinegar for thirty minutes to loosen the oxidation. Scrub the hardware with a brass bristle brush to remove all flaking rust and expose the bare metal. Wear nitrile gloves to protect skin from the rust and vinegar slurry. The wire bales are stripped of orange rust and show bare, clean metal.
Step 5: Spray the Hardware Metallic Gold
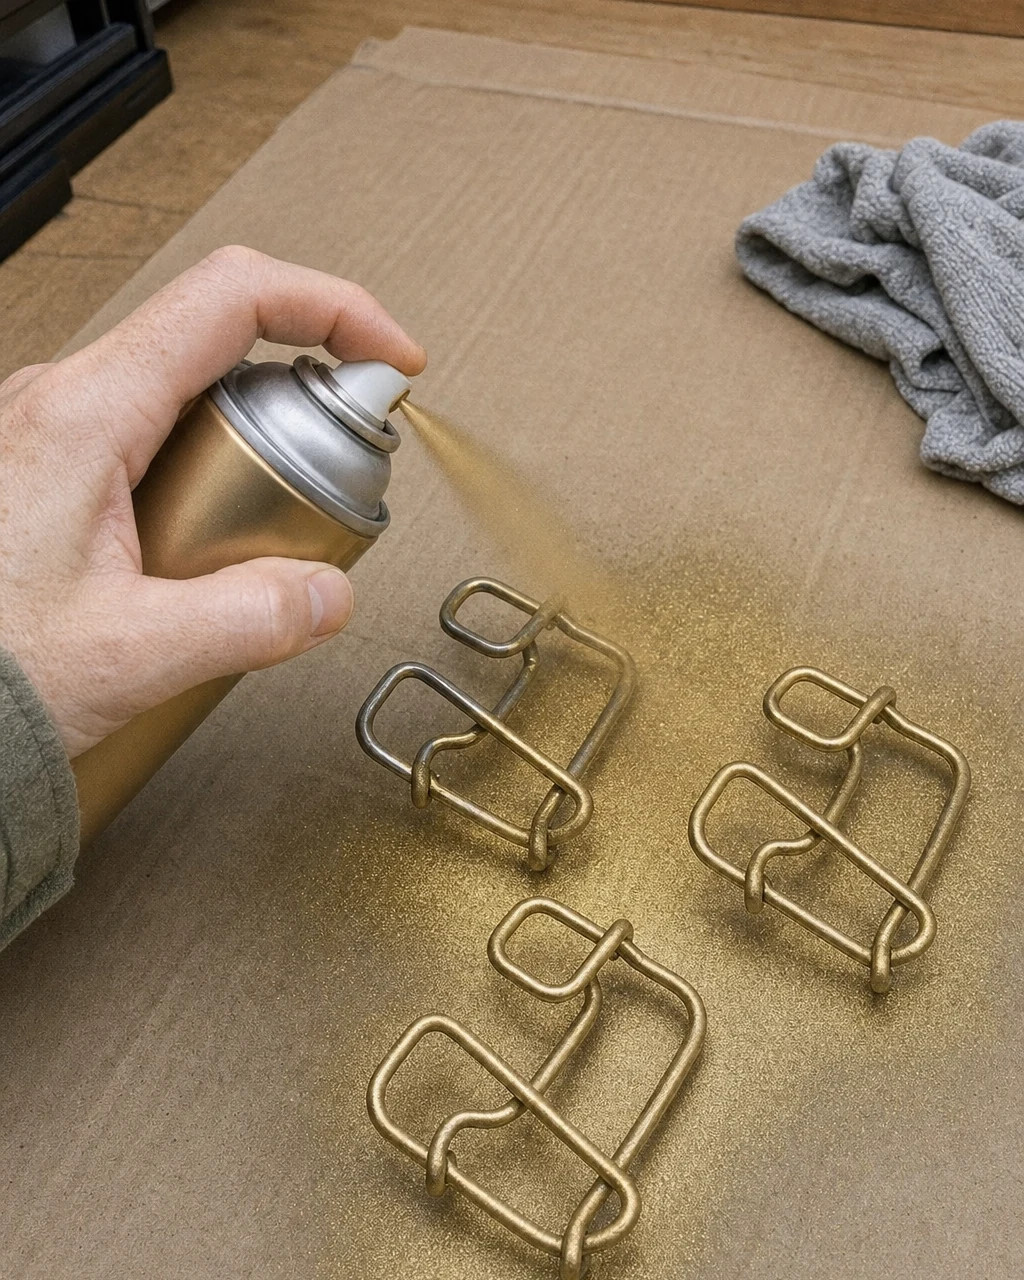
Lay the wire bales flat on a cardboard drop cloth in a well-ventilated area. Apply a light coat of metallic gold spray paint from eight inches away, letting the paint dry completely for two hours. Spray paint outdoors or in a highly ventilated garage while wearing a respirator mask. The wire hardware now features a smooth, even metallic gold finish.
Step 6: Install the Fresh Airtight Seals
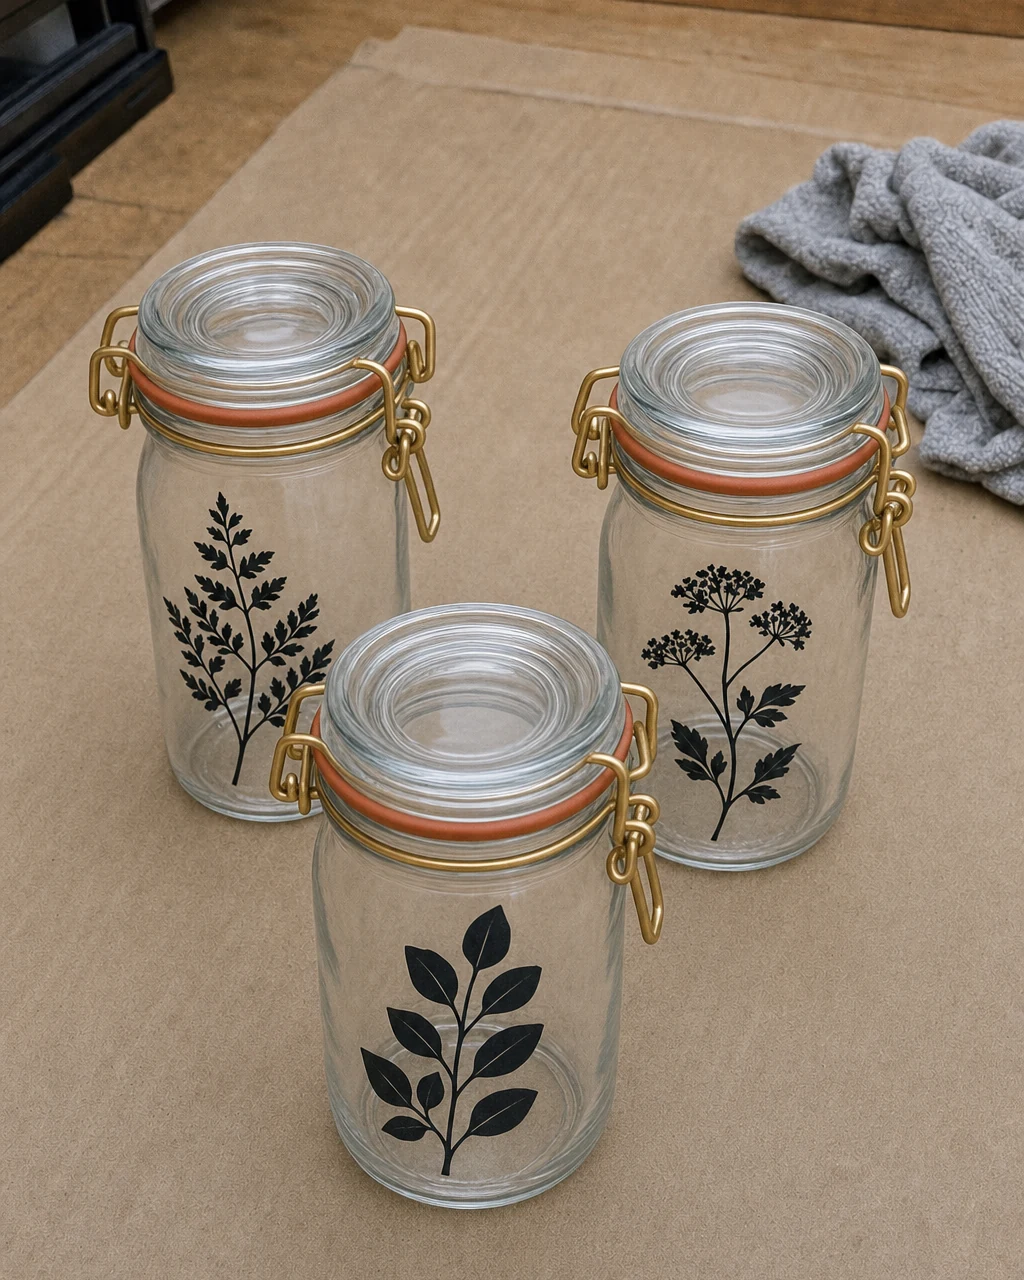
Stretch the new terracotta-colored silicone gaskets around the rim of each glass lid. Snap the painted wire bales onto the glass bodies to lock the lids securely in place. Ensure the glass rim is free of chips before applying tension to the new silicone gasket. The three jars are fully assembled with crisp stencils, gold hardware, and fresh seals.
Step 7: Style on Open Kitchen Shelving
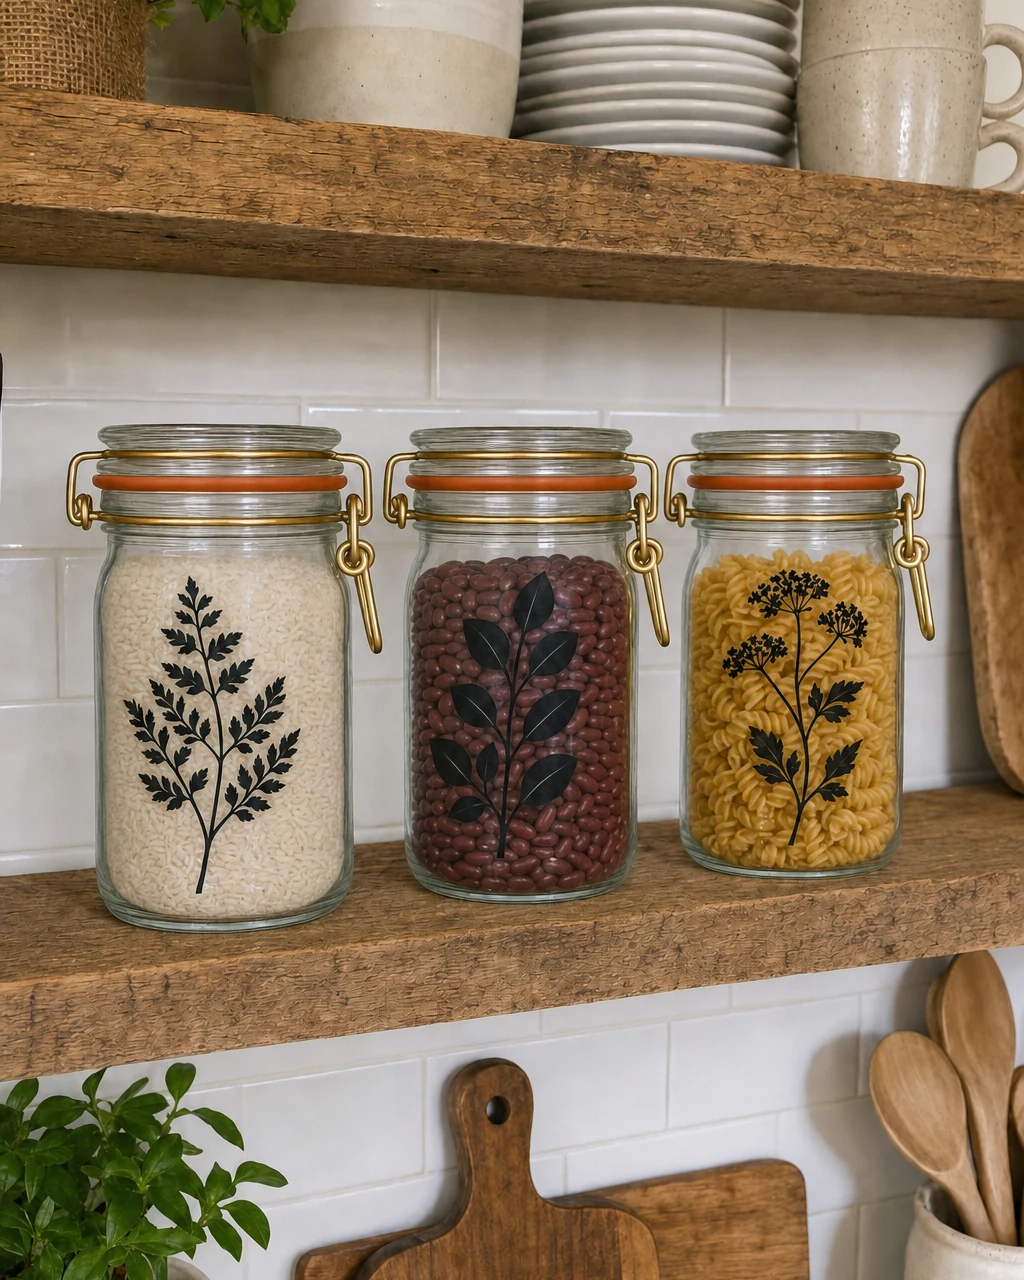
Fill the jars with dry pantry goods like rice, beans, and pasta. Arrange the finished apothecary jars on an open wooden kitchen shelf to display the botanical stencils. Verify the shelf bracket weight capacity before loading it with heavy filled glass jars. The stenciled jars sit neatly on a kitchen shelf, functioning as stylish pantry storage.