
The 40th Birthday Party Formula: A 4-Week Planning Checklist
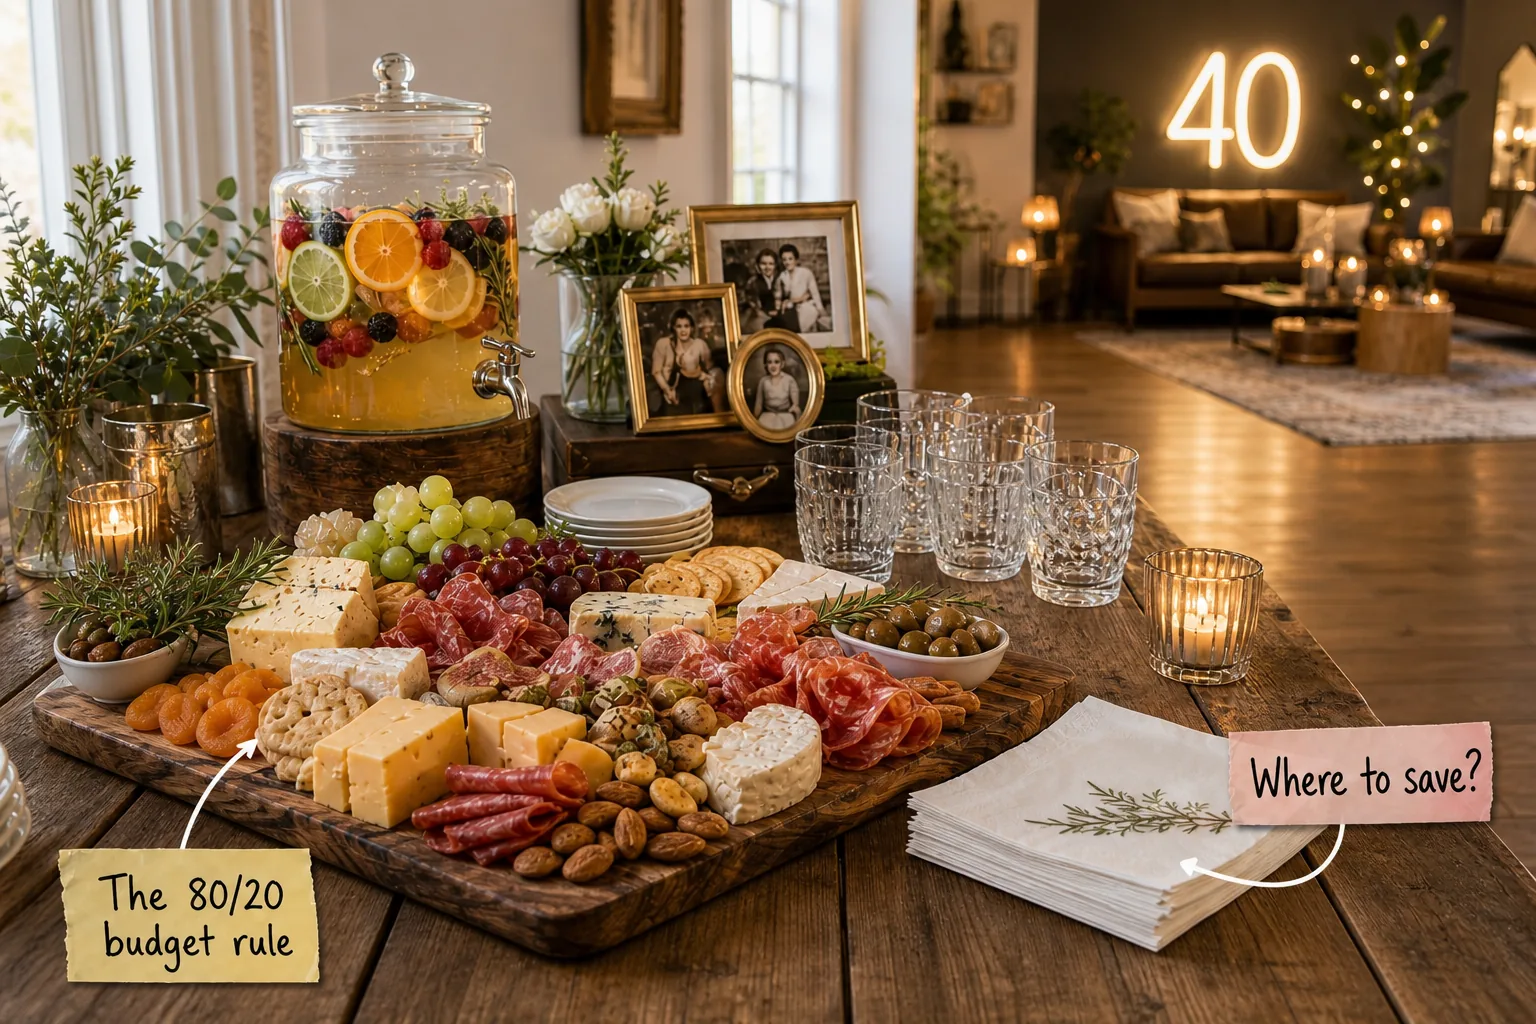
Master the modern evening setup to effortlessly host your celebration, and grab the complete 4-Week Milestone Party Checklist to organize everything without the stress. This formula guarantees a sophisticated layout and perfectly allocated budget for an unforgettable night.
Designing Your Flow Zone Spacing
Start by establishing the physical layout of the room to maintain a 36 to 48-inch clearance for comfortable guest movement. This wide, clear walkway cleanly separates the primary grazing table from the comfortable lounge seating area.
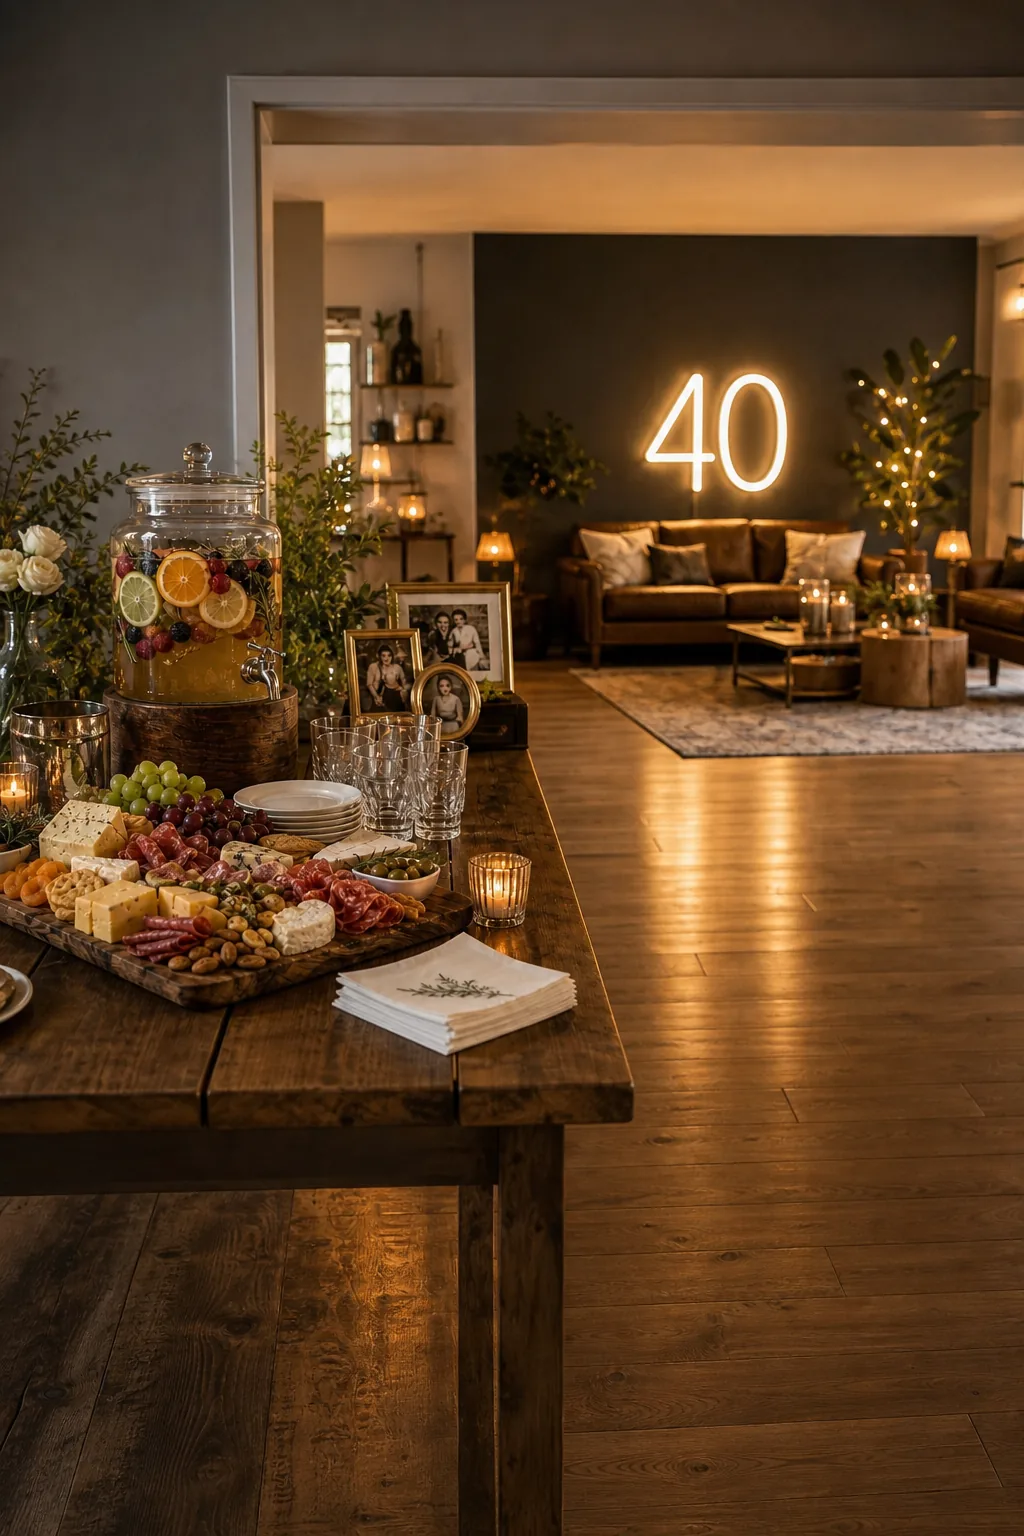
This dedicated flow zone spacing prevents frustrating bottlenecks near the food while encouraging guests to mingle freely. Keeping these primary traffic paths completely open ensures the room feels spacious, accessible, and welcoming throughout the entire evening.
Routing Traffic Around the Lounge
When arranging the seating, angle your sofas and chairs slightly outward to naturally guide people back toward the open walkway. Maintaining at least 24 inches of legroom between the coffee table and the couch prevents guests from feeling trapped.
Applying the 80/20 Budget Rule
Allocate your resources where they make the biggest visual impact by spending 80 percent of the food budget on one high-impact grazing board. A lavish, overflowing artisanal display immediately anchors the room and sets a premium tone.
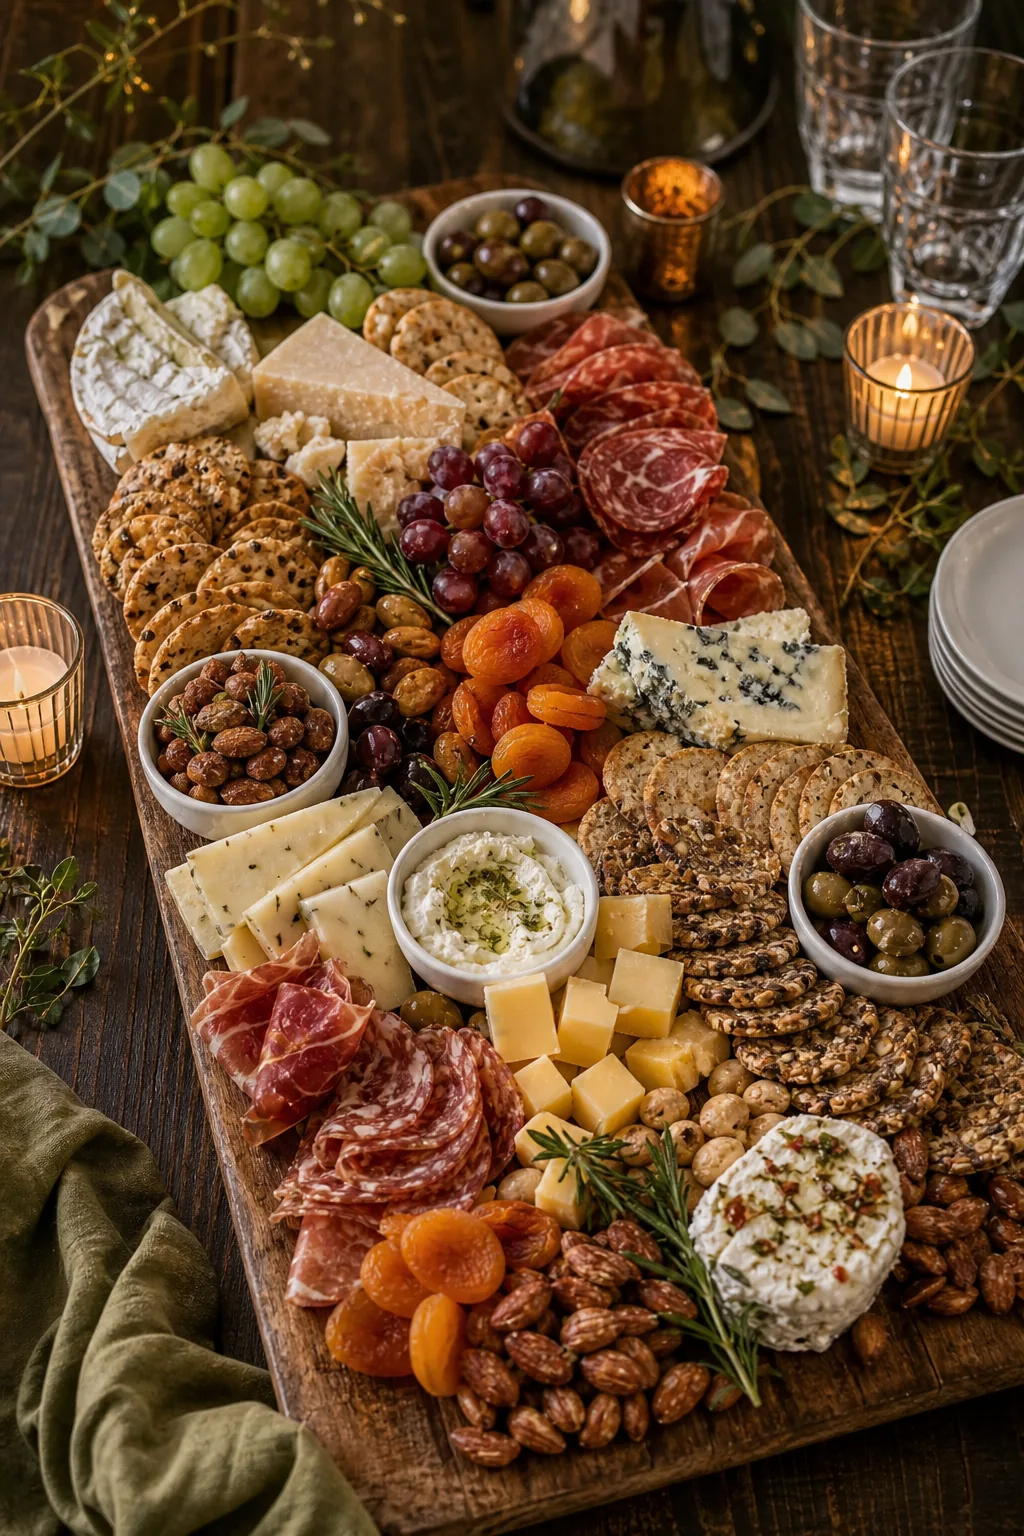
It is tempting to offer a massive variety of hot and cold appetizers, but this often dilutes both the quality and the visual impact of your food station. The 80/20 budget rule solves this by concentrating your funds.
Selecting the Right Cured Meats
To maximize that premium aesthetic, focus your artisanal budget on a few distinct flavor profiles rather than buying every available option. Arranging three specific meat textures in flowing ribbons creates immediate visual volume, stretching your premium budget even further.
The Signature Batch Drink Station
Keep the beverage service completely effortless by preparing a 2-gallon self-serve batch cocktail before anyone arrives. An elegant glass drink dispenser filled with colorful fruit garnishes creates a premium look while saving you massive amounts of time.
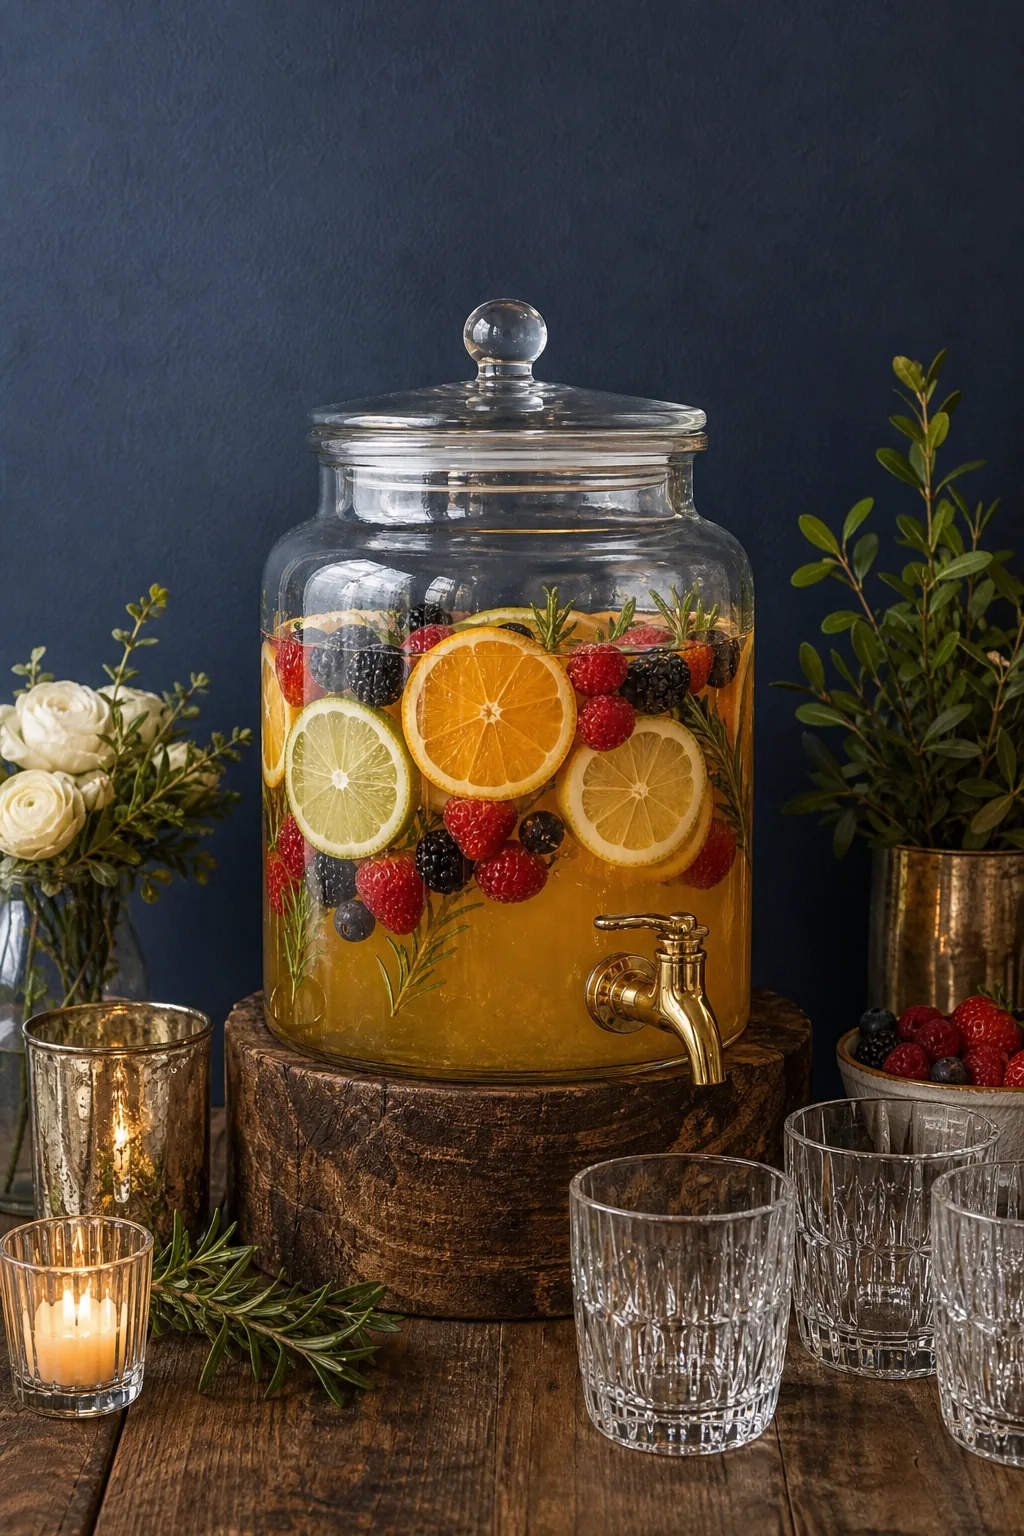
Relying on a signature batch drink ensures you spend the evening celebrating rather than acting as a bartender. Heavily garnishing the dispenser with fresh citrus wheels and berries makes the entire station look intentional, abundant, and highly appetizing.
Managing Ice and Temperature
The biggest challenge with batched cocktails is preventing them from becoming watered down over a four-hour party. Adding standard ice cubes directly into the dispenser will quickly ruin the flavor profile of your carefully mixed signature drink.
| Cooling Method | Best Application | Dilution Rate |
|---|---|---|
| Frozen fruit chunks | Sangrias and clear spirits | Zero dilution |
| Large ice blocks | Punch bowls and wide dispensers | Very slow |
| External ice bucket | Individual glass chilling | None in the batch |
Instead of chilling the main vessel, keep a separate insulated bucket of fresh ice right next to the glassware. This allows guests to chill their individual cups to their liking while the main batch remains perfectly balanced.
Where to Save on Party Supplies
Balance the lavish food display by cutting costs on expendable items, using elegant paper napkins and basic stackable glassware. These understated choices blend seamlessly into a sophisticated aesthetic while freeing up funds for the menu.
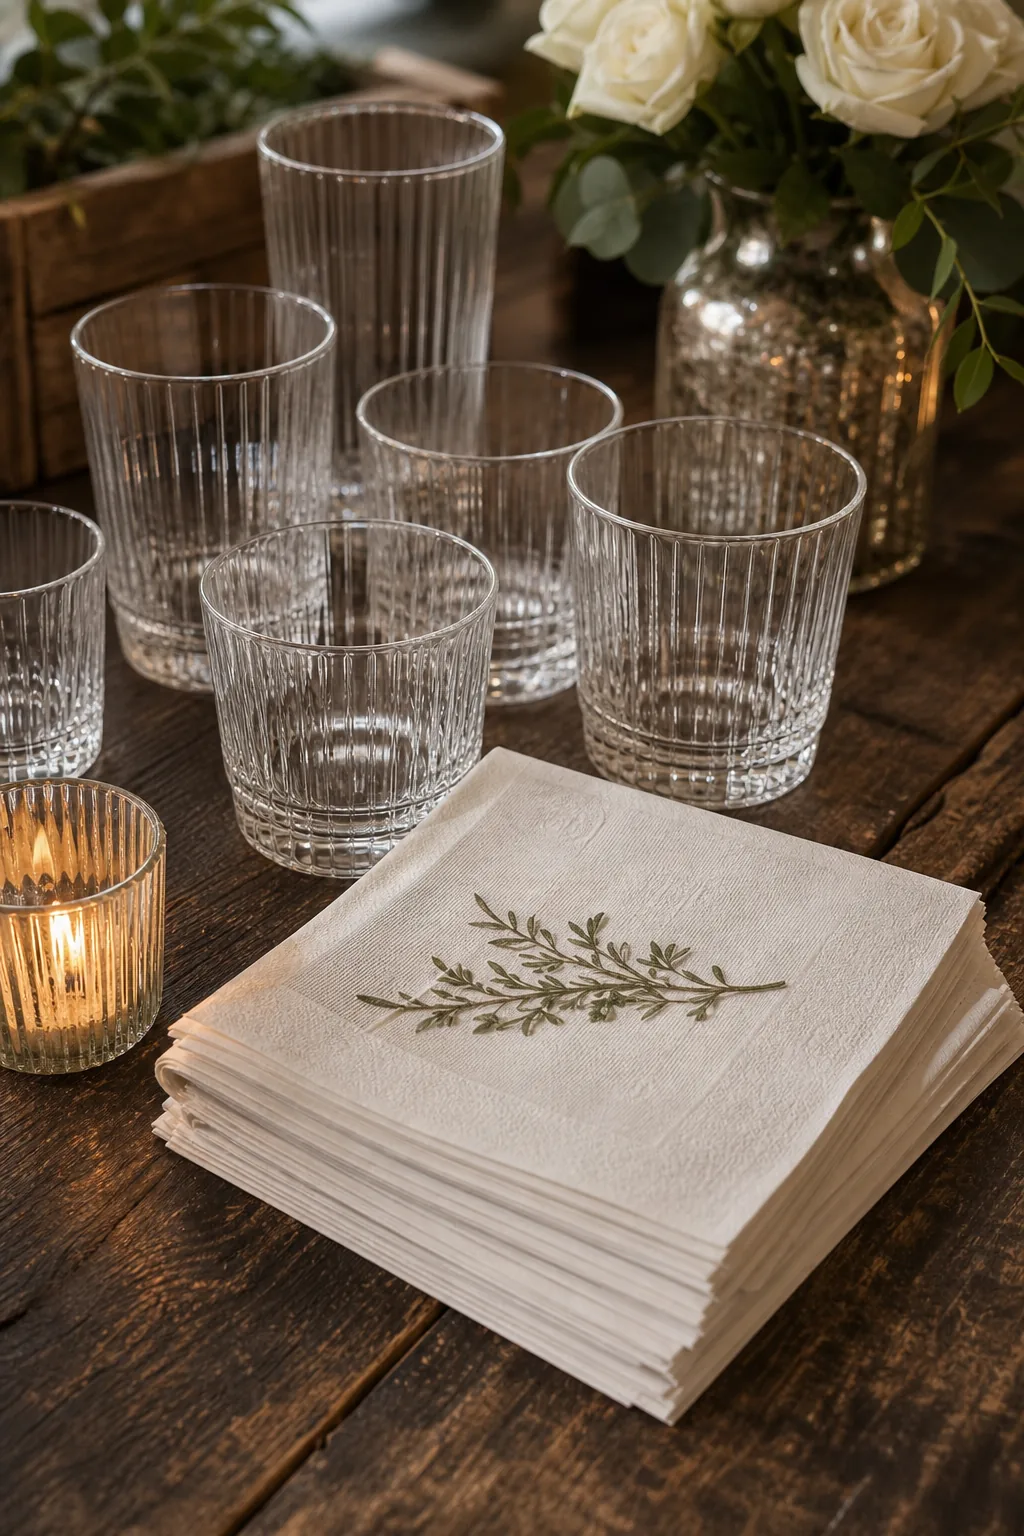
If you are wondering where to save, skip the expensive linen rentals and fragile crystal goblets. High-quality paper napkins with a subtle botanical motif keep the overall budget in check without sacrificing the upscale evening atmosphere.
Renting Versus Buying Glassware
When hosting more than twenty people, purchasing bulk sets of minimalist, stemless glasses is often cheaper than renting them. Stemless options are incredibly durable, reducing the risk of accidental breakage while guests navigate the busy flow zones.
Creating a Nostalgia Anchor
A milestone birthday requires a personal touch, which is best achieved by curating a tasteful display of three to five photos near the food station. This small collection adds profound meaning without overwhelming the modern party decor.
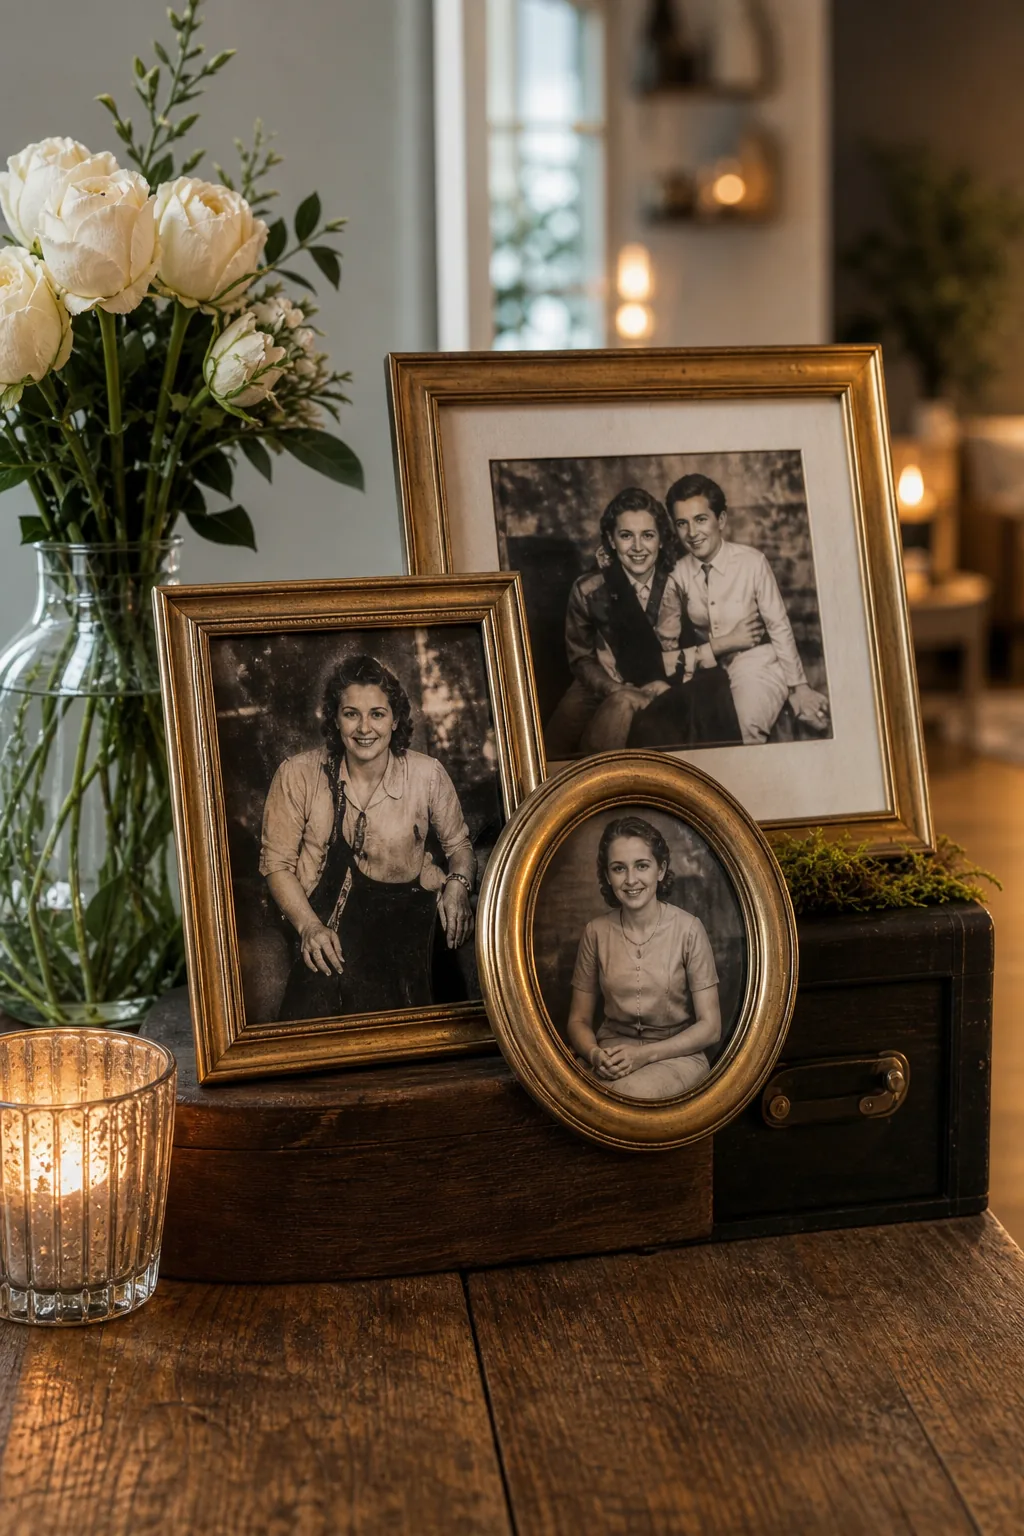
This carefully curated nostalgia anchor utilizes mismatched brass or wood frames to create a focused conversation starter. Limiting the display to a few high-quality, vintage images keeps the aesthetic elegant rather than looking like a cluttered scrapbook.
Choosing the Perfect Display Frames
To make the photo display feel intentional, select frames that vary in height but share a common material finish. A mix of 5×7 and 4×6 frames creates a natural visual triangle that draws the eye without demanding too much table space.
Layering the Food and Drink Display
Visual interest on a grazing table relies entirely on varying heights, so elevate the drink dispenser at least 6 inches above the food board. Thick, rustic wooden blocks or sturdy crates work perfectly for this essential structural lift.
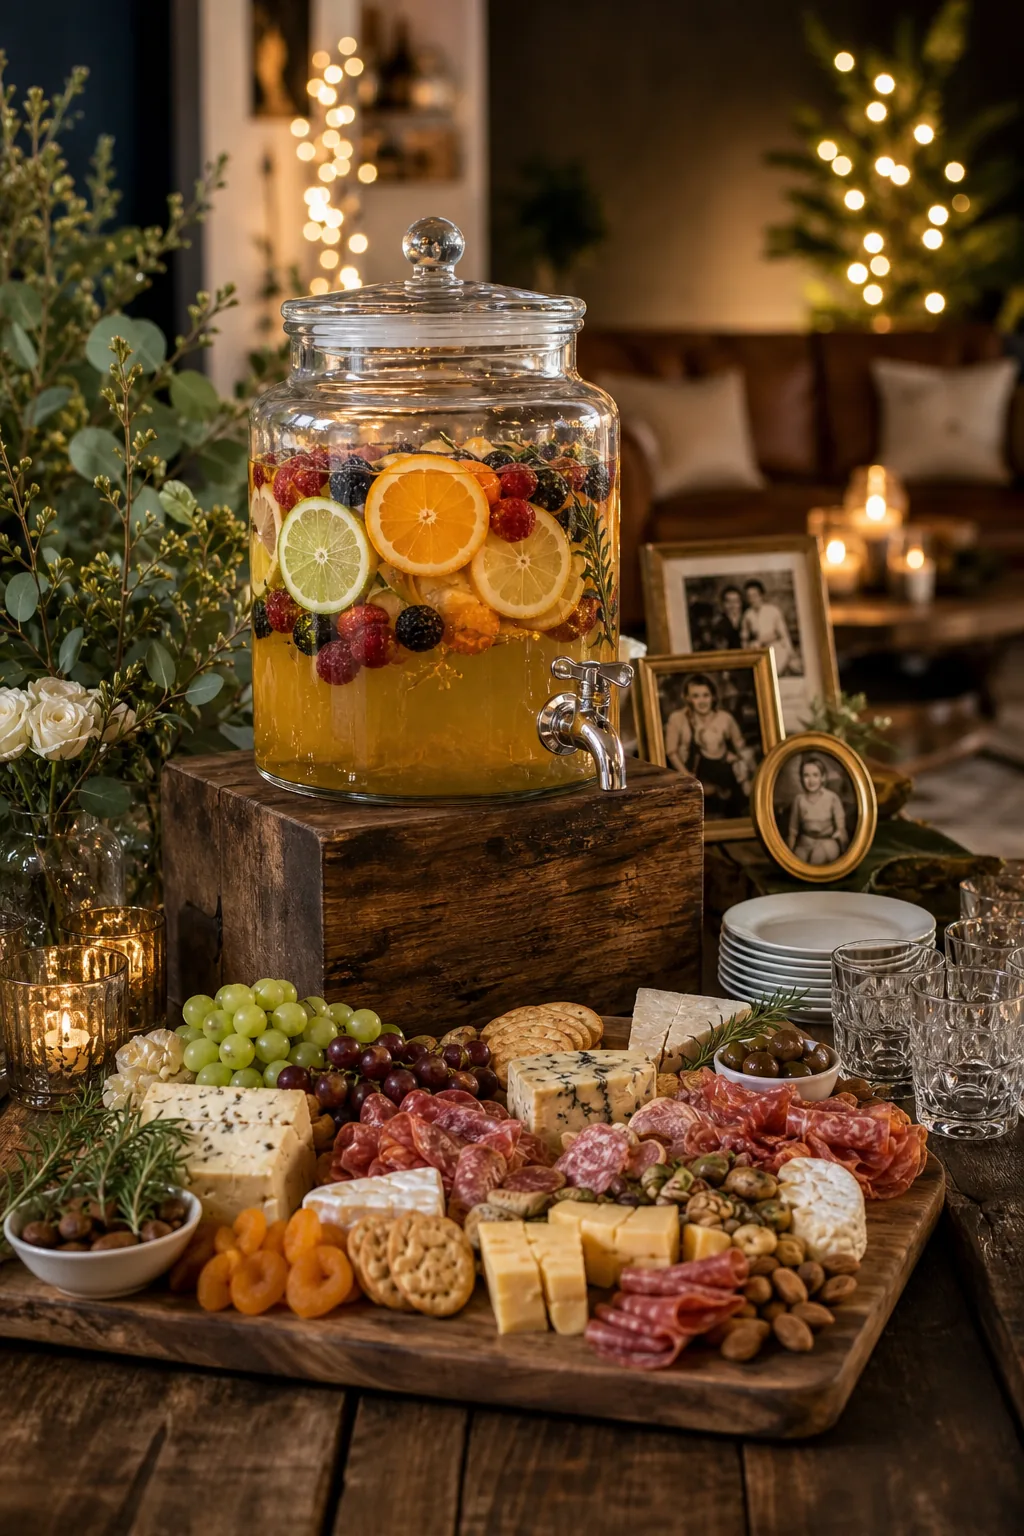
This strategic layering prevents the table from looking flat and naturally draws the guest’s eye upward. Raising the dispenser also makes it physically easier for guests to use the spigot without accidentally knocking over the cheeses below.
Protecting the Table Surface
Condensation from a cold drink dispenser will inevitably pool around its base, threatening to ruin wooden furniture. Follow these exact steps to protect your surfaces while building the display.
- Place a barrier: Lay down a discreet silicone mat directly on the table.
- Add the riser: Position your sturdy wooden block perfectly centered over the mat.
- Set the dispenser: Place the heavy glass vessel on the block to ensure complete stability.
This simple preparation catches drips instantly and provides a completely stable foundation for guests to safely use the spigot throughout the event.
Setting the Mood with Lounge Lighting
Transition the atmosphere from a bright daytime gathering to a sophisticated evening party using a glowing neon sign and warm string lights. This layered lighting approach softens the room beautifully and flatters everyone.
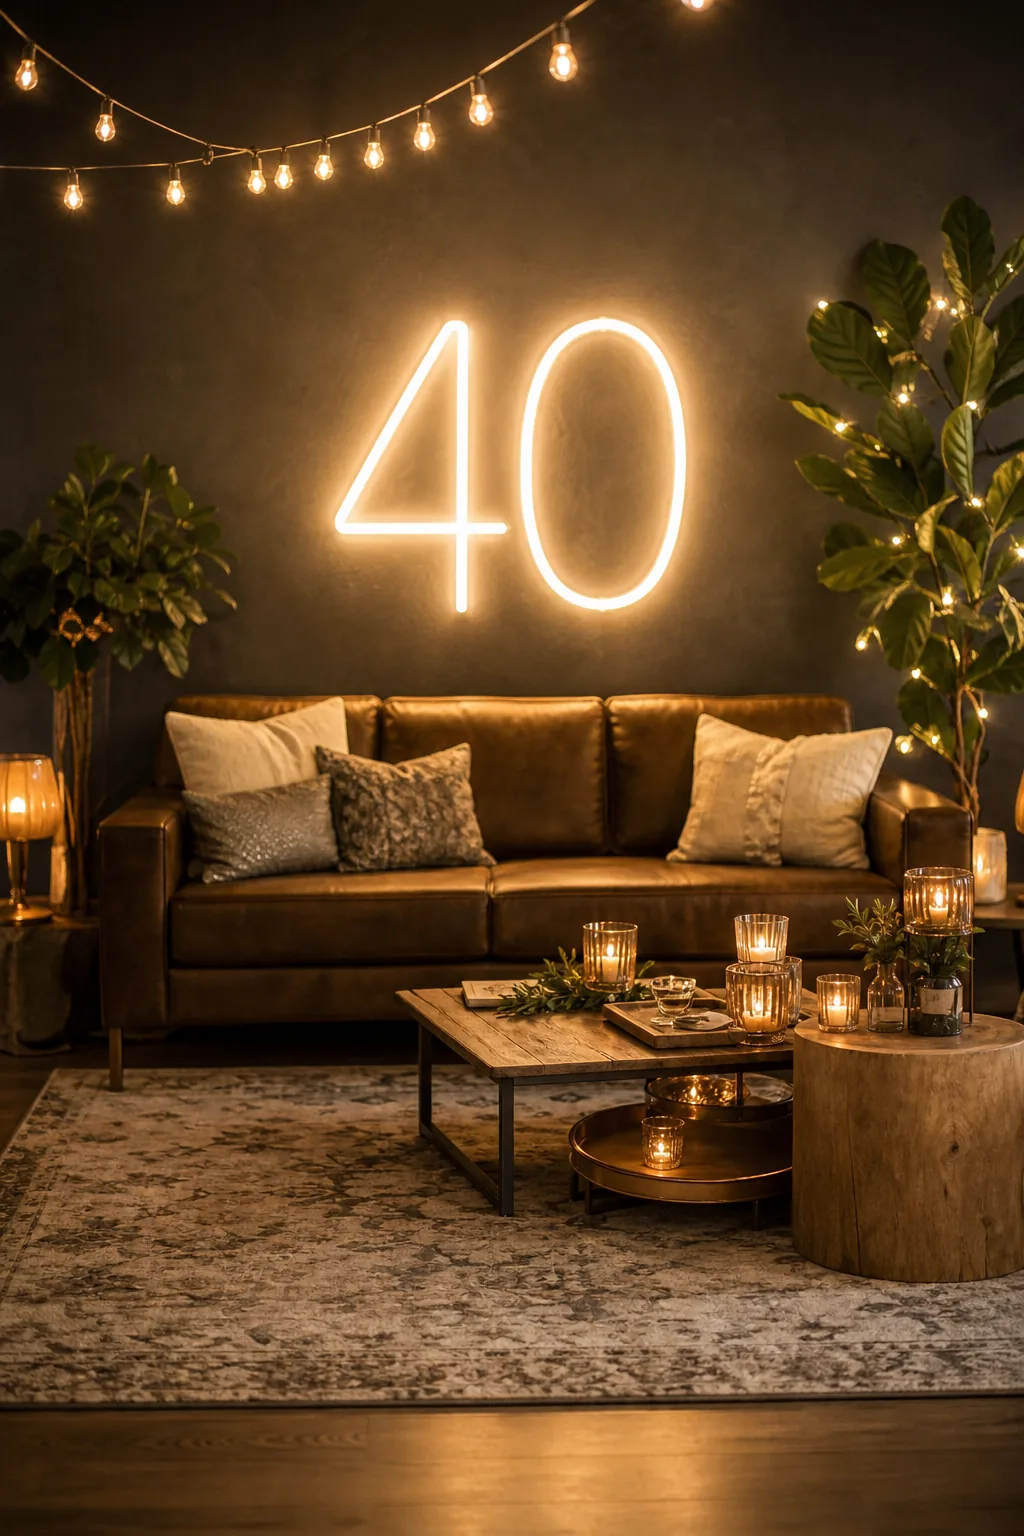
A subtle neon sign serves as a modern, highly photogenic backdrop that naturally draws guests into the lounge area. Pairing it with scattered votive candles creates an inviting, upscale ambiance as the sun sets outside.
Concealing Cords and Power Strips
Nothing ruins the illusion of a sophisticated lounge faster than a tangle of black extension cords running across the floor. Use clear adhesive clips to route the neon sign’s power cable down the back of a furniture leg to keep it completely hidden.
The 4-Week Milestone Party Checklist
Pulling off this sophisticated setup requires a highly structured timeline, starting your preparations exactly 28 days before the event. Organizing the workload week by week prevents last-minute panic and ensures a flawless execution.

To ensure every detail from the grazing board to the nostalgia anchor comes together perfectly, follow this concrete timeline leading up to the big night. This 4-Week Milestone Party Checklist delivers exactly what you need.