
Oak Desk Organizer DIY Makeover with Glossy Black Epoxy
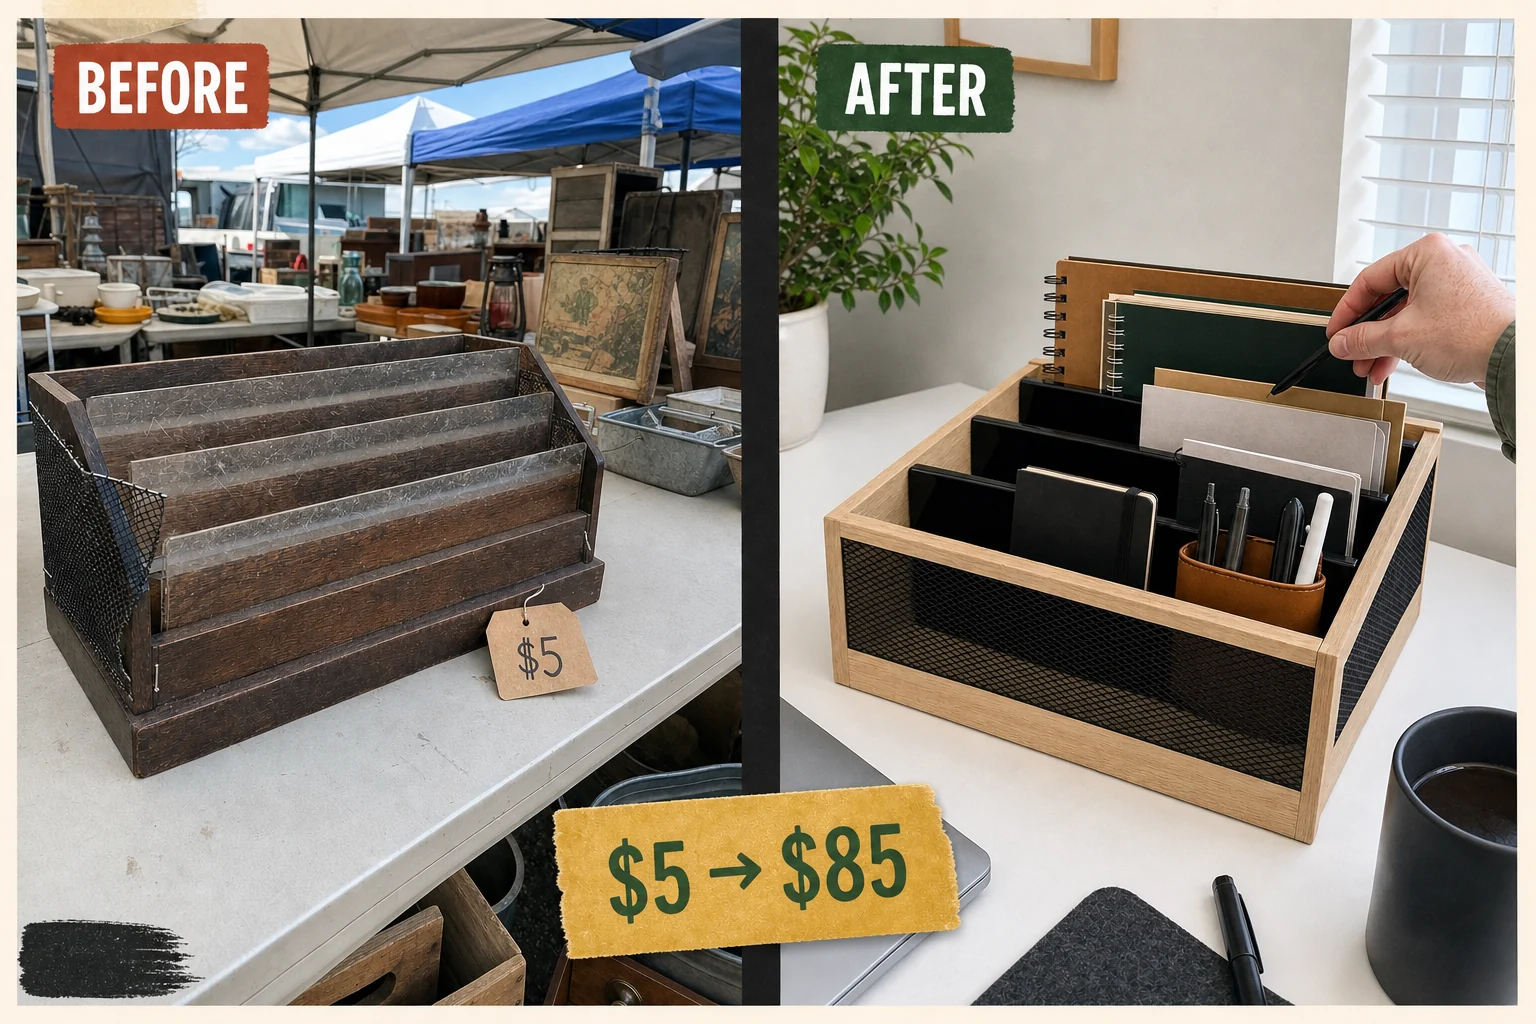
I spotted this neglected 90s desk sorter at a bustling Sunday flea market for just five dollars. By stripping the dark oak and coating the scratched dividers in glossy black epoxy, it became a sleek, high-contrast modern desk accessory.
Evaluating the Flea Market Find
Finding this heavy but neglected organizer sitting on a folding table at an outdoor weekend flea market stall presented a fantastic modernization opportunity. The original 14-inch wide rectangular tiered tray base featured a solid oak frame with routed grooves, but the piece suffered from three distinct condition issues.
- The clear acrylic plastic dividers suffered from deep cloudy abrasions that made the piece look heavily worn and constantly caught dirt in the deep scratches.
- Original staples had pulled out of the oak frame on the left side, leaving the black metal mesh rattling and providing absolutely no structural support.
- The chipped, yellowing 1990s tinted lacquer severely dated the piece and completely obscured the beautiful natural wood grain hidden beneath the surface.
Project Costs and Valuation Rationale
The combination of solid raw oak and custom glossy resin elevates this piece from a mass-produced 90s basic to a premium modern desk accessory. This high-contrast modernization commands boutique prices, distinguishing the estimated resale value from an actual completed sale. The transformation requires a minimal budget, relying primarily on basic abrasives, fasteners, and a two-part resin to achieve the sleek final look.
| Item | Cost |
|---|---|
| Purchase Price | $5 |
| Sandpaper Assortment | $5 |
| Heavy-Duty Staples | $3 |
| Clear Epoxy Resin | $15 |
| Black Resin Pigment | $6 |
| Matte Clear Wax | $10 |
| Total Investment | $44 |
| Estimated Resale Value | $85 |
| Value Gain | $41 |
Step 1: Assess the Damage and Disassemble
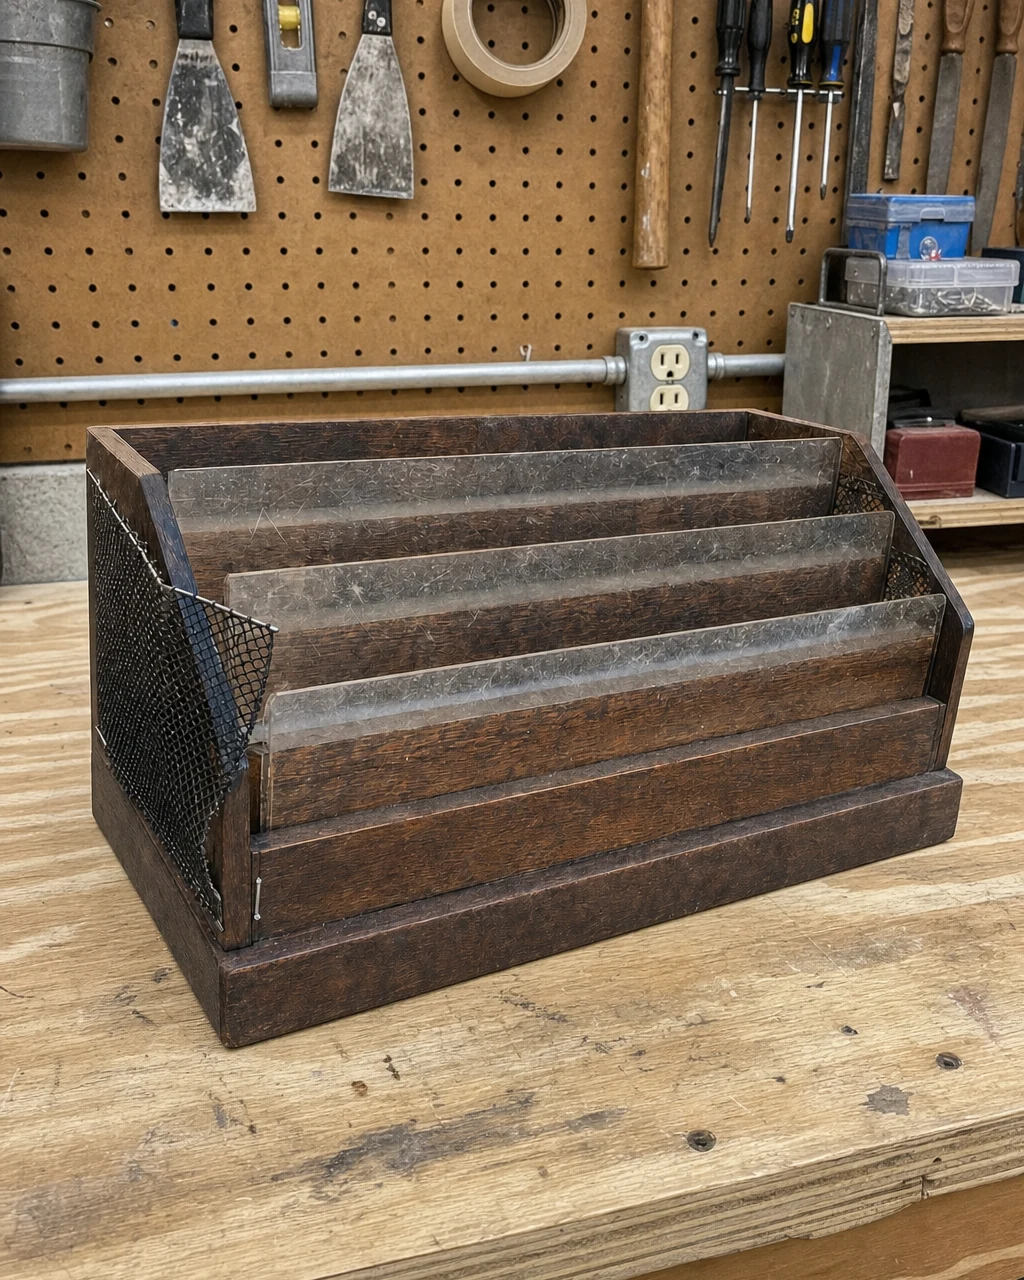
Inspect the overall condition of the organizer on the workbench, taking special note of the loose side mesh that needs reattachment. Slide the scratched plastic dividers upward and out of their routed wooden grooves, setting them aside so the wooden frame sits empty.
- Handle the loose metal mesh carefully to avoid sharp edges while maneuvering the heavy piece around your workbench.
- Removing these scratched inserts prevents accidental damage during the heavy sanding process required to remove the old finish.
Step 2: Strip the Dated Finish to Bare Oak
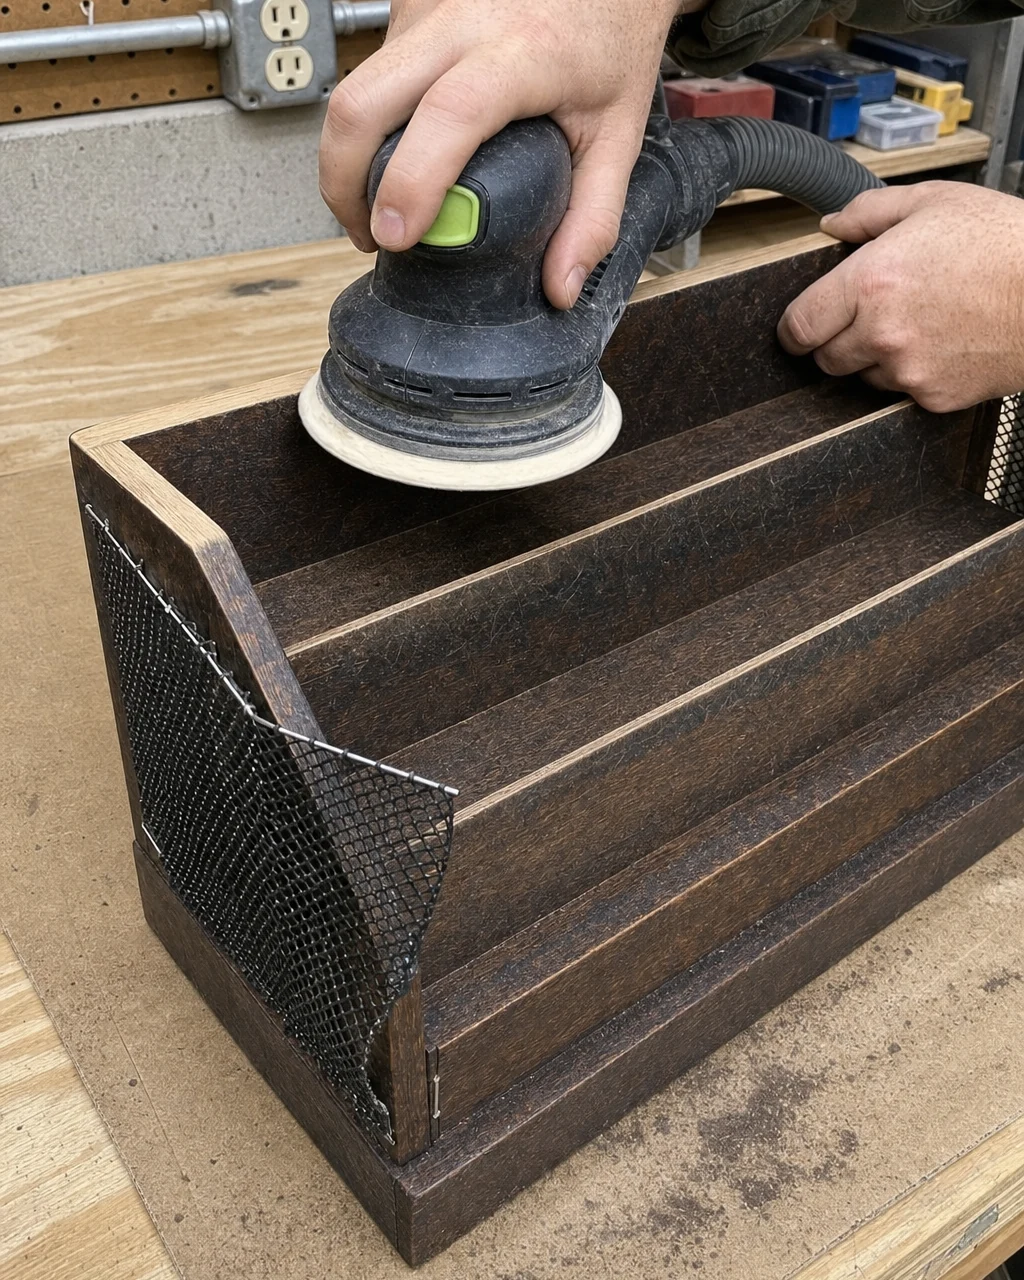
Use an orbital sander with 120-grit paper to strip the dated dark tinted lacquer off the wooden frame. Continue sanding until the lighter raw oak grain is fully revealed, then wipe away all residual dust with a microfiber cloth. Wear a dust mask and safety glasses when sanding old lacquer finishes. Stripping this yellowing topcoat exposes the high-quality natural wood grain.
Step 3: Secure the Loose Metal Mesh Panels
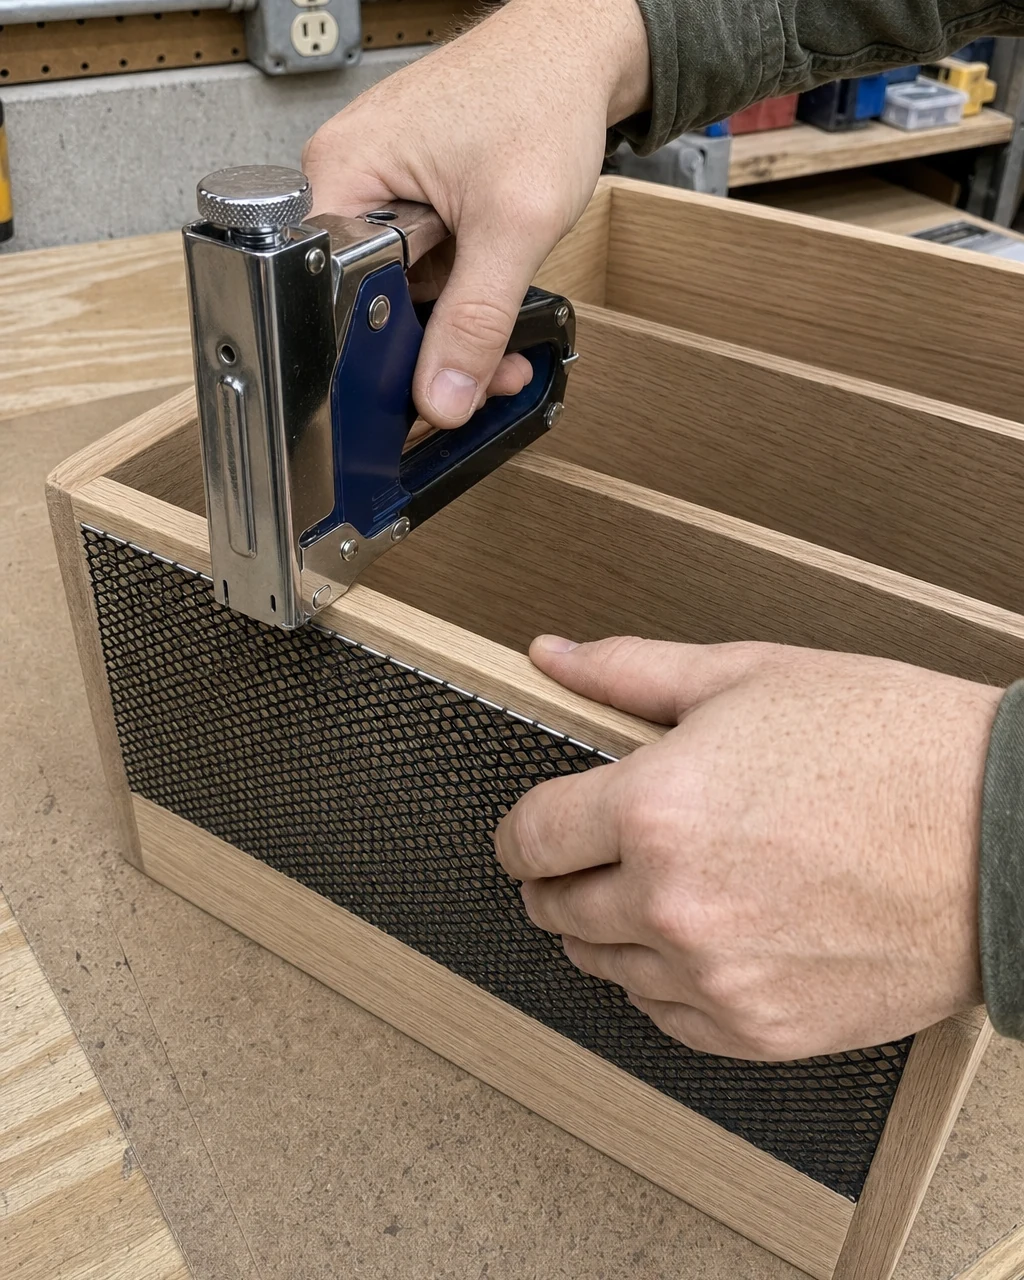
Align the loose black metal mesh side panels flush with the freshly sanded frame edges. Secure the mesh firmly in place against the bare wood using a staple gun loaded with heavy-duty staples, keeping your fingers clear of the discharge area. These fasteners provide much stronger holding power than original glue.
Materials checklist
Step 4: Pour the Glossy Black Epoxy Coating
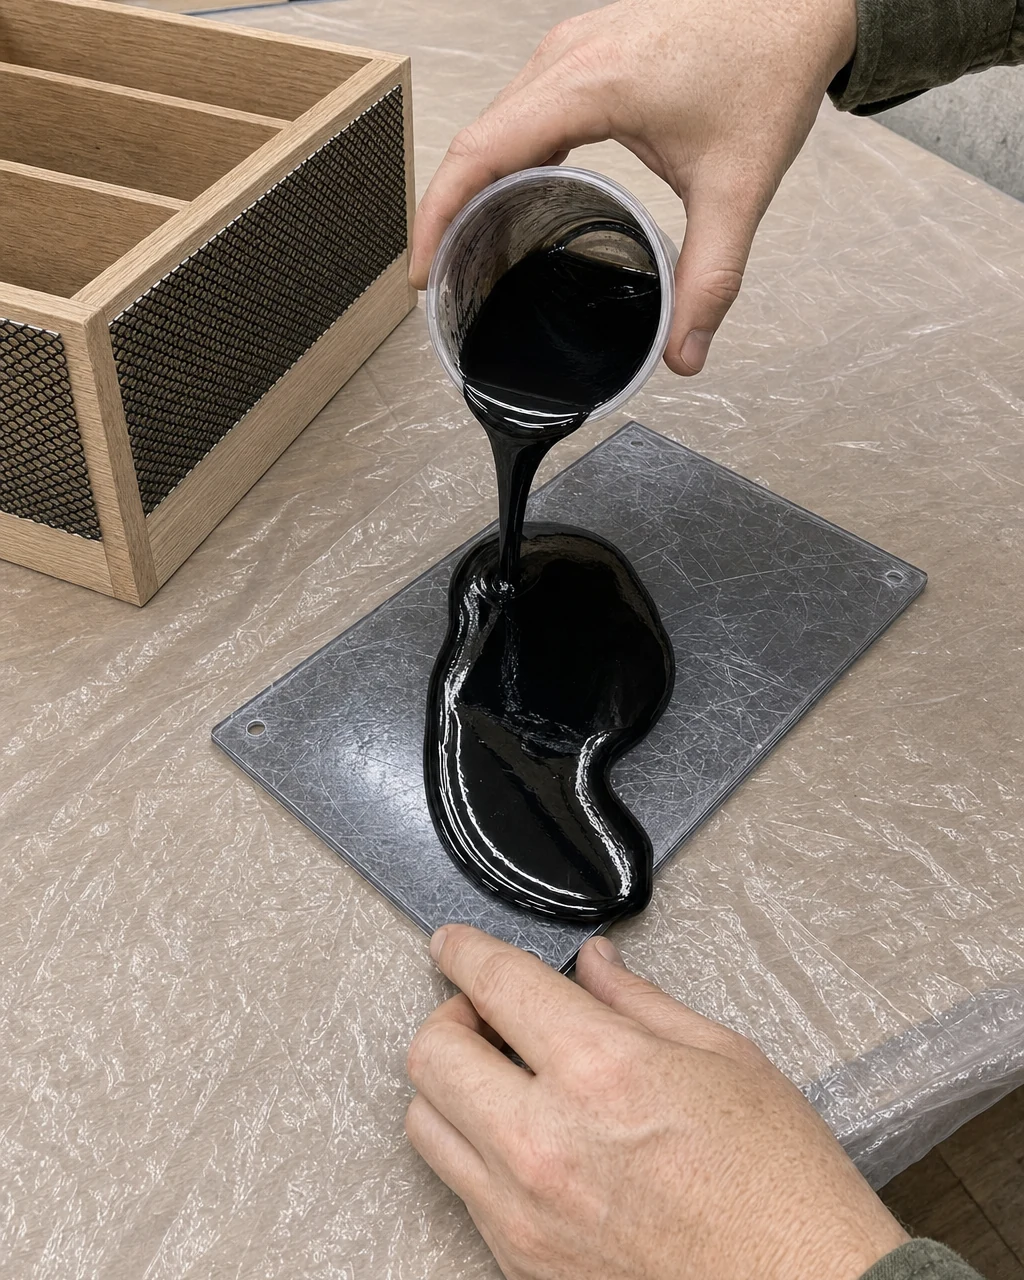
Mix a two-part epoxy resin with opaque black pigment in a mixing cup until the color is completely uniform. Pour the thick liquid evenly over the scuffed plastic dividers on a plastic-covered surface, spread it to the edges, and leave it to cure for 24 hours. Work in a well-ventilated area and wear nitrile gloves when handling unmixed epoxy.
Step 5: Seal the Raw Oak With Matte Wax
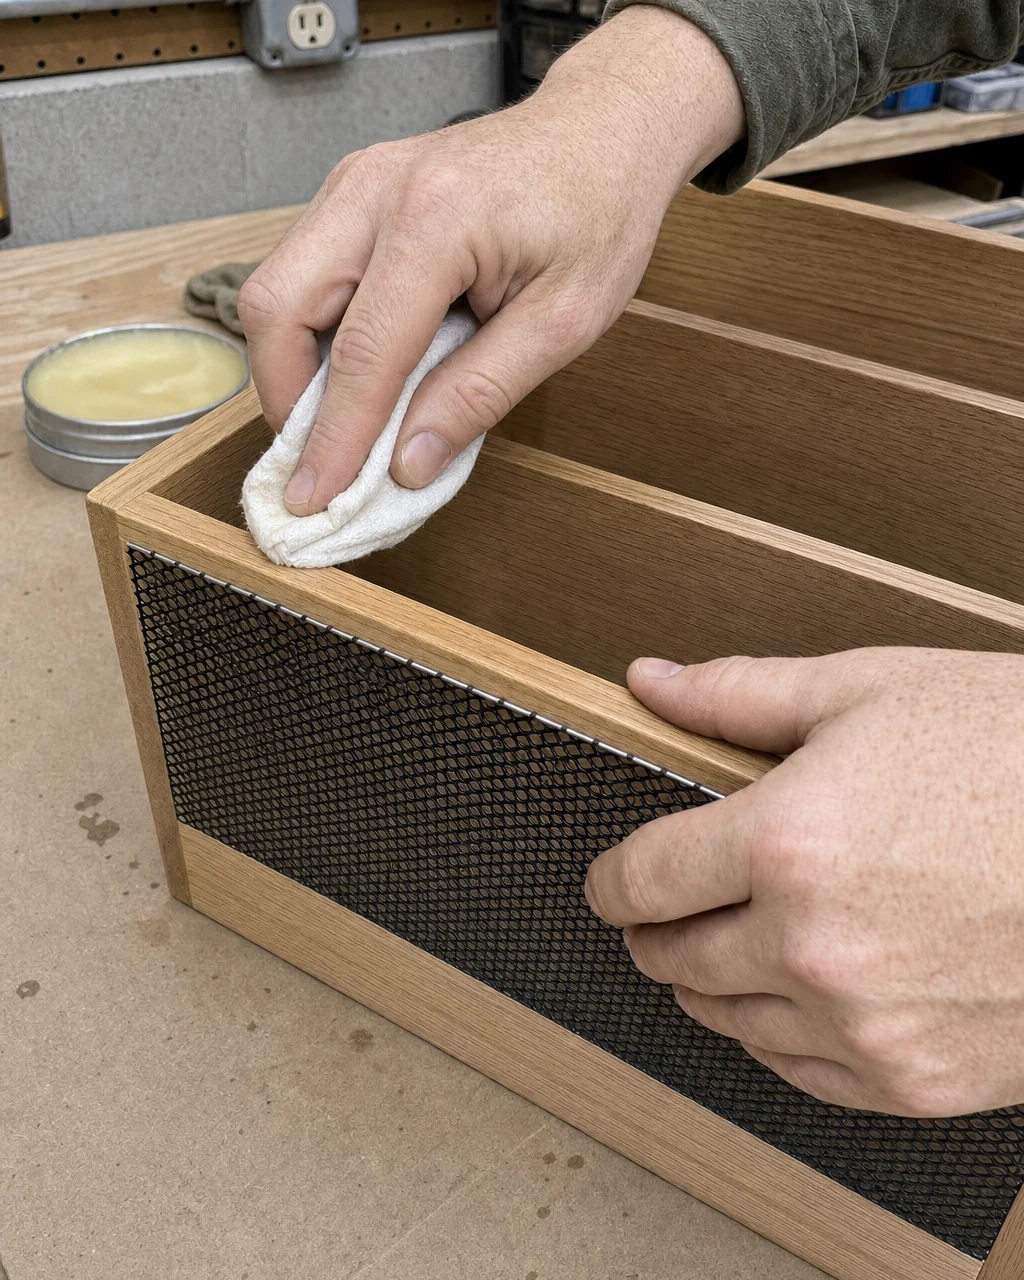
Apply a coat of clear matte finishing wax to the bare oak frame using a lint-free white cotton cloth. Buff the wax deep into the grain to protect the pale wood without adding any unwanted shine. Dispose of wax-soaked rags properly to prevent spontaneous combustion. This matte wax seals the porous wood while maintaining the raw, natural aesthetic that contrasts beautifully.
Step 6: Slide in the New Epoxy Dividers
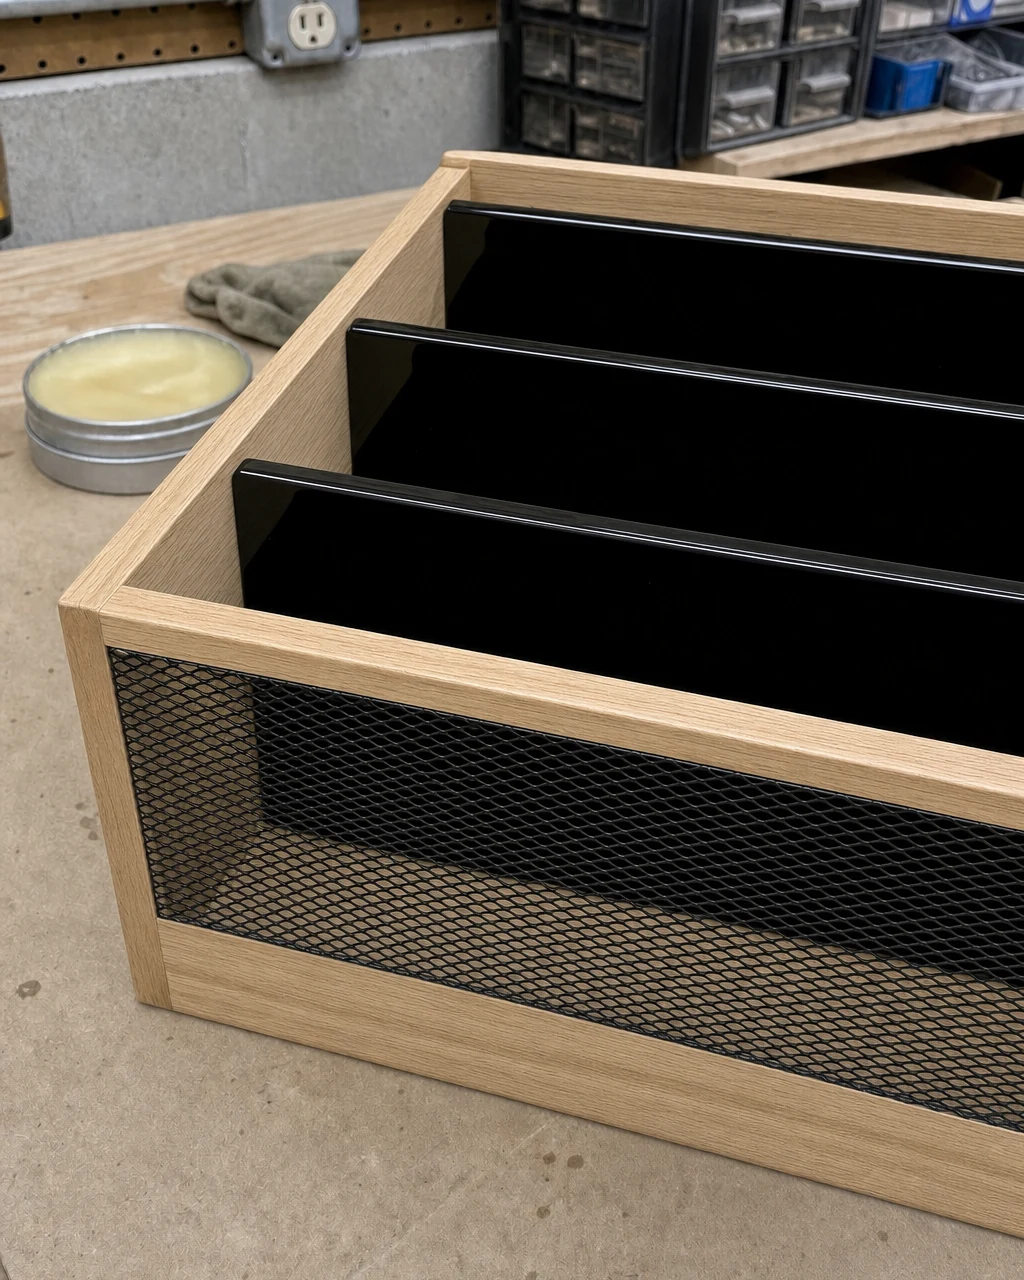
Verify that the black epoxy resin has fully cured into hard, glossy panels before proceeding. Slide the newly coated dividers smoothly back down into the original wooden grooves of the waxed oak frame. Ensure the epoxy is fully hardened before handling to avoid leaving permanent fingerprints on the surface. The cured resin panels instantly transform the empty wooden base into a striking piece.
Step 7: Style the Modernized Desk Accessory
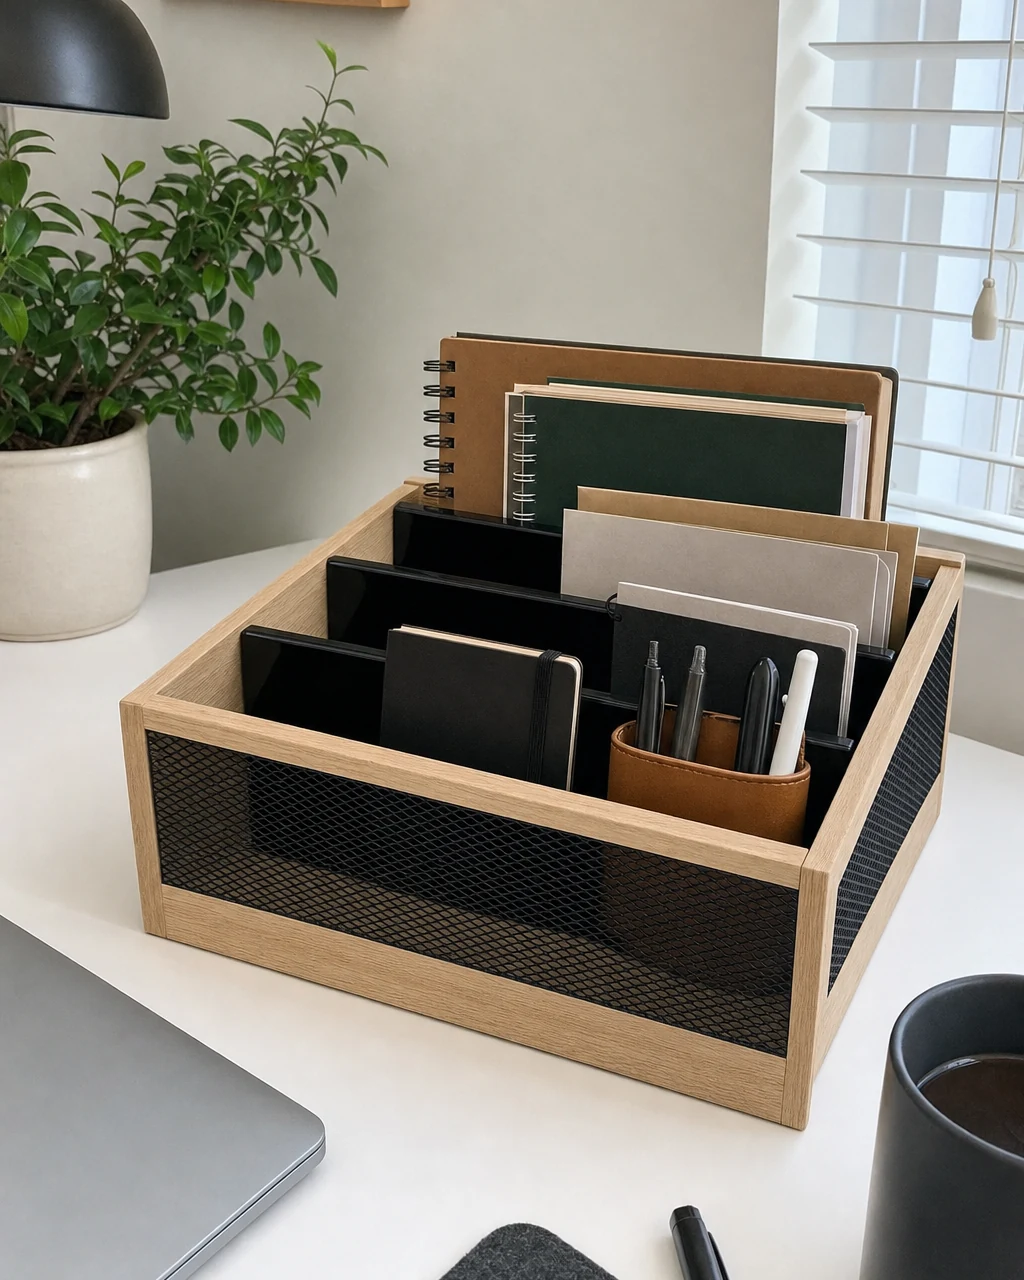
Place the fully assembled, modernized desk sorter on a minimalist home office desk. Fill the slots with modern notebooks, files, and pens to showcase the striking contrast between the raw pale oak and the glossy black dividers. Always lift the heavy solid oak piece from the base, not the dividers. This modernized piece easily retails for over one hundred dollars in boutique shops.