
Wedding Dessert Table Layout: The Serving Math Guide
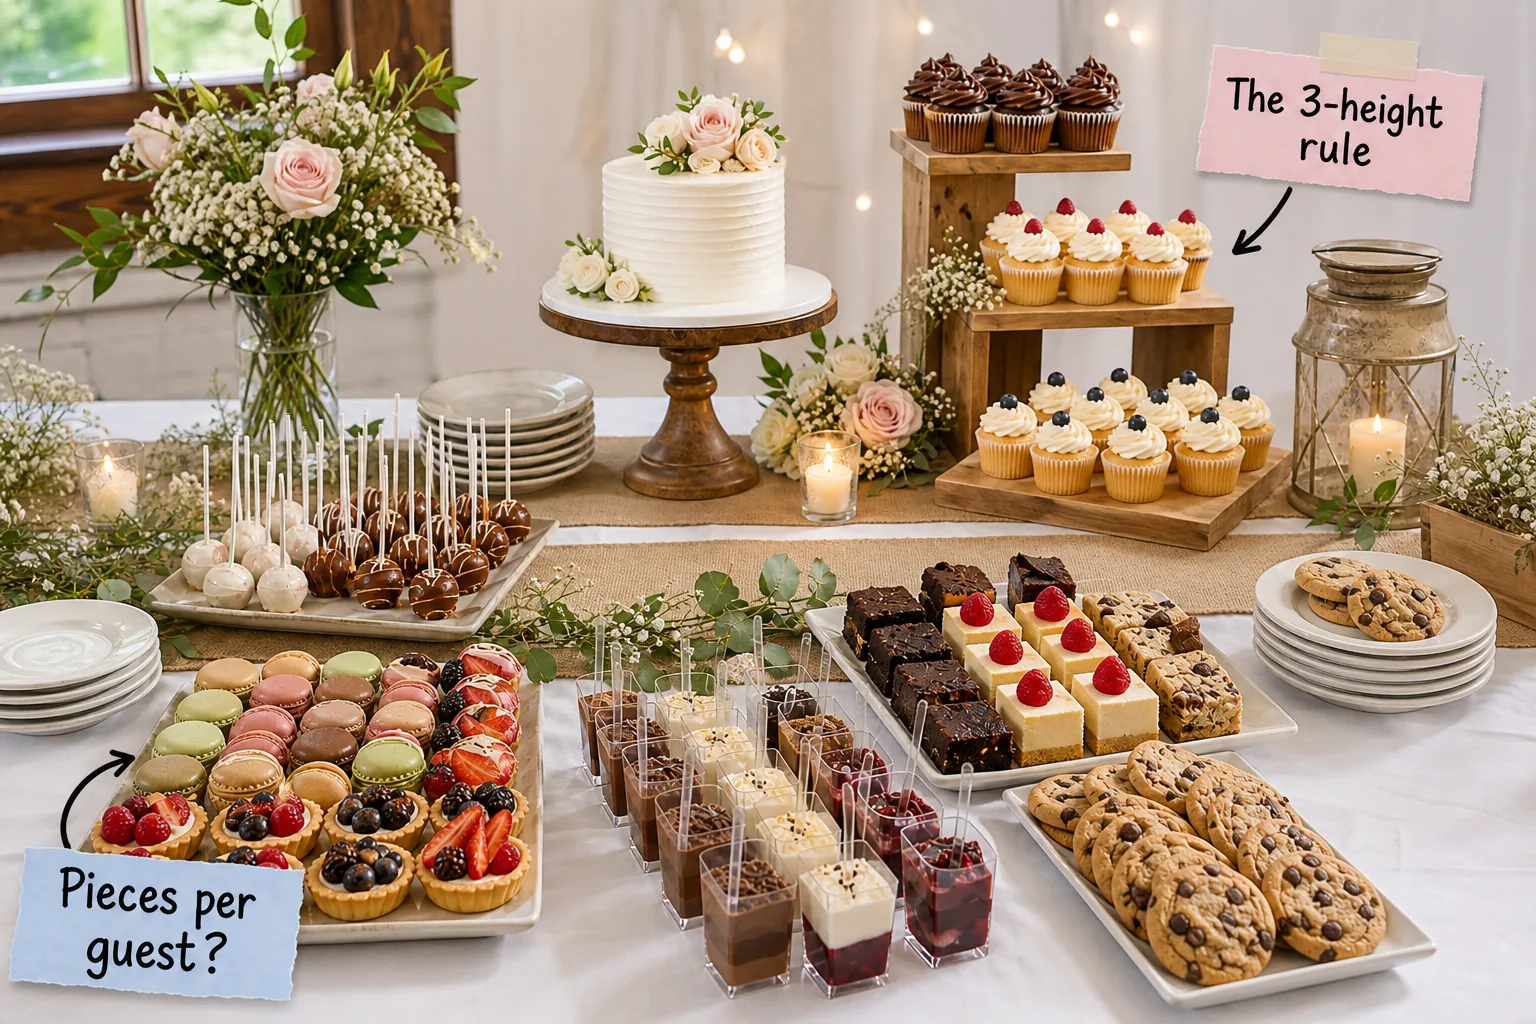
You will be able to calculate exactly how many mini desserts to order and arrange them in a professional, easily accessible display using this complete serving math and layout guide. Master your reception display with our exact formula for spacing trays and building a stunning multi-height table.
Positioning the Anchor Cake
Start your layout by placing the anchor cake—a small 6-inch or 8-inch cutting tier—just off-center to establish the structural foundation for the surrounding platters. This centralized focal point anchors the entire table design while leaving ample physical room for the varied miniature treats.
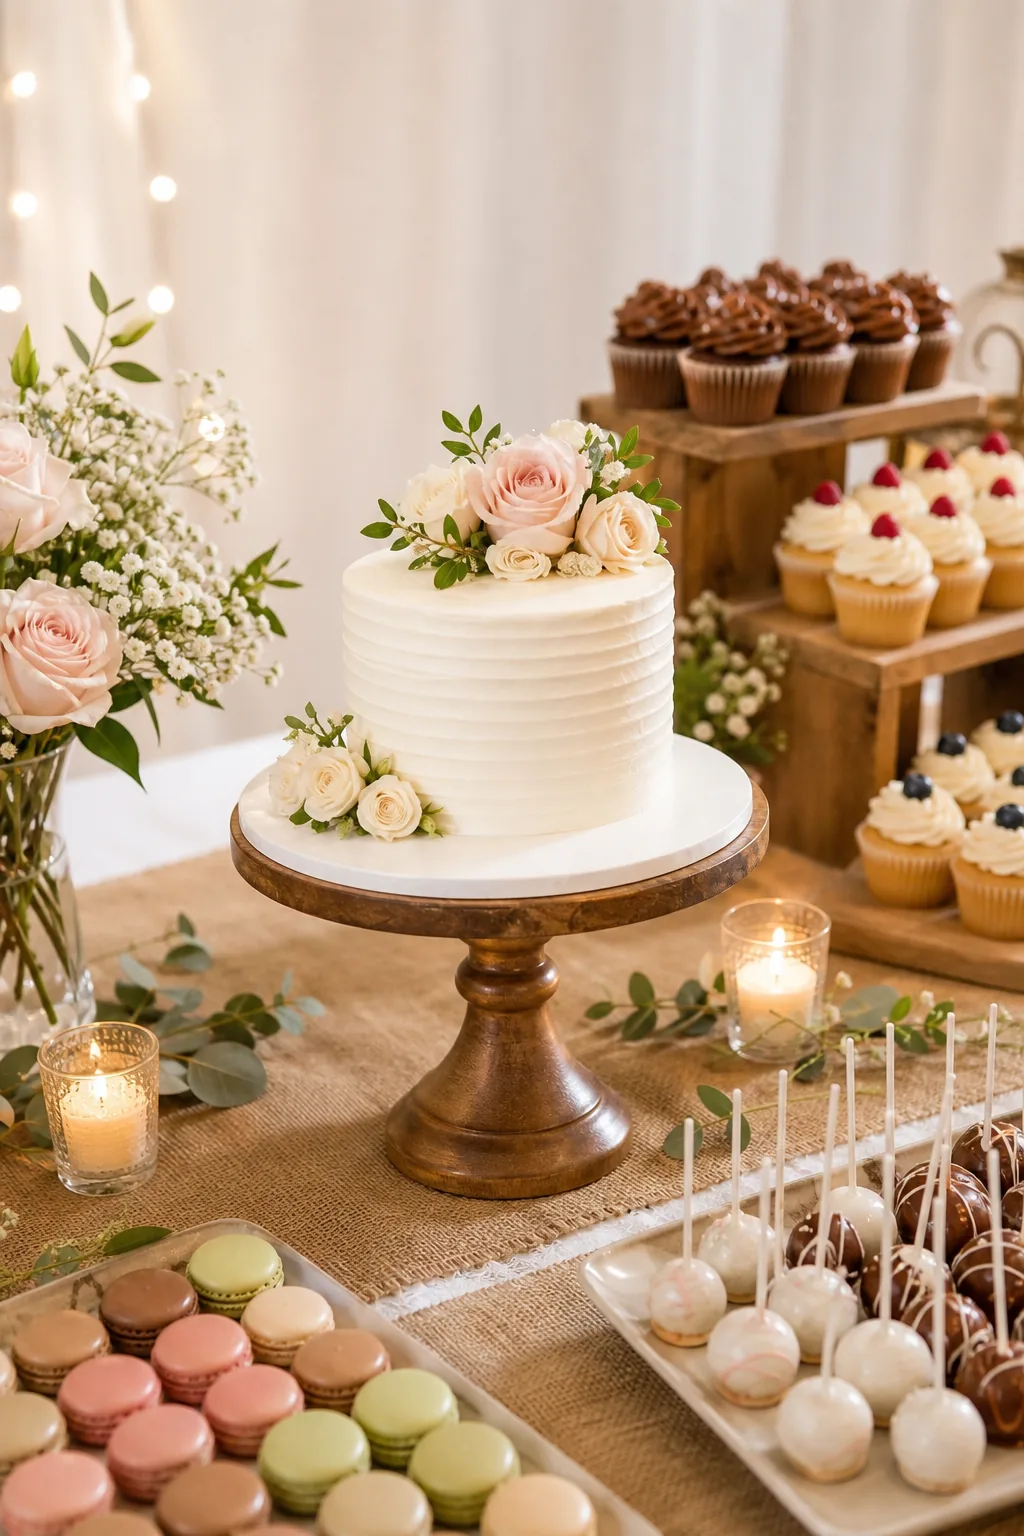
Keeping the anchor cake modest protects your overall catering budget while allowing you to build an expansive, visually impressive spread of smaller treats. This strategy naturally draws the eye outward, highlighting the incredible variety radiating from the center of the display.
Selecting the Right Cake Stand
Elevating your central cutting tier requires a sturdy pedestal that visually separates it from the surrounding flat trays without creating a dangerous tipping hazard. A broad wooden or ceramic base ensures the cake remains completely stable during the ceremonial first slice.
Positioning the stand slightly off-center leaves ample room on the opposite side for taller dessert displays, creating an asymmetrical but perfectly balanced visual weight across the table.
Applying the 3-Height Rule
Structure your serving pieces using the 3-height rule by dividing them into flat base trays, 4-to-6-inch middle pedestals, and 8-to-12-inch back risers. This staggered approach builds necessary visual interest and ensures every item remains visible rather than hiding behind front-row platters.
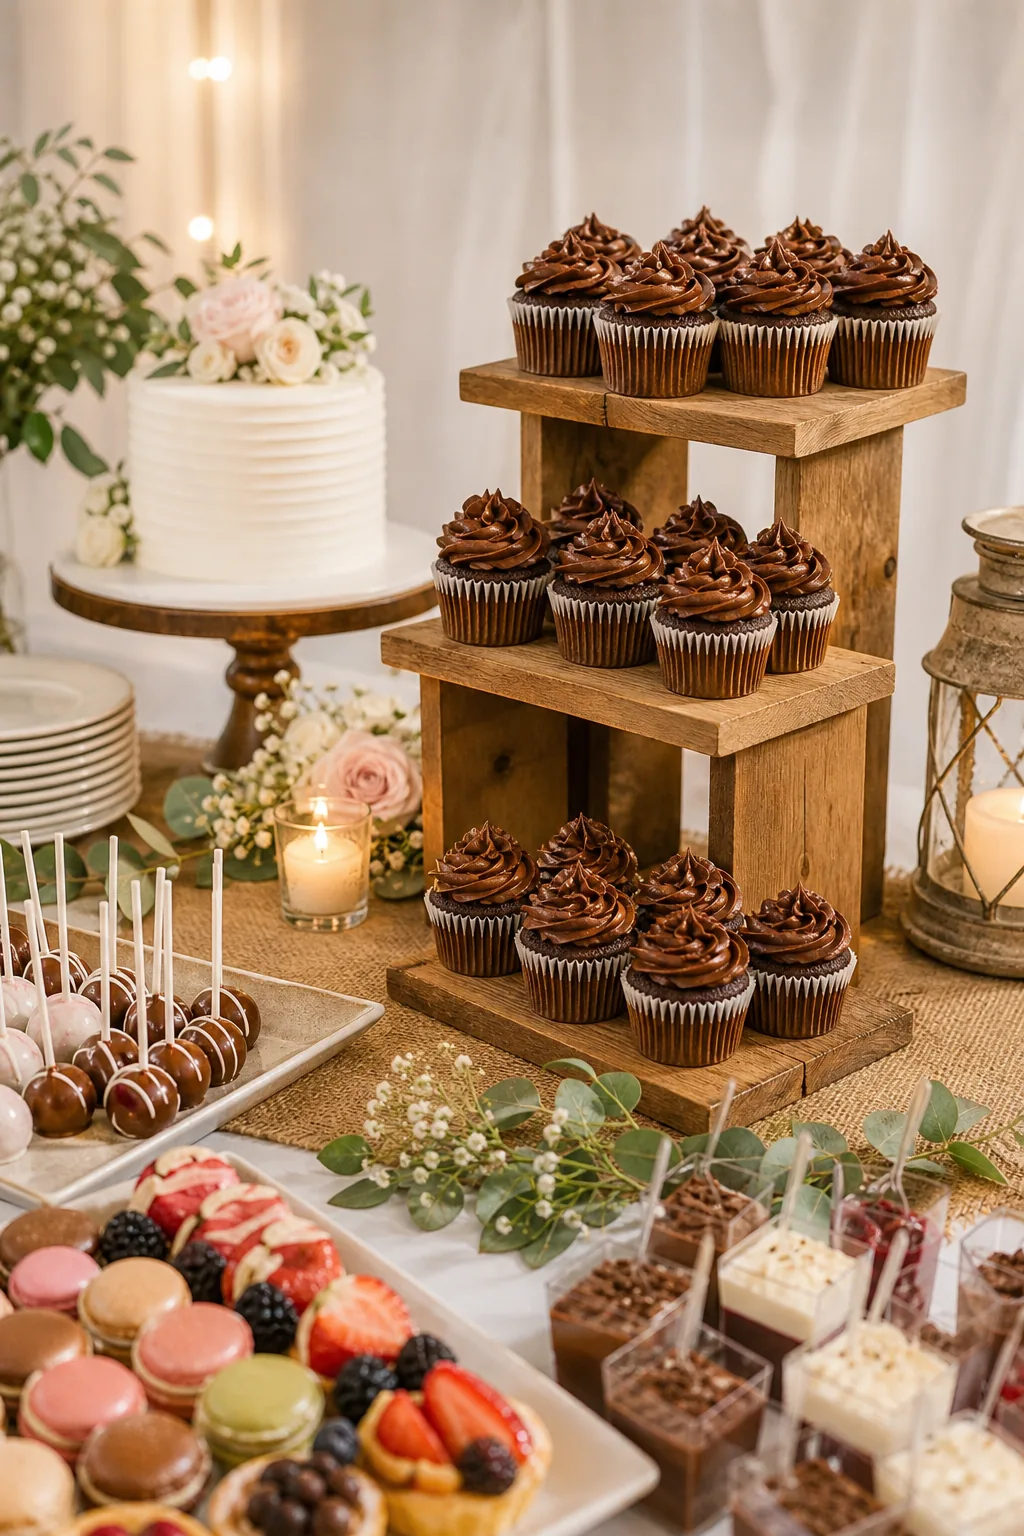
Building vertical layers requires a perfectly level, solid foundation to prevent mid-reception accidents. Ensuring every pedestal sits completely flat against the table runner guarantees safety when eager guests reach across the front rows to grab their favorite elevated cupcakes.
Securing the Tallest Displays
The back row of your dessert table must utilize heavy, wide-based risers to support the tallest serving platters safely. Flimsy wire racks or narrow glass pedestals will inevitably wobble and threaten the entire display when guests lean over the table.
- Select solid wooden crates or thick acrylic blocks for maximum stability.
- Test each riser on the physical table before adding delicate desserts.
- Place the heaviest cakes directly over the strongest structural supports.
Implementing these structural precautions ensures your elaborate vertical arrangements survive the entire reception without any disastrous tipping incidents.
Mapping Grab-and-Go Zones
Reserve the front 12 to 18 inches of the table edge strictly for grab-and-go zones to organize rapid, bottleneck-free access for your guests. Place neat, self-contained treats like dessert shooters, macarons, and cookies here to keep the serving line moving swiftly.
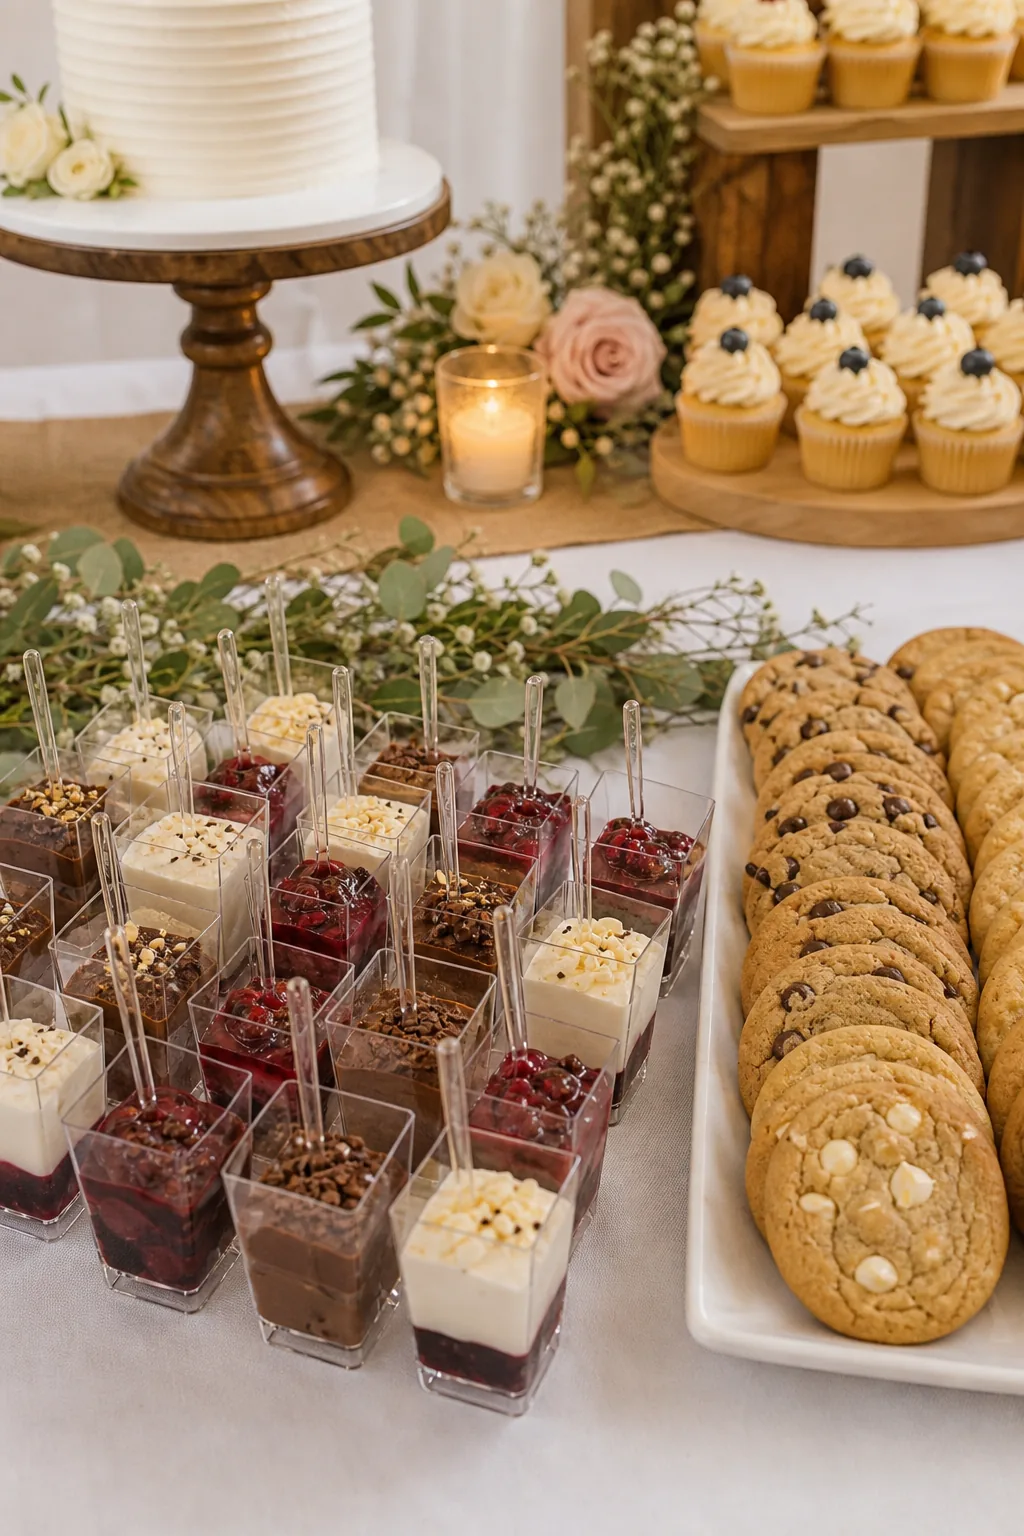
A beautiful layout can quickly become a frustrating traffic nightmare if the table flow isn’t designed for easy, one-handed access. Prioritizing these clean, simple items at the front keeps the line moving smoothly during the busiest moments of the reception.
Managing Table Traffic Flow
Directing guest traffic smoothly requires strategic spacing between your most popular dessert options to prevent crowding in one specific area. Spreading the high-demand chocolate items across opposite ends of the table naturally splits the crowd into two manageable lines.
Keeping the front edge clear of delicate structures guarantees that guests can comfortably reach the middle and back rows without knocking over your carefully arranged displays.
Creating Visual Flow with Trays
Connect your vertical anchor points using a strategic mix of rectangular and round platters across a textured runner to guide the eye smoothly. Allowing the edge of a flat tray to slightly cross over the base of a tall pedestal creates a naturally abundant, layered aesthetic.
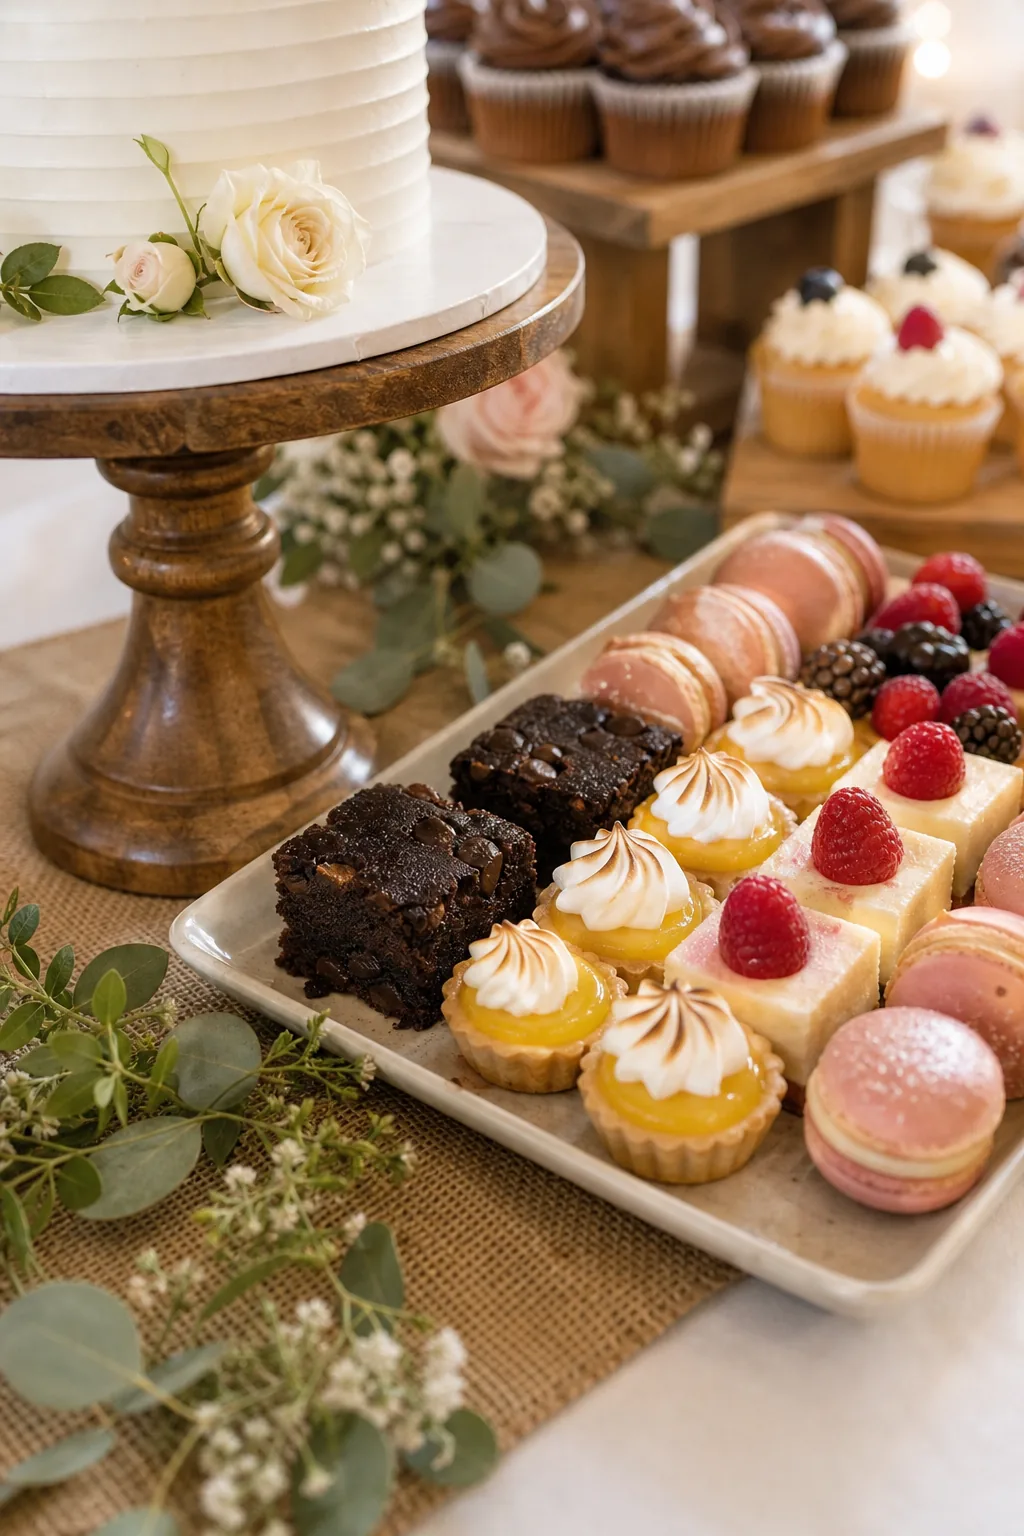
Varying the platter shapes intentionally breaks up the harsh geometry of the straight table edge. This simple styling technique turns a basic, rigid catering setup into a cohesive, professionally styled display that feels organic and inviting to your guests.
Softening the Table Edges
Draping a high-quality fabric runner or arranging loose, fresh greenery along the base of your serving platters effectively hides the functional, rigid hardware of your risers. This simple styling technique grounds the entire display visually and seamlessly blends the rented servingware with your overall wedding aesthetic.
Curating the 4-Flavor Mix
Ensure every guest finds something they love by selecting a diverse menu that strictly follows the 4-flavor mix framework. Include one rich chocolate option, one bright fruit or citrus dessert, one classic vanilla treat, and one wildcard like a spiced confection.
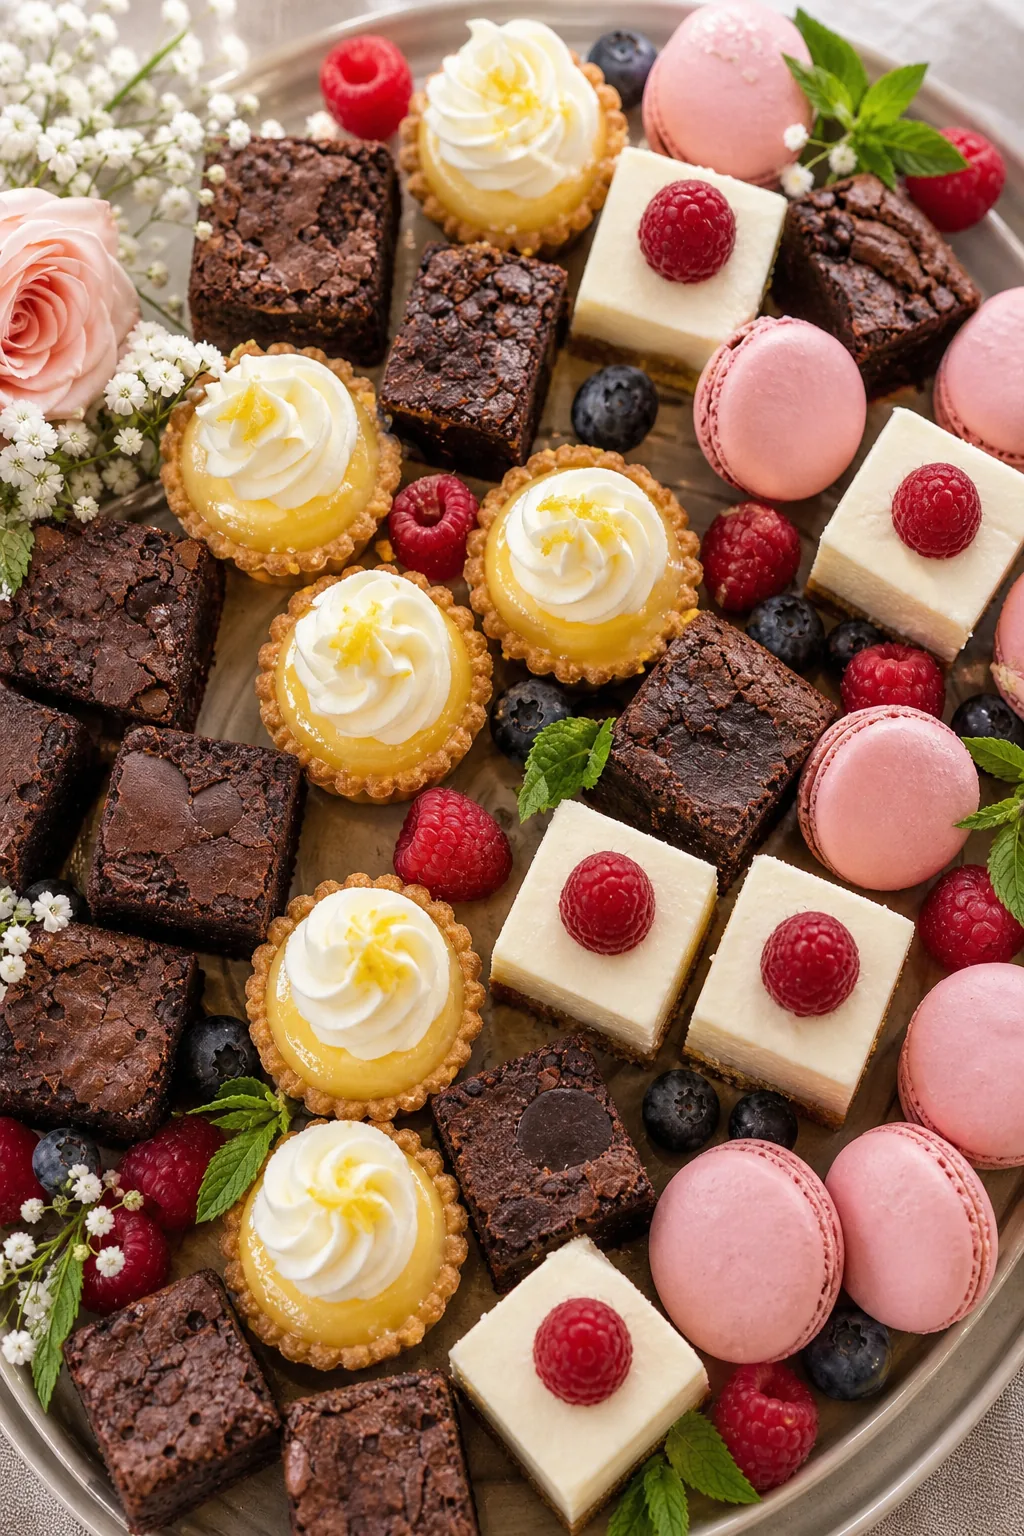
Offering a calculated spectrum of tastes ensures that guests with different preferences all have at least one or two distinct choices to enjoy, keeping them coming back for multiple rounds.
Accommodating Dietary Restrictions
Designating a specific, clearly labeled section of the table for gluten-free or vegan options ensures guests with dietary restrictions can safely enjoy the dessert course without guessing. Using distinct, uniquely colored platters for these specialty items prevents accidental cross-contamination and makes them instantly identifiable.
Sizing the Mini Desserts
Keep all secondary treats to a strict one-to-two bite scale to maintain an elegant appearance and keep the table looking much cleaner throughout the night. Miniature tarts, cake pops, and dessert shooters prevent the messy aftermath of half-eaten, full-sized portions.
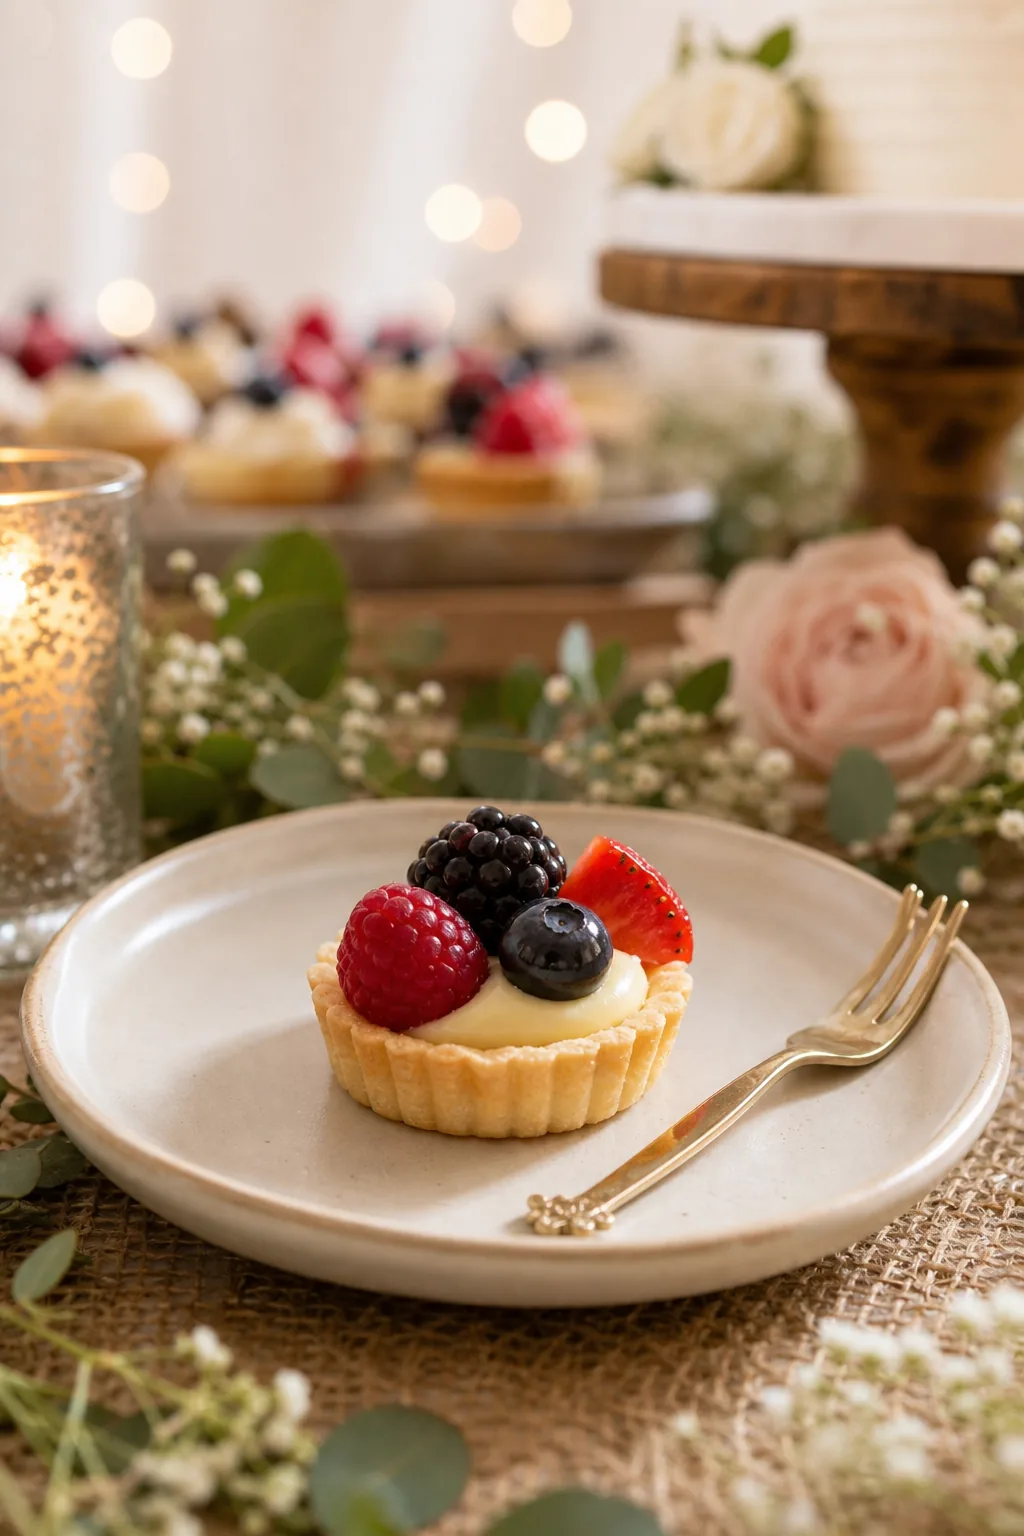
Serving oversized pastries on a crowded table forces guests to awkwardly juggle heavy plates and forks while holding their drinks. Bite-sized treats eliminate this friction entirely, requiring nothing more than a simple cocktail napkin to enjoy comfortably while mingling.
Choosing the Right Servingware
Selecting platters with a slight lip or raised edge prevents round items like cake pops and delicate macarons from rolling off the table when bumped by eager attendees. Matching the material and metallic finish of these trays to your overall wedding theme unifies the dessert display.
Calculating Pieces Per Guest
Wondering exactly how many pieces per guest? The baseline catering formula dictates 3 to 4 mini pieces per person if the dessert table serves as the sole sweet option for the evening.
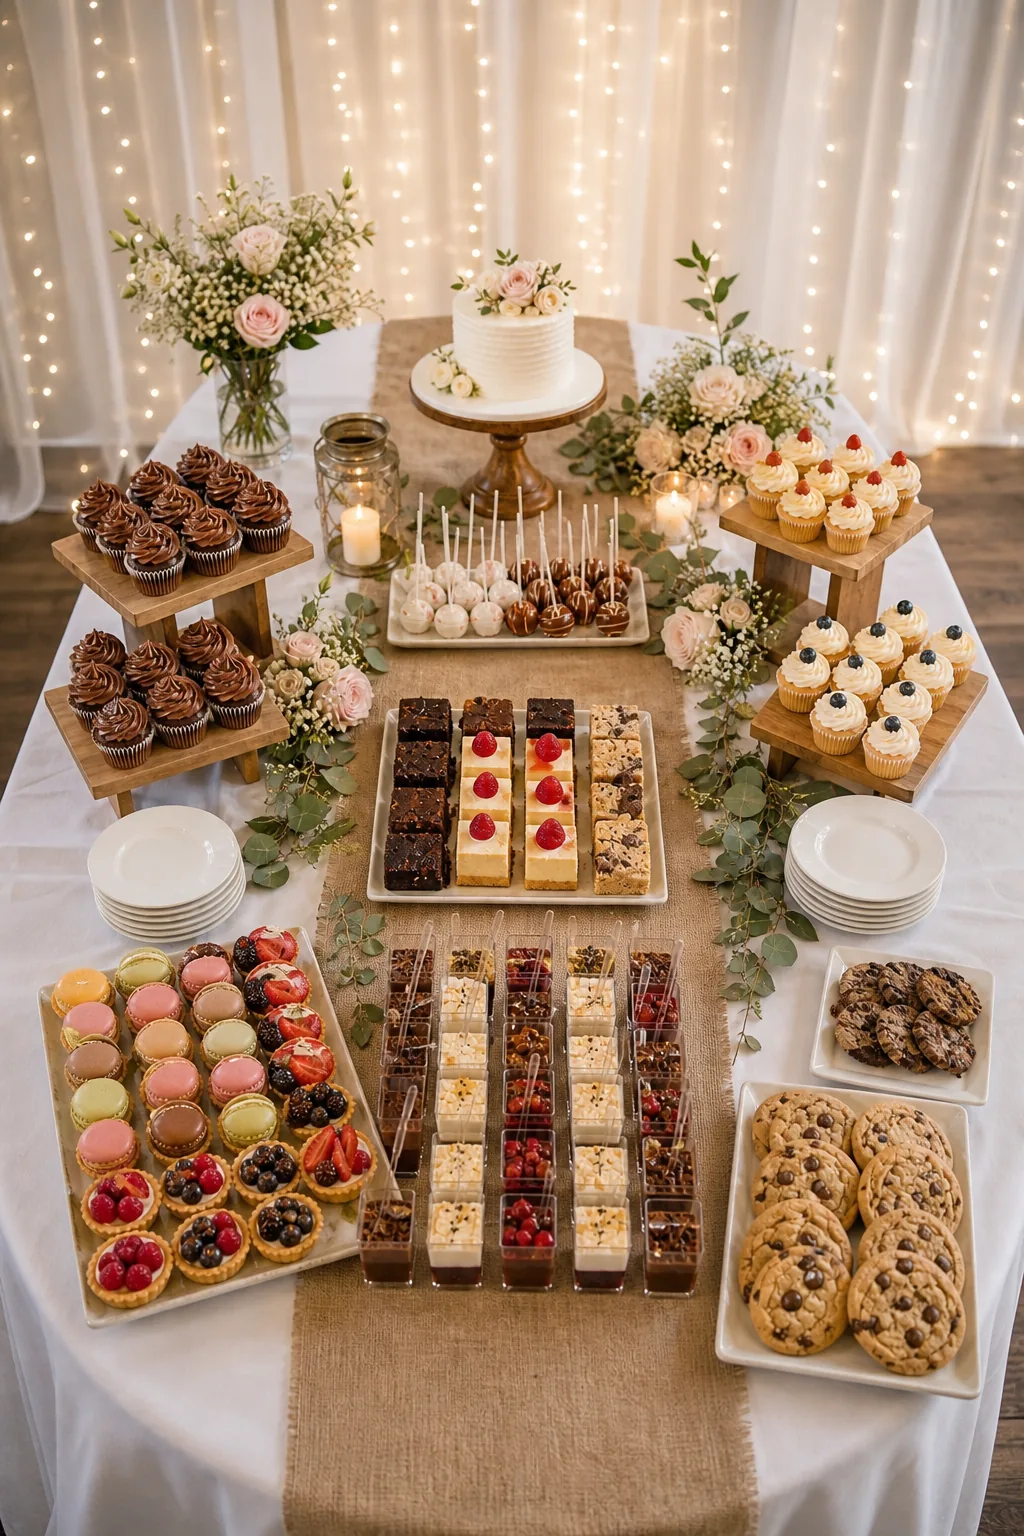
Adding a strict ten percent buffer to this final calculation ensures you never run out of sweets early in the night. This extra volume easily absorbs the impact of dropped pastries or highly popular flavors that disappear faster than anticipated.
Sizing the Physical Table Space
Matching your dessert volume to the correct table size prevents the display from looking sparse or dangerously overcrowded. A standard 6-foot table comfortably holds 250 to 300 mini desserts distributed evenly across 10 to 12 varied platters.
| Total Guest Count | Total Mini Pieces | Required Platters | Recommended Table Length |
|---|---|---|---|
| 50 guests | 175 pieces | 6 to 8 platters | One 4-foot table |
| 100 guests | 350 pieces | 10 to 12 platters | One 6-foot table |
| 150 guests | 525 pieces | 14 to 16 platters | One 8-foot table |
| 200 guests | 700 pieces | 18 to 22 platters | Two 6-foot tables |
| 250 guests | 875 pieces | 22 to 26 platters | Two 8-foot tables |
| 300 guests | 1,050 pieces | 26 to 30 platters | Three 6-foot tables |
If you are also serving slices from a main wedding cake to every attendee, reduce your secondary dessert count to 2 to 3 mini pieces per guest before consulting this sizing chart.
The Master Serving Math and Layout Guide
Translate your finalized math into a symmetrical physical layout to guarantee your rented servingware matches your bakery order perfectly. Mirroring the platter arrangement on the left and right halves of the display naturally splits the crowd, dramatically doubling the overall serving speed.
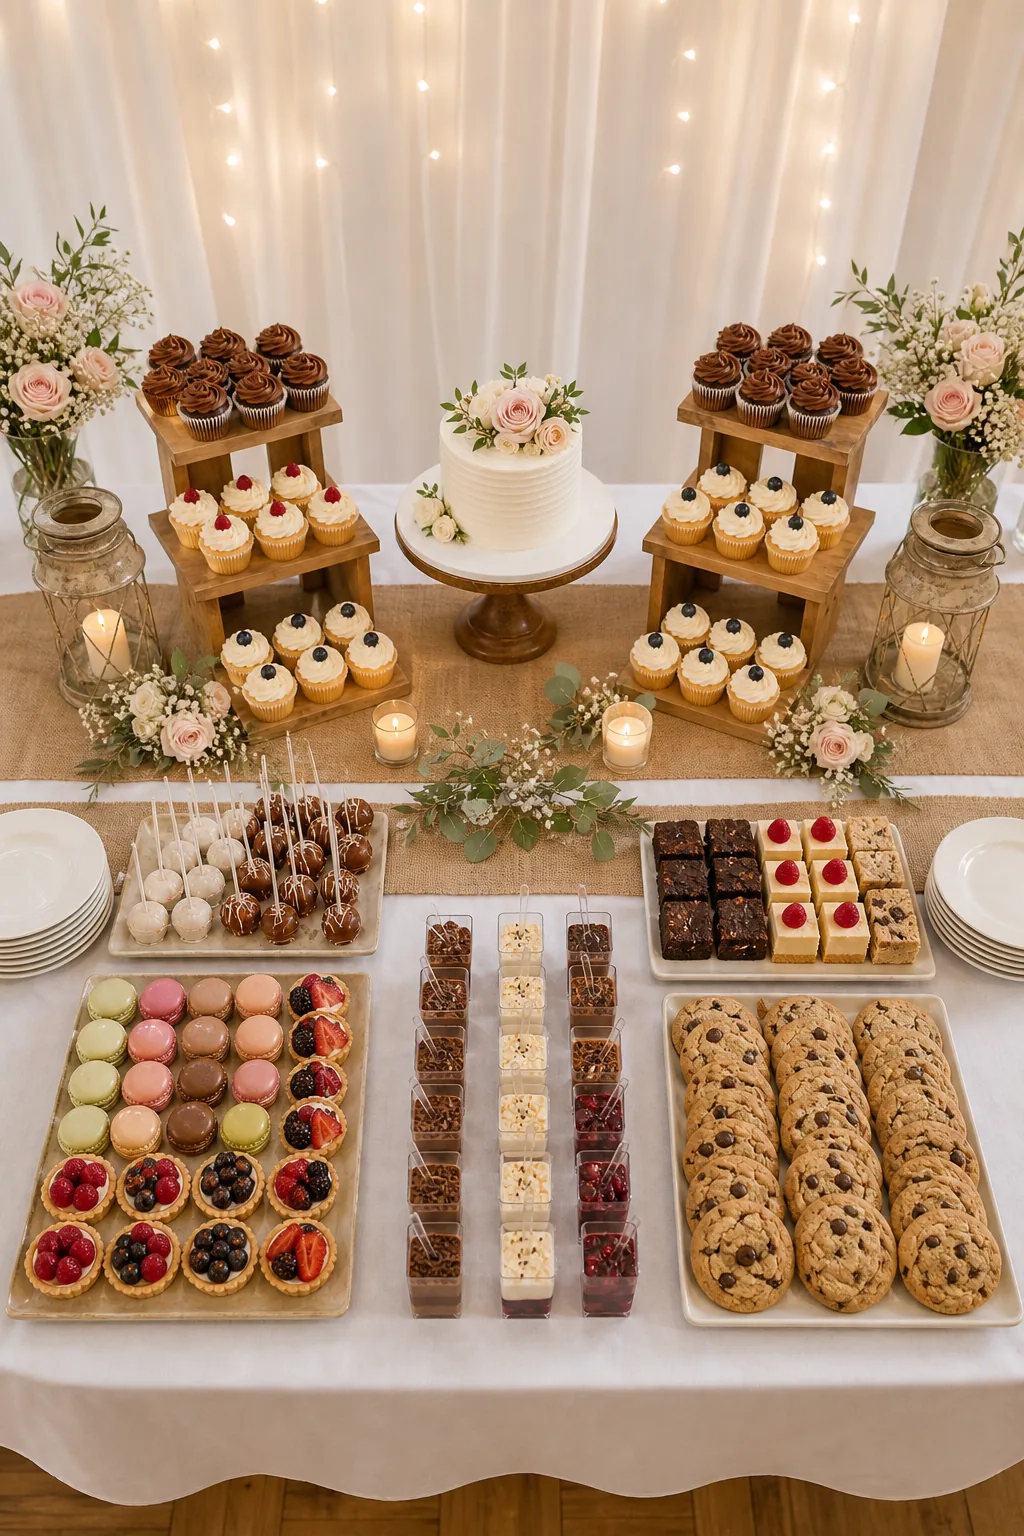
Before renting expensive servingware or finalizing your ultimate bakery order, run your numbers through this final operational check. Verifying these exact calculations ensures your physical layout remains completely functional and perfectly scaled to your specific attendee count.