
Therapy Office Decor: The Trauma-Informed Design Checklist
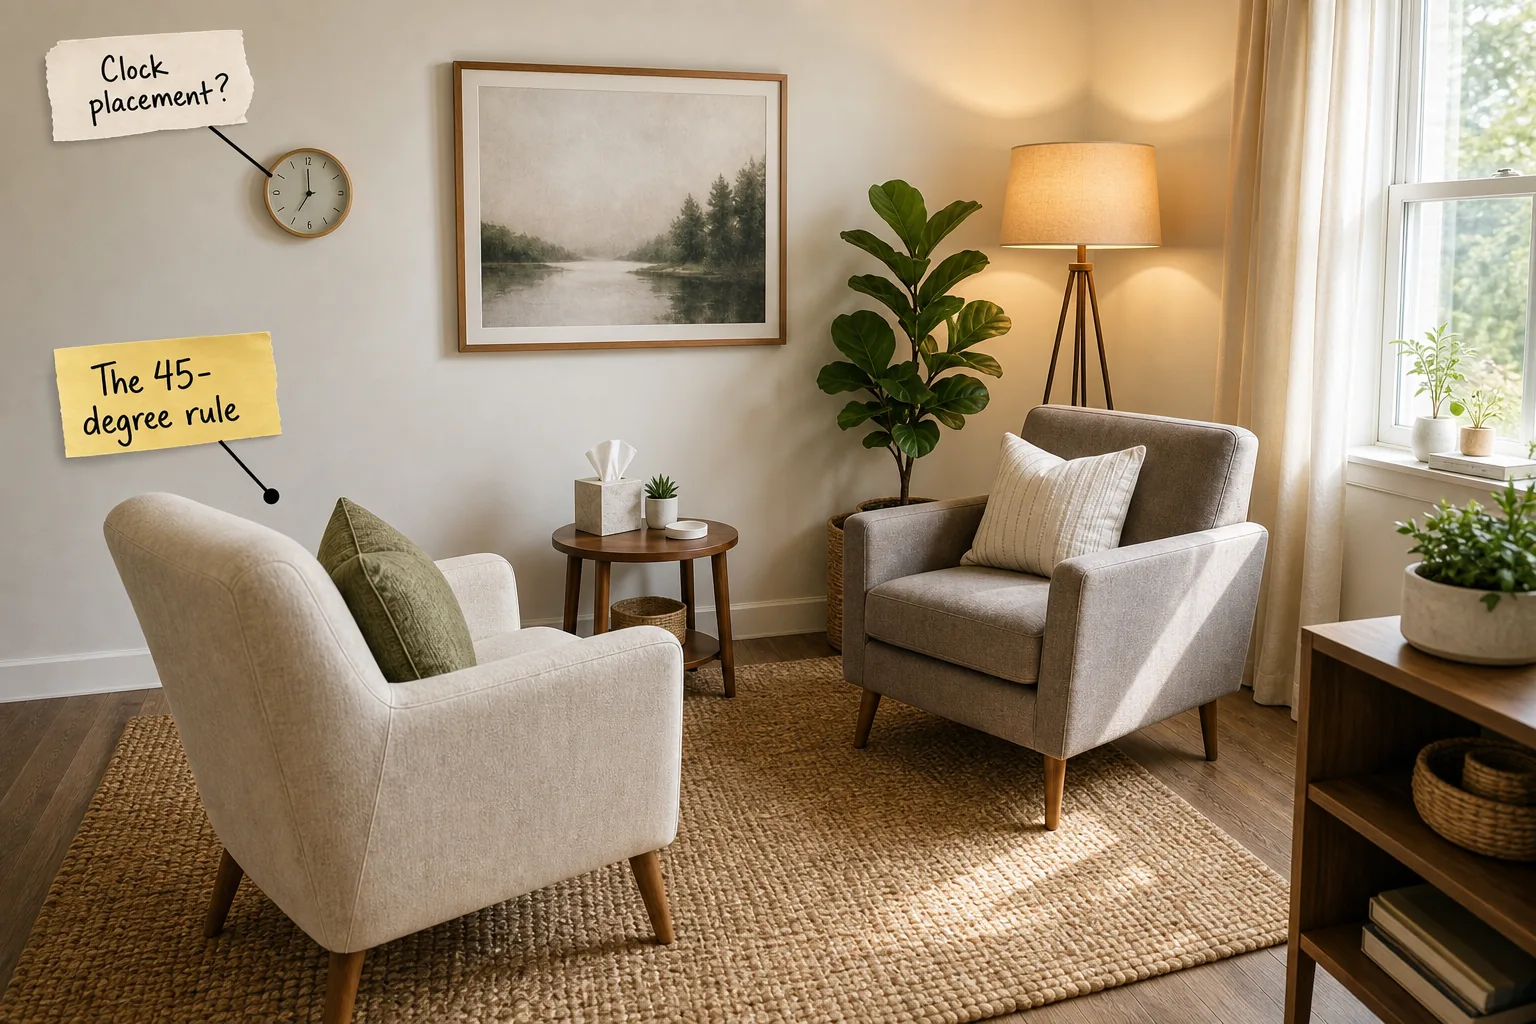
You can arrange your therapy room layout to maximize client comfort and psychological safety using this concrete trauma-informed design checklist. We will build the room step by step, following the client’s physical experience from entering the office door to settling deeply into the secure space.
Prioritizing a Clear Exit Path
A trauma-informed spatial layout always begins at the door by establishing a minimum 36-inch wide unobstructed walking path from the client’s designated chair directly to the exit. This clear physical route prevents subconscious feelings of entrapment before the session even officially begins.
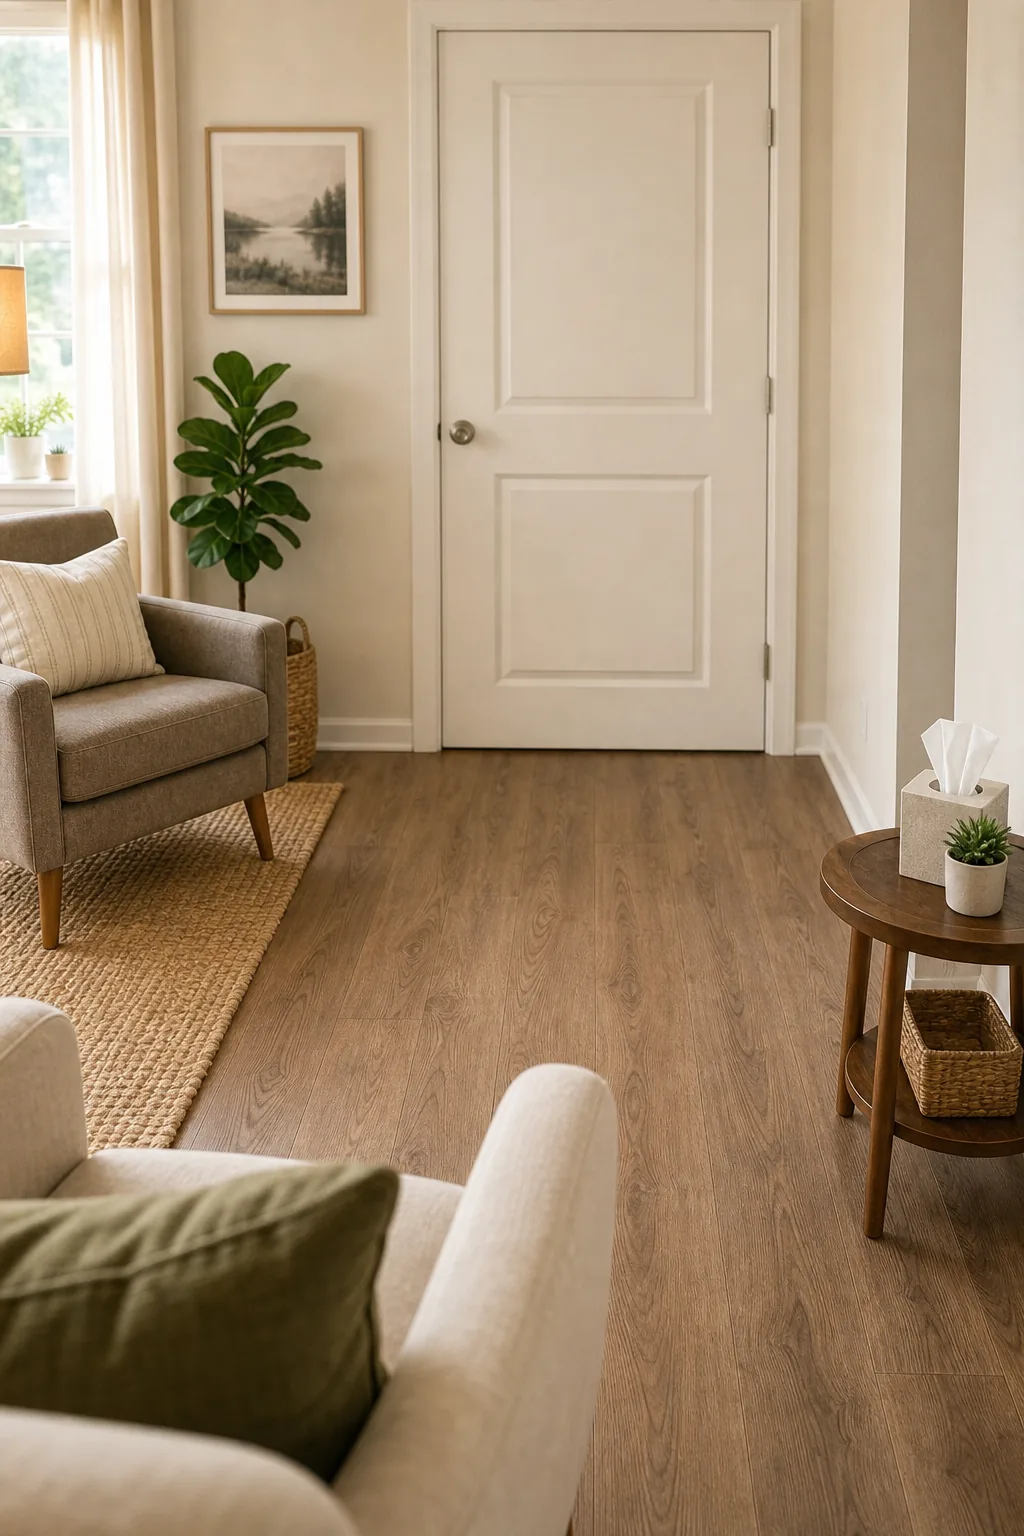
Removing bulky coffee tables, stray floor lamps, and decorative baskets from this primary travel zone ensures clients never feel physically blocked when entering or leaving. You must strictly maintain this generous clearance across the entire floor plan to support immediate psychological safety and physical autonomy.
Evaluating the Central Floor Clearance
Beyond the primary exit route, the center of the room must remain open to allow unrestricted pacing during moments of high emotional activation. You should measure the negative space between your major furniture pieces to guarantee at least a four-foot turning radius.
| Clearance Zone | Minimum Width | Psychological Purpose |
|---|---|---|
| Main exit path | 36 inches | Prevents physical entrapment |
| Central floor area | 48 inches | Allows safe physical pacing |
| Doorway swing radius | 32 inches | Ensures smooth, unhindered entry |
Maintaining these exact spatial measurements prevents the therapeutic environment from feeling cluttered or visually overwhelming to a hyper-vigilant nervous system. A spacious, easily navigable room quietly communicates that the client has complete control over their physical movements throughout the entire scheduled session.
Anchoring with Grounding Textures
Once the exit path is completely clear, you must anchor the primary seating zone with tactile elements that actively support emotional regulation. Placing a thick, natural-fiber area rug directly beneath the client’s feet provides essential somatic feedback during difficult grounding exercises.
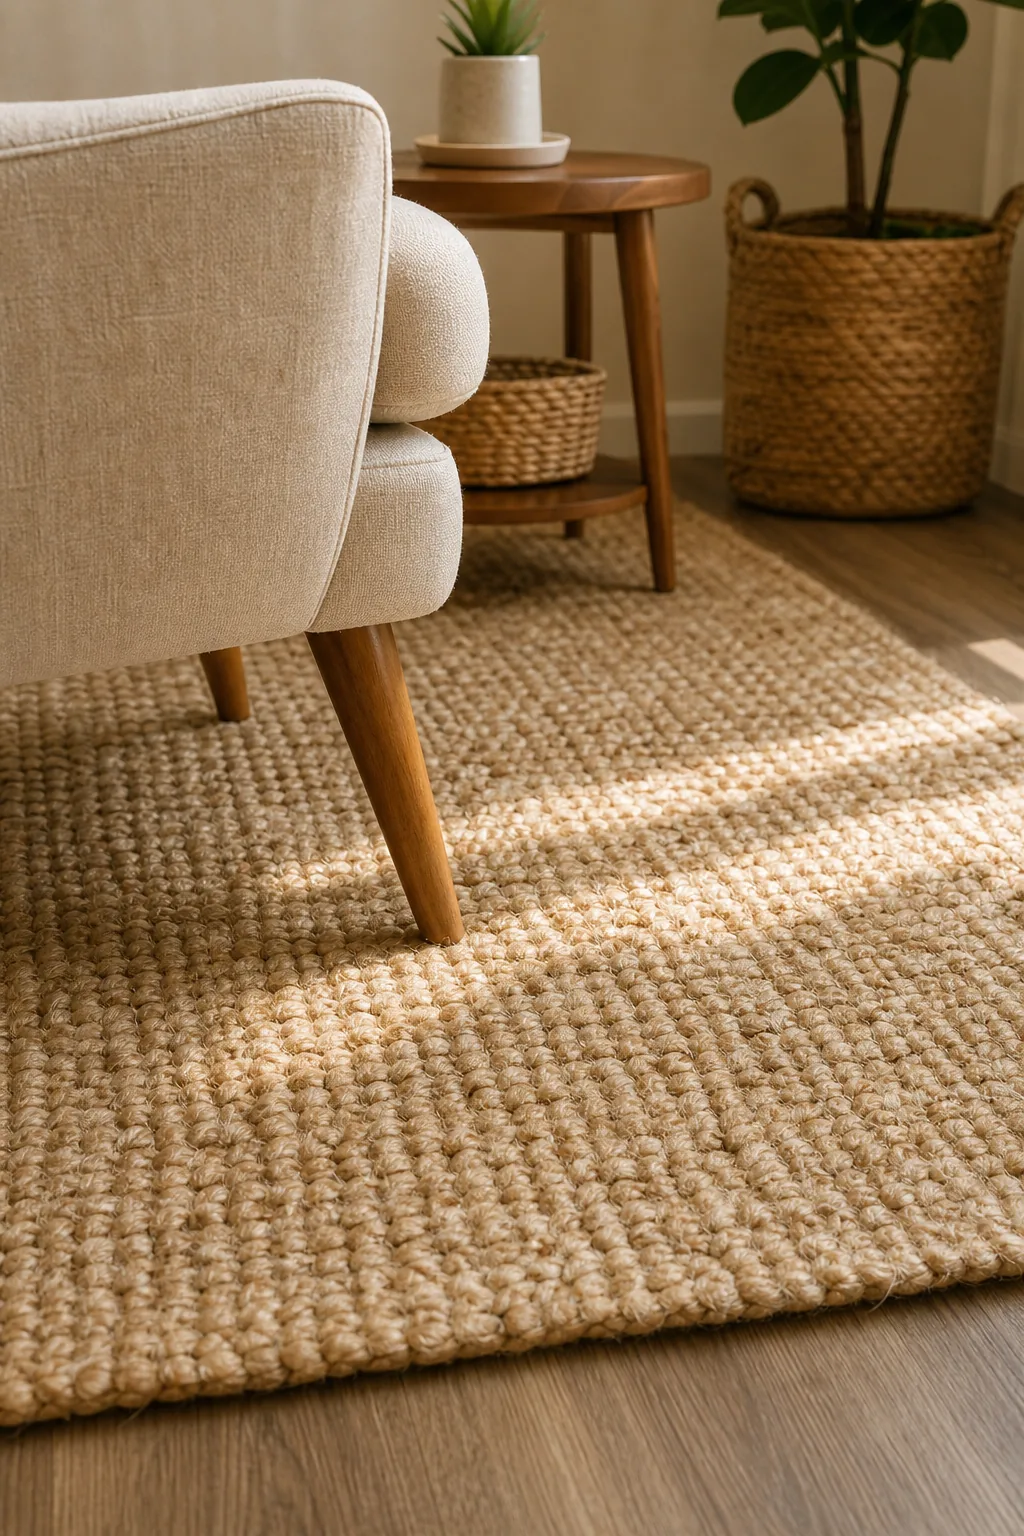
Heavy textiles like wool or thick cotton blends offer a reassuring physical boundary that helps hyper-aroused clients orient themselves in the present moment. The texture must extend entirely under the chair so their feet rest completely on the stabilizing fabric surface.
This hidden layer of cushioning absorbs sudden movements and dampens ambient footfalls, further insulating the therapeutic environment from distracting outside noises. The combined weight of the rug and pad creates a secure, immovable foundation that subconsciously reinforces a feeling of absolute stability.
Selecting the Proper Chair Dimensions
The chairs themselves must complement this grounded foundation by providing adequate physical support without ever feeling restrictive. You should select sturdy armchairs with a firm seat height of roughly 18 to 20 inches to ensure the client’s feet can rest flat against the textured rug.
Applying the 45-Degree Seating Rule
With the grounding rug and supportive chairs in place, you can arrange the furniture using the 45-degree seating rule to lower confrontation anxiety. Angling the therapist and client chairs at exactly 45 degrees toward a shared center point allows the client to naturally look away.
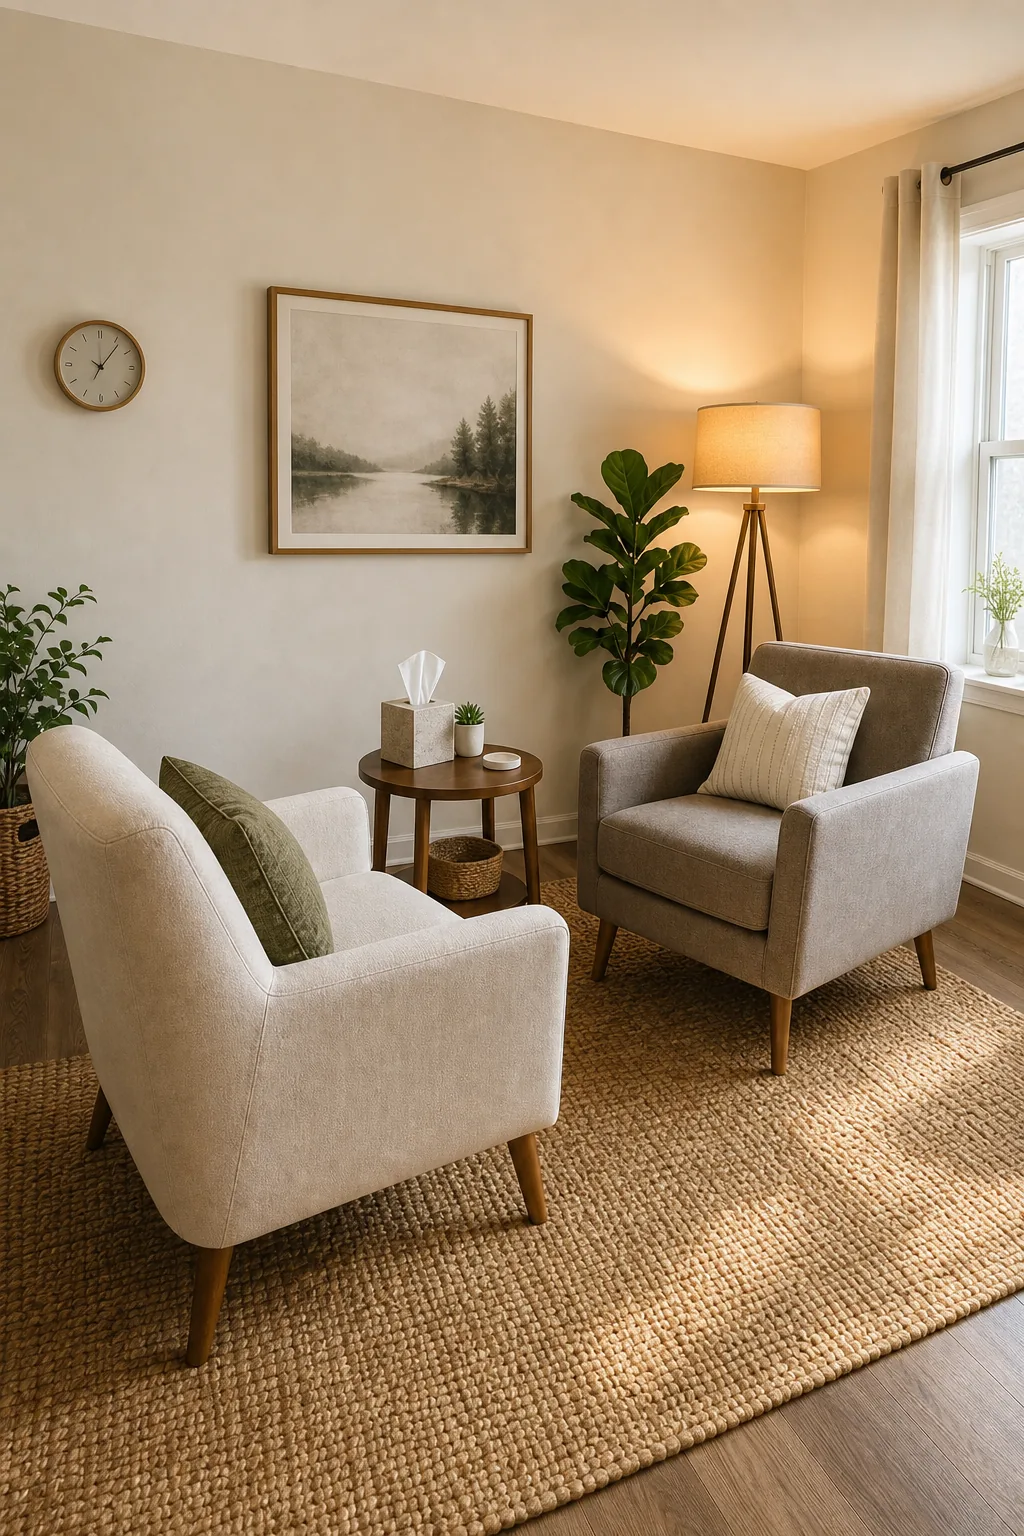
Even with the right furniture, improper placement can trigger subconscious defensiveness during highly vulnerable moments. Avoid these common spatial errors when setting up your primary seating arrangement to maintain a continuously secure and deeply supportive environment for complex trauma processing.
Correcting these seating mistakes ensures the client never feels trapped under a direct gaze or exposed to an unseen entrance behind them. The angled configuration inherently suggests a collaborative partnership rather than an adversarial dynamic, encouraging much more open and relaxed verbal communication.
Aligning the Shared Center Point
To anchor this angled arrangement, you should place a small, sturdy side table exactly at the converging center point between the two chairs. This shared surface provides a neutral focal point where clients can rest a beverage or access tissues without reaching into your personal space.
Managing the Distance Between Chairs
The angled geometry only works when you also carefully manage the physical spacing required between the two armchairs. You must maintain roughly four to five feet of distance from the front edge of the client’s seat directly to the front edge of your own.
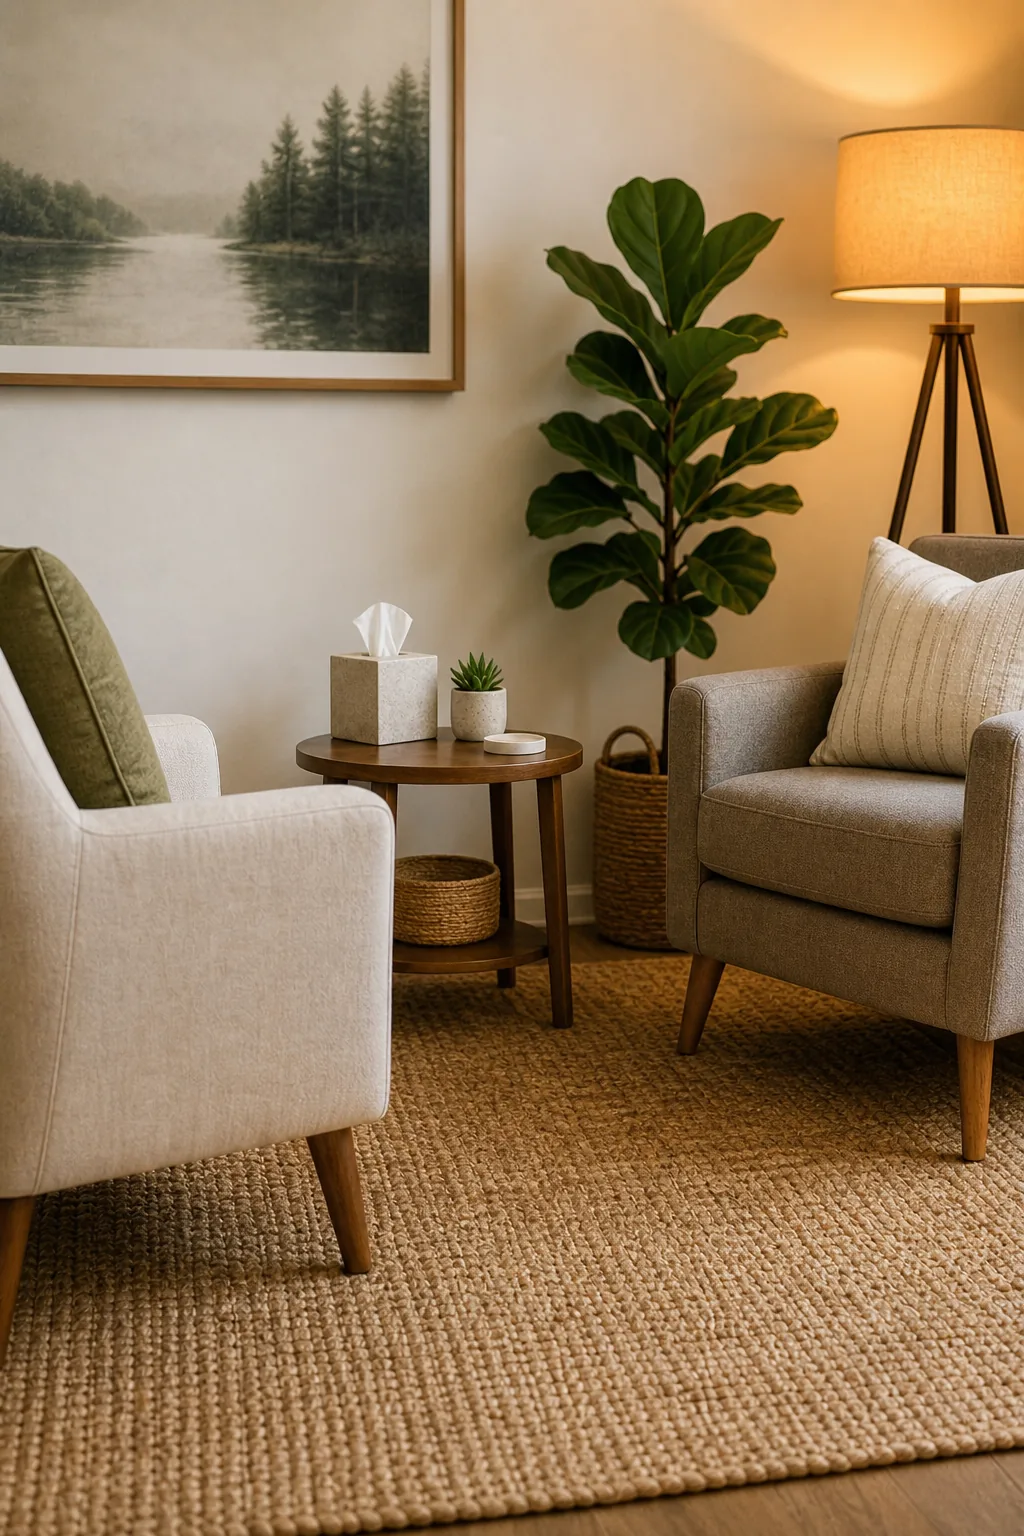
This specific measurement strikes the perfect balance between conversational intimacy and respecting essential personal boundaries. Pushing the chairs any closer can feel highly invasive, while pulling them further apart creates a clinical, disconnected atmosphere that severely hinders emotional attunement.
- Measure exactly 48 inches from the front wooden legs of the client’s chair.
- Position the front legs of your own armchair directly at this precise mark.
- Adjust slightly outward if the client’s specific trauma history requires a wider physical boundary.
Locking in this precise distance allows you to lean forward to show empathy without accidentally crossing into the client’s physical safety zone. It establishes a reliable spatial container that remains consistently predictable week after week, building long-term subconscious trust and deep psychological safety.
Layering Indirect Lighting
After finalizing the seating footprint, you must shift your focus to the sensory impact of your room’s illumination. Replacing harsh overhead fixtures with soft, diffused sources immediately reduces sensory strain and creates a highly calming, residential feel that promotes deep emotional relaxation.
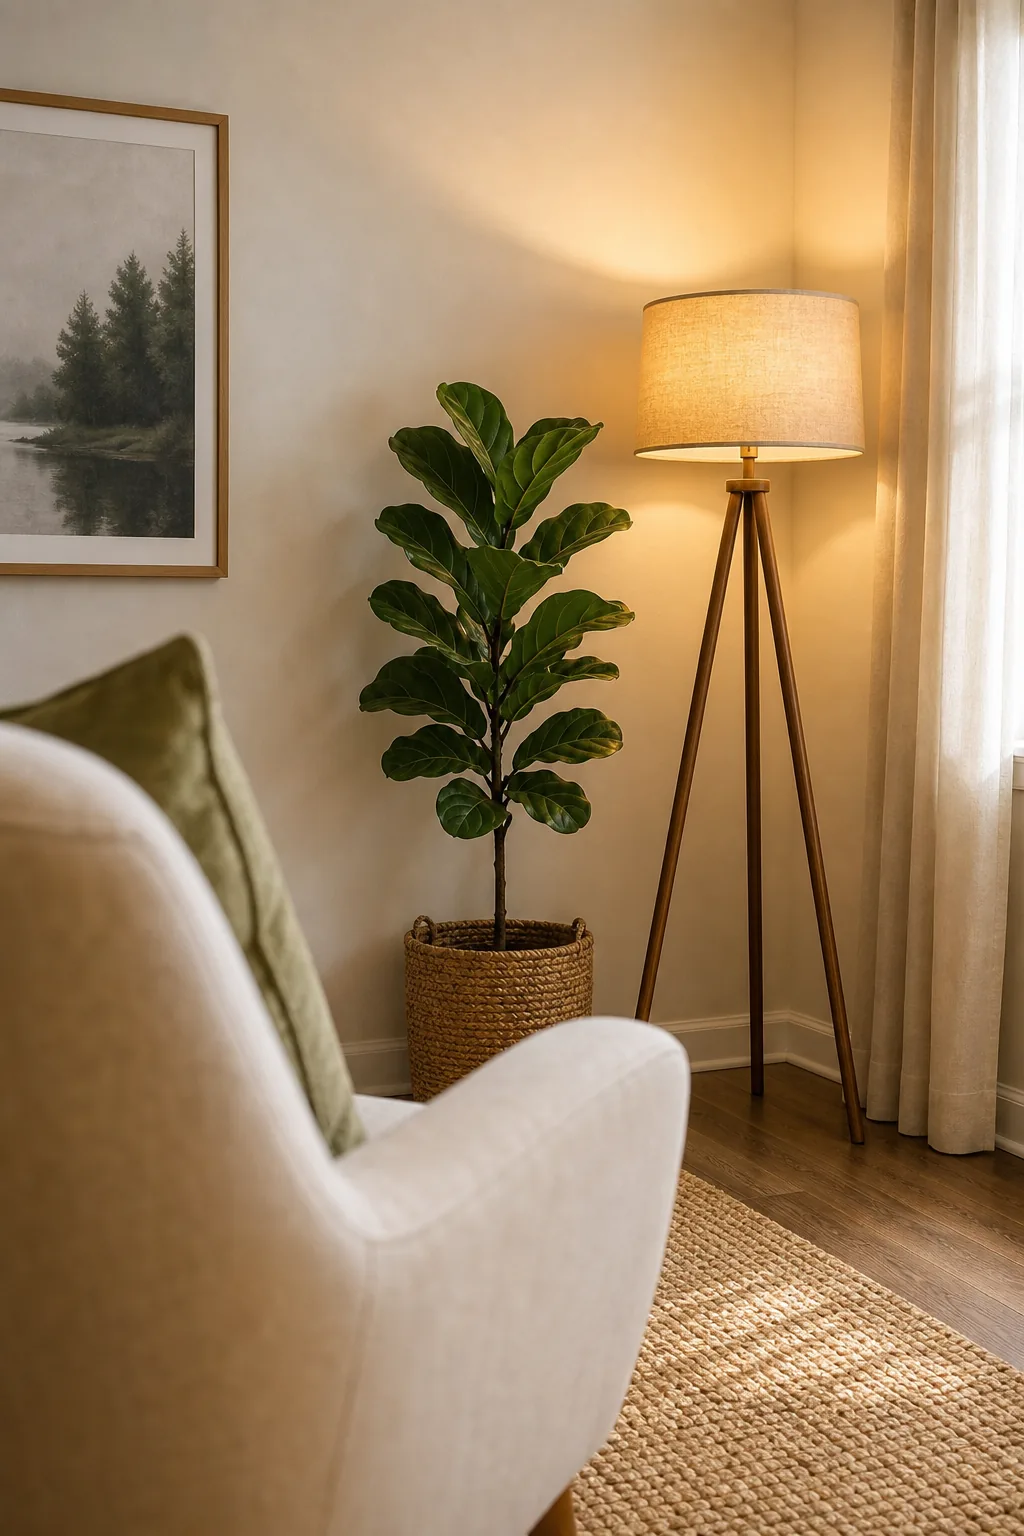
You should install warm-toned LED bulbs emitting exactly 2700 Kelvin in heavily shaded floor and table lamps. This specific color temperature mimics late afternoon sunlight, signaling the nervous system to relax without causing the harsh glare typically associated with standard commercial office lighting.
Controlling Glare and Shadows
Distributing these soft light sources evenly around the perimeter of the room eliminates stark shadows and creates an enveloping, protective atmosphere. The gentle illumination helps regulate the client’s circadian rhythms while keeping the space bright enough for you to accurately read subtle facial expressions.
Solving the Clock Placement Question
With the ambient lighting perfectly set, you must address the practical challenge of time management without disrupting the therapeutic bond. Mounting a completely silent wall clock directly behind the client’s chair is the most effective and respectful spatial solution for maintaining session flow.
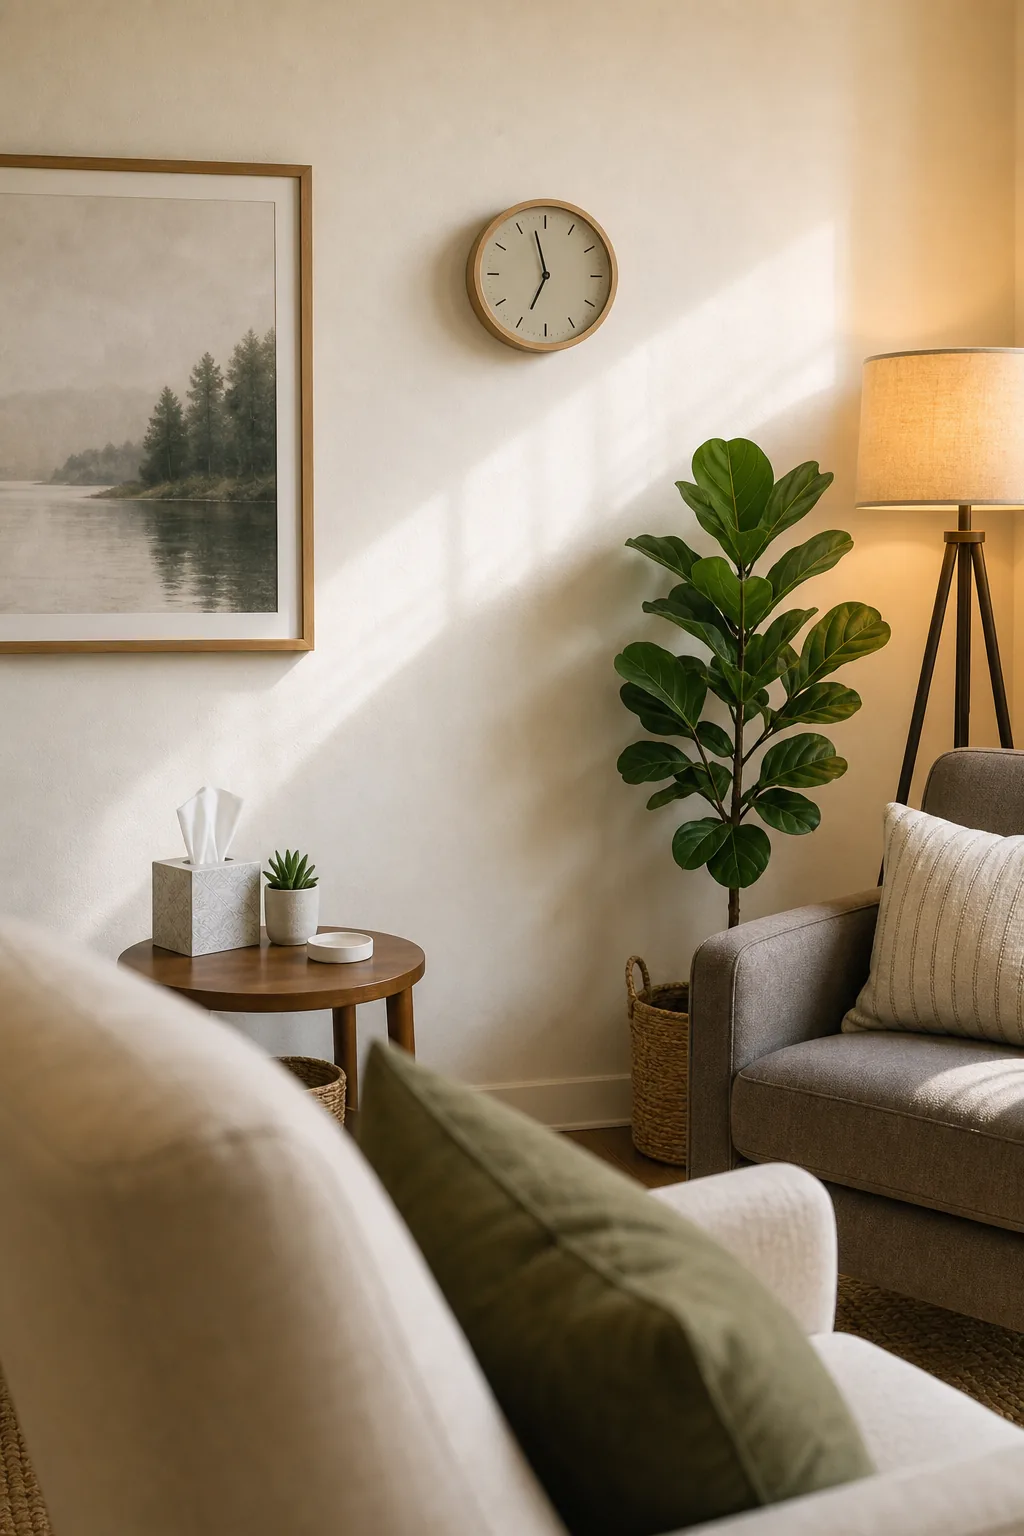
This strategic positioning allows the therapist to check the remaining session time with a slight shift of focus rather than an obvious, distracting head movement. The client never feels rushed, and the practitioner easily maintains steady, supportive eye contact during critical disclosures.
Minimizing Visual Clutter on Walls
Aside from the strategically placed clock, the walls immediately behind the therapist should remain largely free of complex patterns or overwhelming framed credentials. A clean, uncluttered visual field prevents cognitive overload and allows the client’s eyes to rest safely during moments of intense processing.
Integrating Calming Natural Elements
While minimizing clutter is essential, you should deliberately introduce biophilic design elements to actively aid in emotional regulation. Incorporating low-maintenance greenery and muted, nature-based artwork actively lowers resting heart rates and grounds the nervous system before a session begins.
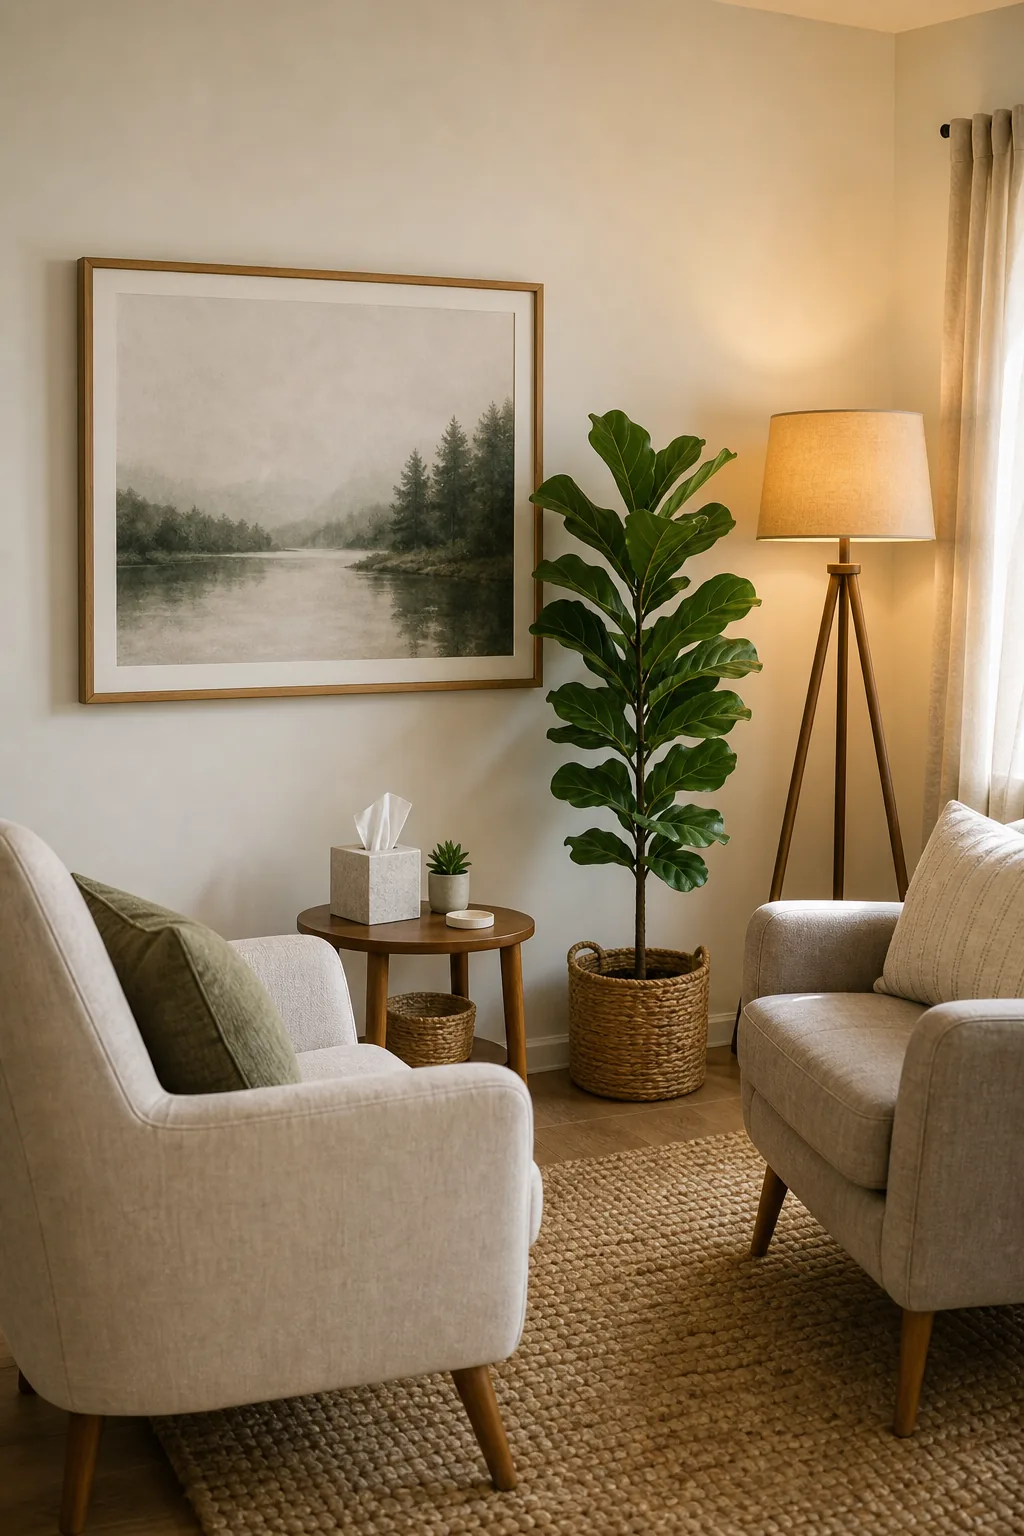
Broad-leafed plants like rubber trees or golden pothos introduce organic, sweeping shapes that beautifully counteract the rigid geometry of the room’s architecture. Position these natural elements within the client’s peripheral vision to provide a subconscious reminder of life, resilience, and continuous personal growth.
Balancing Acoustic Privacy Measures
To ensure these calming visual elements are not undermined by outside distractions, you must implement robust acoustic privacy measures. Placing a mechanical white noise machine directly outside the solid core door guarantees that deeply personal conversations remain entirely confidential and structurally secure.
The Trauma-Informed Design Checklist
Every individual design choice—from the 36-inch exit path to the 2700K lighting—must harmonize to create a singular environment of profound psychological safety. You can systematically evaluate your current office layout against these core spatial rules to ensure maximum client comfort.
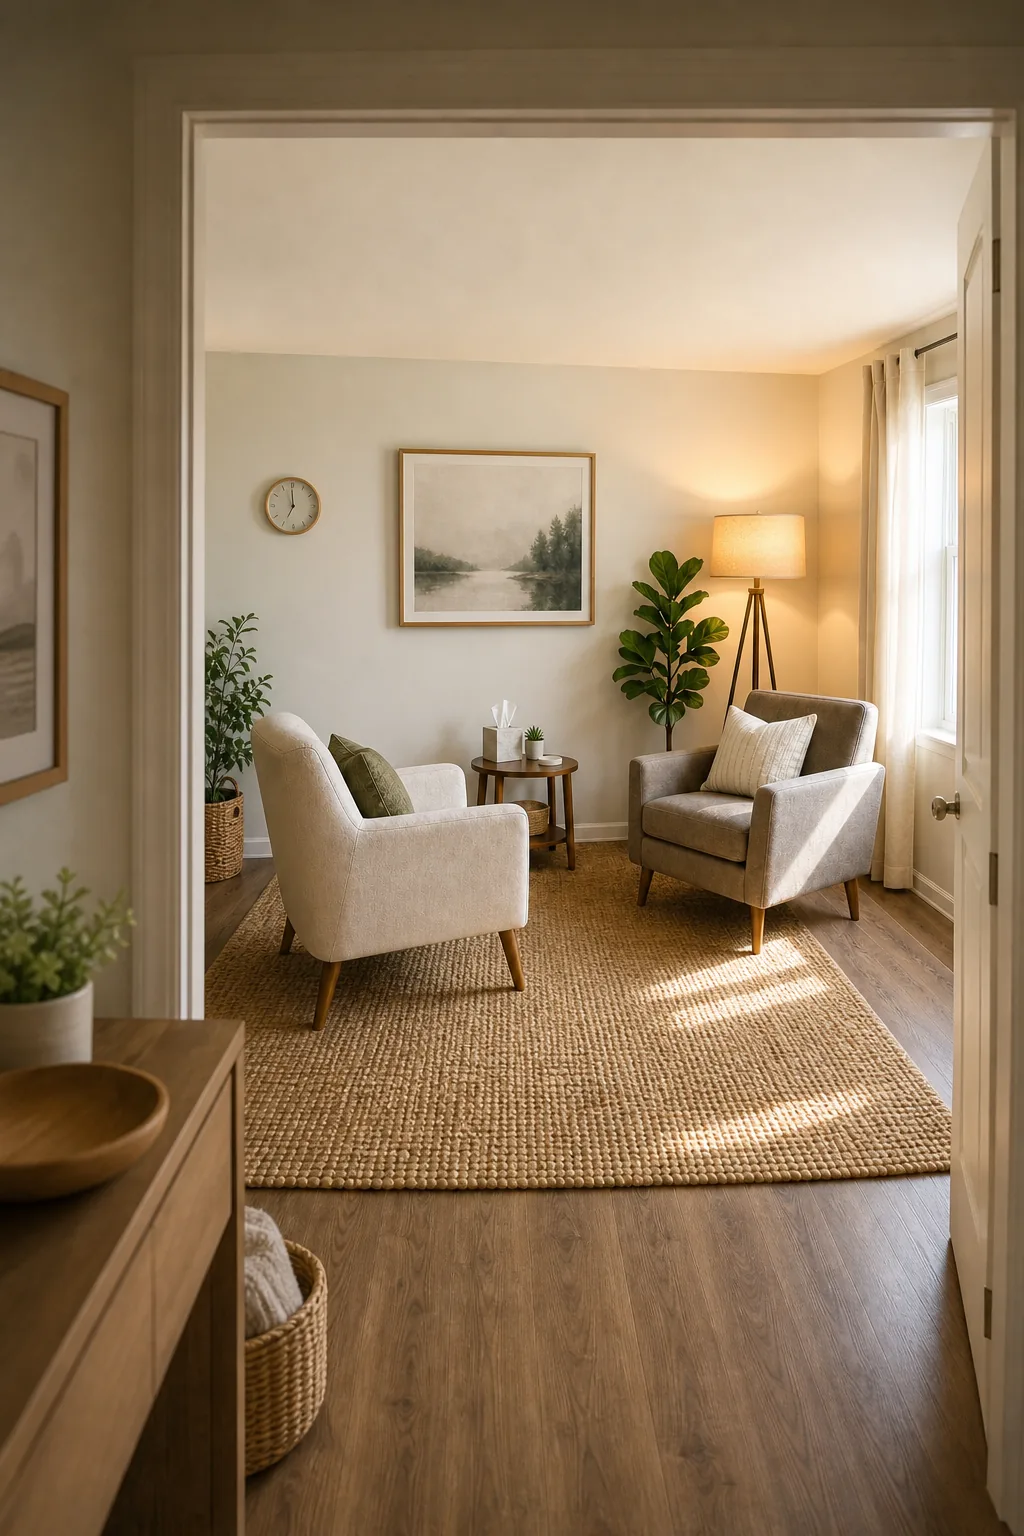
Before welcoming your next client, walk through your space and verify that every physical element actively supports a feeling of absolute security. Use this final spatial audit to check your work and refine your therapeutic environment for the highest level of care.