
Backyard Patio Layout Secrets: The 3-Zone Spacing Guide
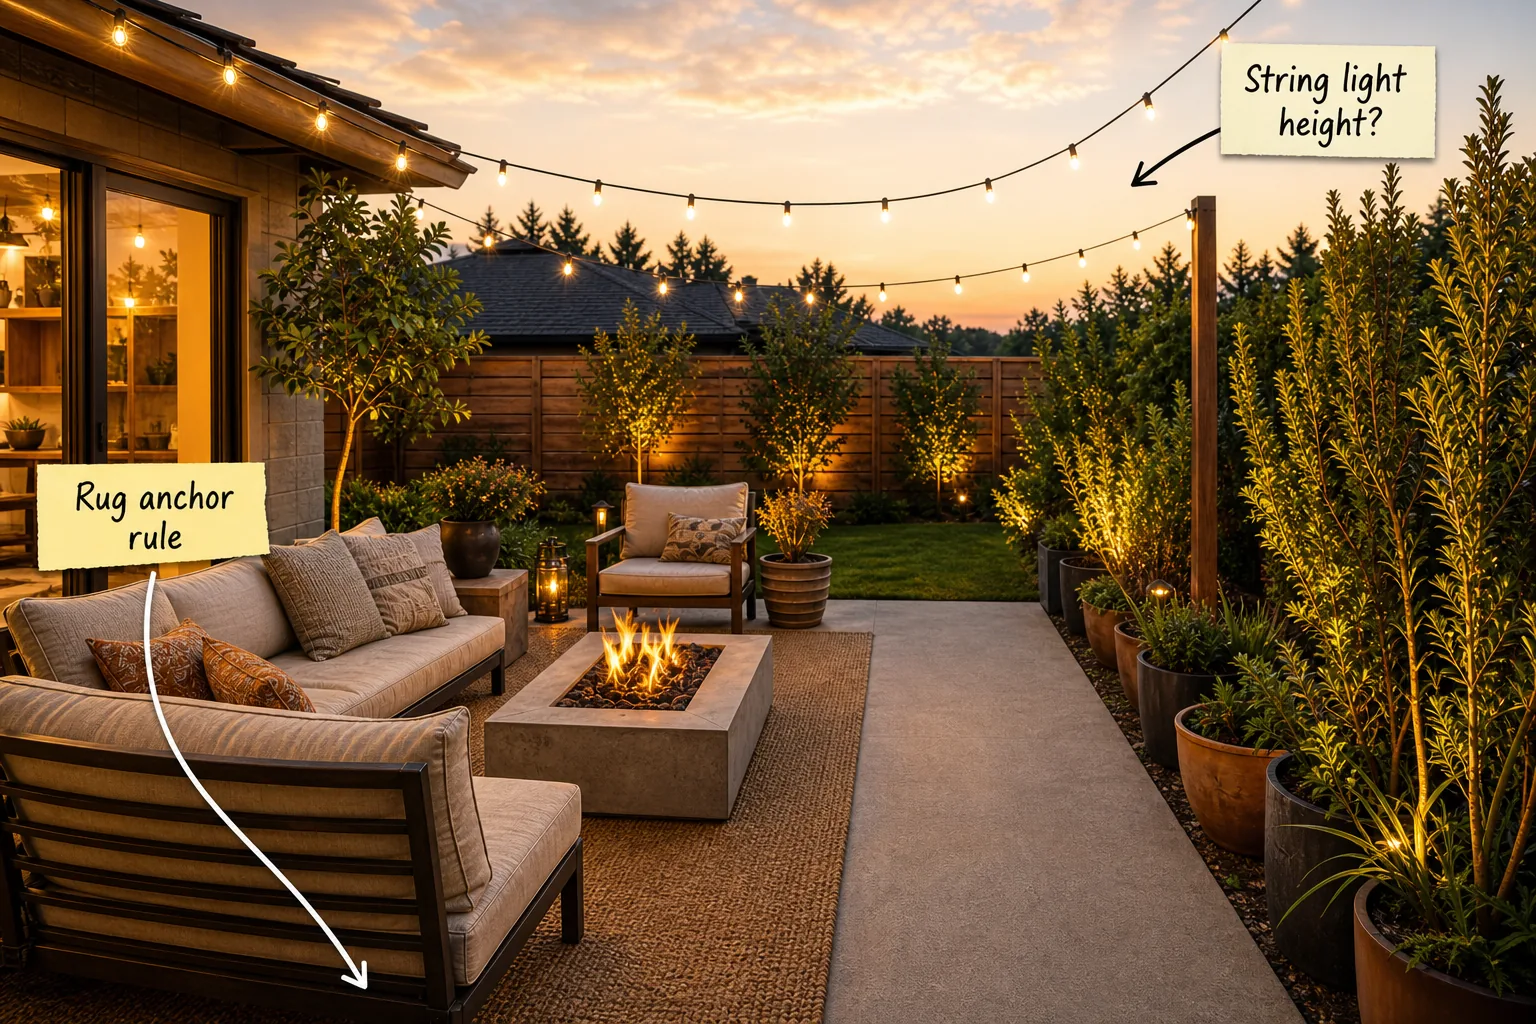
Master your outdoor space with this exact 3-zone layout guide, featuring the essential spacing measurements, rug anchor rules, and string light heights you need to build a flawless patio. You will be able to measure, zone, and arrange your furniture with perfect clearances and traffic flow.
Defining the Traffic Path
Start by identifying the primary route from the house directly into the yard, maintaining a minimum 36-inch clear walkway to ensure the entire patio feels accessible. This foundational step dictates where every other piece of furniture will eventually sit without blocking the doors.
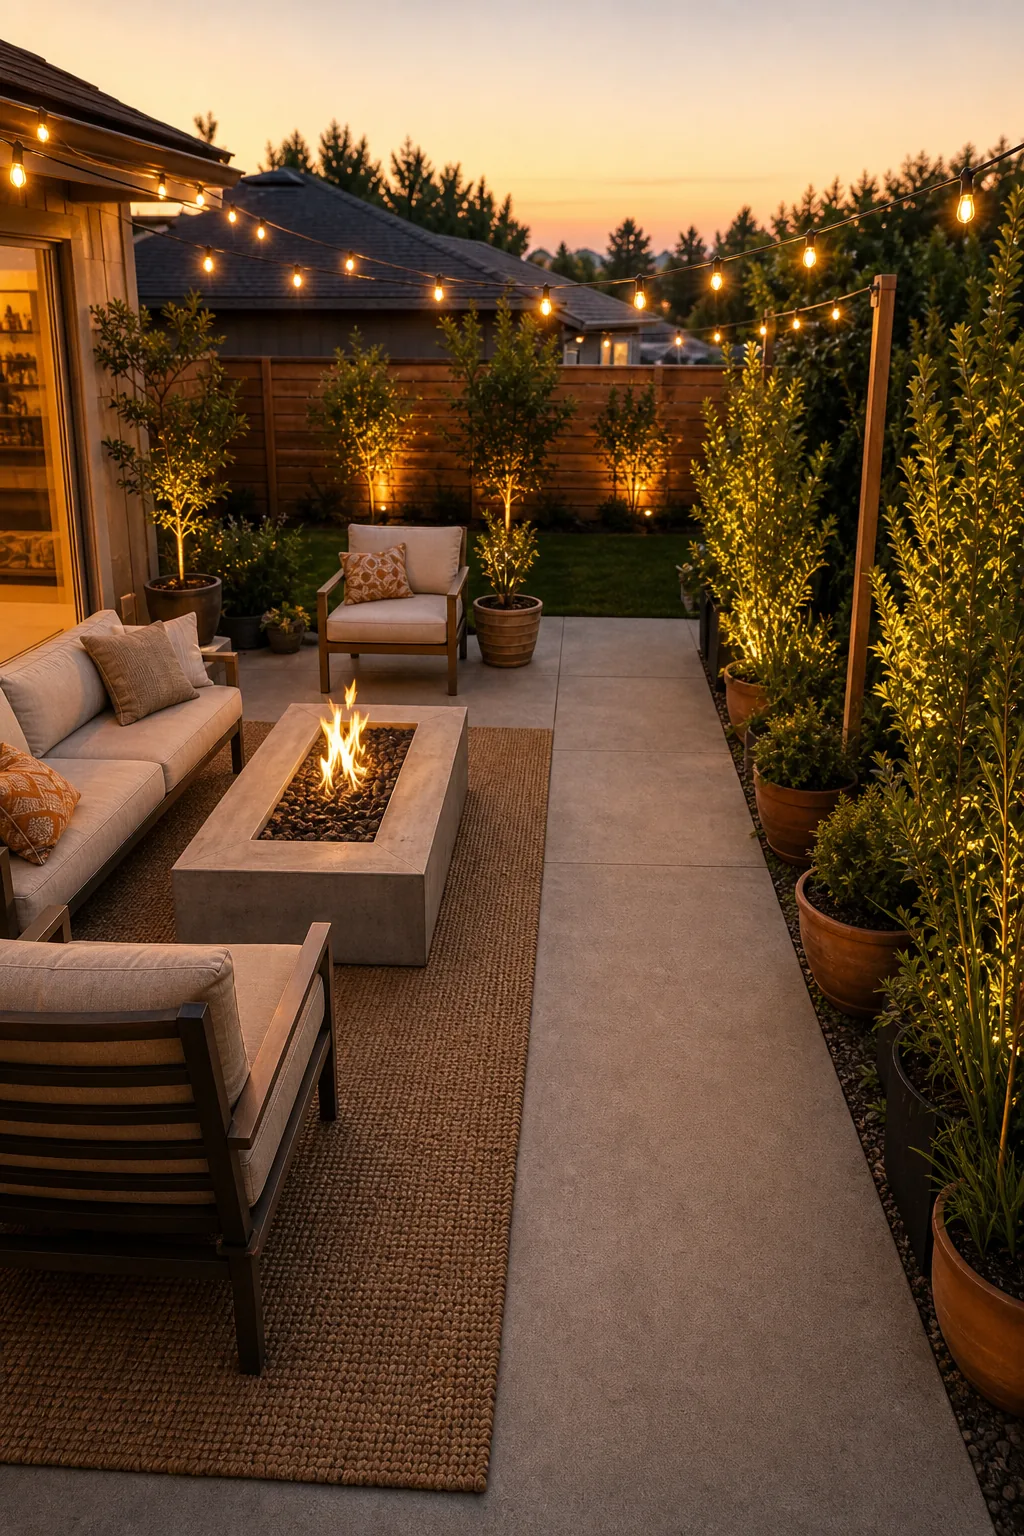
Keeping this central thoroughfare completely unobstructed prevents the outdoor space from feeling cramped. It guarantees safe, easy navigation during evening gatherings when guests are carrying plates of food or moving quickly between the dark lawn and the brightly lit house.
Assessing Surface Materials for Flow
The physical texture of your hardscape directly impacts how usable those primary walkways actually feel when moving heavy dining chairs or rolling a heavy grill. A beautifully zoned layout quickly fails if the ground beneath it constantly shifts underfoot during normal daily use.
| Material Type | Surface Evenness | Furniture Mobility | Maintenance |
|---|---|---|---|
| Poured Concrete | Completely flat | Excellent for chairs | Low upkeep |
| Large Pavers | Slight seams | Great stability | Occasional leveling |
| Cobblestone | Highly textured | Poor for dining | Weed control needed |
| Pea Gravel | Loose and shifting | Difficult to roll | Requires rigid borders |
Selecting a continuous, flat material for the main pathways ensures guests can navigate the space comfortably. You want to avoid any uneven transitions that might cause someone to trip or make pushing a serving cart unnecessarily difficult during a busy outdoor dinner party.
The 3-Zone Patio Layout Guide
Divide the remaining square footage into three distinct functions—lounging, dining, and grilling—leaving a 24 to 30-inch empty buffer space between each zone. This negative space is crucial for preventing the patio from feeling like a cluttered, overwhelmingly dense furniture showroom.
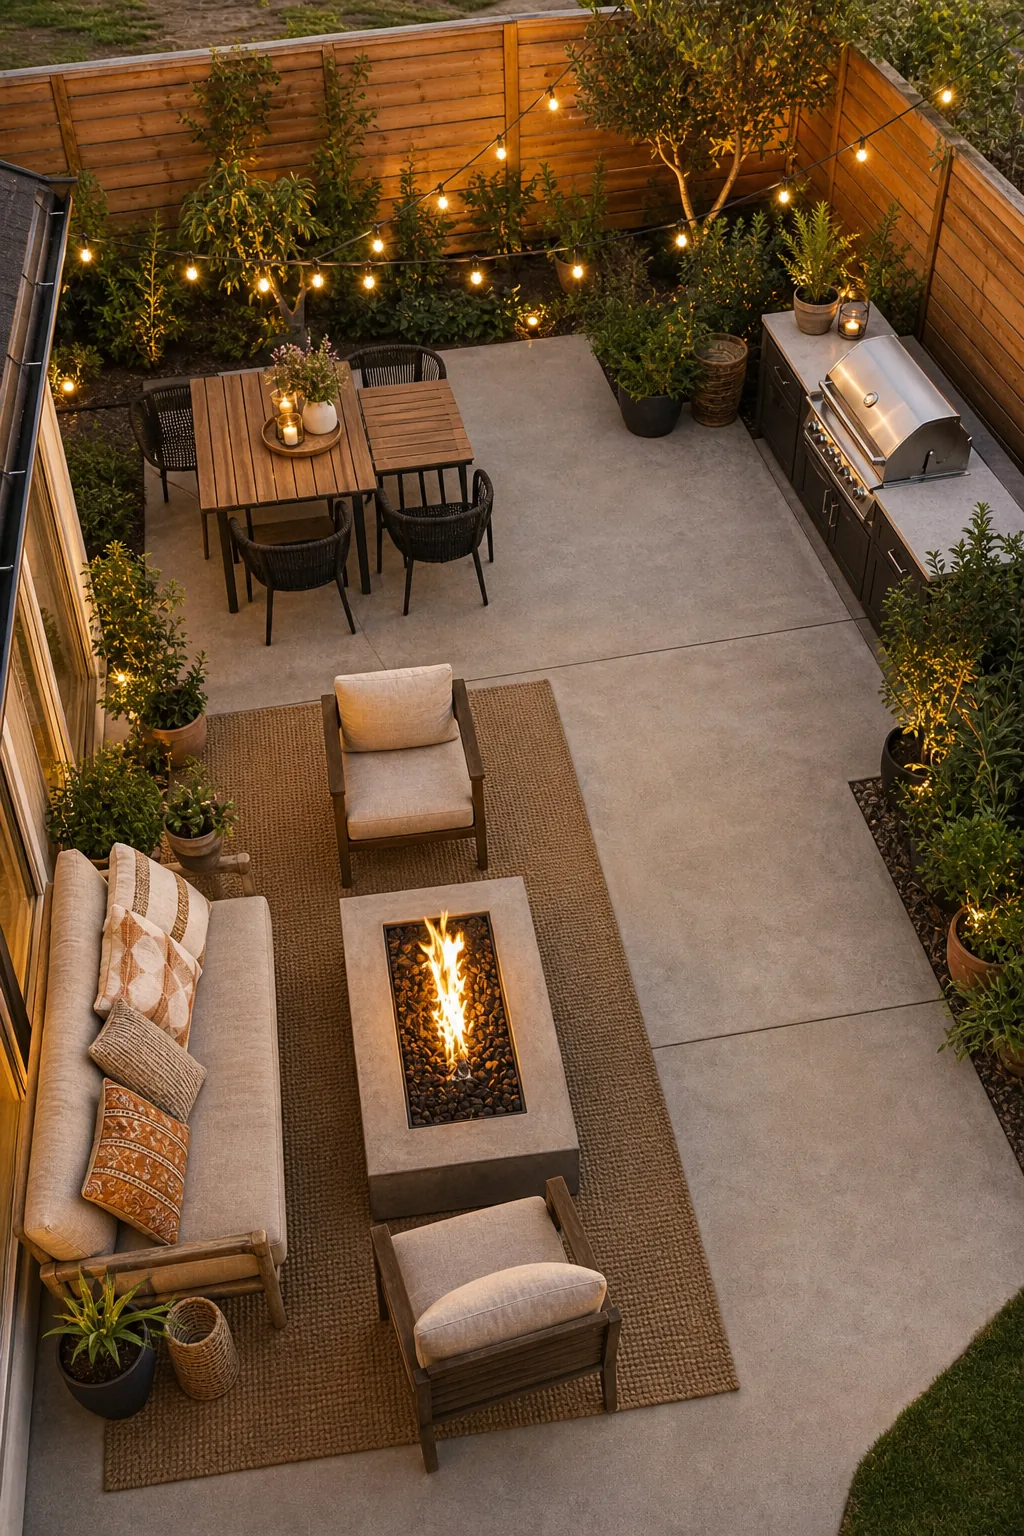
Before moving heavy furniture or committing to a permanent hardscape design, verify you have enough total square footage. These three distinct functional areas need ample room to operate comfortably without physically overlapping or forcing guests to squeeze past hot cooking surfaces.
Establishing the Grilling Station
Position your heavy grill on the outer edge of the patio layout, ideally downwind from the primary seating and dining areas. You must maintain at least 24 inches of clearance between the back of the hot grill and any combustible siding, wooden fences, or overhanging branches.
Setting Up the Lounge Zone
Arrange the outdoor sofa and chairs to face a central focal point, keeping the maximum distance across the seating arrangement under 8 feet. This precise spacing keeps conversation easy and ensures everyone feels included in the gathering without straining to hear.
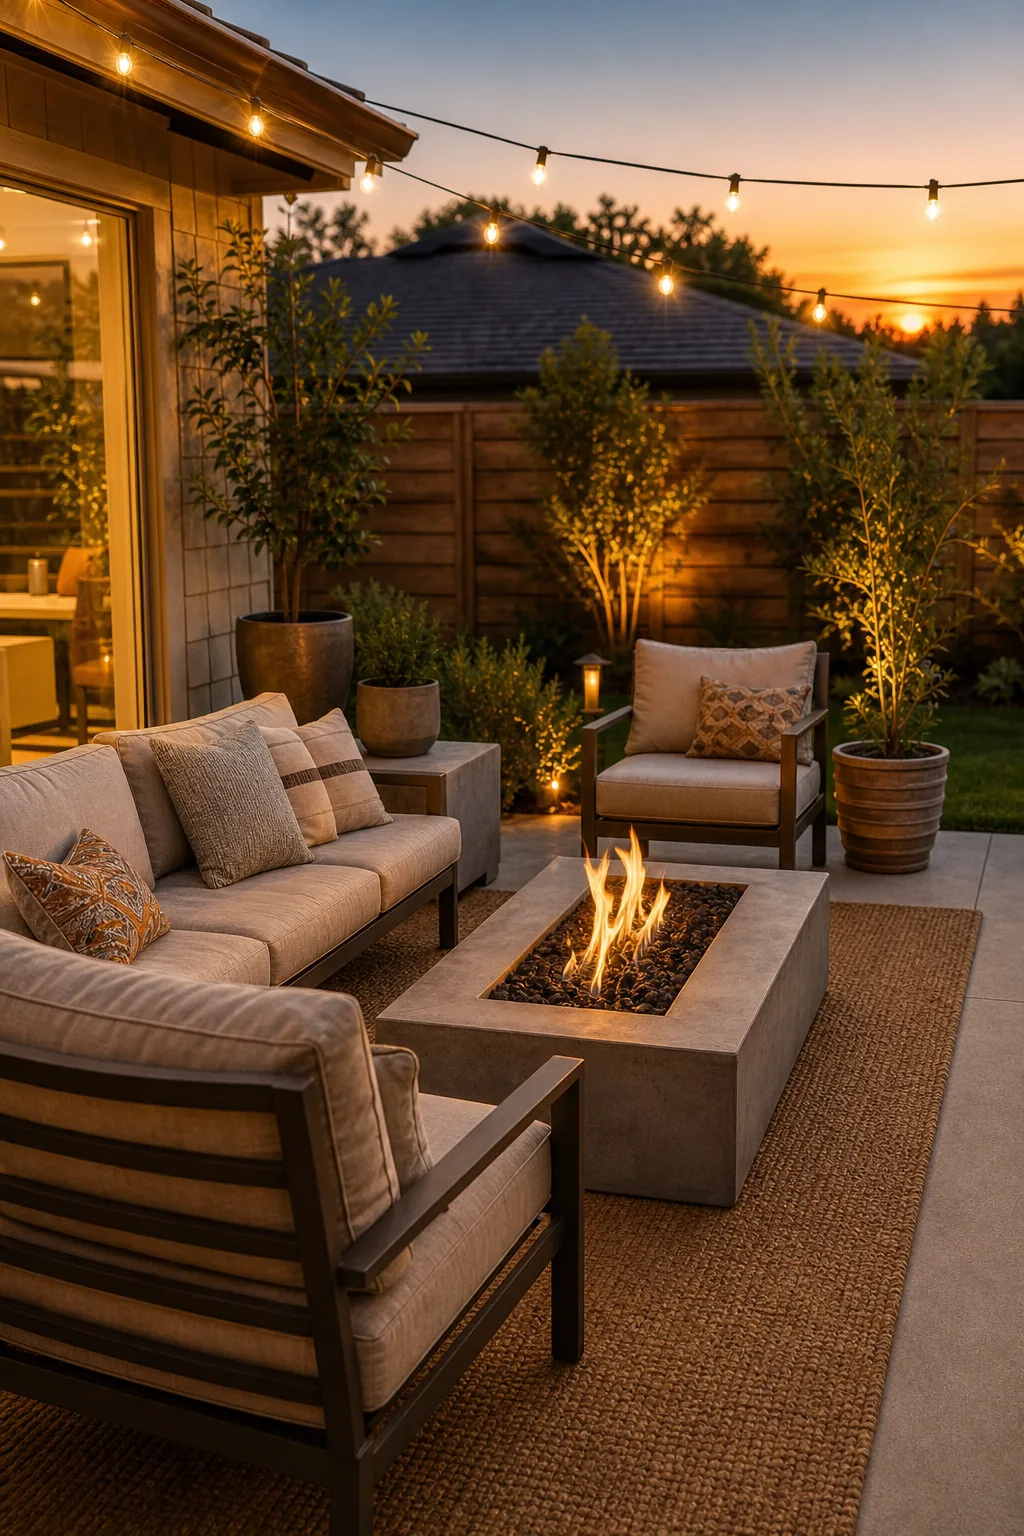
Pushing the primary seating pieces too far apart forces guests to shout across the patio. This common mistake immediately destroys the intimate, relaxing atmosphere of the lounge space and makes the furniture feel completely disconnected from the glowing fire feature.
Maximizing Seating Capacity
A successful patio layout accommodates large gatherings without requiring massive, bulky furniture pieces that block natural traffic paths. You should incorporate versatile, low-profile seating options that can easily transition between the formal dining table and the casual fire pit lounge.
- Outdoor poufs: Lightweight and easy to drag across the patio for immediate extra seating.
- Backless teak benches: Provide multi-person seating without obstructing the essential sightlines across the yard.
- Sturdy side tables: Can double as emergency stools when topped with a flat, weather-resistant cushion.
These smaller, adaptable additions maximize your overall seating capacity while keeping the layout feeling open, airy, and highly functional during unpredictable backyard parties or sudden influxes of weekend guests.
Fire Pit Spacing Clearances
Safety and comfort dictate the exact distance between the seating and the heat source. You must require exactly 18 to 24 inches of clearance from the outer edge of the fire pit to the front apron of the surrounding chairs.
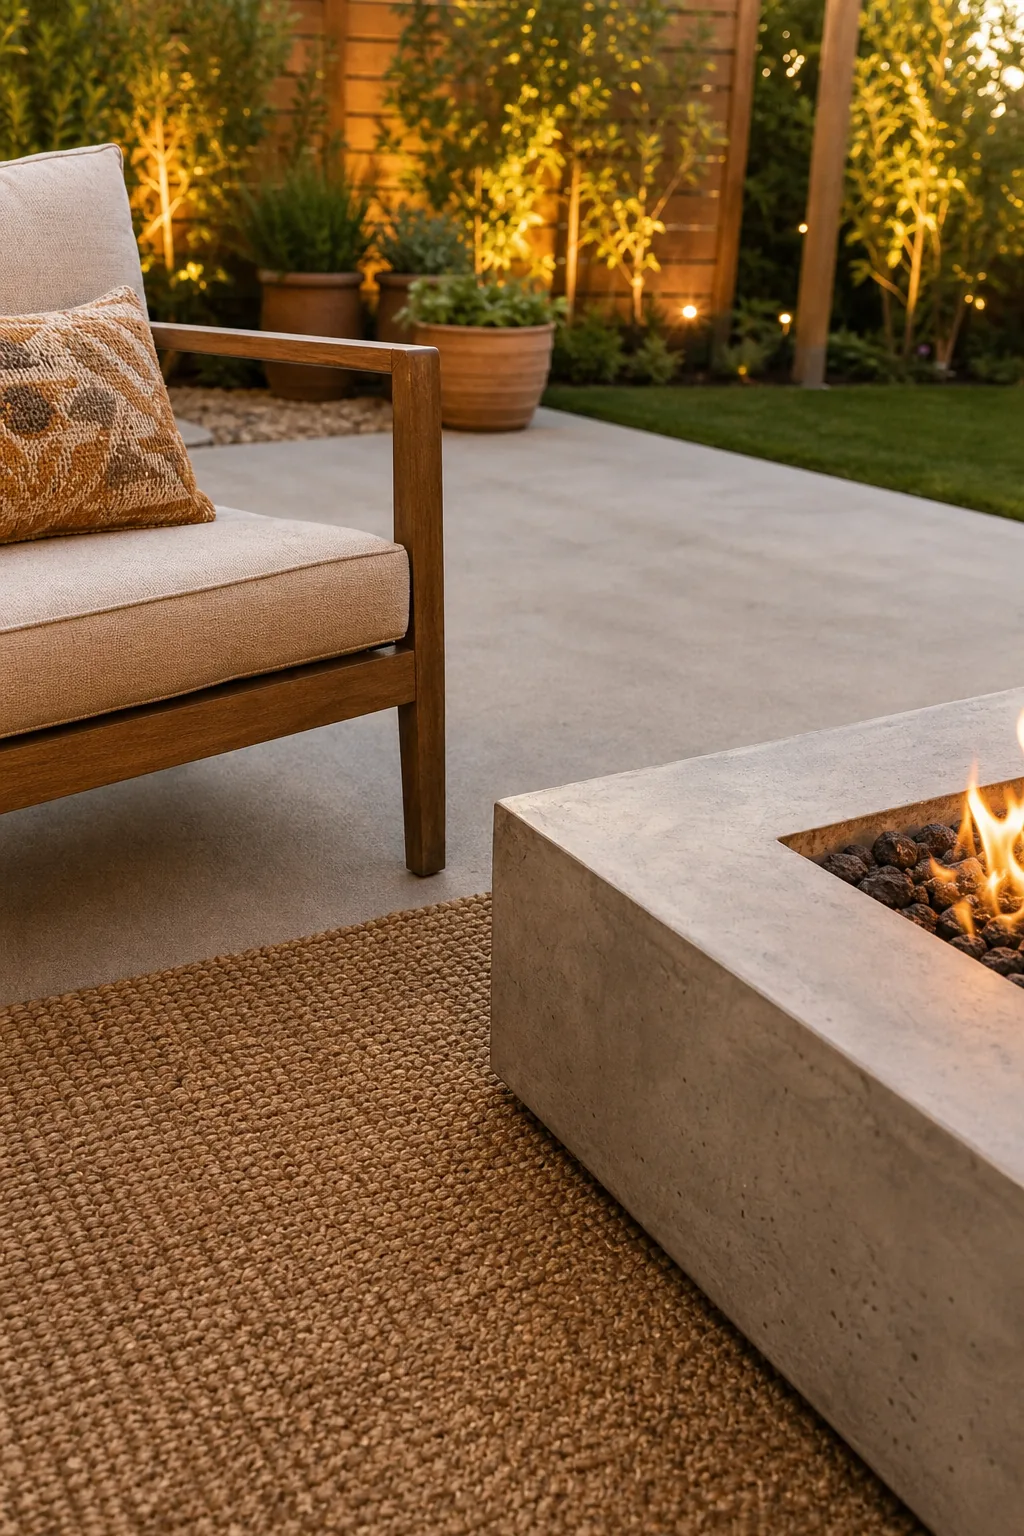
This precise measurement provides enough legroom for guests to relax comfortably. It simultaneously prevents anyone from being exposed to excessive, uncomfortable heat or unexpected flying sparks when a burning wood log suddenly shifts inside the bowl.
Fuel Types and Heat Output
Always verify your local municipal codes regarding open flames before finalizing your layout. Many jurisdictions mandate specific setbacks from property lines and combustible structures for wood-burning features, which might force you to choose a controlled, smokeless natural gas line instead.
Applying the Rug Anchor Rule
Use a heavy-duty outdoor rug to clearly define the lounge boundary. You must ensure the front legs of all primary seating rest completely on the material to visually lock the floating furniture pieces together into one cohesive outdoor room.
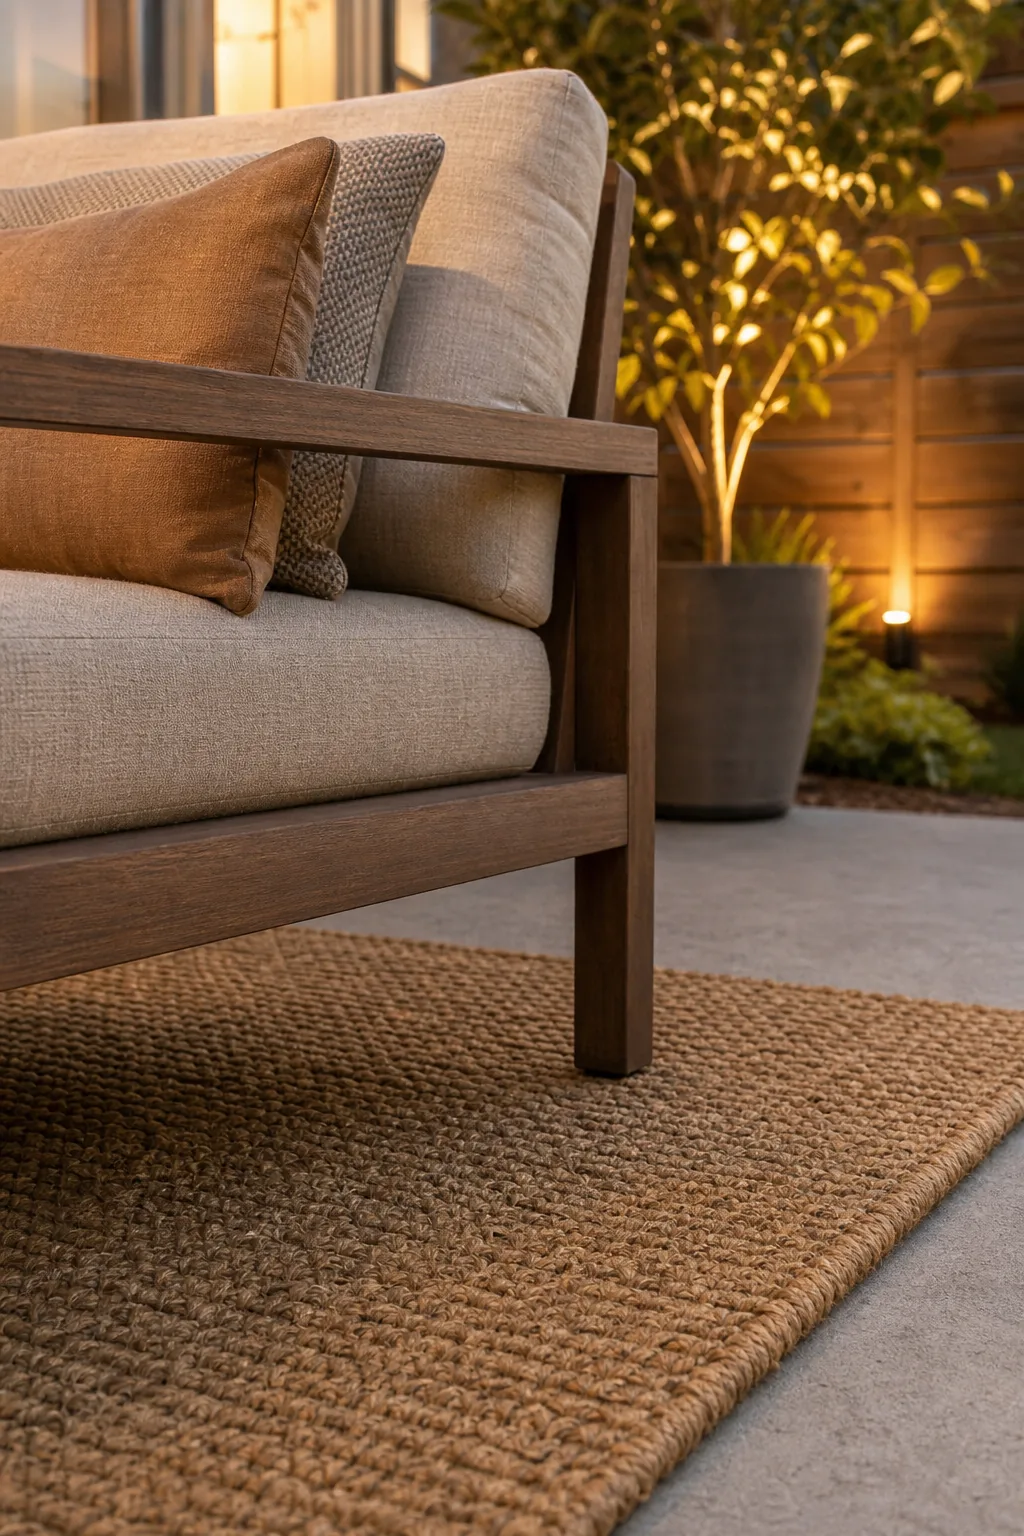
A rug that is too small makes the entire patio layout feel disjointed and temporary. It visually disconnects the seating from the surrounding permanent architecture and makes the beautifully planned space look like an accidental afterthought.
Selecting Durable Outdoor Textiles
Invest in fully synthetic, UV-stabilized polypropylene rugs that naturally resist mold growth and severe fading. Natural fibers will quickly rot, deteriorate, and stain when exposed to continuous seasonal moisture resting on a dense concrete or natural stone patio surface.
Softening the Edge With Border Plants
Create a welcoming sense of enclosure without building a restrictive, expensive retaining wall. You can achieve this by lining the patio perimeter with a continuous row of potted plants that firmly establish the exact edge of the hardscape.
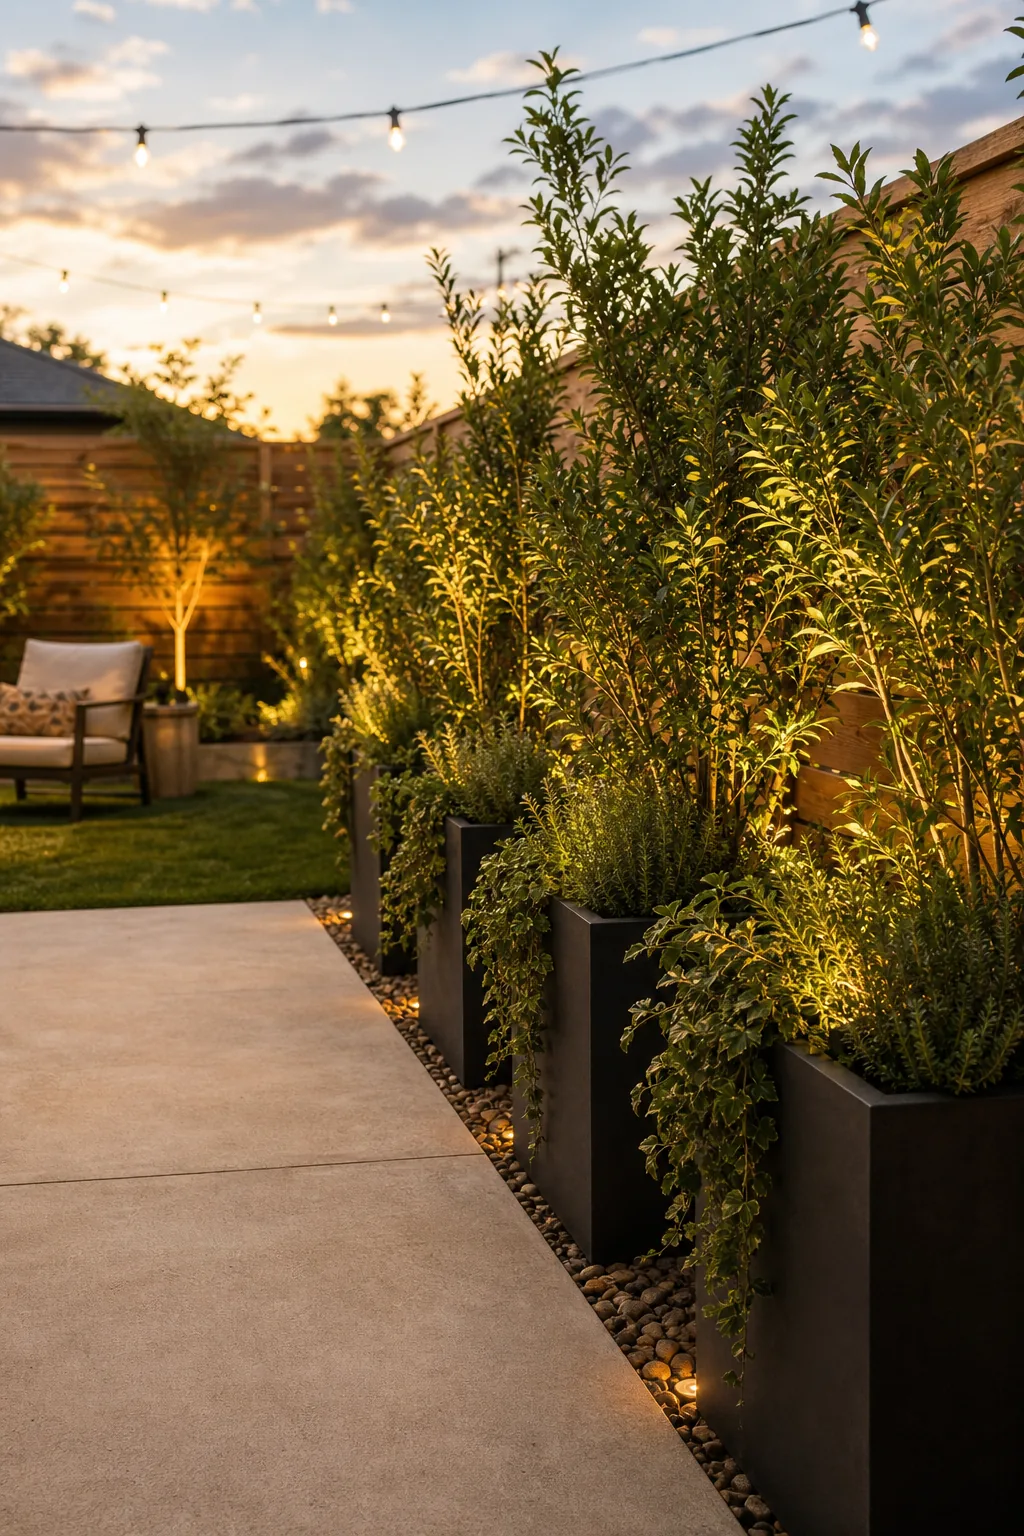
This living border gracefully separates the rigid stone from the soft lawn. It adds essential vertical texture and a subtle layer of privacy without completely blocking the refreshing evening breeze or obscuring the view of the wider garden.
Layering Landscape Textures
Combine trailing vines that spill over the edges of the pots with stiff, upright ornamental grasses. This strategic combination builds a dynamic visual barrier that sways softly in the wind, capturing attention while actively softening the harsh right angles of the patio.
Choosing the Right Planters
Avoid a monotonous, flat look by purposefully mixing planter sizes along the border. You should group 18-inch, 24-inch, and 30-inch tall planters together to create a varied, organic silhouette that mimics how plants actually grow in wild nature.
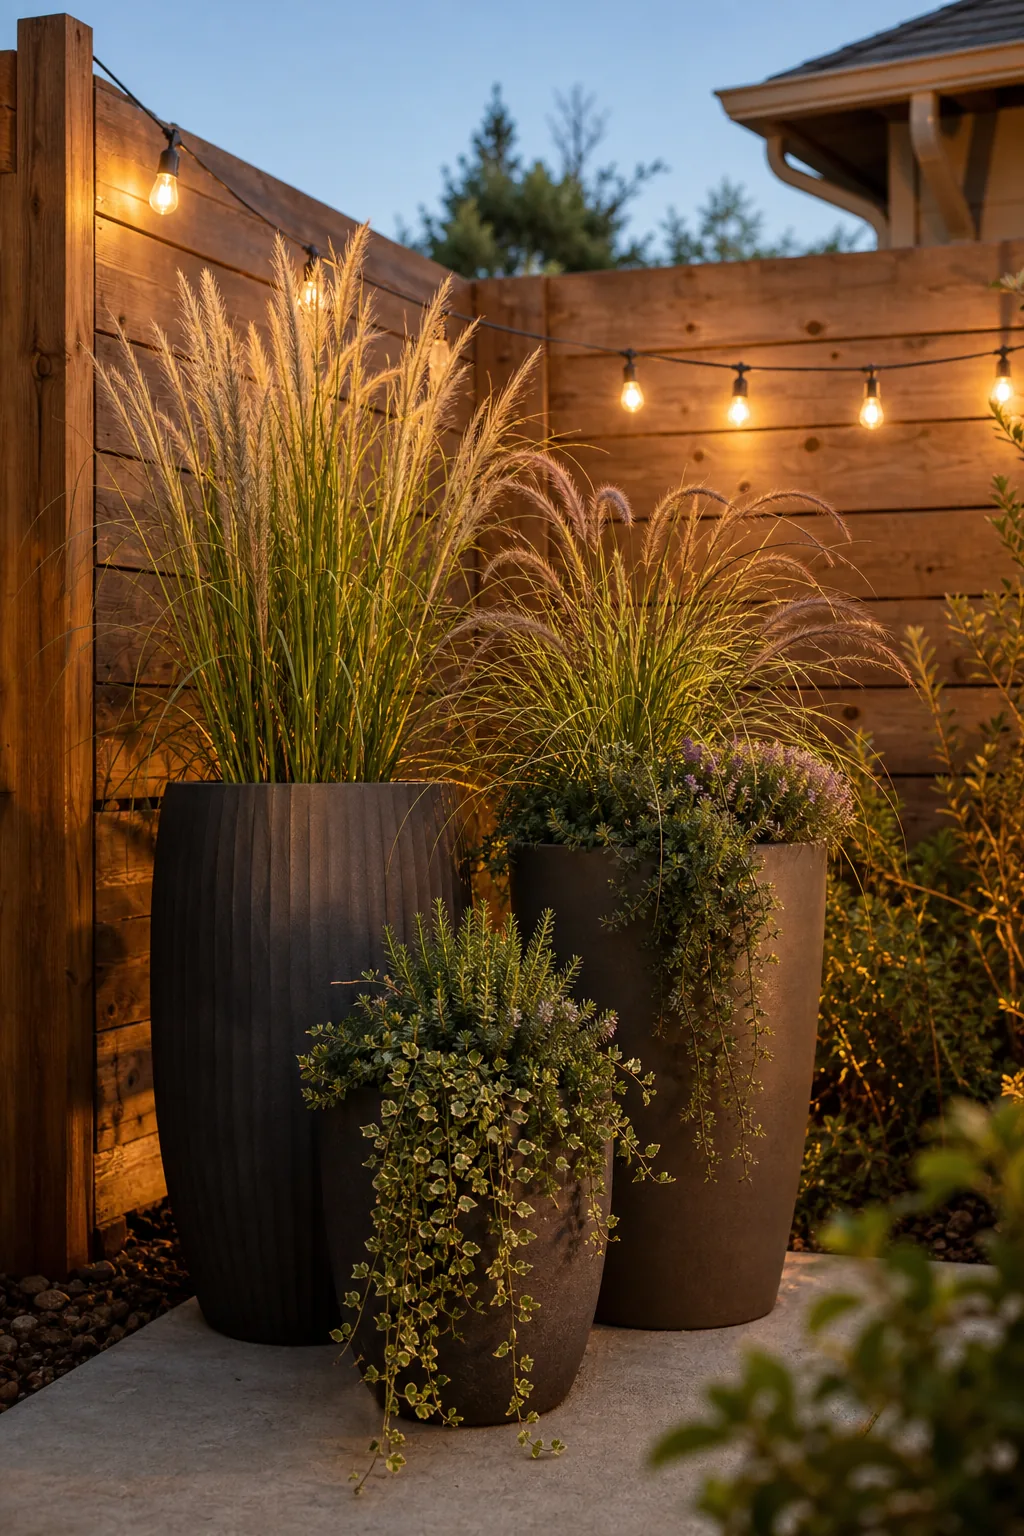
This staggered approach builds a tiered, natural-looking privacy screen that draws the eye upward. It effectively prevents the patio edge from feeling like a rigid commercial barricade and makes the entire outdoor space feel much more established and permanent.
Securing Overhead Lighting Posts
If your patio lacks existing overhead structures like a pergola or mature trees, install heavy-duty wooden posts anchored in weighted whiskey barrels or deep concrete footings. These dedicated supports prevent heavy commercial string lights from sagging dangerously low over the seating areas.
Determining String Light Height
Overhead lighting completes the outdoor room, but you must install those sturdy posts carefully. Hang the heavy string lights so the lowest swoop remains at least 8 feet above the ground at its absolute deepest point across the yard.
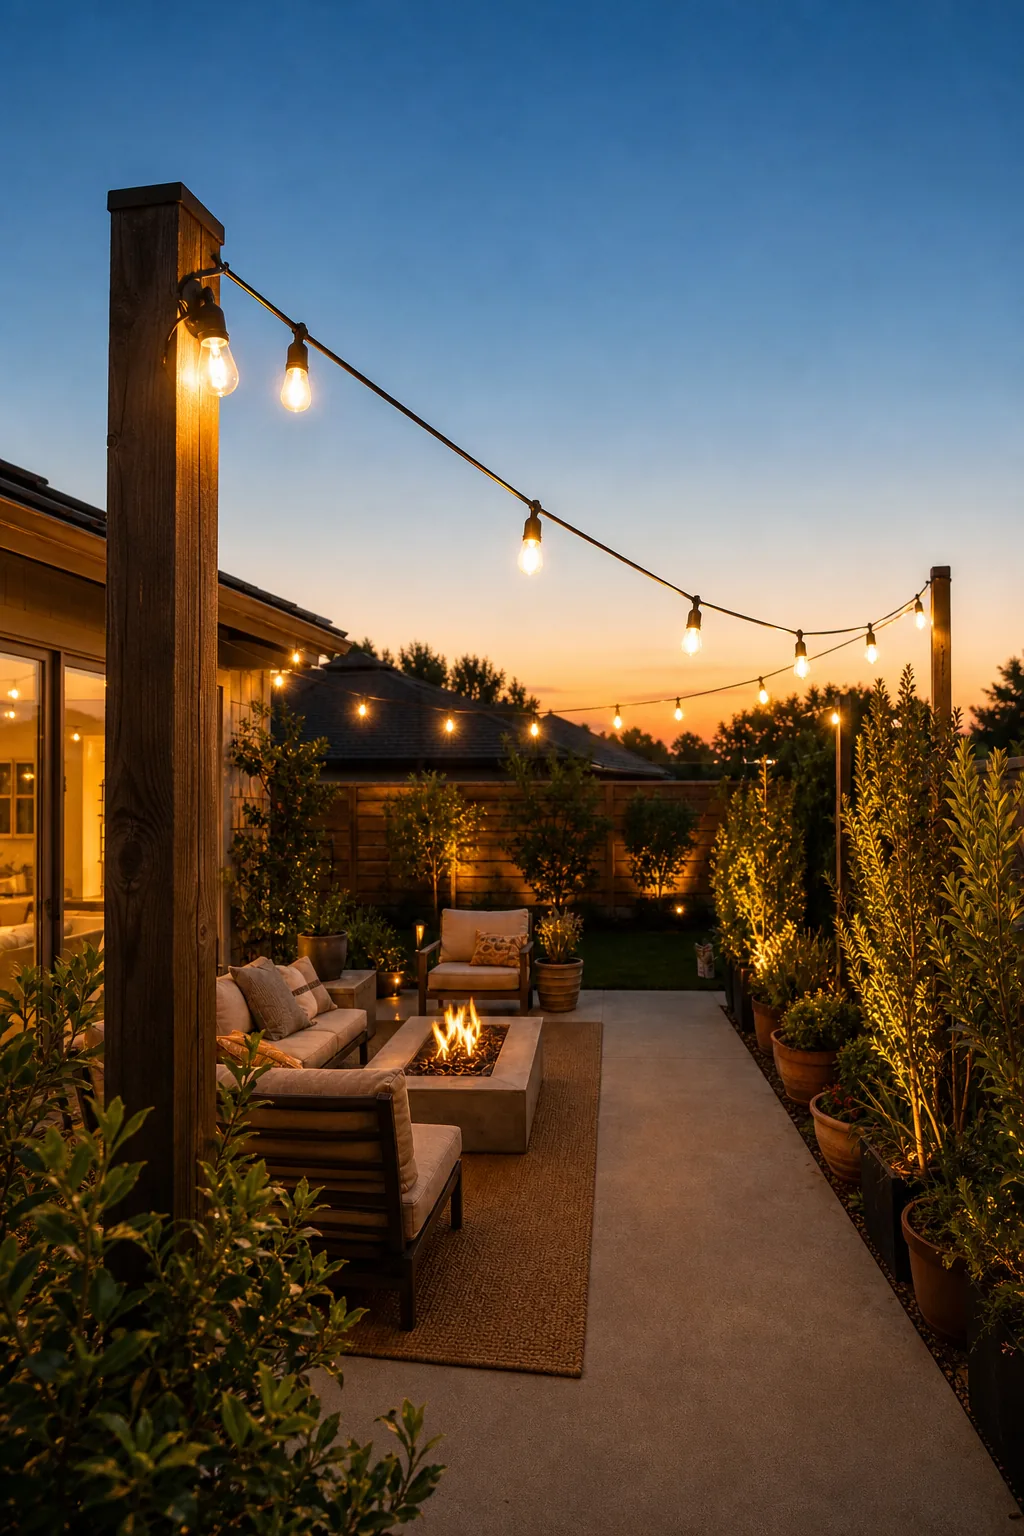
Maintaining this minimum vertical clearance ensures that tall guests can navigate the entire patio safely. They will never have to duck to avoid brushing against the hot bulbs or feel claustrophobic beneath the glowing, ambient canopy during a late dinner.