
Perfect Bar Lighting: The Exact Pendant Height & Spacing Guide
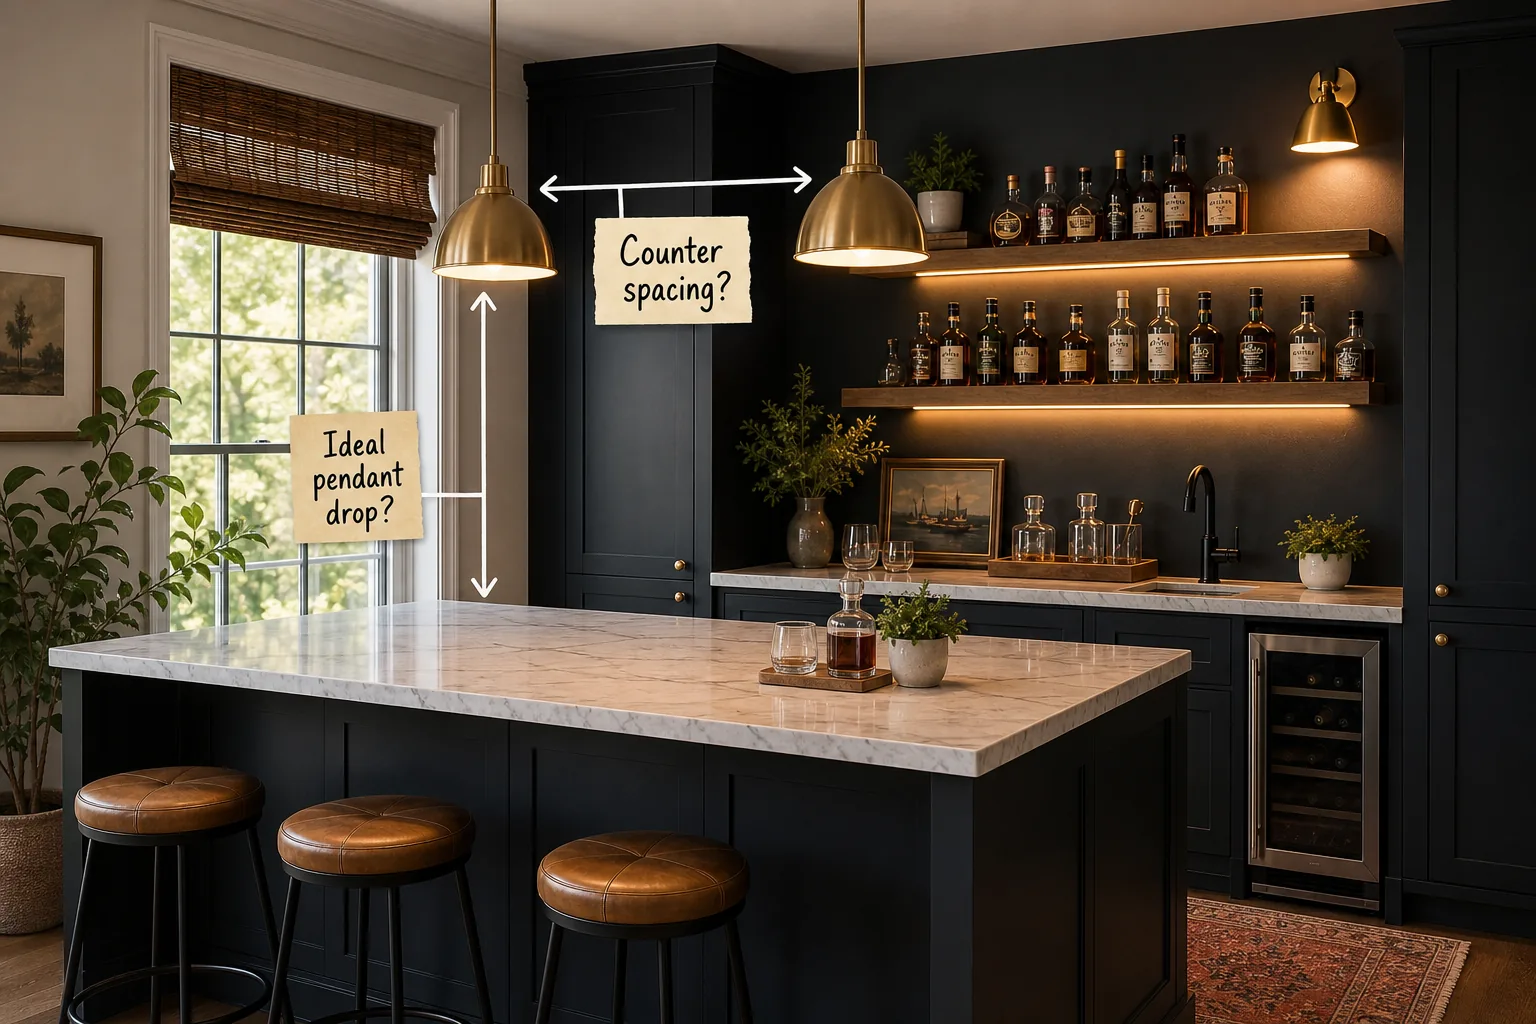
Master your home bar setup with this exact pendant height and spacing guide, delivering the concrete measurements needed to layer fixtures flawlessly. You will be able to measure, space, and install a perfectly balanced three-layer lighting system without relying on any guesswork.
The Task Layer: Anchoring the Work Zone
The task layer relies on heavy brass pendants hung directly over the marble counter to provide intense, focused illumination for pouring and mixing. This primary light source anchors the entire workspace, ensuring you can clearly see precise measurements while safely handling expensive glassware.
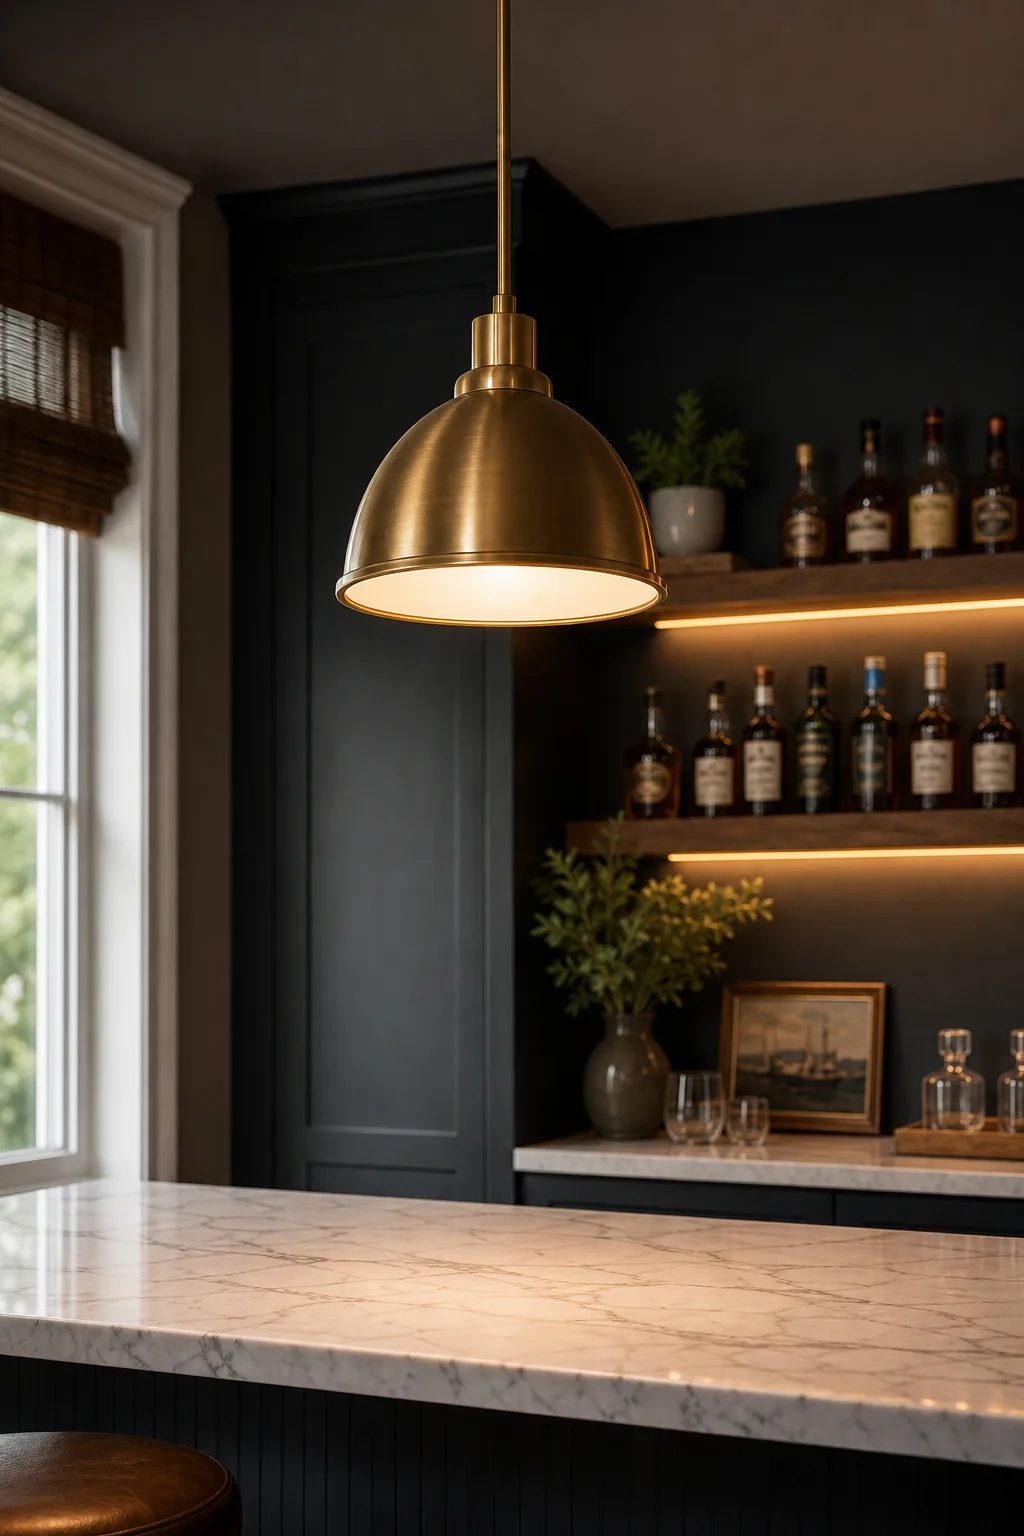
Opaque metal dome shades are vastly superior for this high-activity zone because they actively funnel every single lumen downward onto the work surface. By blocking horizontal light spill entirely, these solid shades completely eliminate the harsh glare that would otherwise hit your seated guests.
Preparing Your Electrical Rough-In
Securing the heavy brass fixtures required for your task lighting demands proper structural support behind the drywall. You must prepare the ceiling infrastructure carefully to ensure the pendants hang perfectly straight and remain safely anchored over time.
- Mark the centerline: Snap a chalk line across the ceiling directly above the middle of your island.
- Locate the joists: Use a magnetic stud finder to locate the solid wood framing near your marks.
- Install the boxes: Secure heavy-duty, fan-rated electrical junction boxes directly to the ceiling joists.
Completing this structural preparation before the drywall goes up allows your electrician to easily route the necessary wiring. This sequence guarantees your final lighting layout will exactly match your planned spacing dimensions without requiring messy ceiling patches.
Setting the Ideal Pendant Drop
The ideal pendant drop is defined as the vertical empty space between the bottom rim of the metal shade and the marble countertop. You must maintain a strict 30 to 36 inches of vertical clearance to keep the fixture highly functional and visually balanced.
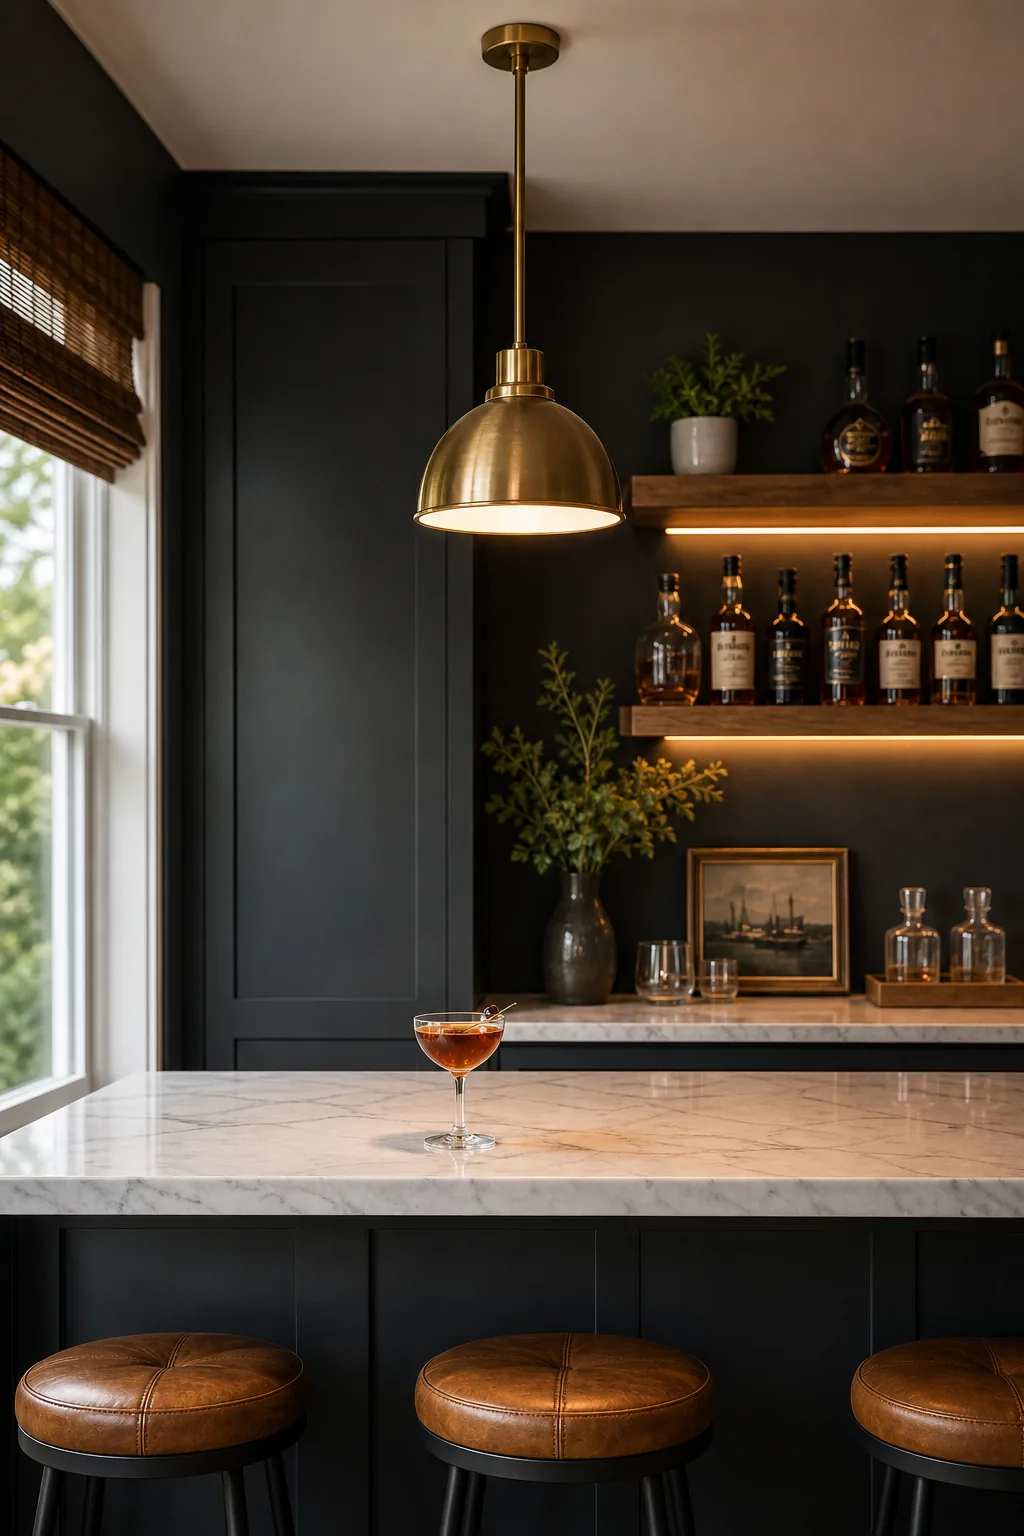
Getting this specific drop height wrong is the most common home bar lighting error, but it is easily avoided by measuring from the correct starting point. Taller users should automatically default to the 36-inch maximum height to prevent accidental head bumps while mixing drinks.
Factoring in Ceiling Height Variations
Standard drop rules assume a typical nine-foot ceiling, which allows for a visually pleasing length of exposed cord or brass downrod above the shade. If your home bar is located in a basement with significantly lower clearance, you must switch to flush-mount fixtures to maintain proper spatial proportions.
Calculating Counter Spacing
When installing multiple overhead fixtures, the counter spacing dictates the horizontal distance from the center stem of one pendant to the center stem of the next. The standard aesthetic rule requires spacing them exactly 24 to 30 inches apart across the entire island.
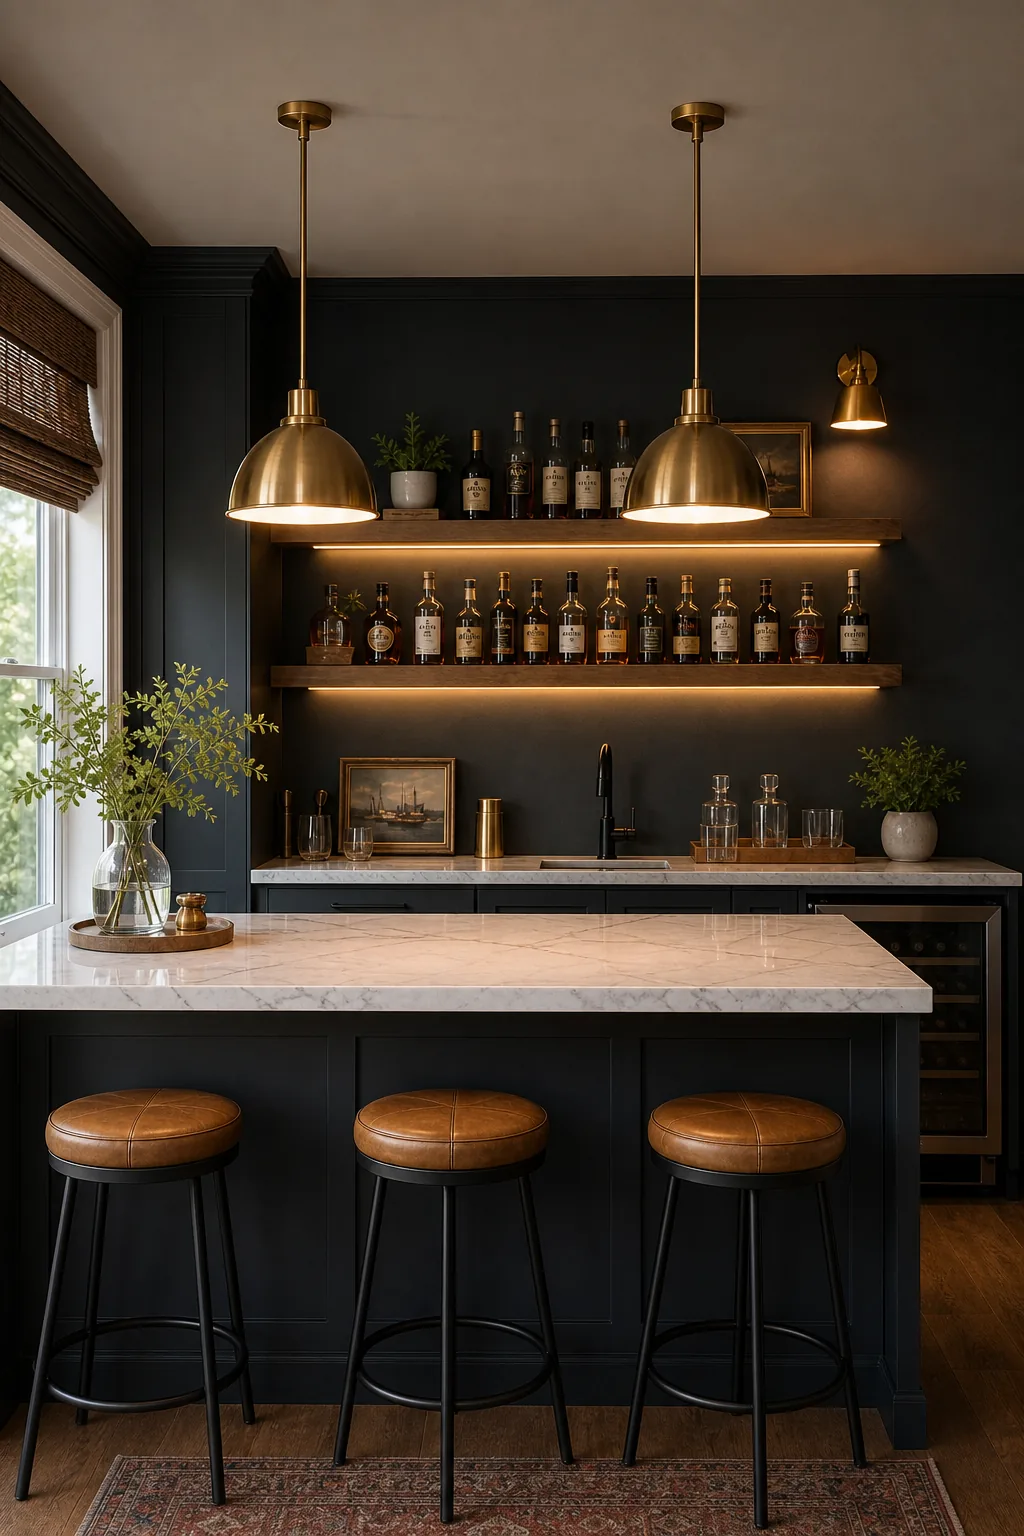
This overlapping spacing creates continuous pools of light that completely eliminate dangerous shadows on the marble cutting surface. To prevent the layout from looking cramped, always leave a minimum of six inches of clearance from the outer counter edge to the final shade.
The Complete Height & Spacing Guide
This skimmable reference locks in all your essential bar pendant measurements so you can confidently mark your ceiling electrical boxes. Keep these exact dimensions handy when discussing the final installation plan with your licensed electrician to ensure every fixture is mounted perfectly.
| Measurement Zone | Minimum Target | Maximum Target | Starting Point |
|---|---|---|---|
| Pendant Drop | 30 inches | 36 inches | Countertop surface |
| Counter Spacing | 24 inches | 30 inches | Center of fixture |
| Edge Clearance | 6 inches | 12 inches | Outer counter lip |
| Wall Sconce Height | 60 inches | 66 inches | Finished floor |
Adhering strictly to these established structural targets guarantees your lighting layers will look intentionally scaled and professionally balanced. Verifying these numbers before the drywall goes up saves you from expensive electrical rerouting and frustrating aesthetic compromises later in the renovation process.
Mocking Up Your Layout
To guarantee your layout is perfectly proportioned before you hardwire anything, always mock up the exact placement using blue painter’s tape and weighted string. Suspending a physical template allows you to verify the spacing in three dimensions against your actual cabinetry layout.
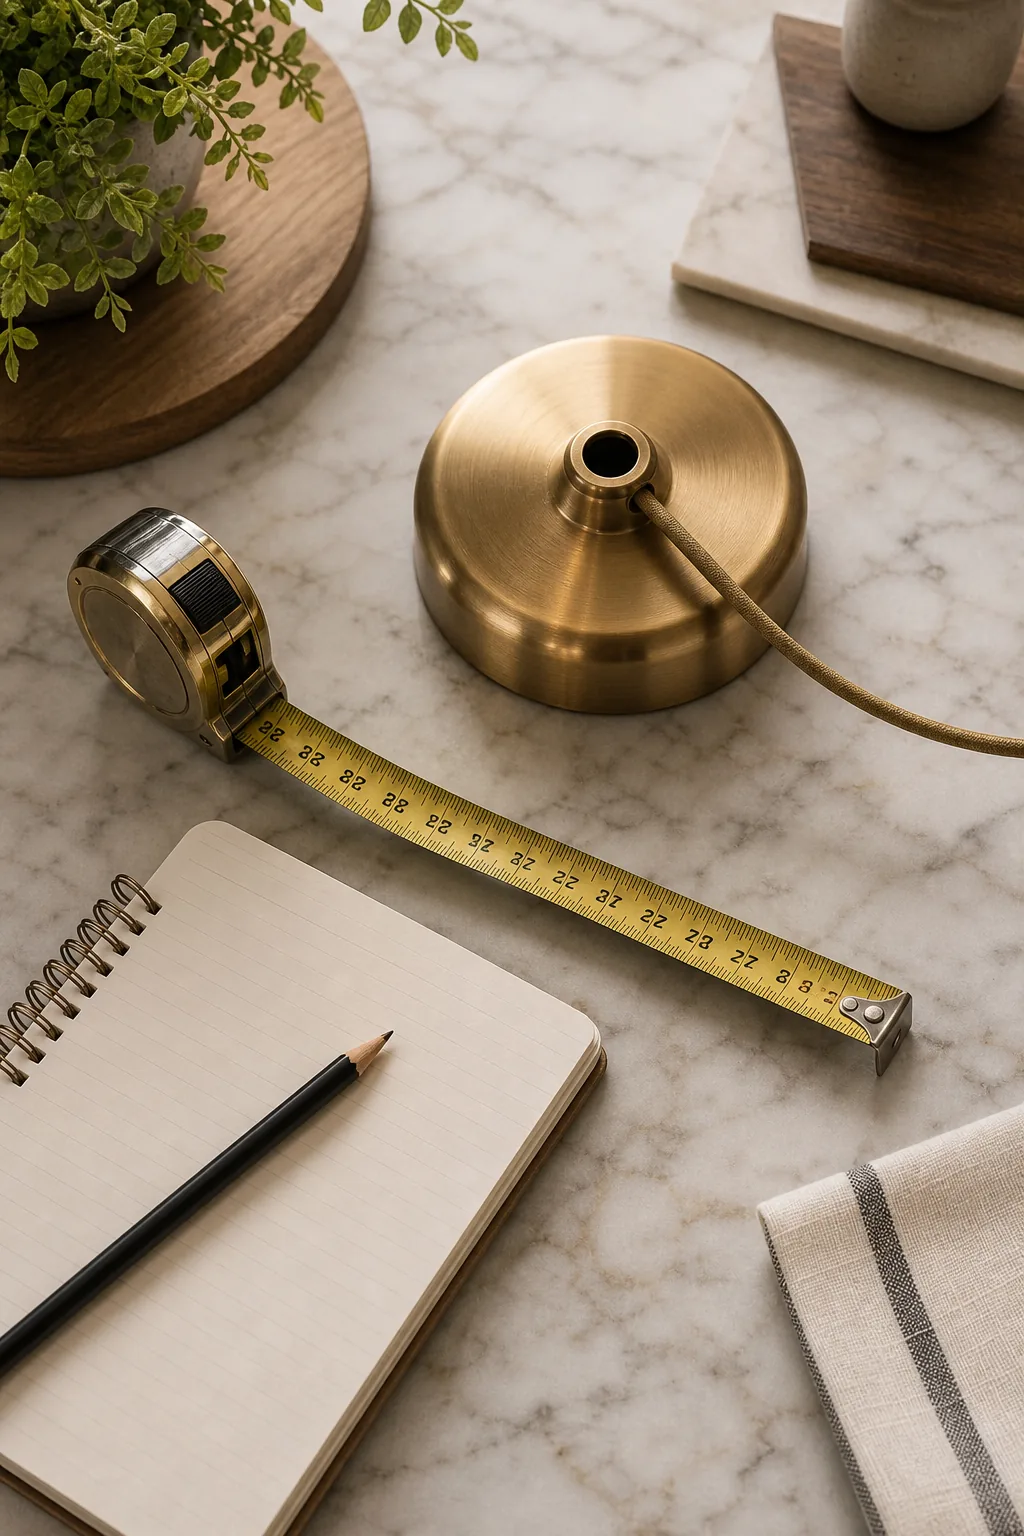
Before you drill a single hole through your expensive drywall or schedule the electrician, run through this final measurement check. Confirming these targets physically ensures your lighting layout will be perfectly proportioned for your specific room dimensions and ceiling height.
Selecting the Right Power Supply
Driving continuous LED strips requires a robust, low-voltage driver hidden securely inside your base cabinetry. You must calculate the total combined wattage of your accent wash strips and select a dimmable power supply rated for at least twenty percent more capacity to prevent premature hardware failure.
The Accent Wash: Highlighting the Liquor Display
Moving down from the ceiling, the accent wash introduces a secondary layer of illumination specifically designed to make your floating liquor shelves glow. This hidden light source draws the eye directly to your curated bottle collection, establishing a sophisticated focal point.
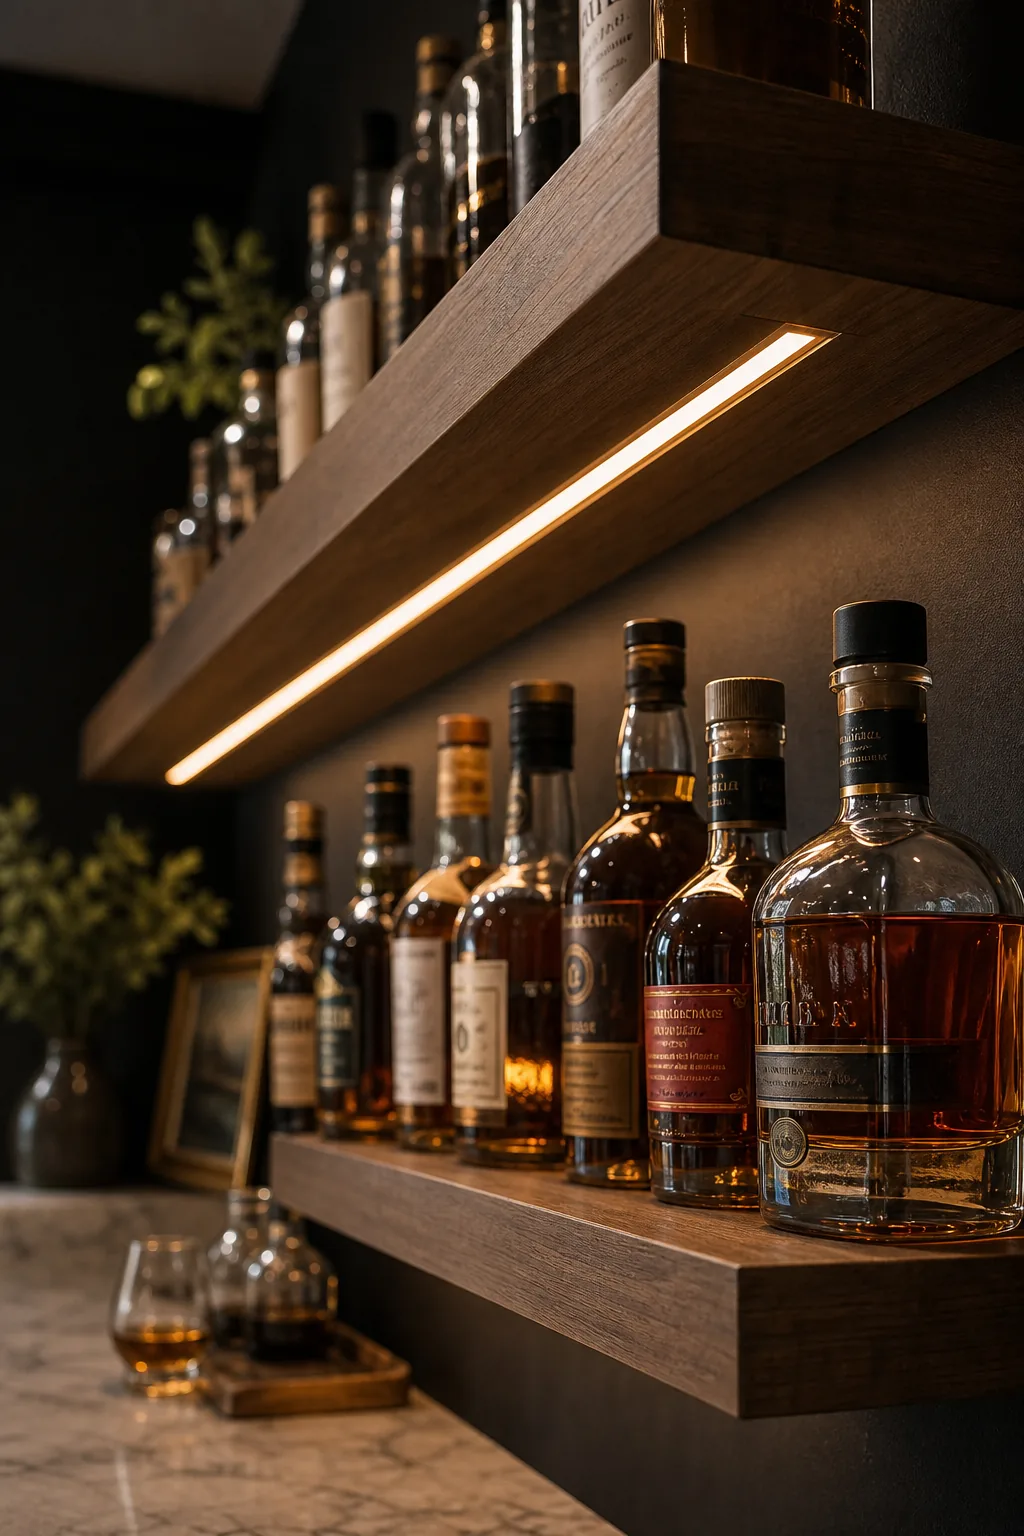
Using a dedicated 2700K warm white LED strip is absolutely crucial for this display application. This specific, ultra-warm color temperature naturally enhances the rich, amber tones in bourbon and whiskey, transforming standard glass bottles into glowing architectural features within the room.
Managing Low-Voltage Cable Routing
Running the low-voltage wires from your embedded shelf channels down to the hidden power supply requires careful upfront planning. Plunge a hollow channel through the back of your wall studs before installing the drywall to create a permanent, invisible conduit for future electrical maintenance.
Concealing the LED Channels
While the glowing effect is stunning, the light source itself must remain completely invisible to maintain a clean, high-end aesthetic. Bare LED strips look cheap and produce harsh, dotted reflections that completely ruin the moody, sophisticated atmosphere of a custom home bar.
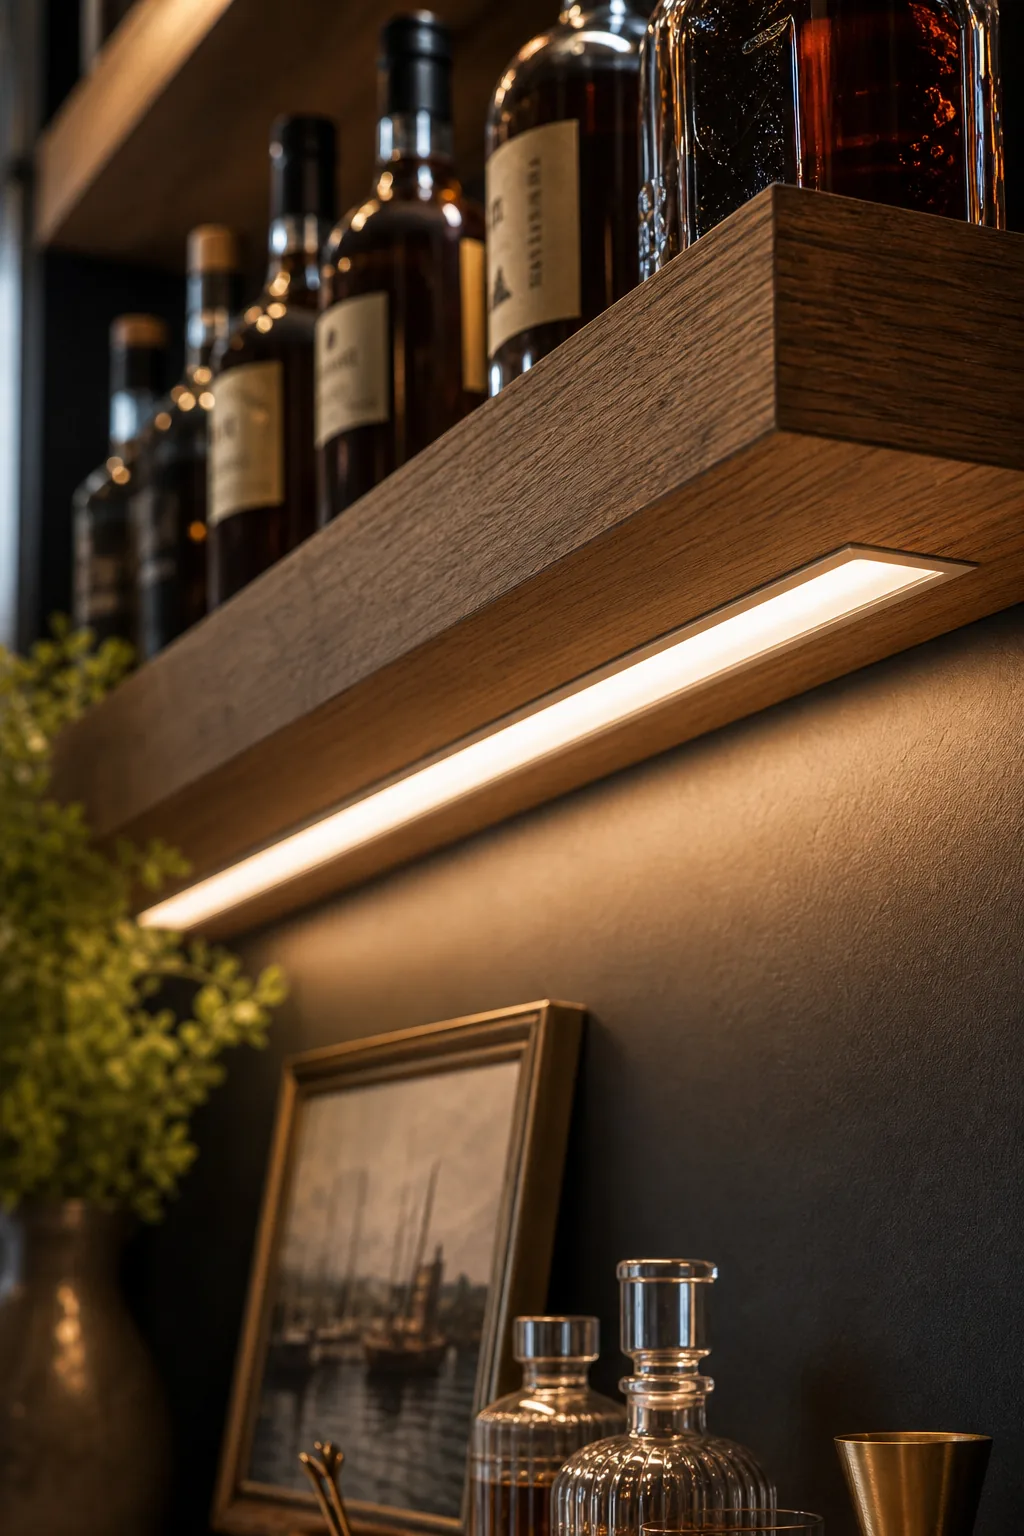
For a truly seamless installation, route a continuous 1/2-inch deep groove into the underside of your floating wood shelves. Embedding a frosted aluminum diffuser channel directly into this groove guarantees a smooth, continuous ribbon of light across the stone counters below.
Selecting Diffuser Lens Options
The aluminum channel embedded in your shelf must be securely capped with a high-quality polycarbonate diffuser lens to function properly. Choosing a milky white frosted lens offers the best light dispersion, completely eliminating the harsh dotted reflections that ruin the visual appeal of polished counters.
The Ambient Glow: Softening the Back Wall
With the task and accent layers securely integrated, the final step is softening the perimeter of the room. The ambient glow acts as your foundational background lighting, filling in harsh shadows with a soft wash of light that makes the space feel expansive.
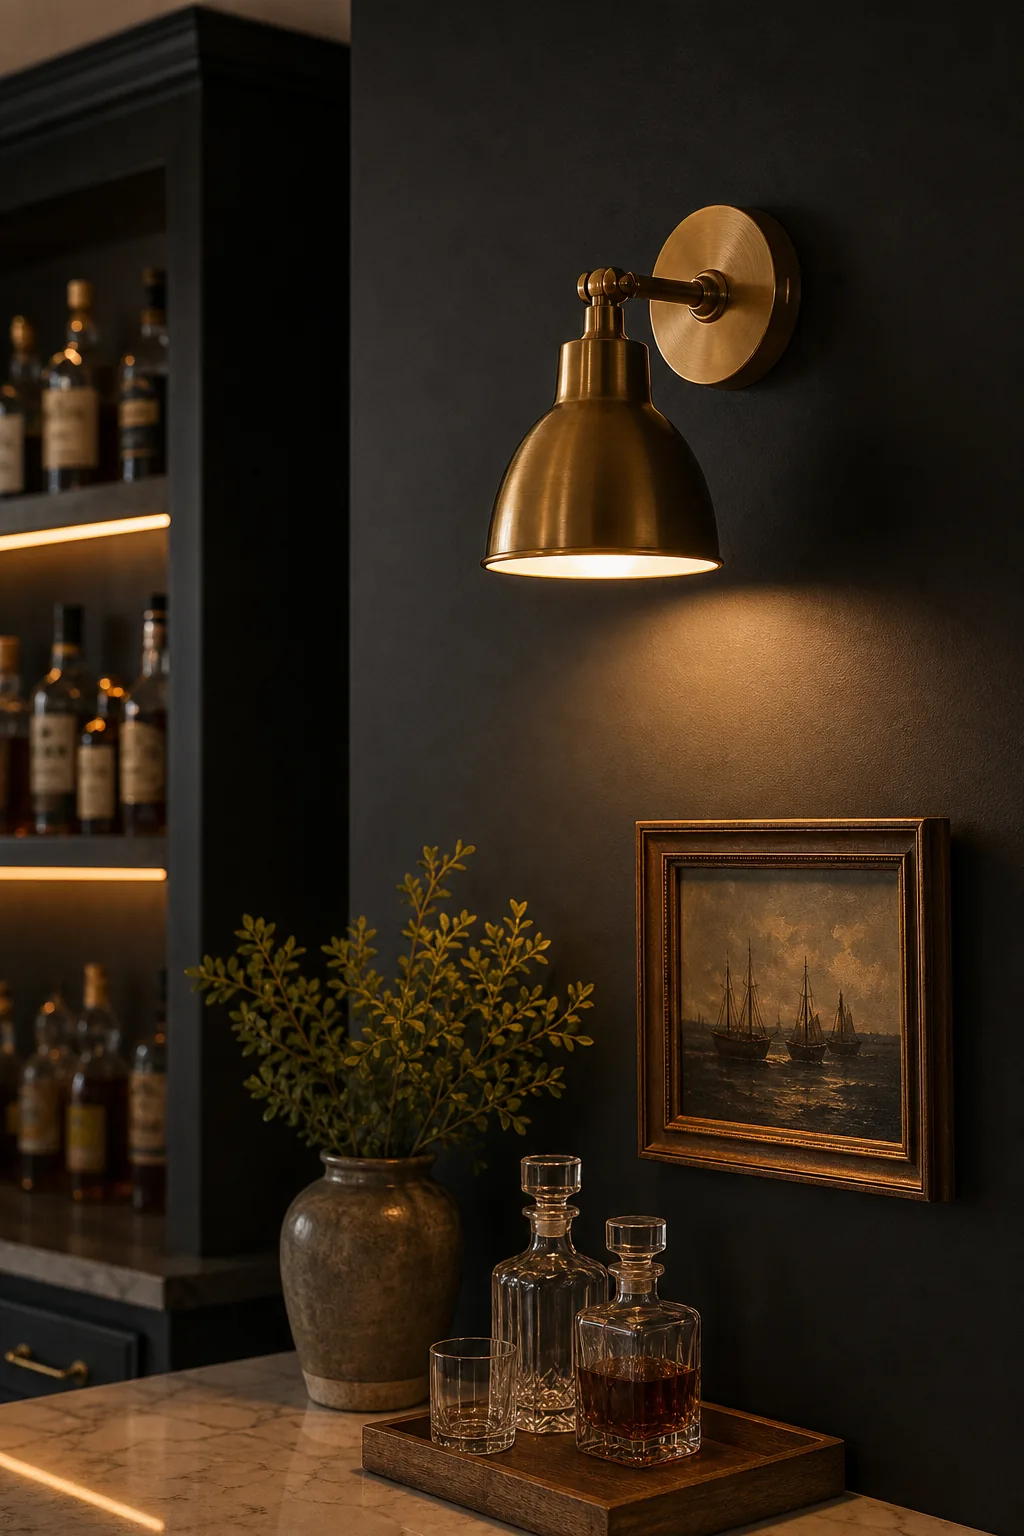
Placing brass wall sconces directly against the dark painted walls ensures they cast flattering, eye-level illumination across the faces of your guests. These fixtures provide the critical baseline visibility needed when the overhead task lights are completely turned off for the evening.
Integrating Smart Lighting Controls
Managing three distinct layers of light manually can quickly become tedious during a busy cocktail gathering with multiple guests. Upgrading your standard wall switches to a programmable smart keypad allows you to activate preset scenes that instantly adjust all three zones to their perfect relative brightness.
Balancing the Three-Layer System
The ultimate secret to a moody home bar is wiring your task, accent, and ambient layers to completely independent dimmer switches. This separation allows you to manually fine-tune the room’s atmosphere as the evening progresses from early prep to late-night drinks.
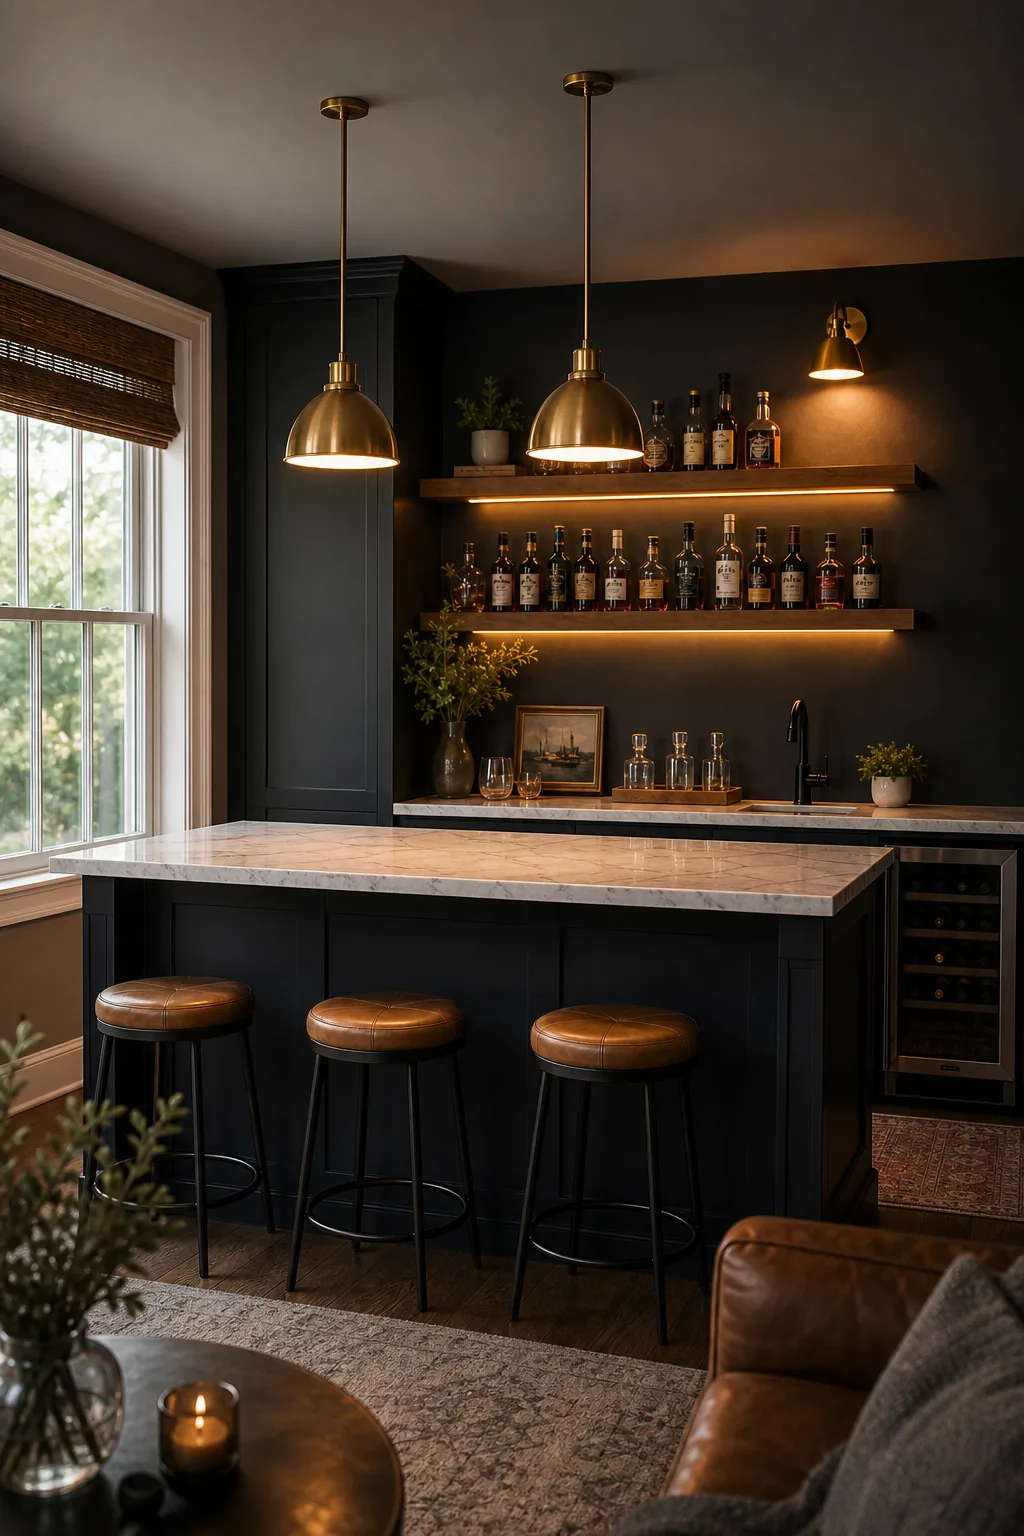
By keeping the accent wash bright for display purposes while aggressively dimming the overhead pendants, you create a sophisticated, lounge-like environment. Mastering this three-layer balance guarantees your setup always looks intentionally designed and perfectly adapted to the occasion.