How to Build a Lush Wedding Centerpiece (Stem Count Included)
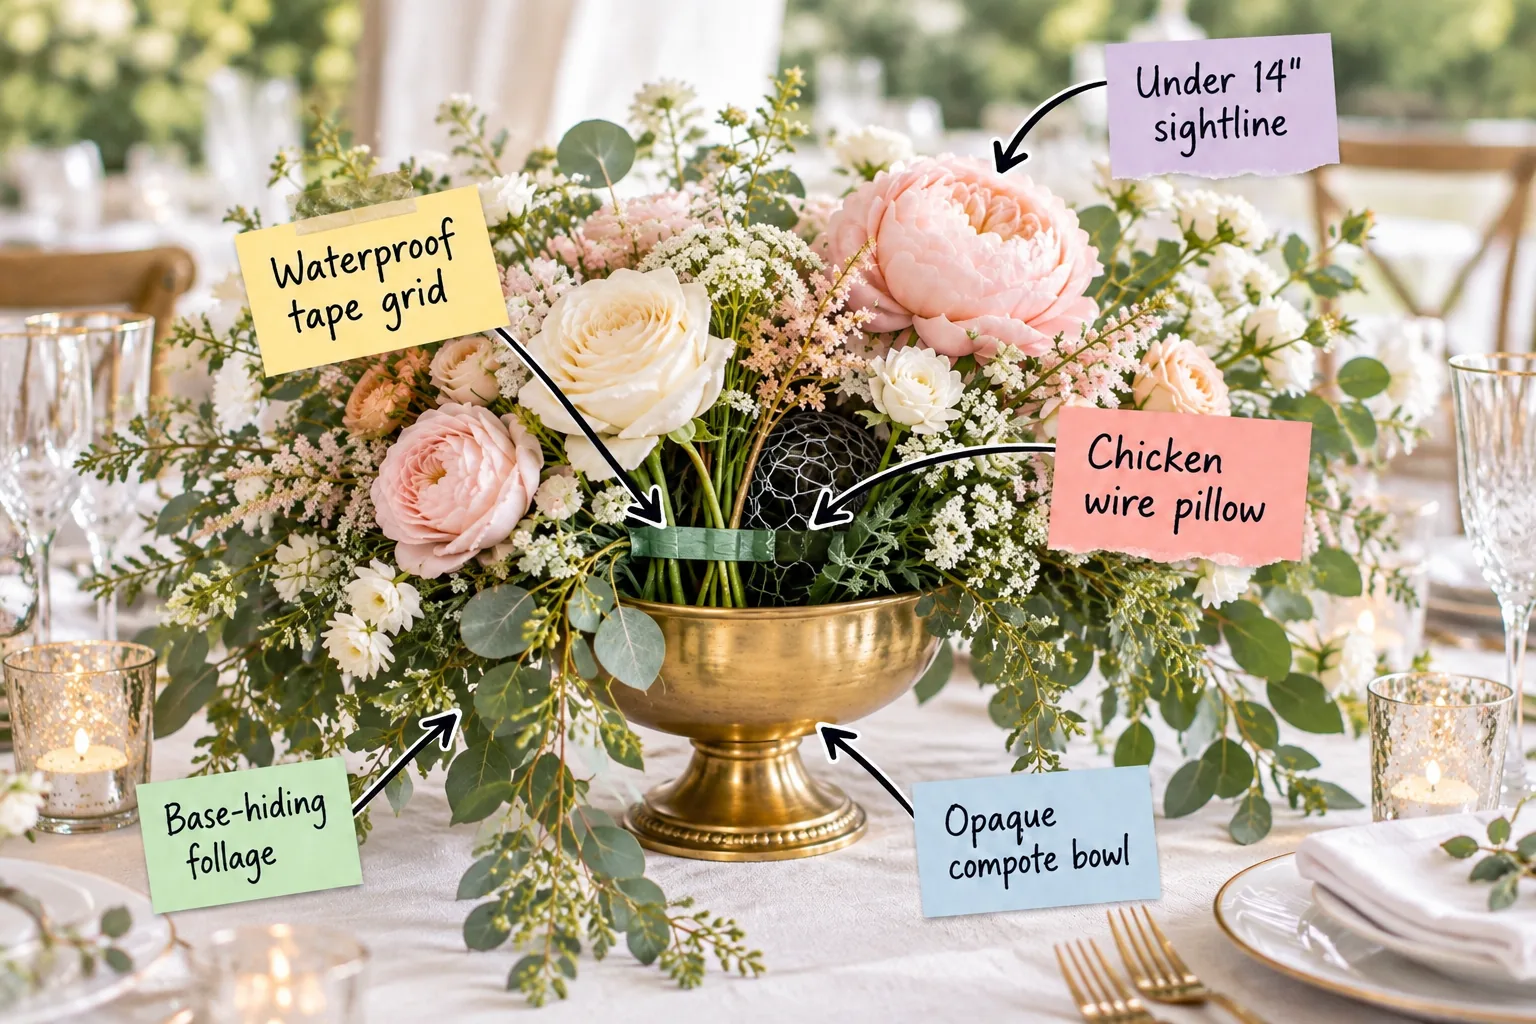
Master the hidden floral mechanics behind stunning wedding centerpieces, and get the exact stem count and supply list to build these lush compote arrangements yourself. With the right foundation, you can easily create professional-level designs that stay perfectly intact from the studio to the reception table.
Selecting an Opaque Compote Bowl
An opaque brass or ceramic vessel is absolutely essential for hiding the messy wire and tape mechanics that support a lush, professional arrangement.
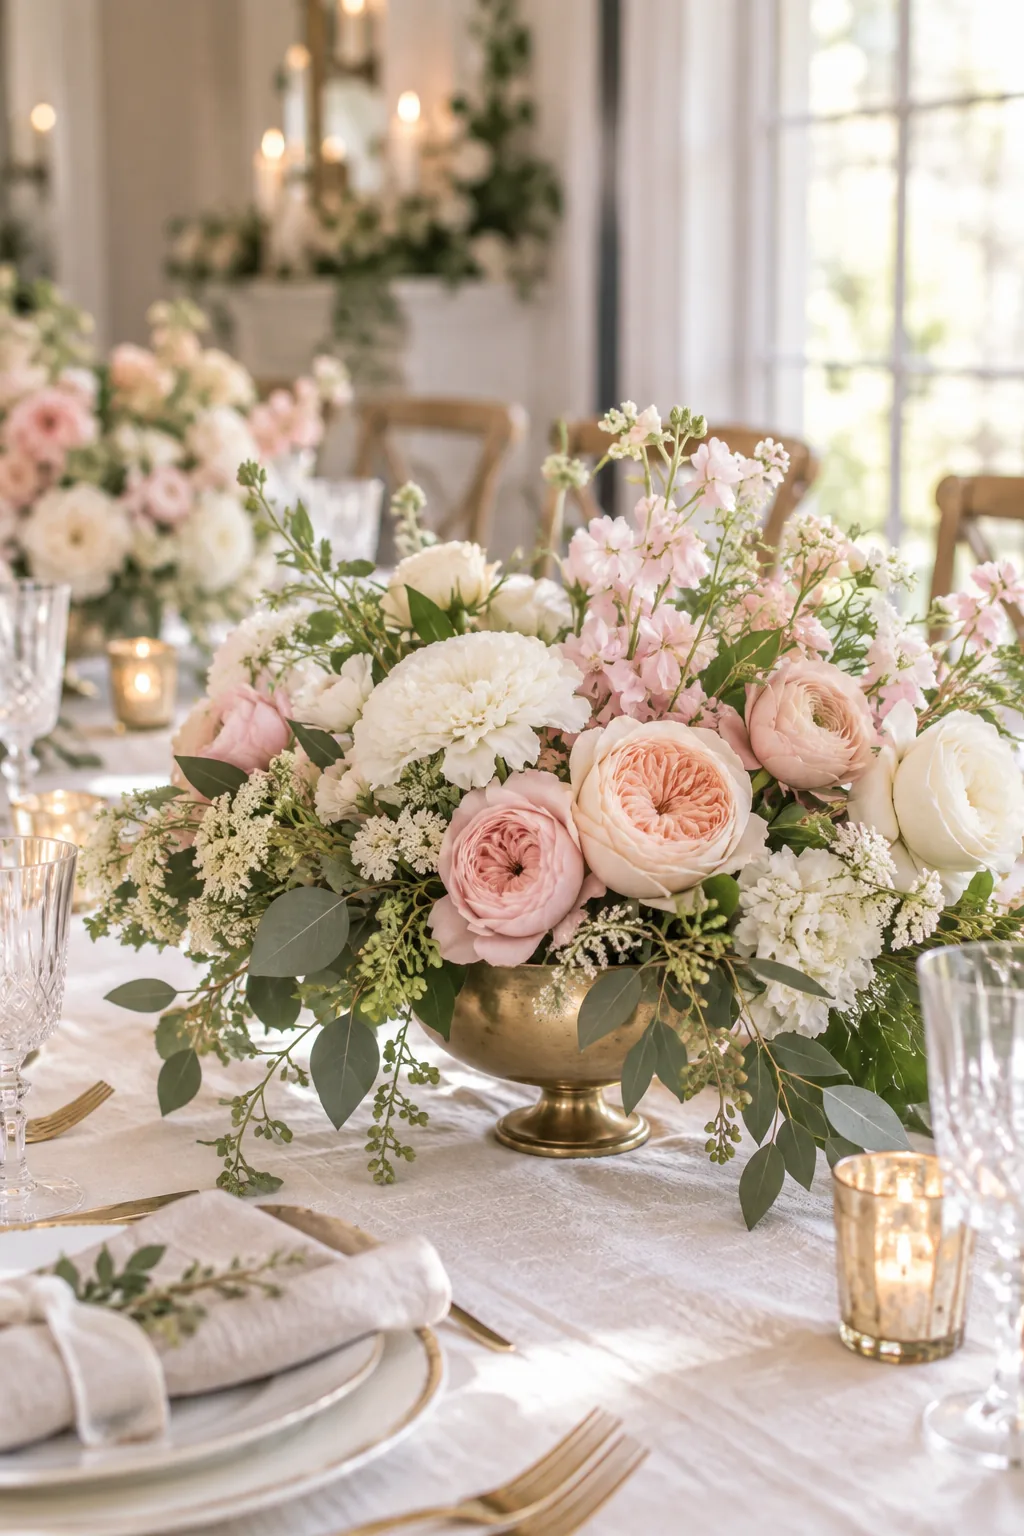
I recommend choosing a 6-to-8-inch diameter bowl with a pedestal base to beautifully elevate the flowers while keeping the table footprint small enough for family-style dinner service.
Preparing Your Compote Bowl
Before any mechanics go in, the vessel must be completely spotless to ensure your tape adhesives work properly. Wash the interior with warm soapy water and dry it completely with a clean microfiber cloth.
Forming the Chicken Wire Pillow
Start your foundation by cutting a 12-by-12-inch square of PVC-coated chicken wire to create the hidden internal structure.
- Cut the coated wire square using heavy-duty floral shears.
- Fold the sharp cut edges inward to create a smooth, rounded shape.
- Press the loose sphere firmly into the base of your compote bowl.
Shaping the Wire for Optimal Support
This airy chicken wire pillow holds heavy, woody stems at precise angles without crushing their delicate water-drawing ends. A perfectly flat piece of wire will not hold stems upright, so ensure your folded shape fills the base completely.
Securing the Waterproof Tape Grid
Lock your wire pillow in place by building a tight tic-tac-toe grid across the rim using 1/4-inch clear waterproof floral tape.
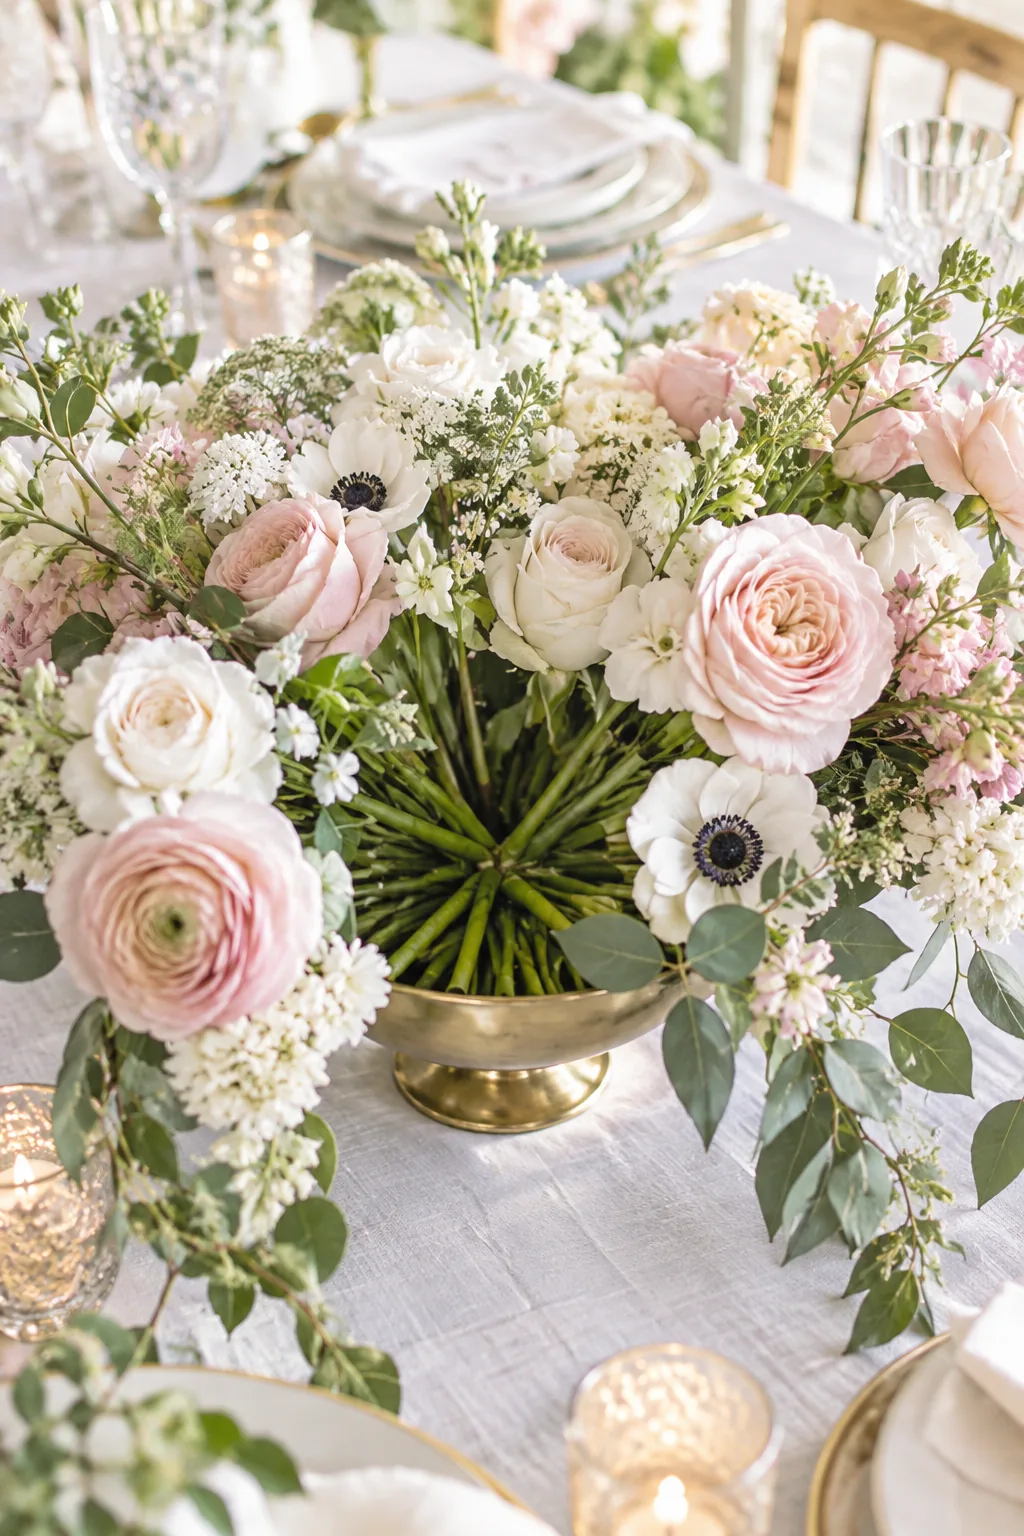
Even the best chicken wire structure will fail if it shifts during transport, so ensure the tape extends exactly one inch down the outside of the bowl for maximum grip.
Pre-Stretching the Tape for Adhesion
Waterproof floral tape is activated by tension, meaning you must pull it slightly as you apply it. Stretch the tape firmly across the bowl’s opening to engage the adhesive before pressing it down over the rim.
Testing the Grid’s Stability
Before adding any water, gently press down on the center of your taped grid to check for unwanted movement. The wire pillow should bounce slightly but remain firmly locked against the metal rim.
Establishing Base-Hiding Foliage
Your very first layer should be trailing greenery angled sharply downward to completely conceal the tape grid and hide the mechanics.
Whenever I design for dinner parties in my Boston apartment, I rely on this base-hiding foliage to instantly soften the hard brass edges and give the arrangement a romantic, lived-in feel.
Choosing the Best Trailing Greens
Not all greenery drapes naturally, so you must select varieties with flexible, cascading stems. Seeded eucalyptus, smilax, and trailing jasmine vine offer the perfect weight to pull downward over the edge of the bowl.
Building the Asymmetrical Shape
Map out the overall width and height using secondary flowers, aiming for an organic, asymmetrical silhouette rather than a rigid dome. In my styling projects, letting one dramatic branch reach slightly higher always makes the finished piece feel beautifully natural.
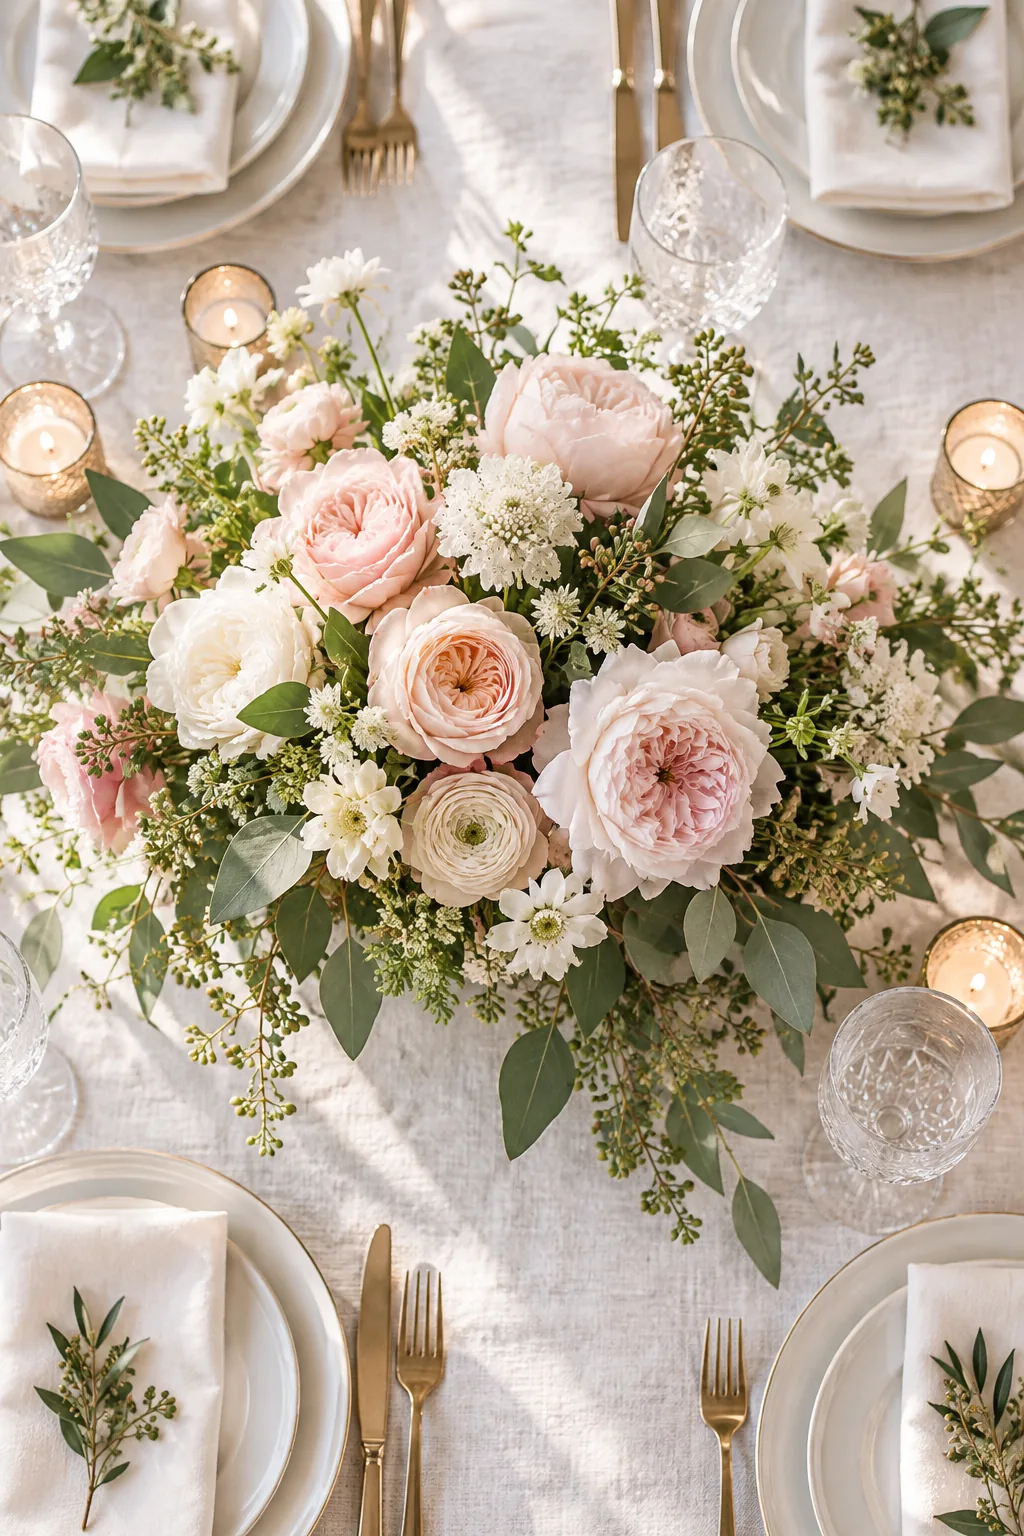
Creating Depth with Recessed Blooms
A professional arrangement relies on shadows and depth rather than placing every flower flat on the surface. Tuck a few darker secondary blooms deep into the wire pillow near the rim to create visual weight at the base.
Placing Focal Blooms Below the 14-Inch Sightline
The most important rule for any table arrangement is keeping your highest focal flowers strictly under the 14-inch sightline.
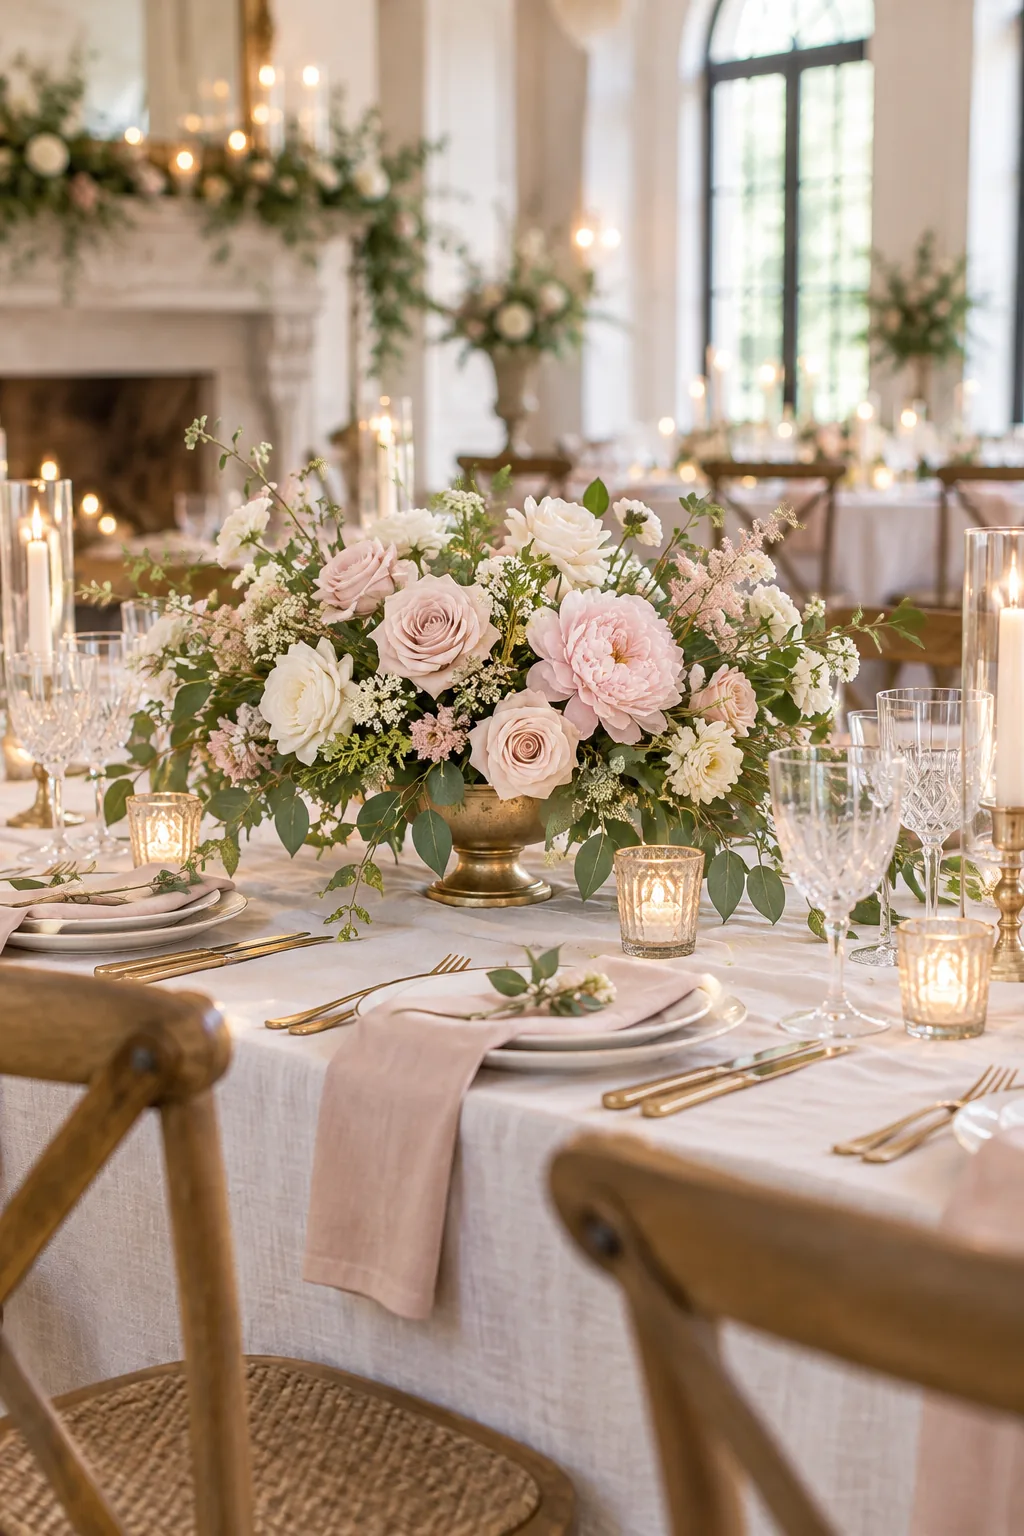
This specific height limit ensures seated guests can easily make eye contact and converse across the table without awkwardly leaning around your beautiful blooms.
Spacing the Primary Focal Flowers
Your largest, most expensive blooms should be distributed evenly rather than clustered in one spot. Place your first three garden roses in a loose triangle shape to ensure the arrangement looks balanced from every dining chair.
Adding Delicate Floaters for Movement
Finish the design by placing delicate, wispy stems like scabiosa or sweet pea high and wide to act as floating accents. These lightweight additions break up the dense clustering of the larger blooms and add romantic, fluttering movement.
Selecting Long-Lasting Floater Stems
Because delicate floating stems sit high above the water source, they are often the first to wilt. Choose hardy, water-efficient varieties like butterfly ranunculus that maintain their crisp structure for days after arranging.
Hydrating the Finished Centerpiece
Once every stem is placed, carefully pour fresh water through the foliage until the bowl is nearly full. Check the water level daily, as tightly packed stems will drink a surprising amount over the first 24 hours.
Your Stem Count and Mechanics Shopping List
Here is the exact floral recipe and mechanics shopping list you need to build one standard 6-inch compote arrangement.
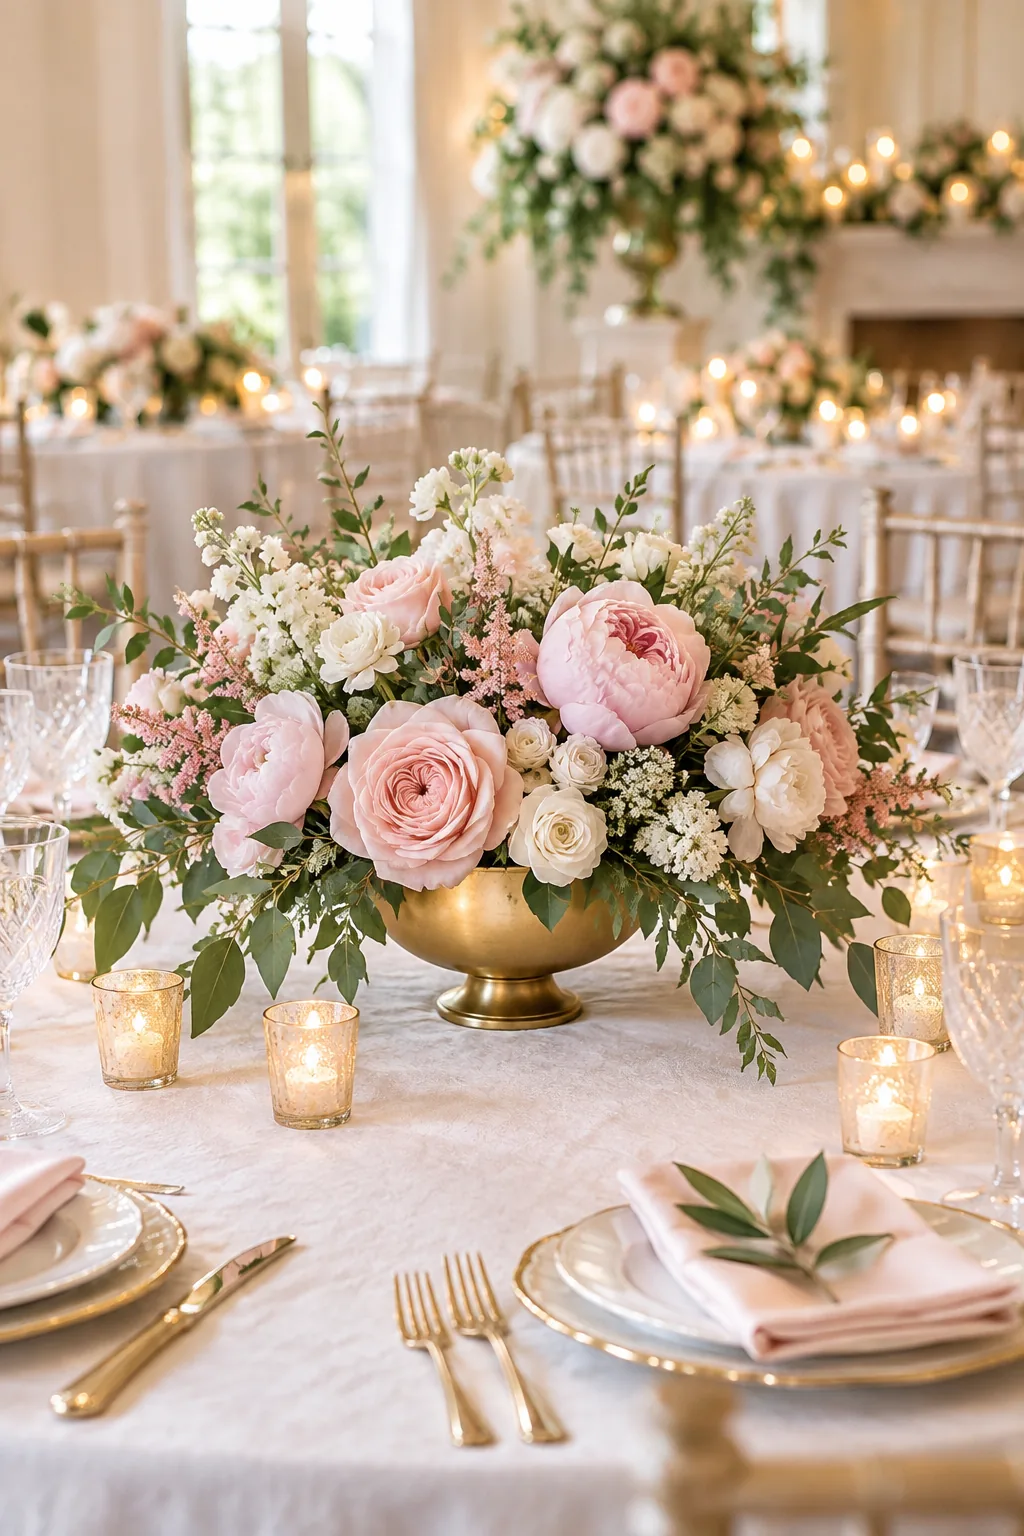
Whenever I order for a large dinner party, I always buy exactly this ratio to ensure every bowl looks abundantly full without wasting expensive specialty blooms.
| Category | Stem Count | Examples |
|---|---|---|
| Focal Blooms | 5 to 7 stems | Garden roses, peonies |
| Secondary Blooms | 7 to 9 stems | Ranunculus, tulips |
| Filler Flowers | 5 stems | Waxflower, spray roses |
| Foliage | 7 to 10 stems | Seeded eucalyptus, ruscus |
| Mechanics | 3 items | Wire, 1/4″ tape, shears |
Before you start cutting your freshly delivered stems, make sure your workspace and materials are fully prepped so the arranging process goes smoothly.
Three Ways to Style a Compote Centerpiece
Change the vessel and the floral palette to completely transform the mood of your table.
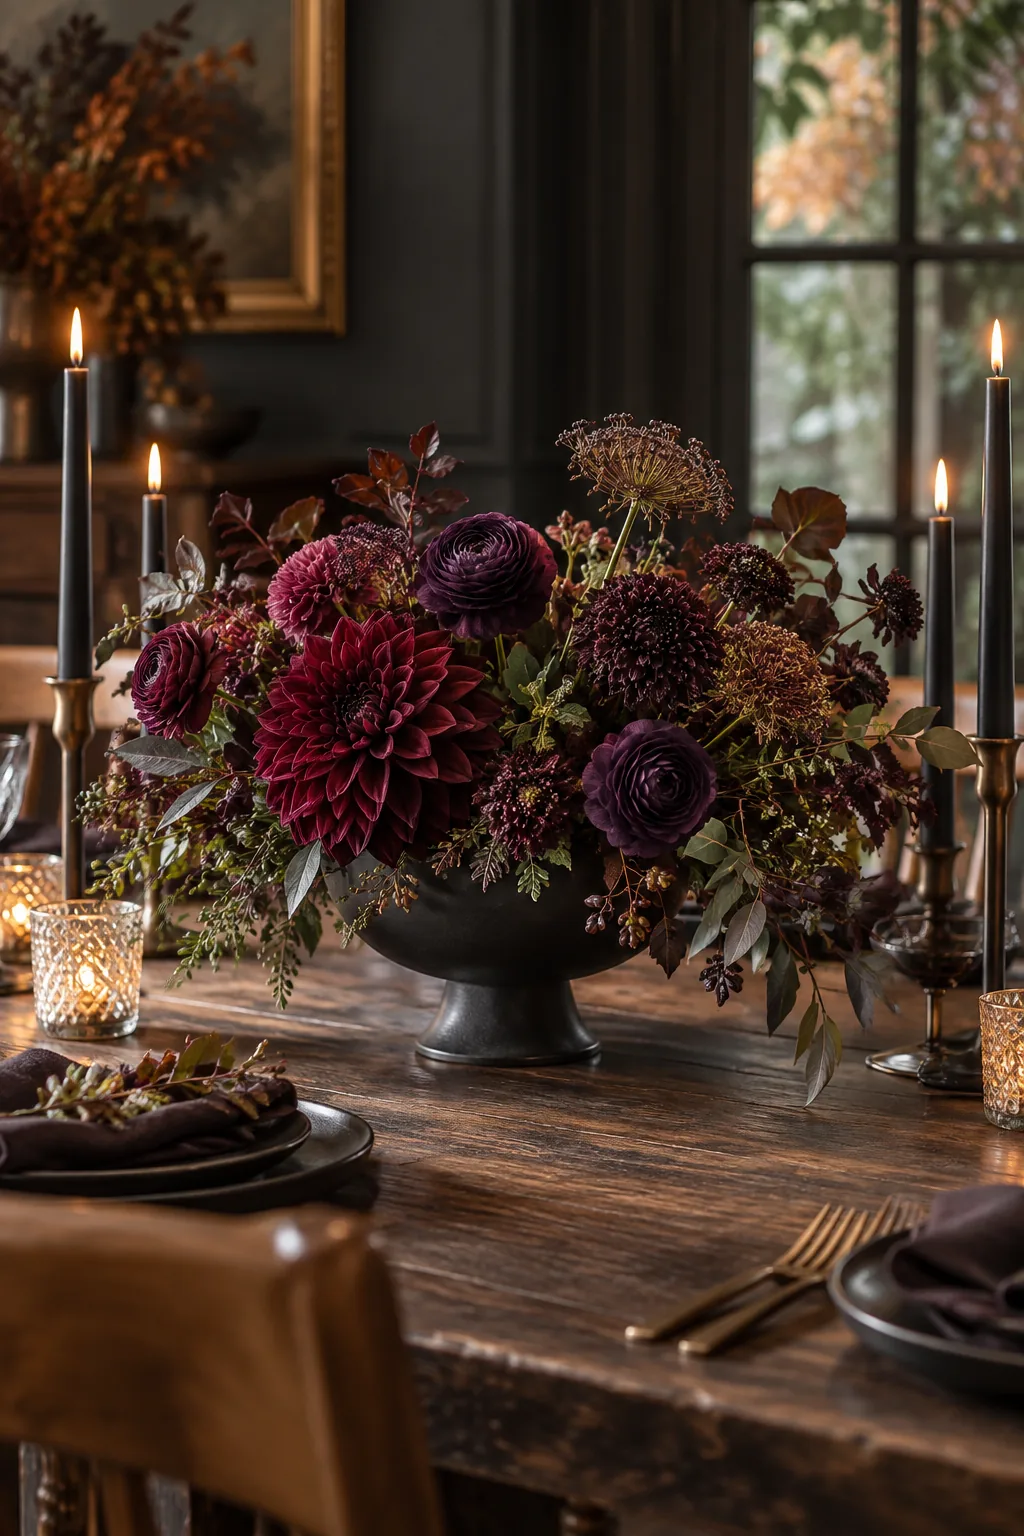
Moody jewel tone elegance: Swap pastel pinks for deep burgundy dahlias and chocolate lace flower to create a dramatic, romantic atmosphere for an autumn evening reception.
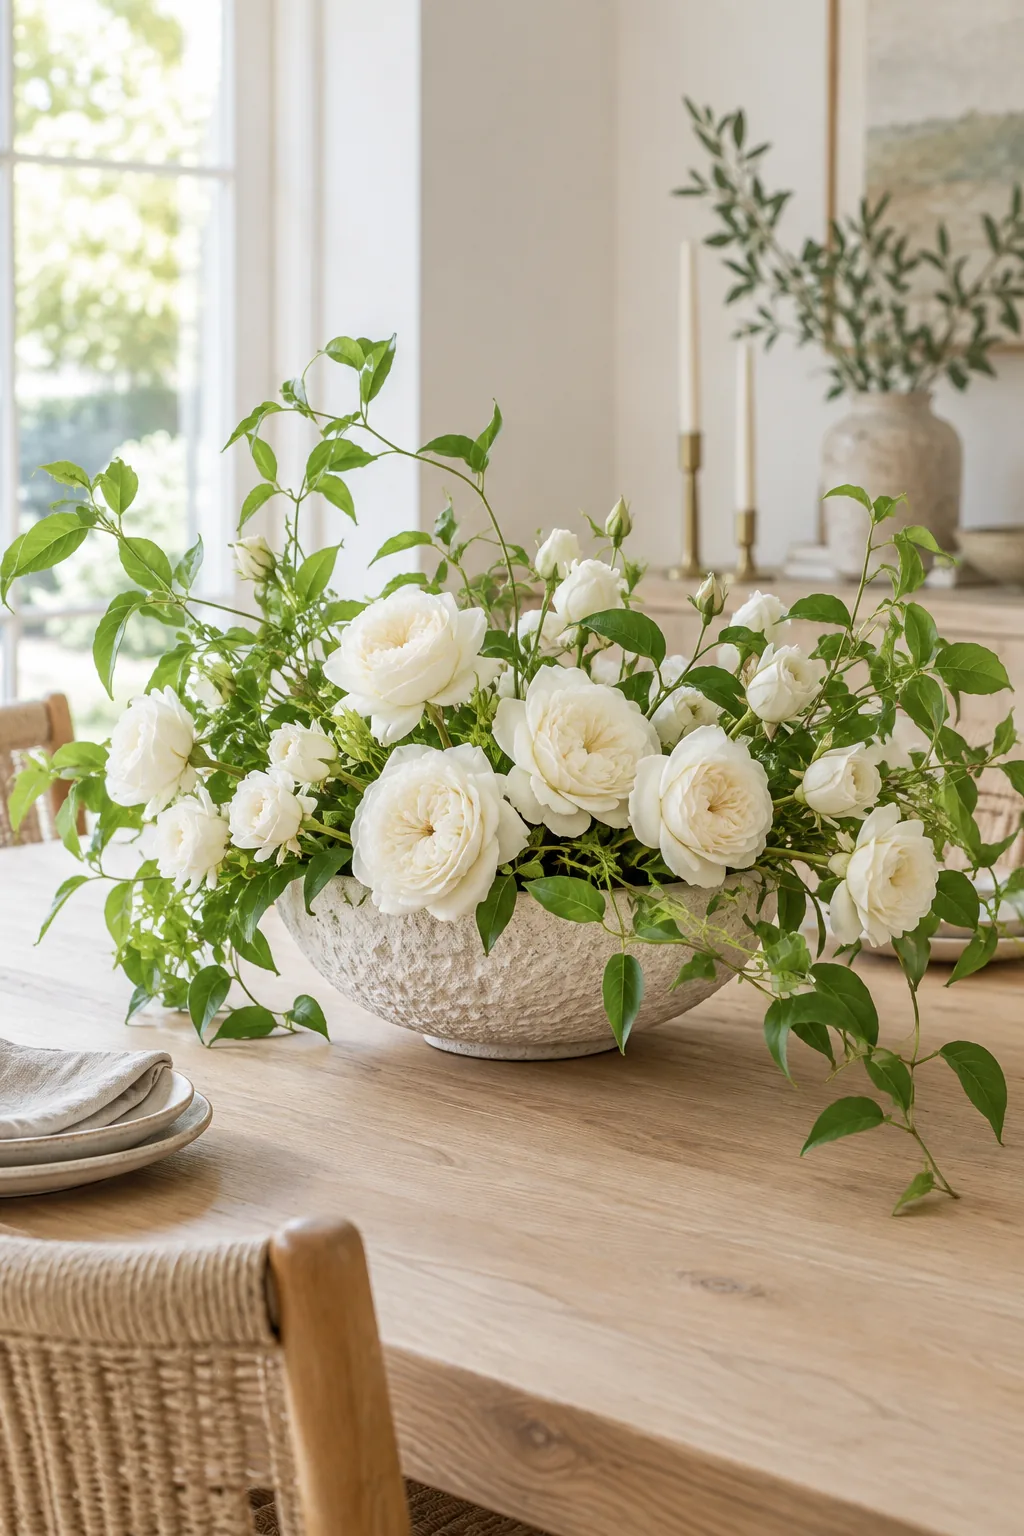
Crisp white and green minimalism: Stick to a strict palette of white garden roses and bright smilax vines in a textured stone vessel for a fresh, modern aesthetic.
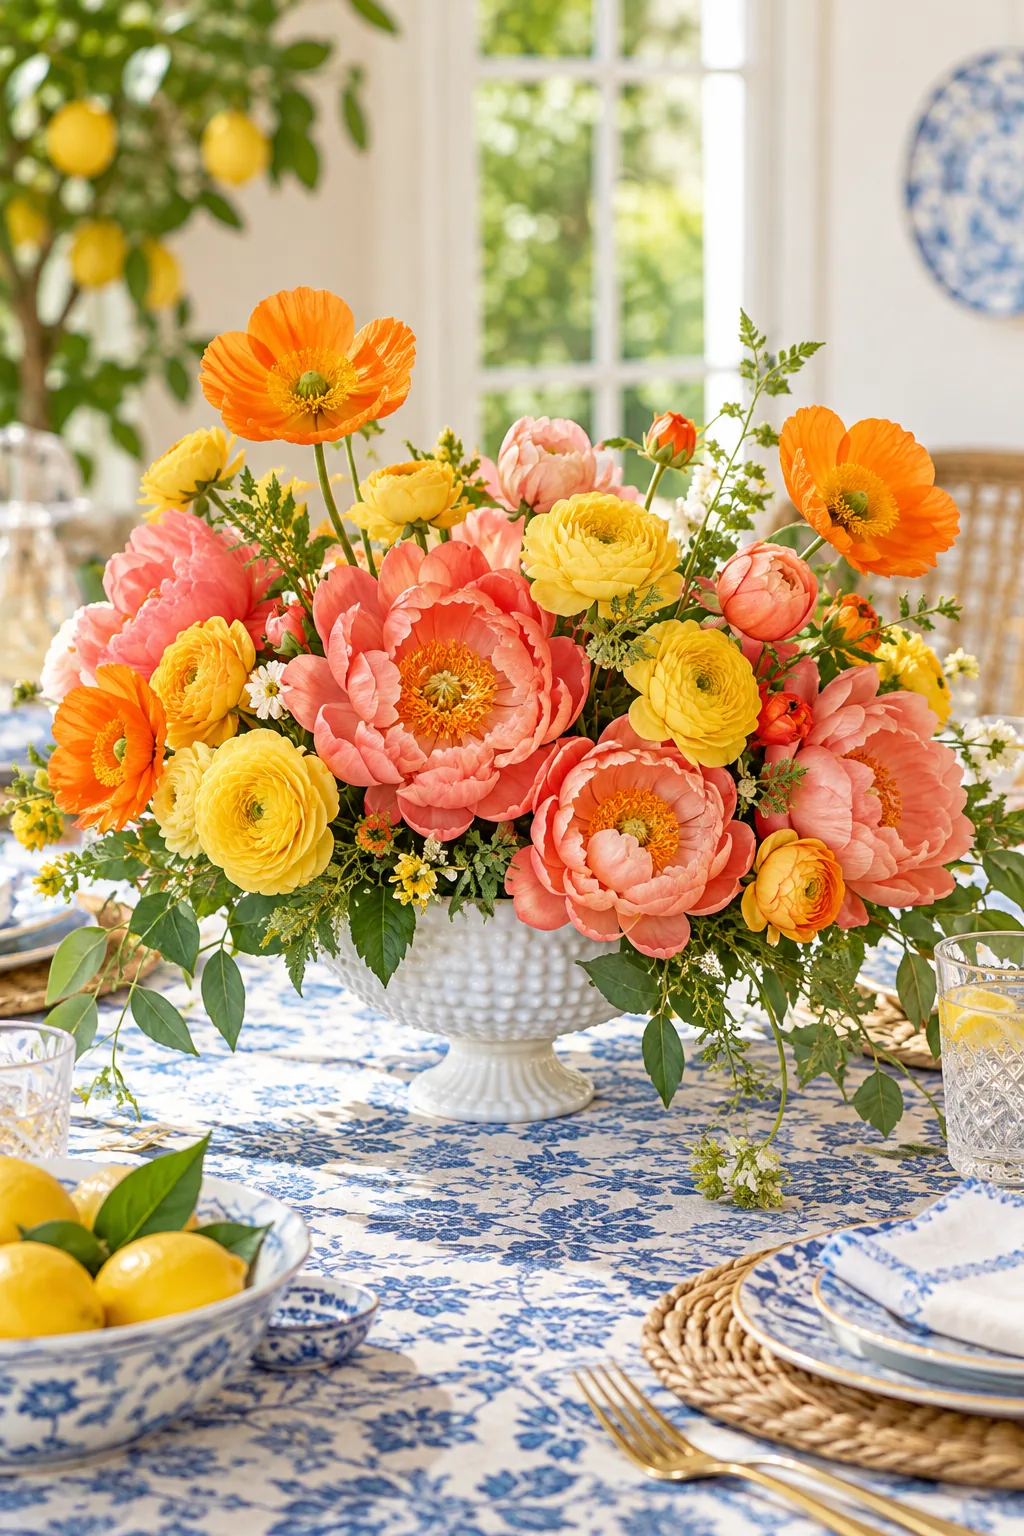
Vibrant summer citrus punch: Energize a summer tent wedding by mixing coral charm peonies with yellow ranunculus and bright poppies against a classic white milk glass base.