DIY Tension Room Divider: Hardware Guide & Lumber Cut List
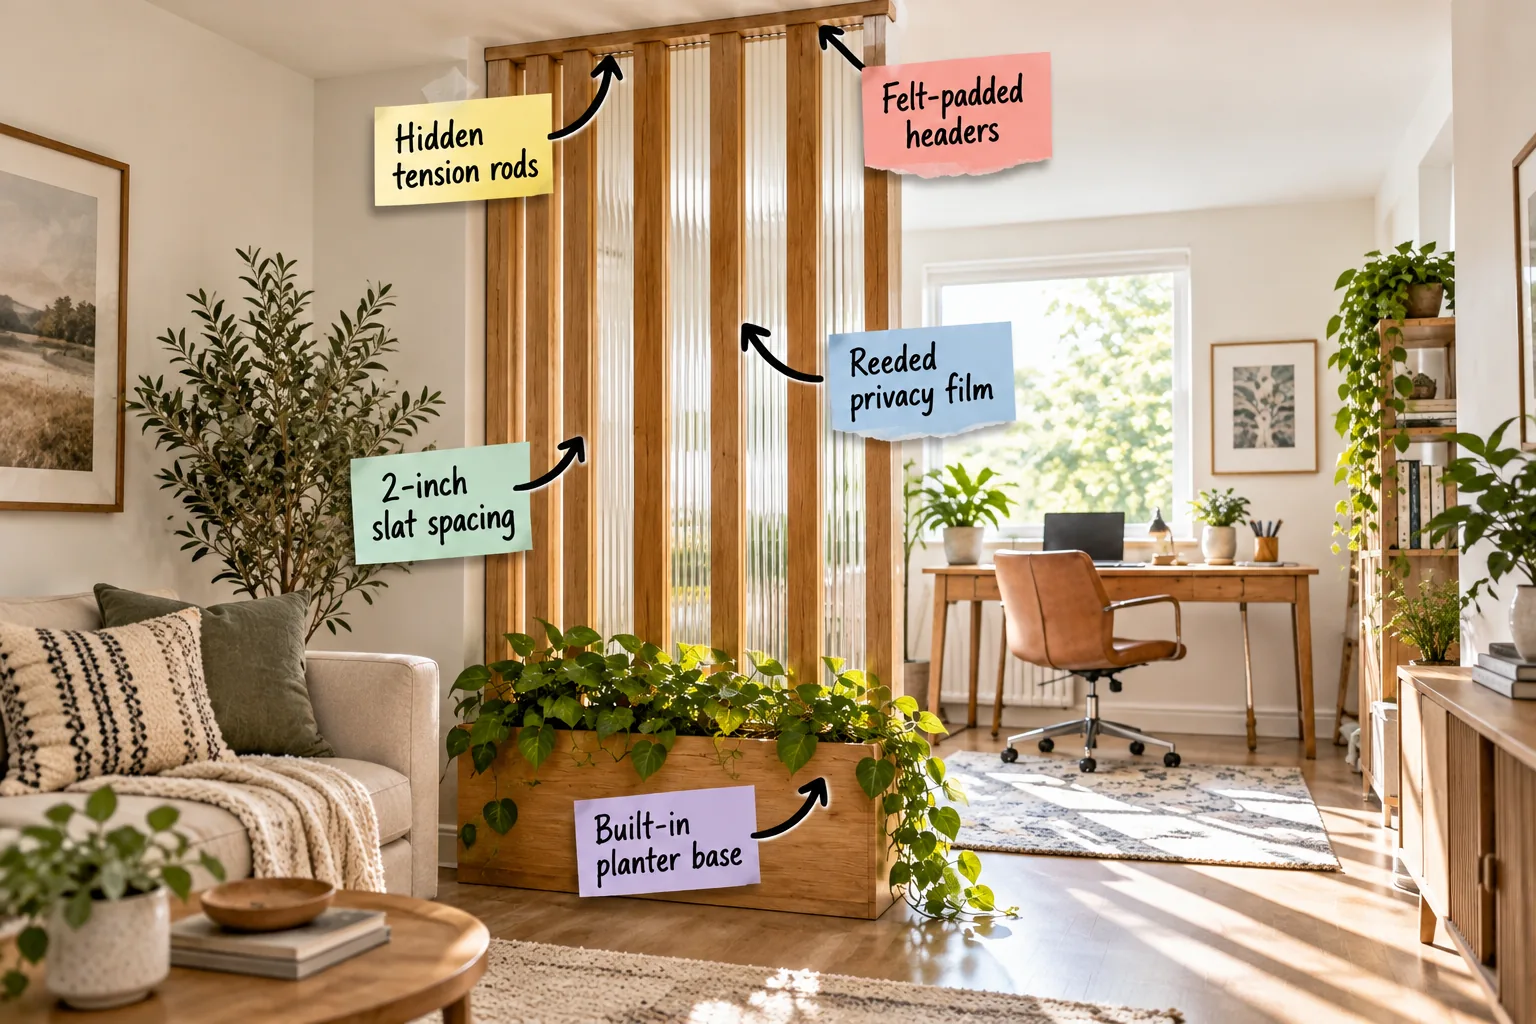
You will be able to purchase the exact hardware and cut the lumber to build a stable, renter-friendly tension divider. This complete DIY hardware and lumber cut list gives you the exact measurements to share the light without drilling into your floors or ceilings.
The Renter-Friendly Tension System
Tension-mounted room dividers use upward pressure against hidden structural framing rather than permanent screws, making them the ultimate renter-friendly upgrade. This compression system works perfectly in rooms with standard 8-foot or 9-foot flat ceilings where the top plate can press firmly into place.
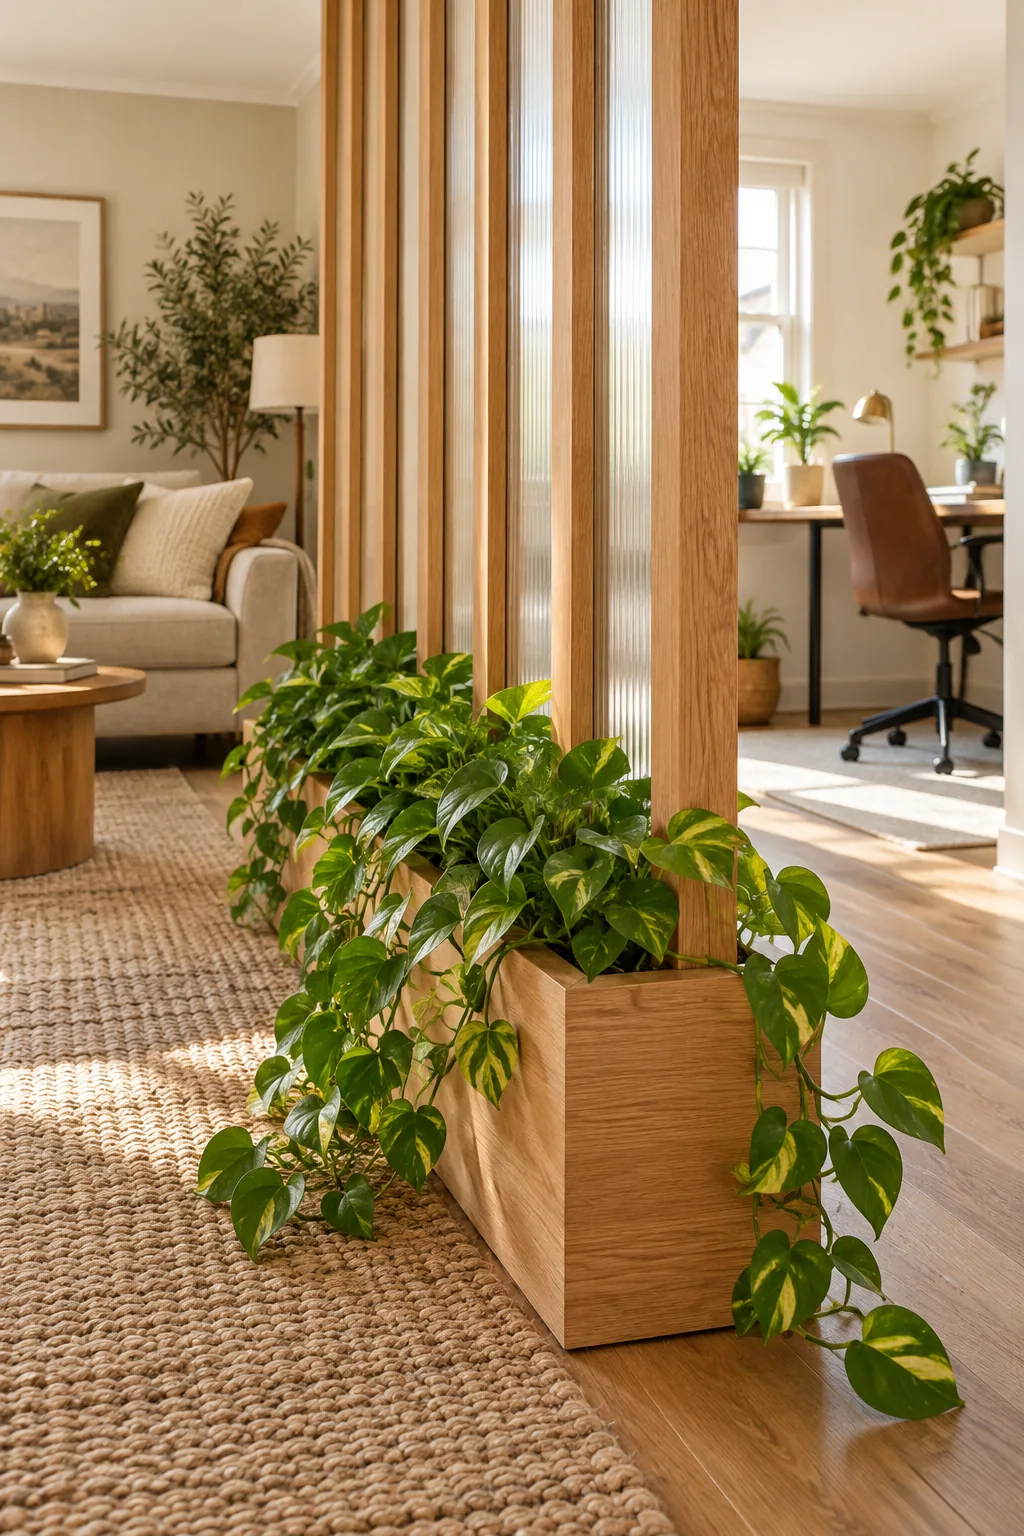
By relying on vertical force instead of destructive hardware, you can easily reposition the entire slat wall if your layout needs change. This adaptability makes the tension-mounted system a favorite for temporary home offices that require flexible boundaries.
Identifying Solid Ceiling Joists
Before purchasing any materials, use a high-quality stud finder to locate the solid ceiling joists running across your room. Your tension divider must sit directly beneath these wooden beams, as pressing heavy-duty hardware into unsupported drywall will inevitably crack your ceiling.
Anchoring with a Built-In Planter Base
A low wooden box at the bottom grounds the structure and drastically lowers the center of gravity. I built my own base 12 inches deep and 14 inches high to comfortably conceal standard 10-inch nursery pots, and the extra soil weight completely stabilized my partition.
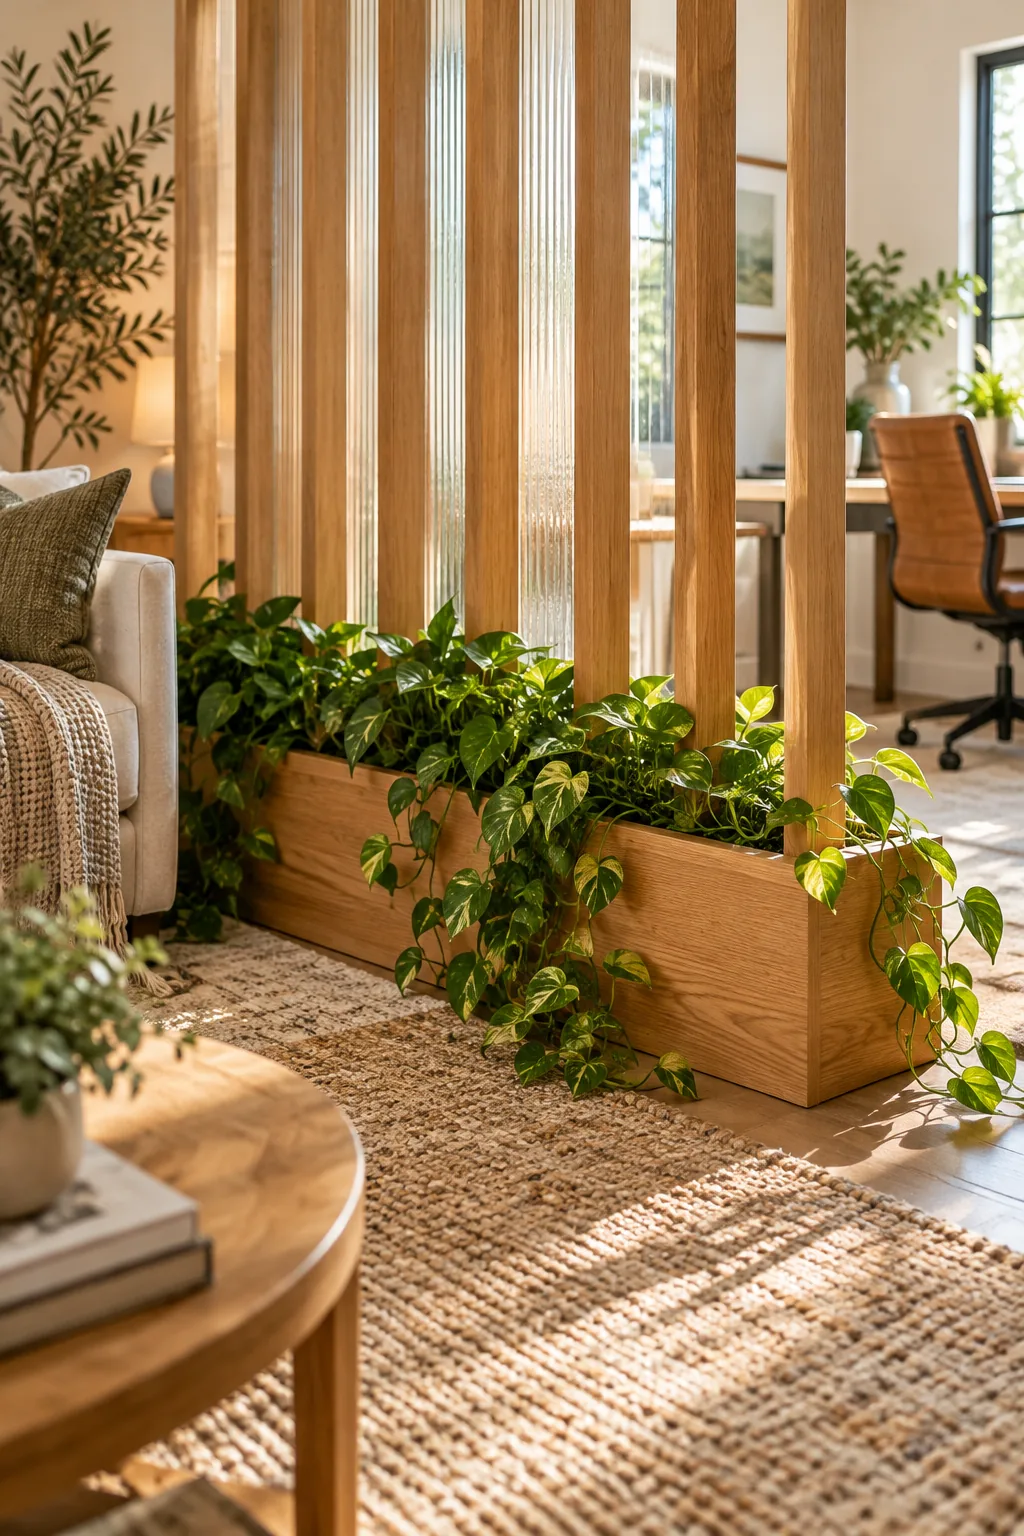
Filling this built-in planter base with trailing pothos or heavy snake plants adds crucial bottom stability while bringing vibrant life to the room. The dense soil acts as a functional ballast that keeps the entire frame locked firmly against the floor.
Sizing the Base for Nursery Pots
Building the planter box to accommodate standard drop-in nursery pots makes watering and plant maintenance incredibly simple. Leave a 1-inch clearance around your largest plastic pot so you can easily lift the plants out when they need repotting or deep watering in the sink.
Waterproofing the Inner Planter Box
Even if you keep your plants in separate plastic containers, occasional spills will happen inside the wooden base. Line the bottom interior of your planter with a heavy-duty plastic tray or apply three coats of marine-grade polyurethane to prevent standing water from warping the oak.
Setting the 2-Inch Slat Spacing
Maintaining a consistent visual rhythm is key, so I always use a scrap wood spacer block to ensure perfectly uniform gaps between uprights. Instead of measuring every single gap with a tape measure, simply wedge your pre-cut spacer between the oak slats during assembly.
This exact 2-inch slat spacing strikes the perfect balance between establishing visual privacy and allowing natural sunlight to flow freely into the darker corners of your apartment. It also prevents the divider from feeling like a heavy, solid wall.
Choosing the Right Oak Lumber
Select premium 1×2 select pine or red oak boards for your vertical slats to ensure the frame remains perfectly straight under tension. Inspect each board carefully by sighting down the edge at the hardware store, rejecting any pieces that show twisting, bowing, or deep knots.
Sanding and Sealing the Wood
Raw wood will absorb moisture from your houseplants and eventually warp the entire tension structure. Sand all your cut boards down to 220-grit smoothness, then apply a clear matte water-based sealant to protect the grain without altering the beautiful natural color of the oak.
Filtering Light with Reeded Privacy Film
To obscure the home office without blocking the sun, fit clear acrylic panels between the center slats and apply a textured film. The fluted surface beautifully obscures messy desk cords while letting a soft, diffused glow pass right through to your living area.
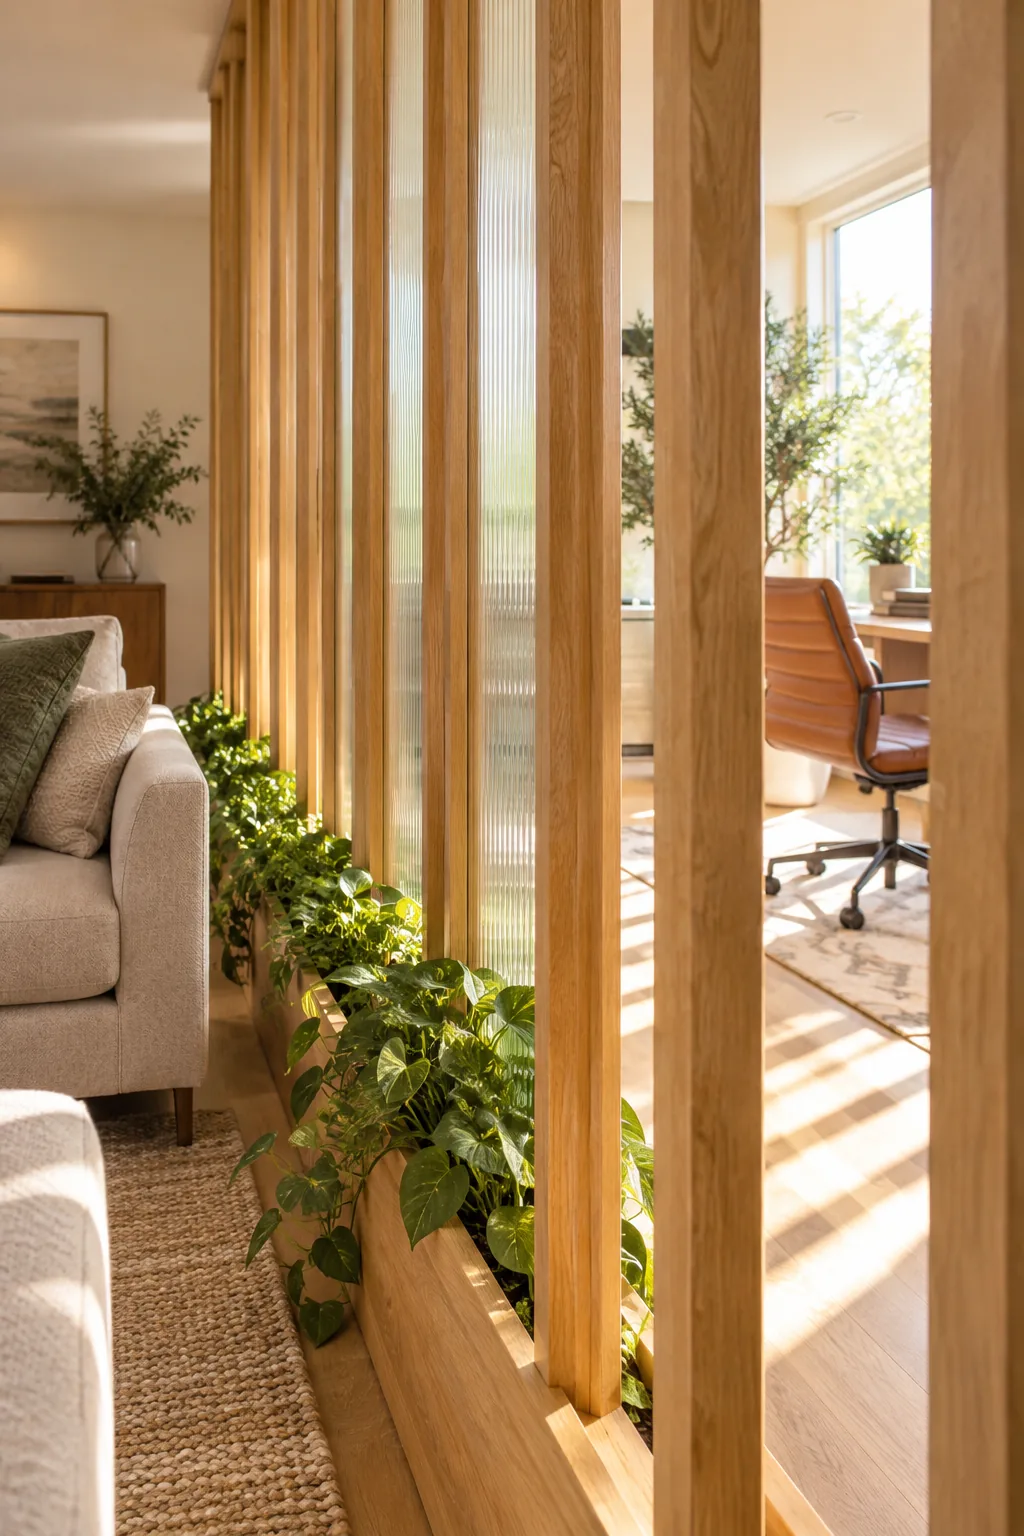
Standard 24-inch rolls of static-cling reeded privacy film can be easily cut to size and applied using just a spray bottle of soapy water and a squeegee. This simple layer transforms basic acrylic sheets into high-end architectural glass for a fraction of the cost.
Sourcing the Clear Acrylic Panels
Purchasing lightweight 1/8-inch clear acrylic sheets instead of real glass keeps the upper half of your room divider safe and manageable. Most local hardware stores will cut these acrylic panels to your exact dimensions for free, saving you the hassle of scoring them at home.
Concealing the Hidden Tension Rods
Heavy-duty adjustable leveling feet act as the tension rods that wedge the divider securely into place. When I built my divider, I recessed these threaded feet deep into a hollow channel in the top wooden plate so the metal components remained entirely hidden from the room.
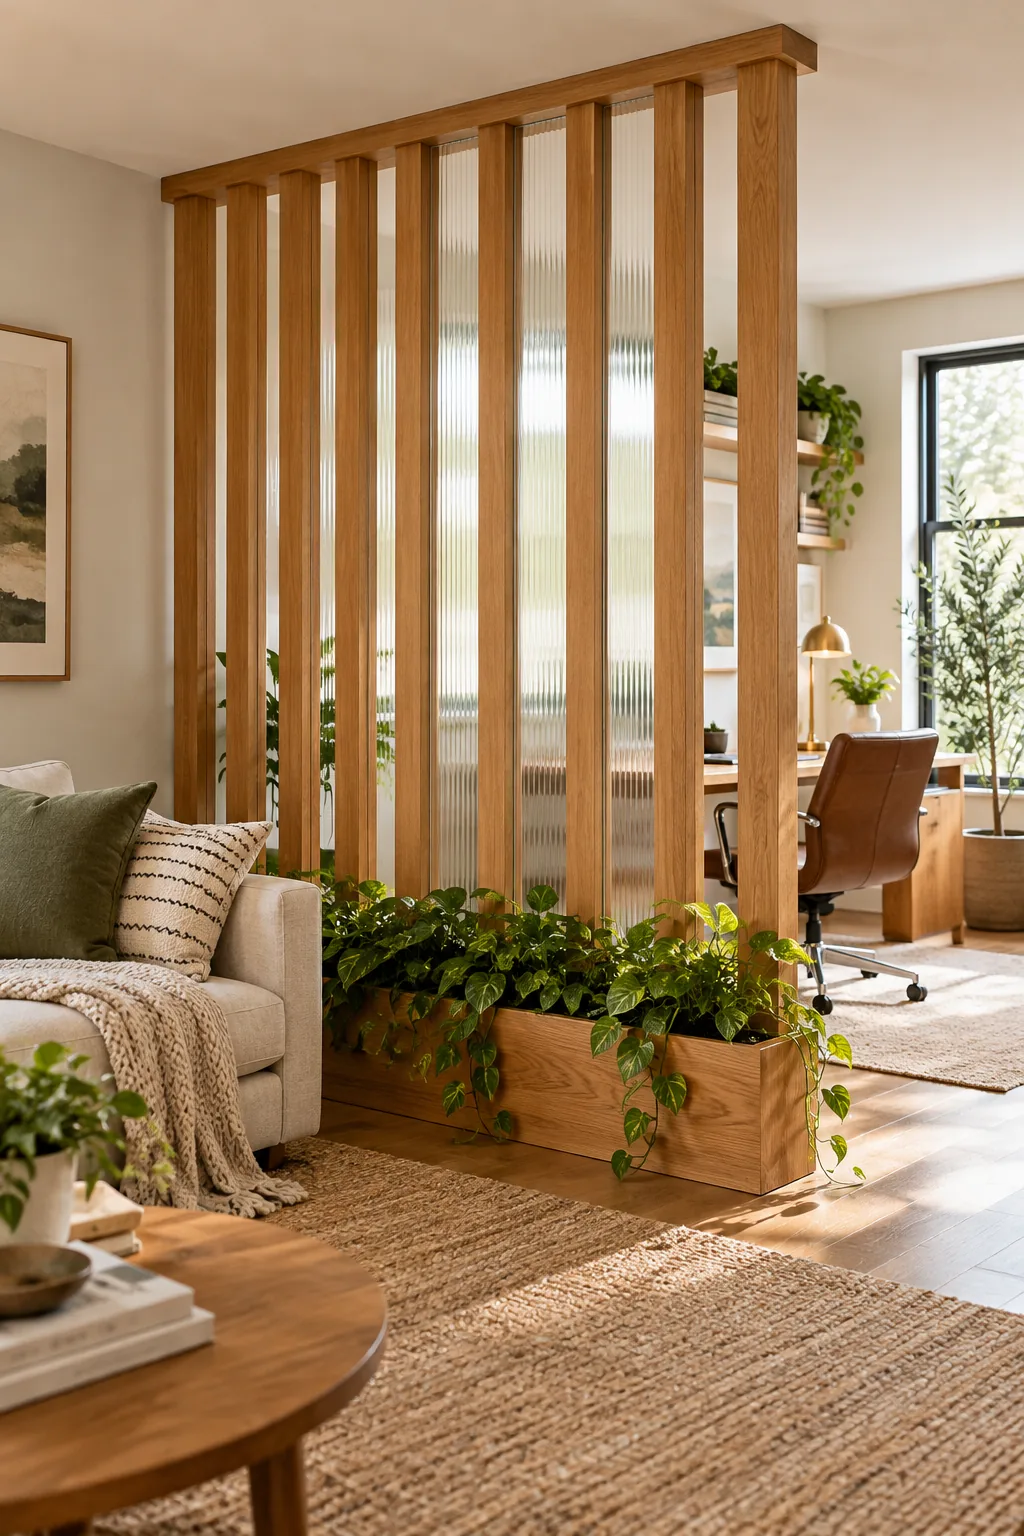
Achieving a seamless built-in look means adjusting the hardware carefully so the partition stands perfectly plumb without damaging the frame.
Creating the Recessed Hardware Channel
To hide the metal bases of your leveling feet, drill a 1-inch deep counterbore hole into the top plate using a Forstner bit. This recessed cavity allows the thick metal nut to sit flush below the wood surface, maintaining the illusion of a permanent architectural wall.
Protecting Ceilings with Felt-Padded Headers
To protect your ceiling paint and ensure you get your security deposit back, line the top wooden plate with heavy-duty adhesive felt pads. In my previous rental, these felt-padded headers compressed slightly under tension, providing a secure grip without leaving a single scuff mark when I moved out.
| Ceiling Texture | Felt Thickness | Application Method |
|---|---|---|
| Flat Drywall | 1/4-inch | Continuous strip along header |
| Light Popcorn | 3/8-inch plush | Double-layered at joist points |
| Exposed Wood | 1/8-inch dense | Spaced patches along the grain |
Selecting the right padding ensures the upward pressure is distributed safely across the ceiling surface. Always wipe the ceiling clean before pressing the header into place to prevent grinding trapped dust into the paint.
Pre-Assembly Stability Checks
Before filling the planter or adding the final decorative touches, verify the core structure is completely secure.
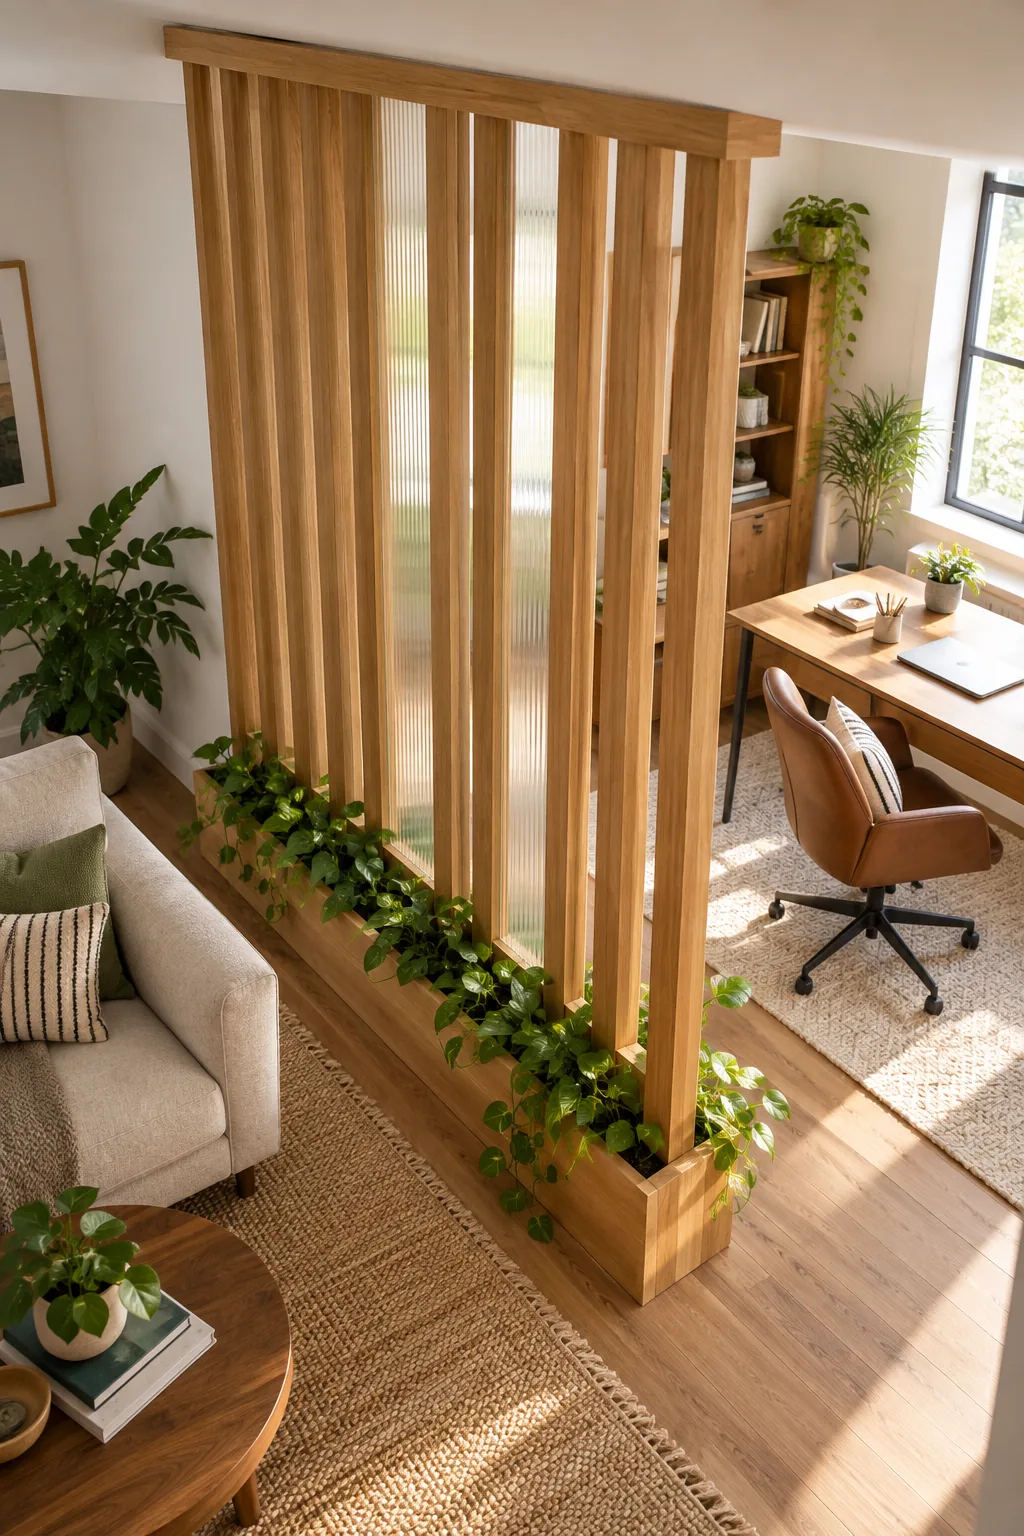
Finalizing the Tension Adjustments
Use an open-ended wrench to make micro-adjustments to each leveling foot until the pressure feels perfectly even across the entire top plate. Check the tension again after the first week, as the wooden frame and felt pads will naturally settle and compress slightly over time.
Routing the Panel Grooves
To hold the acrylic panels securely without using ugly plastic clips, use a router to cut a 1/8-inch deep groove down the center of your middle oak slats. This hidden channel allows the privacy panels to slide perfectly into place during the final assembly stage.
Attaching the Base Trim
Hide the structural screws on your planter box by wrapping the bottom edge with a simple 1×2 oak trim piece. Miter the corners at a 45-degree angle for a professional finish, securing the trim with wood glue and headless pin nails for a seamless look.
Maintaining the Wood Finish
Keep your oak room divider looking fresh by wiping down the slats monthly with a lightly damp microfiber cloth. If your planter box sustains any water damage over the years, lightly sand the affected area and reapply a thin coat of matte polyurethane to reseal it.
Your DIY Hardware and Cut List
Before making your final cuts, always confirm all lumber lengths against your specific ceiling height. You must cut the oak uprights exactly 3 inches shorter than your total floor-to-ceiling measurement to leave adequate room for the adjustable tension hardware to expand.
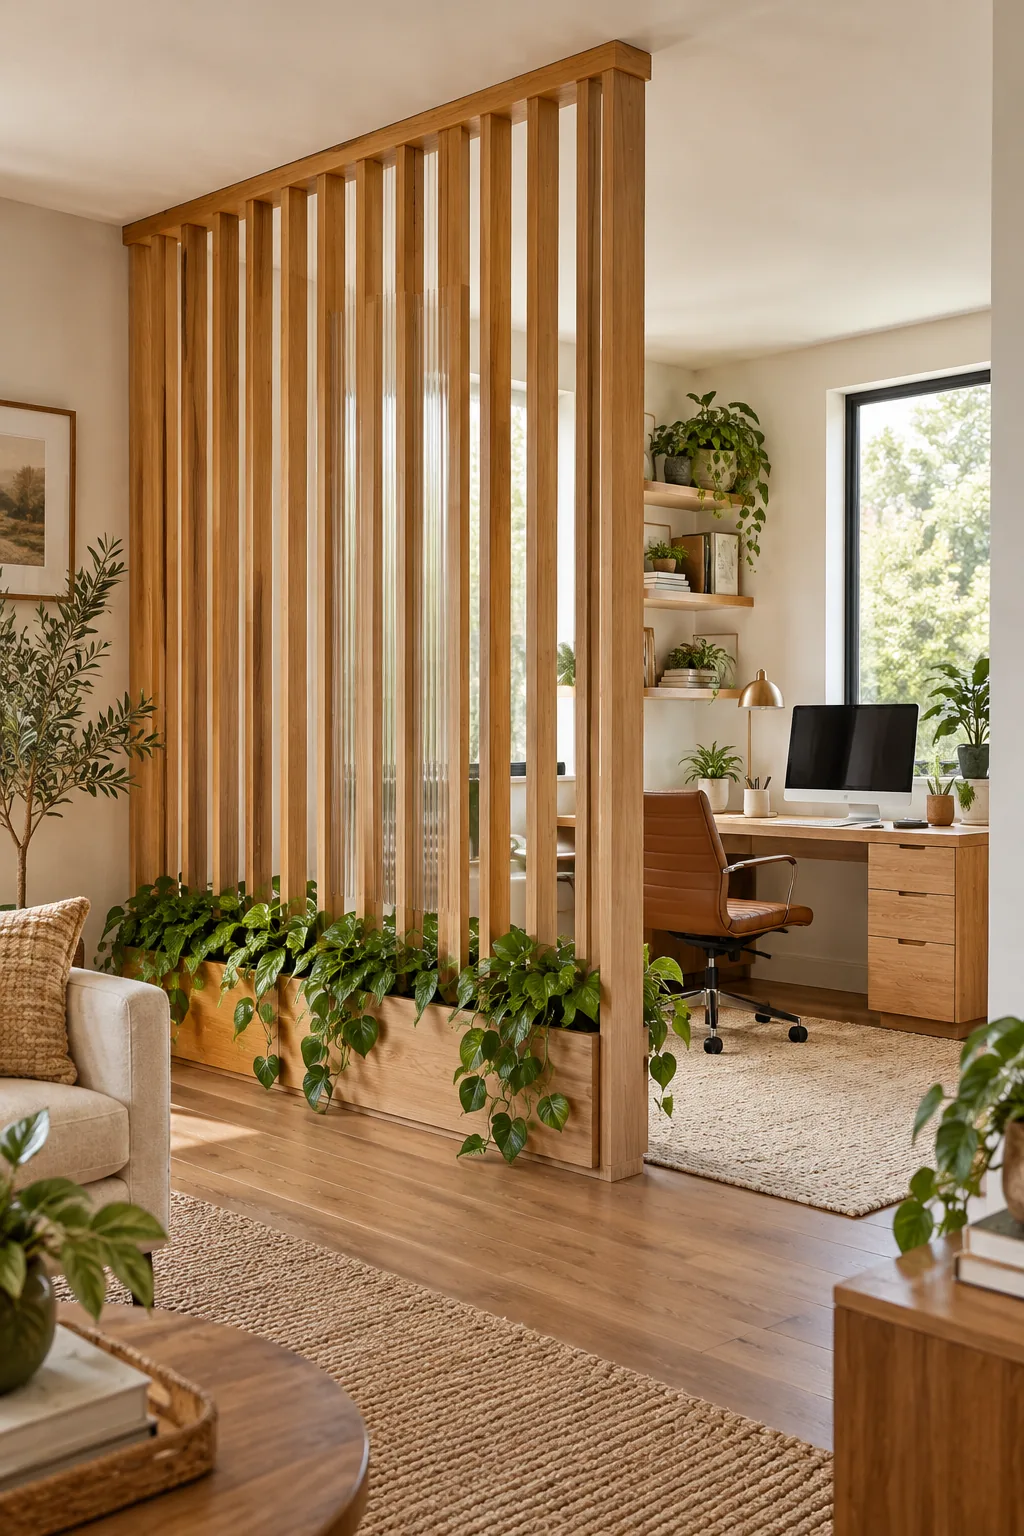
Take this exact DIY hardware and lumber cut list to your local home center to gather everything needed for a standard 8-foot ceiling build.
- Vertical Slats: Purchase ten 1×2 oak boards, cutting them to 93 inches long to accommodate the tension gap.
- Planter Base: Use 1×8 oak boards to construct a base box measuring 12 inches deep, 14 inches high, and 48 inches wide.
- Tension Hardware: Order four heavy-duty furniture levelers featuring a 2-inch threaded shank and a pivoting base.
- Privacy Panels: Cut 1/8-inch clear acrylic sheets to fit tightly between your center slats before applying the static film.
3 Ways to Style Your Tension Divider
Adapt the core hardware list to fit your home's unique aesthetic with these different material combinations.
Moody Walnut and Glass: Rich walnut slats and frosted glass panels create a sophisticated, moody divider for a primary bedroom. Use dark wood stain for instant elegance.

Playful Painted Sage: Sage green painted pine and clear acrylic panels separate a vibrant playroom from a family space. Paint the wood before assembly for clean edges.
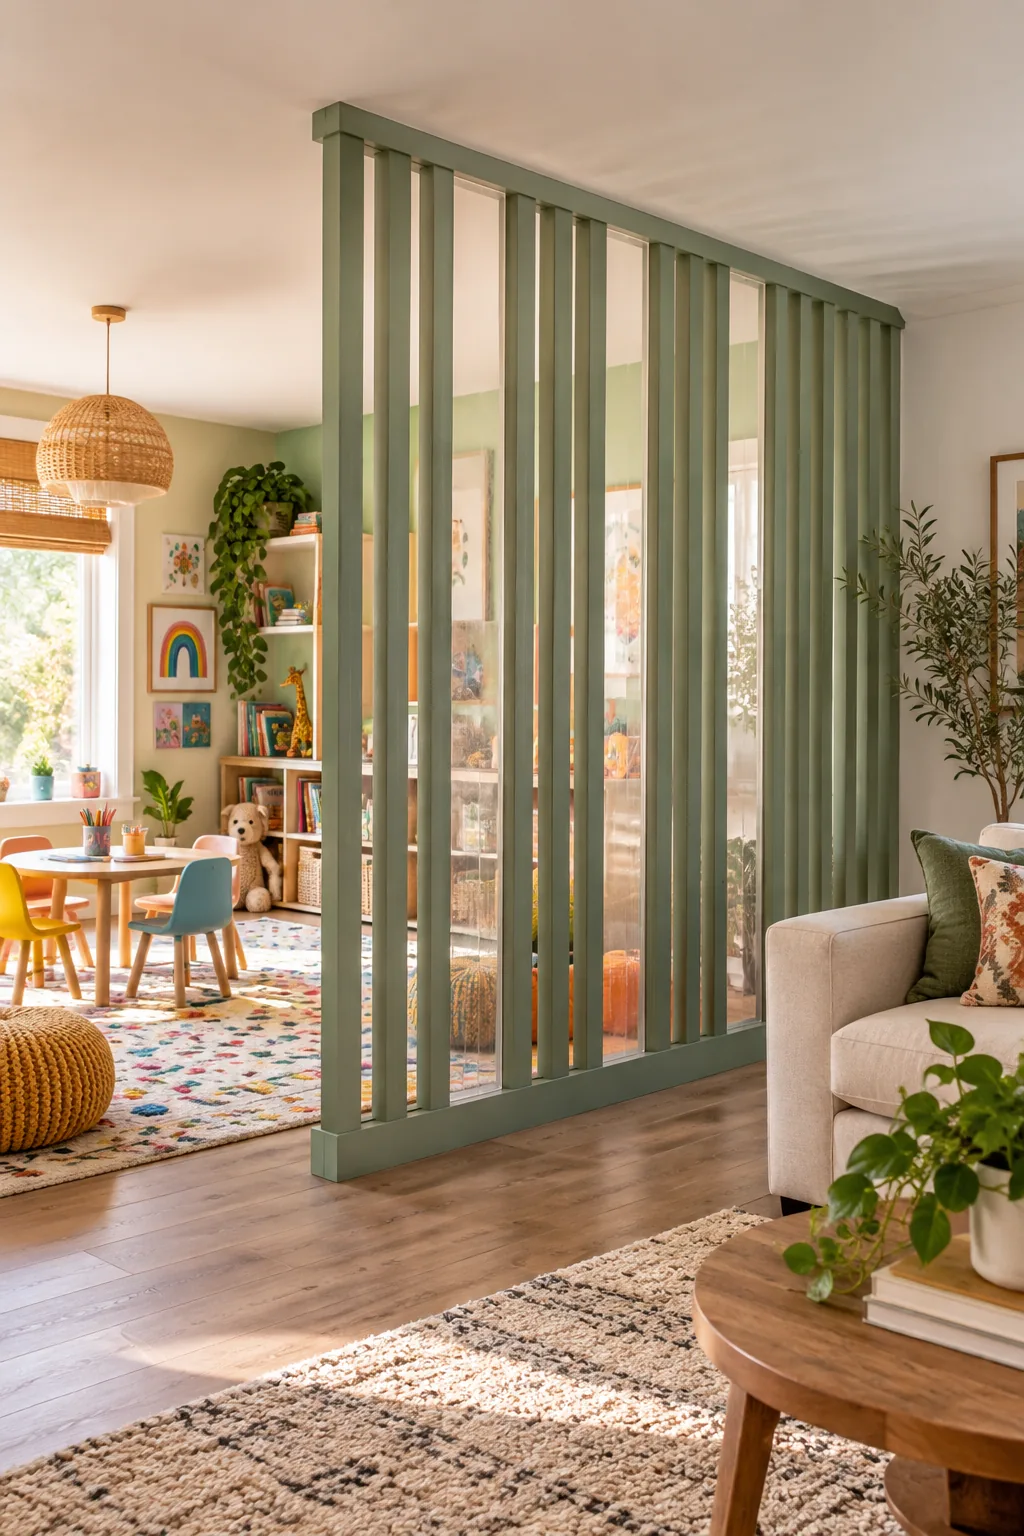
Coastal Ash and Rattan: Whitewashed ash wood paired with woven rattan panels brings breezy texture to an open-plan dining room. Swap glass for cane webbing for natural warmth.