Small Home Office Layout: The 10×10 Room Design Cheat Sheet
Master your small workspace with this exact layout and measurement cheat sheet for a highly functional 10×10 room. You will be able to measure, arrange, and light your office using these proven ergonomic zones.
The 10×10 Room Layout Cheat Sheet
Floating the desk in the center of a 100-square-foot room anchors your workflow and balances the space. In my own Denver home, pulling the desk away from the wall immediately made the room feel twice as large.
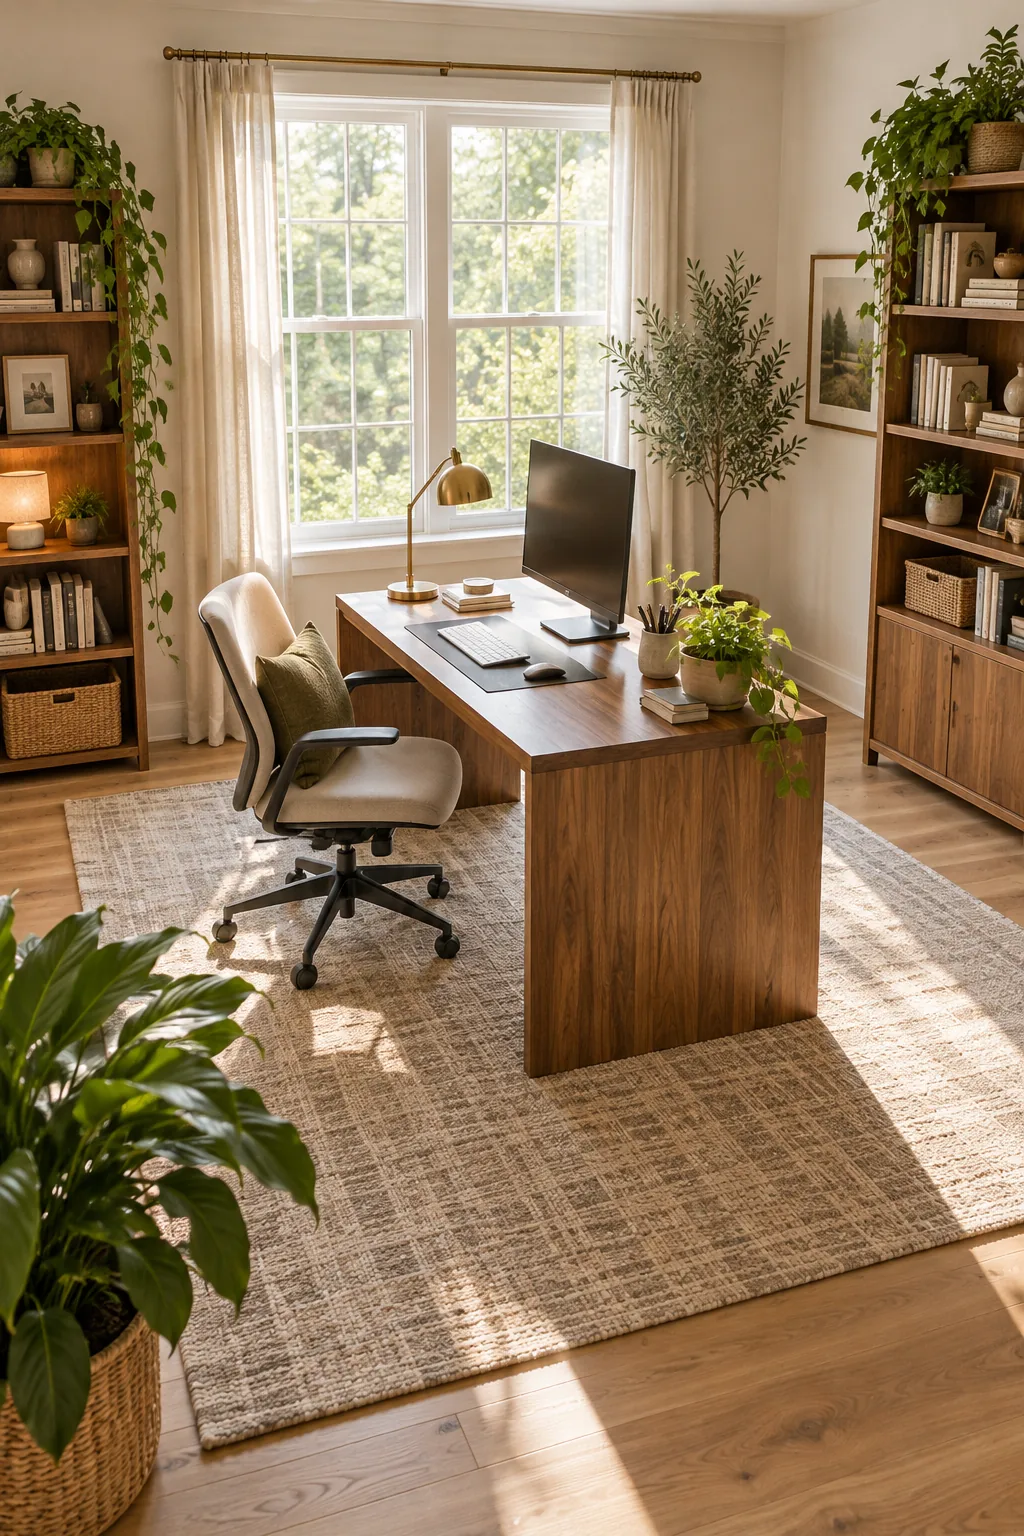
Before moving heavy furniture, verify your room dimensions against these baseline measurements to ensure a comfortable flow.
Establishing the Room Center
Finding the true center of a square room requires measuring from the baseboards rather than the walls. This precise calculation ensures your floating desk aligns perfectly with the architectural symmetry of the space.
- Measure diagonally from corner to corner to find the exact midpoint.
- Mark the floor with painter’s tape to visualize the desk footprint.
- Adjust slightly if ceiling fixtures dictate a different visual center.
Anchoring your desk exactly on this center point creates equal negative space on all four sides. This balanced perimeter allows energy to circulate freely around your workspace.
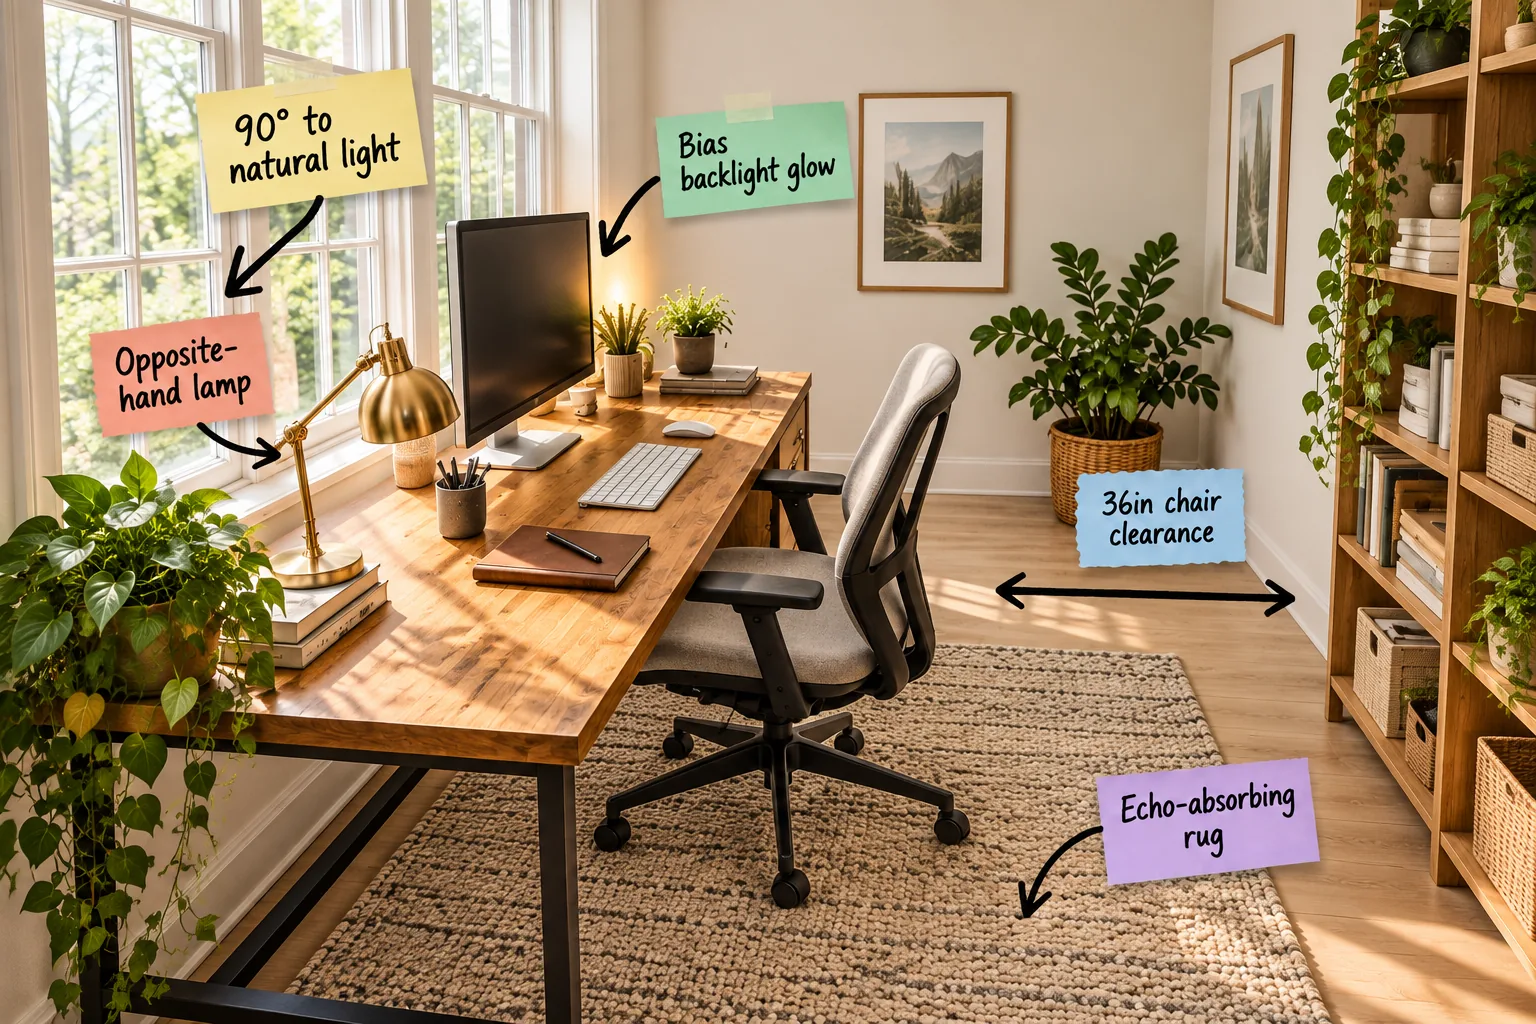
Desk Orientation: 90° to Natural Light
Positioning your monitor at a 90-degree angle to the primary natural light source is an ergonomic necessity. This exact angle prevents direct sunlight from blinding you while keeping your face naturally illuminated.
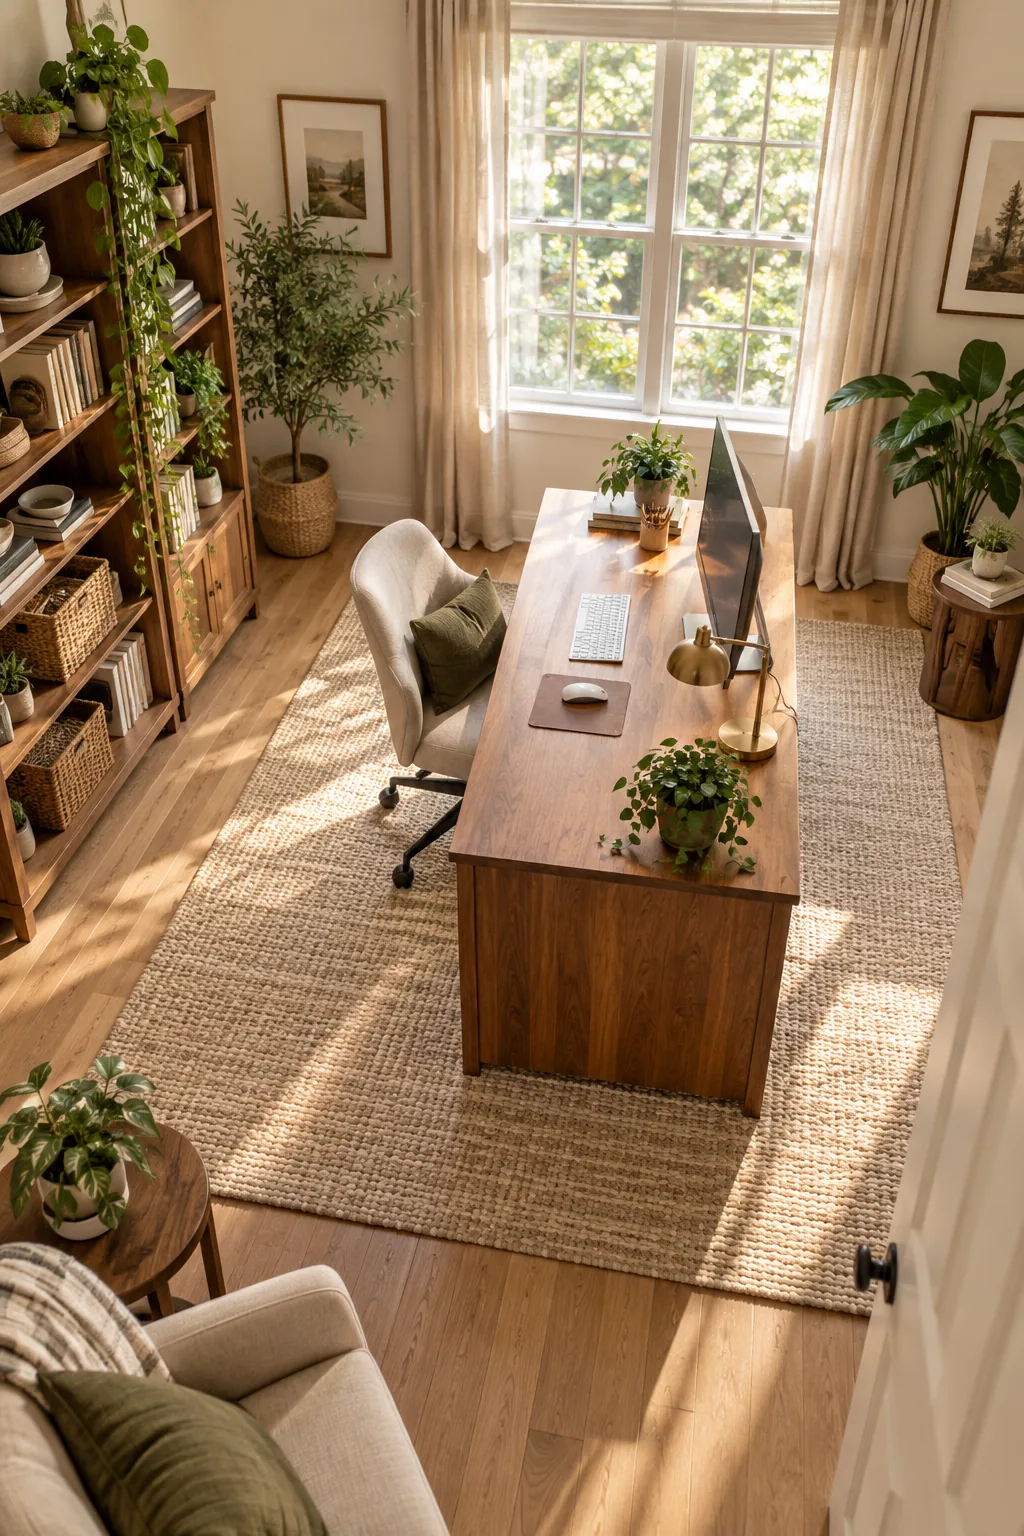
By staying strictly 90° to natural light, you completely eliminate harsh screen glare. This setup ensures your video calls look professional without requiring expensive supplemental ring lights.
Window Treatments for Glare Control
Even with perpendicular desk placement, shifting seasonal sunlight can occasionally bounce off reflective room surfaces. Layering your window treatments provides precise control over the ambient light intensity throughout the workday.
- Install solar roller shades to cut UV rays while preserving the view.
- Add light-filtering linen curtains to soften harsh afternoon beams.
- Mount blackout panels for complete control during crucial video presentations.
Operating these three layers allows you to adapt to any weather condition instantly. You will maintain perfect screen visibility without ever feeling trapped in a dark cave.
The 36-Inch Chair Clearance Rule
A functional layout demands a strict 36-inch minimum distance for comfortable chair movement. I learned this the hard way when a client’s beautiful wainscoting was ruined by a rolling chair trapped in a tight gap.
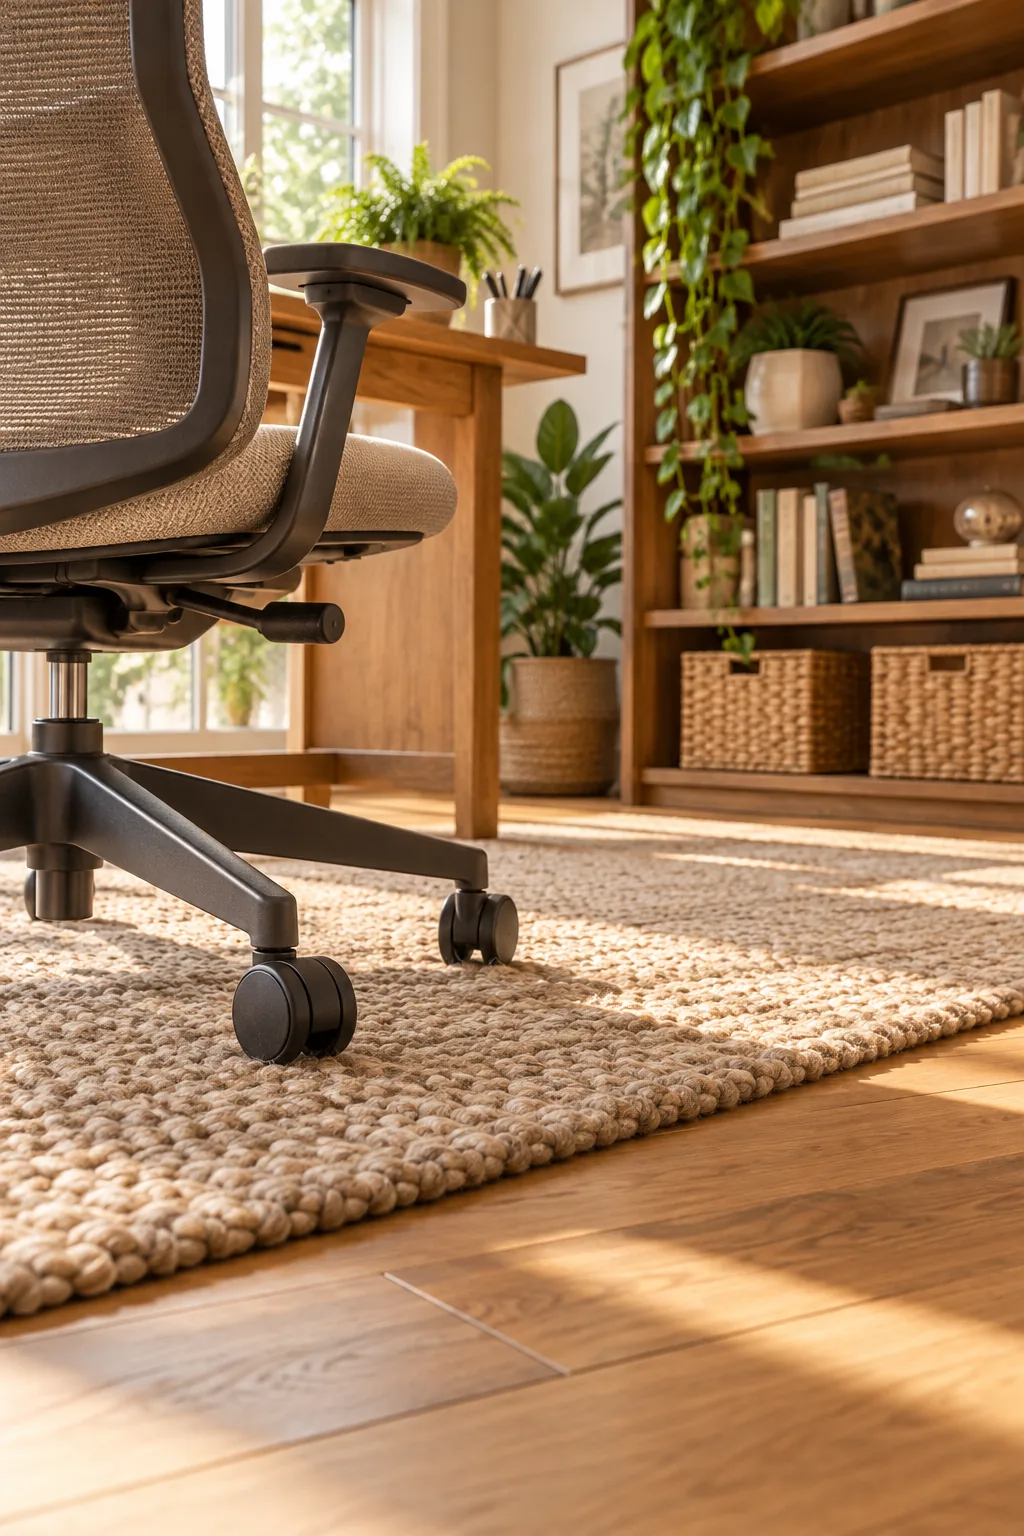
Maintaining a 36in chair clearance between the desk edge and the back wall is non-negotiable. This supported dimension guarantees you can push back fully without scuffing the paint.
| Clearance Zone | Minimum Depth | Primary Function |
|---|---|---|
| Chair push-back | 36 inches | Unrestricted rolling |
| Side walkway | 24 inches | Basic room passage |
| Bookshelf access | 42 inches | Bending and reaching |
Applying these exact dimensions prevents the workspace from feeling cramped. You will move effortlessly between your computer and your reference materials.
Measuring the Push-Back Zone
Many people incorrectly measure their chair clearance from the front edge of the desk. You must pull the tape measure from the back edge where your torso actually sits.
Correcting these measurement errors guarantees your chair wheels stay safely on the rug. You will never suddenly bump the wall during an animated phone call.
Acoustics: The Echo-Absorbing Rug
Hard floors in a compact 100-square-foot room bounce sound waves, creating a distracting hollow echo. Adding a high-pile or textured rug absorbs these frequencies and visually anchors the floating desk.
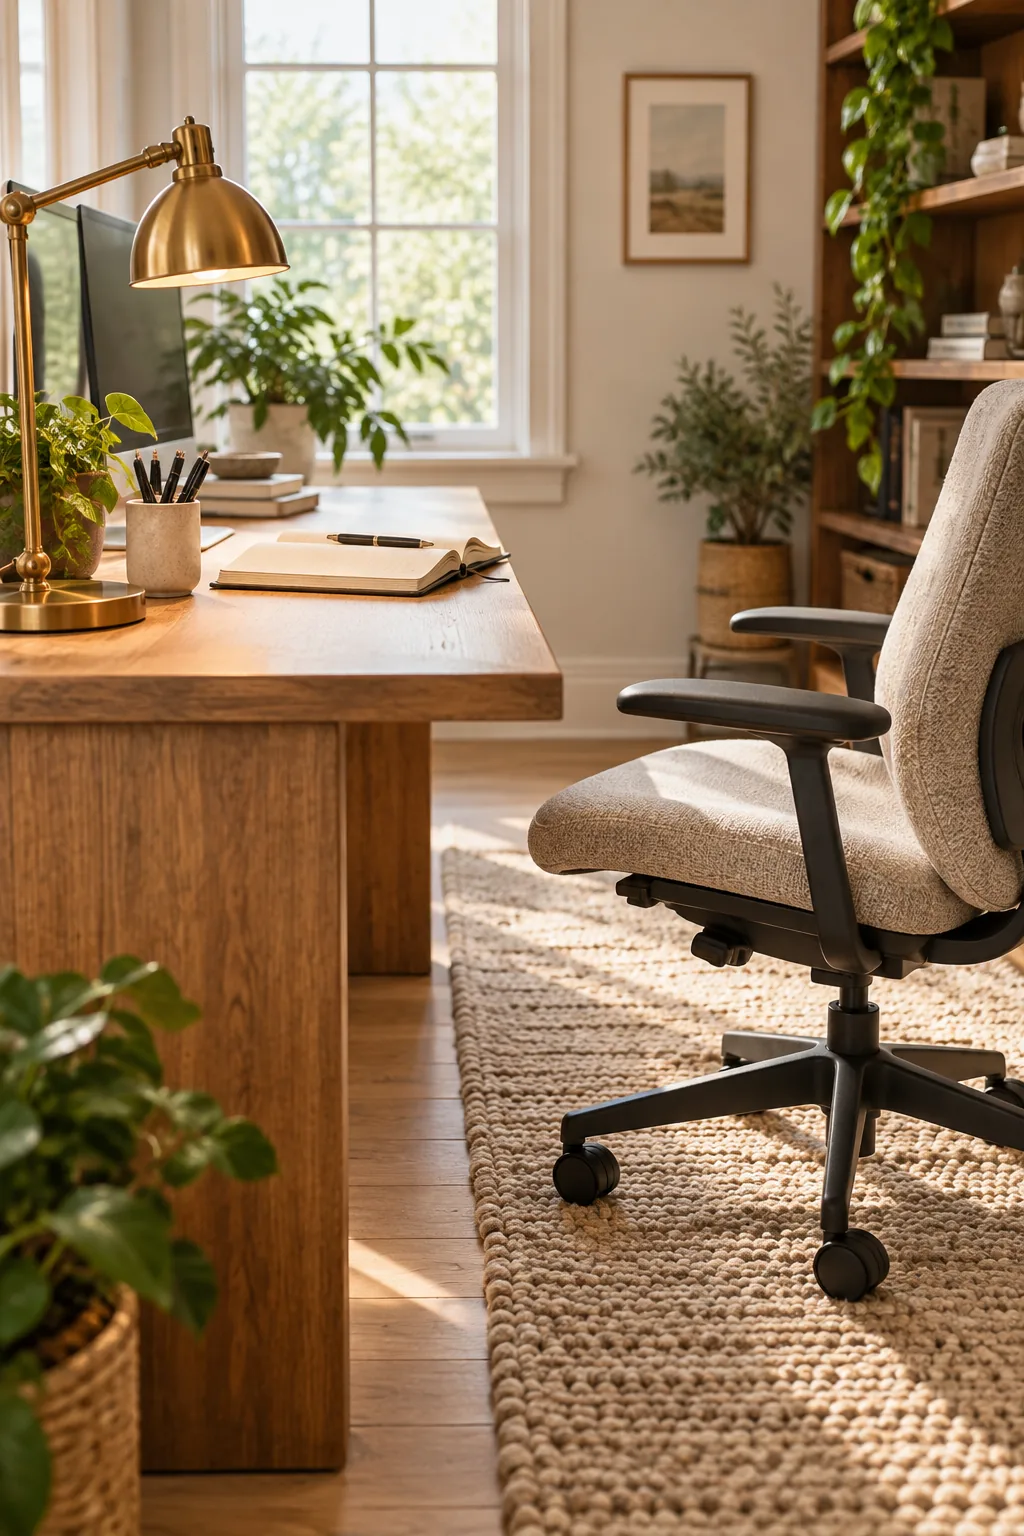
An echo-absorbing rug acts as a massive acoustic dampener. This single material layer will drastically improve your audio quality during daily meetings.
Task Lighting: The Opposite-Hand Lamp
Directional lighting requires strategic placement to eliminate frustrating hand shadows during desk work. You must position your primary light source across from your dominant writing hand.
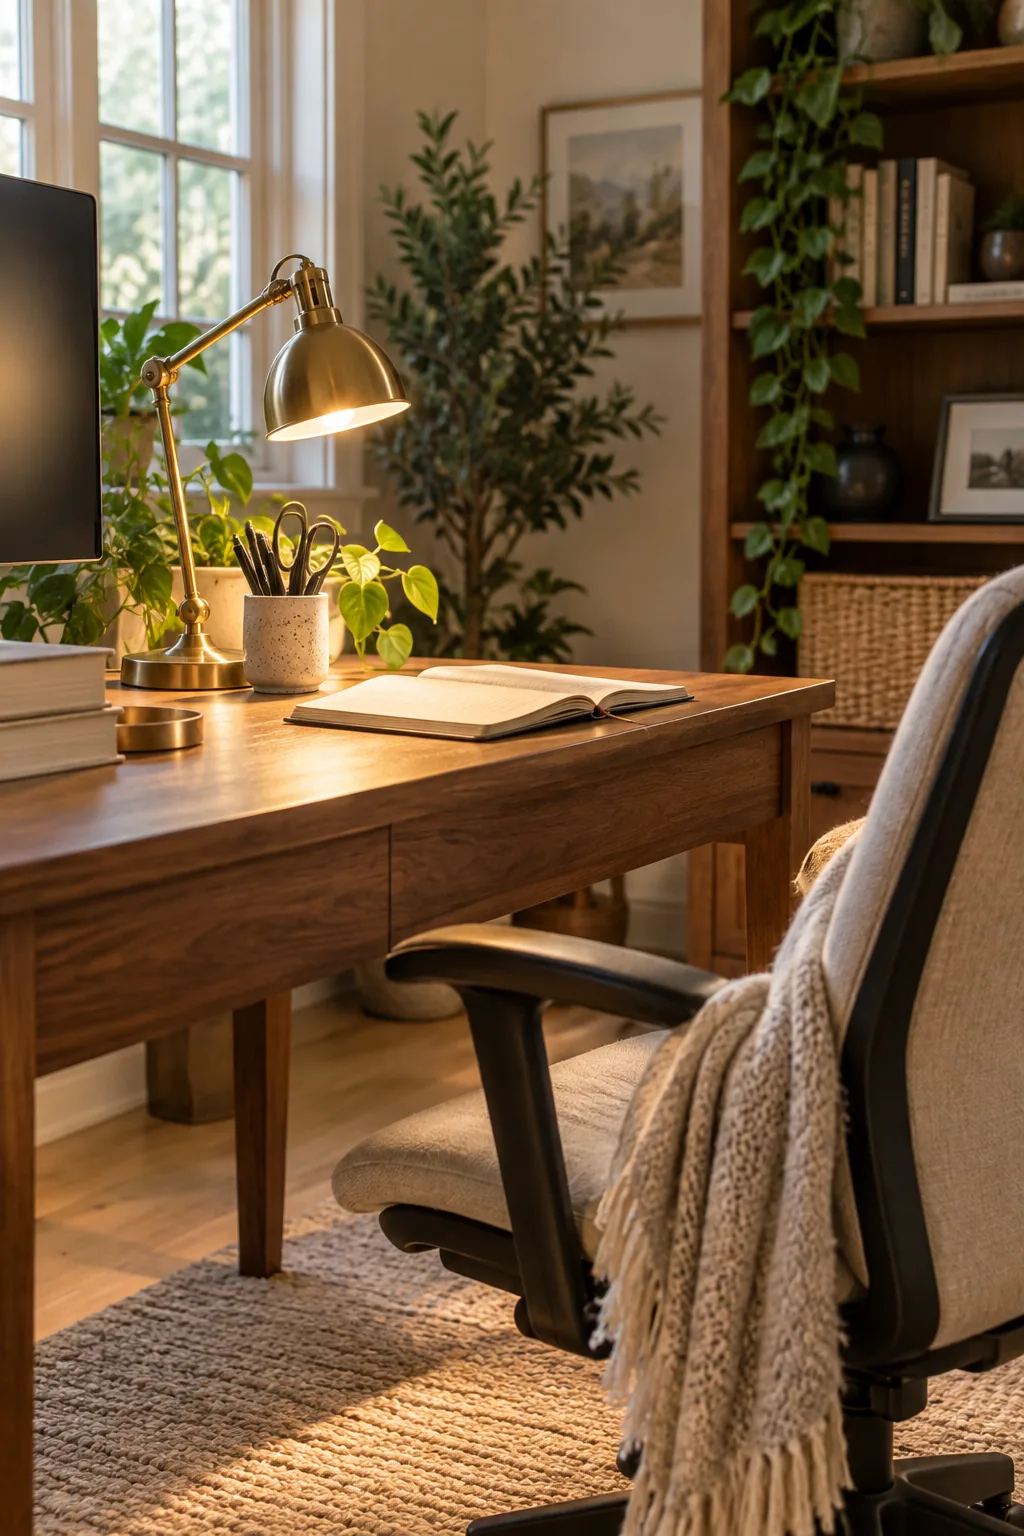
Placing an opposite-hand lamp ensures a clear, brilliantly lit workspace. If you are right-handed, position the brass fixture on the front-left corner of your desk.
Screen Comfort: Bias Backlight Glow
Installing a gentle backlight behind your monitor reduces the harsh contrast against the surrounding walls. I always add this feature to my designs because it instantly transforms the room’s evening atmosphere.
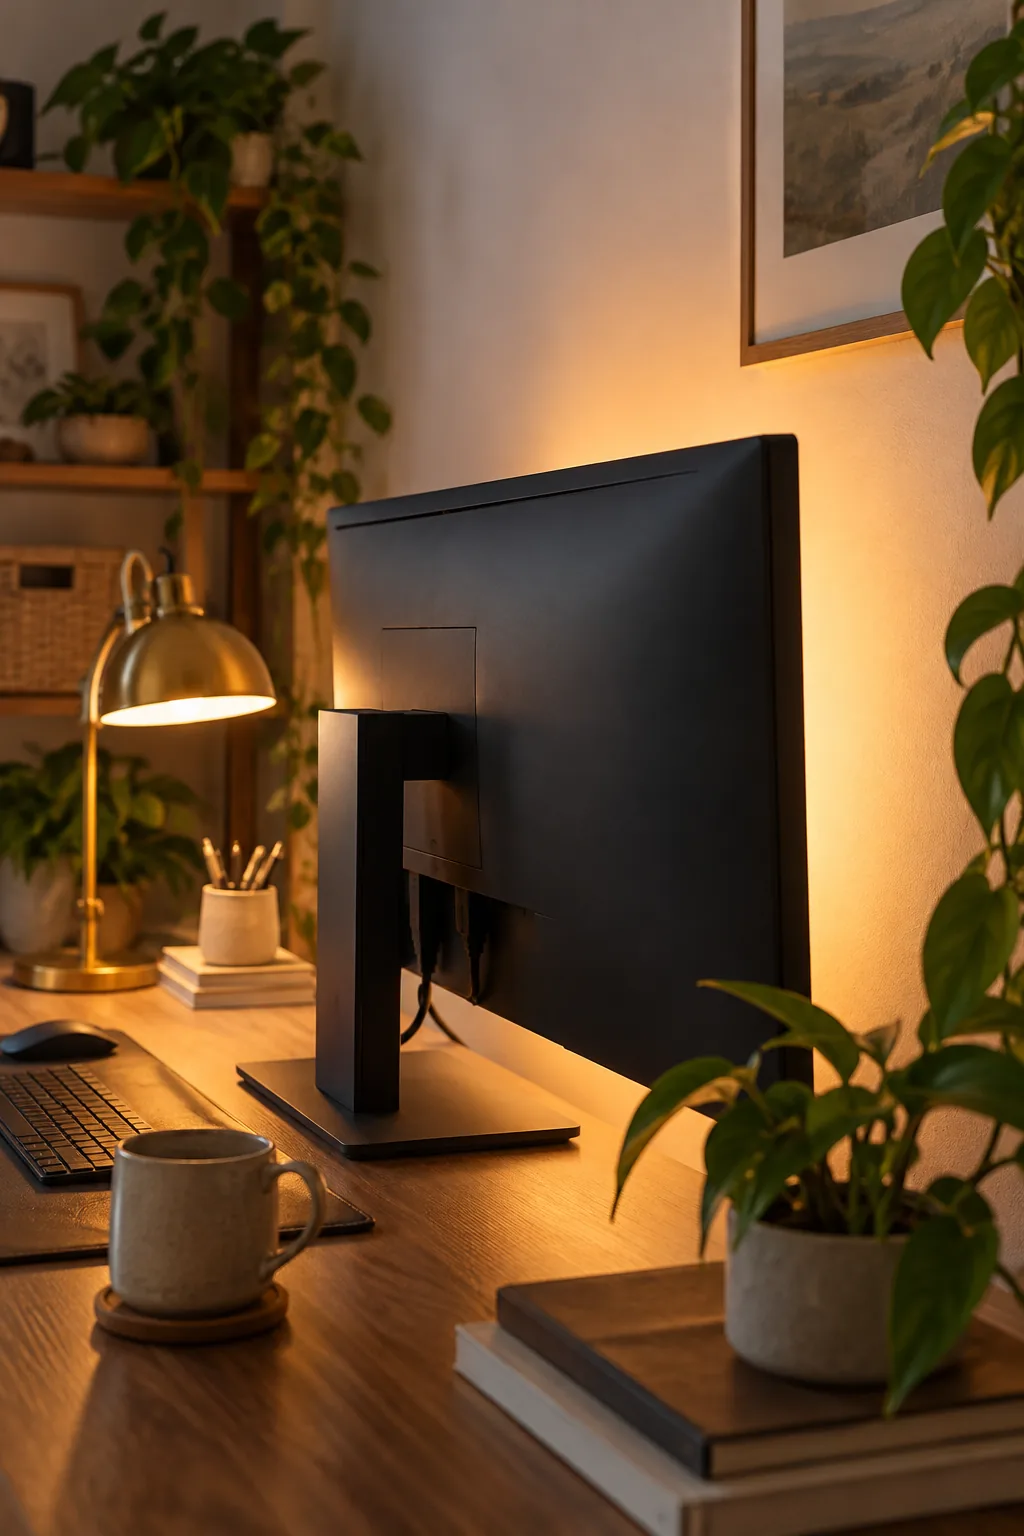
This soft bias backlight glow significantly lowers eye strain during long analytical tasks. A simple LED strip adhered to the back of the screen provides the perfect diffuse illumination.
Cable Management for Free-Floating Desks
I once tripped over a client’s web of cords because we forgot to plan the floor route. Since a centered desk exposes cords from all sides, you need a strategy to route power discreetly.
Securing that sleeve with discrete zip ties prevents it from swinging when you accidentally kick it. Your office will maintain a polished, professional aesthetic from every angle.
Vertical Storage for Small Footprints
You must utilize vertical wall space to handle storage without crowding the central desk zone. Tall, shallow perimeter shelving keeps the floor plan entirely unobstructed.
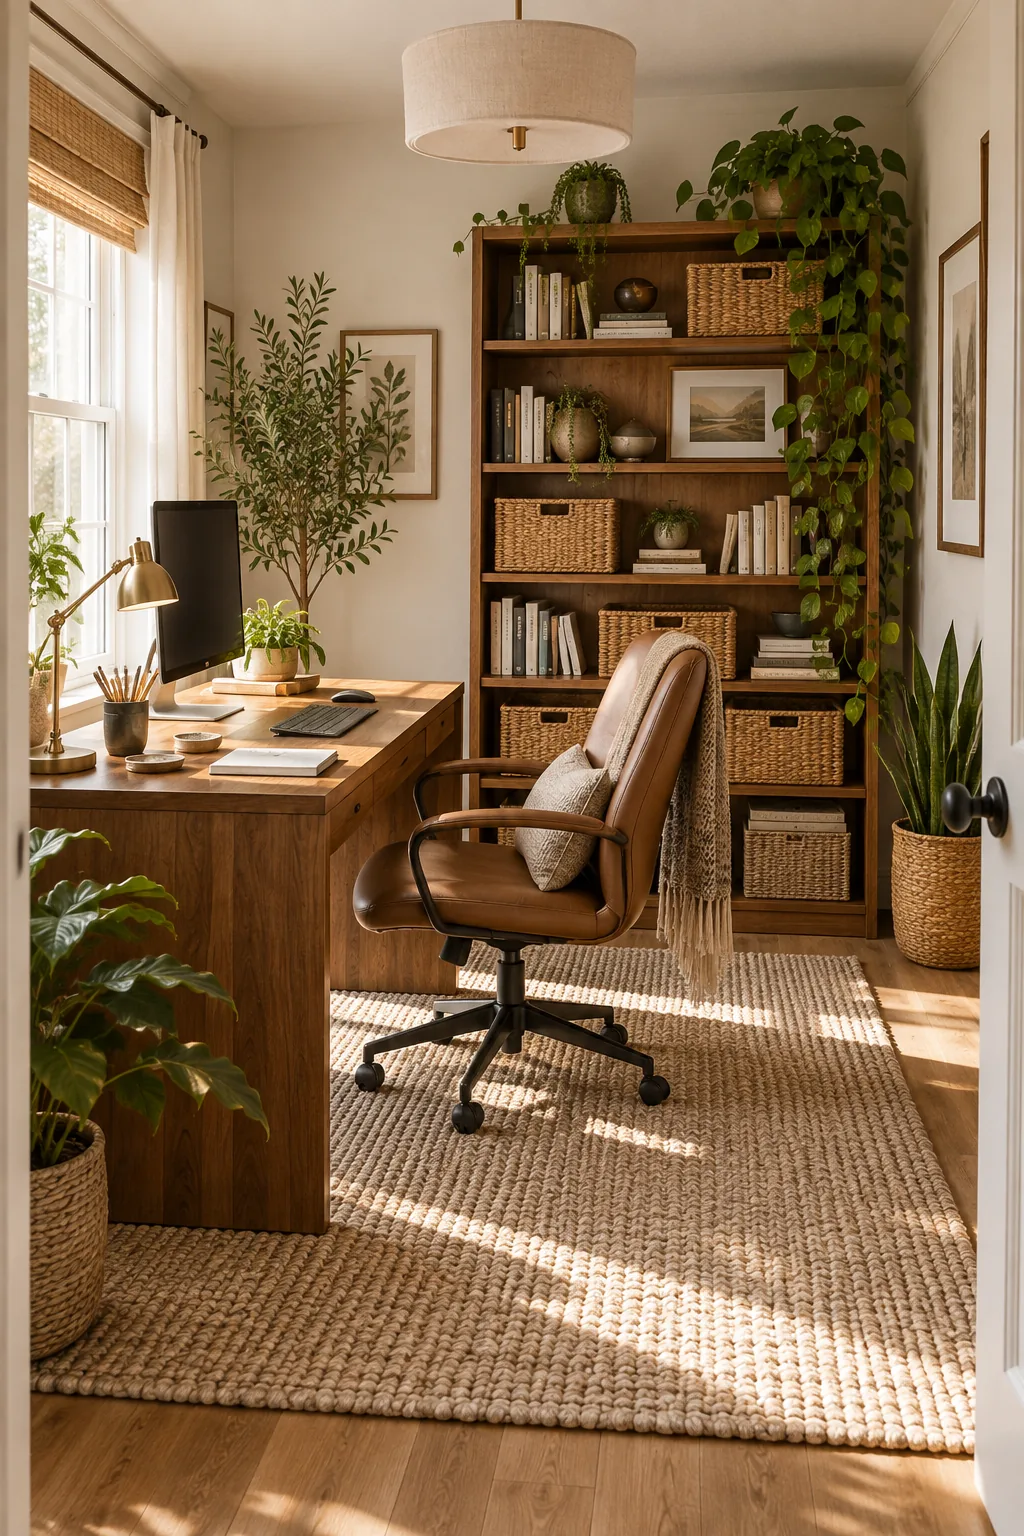
Limiting shelves to a 12-inch depth preserves your critical 36-inch clearance. This upward strategy ensures the 10×10 room feels airy, balanced, and perfectly organized.
10×10 Office Layout Ideas
Explore how this highly functional layout adapts to four completely different design styles.
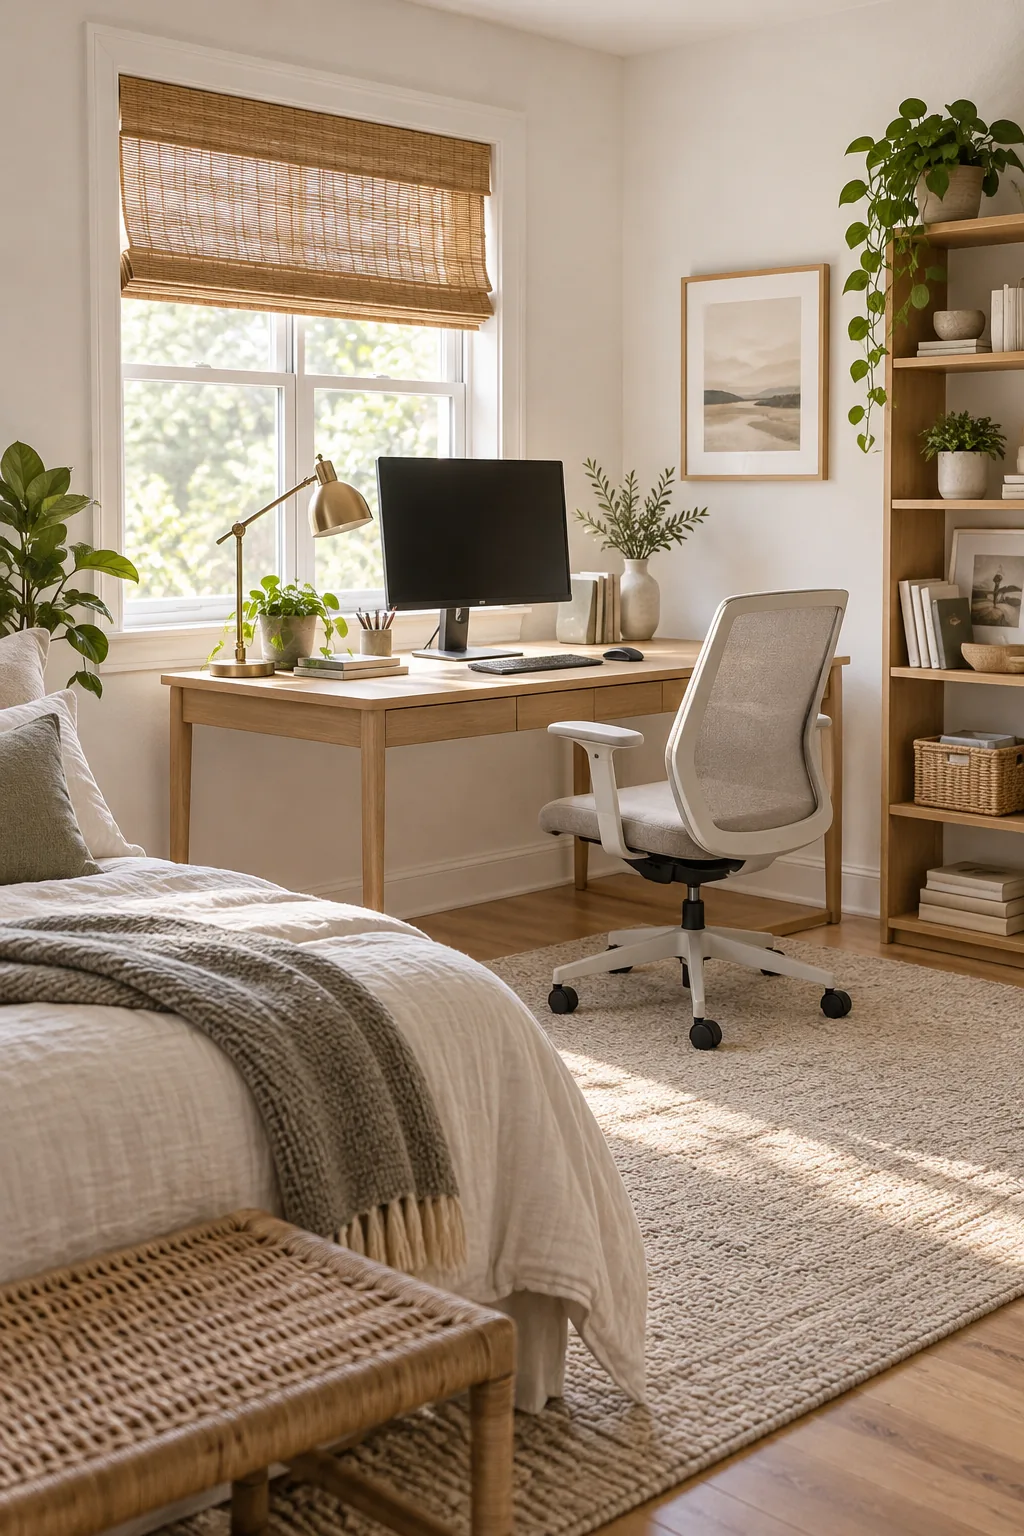
Minimalist Scandi bedroom corner: Light ash wood and crisp white walls keep this layout feeling incredibly airy, making it perfect for an office tucked inside a primary bedroom.
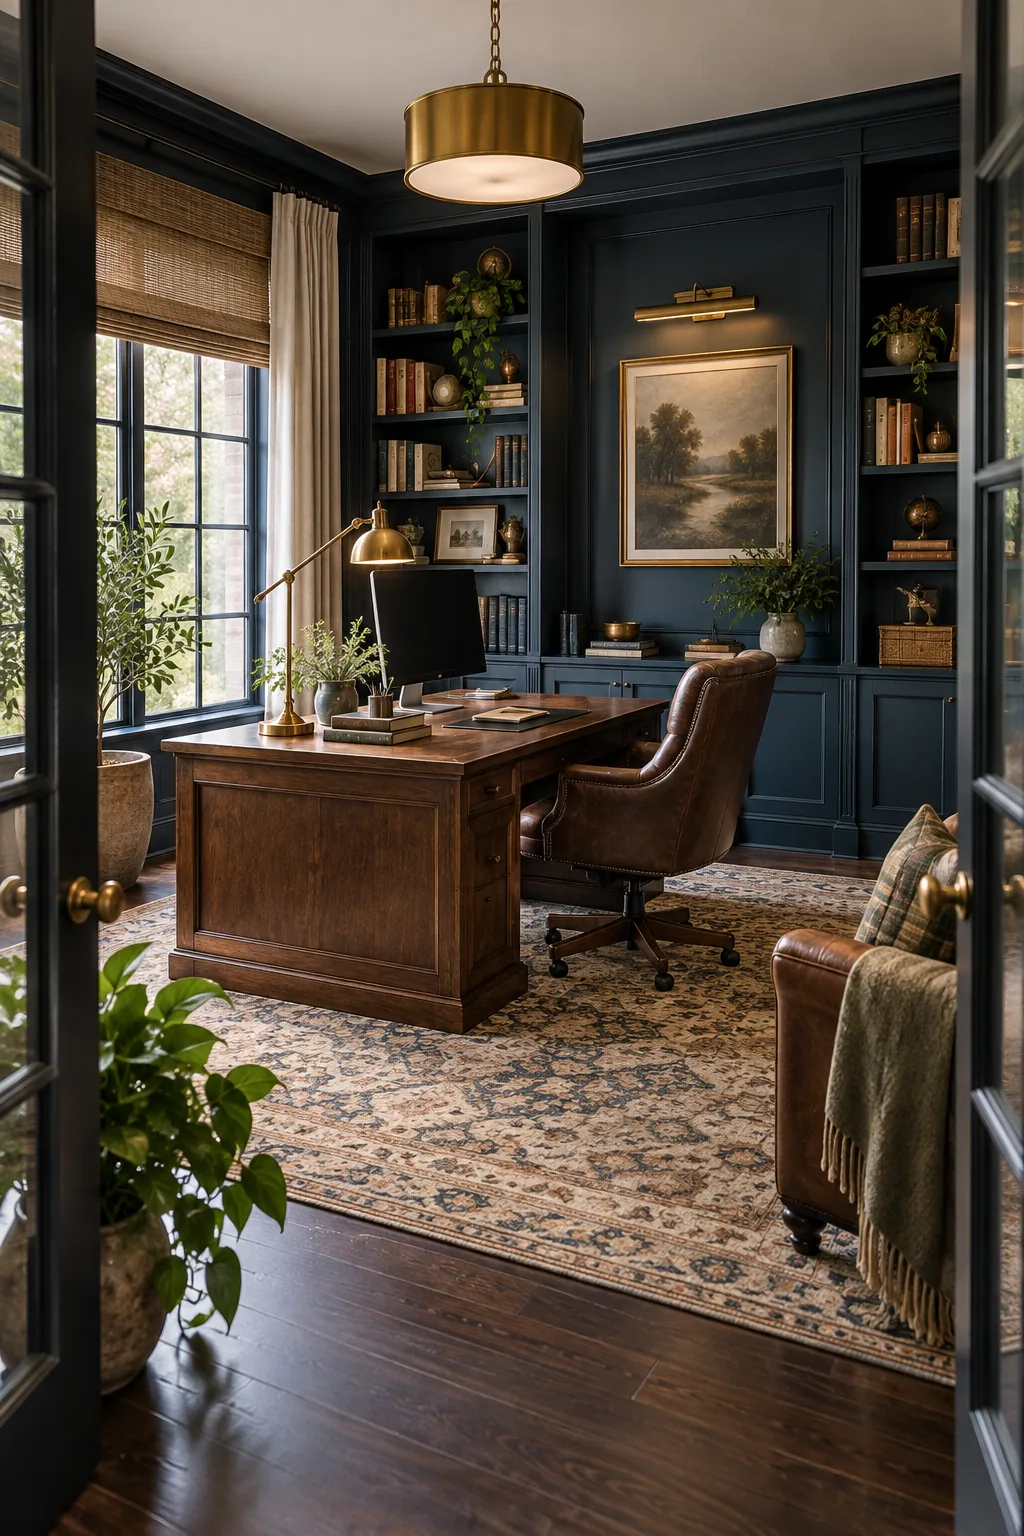
Moody dark walnut study: Deep navy walls and a dark walnut desk transform the standard layout into a sophisticated, focus-driven library space enhanced by warm brass lighting.
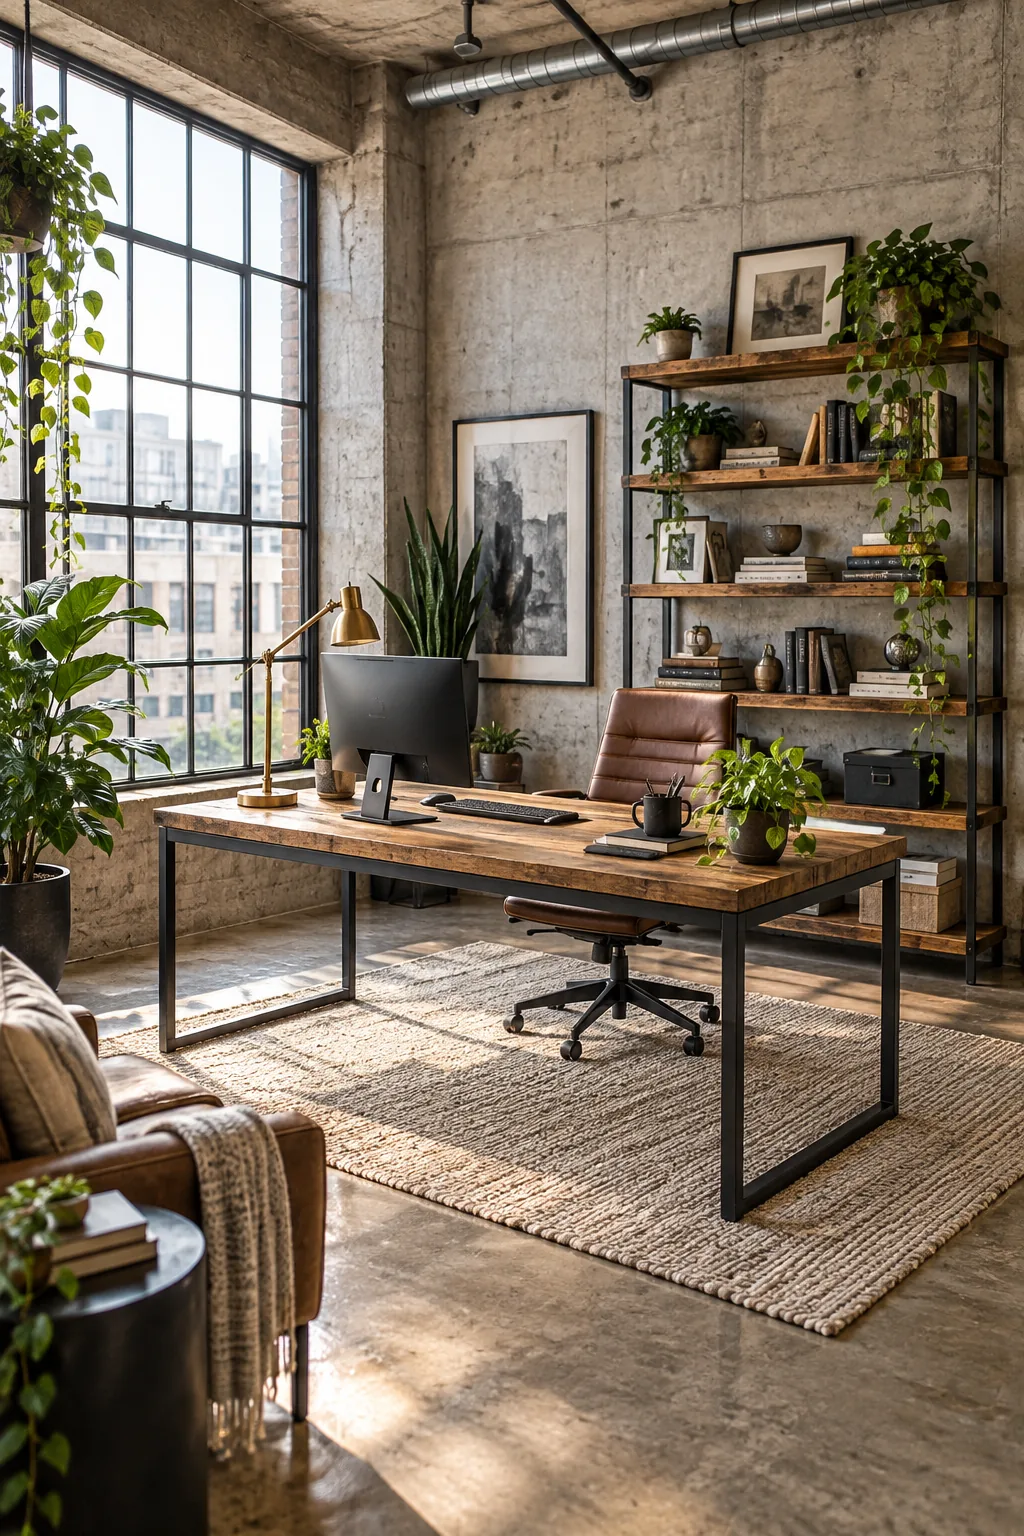
Modern industrial loft space: Black metal framing and reclaimed wood give the layout an edgy industrial feel, while concrete textures add architectural interest without requiring extra square footage.
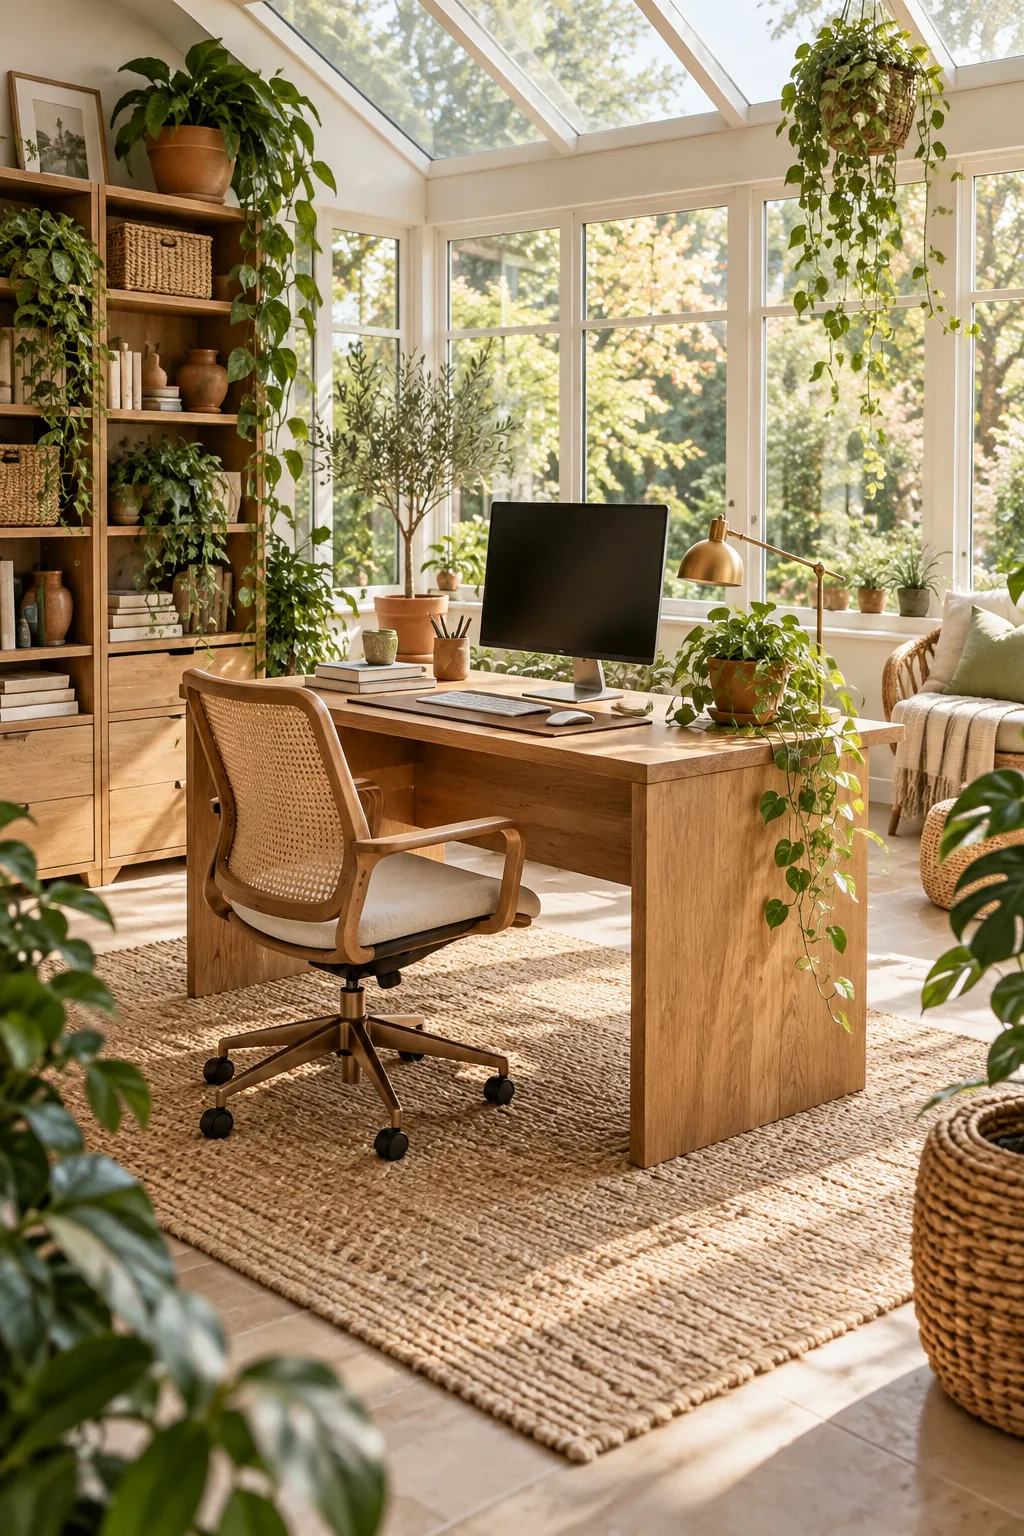
Organic modern sunroom office: Warm oak and woven rattan details soften the structured layout, using terracotta planters and trailing greenery to blend the workspace seamlessly into a sunroom.