
How to Hang Wall Decor Behind a Couch (Plus Sizing Cheat Sheet)
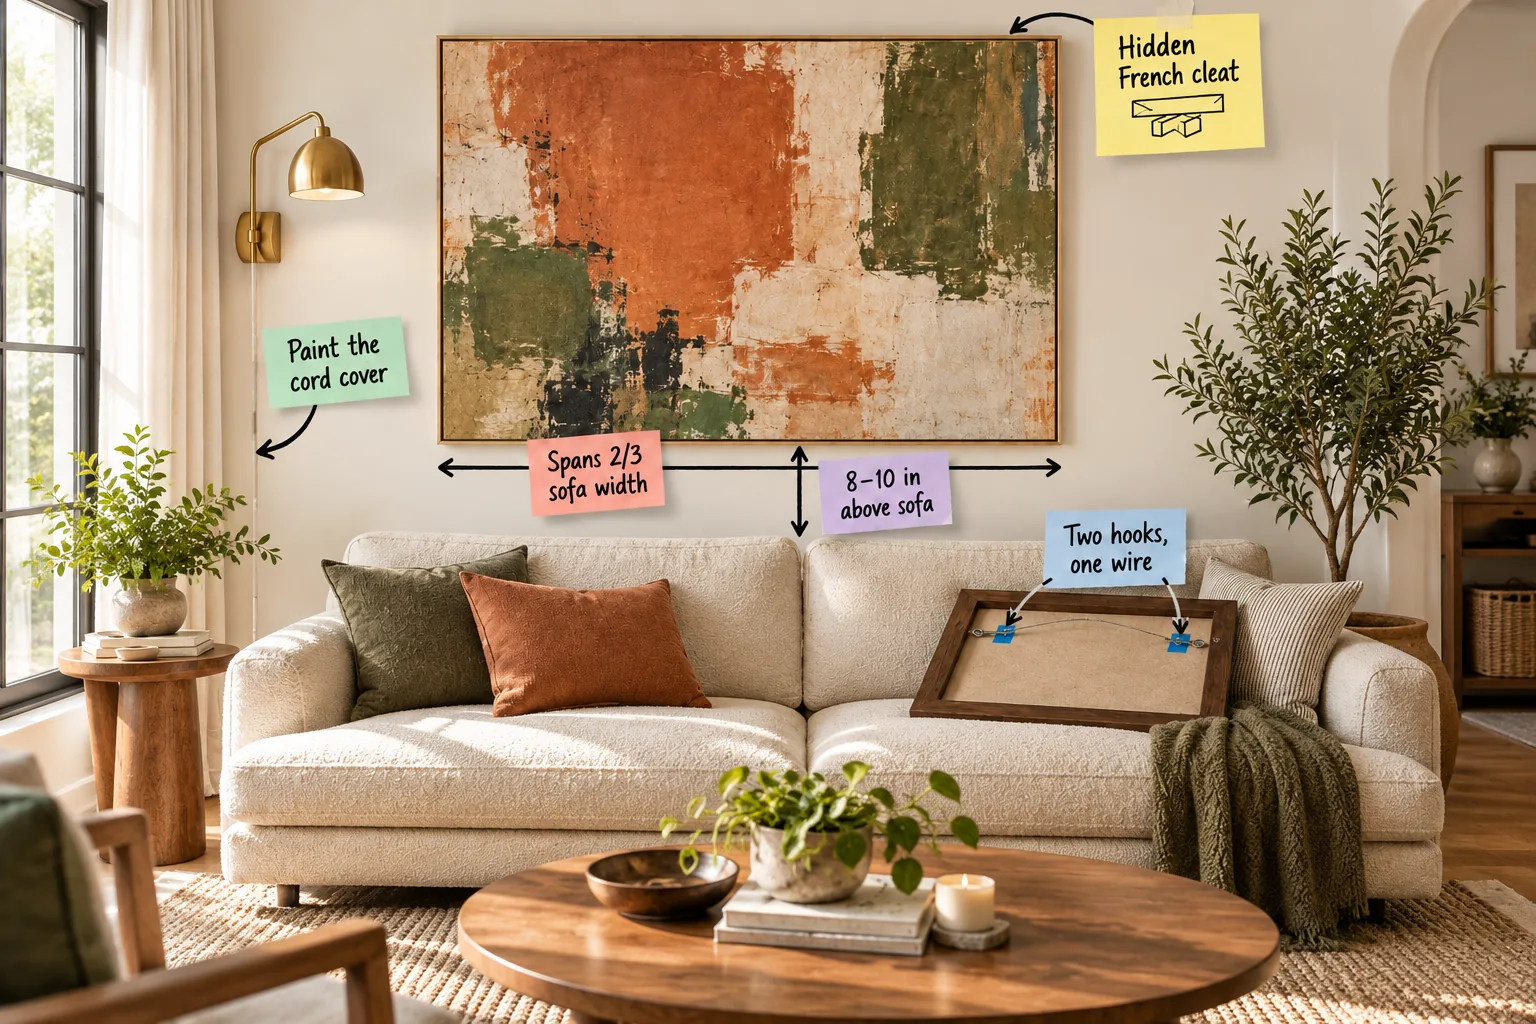
When you are ready to stop guessing at layout math, grab our printable Above-Sofa Hanging Sheet to nail the perfect width, height, and hardware for your living room art. You will be able to measure, space, and securely hang your decor using professional designer ratios.
Selecting the Best Canvas Material
Before sizing your art, consider how the material itself interacts with the room’s natural light. Unframed matte canvas absorbs bright sunlight beautifully, while high-gloss acrylic prints often reflect window glare directly into the seating area.
Evaluating Room Proportions
Step back to analyze the entire architectural footprint of your living space before selecting specific frames. A massive vaulted ceiling demands vertically oriented canvases, while standard eight-foot walls generally benefit from wider, horizontal landscape layouts.
Sizing Art to the Sofa’s Scale
Artwork needs enough presence to anchor the seating area without overwhelming it, a delicate balance I always prioritize in my Denver design projects. The most reliable visual rule is choosing a single piece or gallery that spans roughly two-thirds of your sofa’s total width.
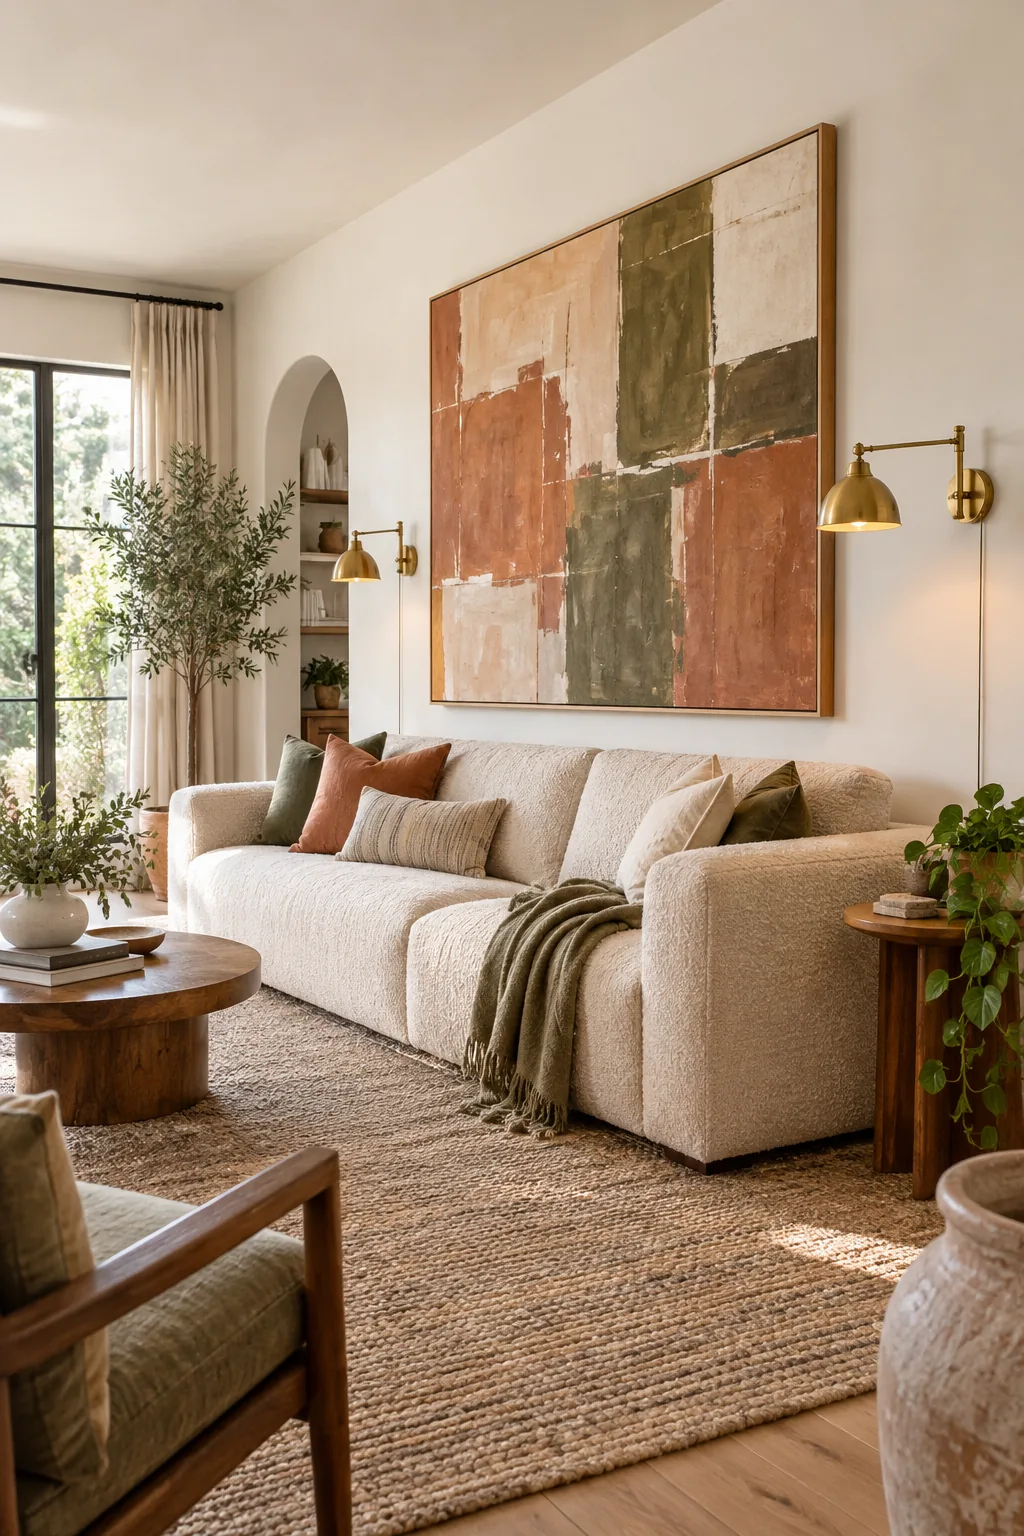
Going too wide or too narrow is the absolute most common scaling error in living rooms, instantly throwing off the room’s entire carefully planned symmetry.
Centering the Visual Weight
Finding the true center of your wall space requires looking at the entire structural footprint rather than just the furniture below. Measure the open wall between any flanking windows or doorways to establish your primary anchor point for the artwork.
| Sofa Length | Ideal Art Width | Frame Count | Spacing |
|---|---|---|---|
| 60 inches | 40 inches | 1 to 2 | 2 inches |
| 72 inches | 48 inches | 1 to 3 | 2.5 inches |
| 84 inches | 56 inches | 2 to 3 | 3 inches |
| 96 inches | 64 inches | 3 to 4 | 3 inches |
Once you establish the correct proportions using these standard ratios, mark the center line lightly with a pencil to guide your hardware placement.
Avoiding High-Gloss Glare
If your living room features massive south-facing windows, reflection control becomes just as crucial as physical dimensions. Opt for museum-quality non-reflective glass on any framed prints to ensure the image remains perfectly visible from every angle.
Setting the Bottom-Edge Height
Hanging art too high visually disconnects it from the furniture below, making the pieces feel like they are floating away toward the ceiling. Keep the bottom edge exactly 8 to 10 inches above the highest point of the sofa back.
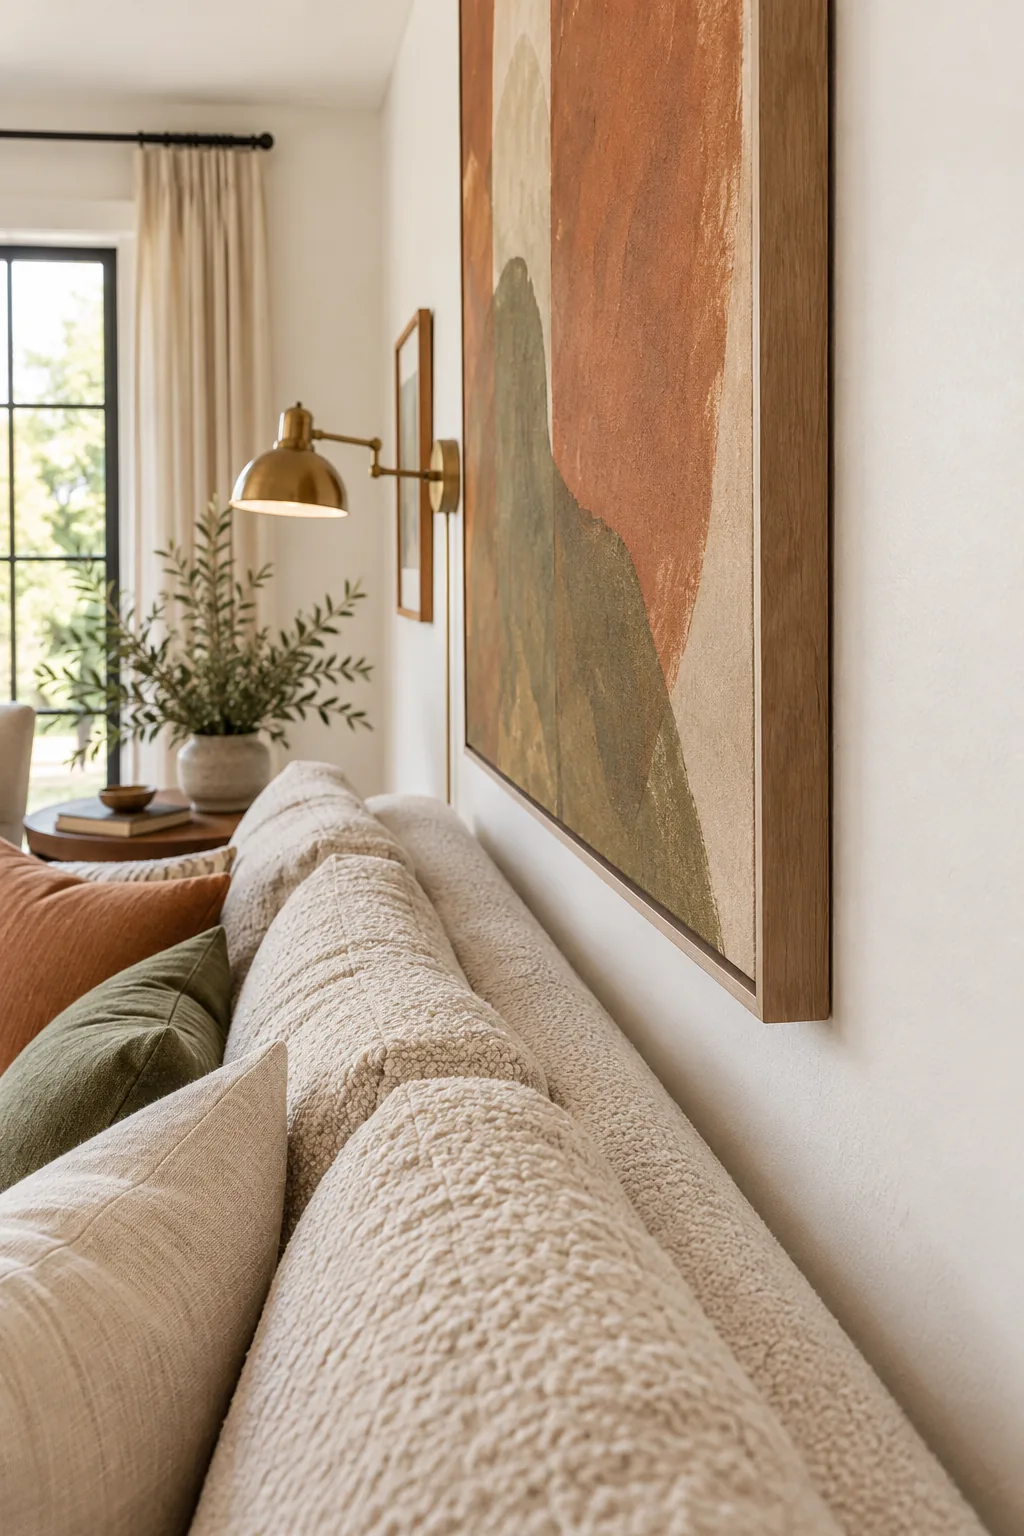
This precise vertical gap ensures the art and couch read as one cohesive unit rather than two disjointed, competing focal points.
Accounting for Sofa Back Styles
Not all couches feature a perfectly straight, uniform backrest across their entire length. If your seating features loose, overstuffed cushions or a curved camelback profile, measure your vertical gap from the highest structural point rather than the sloping sides.
Testing the Layout with Paper
Before drilling into the pristine drywall, create a physical mockup using lightweight kraft paper and painter’s tape to verify your measurements. Cut the paper to the exact dimensions of your frames and tape them to the wall at your marked height.
- Measure the frame exterior precisely.
- Cut kraft paper to match dimensions.
- Tape the paper exactly 8 inches above the sofa.
- Step back to check the visual balance.
This simple prototyping step prevents unnecessary holes and lets you adjust the alignment until the proportions feel perfectly grounded in the space.
Securing Oversized Canvas
Heavy or extra-wide pieces require significantly more than a single flimsy nail to stay safe and level over a busy seating area. A hidden French cleat distributes the weight safely across the drywall while keeping the top edge perfectly flush.
This interlocking metal mount permanently prevents the canvas from leaning forward into the room, maintaining a crisp, professional gallery aesthetic.
Leveling with Precision
Even a fraction of an inch of tilt becomes glaringly obvious when hanging a massive horizontal canvas. Always place a two-foot bubble level directly across the top edge of your frame before marking your final drill holes.
Finding the Wall Studs
Relying purely on standard drywall anchors for oversized pieces invites disaster, especially when hanging heavy art directly over where people sit. Always locate at least one solid wooden wall stud to anchor the primary weight of your French cleat or heavy hooks.
Securing your primary hardware into solid wood guarantees the artwork will never pull free, even if the frame itself is exceptionally heavy.
Patching Old Drywall Holes
Upgrading to a single oversized canvas often means hiding a chaotic constellation of old nail holes from previous gallery walls. Fill these gaps with lightweight spackle and sand them perfectly flush before measuring for your new layout.
Selecting the Right Picture Wire
If you must use wire for lighter frames, ensure you select a braided stainless steel option rated for at least double the artwork’s weight. Standard craft wire stretches over time, causing your carefully leveled frames to sag noticeably toward the floor.
Preventing Crooked Wired Frames
Smaller accent frames strung with picture wire constantly shift if hung on a single center nail, requiring endless daily adjustments. Instead, support the taut wire with two picture hooks spaced roughly a third of the way in from each side.
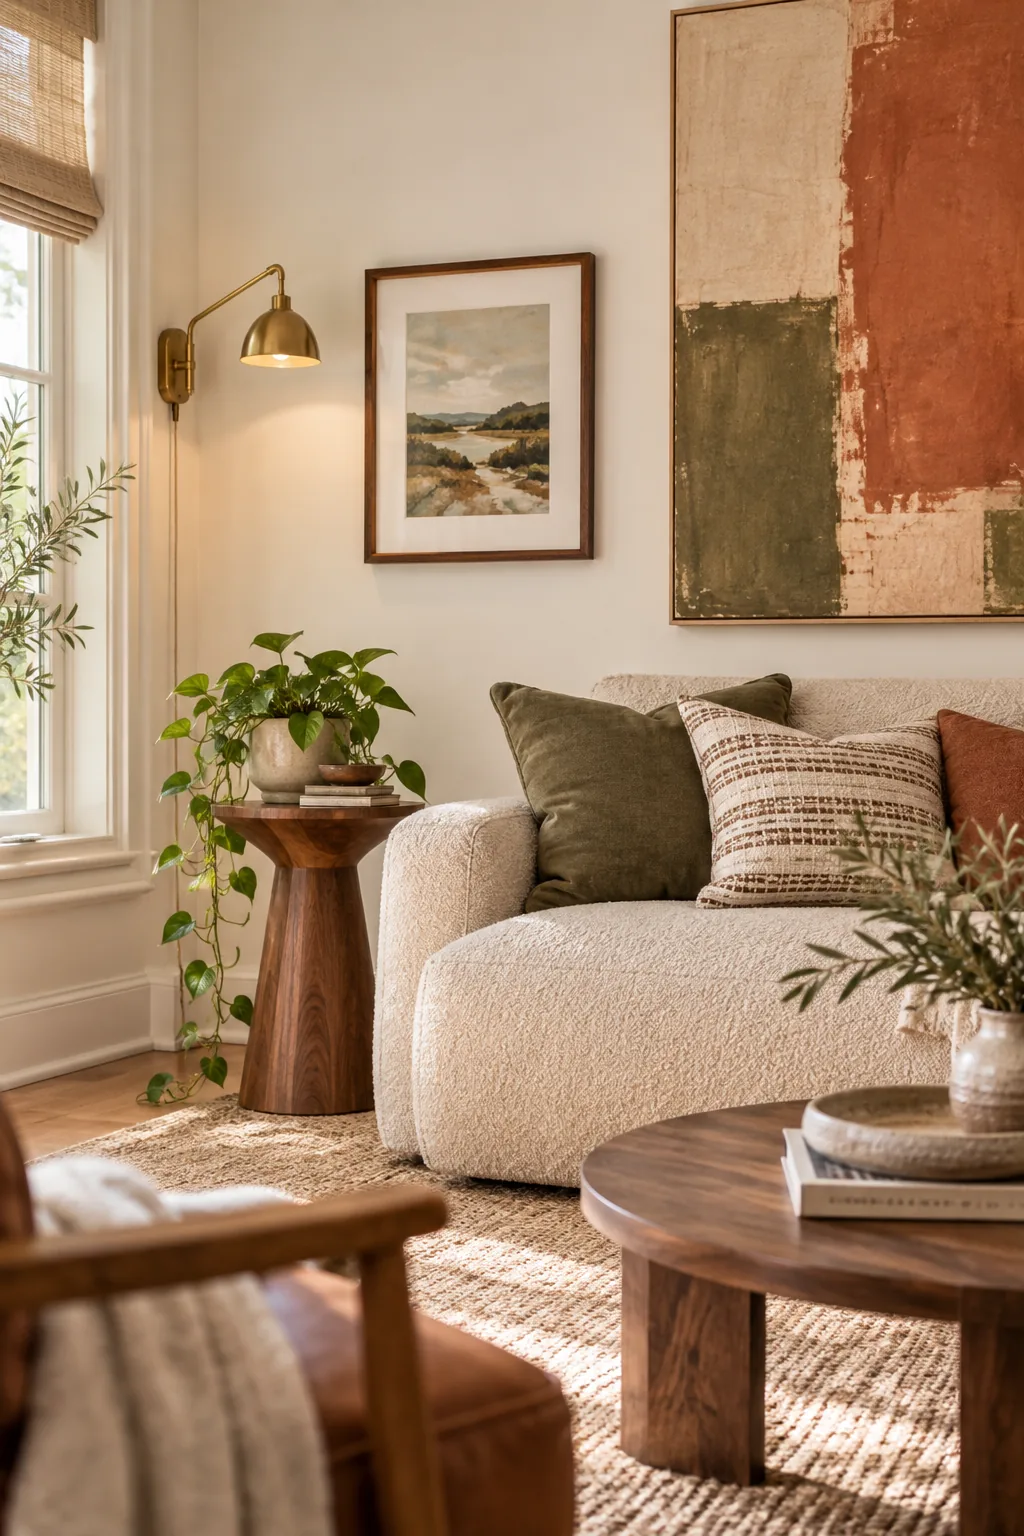
This dual-point support system locks the frame level permanently, entirely eliminating the need to straighten your art after every passing vibration.
Hanging Without Nails
If you rent your home and cannot install heavy hardware, extra-wide art ledges offer a sturdy, damage-free alternative. You can lean a massive canvas directly against the wall, securing the bottom edge firmly on the wooden lip.
Using D-Rings for Stability
For the absolute most secure installation on medium-sized frames, bypass the traditional picture wire entirely in favor of direct mounting. Fasten two heavy-duty D-rings directly to the side rails of the frame and hang them on corresponding heavy wall hooks.
Choosing the Right Frame Profile
The physical depth of your frame profile dramatically affects how the artwork interacts with ambient lighting and the room’s sightlines. Selecting a slim, deep gallery profile adds beautiful architectural shadow lines without extending dangerously far into the seating clearance zone.
Spacing for Gallery Layouts
When hanging a structured diptych or a grid, the internal spacing must be tighter than the outer borders to maintain visual gravity. Leave exactly 2 to 3 inches between frames so the eye naturally groups them together as a single installation.
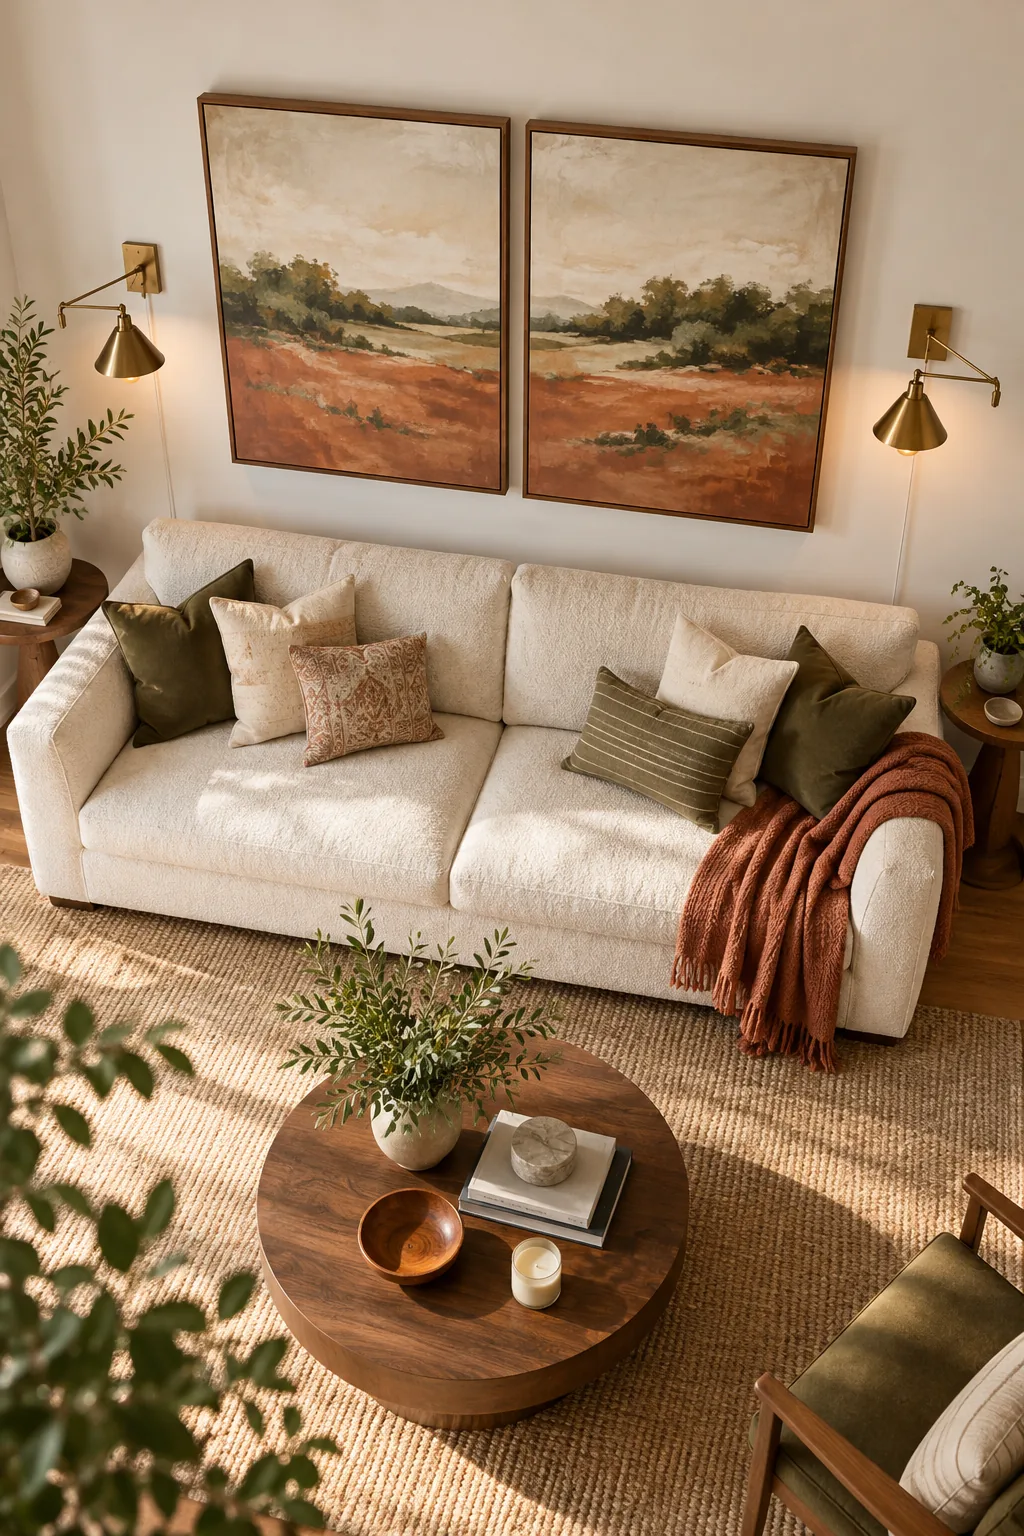
Wider gaps cause the arrangement to scatter and lose its collective impact, making the individual pieces feel disconnected from the central composition.
Grouping by Color Palette
When combining multiple disparate pieces, a unified color story prevents the arrangement from overwhelming the room. Select frames that share at least two dominant accent colors to tie the entire collection together visually.
Balancing Asymmetrical Groupings
An eclectic, salon-style mix of frame sizes requires a strong central visual axis to prevent the collection from looking chaotic. Build your arrangement outward from a single dominant anchor piece, keeping the visual weight balanced on both the left and right sides.
Adding Flanking Sconces
Plug-in swing-arm sconces beautifully frame the artwork and add essential ambient evening light without the high expense of hiring an electrician. Mount the sconce backplates so the bulbs align perfectly with the vertical center of your primary canvas.
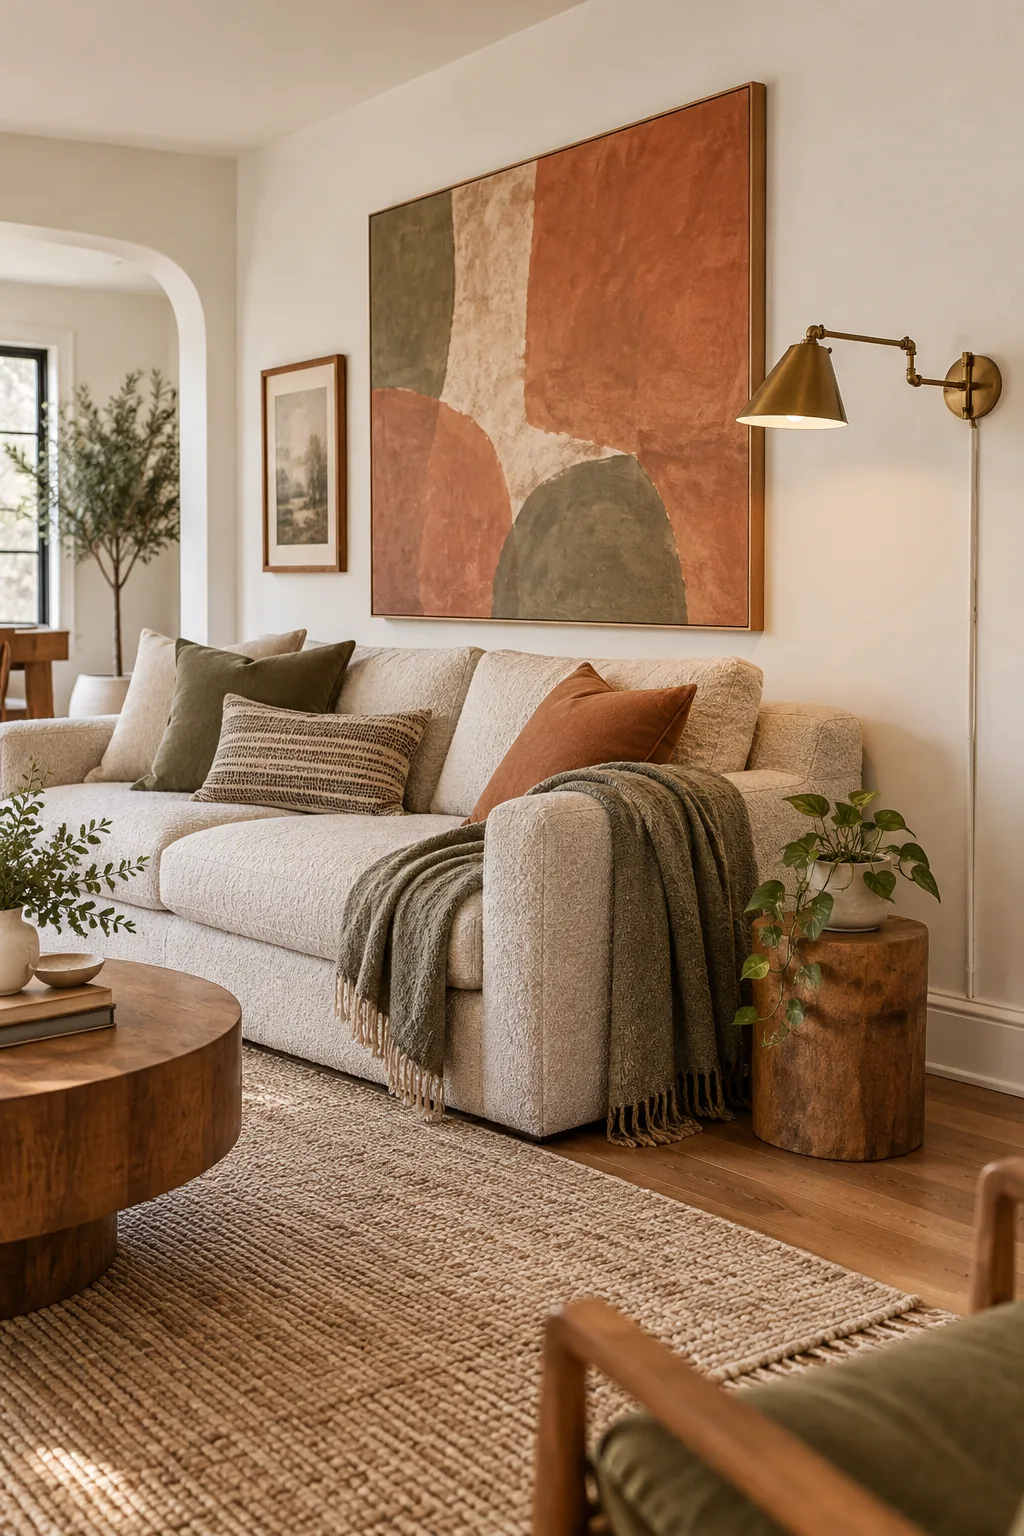
This deliberate symmetry expands the apparent visual width of your decor arrangement, creating a highly sophisticated focal point that commands the room.
Selecting the Right Sconce Bulbs
Harsh, cool lighting washes out the subtle nuances of your artwork and creates a stark, uninviting atmosphere in the living area. Install frosted LED bulbs with a color temperature of 2700 Kelvin to cast a warm, gallery-quality glow across the canvas.
Camouflaging the Cords
Exposed black cords distract completely from a beautifully styled wall, a chaotic look I learned to avoid early in my own first apartment. Run the sconce wires down through slim plastic raceways, then paint the cord covers the exact same warm white as your wall.
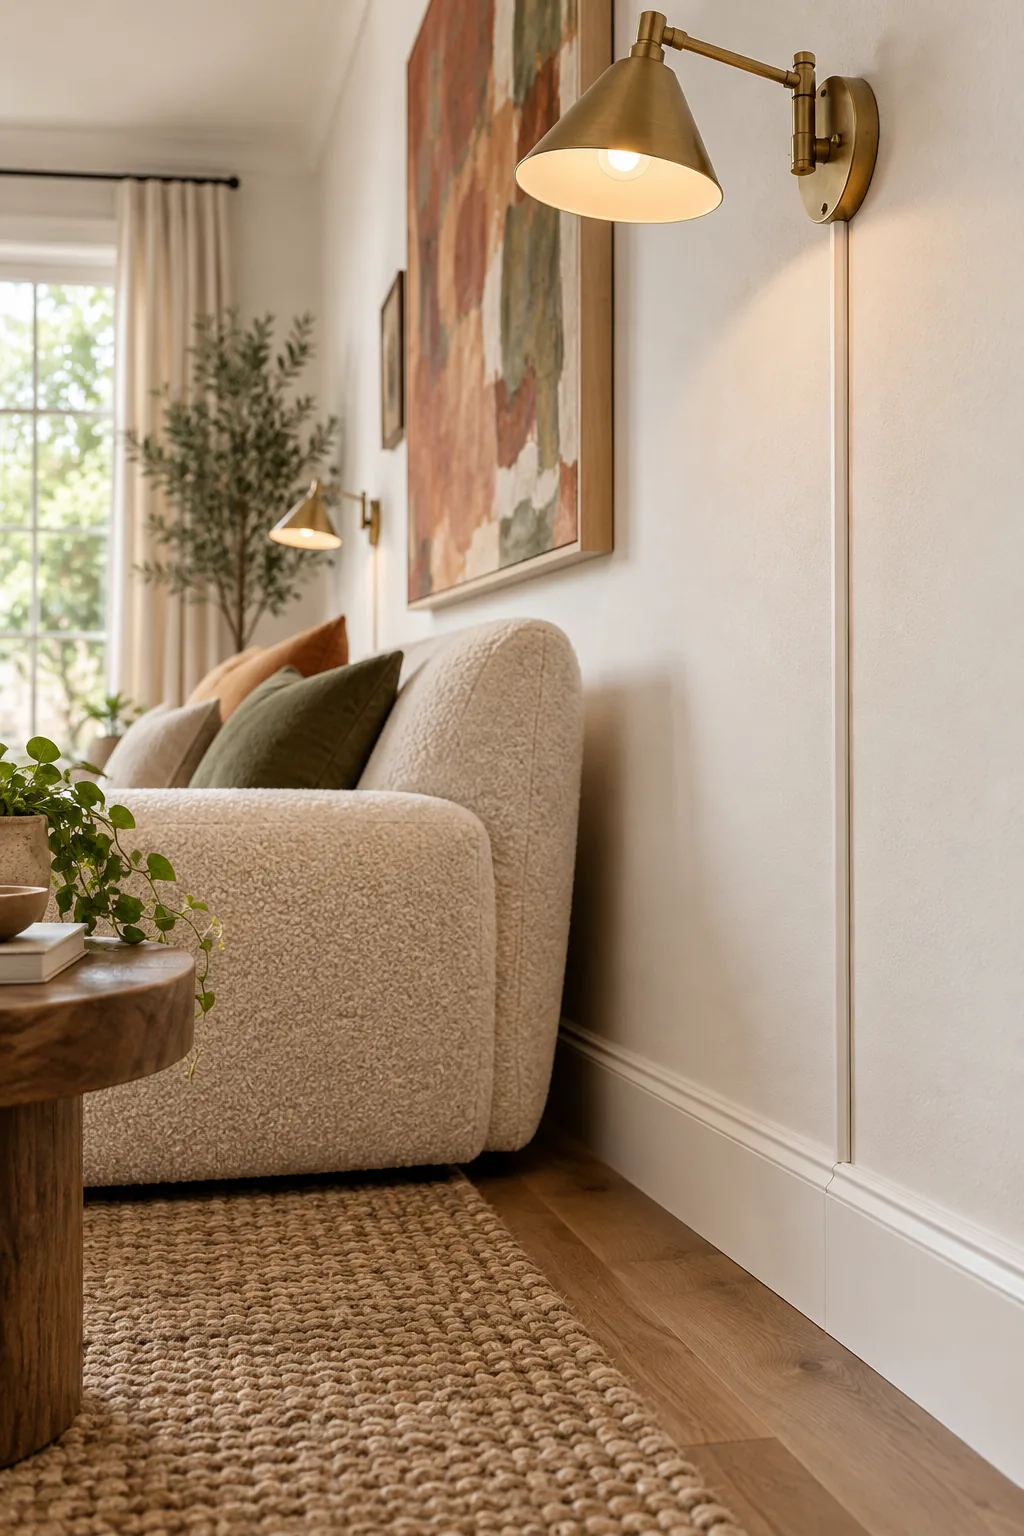
The painted channels blend seamlessly into the background like subtle architectural molding, keeping the visual focus entirely on the illuminated art.
Integrating Smart Lighting Controls
Once your sconces are mounted and the cords are hidden, plug the fixtures into a smart dimmer module behind the sofa. This allows you to adjust the ambient evening glow directly from your phone without ever reaching behind the cushions.
More Ways to Style the Sofa Wall
Find the perfect arrangement for your living room's unique style.
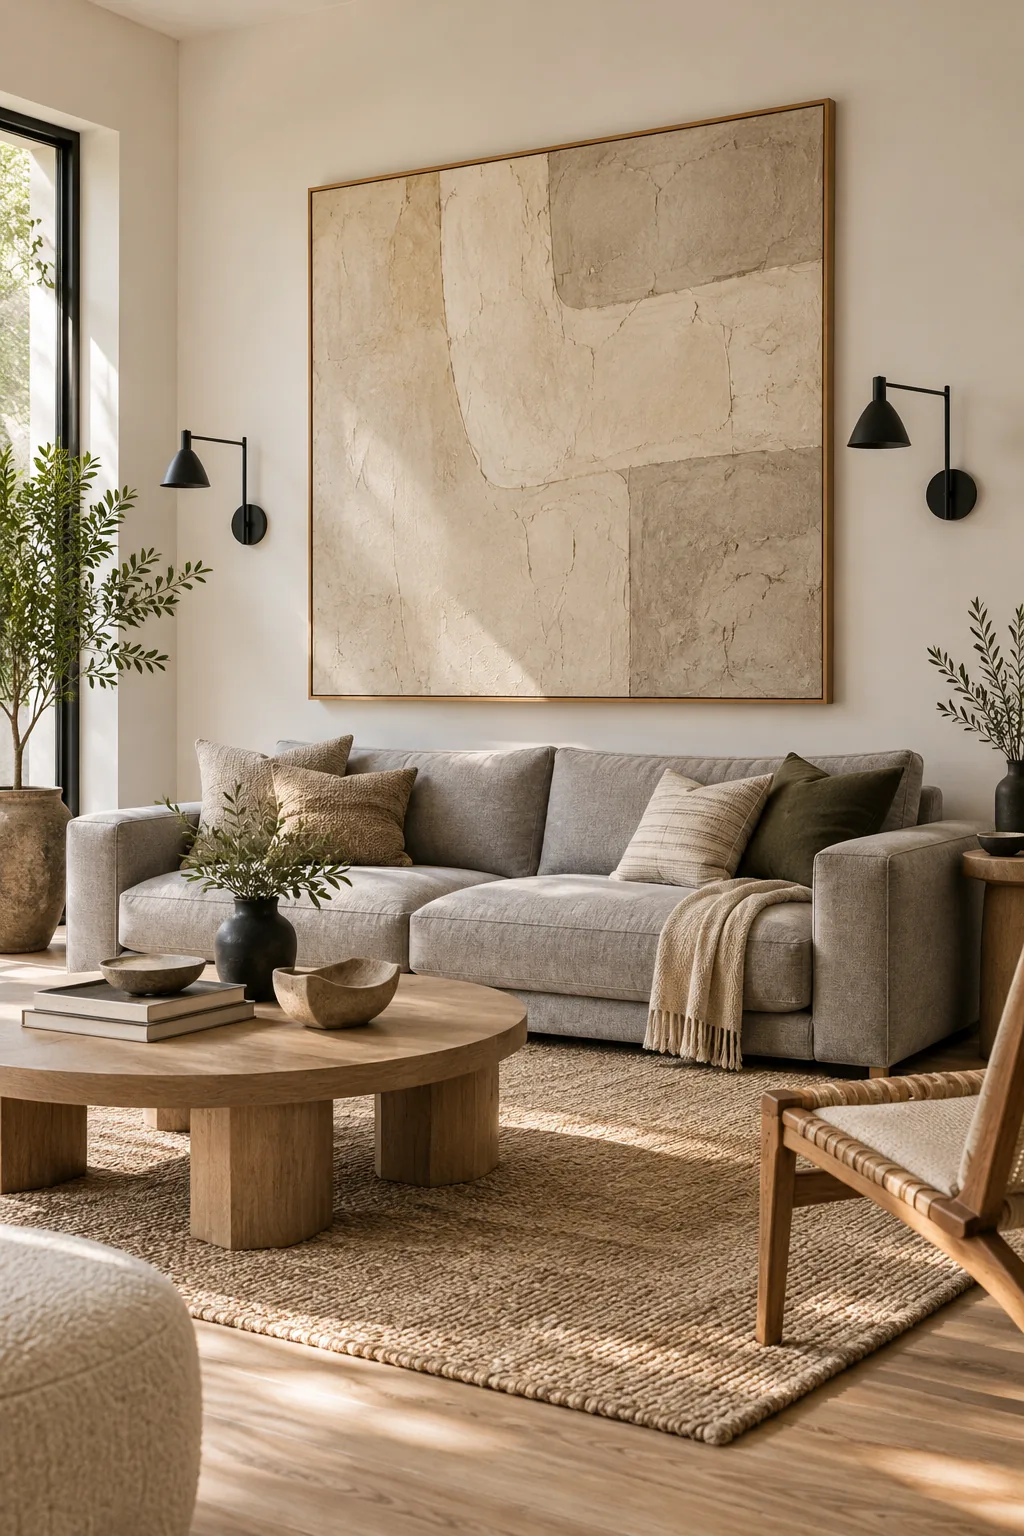
Minimalist Japandi plaster art: A single oversized textured piece in a light oak frame brings quiet drama to a low-profile grey sofa.
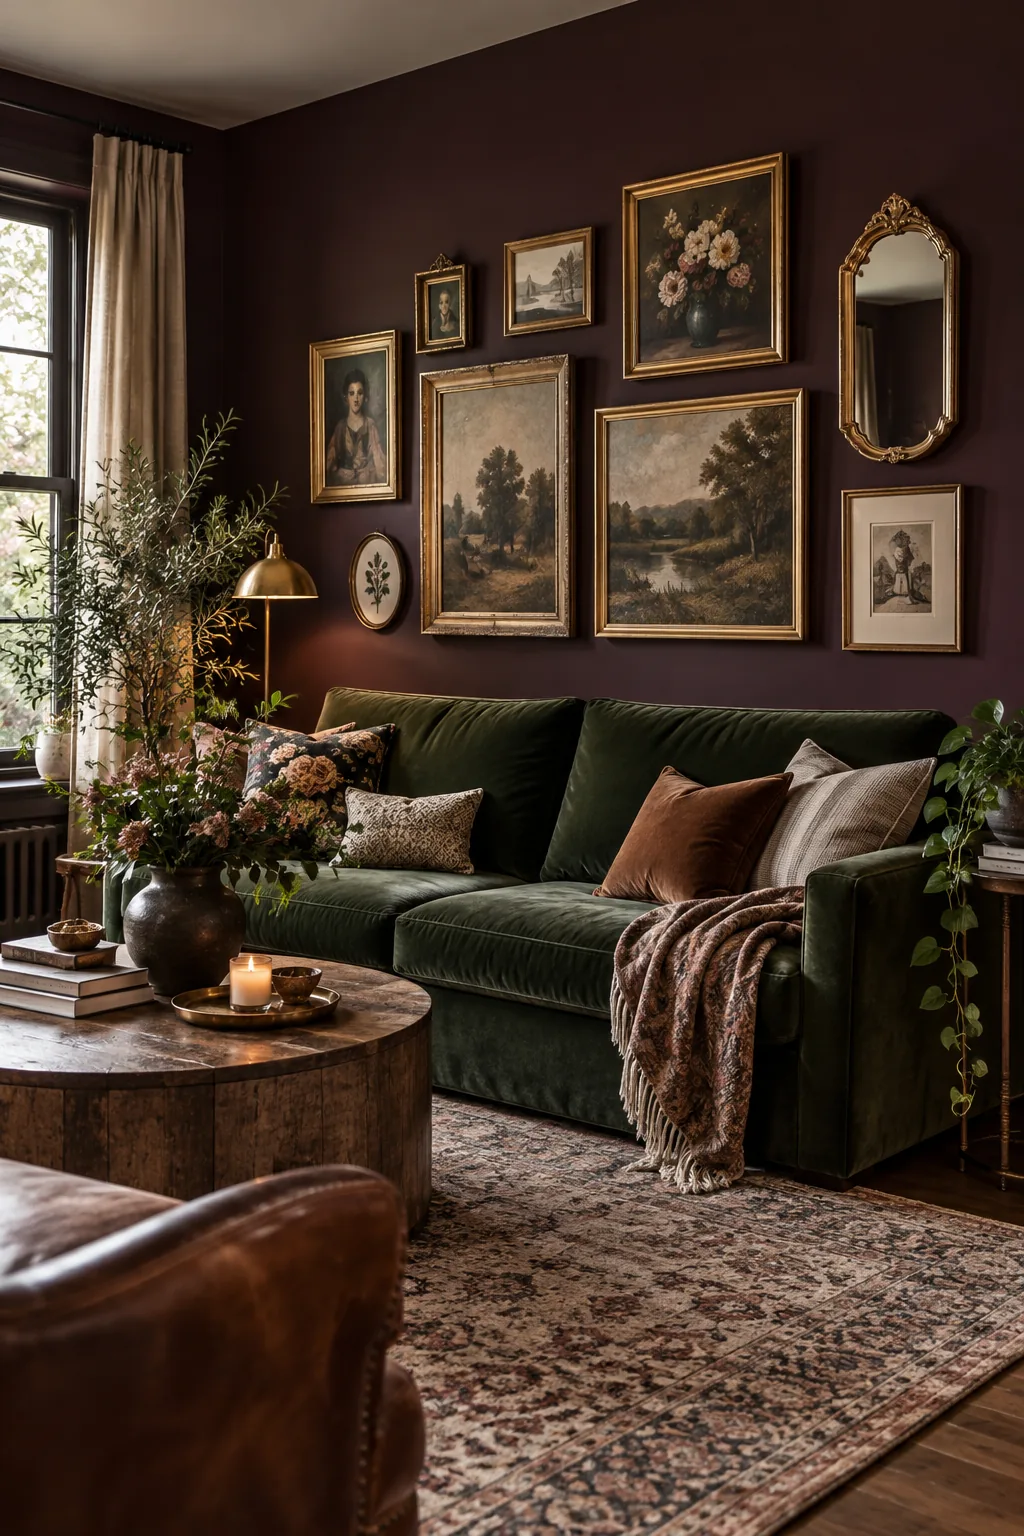
Moody eclectic gallery wall: Dark plum walls provide a rich backdrop for an asymmetrical collection of vintage gold frames.
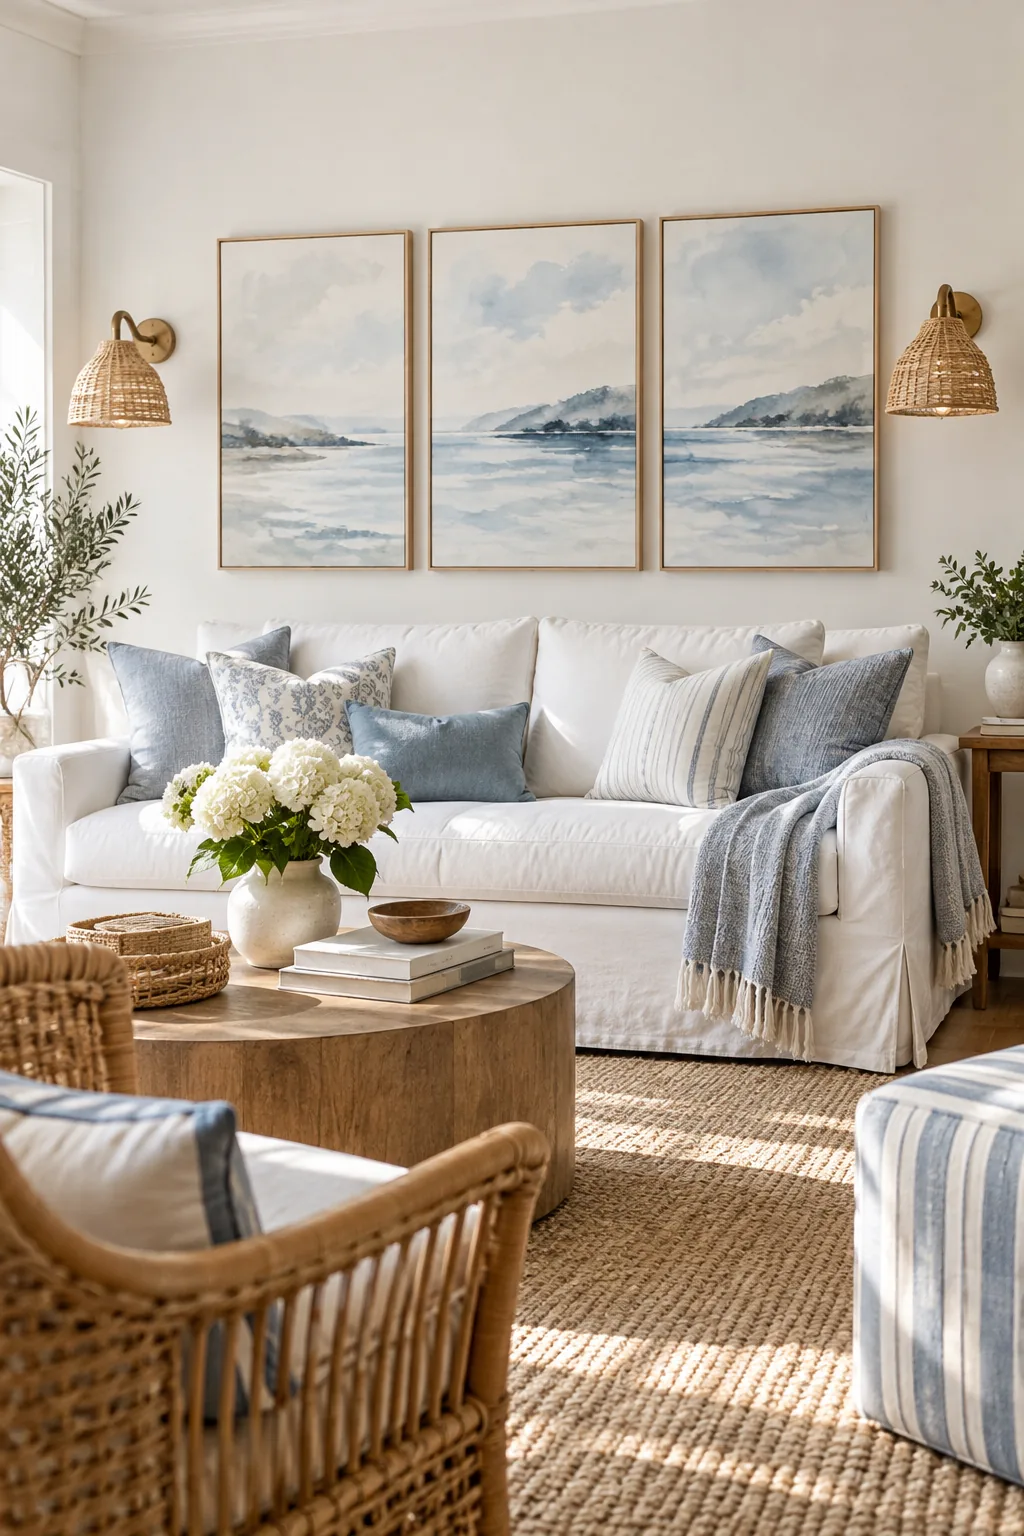
Coastal transitional watercolor triptych: A perfectly spaced triptych of soft blue landscapes adds breezy symmetry above a slipcovered linen sofa.
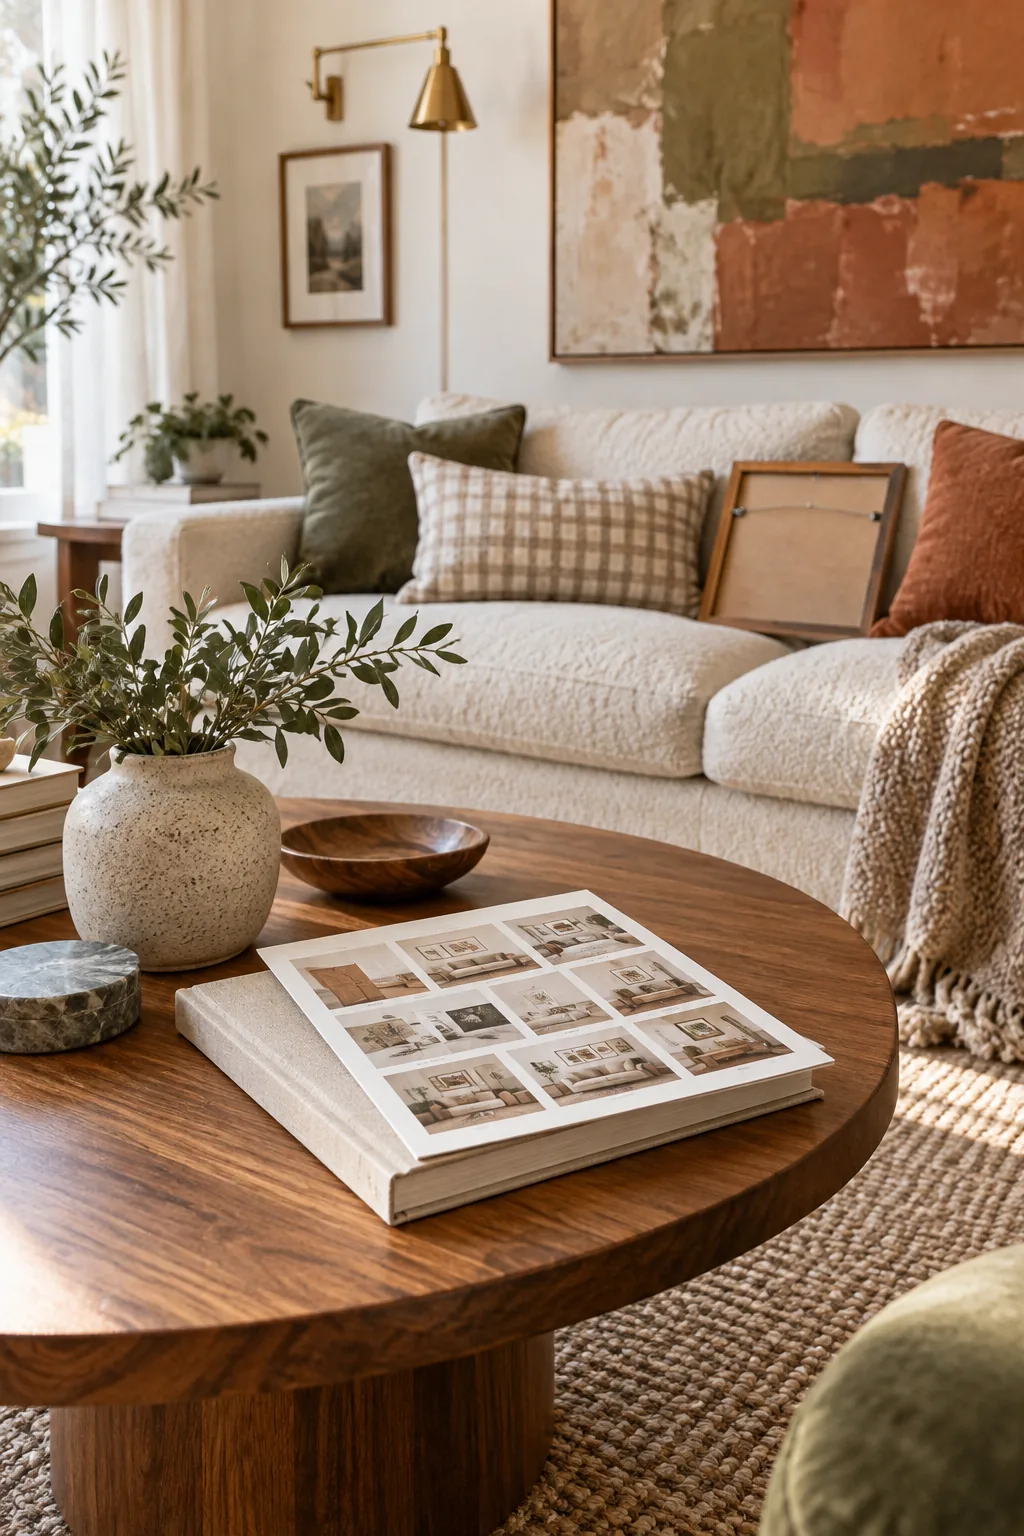
Your Above-Sofa Hanging Cheat Sheet
Stop guessing at the tricky math every time you buy new art; I keep this exact reference sheet pinned above my own studio desk. Our printable hanging sheet covers exact width calculations for every common sofa size, foolproof spacing rules, and a hardware matching guide.
Before putting any permanent holes in the drywall, run through these quick layout checks to ensure your measurements are completely locked in.