Entryway Mirror Hanging Guide: The Art Installer's Method
You will be able to calculate your exact hanging measurements and mount your heavy entryway mirror perfectly flat by printing our custom Entryway Mirror Hanging Sheet. We will build your welcoming entryway vignette from foundational proportions to precise hardware installation and final surface styling.
Scaling the Mirror to Your Console
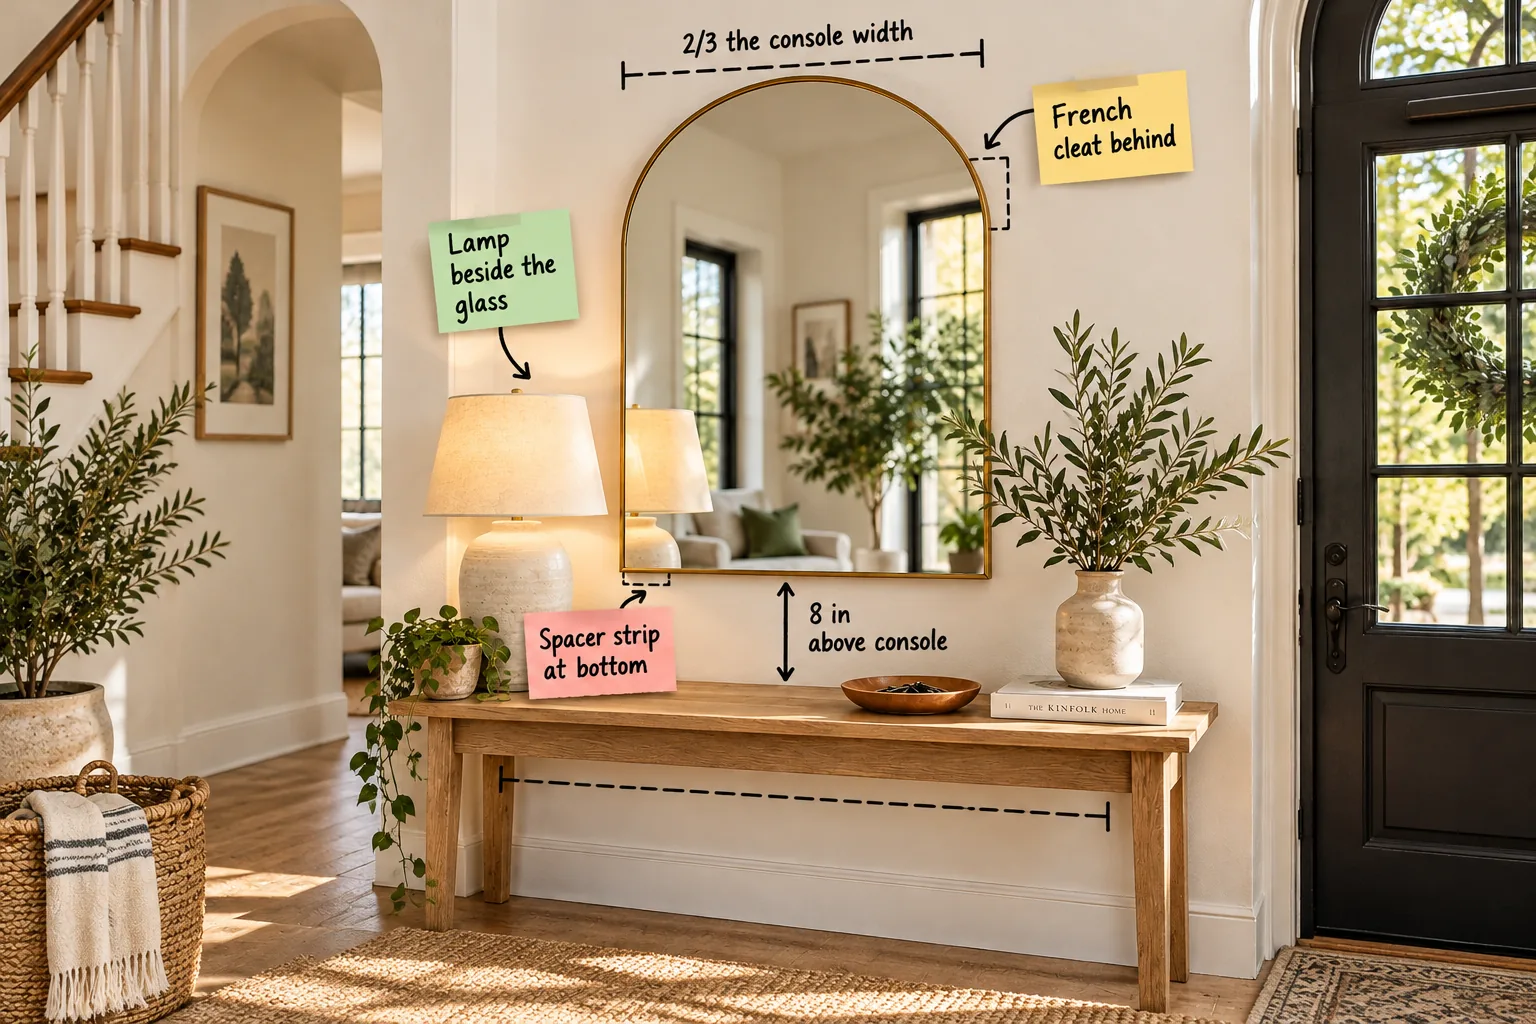
In my own Denver home, I learned that matching the width of the glass to exactly two-thirds the console width prevents the mirror from overpowering the furniture. If your entryway table spans forty-eight inches across, the ideal mirror spans roughly thirty-two inches wide.
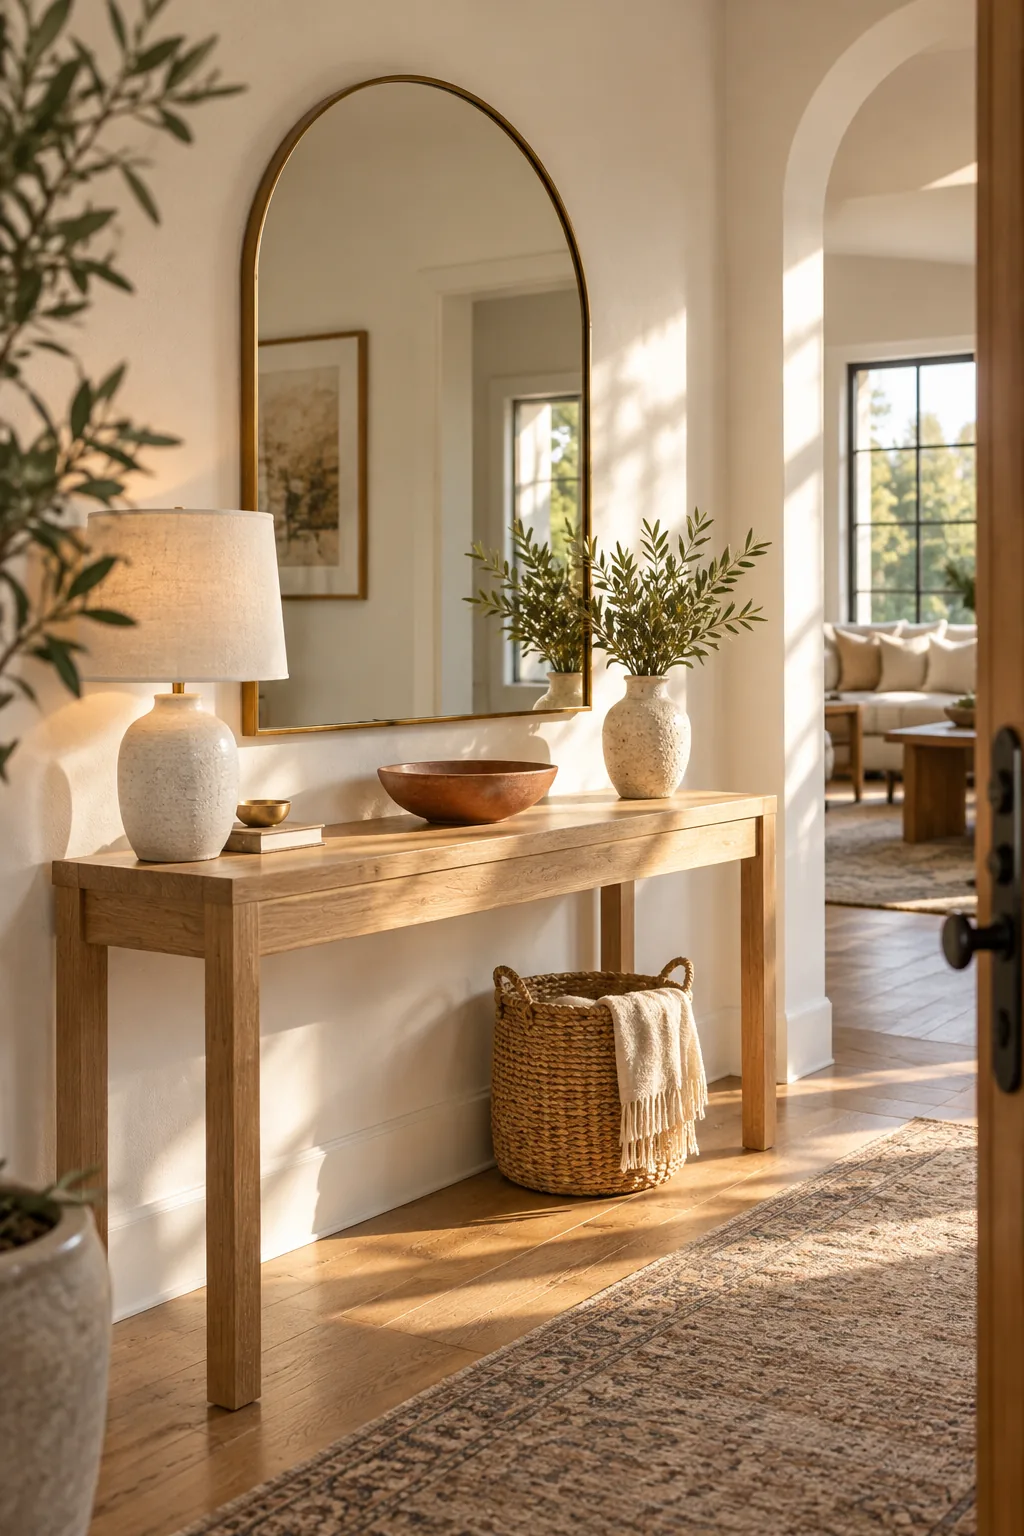
Maintaining this foundational proportional ratio ensures the heavy glass acts as a cohesive extension of the table rather than floating disconnected on the blank wall. You establish a grounded visual anchor that easily accommodates layered lighting and diverse decorative objects on either side.
Setting the Perfect Vertical Gap
Setting a precise 8-inch gap above the console leaves just enough breathing room for tall decorative objects while keeping the mirror visually tethered to the wooden surface below. This specific vertical measurement bridges the negative space without stretching your carefully planned arrangement too thin.
Pushing the glass any higher fragments your vignette into two separate zones, forcing the eye to jump awkwardly between the table and the reflection. By holding that strict eight-inch margin, you create a unified, structured backdrop for your daily functional family drop zone.
| Console Width Range | Ideal Mirror Width | Console Height Baseline | Cleat Screw Height Target |
|---|---|---|---|
| 36 to 40 inches wide | 24 to 26 inches wide | Standard 30-inch height | 64 inches from the floor |
| 42 to 46 inches wide | 28 to 30 inches wide | Standard 30-inch height | 64 inches from the floor |
| 48 to 52 inches wide | 32 to 34 inches wide | Elevated 32-inch height | 66 inches from the floor |
| 54 to 58 inches wide | 36 to 38 inches wide | Elevated 32-inch height | 66 inches from the floor |
| 60 to 66 inches wide | 40 to 44 inches wide | Tall 34-inch console height | 68 inches from the floor |
| 72 to 80 inches wide | 48 to 52 inches wide | Tall 34-inch console height | 68 inches from the floor |
The Mirror Hanging Measurement Sheet
You can eliminate the installation guesswork entirely by downloading our Entryway Mirror Hanging Sheet, which calculates your exact mirror proportions and bottom-edge gap in seconds. Simply input your eye height, console width, and console height to instantly generate your required structural cleat screw height.
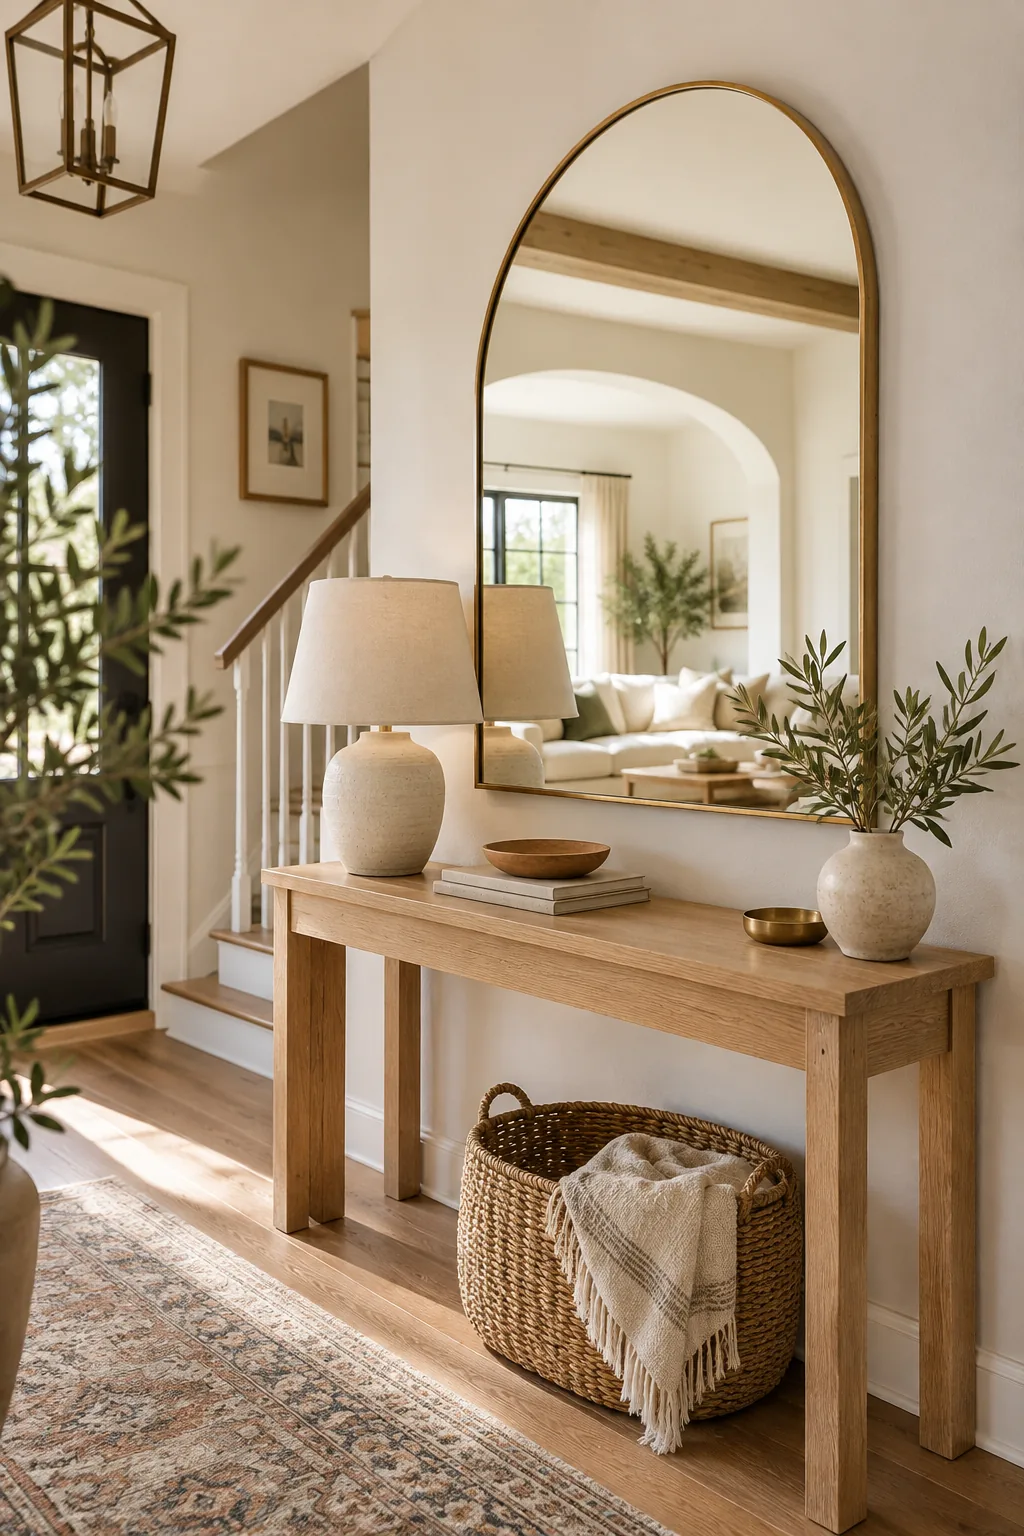
This one-page measurement sheet includes a streamlined six-step installation sequence that ensures you hit the correct wall studs on your very first attempt. Follow the generated sequence to guarantee perfect, level placement without drilling unnecessary test holes in your pristine hallway drywall.
- Measure and record your exact eye level from the finished floor to establish the baseline center point for the mirror reflection before calculating anything else.
- Input the total width and height of your entryway console table into the measurement sheet to calculate the proportional glass dimensions required for visual balance.
- Mark the calculated eight-inch vertical gap directly on the wall using a light pencil mark and a standard bubble level to ensure perfect horizontal alignment.
- Transfer the generated cleat screw height directly to your wall studs to ensure maximum load-bearing support for the heavy brass or wood mirror frame.
- Secure the lower interlocking bracket to the wall studs using heavy-duty wood screws driven perfectly flush with the metal surface to prevent future shifting.
- Slide the upper mirror bracket carefully down onto the secured wall cleat until the two angled metal pieces lock firmly together in their final, permanent resting position.
Mounting with a French Cleat
Hanging heavy arched glass safely requires a hidden interlocking French cleat behind the upper back of the mirror to distribute the significant weight evenly across your wall. The angled metal brackets slide seamlessly together, locking the substantial piece firmly against the painted drywall.
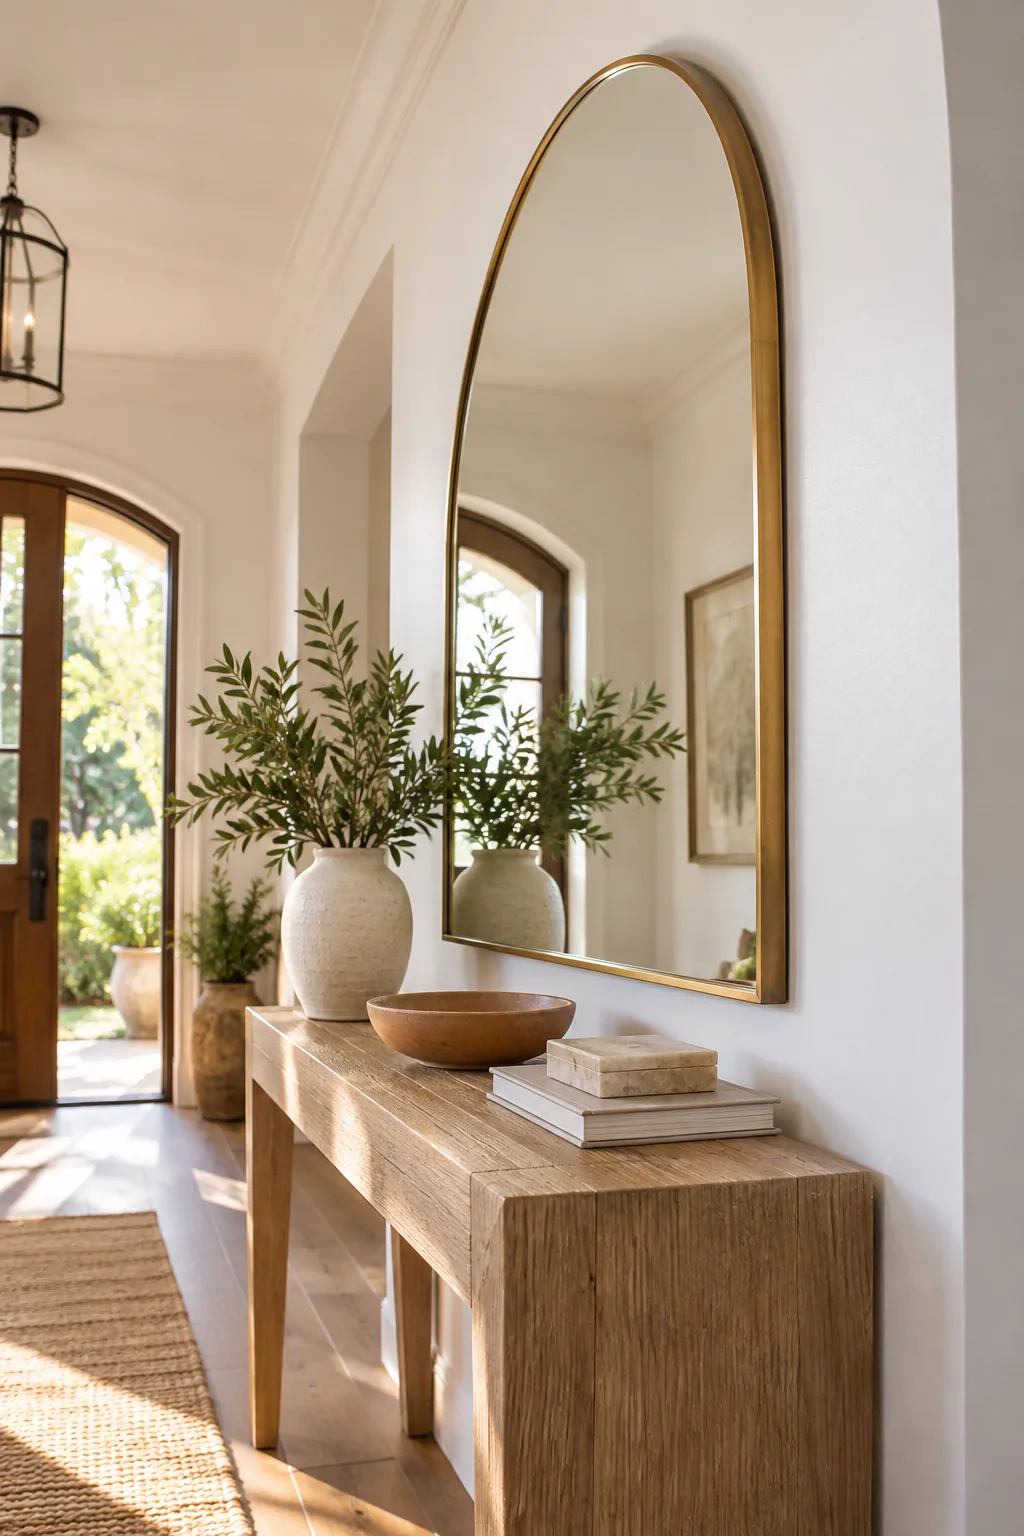
This continuous interlocking mechanism keeps the heavy frame completely secure and prevents any dangerous shifting when heavy front doors slam shut. Unlike traditional picture wire, a structural cleat guarantees your beautiful mirror remains perfectly plumb and level through years of daily bustling entryway traffic.
Adding the Bottom Spacer Strip
After hanging countless oversized mirrors for clients, I always attach a thin wooden spacer strip behind the lower back edge to match the upper cleat’s exact thickness. This crucial hidden addition ensures the heavy glass hangs completely parallel to the hallway wall without tilting.
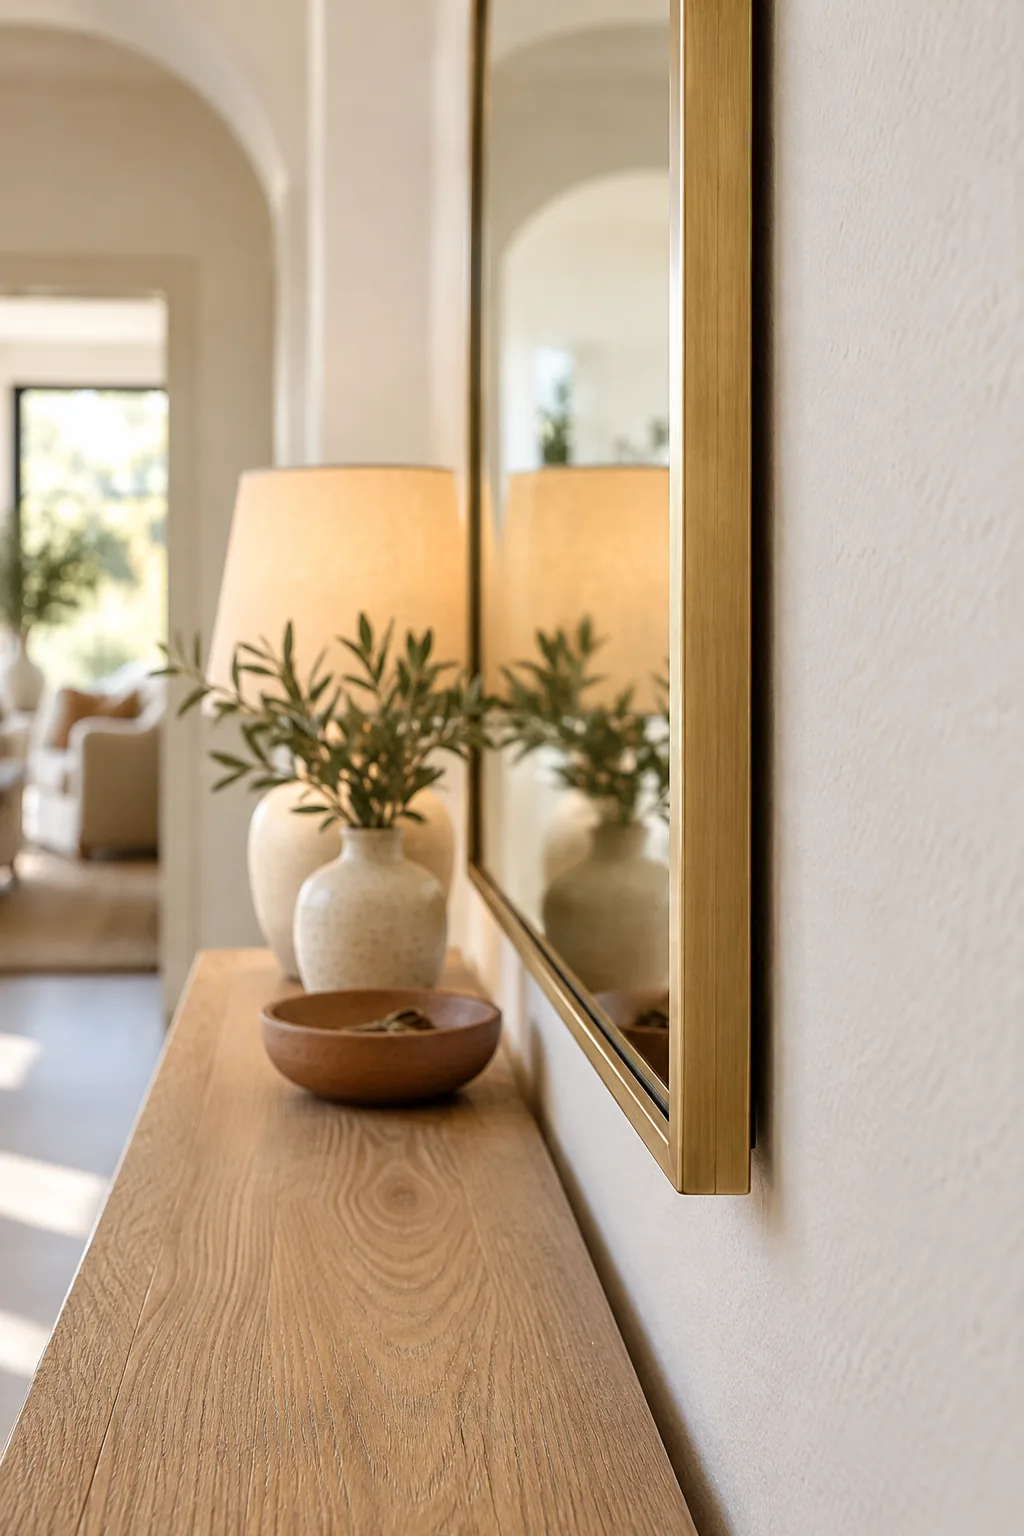
If you cannot find a custom wooden strip that exactly matches the depth of your upper mounting hardware, there is a remarkably simple household alternative to keep the glass flat. You must support the bottom edge to prevent distorted room reflections and awkward shadows.
Positioning the Console Lighting
I always place a glowing ceramic table lamp beside the glass in my own entryway, intentionally overlapping the shade with the brass frame to break up rigid grid lines. This deliberate asymmetrical placement beautifully doubles the warm ambient light within the deeply reflective surface.
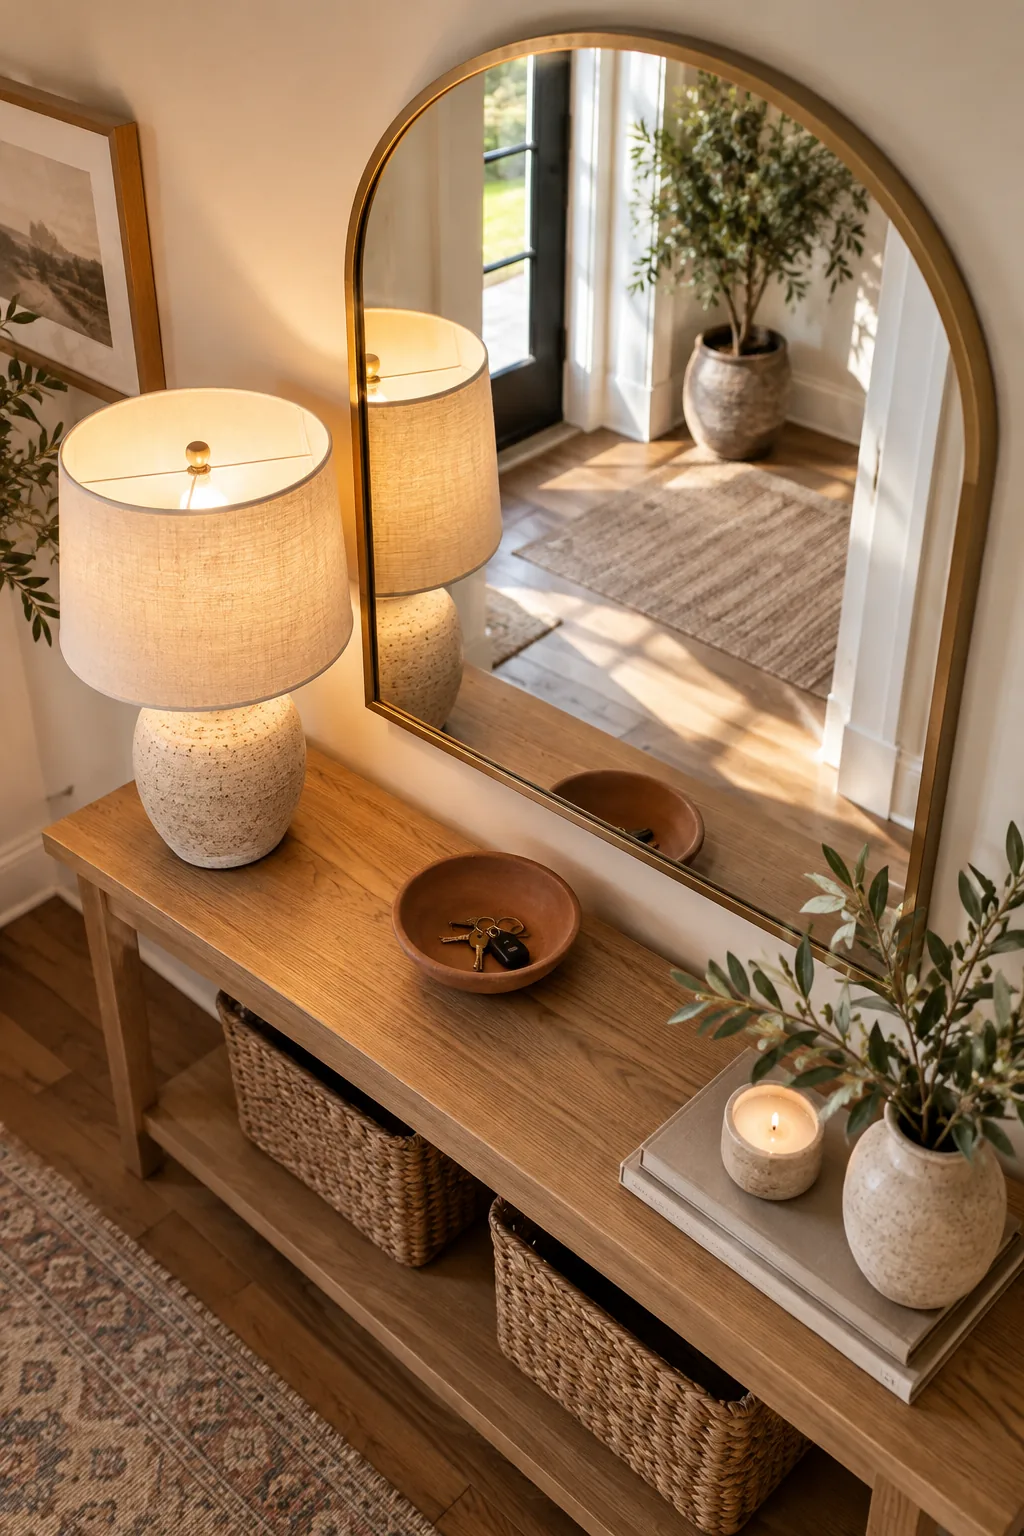
Allowing the glowing shade to gently cross the mirror’s edge softens hard metallic boundaries and creates a distinctly layered, lived-in atmosphere. This intentional intersection of light and glass introduces an essential element of Eastern spatial balance to your welcoming foyer design.
Framing the Opposite Reflection
Whenever I position a new console, I first stand directly at the open front door to verify exactly what the opposite reflection captures in the glass. You want to deliberately frame a sunny window, a leafy plant, or vibrant hallway art rather than shadows.
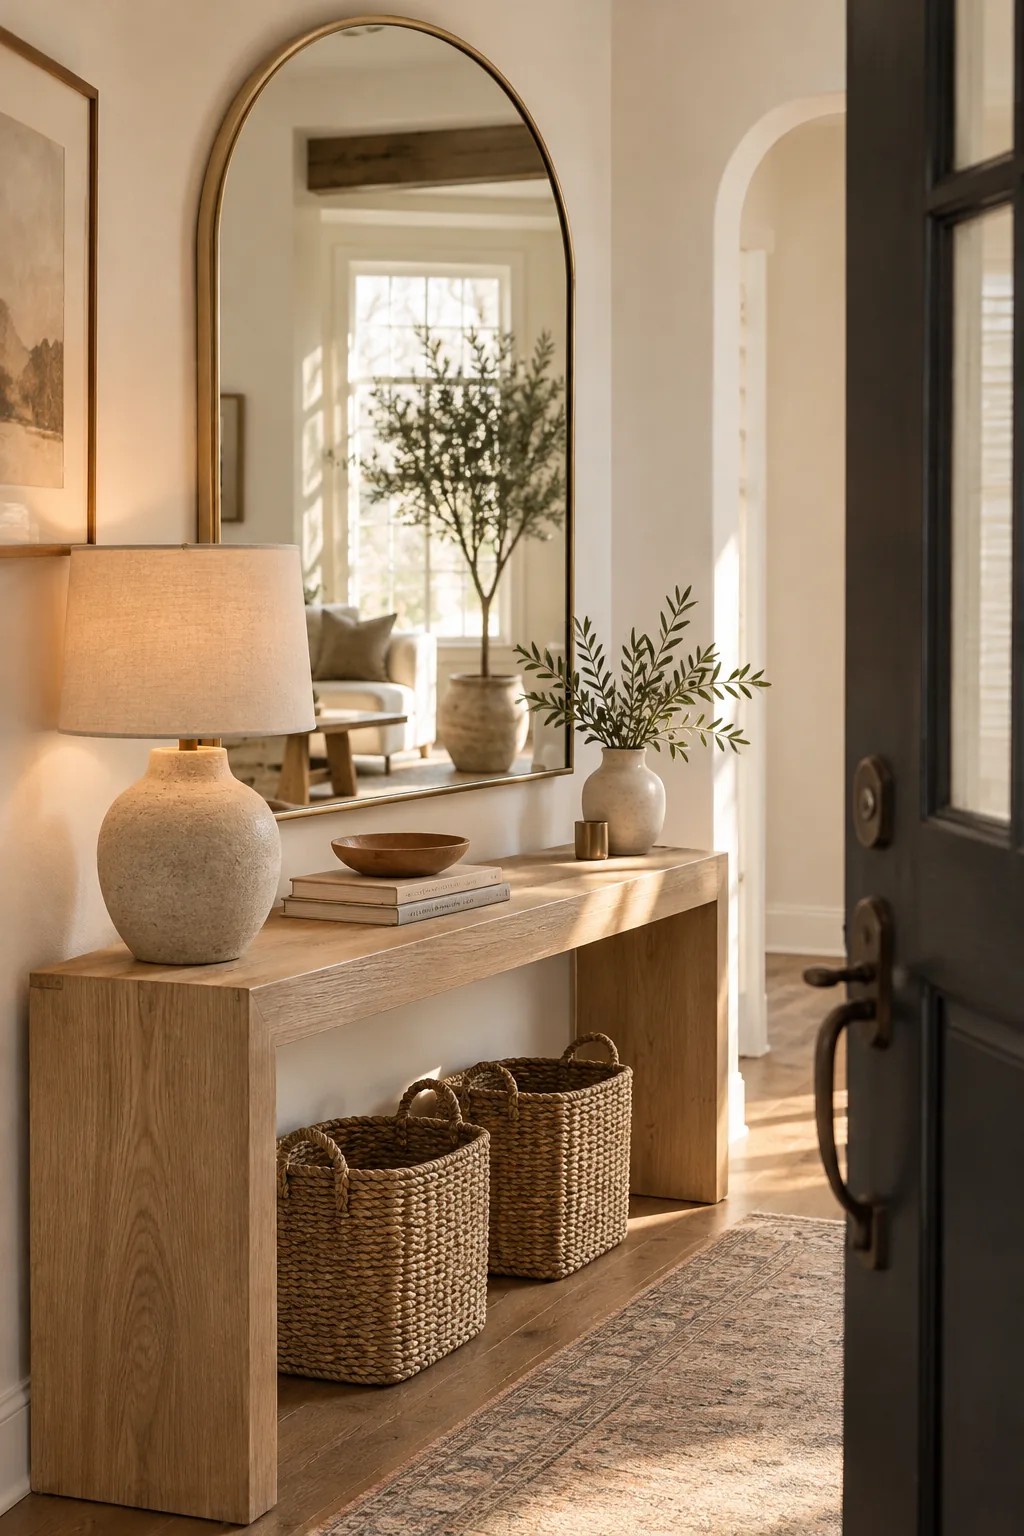
Directing the mirror toward natural light or organic textures instantly amplifies the perceived size and brightness of your entire entryway space. Treating the expansive glass as an active, framed canvas ensures the first view inside your home feels intentionally curated and incredibly welcoming.
- Position the mirror to capture direct morning sunlight from an adjacent window to artificially double the brightness of a dark, narrow hallway space.
- Angle the console table slightly if necessary to reflect a tall indoor olive tree or trailing pothos rather than a blank, unadorned corner.
- Hang a colorful piece of abstract art on the opposite wall so the mirror frames a vibrant, welcoming focal point for entering guests.
- Avoid placing the mirror directly opposite a cluttered coat rack or shoe organizer, which simply doubles the visual chaos in your organized entryway.
- Check the reflection from the living room sofa to ensure the glass does not accidentally capture a direct view into a private bathroom or utility closet.
- Adjust the table placement by a few inches left or right to align the reflected window perfectly within the center of the arched frame.
Finalizing the Entryway Vignette
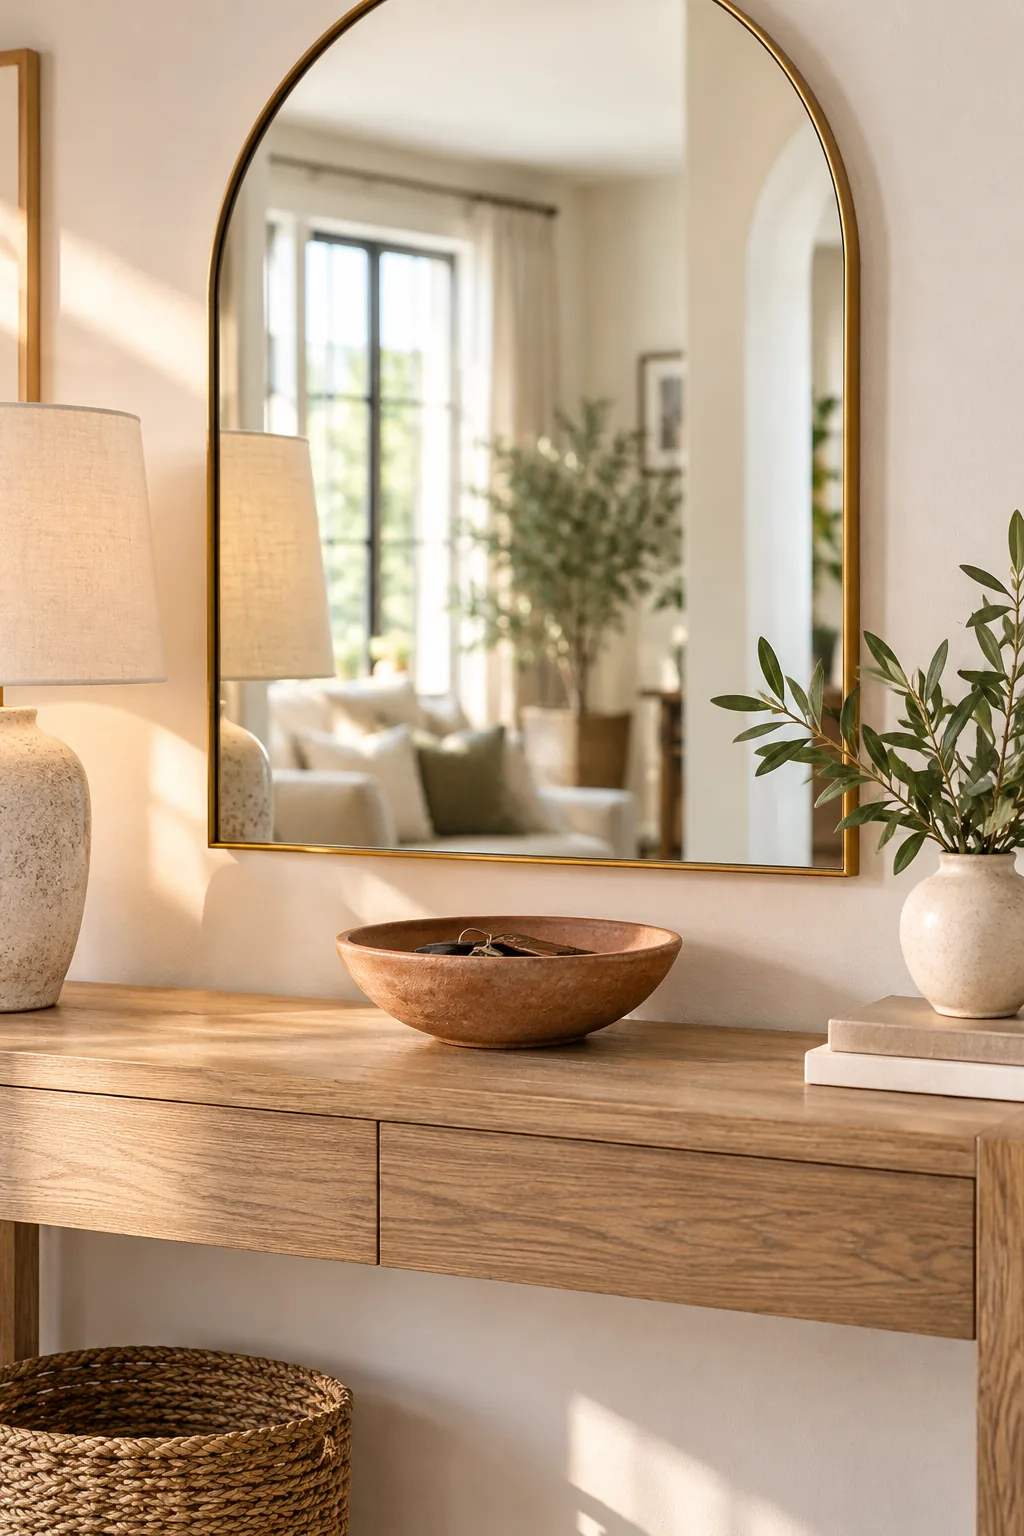
Complete your functional styling by placing a terracotta catch-all for keys and a small vase of fresh greenery near the center of the table. Keeping these central elements relatively low preserves the unobstructed lower third of the expansive mirror glass for quick outfit checks.
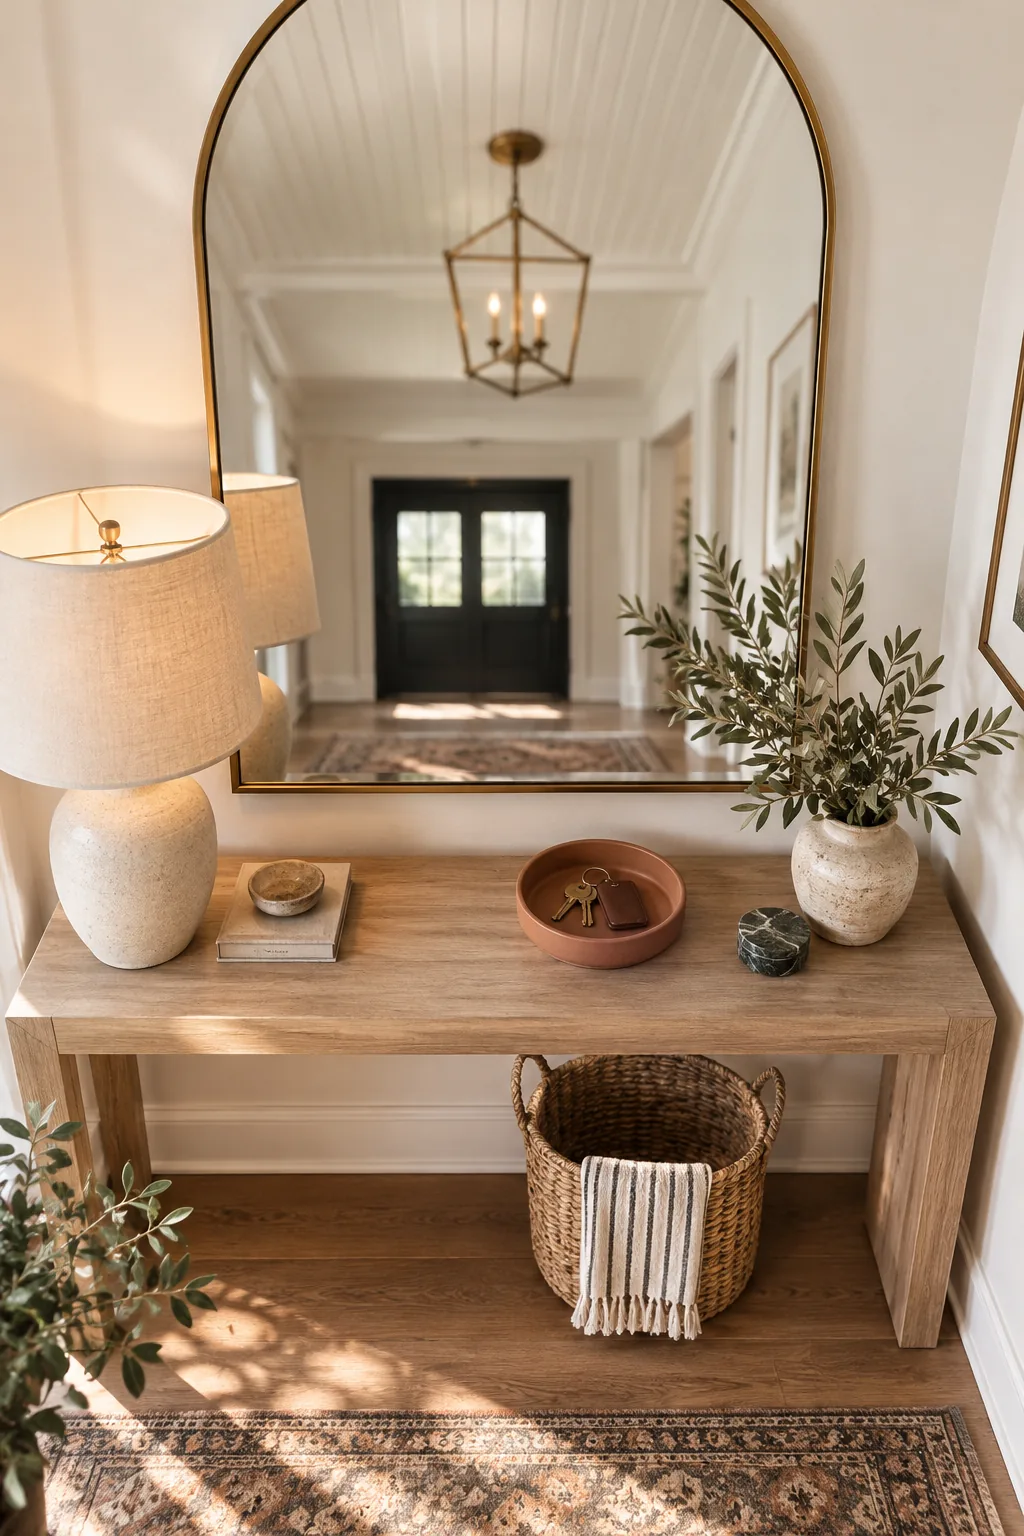
Before you clear away the cardboard packaging, put away your tools, and call the mirror installation project completely finished, run through these final visual checks. A few minor adjustments will elevate the entire arrangement from merely functional to professionally styled.
Entryway Mirror Styling Ideas
Find the perfect combination of glass and console for your home's unique architecture.
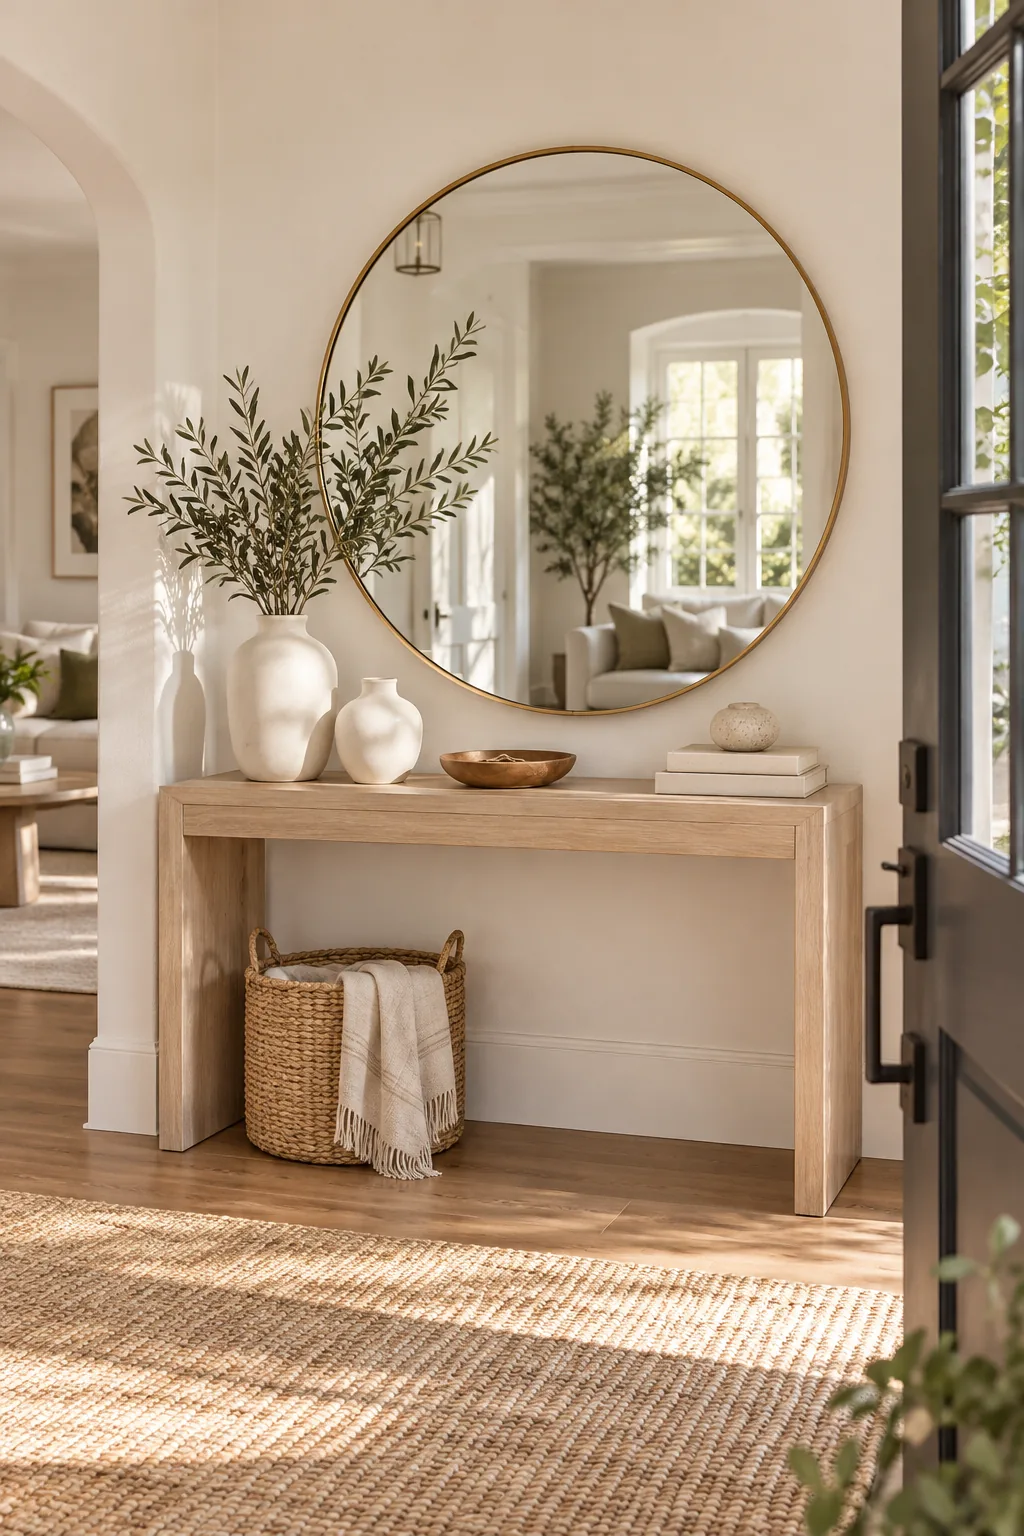
Minimalist Scandi Entryway: Embrace clean lines with light ash wood and a perfectly round mirror to soften the space.
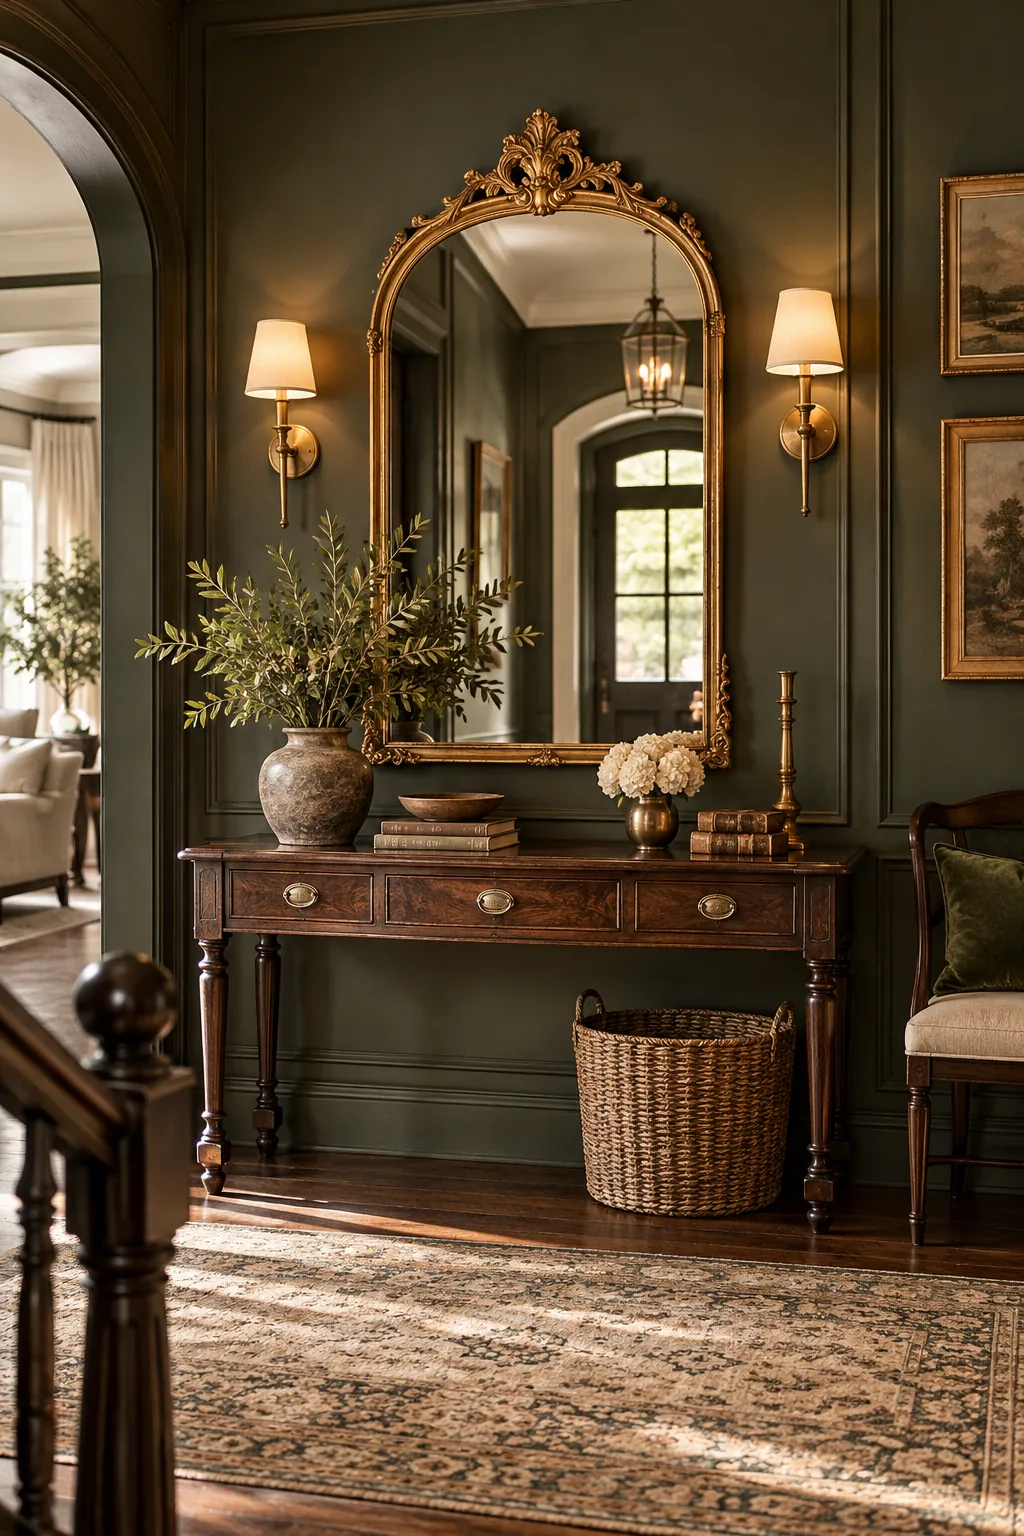
Moody Traditional Foyer: Anchor a dramatic dark entryway with an ornate vintage gold frame and rich walnut tones.
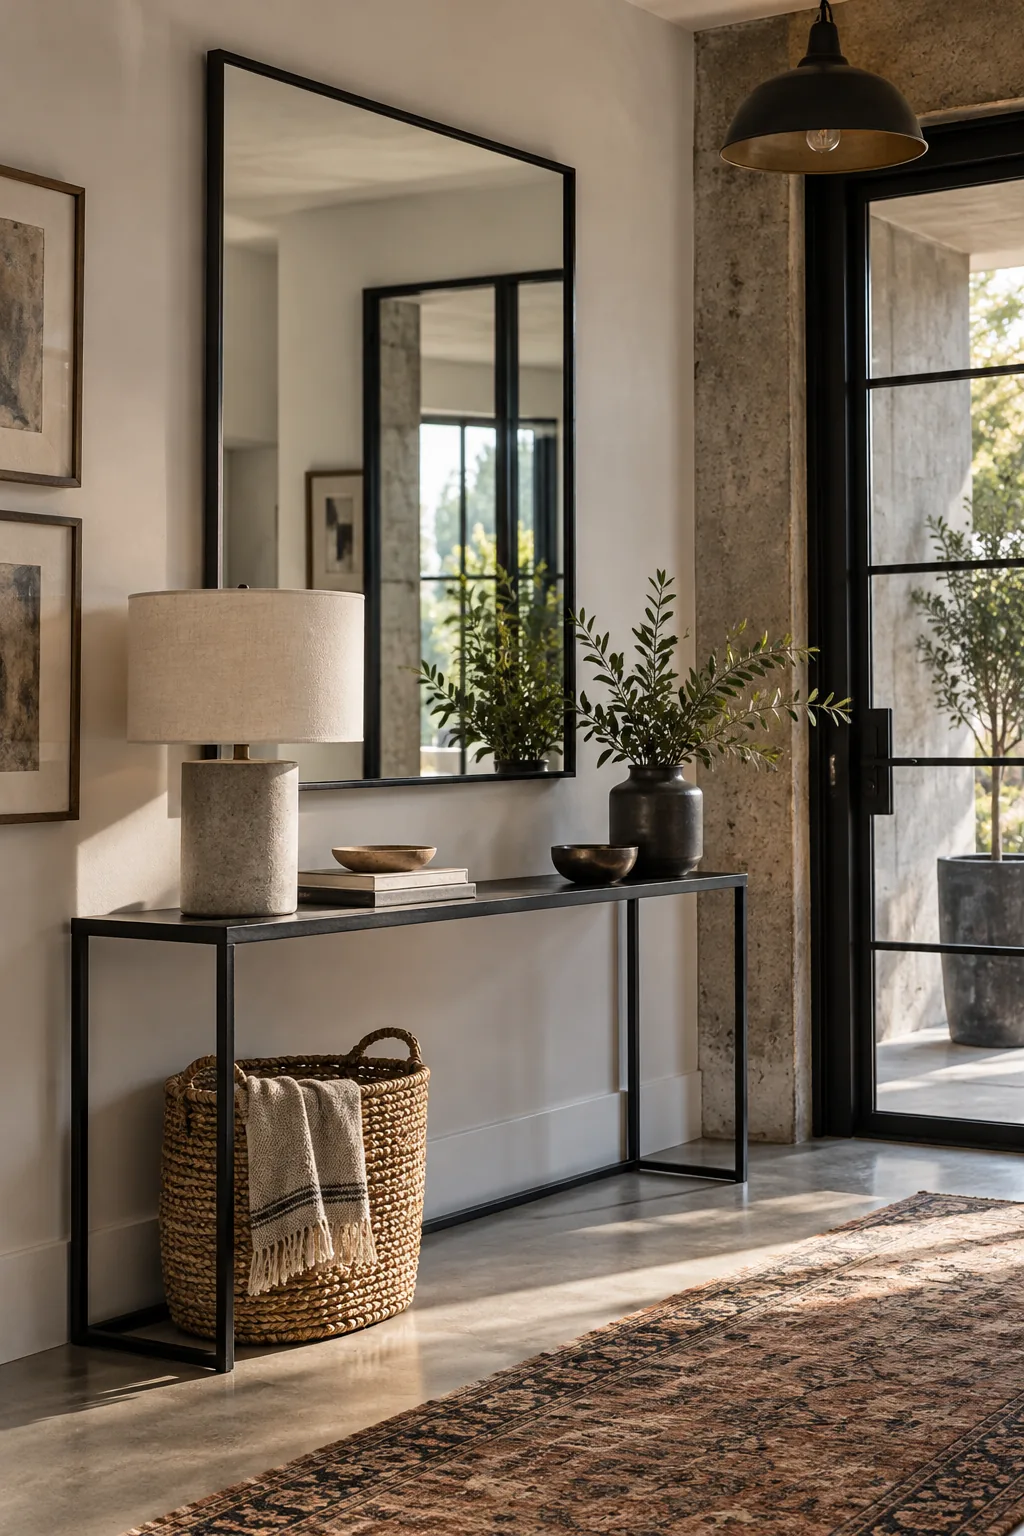
Modern Industrial Hallway: Keep things edgy and sleek by pairing a thin iron frame with raw concrete textures.
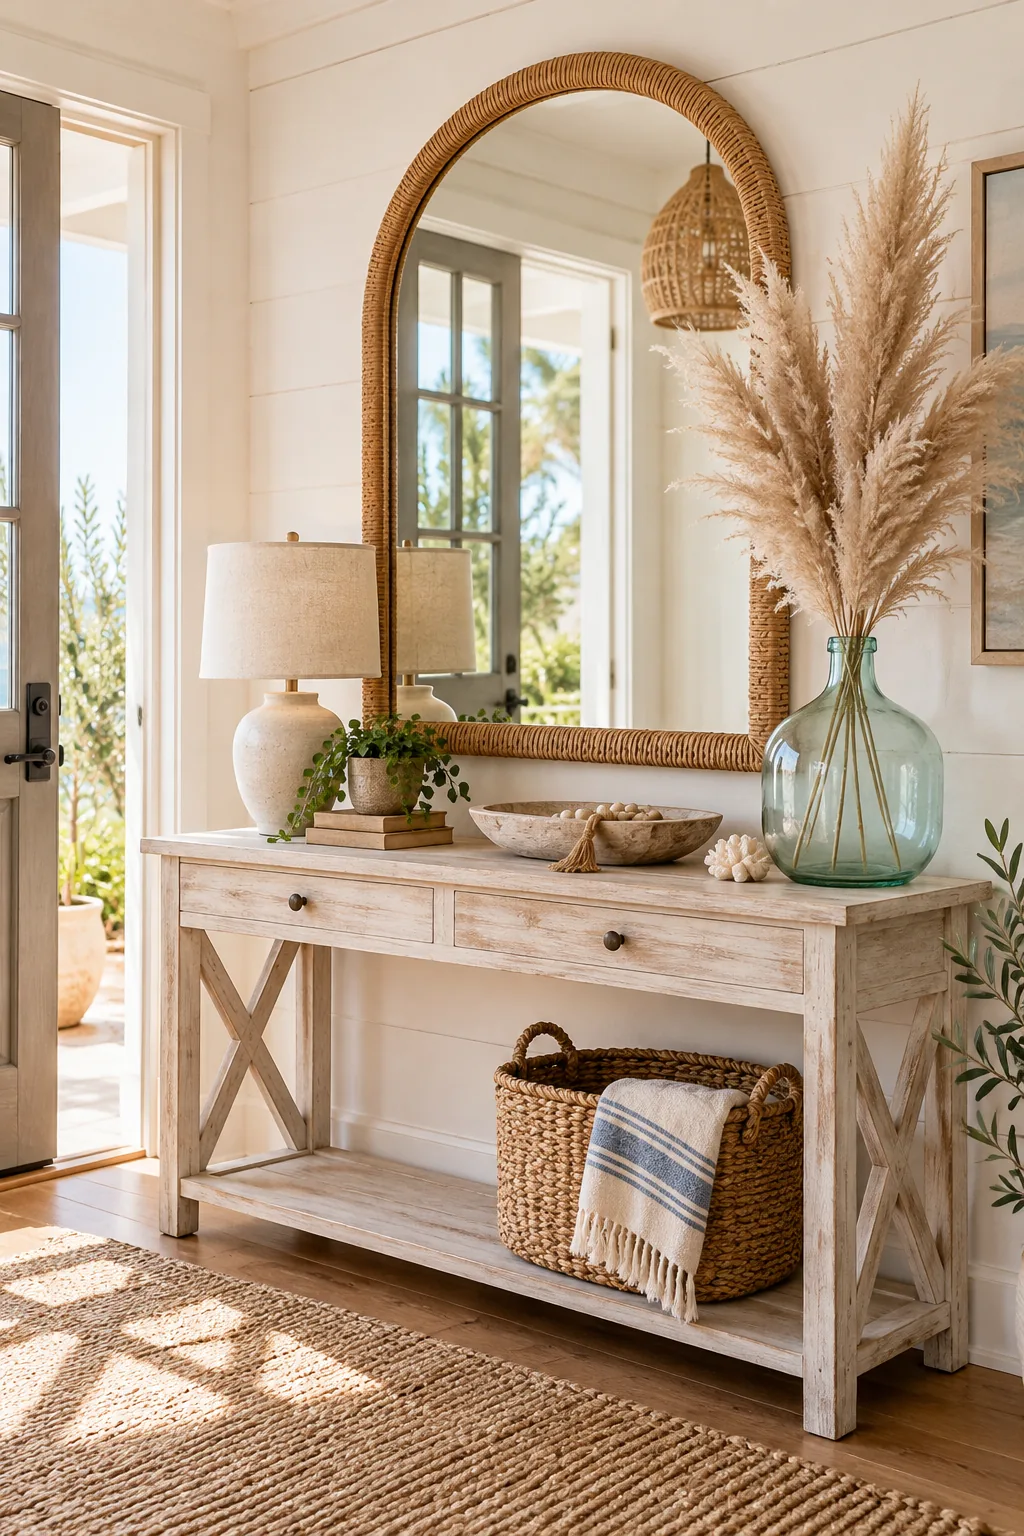
Coastal Cottage Entry: Introduce natural coastal texture through a rattan-wrapped frame and a relaxed whitewashed finish.
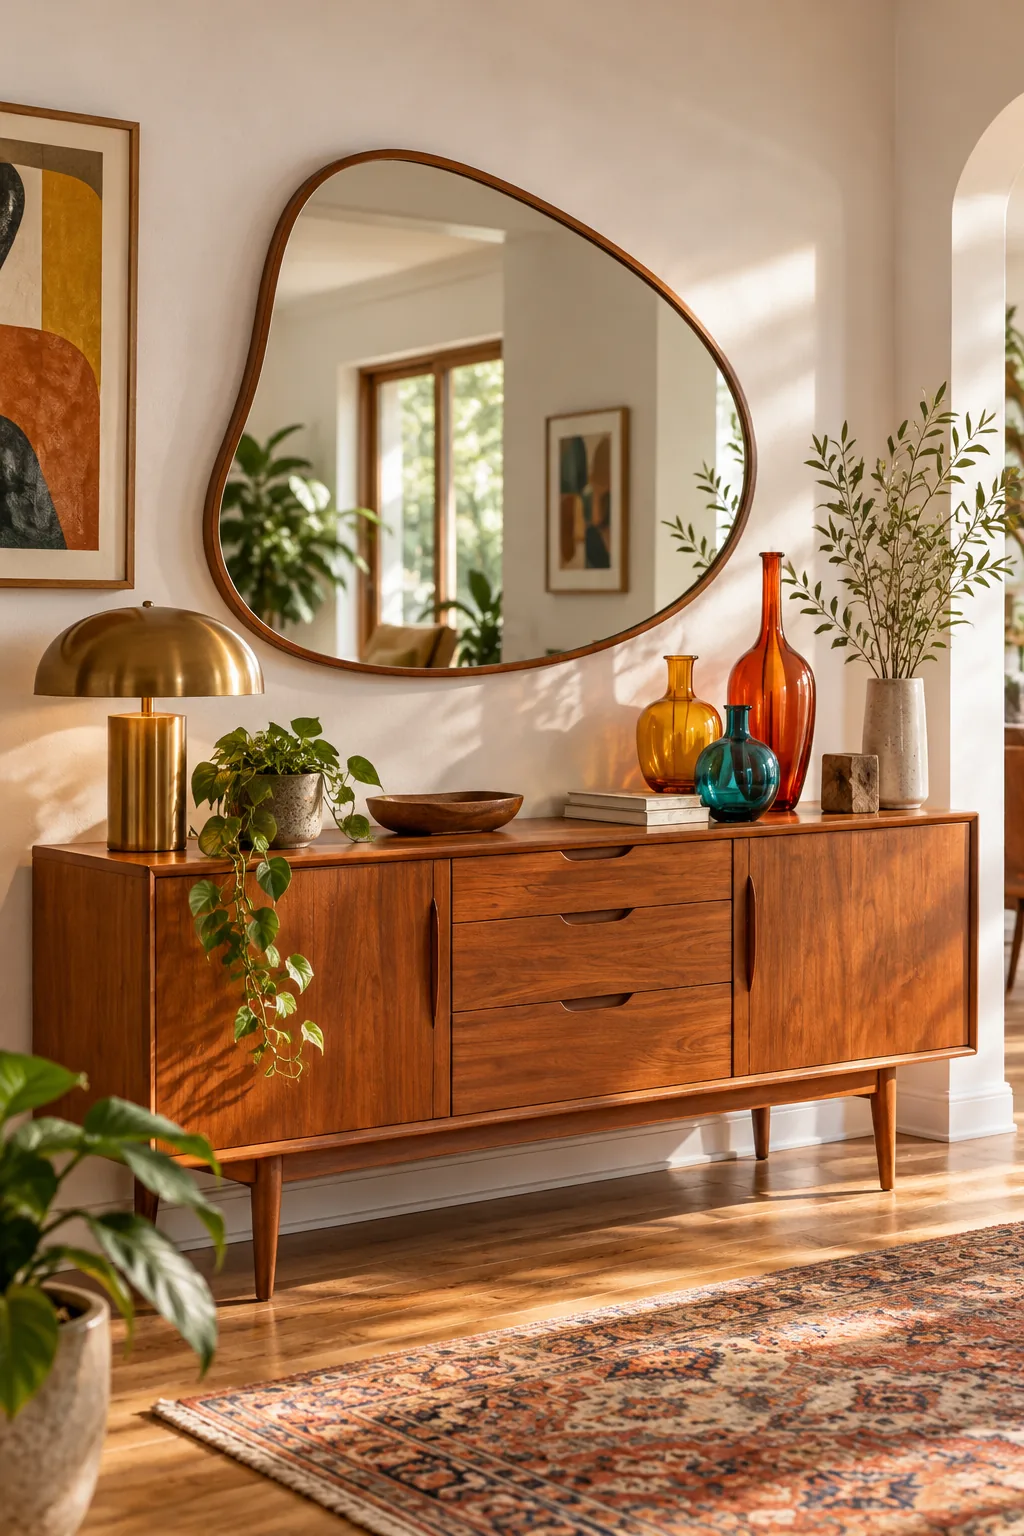
Midcentury Warmth: Break away from traditional shapes by hanging an asymmetrical organic mirror above vintage teak.