
Flawless Christmas Light Setup: Pro Supply Chart & Guide
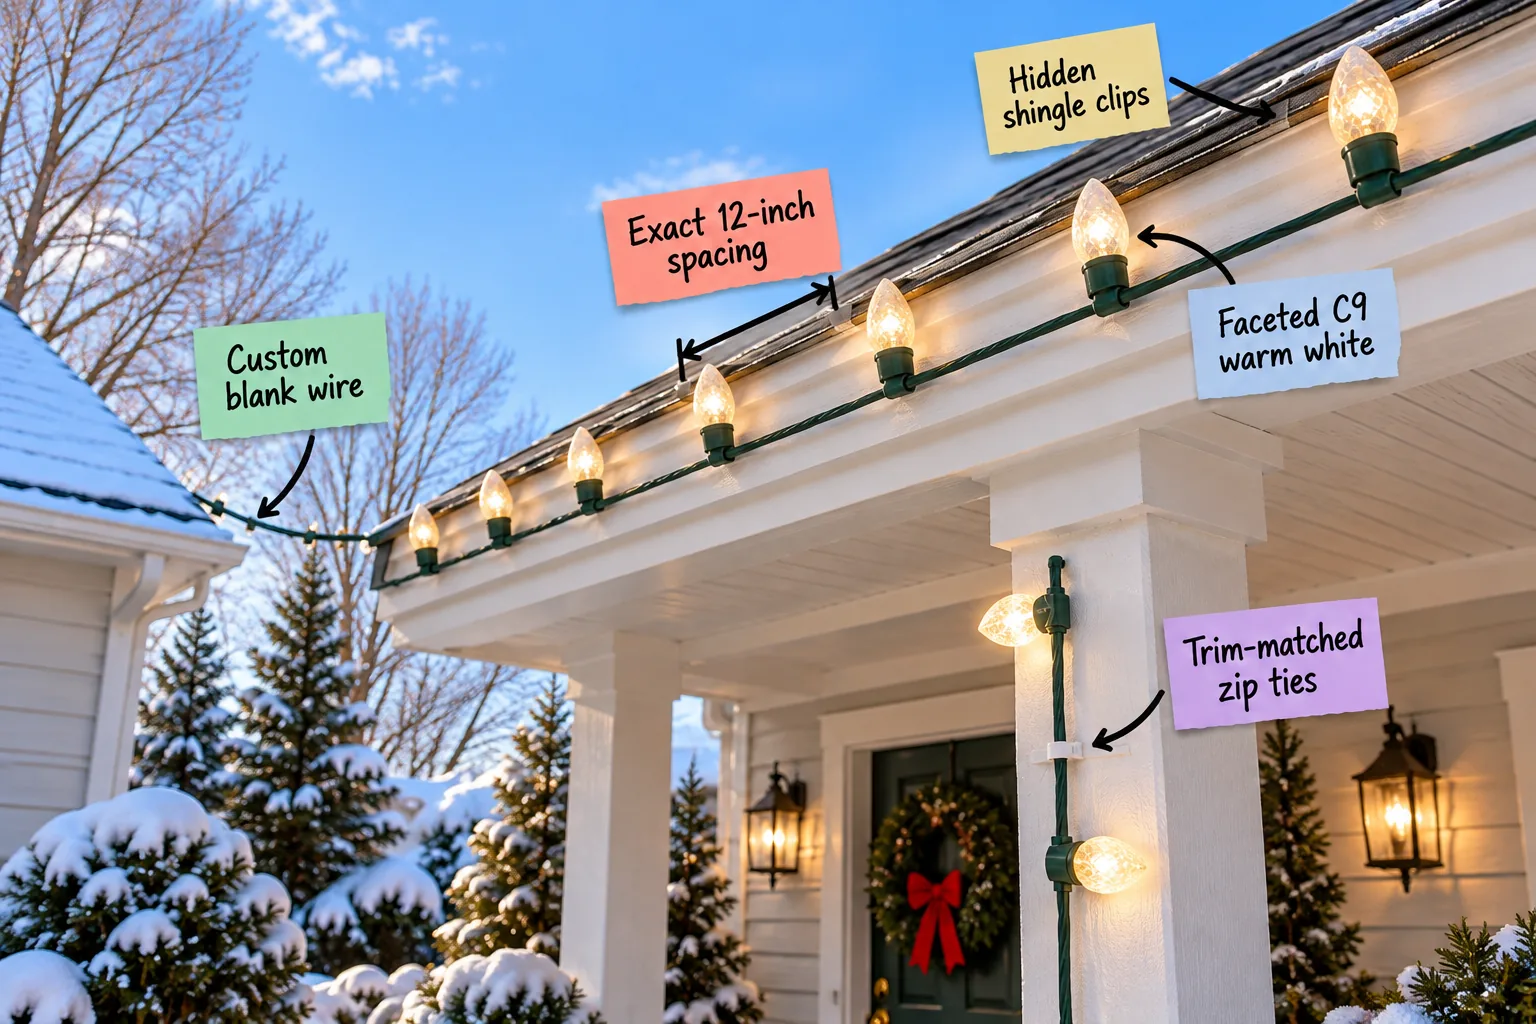
Skip the guesswork and use this exact professional supply list to build perfectly straight, custom-fit holiday lighting for your home. You will be able to order the exact professional-grade materials needed and install a flawless display using our pro lighting supply chart.
The Pro Lighting Supply Chart
Achieving a professional look starts with abandoning retail box lights in favor of bulk custom supplies. I finally ditched those tangled, mismatched retail boxes last year, and my Austin home immediately looked like a high-end commercial crew had styled it.
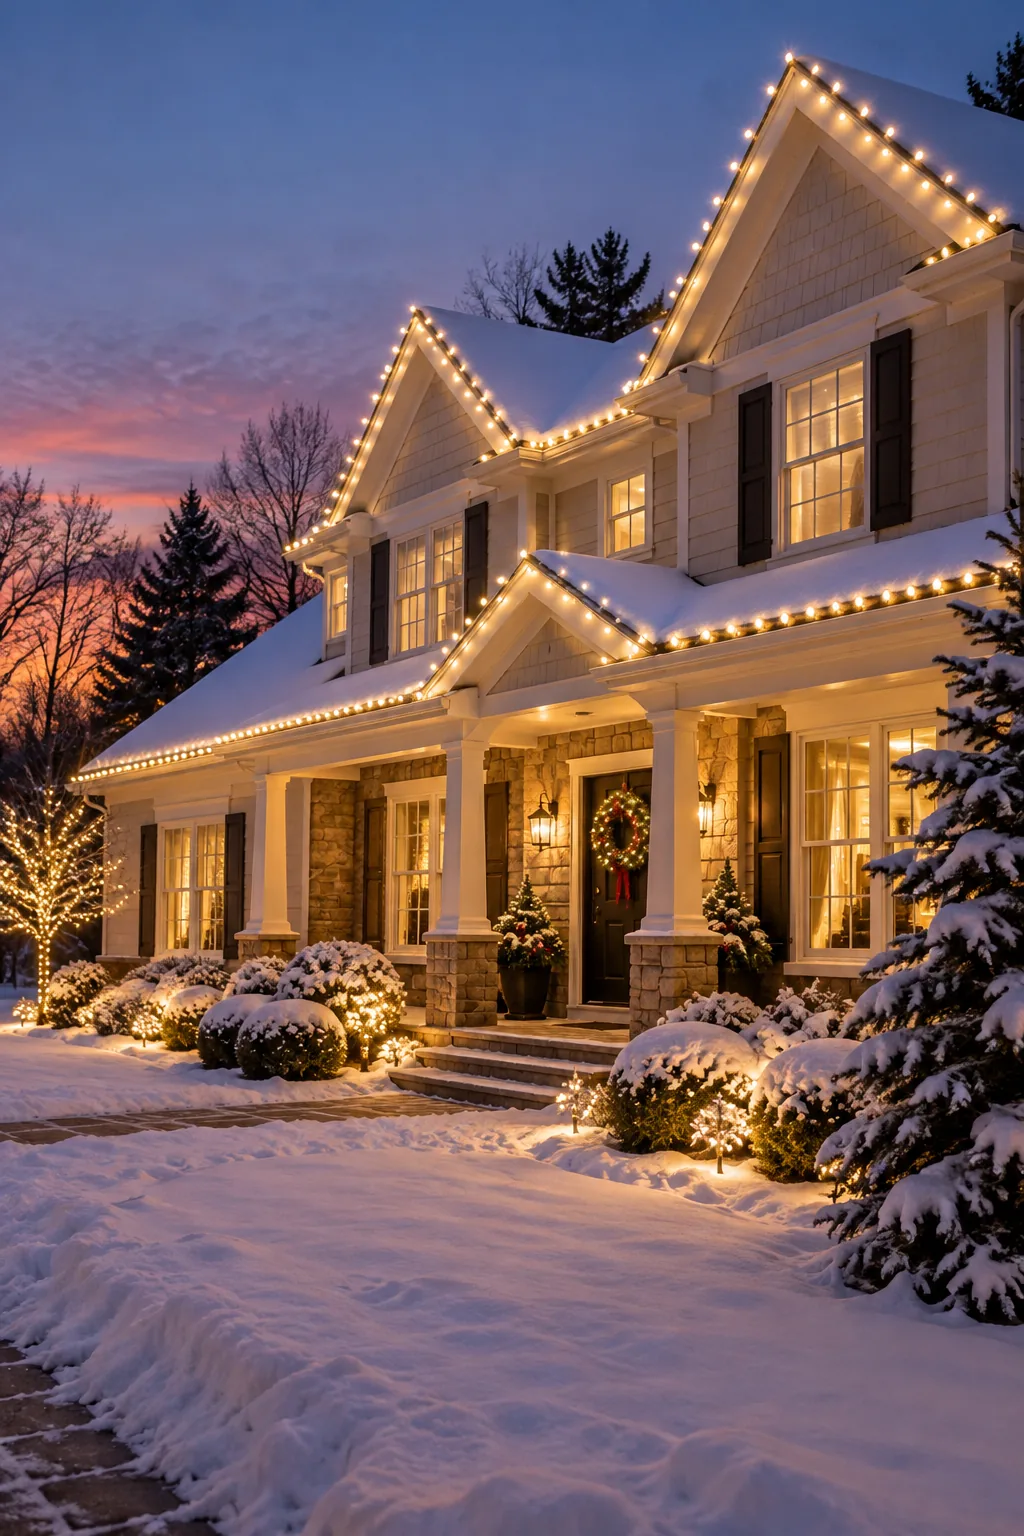
This modular approach eliminates messy bundled cords at the end of a roofline and ensures every bulb receives consistent power. Before measuring your roofline, make sure your cart includes these four non-negotiable professional components to build your custom ordering chart.
Understanding Wire Gauge and Capacity
Before ordering your bulk spools, it is crucial to understand the physical and electrical limits of standard outdoor lighting wire. Professional installers universally rely on 18-gauge SPT-1 wire because its thinner insulation easily accepts slide-on connectors while safely carrying necessary voltage.
| Wire Type | Insulation Thickness | Max Amperage | Ideal Application |
|---|---|---|---|
| 18-Gauge SPT-1 | 0.030 inches | 7 to 10 Amps | Standard residential rooflines |
| 18-Gauge SPT-2 | 0.045 inches | 7 to 10 Amps | Extreme cold or commercial sites |
Staying within these standard electrical limits ensures your custom display remains safe, preventing tripped breakers or overheated lines during long winter nights.
Creating a Symmetrical Lighting Plan
A flawless display requires mapping your architecture before cutting a single piece of wire. I sketched my own porch on a scrap of paper before measuring, which saved me from running out of spool wire right at the highest peak.
Measure every straight run of your roofline, noting the exact linear footage to calculate your precise socket and bulb count. Follow these steps to ensure your most prominent architectural features remain perfectly symmetrical from the street.
- Measure linear footage: Use a physical tape measure along the exact path the wire will travel, including vertical drops.
- Calculate bulb totals: Divide your total linear footage by your chosen socket spacing to determine exactly how many bulbs to order.
- Plan the power feed: Start your main power connection at the least visible corner of the house, working upward.
- Test the line: Always plug your newly assembled custom wire into a wall outlet while it is still on the ground.
Calculating Your Total Power Draw
Once your symmetrical plan is sketched and measured, you must calculate the total wattage to avoid overloading your exterior circuits. Simply multiply your total bulb count by the individual LED wattage to ensure the entire display stays safely under standard 15-amp limits.
Why Faceted C9 Bulbs Look Better
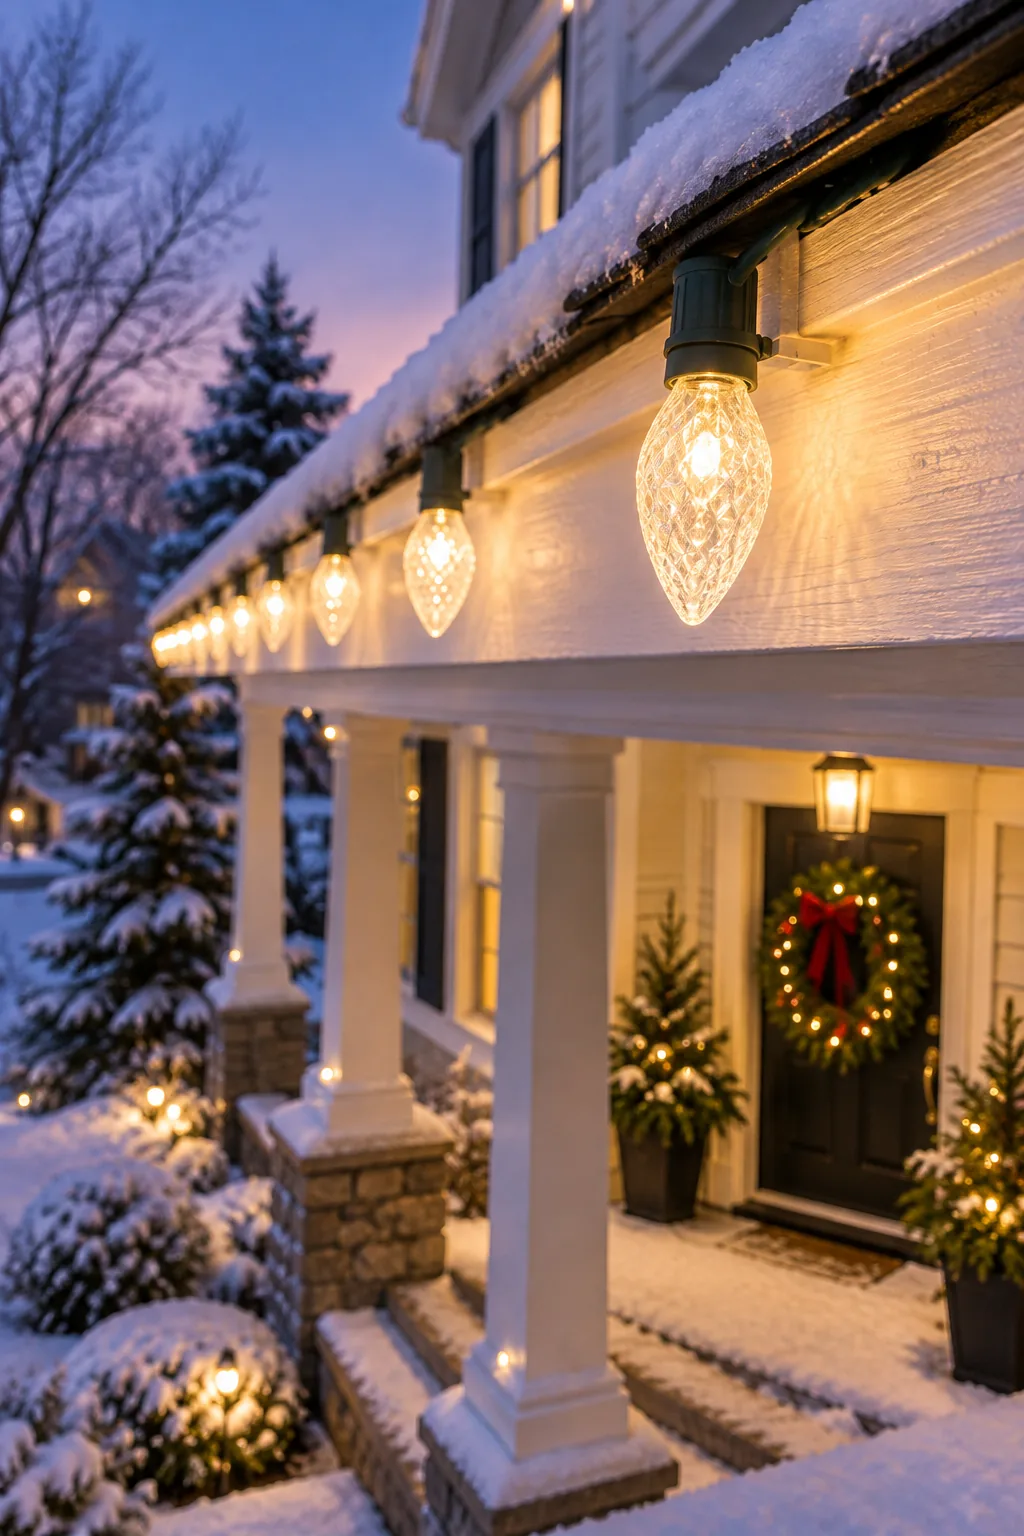
The secret to that brilliant, high-end glow is the faceted C9 warm white LED bulb. Unlike smooth glass, the heavily textured acrylic surface catches and refracts the light, creating a sparkling diamond effect that looks incredibly substantial even from a distance.
Warm white LEDs perfectly mimic the nostalgic, welcoming glow of vintage incandescent bulbs while drawing only a fraction of the electrical power. This massive efficiency upgrade allows you to safely run up to 250 feet of continuous lighting on a single standard outlet.
Selecting the Right Color Temperature
Achieving a classic, elegant aesthetic requires paying strict attention to the exact color temperature of your diodes. Professional warm white bulbs typically measure between 2700K and 3000K, providing a soft golden hue rather than the harsh, icy blue output of cheaper retail LEDs.
The Secret to Exact 12-Inch Spacing
Professional installations never suffer from bunched, overlapping, or sagging lights because they use empty wire with sockets pre-molded at exact 12-inch spacing. This standard distance provides the ideal visual density for residential rooflines, ensuring each large C9 bulb stands out individually.
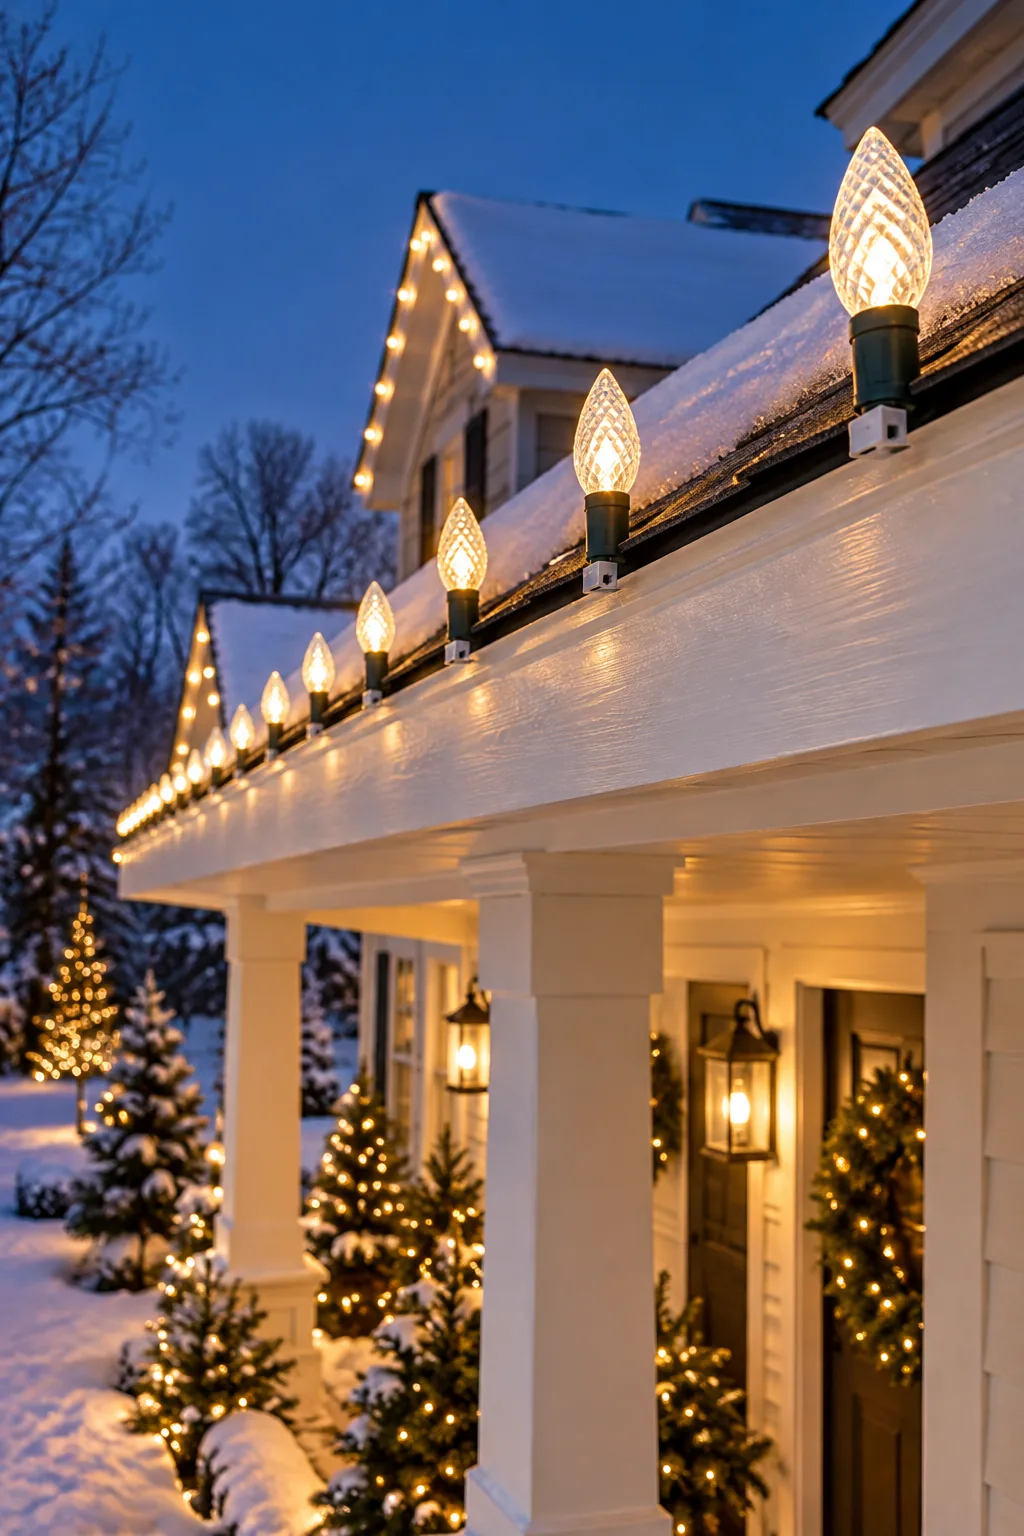
When you cut your custom lengths directly from the bulk spool, this fixed 12-inch gap guarantees absolute consistency. The precise spacing ensures that the visual rhythm of the lights remains perfectly uninterrupted across the entire facade, regardless of how many segments you connect.
Assembling the Custom Zip Plugs
Transforming your empty wire spool into a functional string requires attaching slide-on male and female zip plugs at your cut marks. These clever fittings feature internal vampire teeth that pierce the SPT-1 insulation to make direct contact with the copper wire.
Testing the Line Before Installation
Always plug your newly assembled custom wire into a wall outlet while it is still safely on the ground to verify every connection. Finding a loose zip plug or a defective bulb is incredibly frustrating once you are already balancing on a tall extension ladder.
Securing the Roofline with Hidden Clips
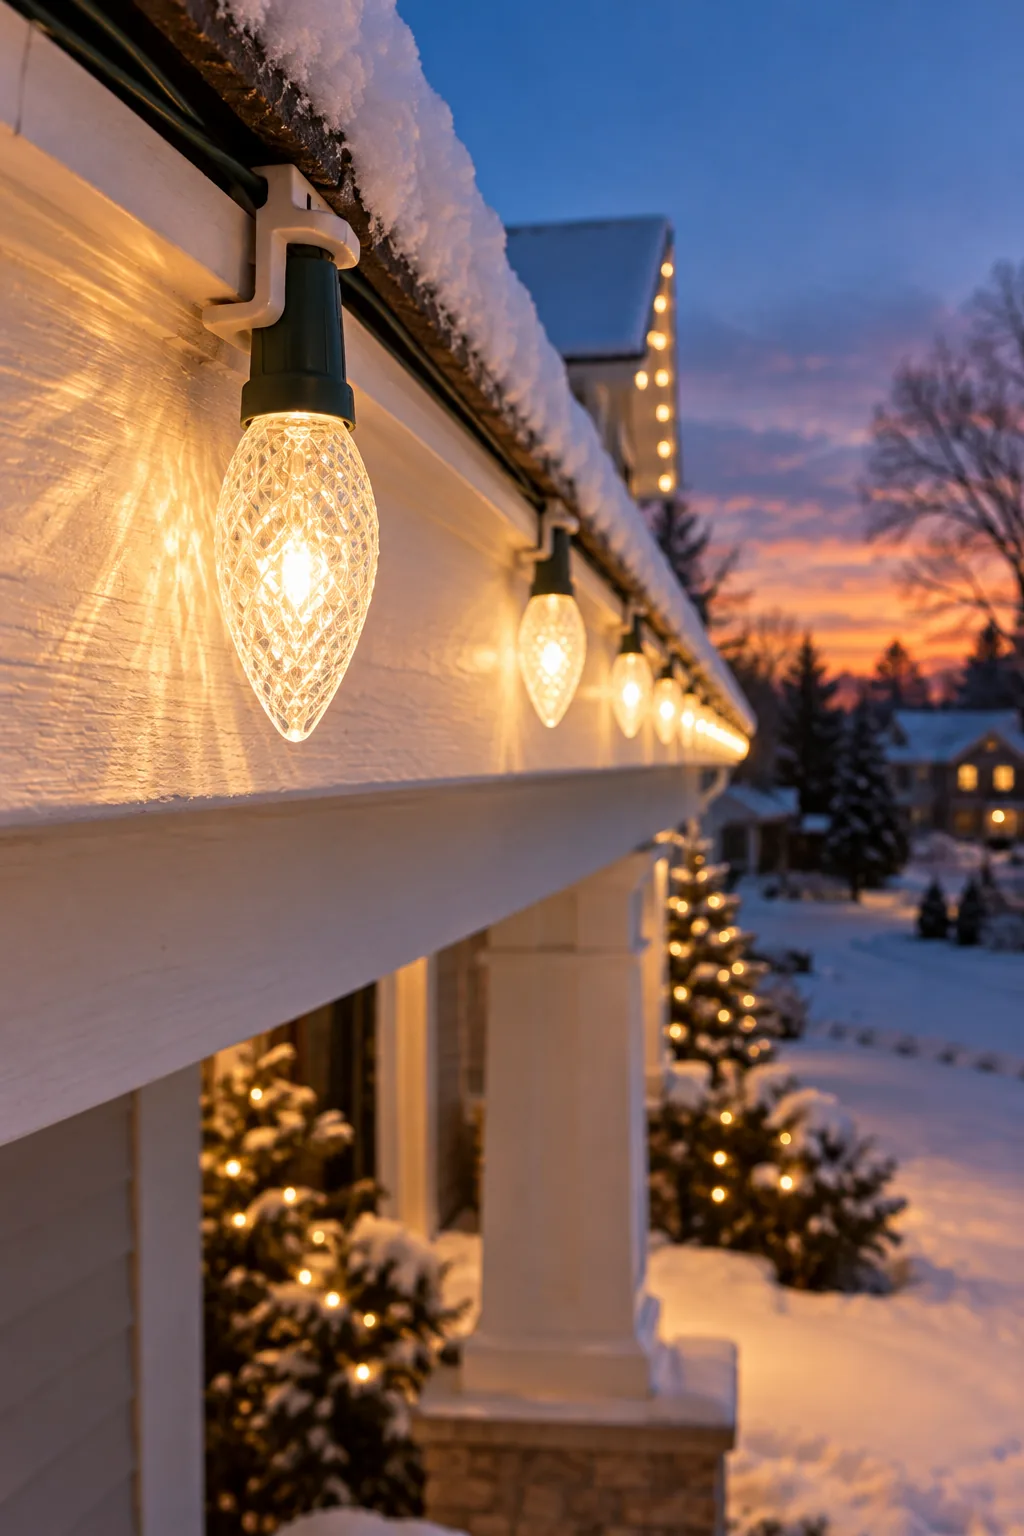
To keep every bulb standing at strict attention, professionals rely on hidden shingle clips rather than staple guns or generic hooks. I used to staple my lights directly to the fascia and ended up with permanent water damage after a rough winter storm!
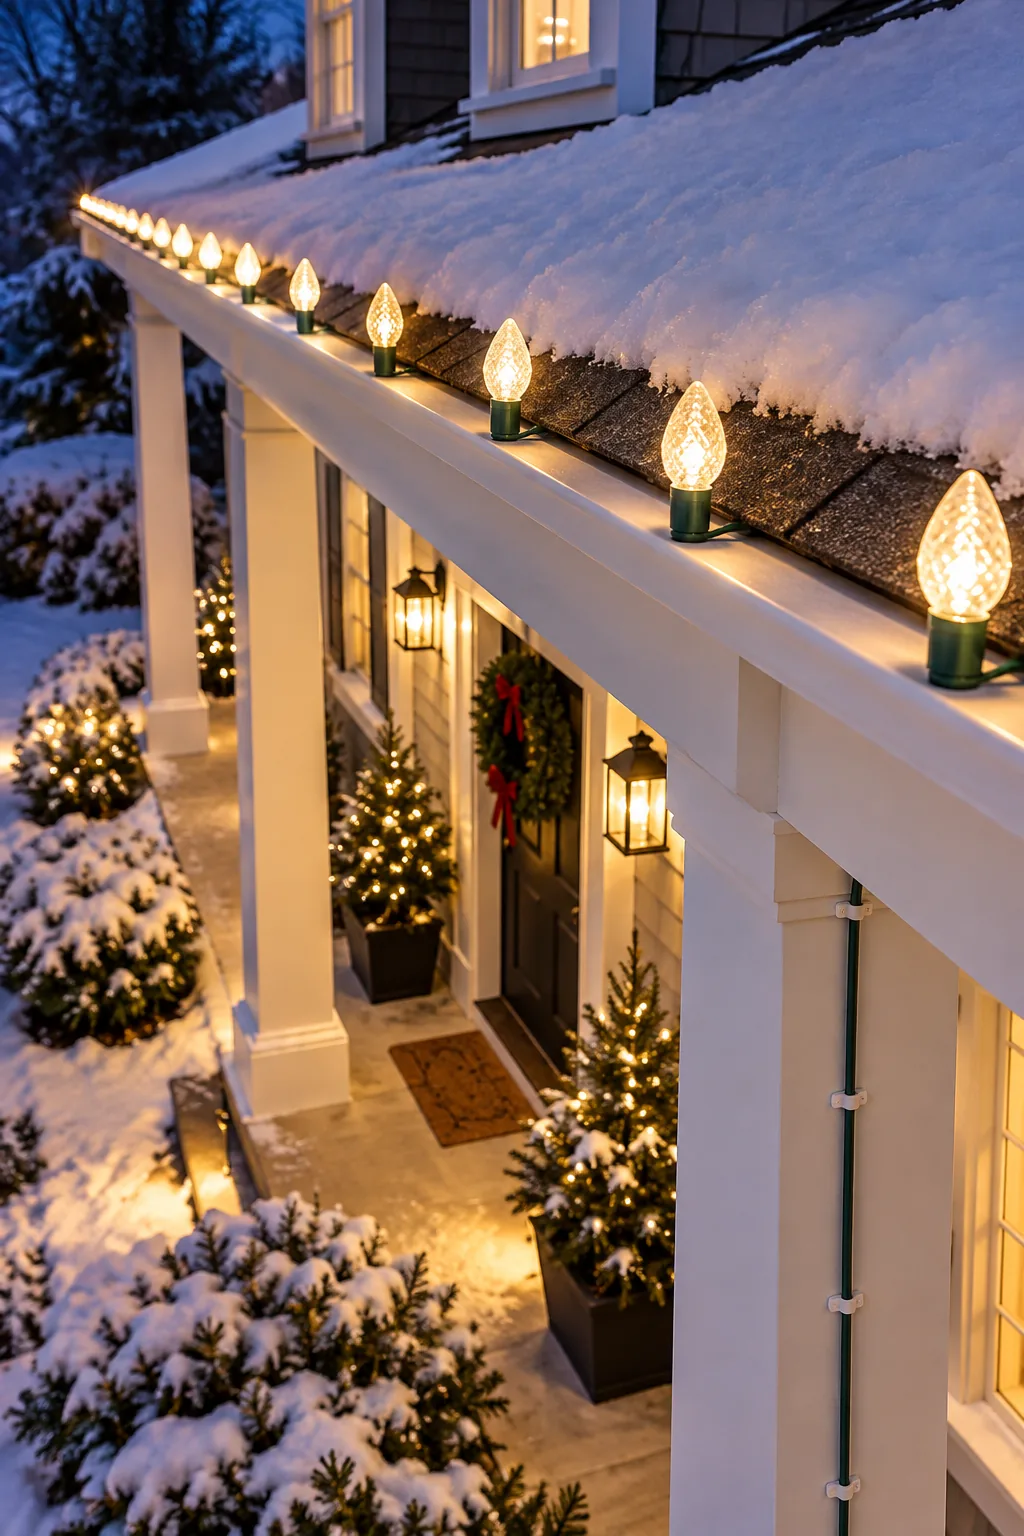
These rigid plastic clips slide securely under the edge of the asphalt shingle, gripping the C9 socket base tightly to hold the bulb perfectly vertical. Even with the right professional clips, improper installation techniques can easily ruin the straight lines and damage your roof.
Adapting to Gutters and Metal Edges
When your roofline transitions from standard shingles to seamless gutters, you must switch your fastening hardware to maintain the rigid vertical alignment. Specialized gutter clips hook over the aluminum lip, applying downward tension to keep the socket standing tall without scratching the painted finish.
Wrapping Pillars with Trim-Matched Ties
When transitioning the lights from the horizontal roof down to vertical porch pillars, standard green shingle clips become an immediate eyesore against white paint. The wire must be held tightly against the architecture without drawing attention to the mounting hardware during daylight hours.
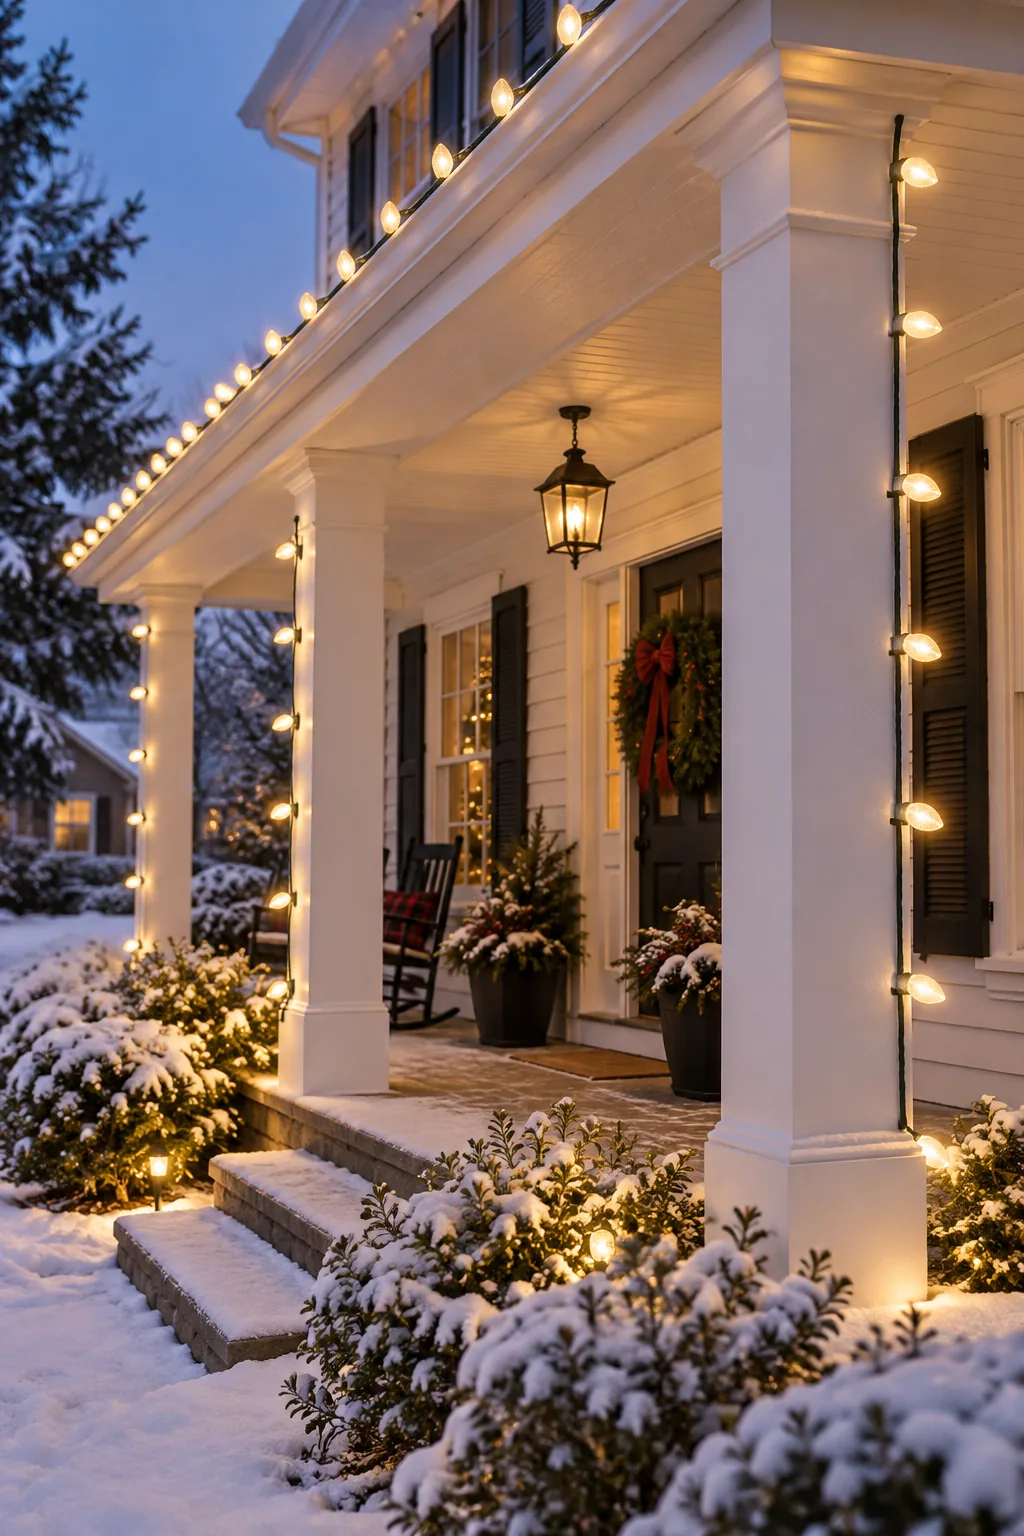
The elegant solution is using trim-matched zip ties to secure the green wire flush against the architectural columns. Pulling small white nylon ties taut against the back edge of the pillar keeps the installation virtually invisible while maintaining strict vertical alignment at night.
Maintaining Wire Tension
Keeping your vertical runs looking sharp requires pulling the SPT-1 wire completely taut before locking down your final zip tie. Leaving any slack in the line allows the heavy C9 bulbs to twist sideways, immediately breaking the flawless geometric framing of your porch.
Crossing Gaps with Custom Blank Wire
Nothing ruins a professional display faster than a glowing string of lights draped haphazardly across a dark roof valley or empty space. Maintaining a clean architectural outline means the illumination must stop exactly where the roofline ends, without any awkward floating bulbs.
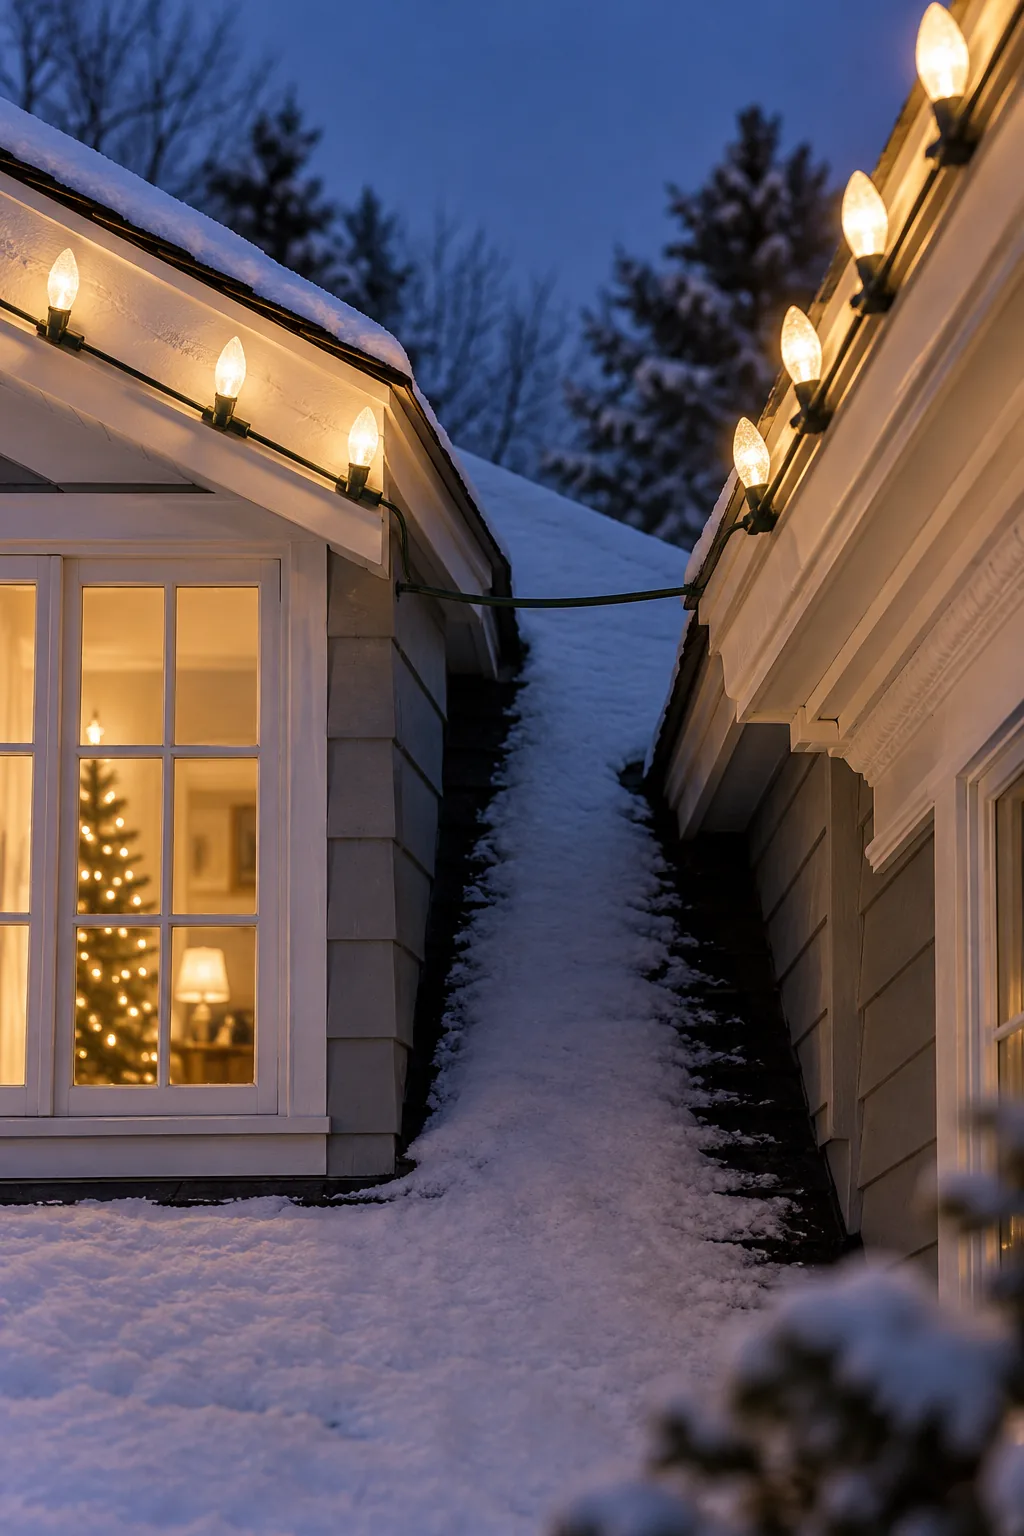
To cross these empty spans cleanly, create a custom blank wire by cutting a section of standard SPT-1 wire without any sockets. Attaching slide-on zip plugs to both ends allows you to jump power invisibly from one roof peak to another.
Weatherproofing Your Connections
Every time you join a custom blank wire to a lit segment, you introduce a potential vulnerability to winter moisture. Keep these connections elevated off the ground and wrap any exposed slide-on plugs in heavy-duty electrical tape to block melting snow and freezing rain.
Four Ways to Style Pro Lighting
Once you master the custom wire system, you can adapt the bulb colors to match any architectural style.
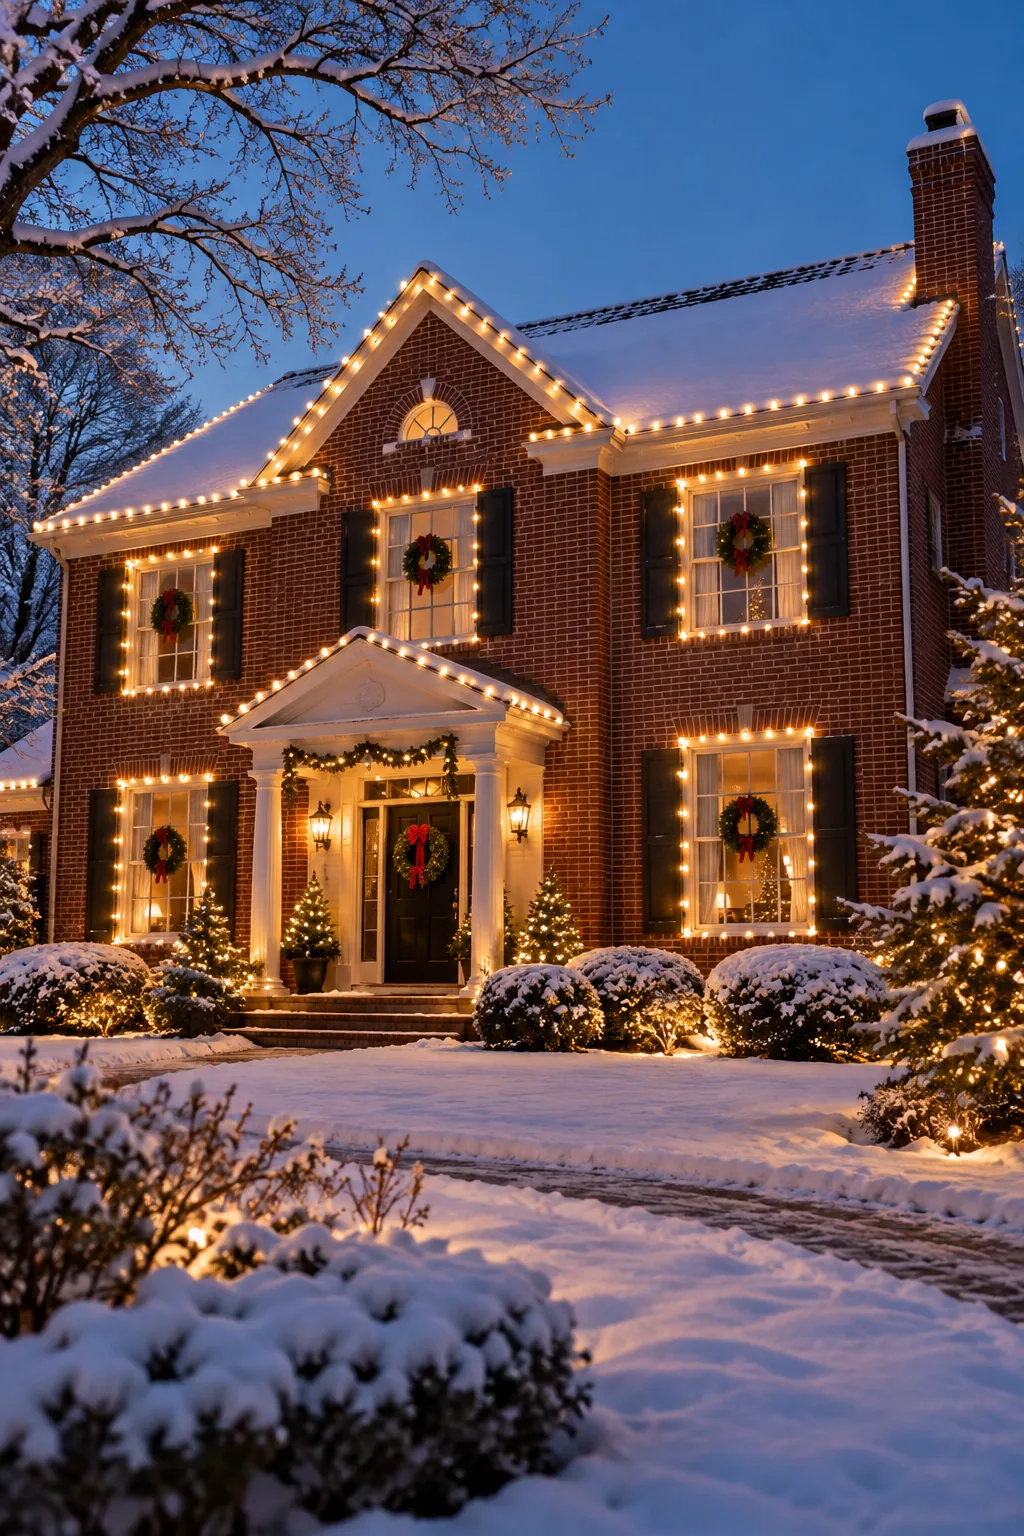
Classic Warm White: This traditional brick colonial uses warm white bulbs exclusively to create a nostalgic, welcoming golden glow.
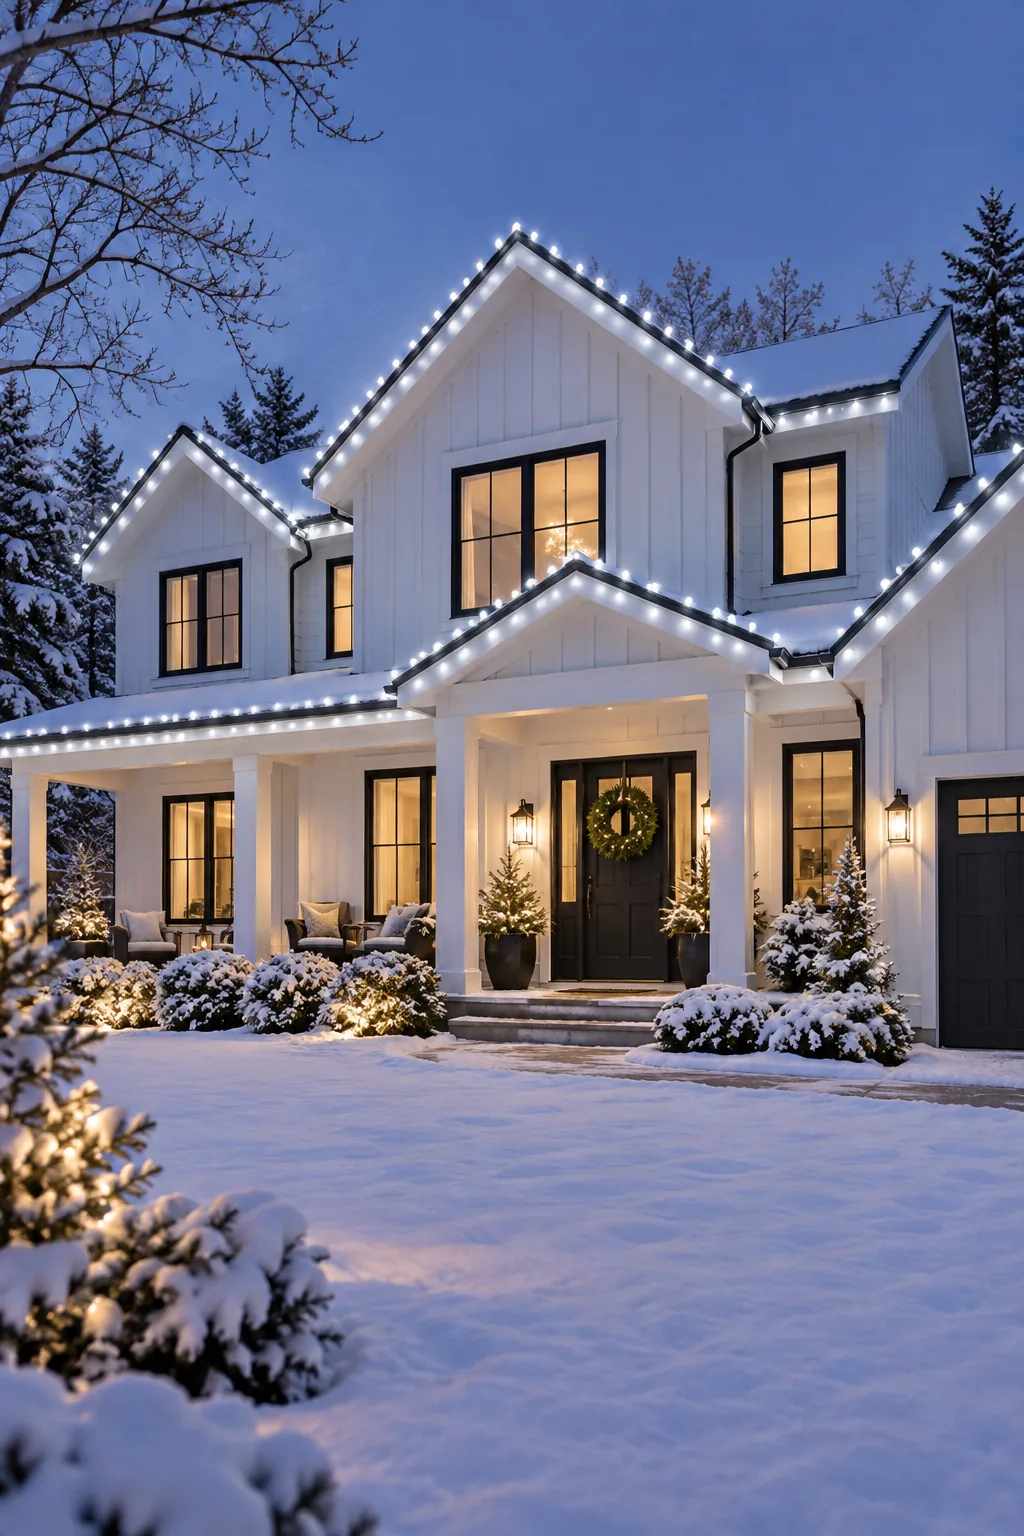
Frosted Cool White: A modern farmhouse exterior pairs perfectly with frosted cool white bulbs for a crisp, icy aesthetic.
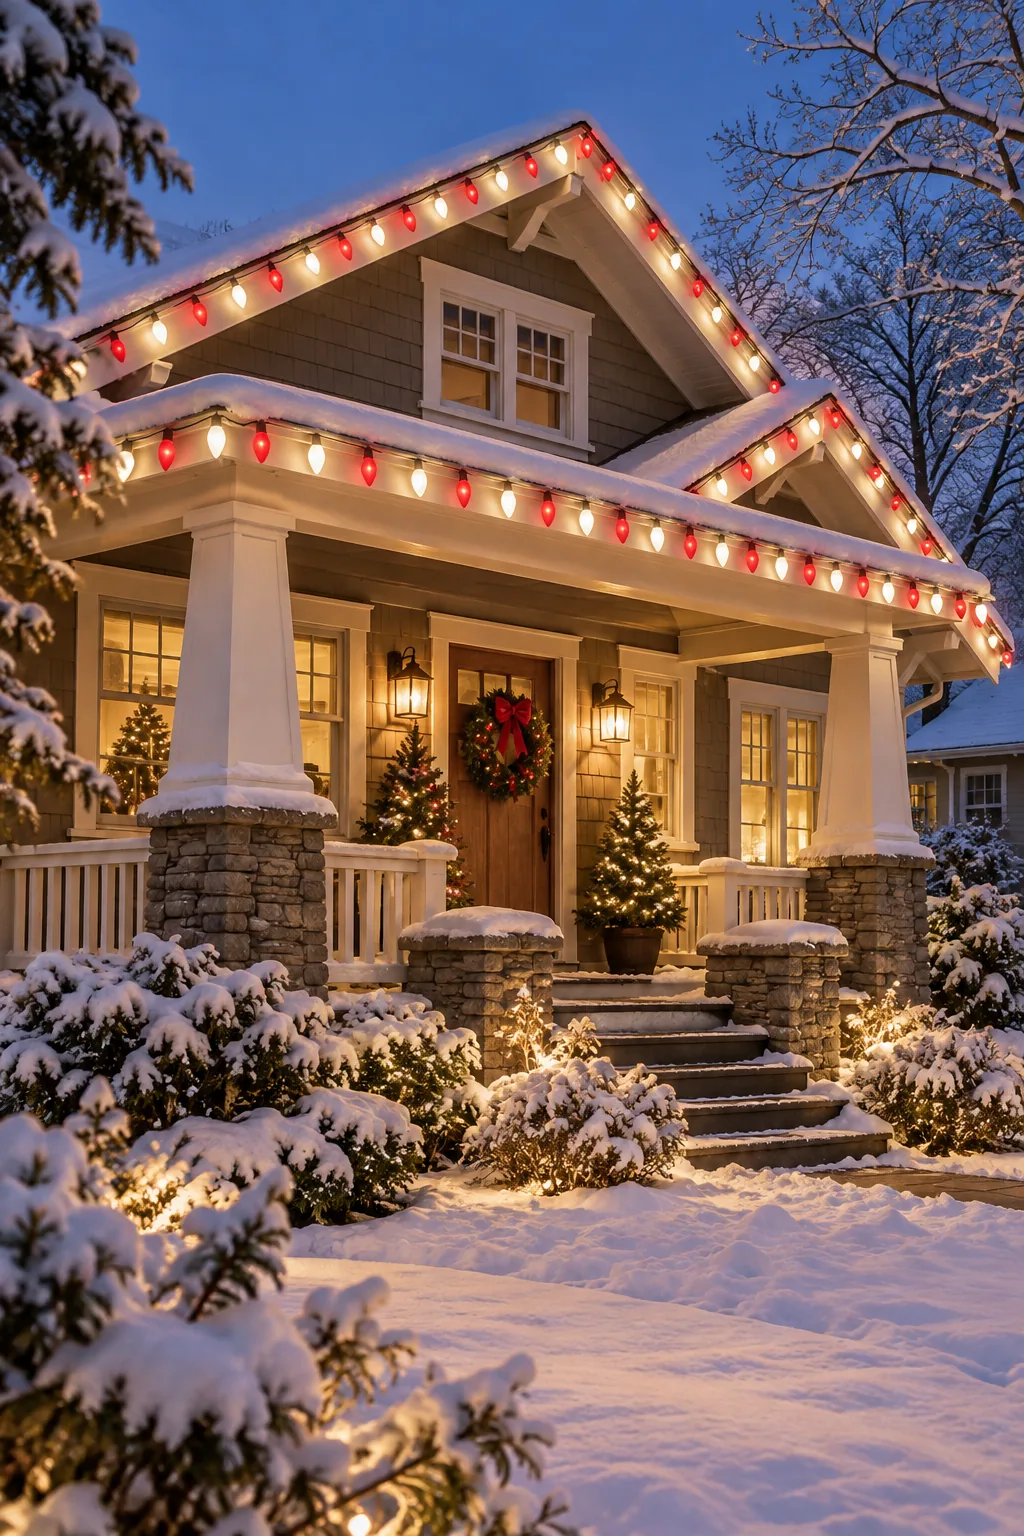
Candy Cane Stripe: Alternating bright red and warm white bulbs along a craftsman porch creates a playful, festive candy cane effect.
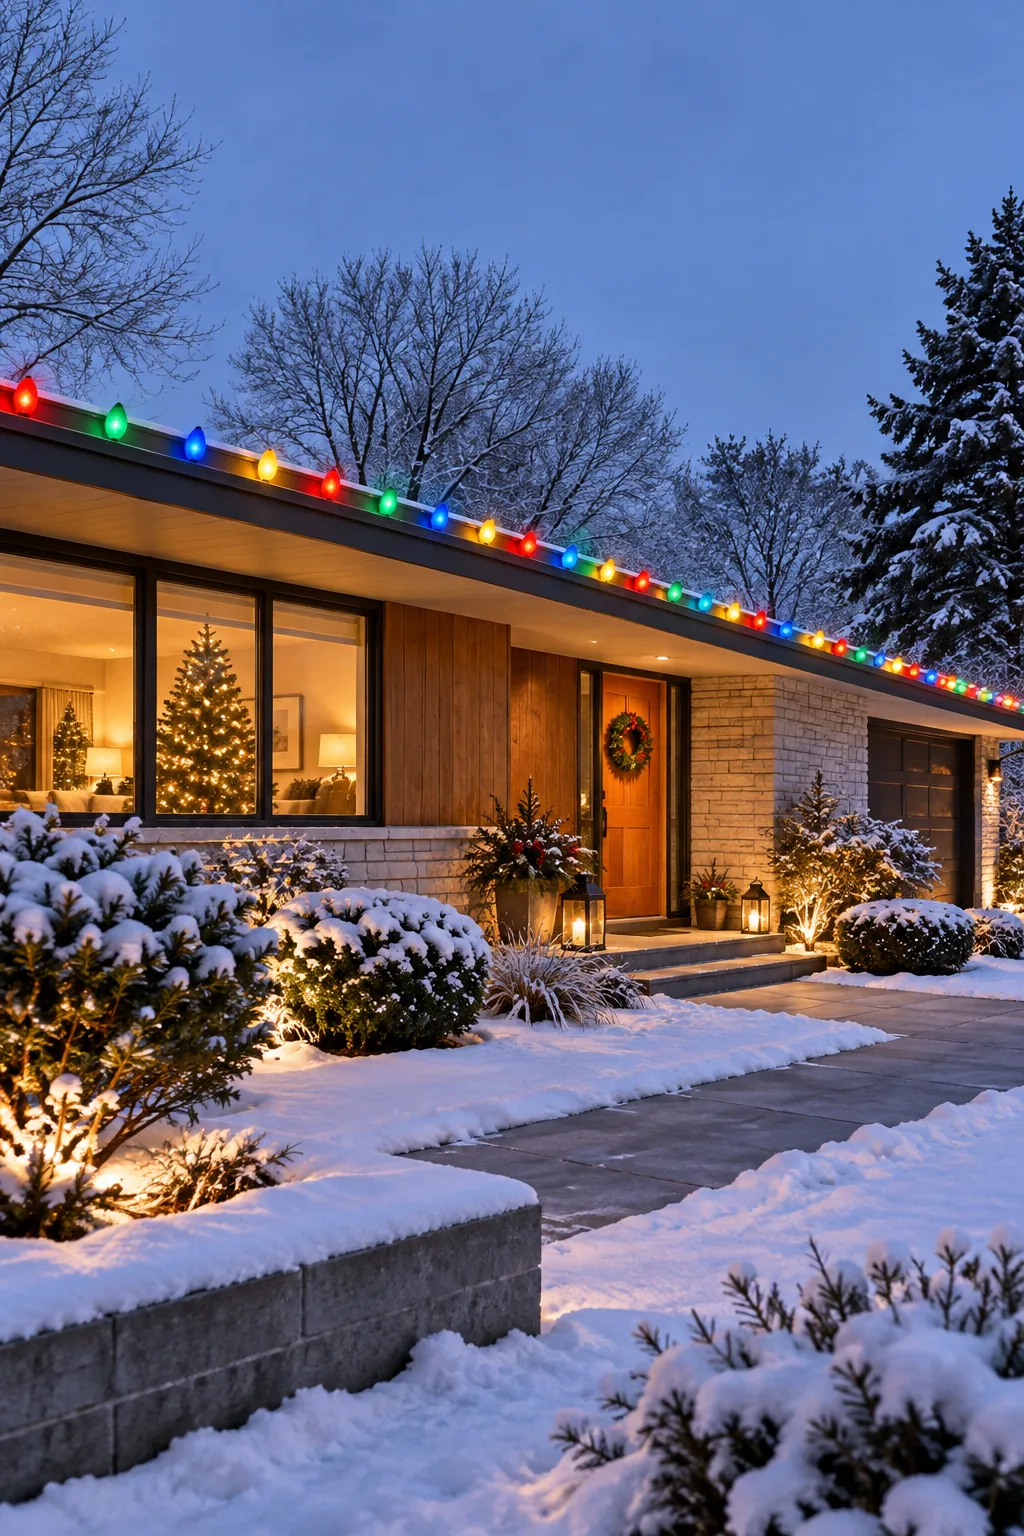
Vintage Multi-Color: Bold, opaque multi-color bulbs arranged in a strict line bring a fun, retro energy to a mid-century ranch.
Managing Cords and Power Safely
The final mark of a truly flawless setup is completely hiding the evidence of how the custom system is powered. Trailing thick orange cords across the front walkway instantly detracts from the high-end, tailored aesthetic you just worked so hard to build.
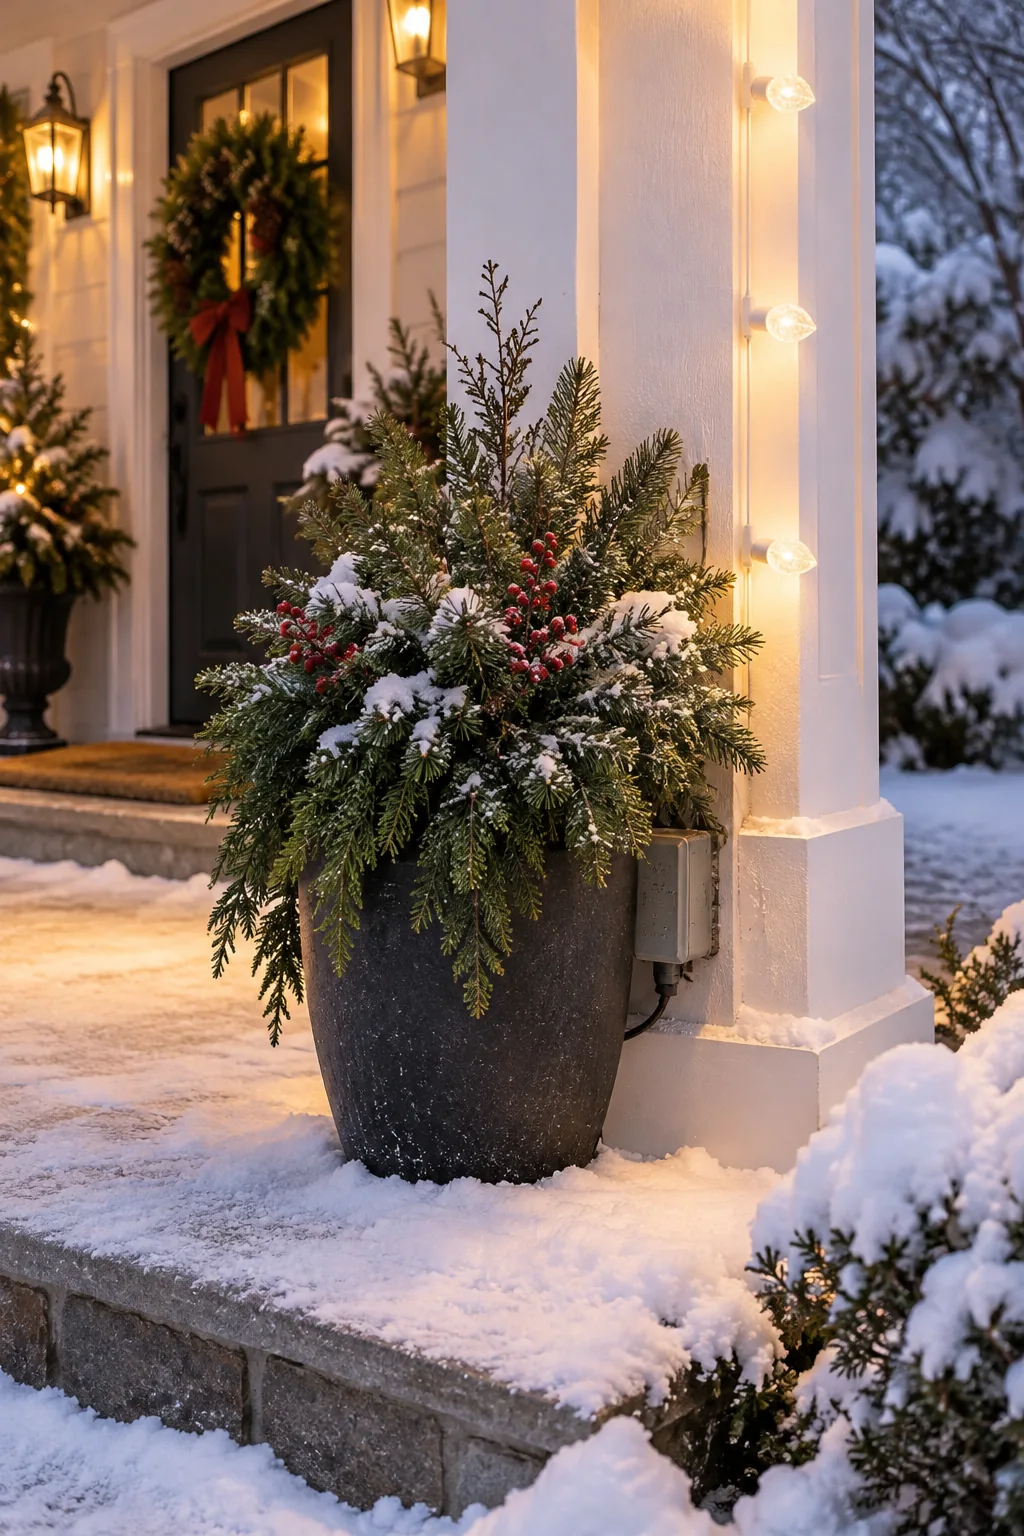
Route your main exterior extension cord safely down the back corner of a downspout or behind a thick evergreen shrub. Plug the entire system into a heavy-duty outdoor smart timer housed in a weatherproof box, ensuring your display activates automatically at dusk.