How to Hang Christmas Door Decor Without a Single Nail
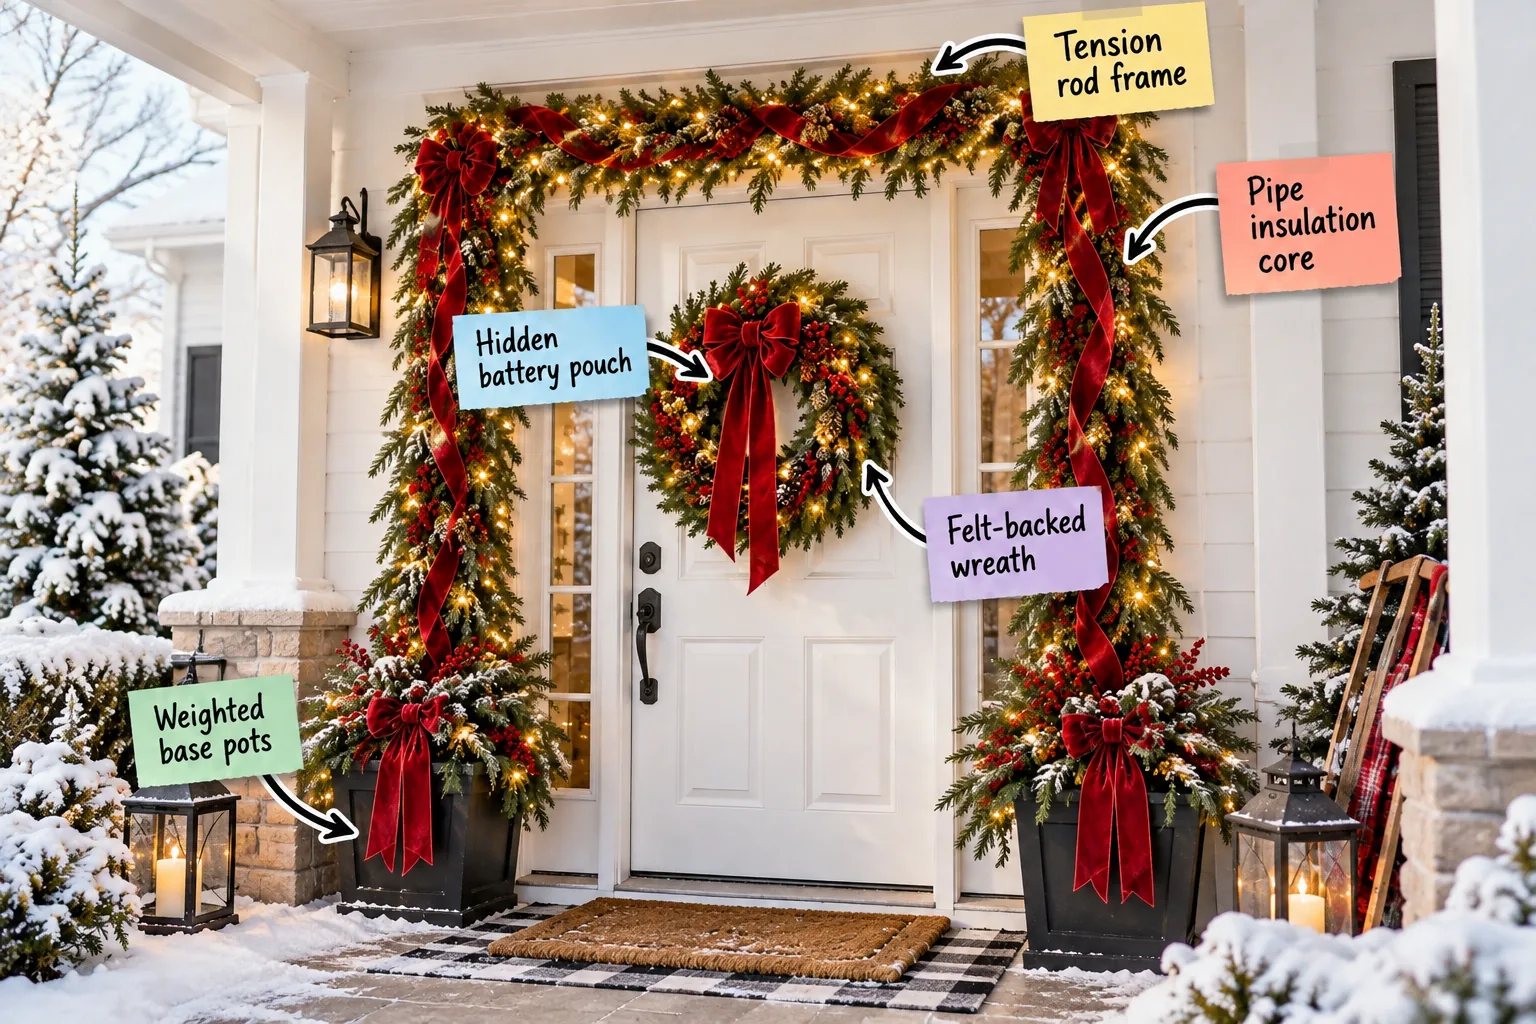
You will be able to securely mount heavy garlands and wreaths using tension and weight instead of destructive hardware. Grab the complete nail-free hanging supply list below to build a lavish, damage-free holiday entrance today.
The Complete Nail-Free Supply List
To build this seamless holiday entrance, you need a few essential items that rely entirely on tension rather than hardware. This nail-free hanging supply list ensures your door frame remains completely pristine while supporting heavy winter greenery.
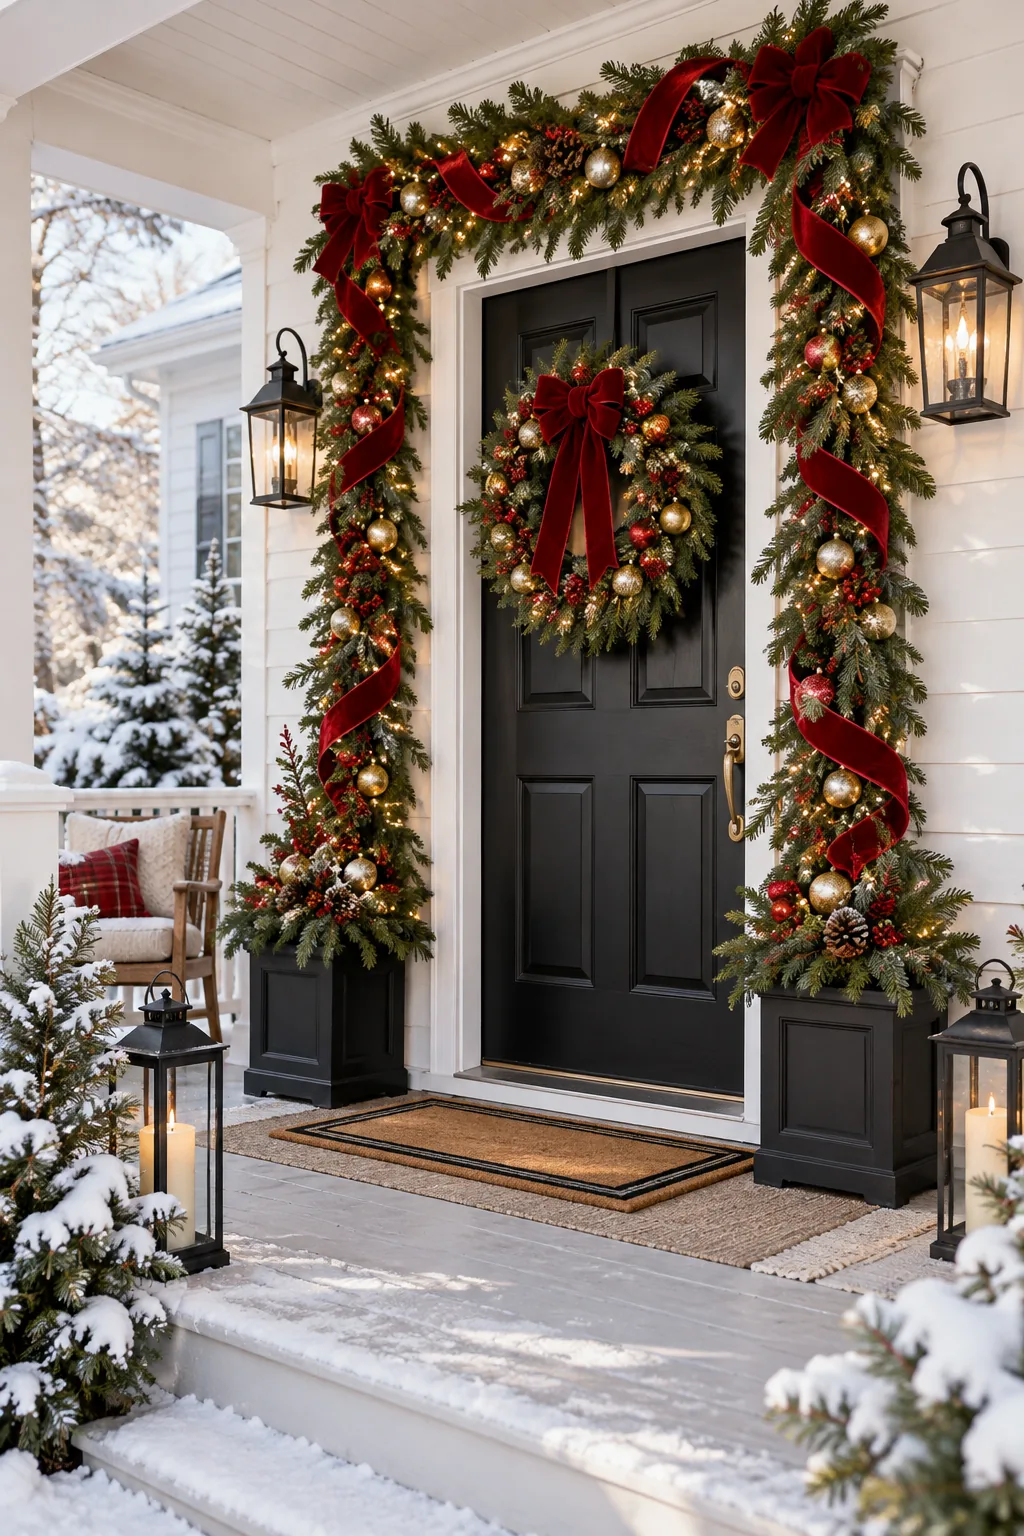
- One heavy-duty black tension shower rod
- Two lengths of 1-inch foam pipe insulation
- Adhesive craft felt strips
- One small burlap pouch for batteries
- Two heavy floor planters
- Two 10-pound sandbags
Gathering these specific materials guarantees your festive display will withstand freezing temperatures and harsh winds. The heavy-duty shower rod serves as the invisible backbone, keeping everything securely elevated above your entryway without a single screw.
Sizing Your Tension Rod Correctly
Before purchasing your supplies, measure the exact width of your top door jamb. Selecting the correct rod expansion range prevents the internal spring mechanism from bowing under the weight of thick pine branches.
| Doorway Width | Recommended Rod Size | Weight Capacity |
|---|---|---|
| 30 to 36 inches | 28 to 48 inches | 30 pounds |
| 38 to 42 inches | 36 to 54 inches | 25 pounds |
| 44 to 60 inches | 42 to 72 inches | 20 pounds |
Always choose a rod where your doorway width falls comfortably in the middle of the expansion range. Pushing a rod to its absolute maximum length significantly decreases its overall weight capacity and structural stability.
Securing the Tension Rod Frame
Position your black tension rod firmly inside the top door jamb to create the main weight-bearing structure. In my Austin home, I once had a whole setup crash down because I skipped wiping the door frame first.
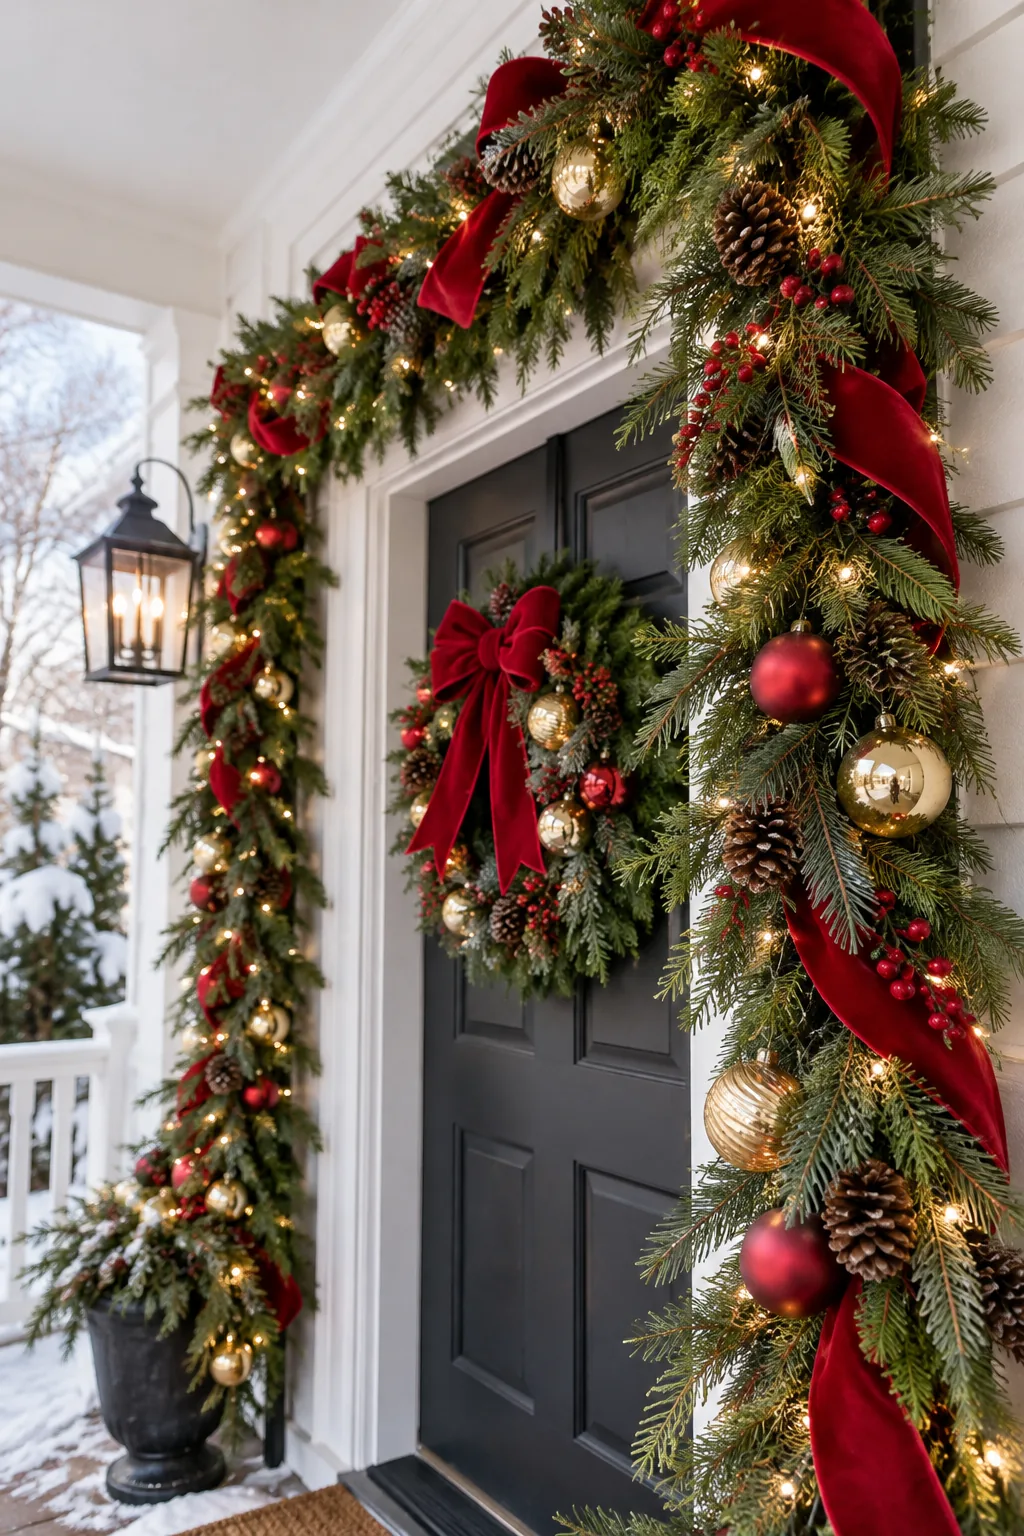
A tight, slip-free fit is absolutely crucial for supporting heavy winter greenery without resorting to permanent hardware. Taking a few seconds to prep the surface ensures the tension rod frame stays locked all season.
Building Volume with Pipe Insulation
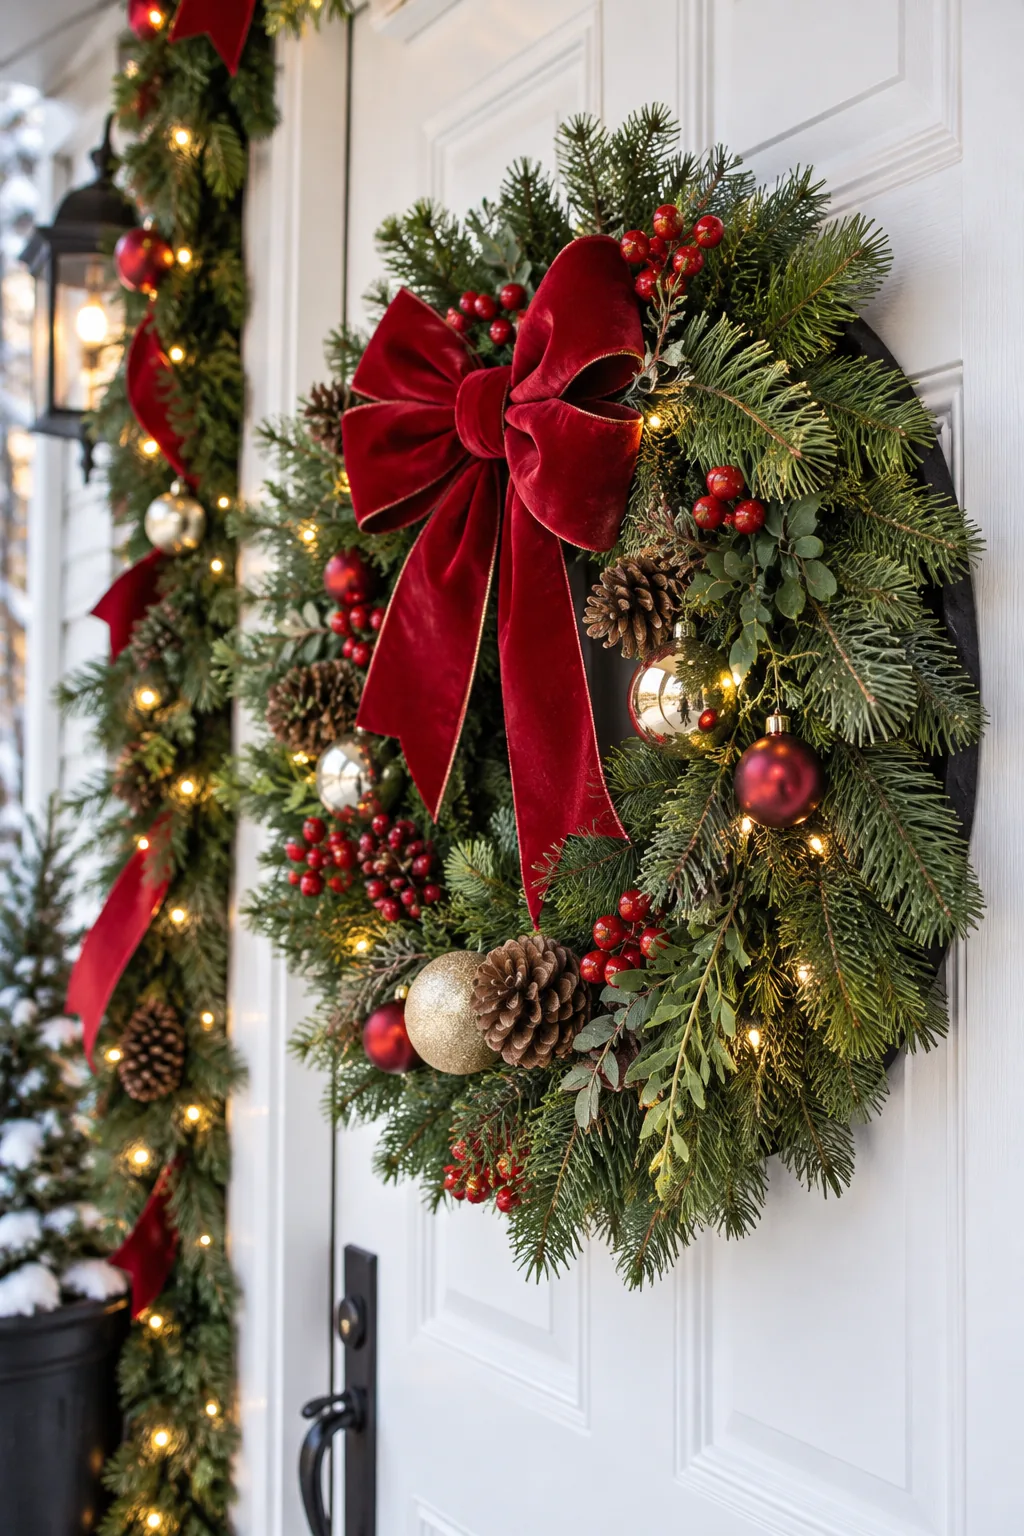
Slipping standard black foam pipe insulation over the metal rod creates a thick, lightweight core for your greenery. This hidden pipe insulation core prevents the hard metal from scratching your door frame during windy days.
Shaping the Branches for Maximum Fullness
Before hanging anything, take time to fluff every individual branch of your faux pine. Bending the tips outward at a 45-degree angle mimics natural growth and instantly makes budget-friendly pieces look incredibly lavish.
Layering Pinecones and Berries
Elevate a plain faux pine base by wiring in clusters of frosted pinecones and faux red berries. Distributing these textured accents in a zigzag pattern draws the eye upward and makes the entire display feel custom-made.
Attaching the Garland to the Frame
Use heavy-duty black zip ties to secure your fluffed greenery directly to the foam-covered rod. Spacing the ties exactly 12 inches apart distributes the weight evenly and prevents any sections from sagging over the doorway.
Hiding the Zip Ties
Once your branches are secured, snip the excess plastic tails off every single zip tie. Carefully bend a thick piece of faux pine foliage directly over the black plastic band to render the connection completely invisible.
Protecting Paint with a Felt-Backed Wreath
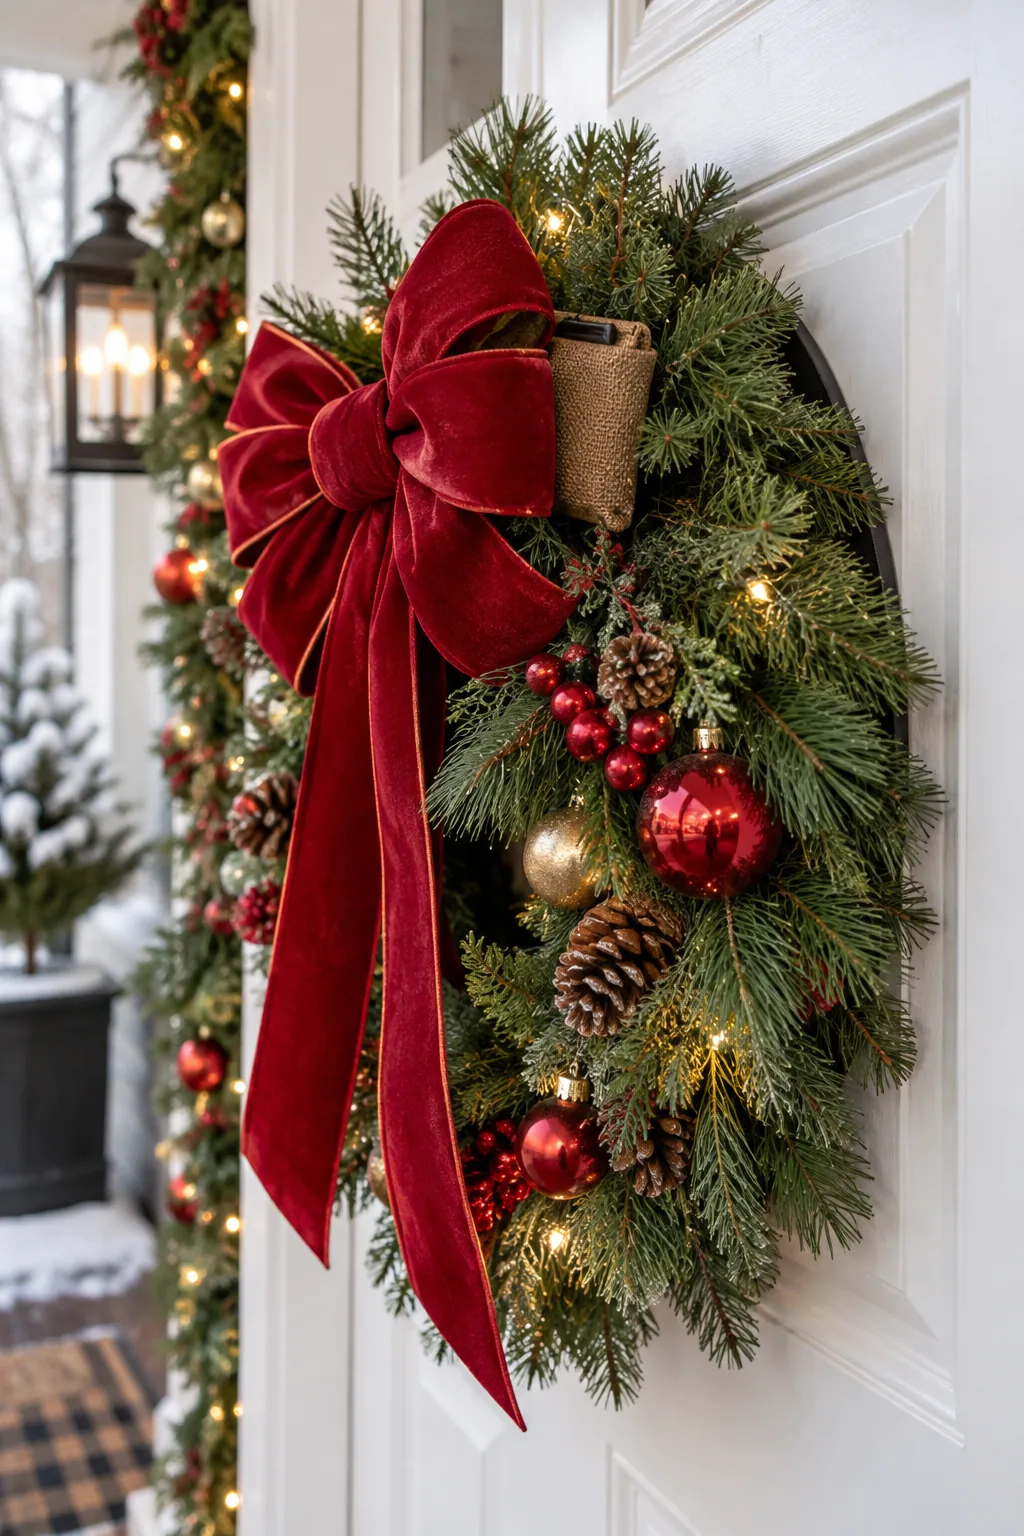
Applying soft adhesive craft felt to the back edges of your wreath frame is a game-changer for historic homes. This felt-backed wreath trick ensures the metal rings rest softly against your freshly painted door.
Hanging the Wreath Without Hardware
Suspend your protected wreath by looping a wide piece of ribbon over the top of the door. Secure the ribbon ends to a heavy indoor anchor, like a command hook placed upside down on the interior side.
Testing the Door Clearance
Open and close your front door several times before finalizing the wreath placement. Ensure the felt-backed frame glides smoothly without catching on the weatherstripping or dragging heavily against the exterior threshold.
Stashing the Hidden Battery Pouch
Tuck a small burlap bag discreetly behind the main wreath bow to hold your lighting power source. During a rainy Texas winter, my lights shorted out constantly until I started using a hidden battery pouch.
Outdoor lighting requires careful planning to survive freezing temperatures, melting snow, and persistent winter moisture. Elevating the power pack keeps the electrical components completely dry and invisible to your holiday guests.
Selecting the Best Outdoor Lights
Opt for warm white LED string lights to illuminate your porch without draining batteries quickly. LEDs emit zero heat, making them the safest choice when wrapping tightly around dried pinecones and flammable faux needles.
Anchoring the Base with Weighted Pots
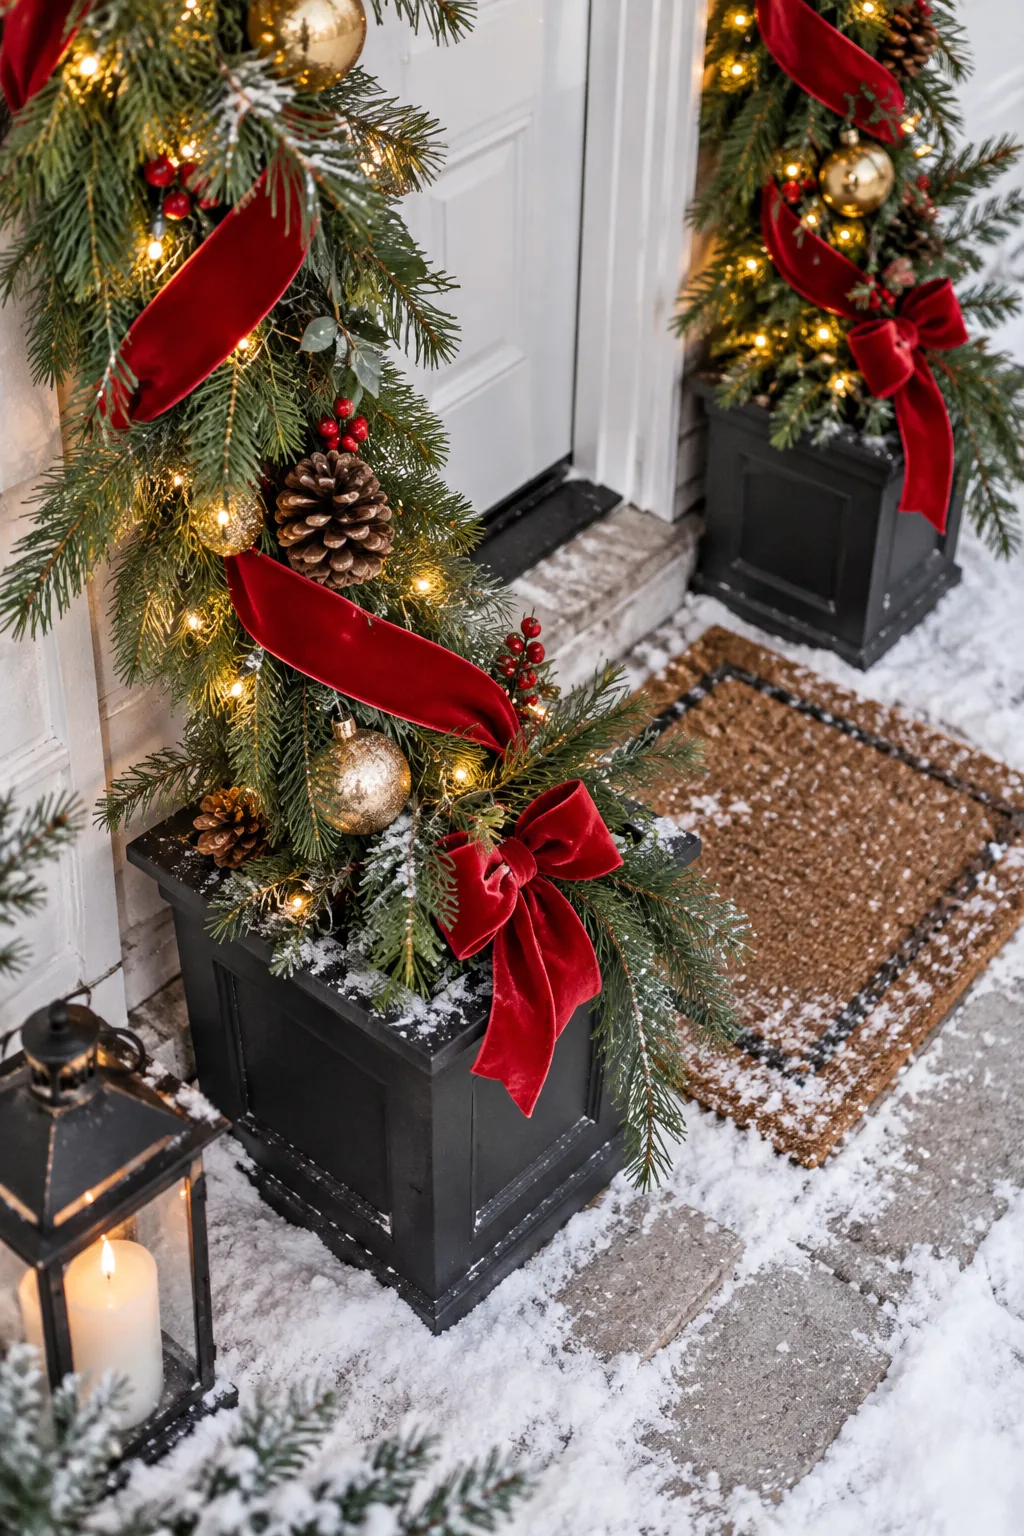
Drape the long garland ends directly into heavy black planters at the floor level. Our neighborhood gets wicked crosswinds, so I learned the hard way that weighted base pots are absolutely non-negotiable for stability.
Adding Sandbags for Wind Resistance
Drop a sealed 10-pound sandbag into the bottom of each planter before adding decorative elements. This hidden ballast firmly anchors the entire tension-based system, preventing the greenery from swinging violently during severe winter storms.
Concealing Mechanics with Velvet Ribbon
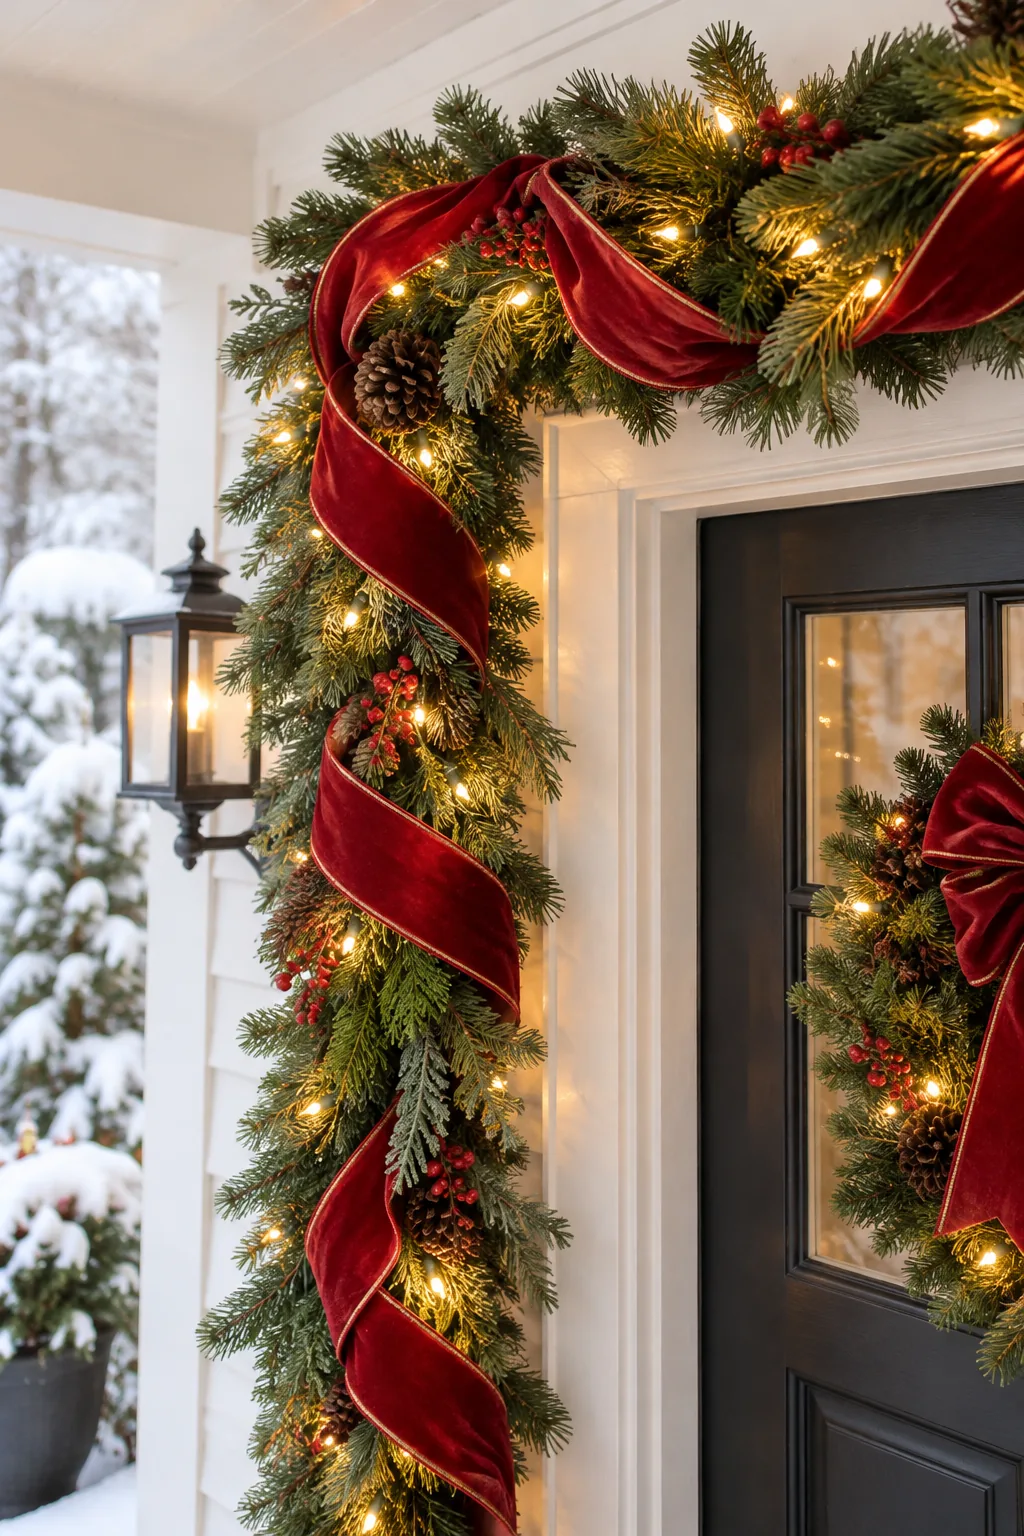
Wrap wide, wired red velvet ribbon around the upper corners to tie the garland firmly to the tension rod. The ribbon acts as a functional tie that beautifully hides the internal structural mechanics from view.

Tying the Perfect Weatherproof Bow
Always select ribbon with thick wire edges to ensure your decorative bows maintain their shape. Pinching the center tightly with floral wire before attaching it guarantees a crisp, professional looking loop that defies gravity.
Weatherproofing the Final Display
Surviving the season requires a proactive approach to temperature fluctuations and harsh elements. Metal components naturally contract when the thermometer drops, which can loosen your beautifully constructed tension-based system overnight.

Perform a quick weekly audit to guarantee your nail-free holiday entrance remains perfectly secure until January. Follow this simple maintenance routine to catch minor slipping before it becomes a major collapse.
- Twist the main tension rod one quarter-turn tighter after the first hard freeze.
- Verify the wreath ribbon hasn’t frayed against the top door jamb friction.
- Check the burlap battery pouch for any signs of trapped moisture.
- Ensure the bottom garland tails remain firmly pinned under the planter sandbags.
More Nail-Free Door Decor Ideas
Explore five distinct ways to style this damage-free tension rod system for your own home.
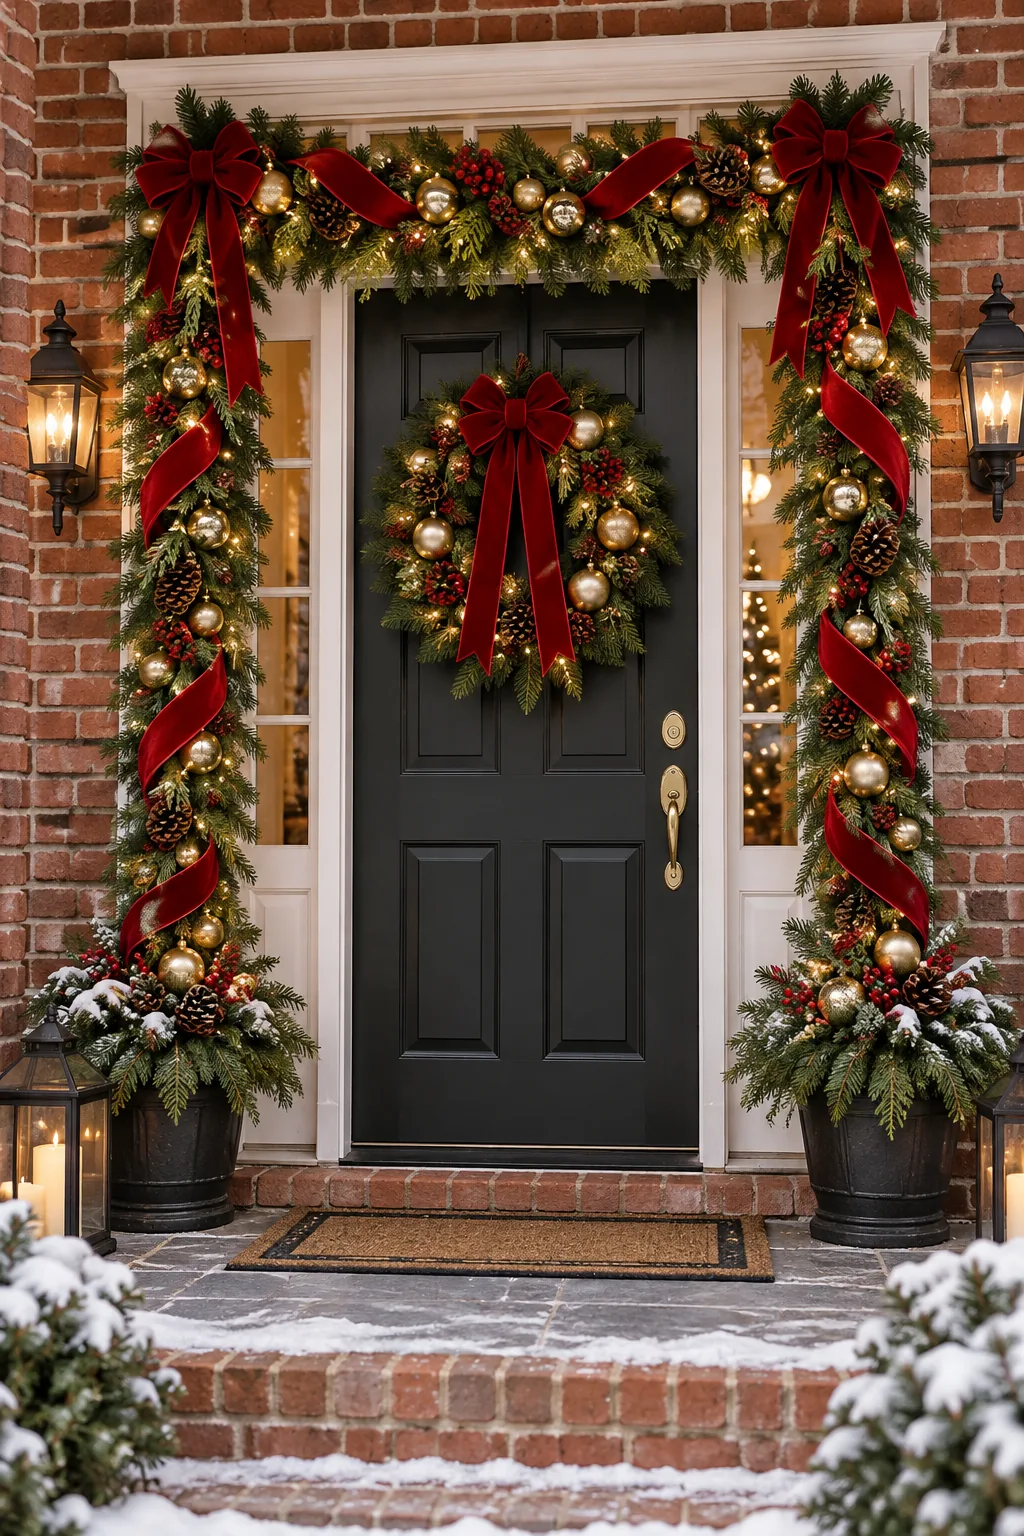
Classic Traditional Red and Green: Embrace timeless holiday charm with rich pine greenery, bright crimson bows, and subtle gold accents.
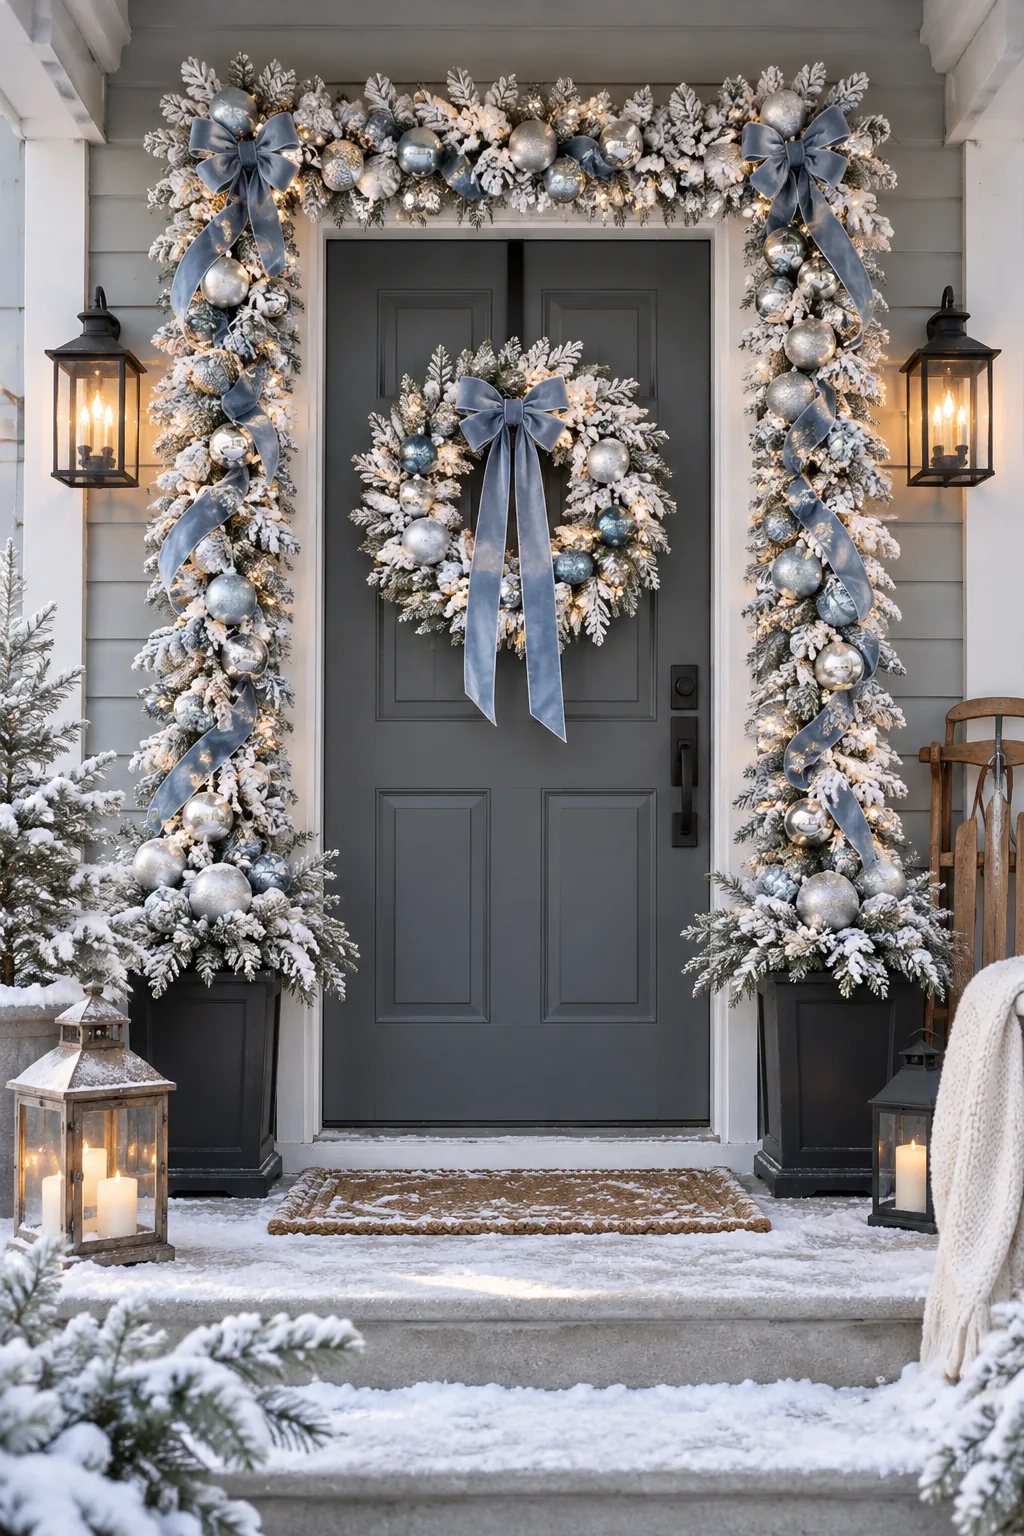
Silver Flocked Winter Wonderland: Create an icy aesthetic by using heavily flocked branches paired with metallic silver and soft blue ribbons.
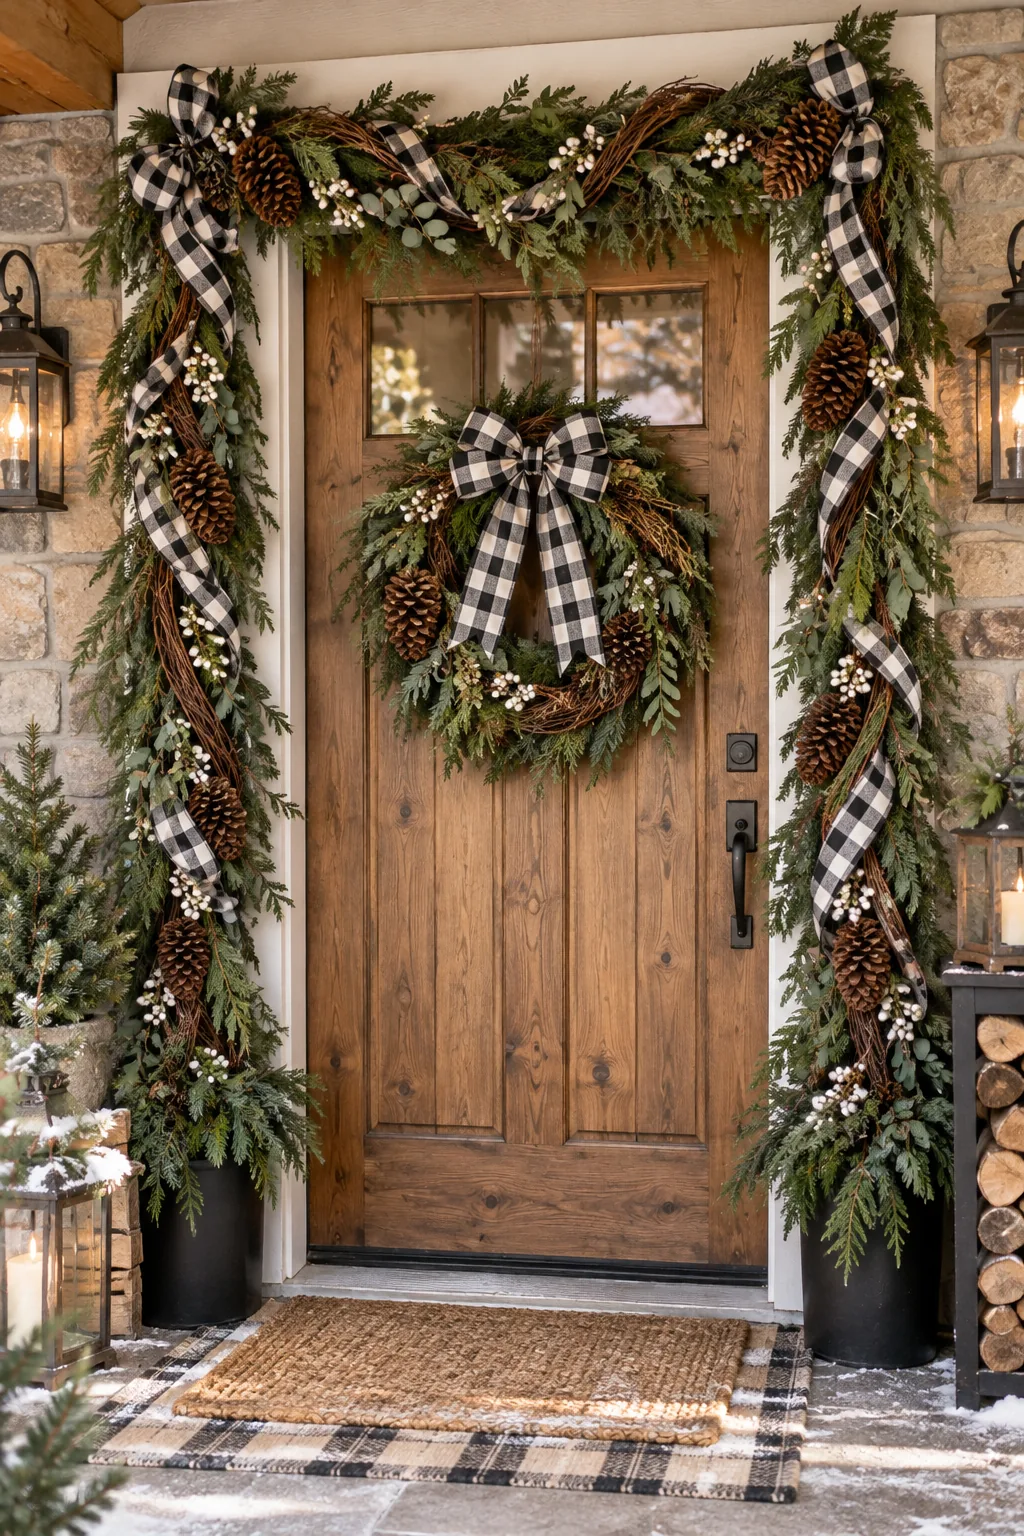
Rustic Plaid and Grapevine: Layer mixed cedar with natural grapevine and oversized pinecones for a textured, cozy cabin feel.
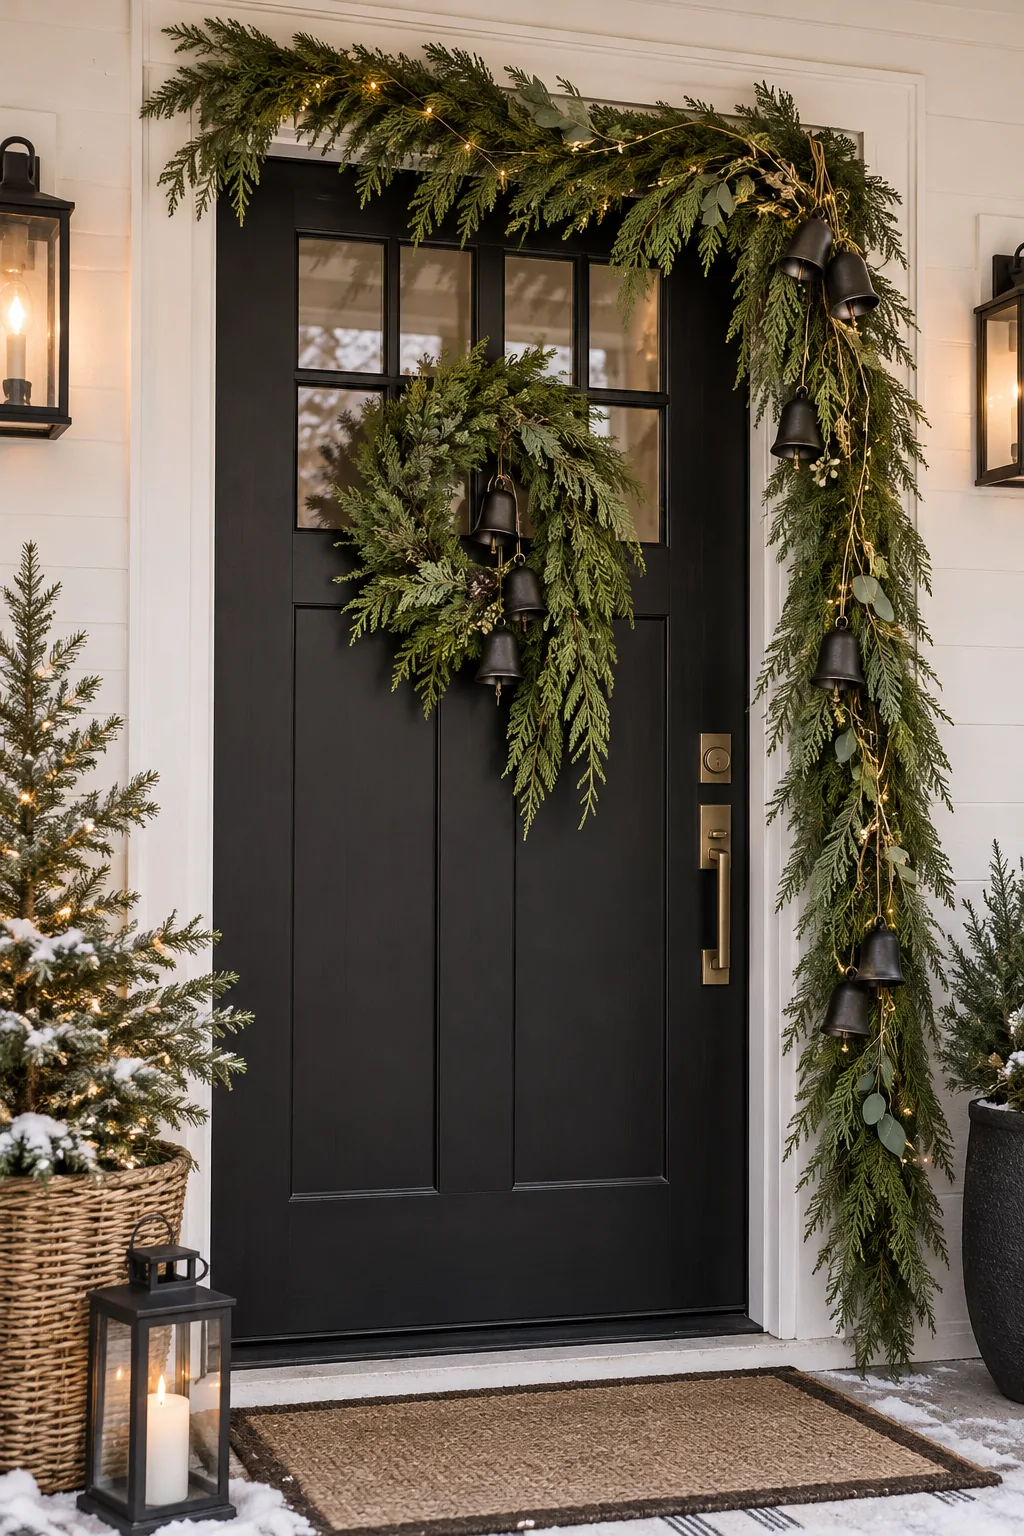
Modern Asymmetrical Cedar: Keep it sleek with an asymmetrical cedar drape accented by matte black bells and subtle brass wire.
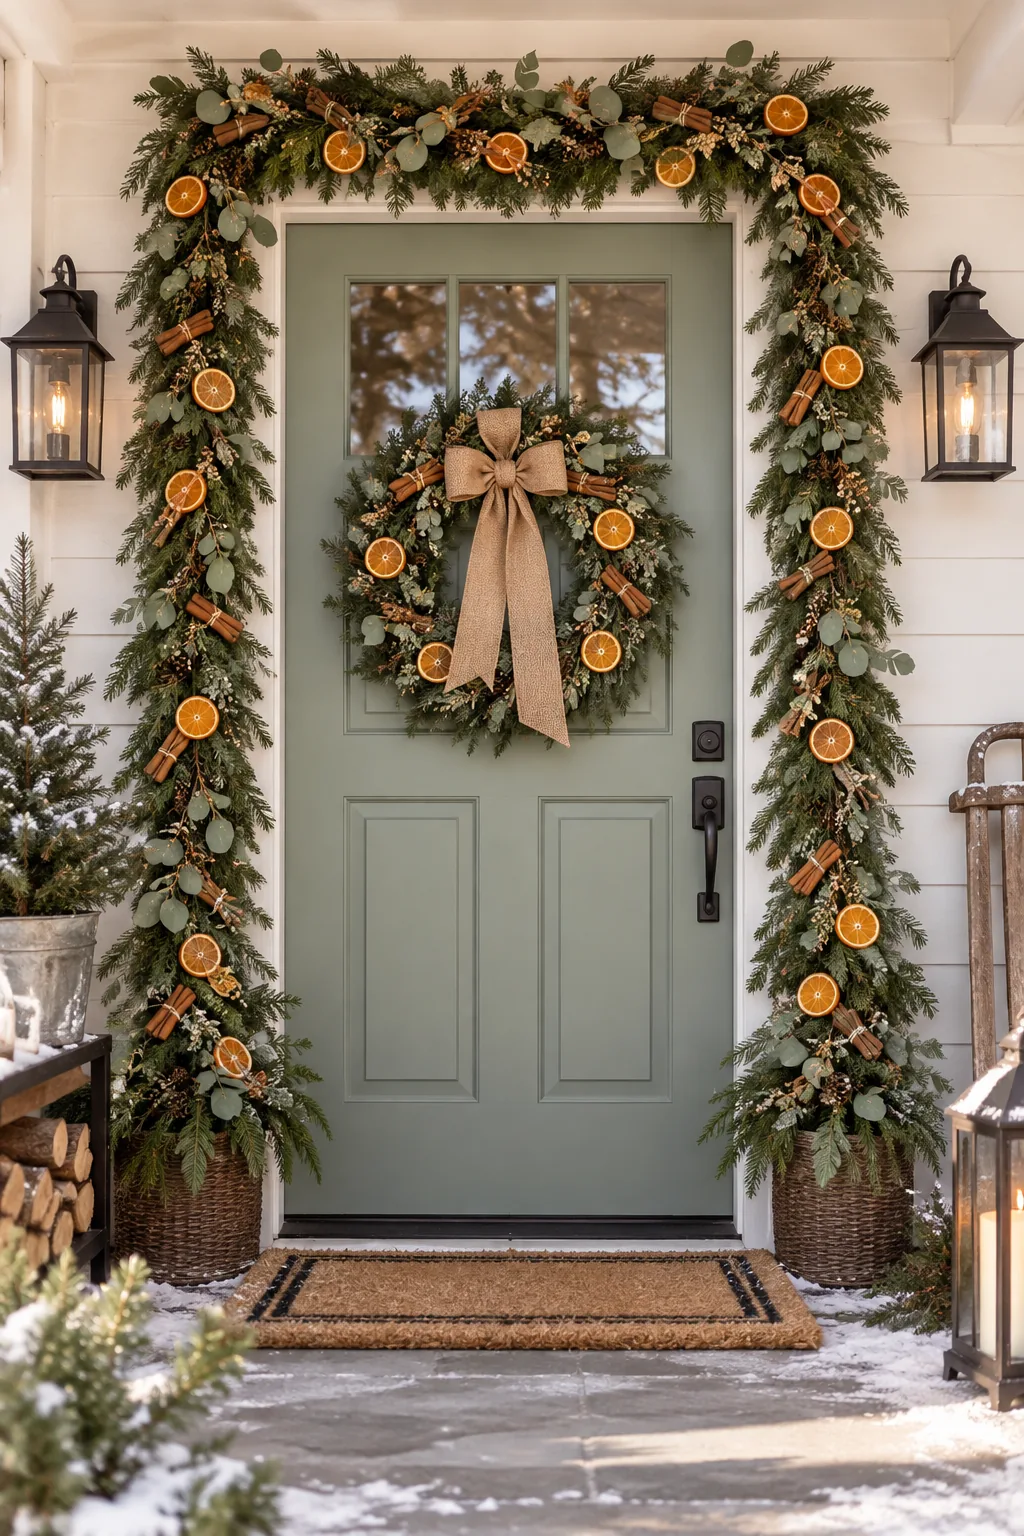
Citrus and Spice Greenery: Weave dried orange slices and cinnamon bundles into eucalyptus for a fragrant, natural holiday entrance.