DIY Christmas Centerpiece: The Stem Recipe & Build Guide
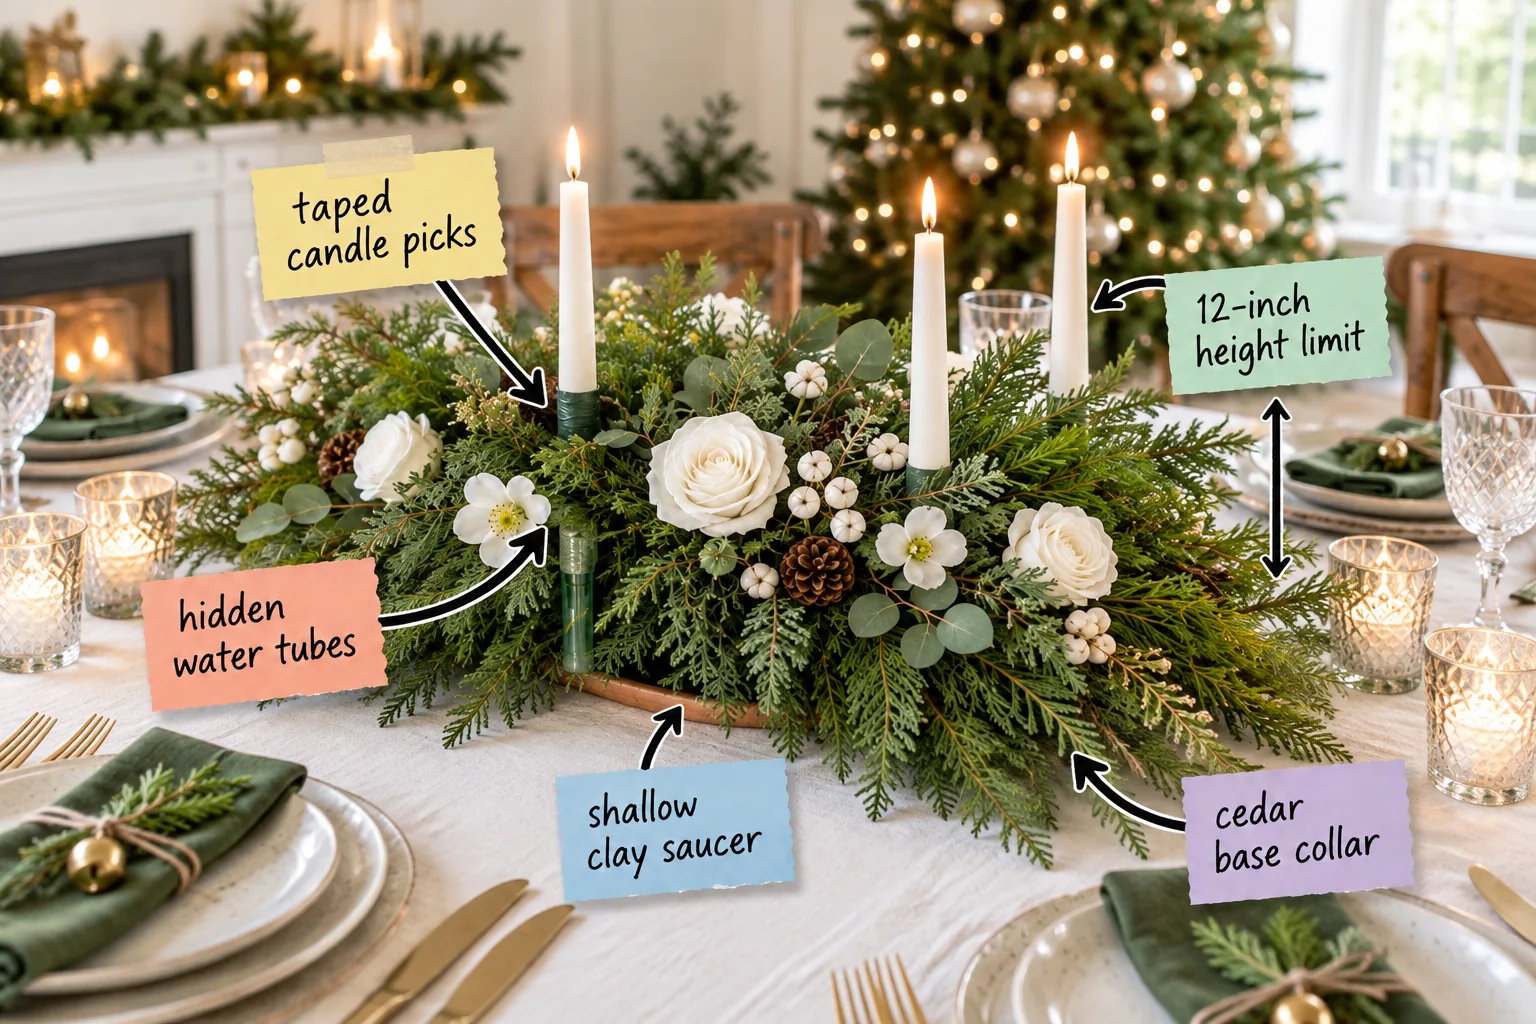
You will be able to construct a stable, low-profile holiday arrangement using the exact stem counts and hidden mechanics professional florists rely on. Master the hidden base secrets to build a lush DIY Christmas centerpiece with our complete stem recipe and step-by-step assembly guide.
The Shallow Clay Foundation
Start with a 10-inch shallow clay saucer rather than a deep vase to keep the center of gravity low and allow the greens to spill directly onto the table.
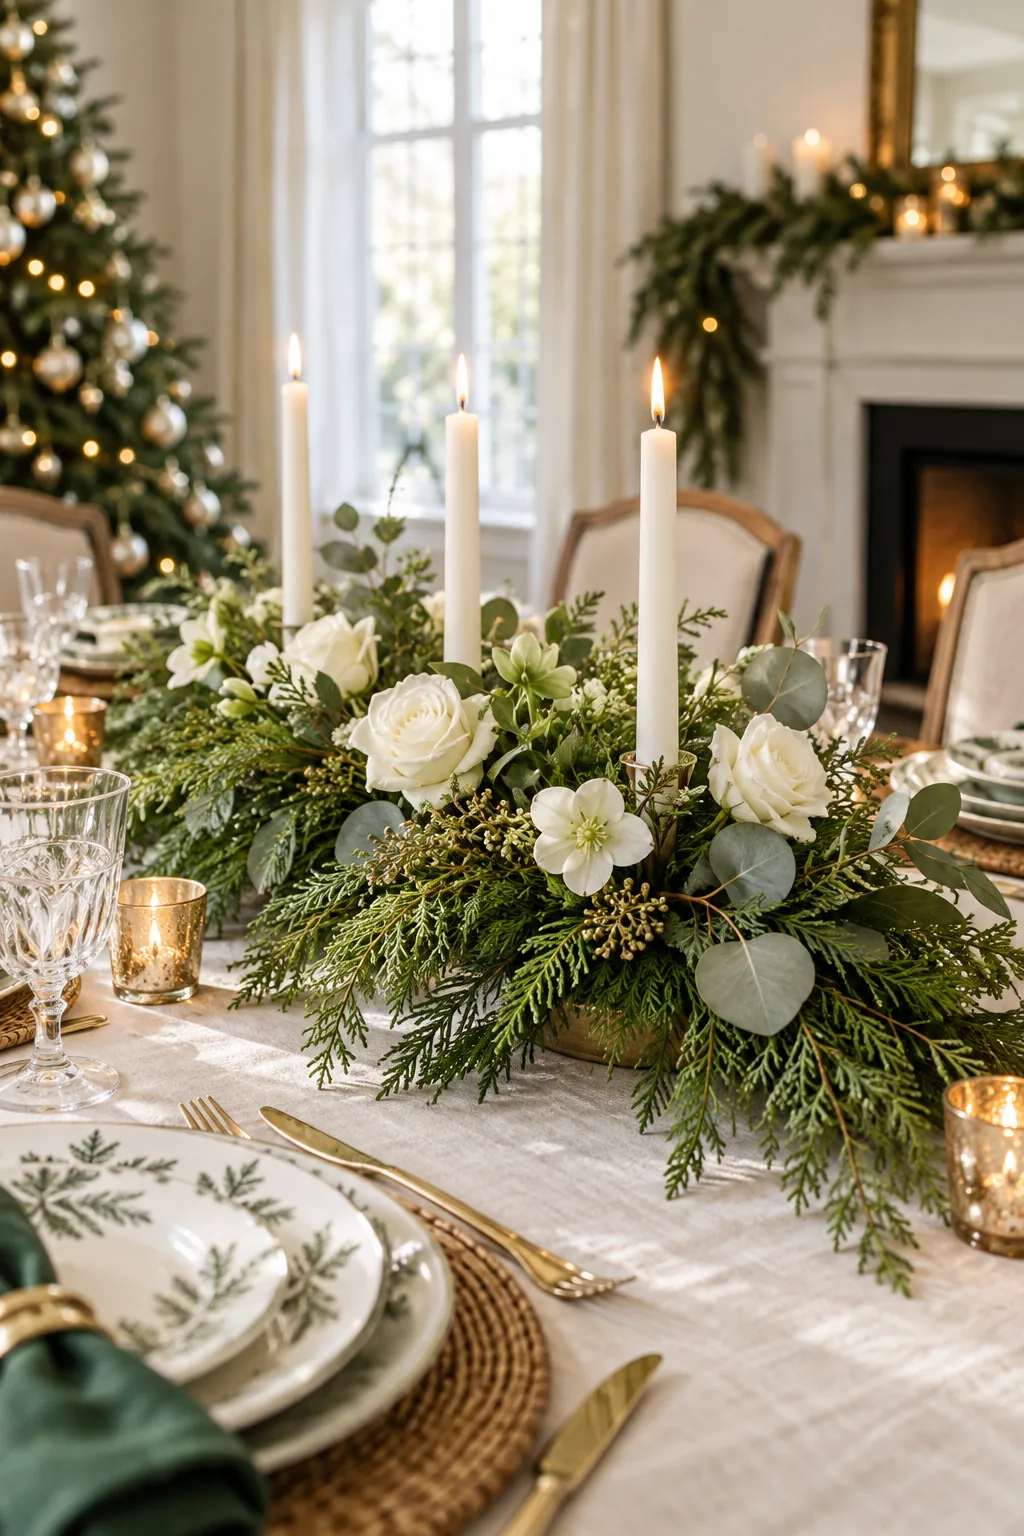
Fill the saucer with a block of soaked floral foam to provide a stable, perfectly sized hydration station for the entire arrangement without adding unnecessary bulk.
Testing the Foam Saturation
Drop the dry floral foam block into a deep bucket of clean water and let it sink entirely on its own. Forcing the block underwater creates dry air pockets in the center, which will instantly kill any stem unlucky enough to be inserted there.
Gathering the Foundation Supplies
Before cutting any greens, organize the hardgoods that form the invisible architecture beneath your seasonal blooms so you can work efficiently without stopping.
| Supply | Specification | Quantity | Role |
|---|---|---|---|
| Clay Saucer | 10-inch diameter | 1 piece | Base foundation |
| Floral Foam | Standard brick | 1 block | Moisture source |
| Water Tubes | 3-inch plastic | 10 tubes | Flower hydration |
| Floral Tape | 1/4-inch waterproof | 1 roll | Structural anchor |
| Wood Picks | 4-inch wired | 6 pieces | Candle support |
Taping the Floral Foam Securely
Anchor the wet foam to the clay saucer using two intersecting strips of quarter-inch waterproof floral tape pulled tight across the top. Press the tape ends firmly against the dry outside edge of the clay to prevent the heavy, water-logged block from shifting.
Preparing the Evergreen Branches
Process your fresh evergreens by stripping the lower two inches of needles from every single stem before inserting them. This creates a clean insertion point that grips the foam tightly without introducing rot-causing organic matter into the central water reservoir.
Creating the Cedar Base Collar
Insert 6 to 8 long cedar branches horizontally around the very bottom edge of the foam block to establish the crucial cedar base collar.
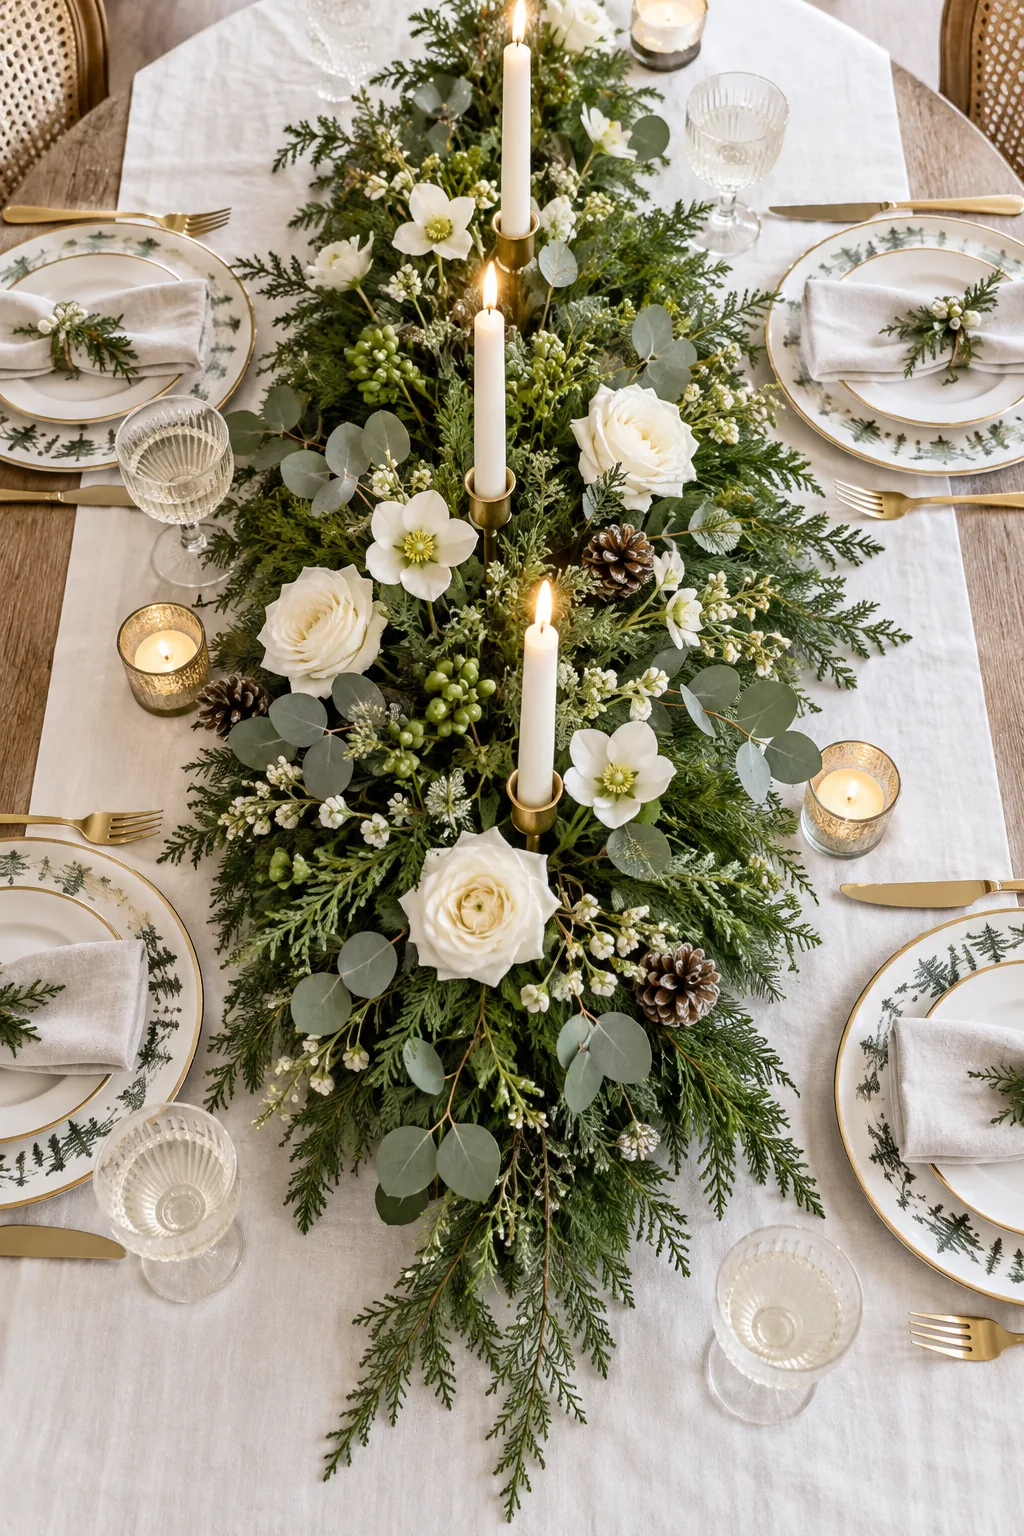
Whenever I style my own Boston brownstone for the holidays, I rely on this exact cascading collar to completely hide the clay saucer and visually anchor the centerpiece to my linen tablecloth.
Trimming the Seeded Eucalyptus
Cut your seeded eucalyptus into varied lengths ranging strictly from four to eight inches to build the next structural layer. Leaving a few longer, wispy tendrils intact creates natural movement and prevents the finished centerpiece from looking like a stiff, perfectly round dome.
Layering the Seeded Eucalyptus
Tuck the trimmed eucalyptus stems into the foam just above the cedar base, angling them slightly downward to overlap the first layer. This secondary tier adds contrasting texture and bridges the visual gap between the heavy bottom branches and the eventual floral blooms.
Enforcing the 12-Inch Height Limit
Keep all greenery strictly below a 12-inch height limit, measuring directly from the table surface to the highest upward-facing cedar tip.
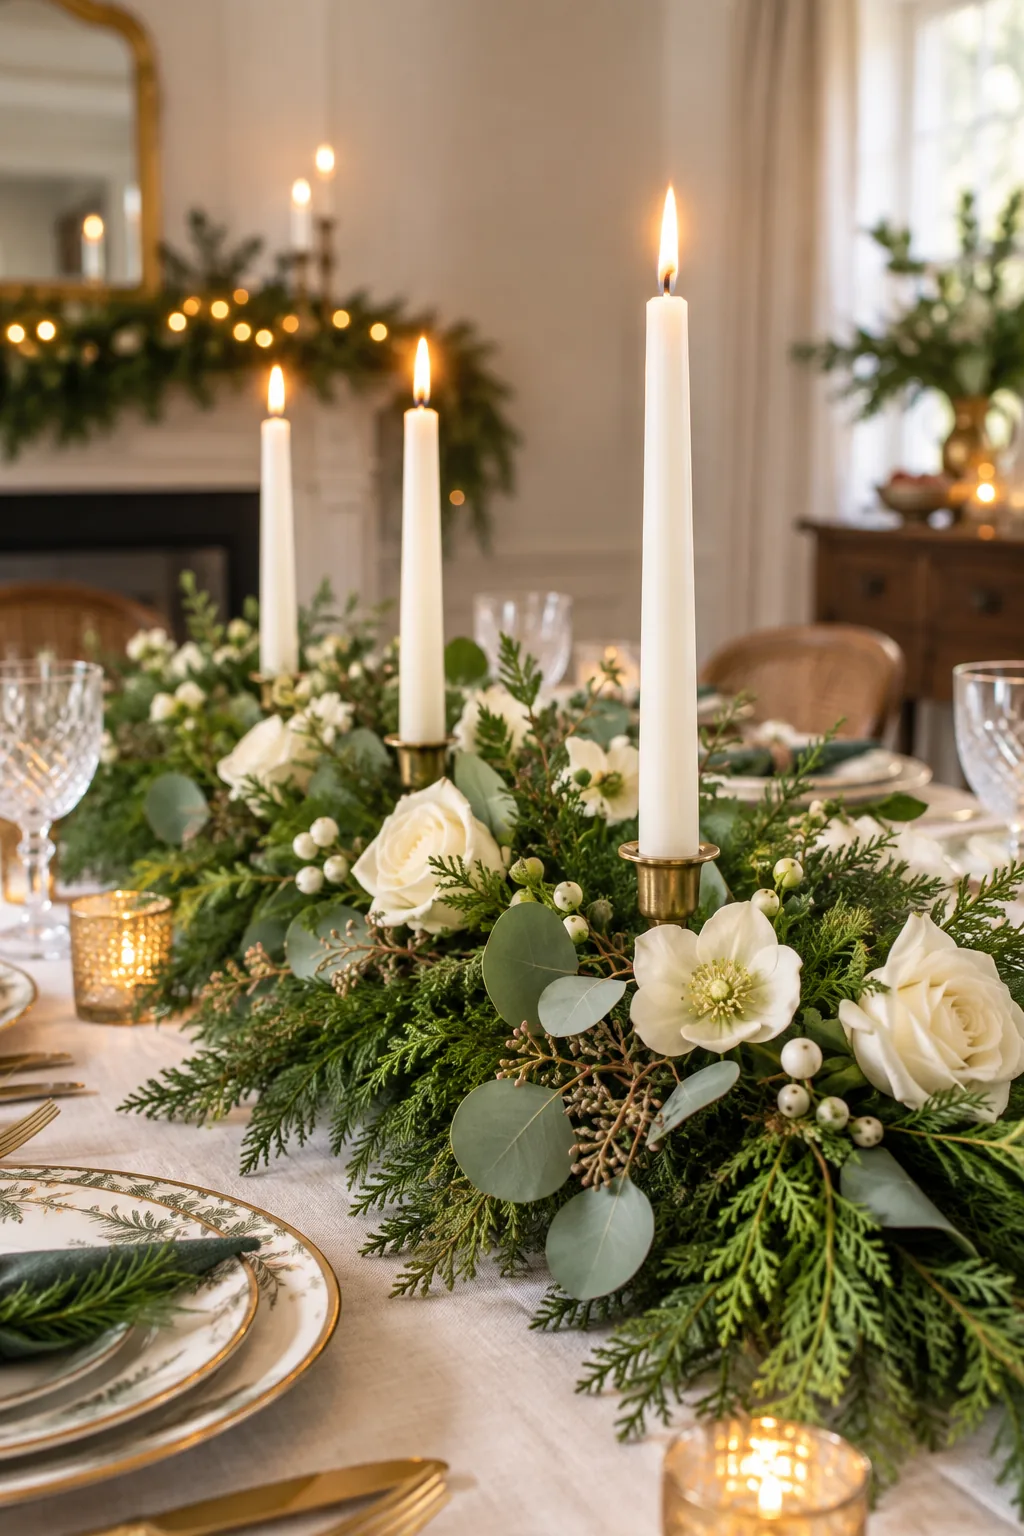
During my first major dinner party, an oversized arrangement completely blocked my guests from talking across the table, so I now strictly enforce this clearance to keep sightlines open.
Shaping the Inner Greenery Mound
Fill the remaining exposed foam with shorter, three-inch sprigs of mixed evergreens angled slightly upward to build volume. This dense inner mound conceals the mechanics from above and creates a plush, highly supportive bed for the heavy taper candles.
Selecting the Right Taper Candles
Choose standard 12-inch dripless taper candles in a soft white or ivory finish to match the eventual floral tones. Avoid overly textured or beeswax tapers for this specific design, as smooth candles create a crisp, elegant contrast against the wild, organic texture of the evergreens.
Securing Tapers with Taped Picks
Tape two wooden floral picks to the bottom of each taper candle using waterproof floral tape to create rigid taped candle picks.
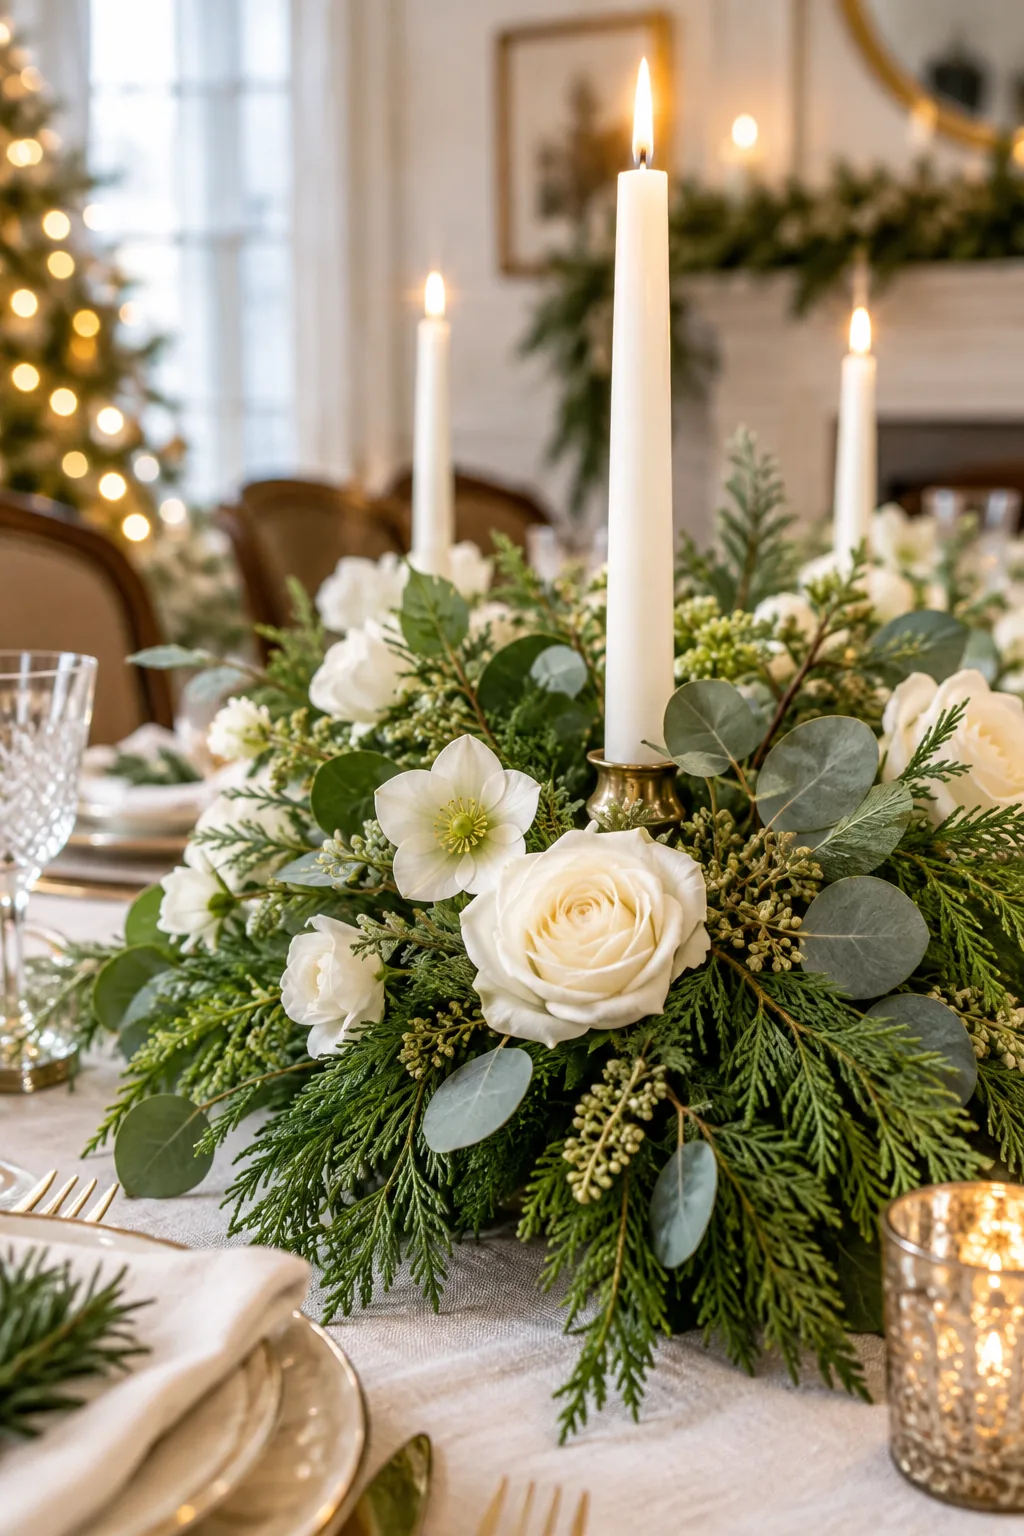
Even with the right materials, improper insertion can compromise the stability of your tapers during a busy dinner party.
Positioning the Three Candles
Press the taped picks firmly into the center of the foam block, spacing the three candles about four inches apart in a slightly staggered line. Ensure they are perfectly plumb before moving on, as adjusting them later will enlarge the foam holes and cause wobbling.
Hydrating Blooms with Hidden Tubes
Insert delicate white roses and hellebores using individual 3-inch hidden water tubes tucked completely out of sight.
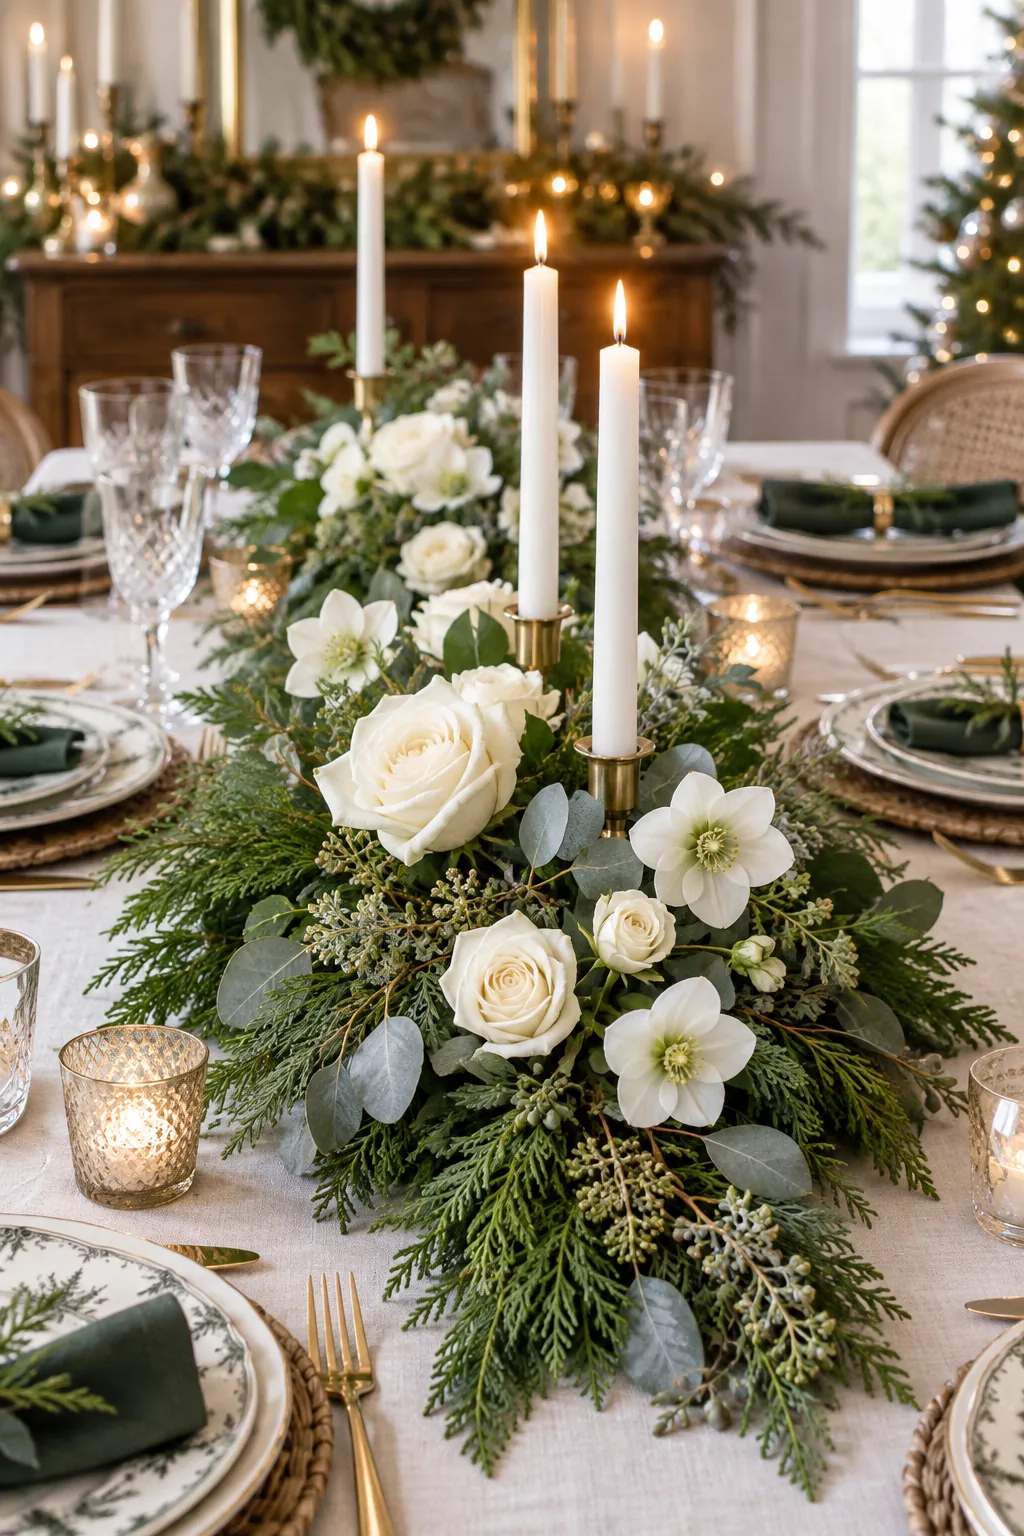
Tuck the plastic tubes deep into the dense greenery near the stem of a fresh white bloom so the flowers stay hydrated without requiring a massive, visible water reservoir in the base.
Conditioning the Delicate Blooms
Keep your white roses and hellebores resting in a cool bucket of water while you construct the evergreen base. Giving these fragile stems a few hours to drink deeply before transferring them into the small water tubes drastically extends their lifespan on the table.
Preparing the Floral Water Tubes
Fill each plastic tube with fresh, cold water mixed with a pinch of floral preservative before snapping the rubber caps securely into place. Push the bare flower stems gently through the rubber opening until the cut ends touch the very bottom of the tube.
Cutting the Floral Stems Correctly
Slice the rose and hellebore stems at a sharp 45-degree angle using professional floral shears just before tubing them. This angled cut maximizes the surface area for water absorption and prevents the stem from sitting flat against the bottom of the plastic reservoir.
Placing the White Roses
Distribute the five tubed white roses evenly around the arrangement, nestling them deep into the established evergreen mound. Keep the rose heads relatively low so they feel intentionally integrated into the greenery rather than floating awkwardly above the structural base.
Nestling the Delicate Hellebores
Position the five white hellebores slightly higher than the roses to highlight their delicate, naturally nodding faces. Allow a few hellebore stems to extend outward toward the edges, beautifully softening the transition between the dense center and the cascading cedar collar.
The Complete Stem Recipe & Build Guide
Use exactly 1 bunch of cedar, 1/2 bunch of seeded eucalyptus, 5 white roses, 5 white hellebores, and 3 taper candles to complete the build.
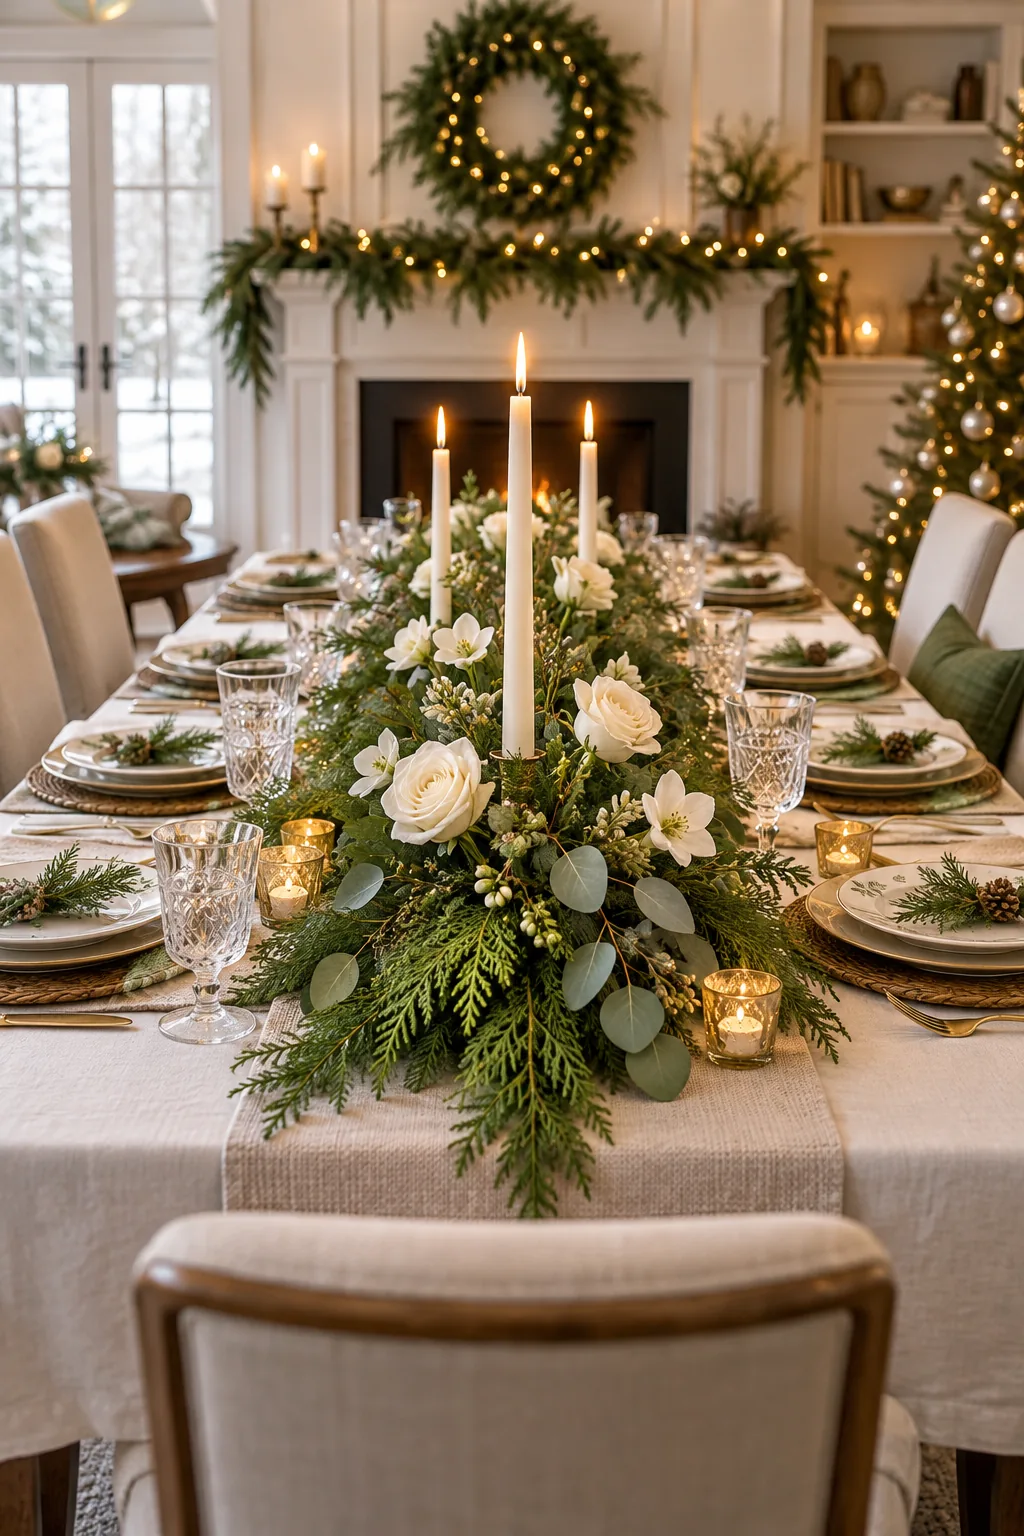
Before assembling the final arrangement, ensure all your foundational materials are fully prepped and hydrated.
Checking the Table Proportions
Step back and view the finished centerpiece from a seated position to verify the visual balance and height. The arrangement should feel lush and generous but leave plenty of functional room on the table for dinner plates, wine glasses, and passing platters.
Assessing the Final Centerpiece Profile
Walk around the entire table to ensure the centerpiece looks beautiful and cohesive from every single angle. Fill any remaining visible gaps with leftover eucalyptus sprigs, making absolutely certain no floral foam or plastic tubing remains visible to your seated guests.
Placing the Final Eucalyptus Accents
Tuck a few final sprigs of seeded eucalyptus around the base of the taper candles to soften the transition between the wax and the greens. This small detail hides the taped picks completely and visually anchors the bright white candles into the dark arrangement.
Managing Wax Drip Safely
Before lighting the tapers, double-check that they are perfectly vertical to minimize excessive dripping during dinner. If a sudden draft causes the wax to run, the dense evergreen mound will safely catch the drips before they can ever reach your delicate linen tablecloth.
Daily Maintenance for Freshness
Add a quarter cup of water directly to the central foam block every two days to maintain the moisture foundation.
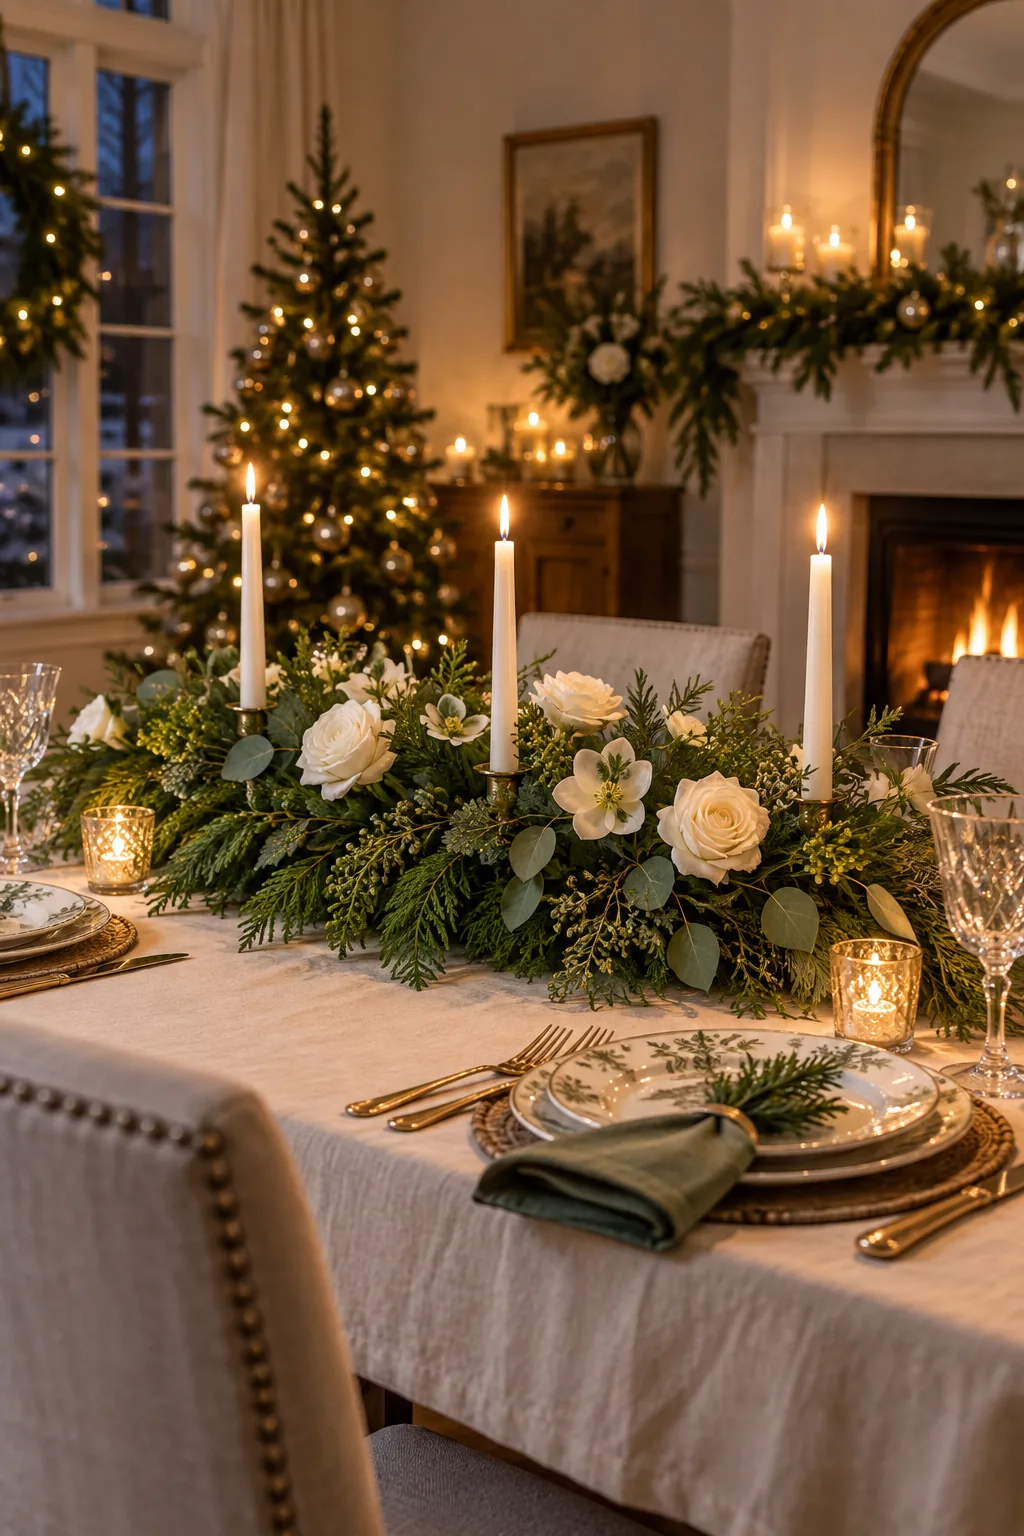
Top up the individual flower tubes using a narrow-spouted watering can, and keep the arrangement away from direct heating vents to prevent the cedar from drying out prematurely.
4 Ways to Style a Low-Profile Centerpiece
Explore these distinct variations to find the perfect match for your dining room.
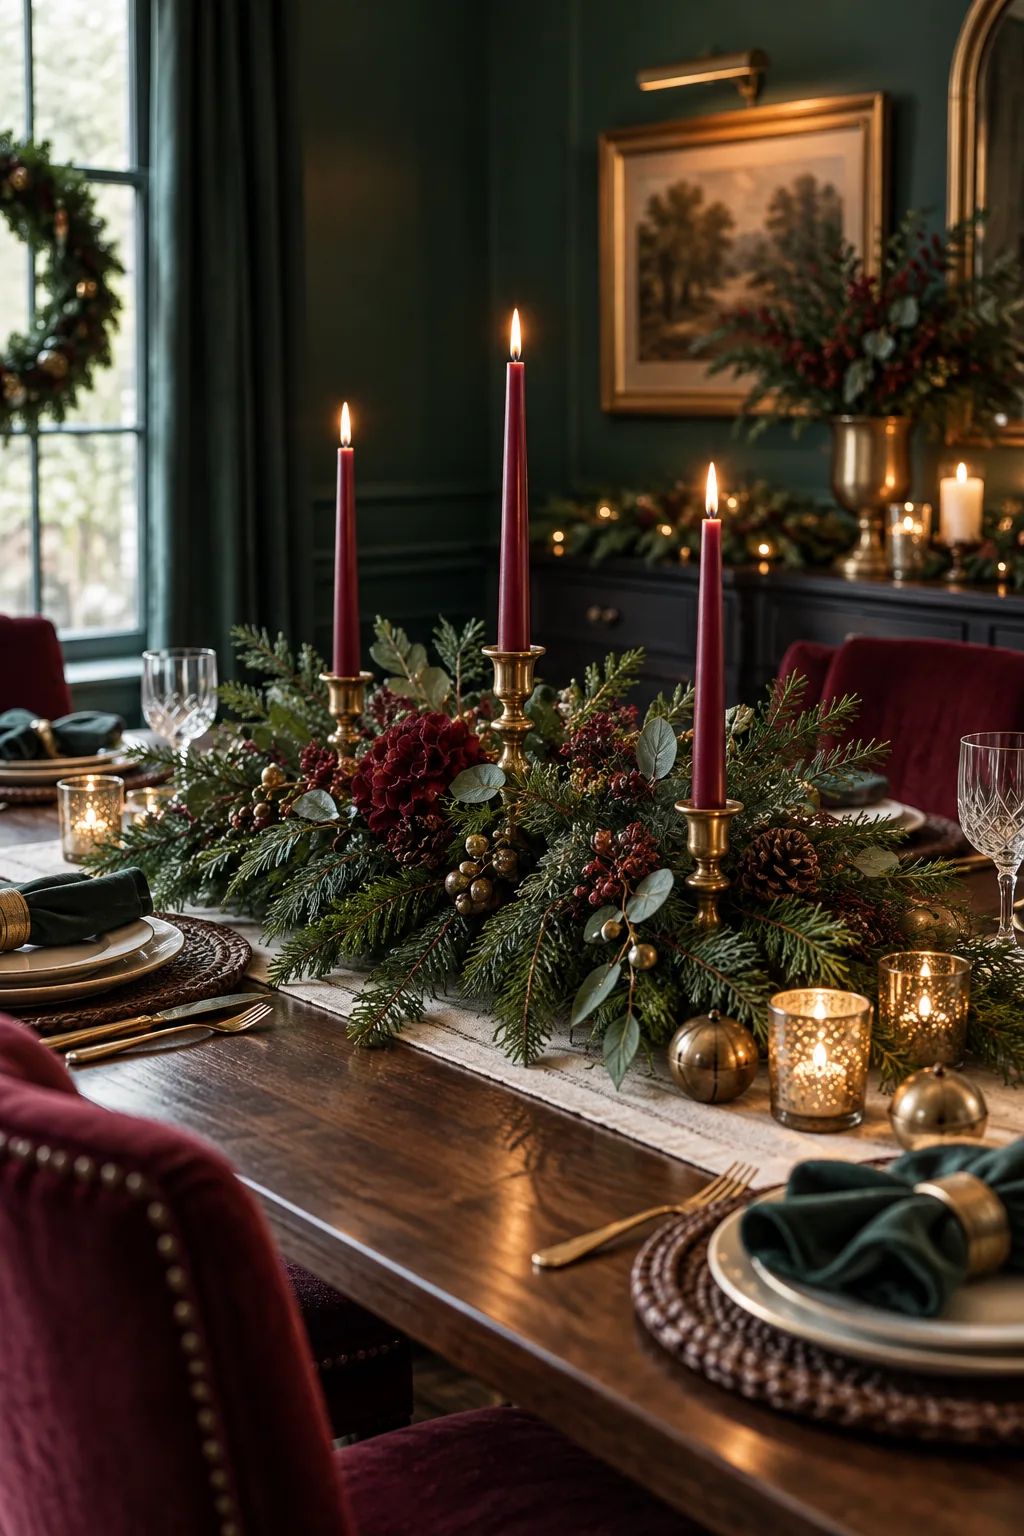
Moody Jewel-Toned Dining Room: Deep burgundy tapers and dark pine branches create a dramatic, moody atmosphere perfect for evening dinner parties.
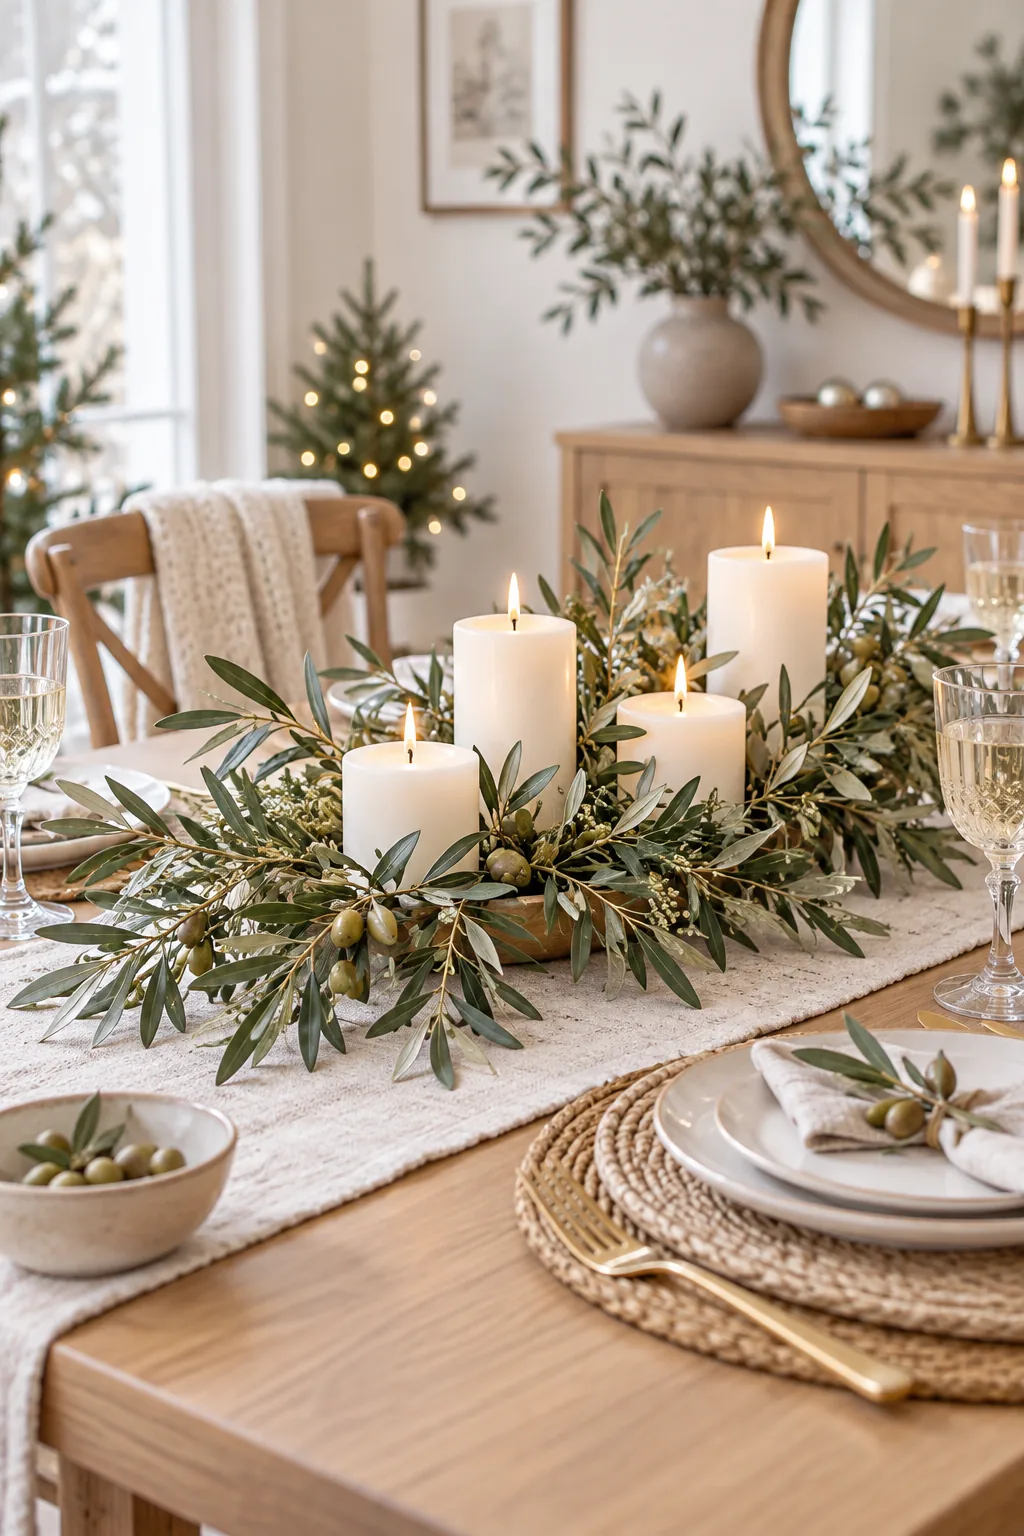
Minimalist Scandinavian Light Oak: Sparse olive branches and simple block candles offer a clean, understated look that complements light wood tones.
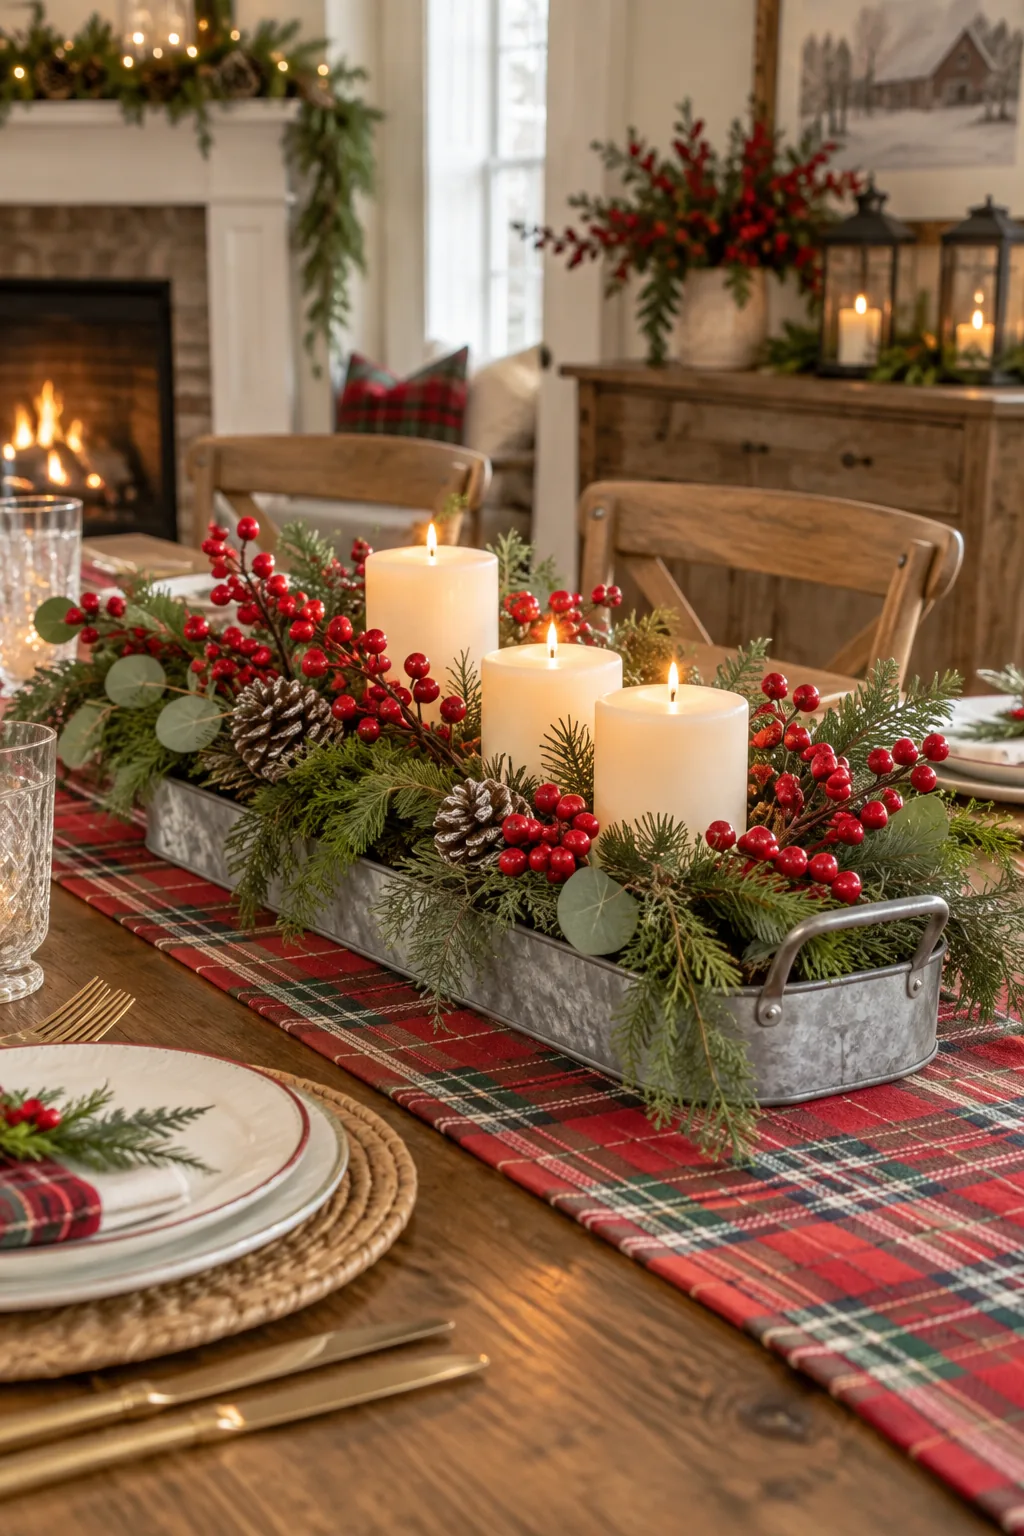
Rustic Farmhouse Plaid Setting: A galvanized base and bright red berries bring traditional farmhouse charm to a cozy plaid-lined table.
Glamorous Silver Winter Wonderland: Flocked evergreens and reflective silver ornaments add a touch of icy glamour to a sophisticated mirrored dining table.