3D Christmas Bulletin Board: Layout & Supply Cheat Sheet
Grab this exact supply list and spatial layout to build a pop-out 3D winter village bulletin board that stays securely on the wall all season. You will learn professional hidden display secrets to layer and mount your snowy scene with zero sagging.
Planning the 3D Winter Village Layout
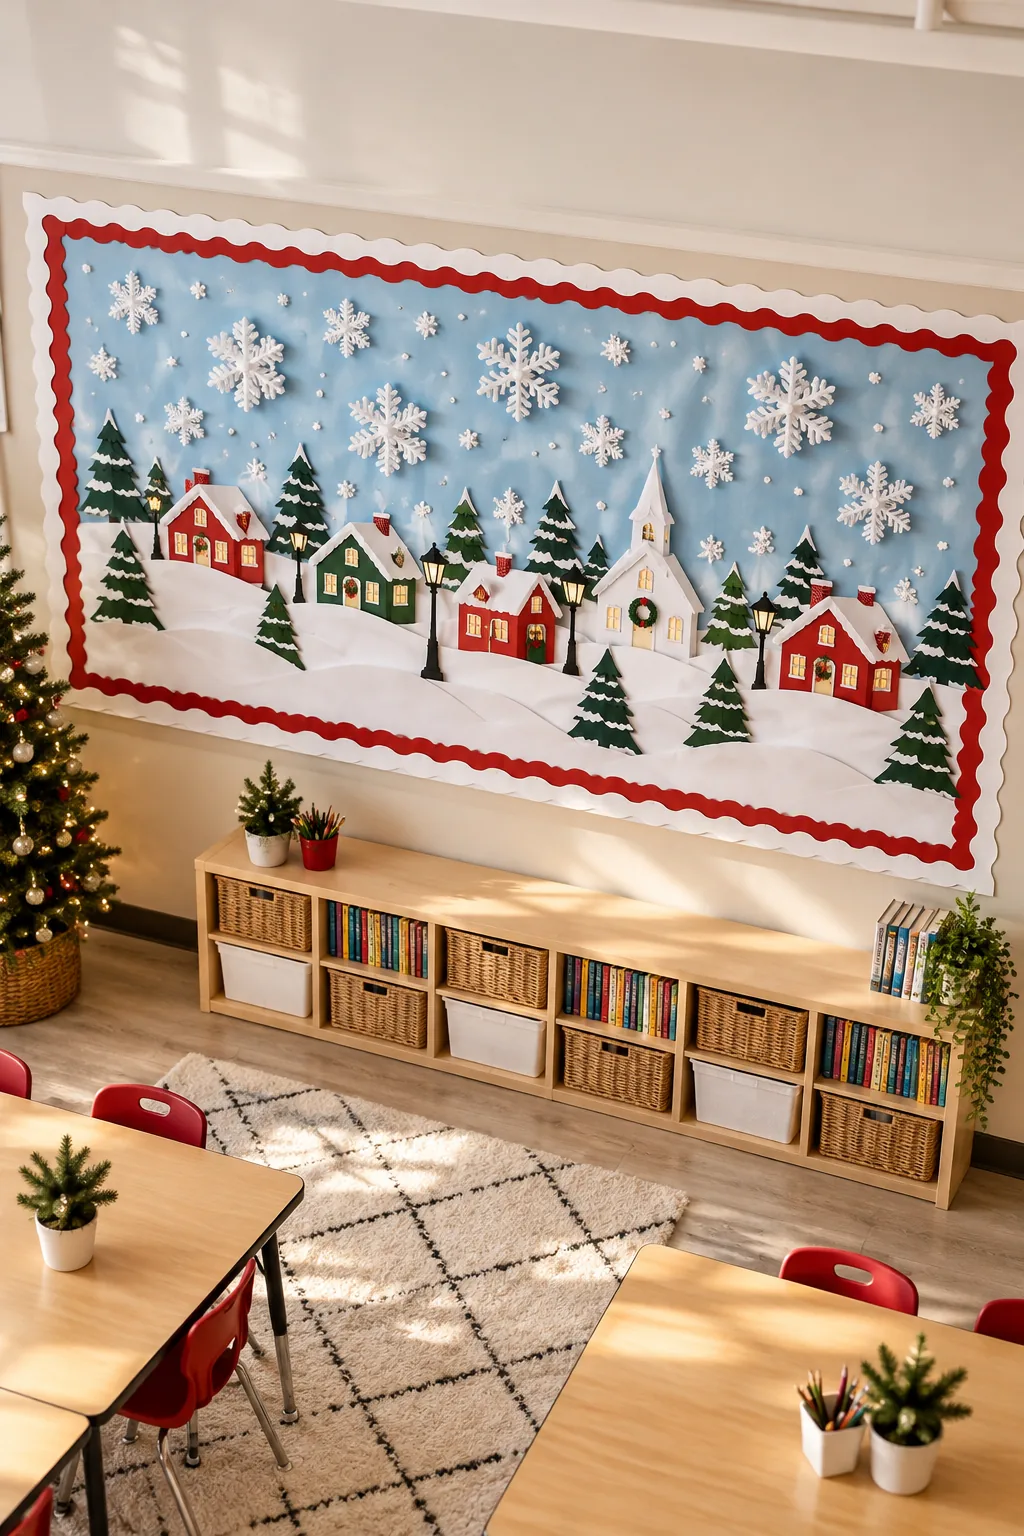
Divide a standard 48×36-inch board into three distinct horizontal zones to keep the final scene from looking visually cluttered. The top half becomes the sky, the middle third holds the village, and the bottom features overlapping foreground snowbanks.
Measuring the Standard Display Space
Before cutting any materials, confirm the internal dimensions of your specific frame using a rigid metal tape measure. Standard classroom boards often lose a half-inch of usable space around the entire perimeter due to the thick aluminum housing.
Installing the Fade-Resistant Fabric Background
Swap traditional rolled paper for a durable navy blue cotton fabric to create a rich, fade-resistant winter sky. Fabric absorbs the glare from overhead fluorescent lights and instantly hides staple holes when you need to reposition your seasonal elements.
Smoothing Wrinkles in the Base Layer
Pull the background fabric completely taut starting from the top center, working your way outward to the corners. A perfectly flat foundation prevents your heavy 3D elements from drooping or pulling the background away from the cork backing.
Framing with a Double-Layered Border
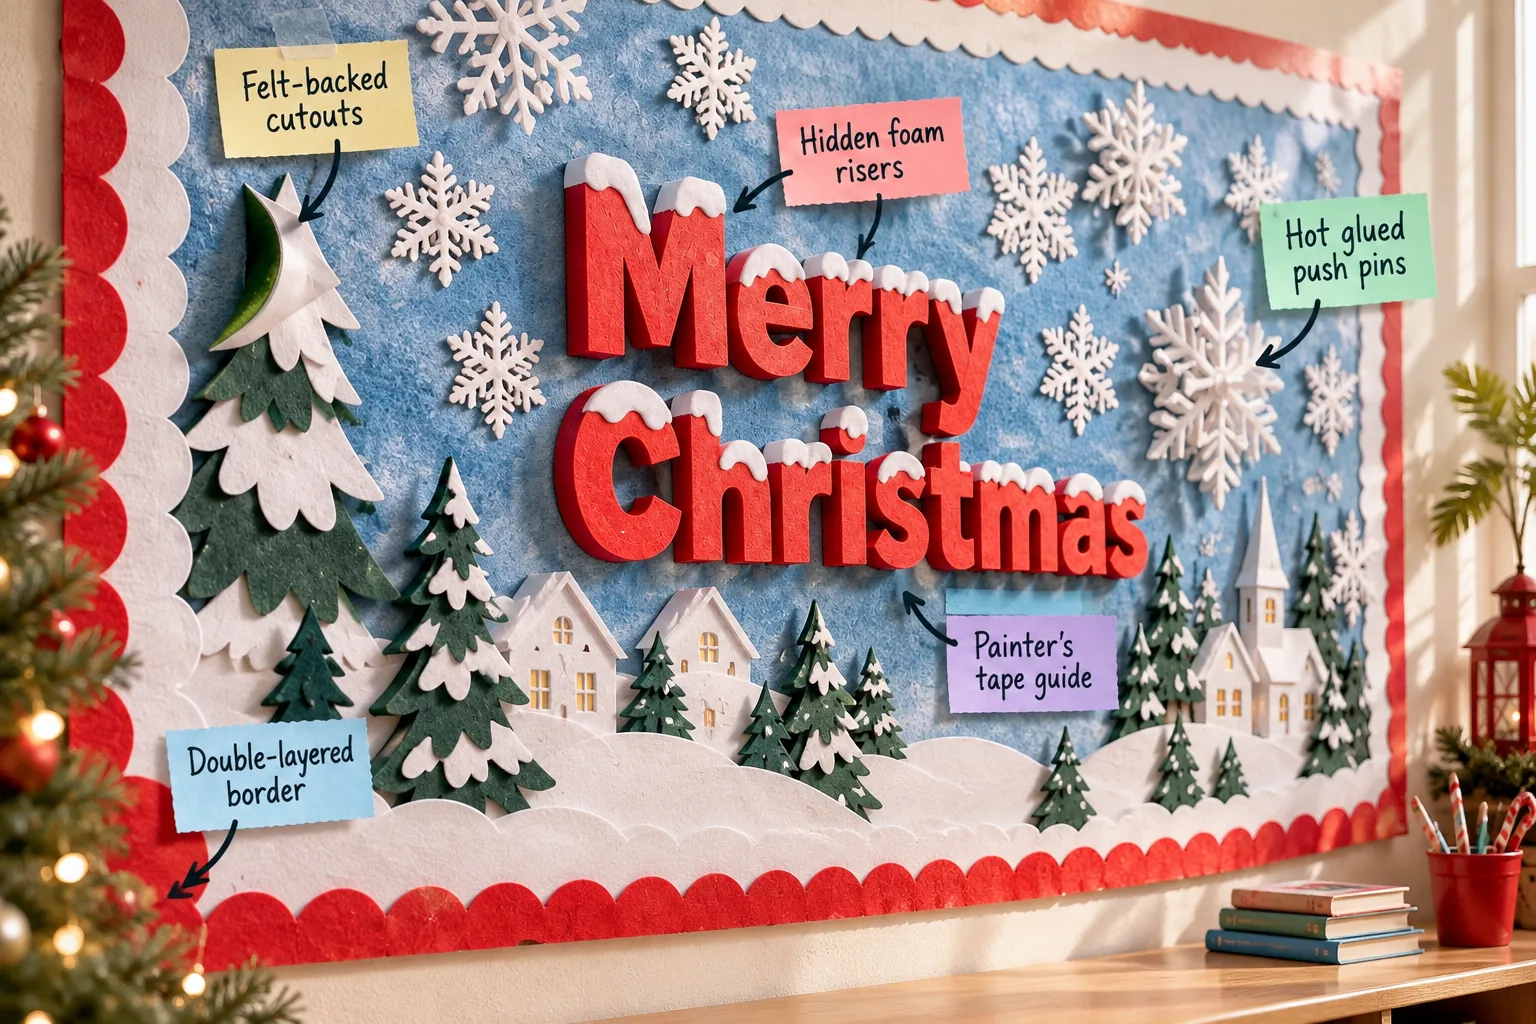
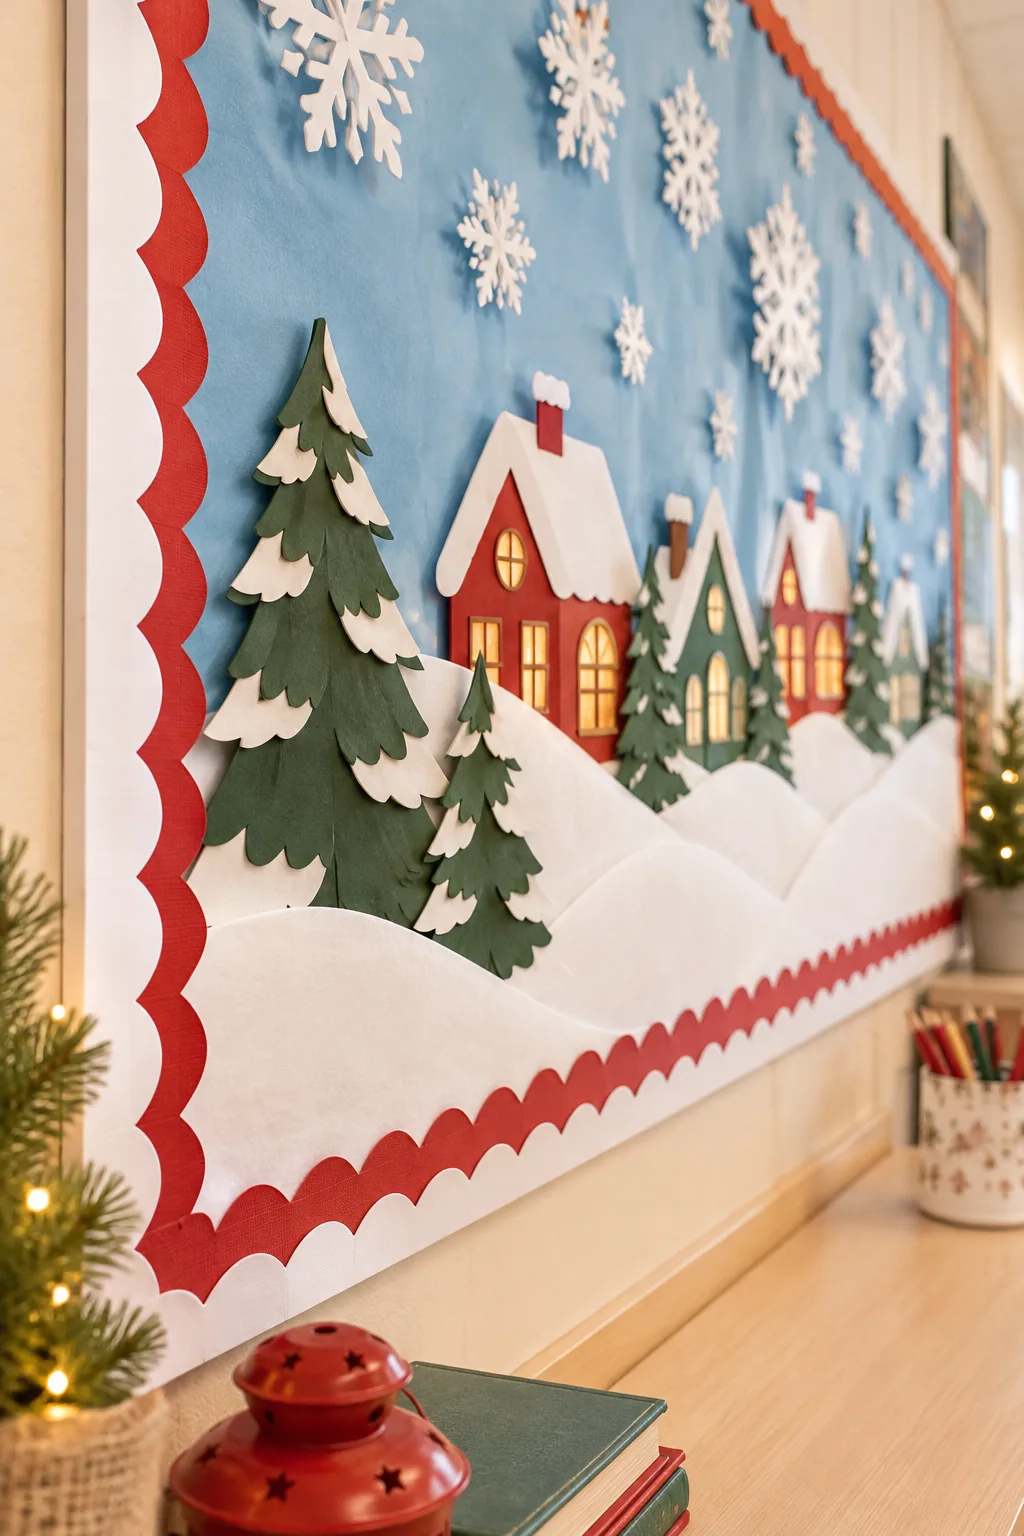
Create immediate depth by overlapping a 3-inch scalloped red border directly over a 4-inch white border. I used to just use one flat border in my workshop studio, but doubling them up completely transforms the display into a framed window.
Stapling the Perimeter for Structural Support
Drive a standard heavy-duty staple through both border layers every 6 inches along the entire outer edge. This tight spacing prevents the heavy cardstock from sagging when indoor humidity fluctuates drastically during the long, unpredictable winter season.
Mitering the Scalloped Corners
Fold the overlapping borders at a precise 45-degree angle where the horizontal and vertical edges meet. Creating a sharp mitered corner gives the seasonal display a polished, custom-built appearance that elevates the entire aesthetic of the room.
- Align the vertical border strip squarely against the inside frame edge.
- Overlap the horizontal border piece completely across the corner joint.
- Crease both pieces diagonally from the inner point to the outer tip.
- Trim the excess cardstock hidden directly behind the new diagonal fold.
Mapping the Title with Painter’s Tape
Apply a single strip of low-tack blue painter’s tape across the top third of your background to establish a level baseline. This temporary guide lets you perfectly align heavy 3D lettering before permanently attaching anything to the fabric.
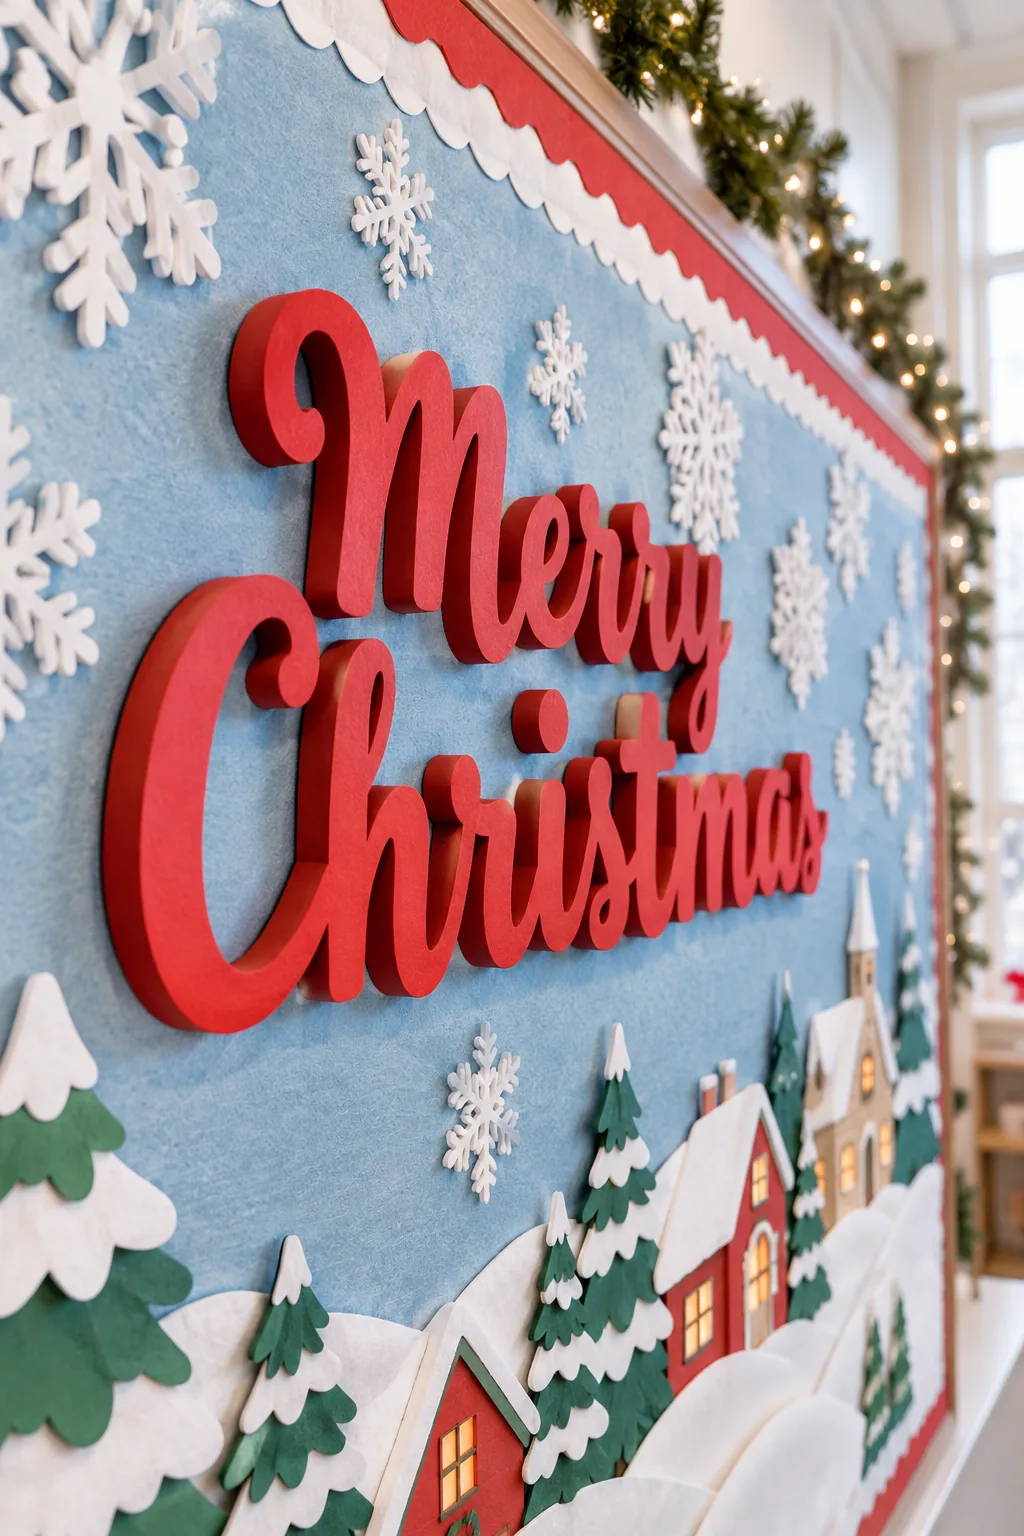
Selecting the Right Lettering Material
Choose thick chipboard or lightweight balsa wood letters instead of flimsy construction paper for your main holiday greeting. Rigid materials maintain their crisp shape and provide a solid backing for the hidden lifting hardware you will apply next.
Elevating Letters with Hidden Foam Risers
Cut 1/2-inch thick adhesive foam core into small squares and mount them behind your wooden letters to cast a realistic drop shadow. This hidden technique makes the title dramatically pop off the flat background for maximum visual impact.
While it is tempting to use folded masking tape to lift your letters, this shortcut often fails after a few days in a warm room.
Designing the Foreground Snowbanks
Cut three sweeping, asymmetrical curves from heavyweight white poster board to form your rolling winter terrain. Layering these rigid snowbanks at the bottom of the display creates a sturdy physical pocket to securely anchor your miniature village houses.
Cutting the Sloping Snow Profiles
Stagger the height of your snow layers to generate a forced perspective that draws the eye upward into the scene. Use these exact peak measurements from the bottom frame edge to map out your realistic rolling winter hills.
| Snow Layer | Left Peak | Center Dip | Right Peak |
|---|---|---|---|
| Back (Layer 1) | 12 inches | 9 inches | 14 inches |
| Middle (Layer 2) | 8 inches | 11 inches | 7 inches |
| Front (Layer 3) | 5 inches | 4 inches | 6 inches |
Anchoring Trees with Felt-Backed Cutouts
Glue stiff felt pads to the back of the large paper evergreen trees so the textured fabric creates gripping friction against the board. I learned this trick after my own giant paper pines kept curling outward and falling off my kitchen command center.
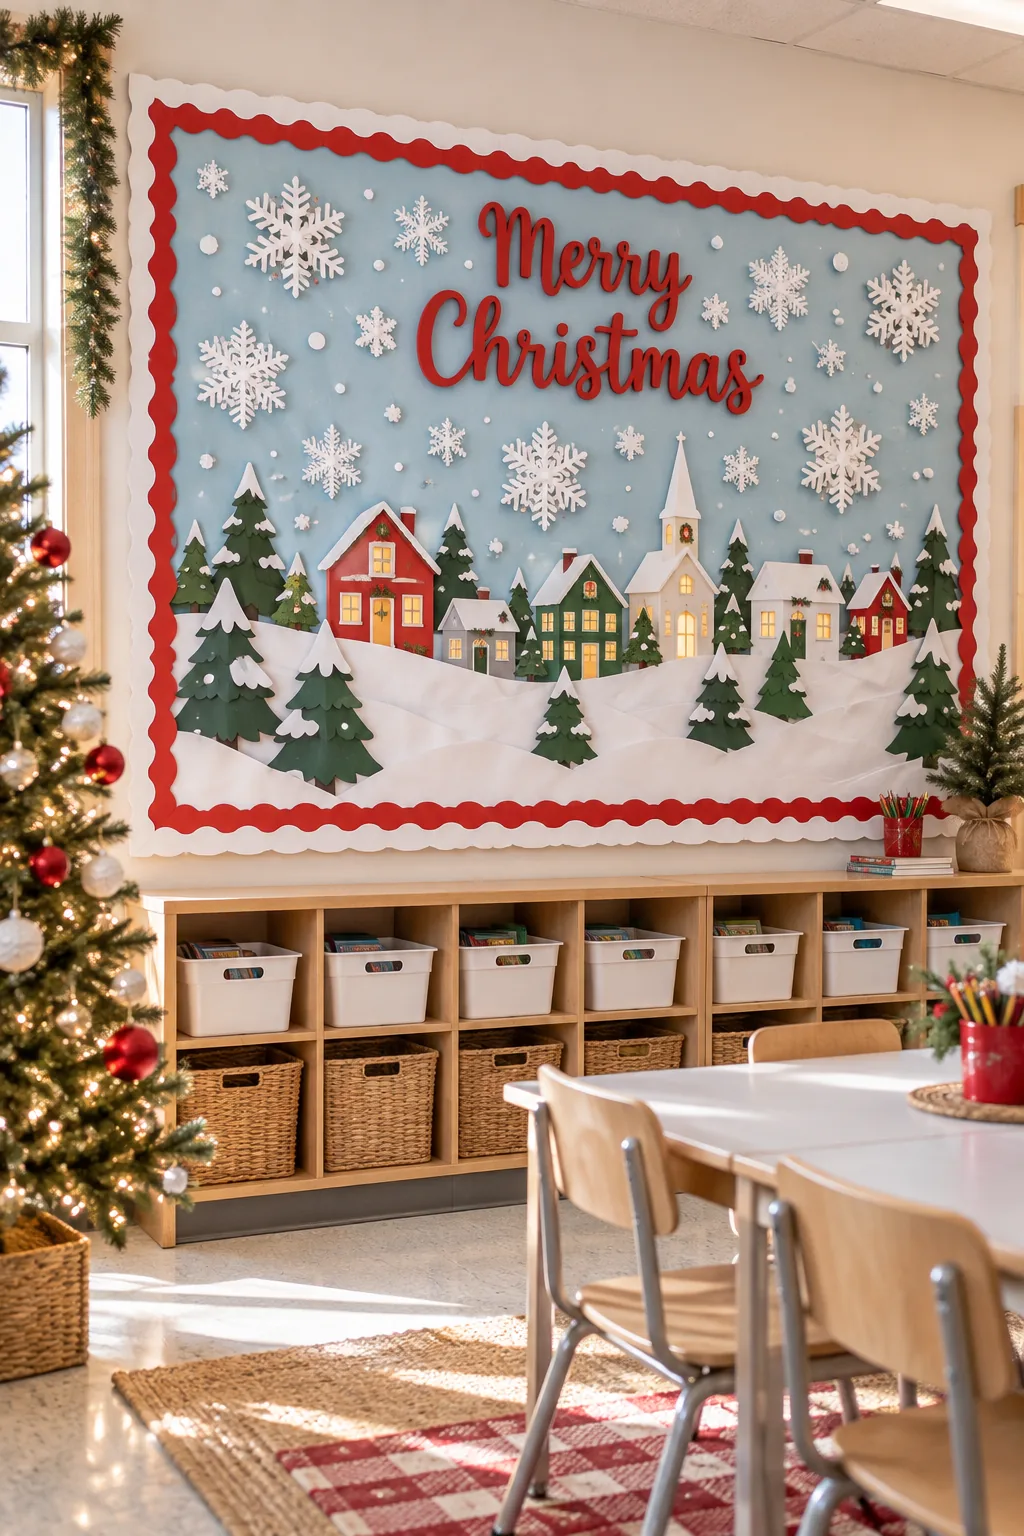
Spacing the Evergreen Forest
Tuck the felt-backed trees slightly behind the highest snowbank layer to firmly ground them in the landscape. Grouping the evergreens in tight clusters of three or five creates a more natural, dense forest look than spacing them evenly apart.
Securing Snowflakes with Glued Push Pins
Hot glue standard clear push pins directly to the back center of heavy plastic or layered paper snowflakes. I love using this hardware trick in my house because it holds significant weight without leaving ugly staple marks on delicate shapes.
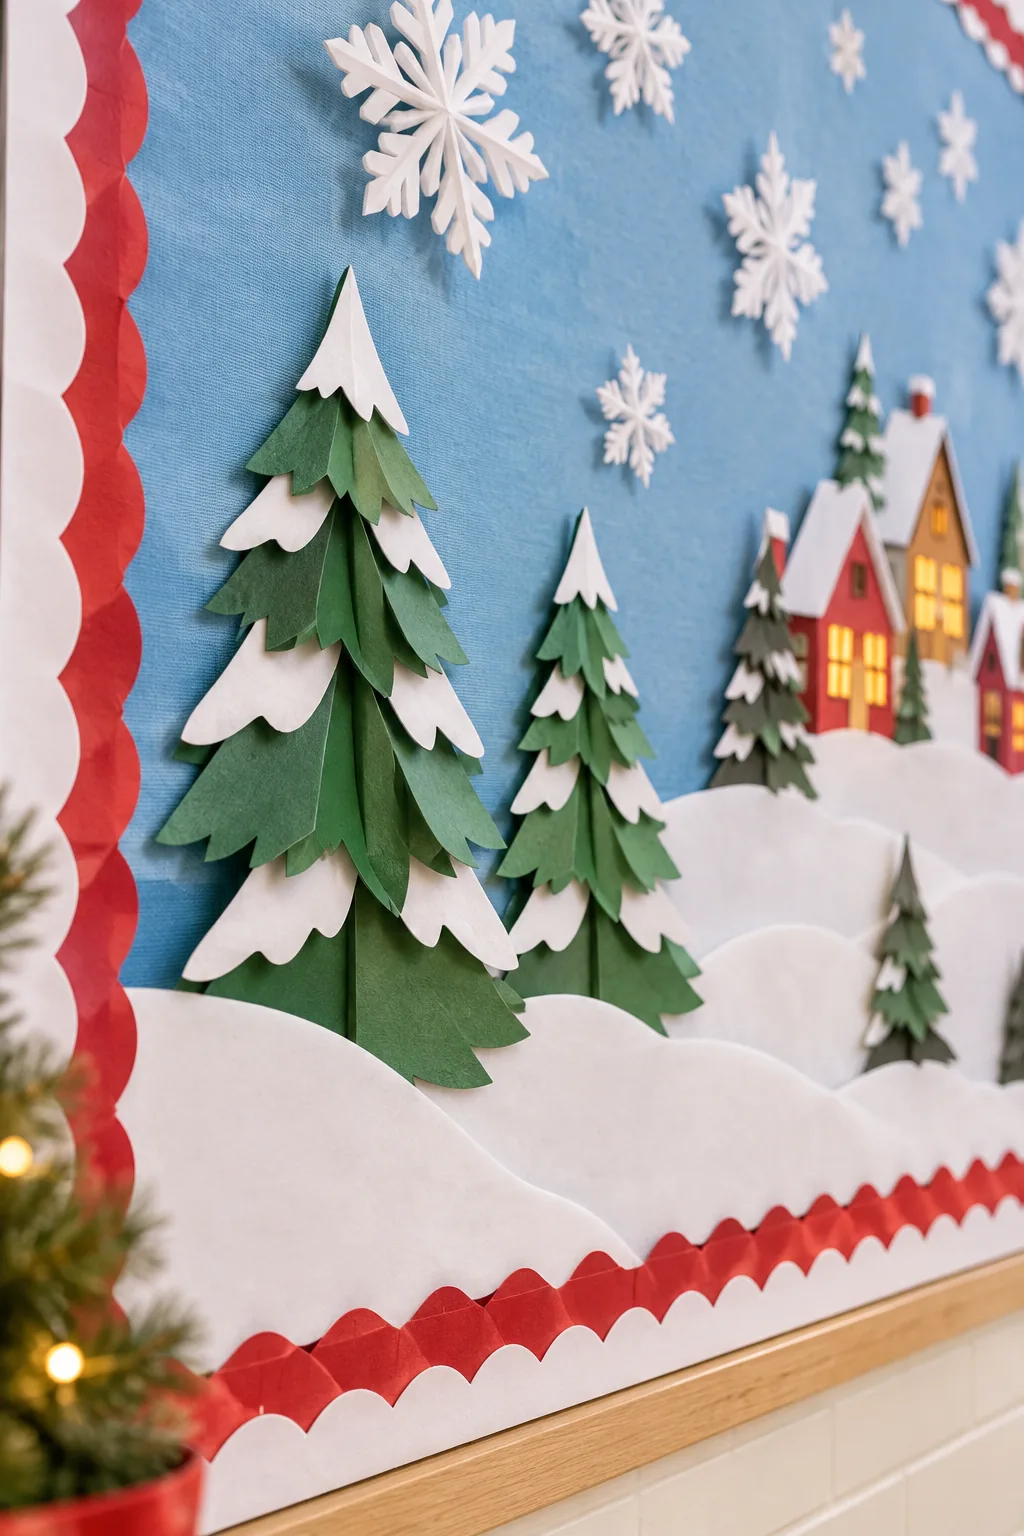
Arranging the Sky Elements
Scatter the pin-backed snowflakes randomly across the upper navy blue fabric to mimic a genuine, chaotic winter flurry. Keep the largest, heaviest snowflakes near the top edge and use smaller cutouts closer to the village to enhance the deep perspective.
Assembling the 3D Cardstock Houses
Fold and glue pre-scored heavy cardstock templates to construct the miniature village buildings for your middle ground. Reinforce the inside corners with an extra bead of liquid glue to ensure the hollow structures withstand the pressure of mounting.
Illuminating the Paper Houses
Tuck battery-operated micro fairy lights behind the vellum windows of the 3D cardstock houses to create a warm, inviting glow. A single 20-bulb wire strand easily stretches to beautifully illuminate a standard cluster of five village buildings.
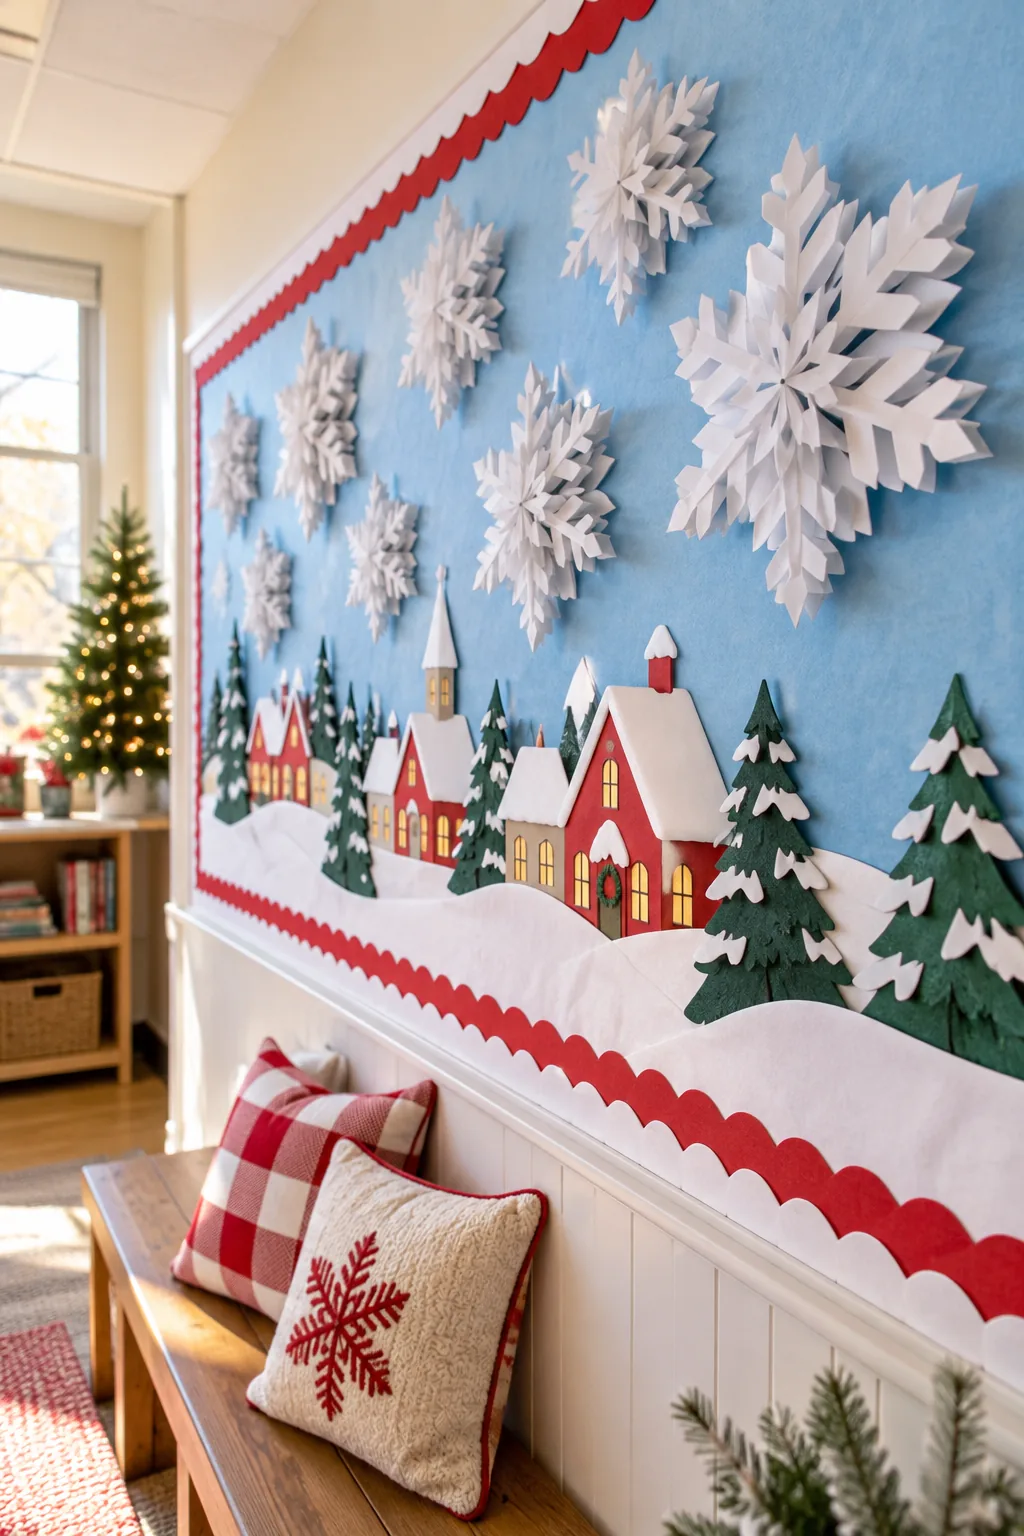
Hiding the Battery Packs
Conceal the small plastic battery box completely inside the largest center house of your paper village. Cut a small trapdoor in the bottom of the cardstock structure so you can easily reach inside to switch the lights on daily.
Routing the Micro Wire Strands
Thread the thin copper light wire through small slits cut into the sides of the neighboring paper houses. Keeping the wire pulled taut behind the middle snowbank layer ensures the electrical components remain entirely invisible to your captive audience.
Balancing the Visual Weight of the Village
Distribute the illuminated houses evenly across the middle third of the board to prevent one side from looking overly heavy. Placing the tallest church or manor house slightly off-center provides a natural focal point for the entire winter scene.
The Complete 3D Layout and Supply Cheat Sheet
Gather these exact materials to replicate this sturdy, multi-dimensional winter display and ensure your pop-out elements survive the season. I always keep my supply list taped to my craft cart so I never forget the structural essentials for large projects.
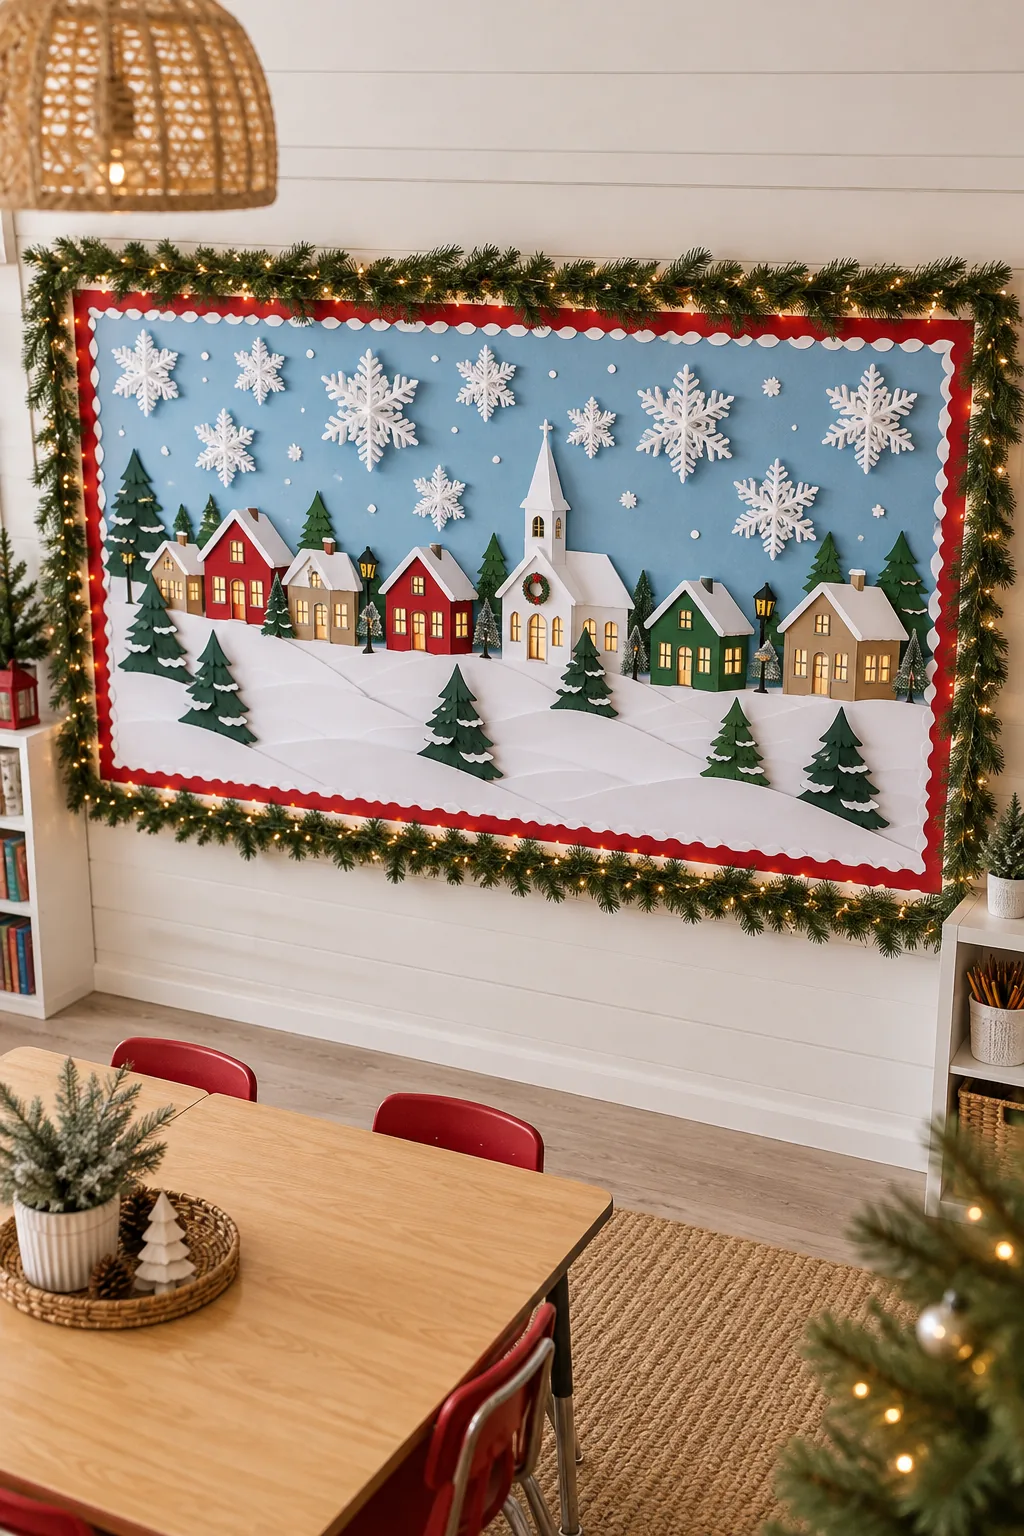
Before you consider the display complete and put away your supplies, run through this quick stability check to ensure everything is secure.
5 More 3D Christmas Bulletin Board Ideas
Explore these different styling variations to find the perfect color palette and theme for your space.
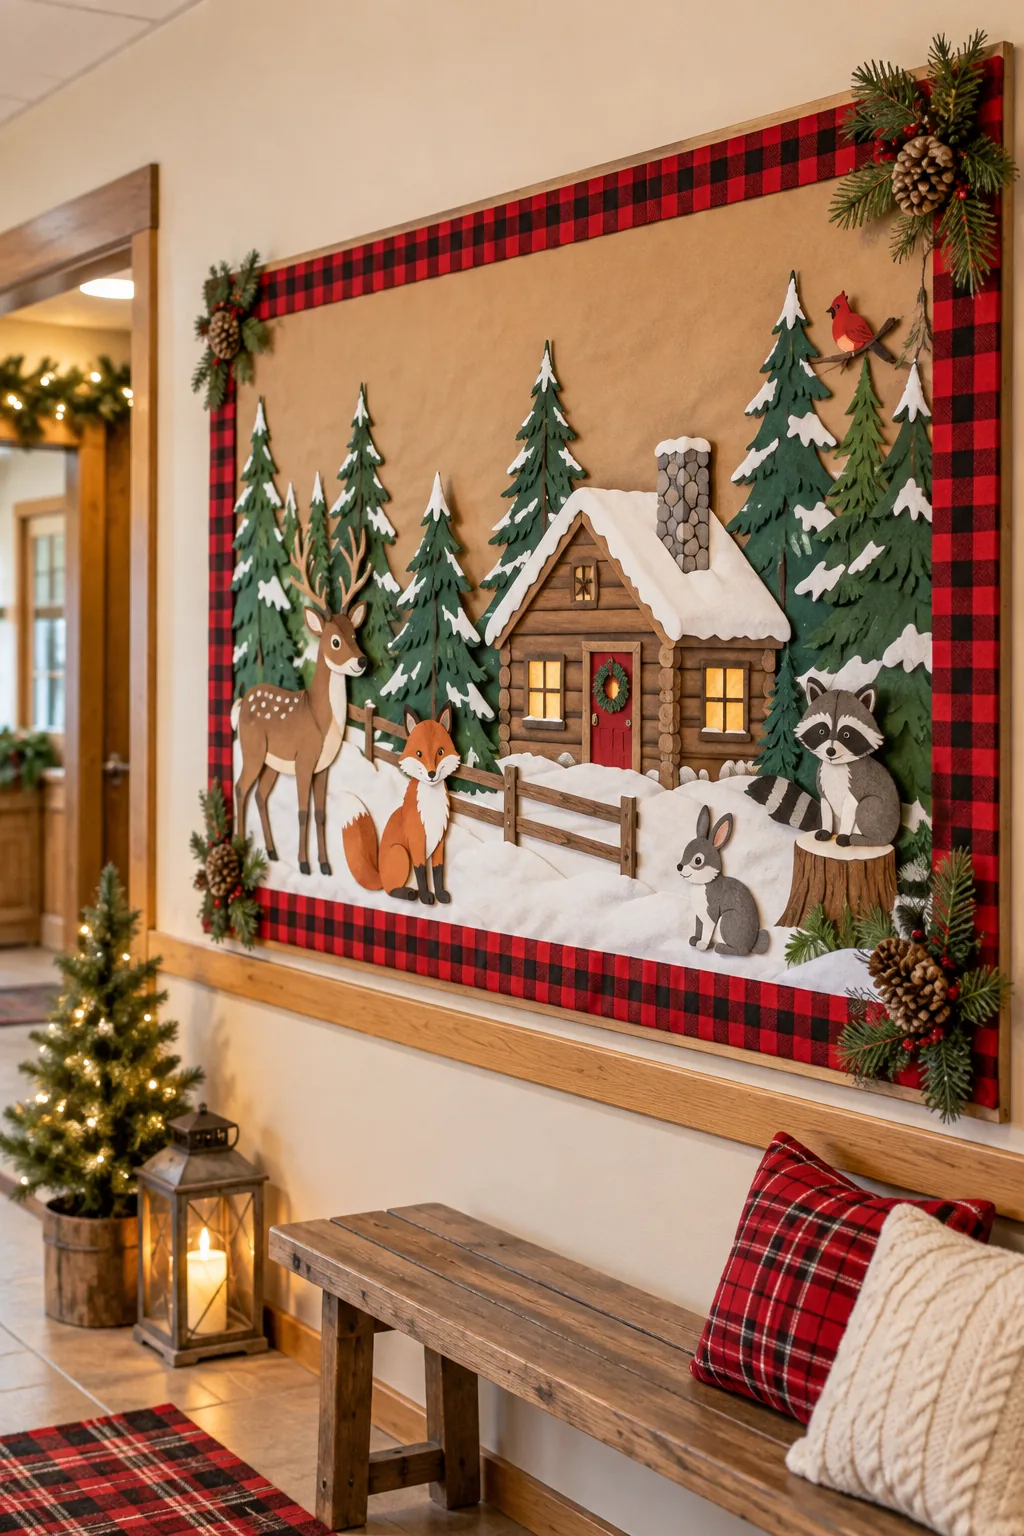
Rustic Cabin Christmas: Swap icy blues for warm kraft paper and a cozy plaid border to create an inviting woodland cabin atmosphere.
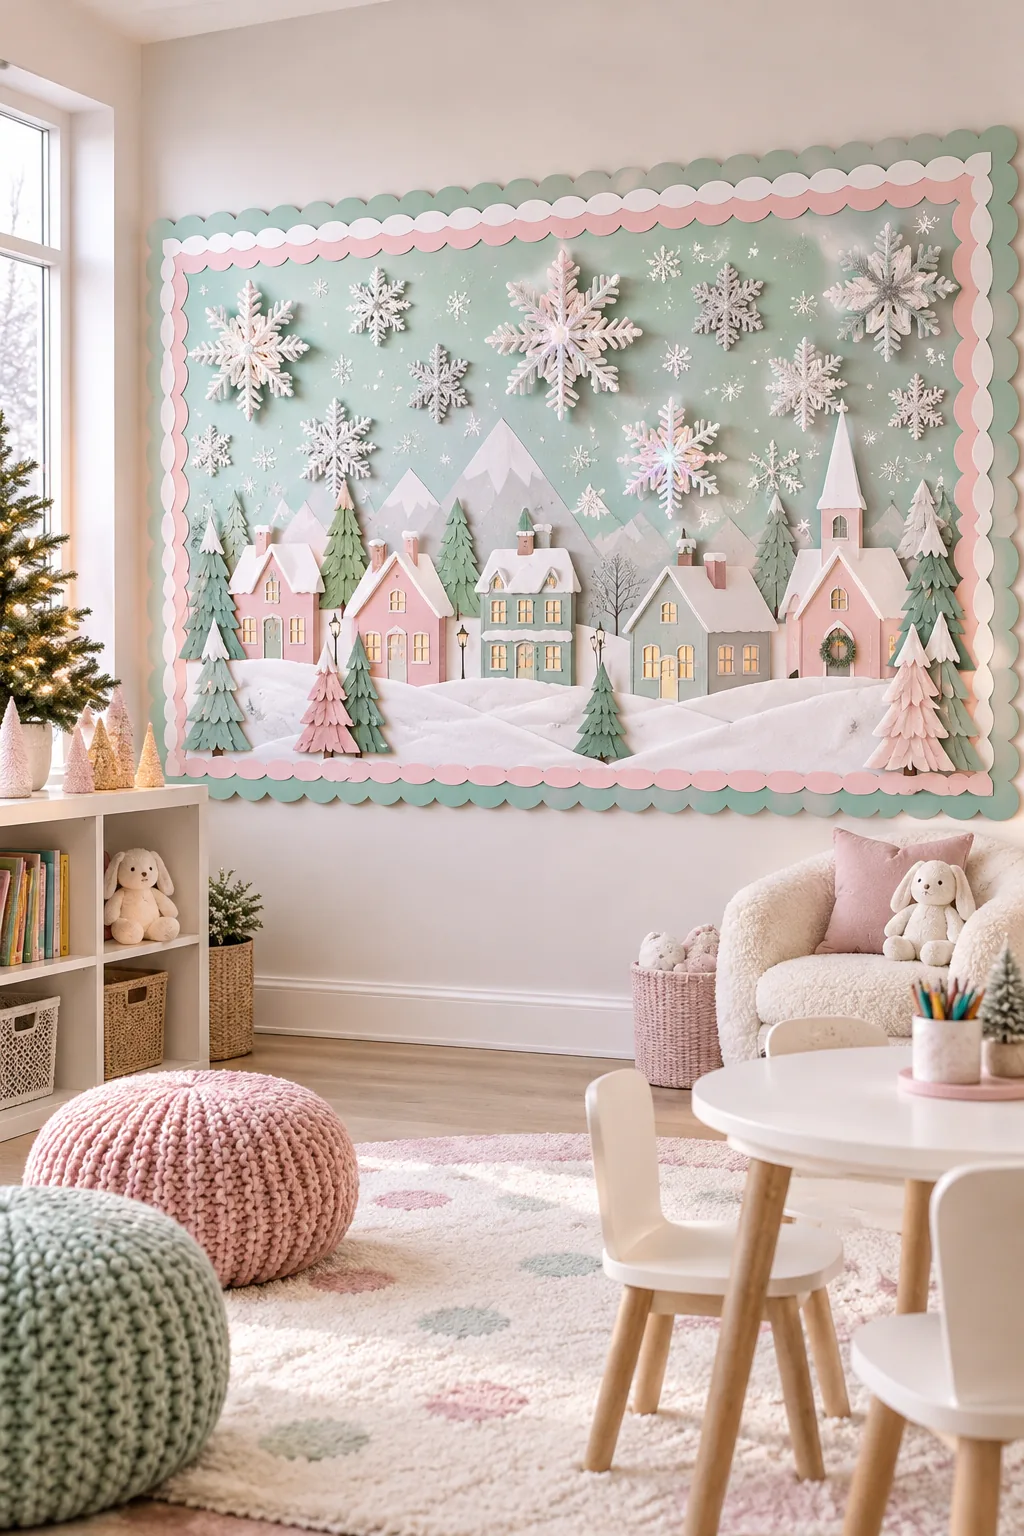
Pastel Winter Wonderland: Ditch traditional red and green for a soft palette of mint and blush pink paired with iridescent snowflake accents.
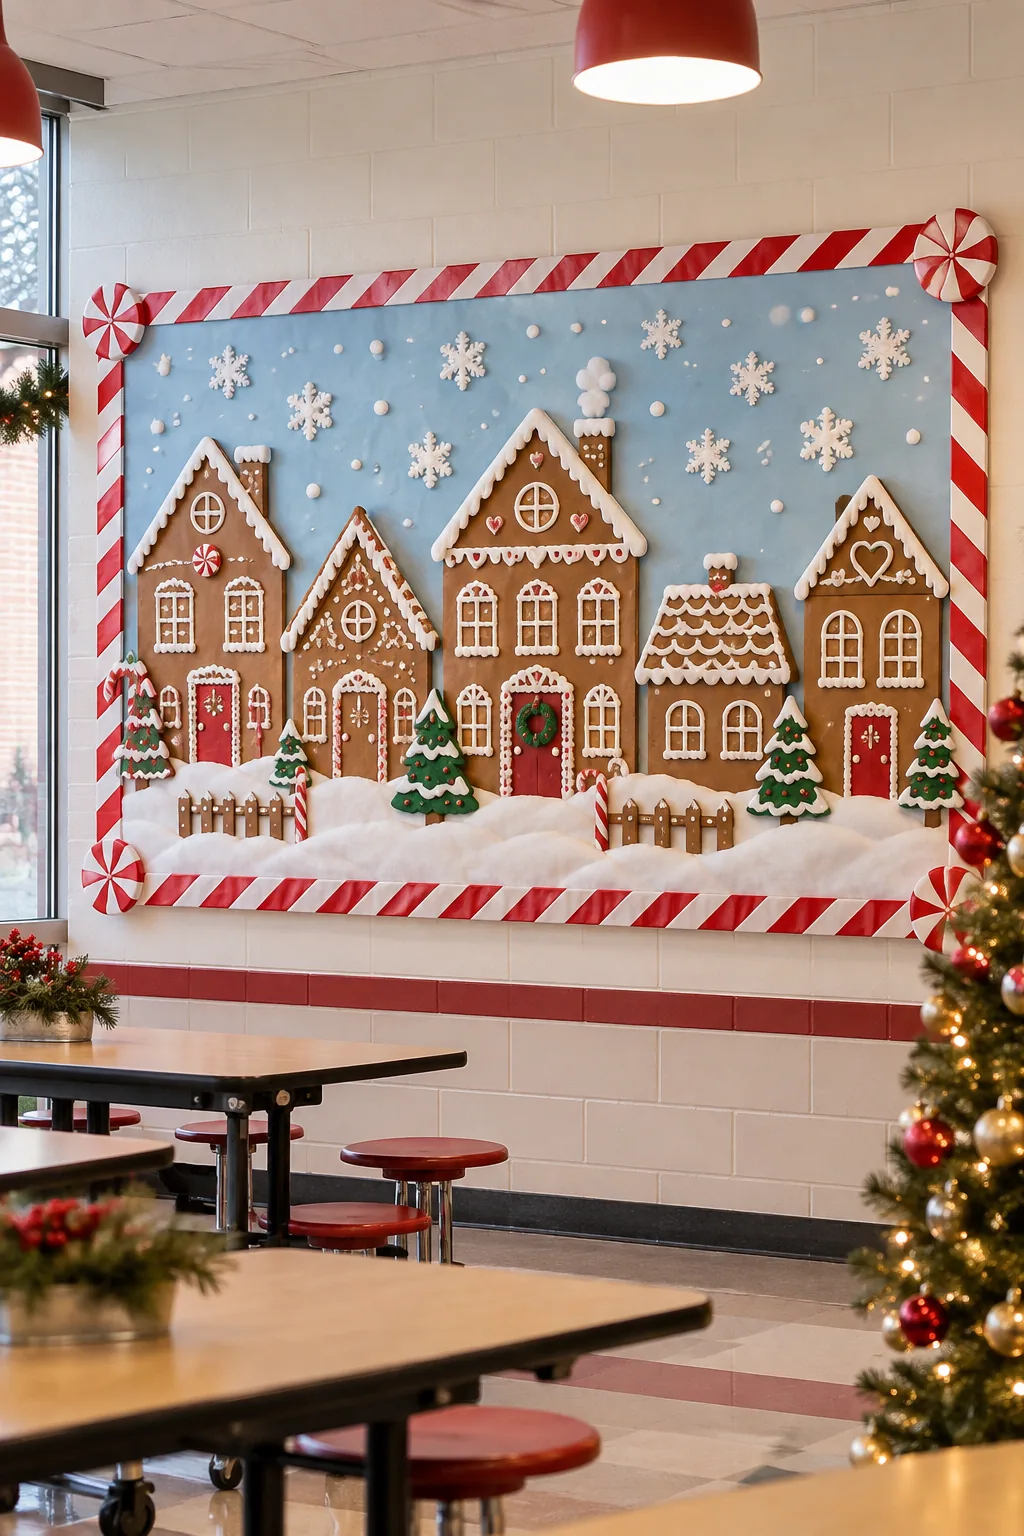
Sweet Gingerbread Village: Use brown construction paper and white puffy paint to craft 3D gingerbread houses framed by a bold peppermint border.
Neon Brights Holiday: Make vibrant hot pink and lime green paper trees pop dramatically by mounting them against a solid black background.
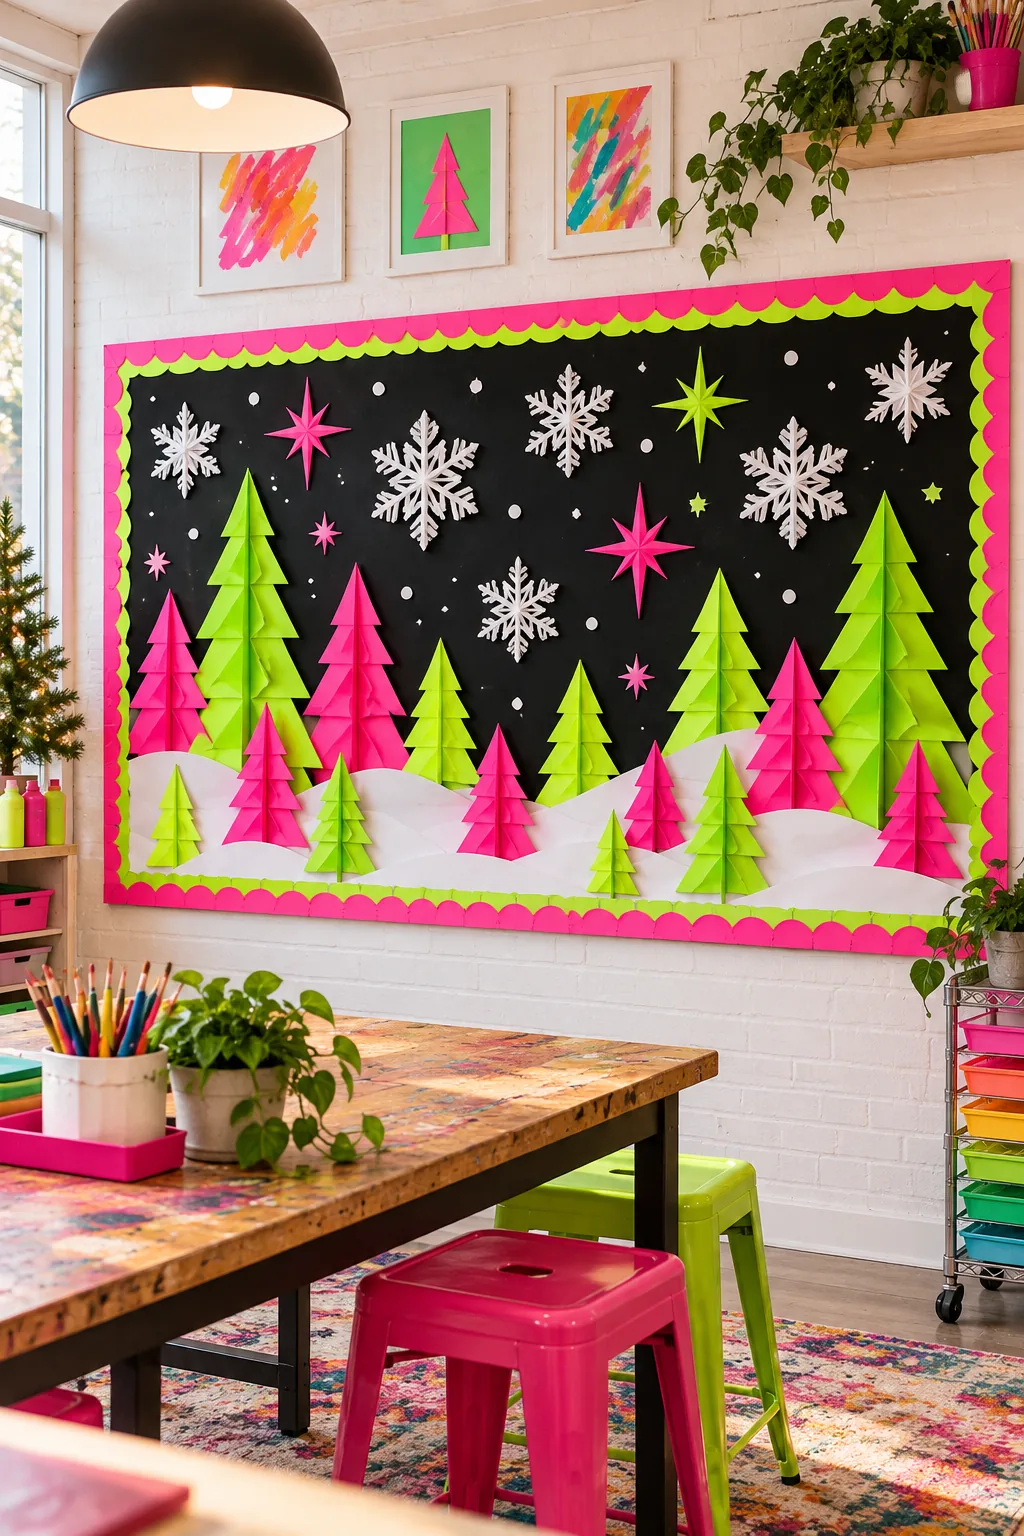
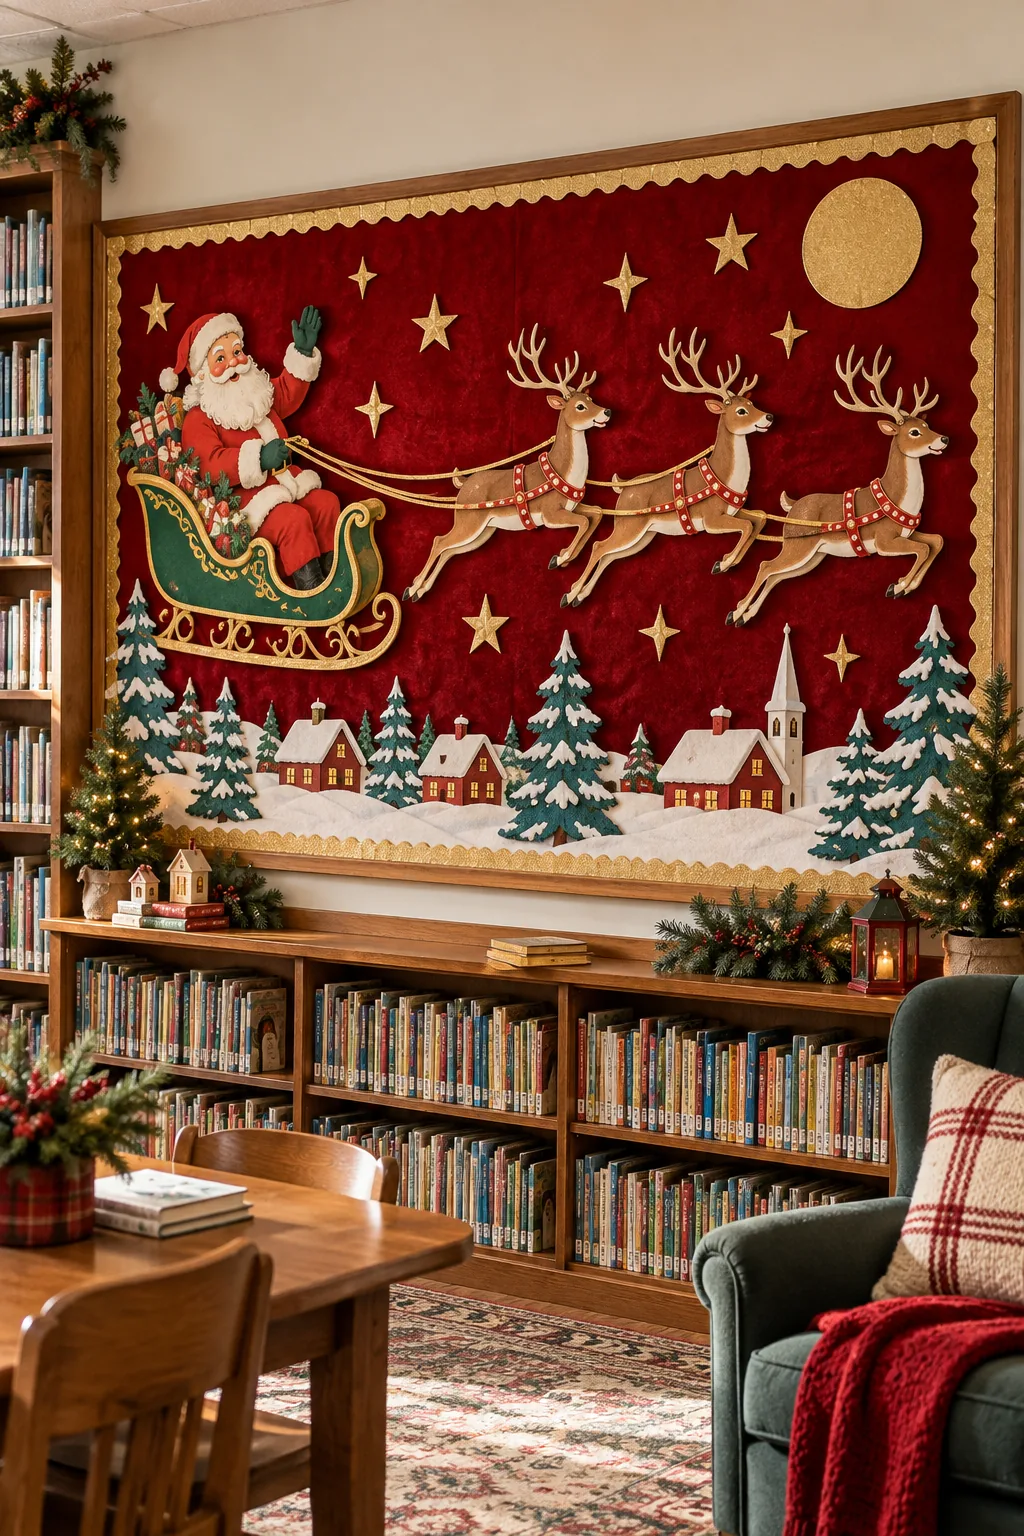
Classic Vintage Santa: Anchor your display with a rich red velvet fabric background to highlight shiny gold foil letters and retro reindeer.