
DIY Built-in Bookshelf Wall: Complete Materials & Cut List
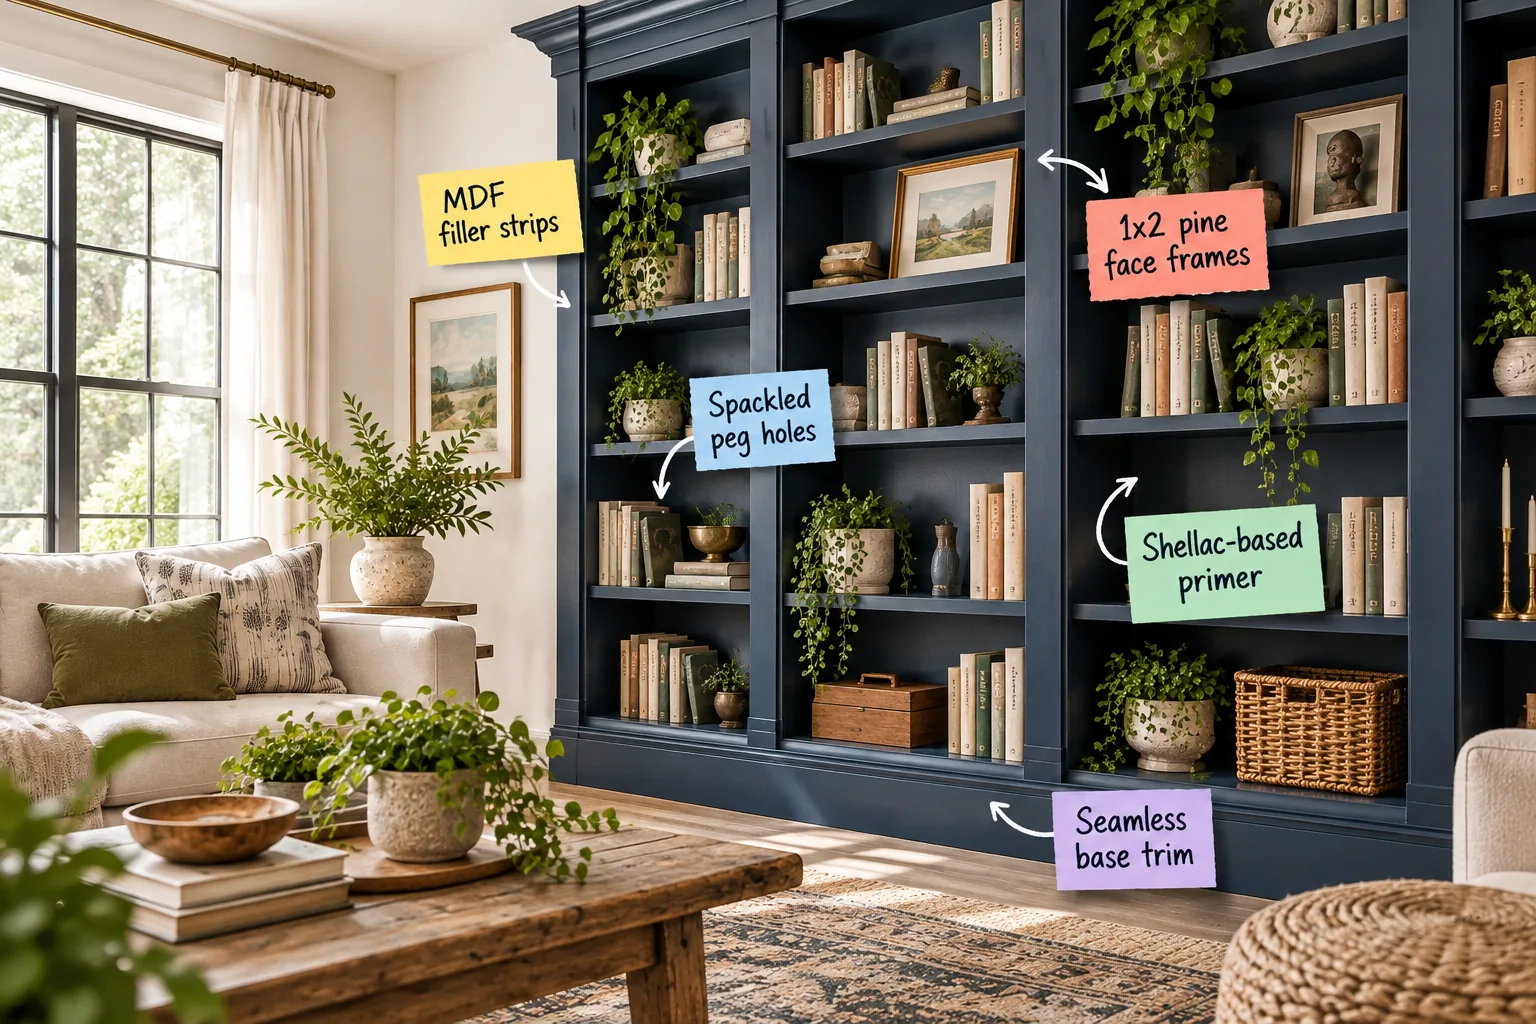
Transforming basic flatpack bookcases into a custom floor-to-ceiling library is entirely possible when you have the right Built-In Materials & Cut List. You will be able to purchase the exact lumber and prep materials needed to build and paint a seamless, custom-looking bookcase wall.
The Flatpack Built-In Materials & Cut List
Gathering the exact quantities of pine, MDF, and baseboards upfront ensures a smooth, uninterrupted build process for standard 31.5-inch wide flatpack bookcases.
Before heading to the hardware store, double-check your room’s specific dimensions to ensure your cut list is perfectly tailored.
Lumber Dimensions For Standard Walls
For a typical 10-foot wall span using four standard flatpack units, you need precise lumber cuts to construct a seamless, custom-looking facade.
| Material | Dimensions | Quantity | Purpose |
|---|---|---|---|
| Pine Boards | 1x2x8 feet | 12 pieces | Face frames |
| MDF Panels | 1/2-inch thick | 2 sheets | Filler strips |
| Baseboard Trim | 4-inch standard | 12 linear feet | Bottom wrap |
Always purchase 10% excess lumber to account for cutting mistakes and slightly bowed boards from the hardware store.
Choosing the Right Flatpack Base Units
Selecting the tallest available standard flatpack bookcases minimizes the gap between the top shelf and your ceiling, reducing the amount of custom framing required.
Prepping the Room Before Assembly
Clear the entire installation wall and lay down heavy-duty canvas drop cloths to protect your flooring from sawdust, primer splatters, and heavy lumber.
Organizing Your Hardware and Fasteners
Sort your wood screws, brad nails, and shelf pins into separate magnetic parts trays so you never lose crucial hardware during the fast-paced assembly process.
Removing Existing Trim and Obstacles
Remove your existing baseboards along the installation wall using a utility knife and a sturdy pry bar to allow the flatpack units to sit completely flush against the drywall.
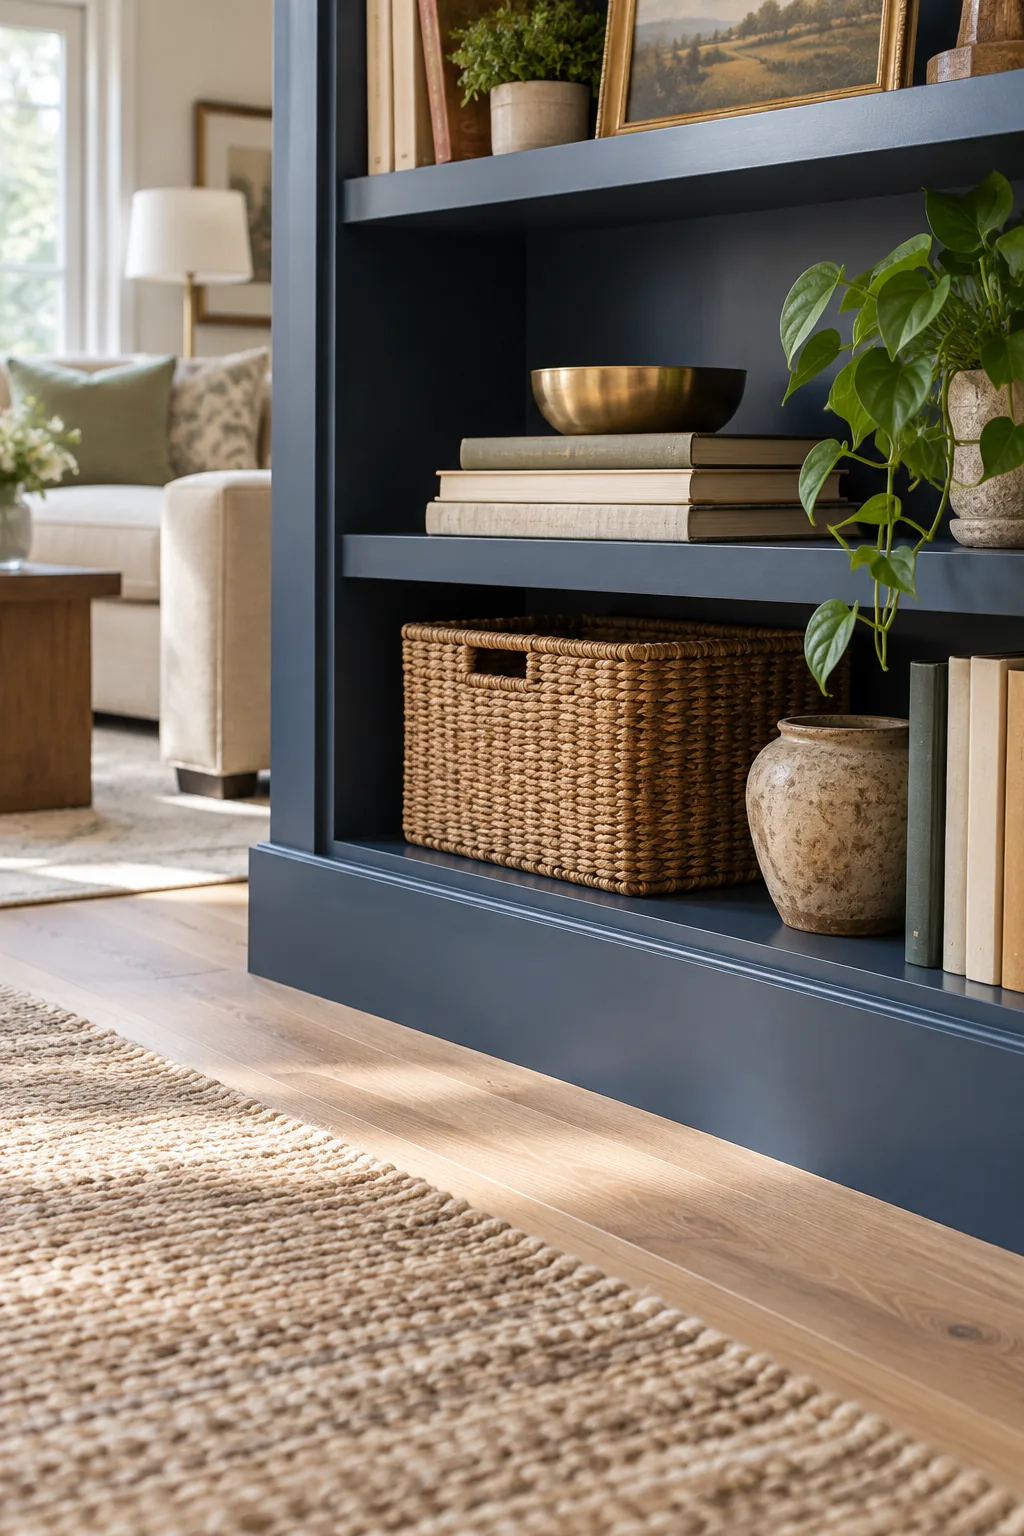
Anchoring with Seamless Base Trim
When we first moved into our Austin fixer-upper, I learned the hard way that floating shelves just collect dust underneath, so wrapping the bottom in standard 4-inch baseboards grounds the piece beautifully.

Matching your room’s existing baseboard profile creates the convincing illusion that these budget-friendly shelves were originally built with the house.
Securing the Base Structure
Use wooden shims under the front edges of the flatpack bases to tilt the units slightly backward, ensuring they remain perfectly plumb.
Locating Your Wall Studs
Sweep a reliable magnetic stud finder horizontally across the drywall, marking each wooden support beam with painter’s tape so you know exactly where to anchor the shelves.
Fastening Units to the Wall Studs
Drive three-inch wood screws directly through the upper backing of each flatpack unit into the wall studs to prevent any dangerous tipping hazards.
Checking for Plumb and Level
Place a reliable four-foot bubble level across the front edges and side panels of every unit to confirm they sit perfectly straight before driving any fasteners.
Connecting the Individual Bookcases
Clamp the vertical side panels of adjacent bookcases together and drive 1.25-inch screws through the pre-drilled holes to lock the entire row into one solid, immovable block.
Bridging Gaps with MDF Filler Strips
Using custom-cut 1/2-inch MDF filler strips hides the awkward dead space between the outer bookcase framing and the room’s adjacent walls.
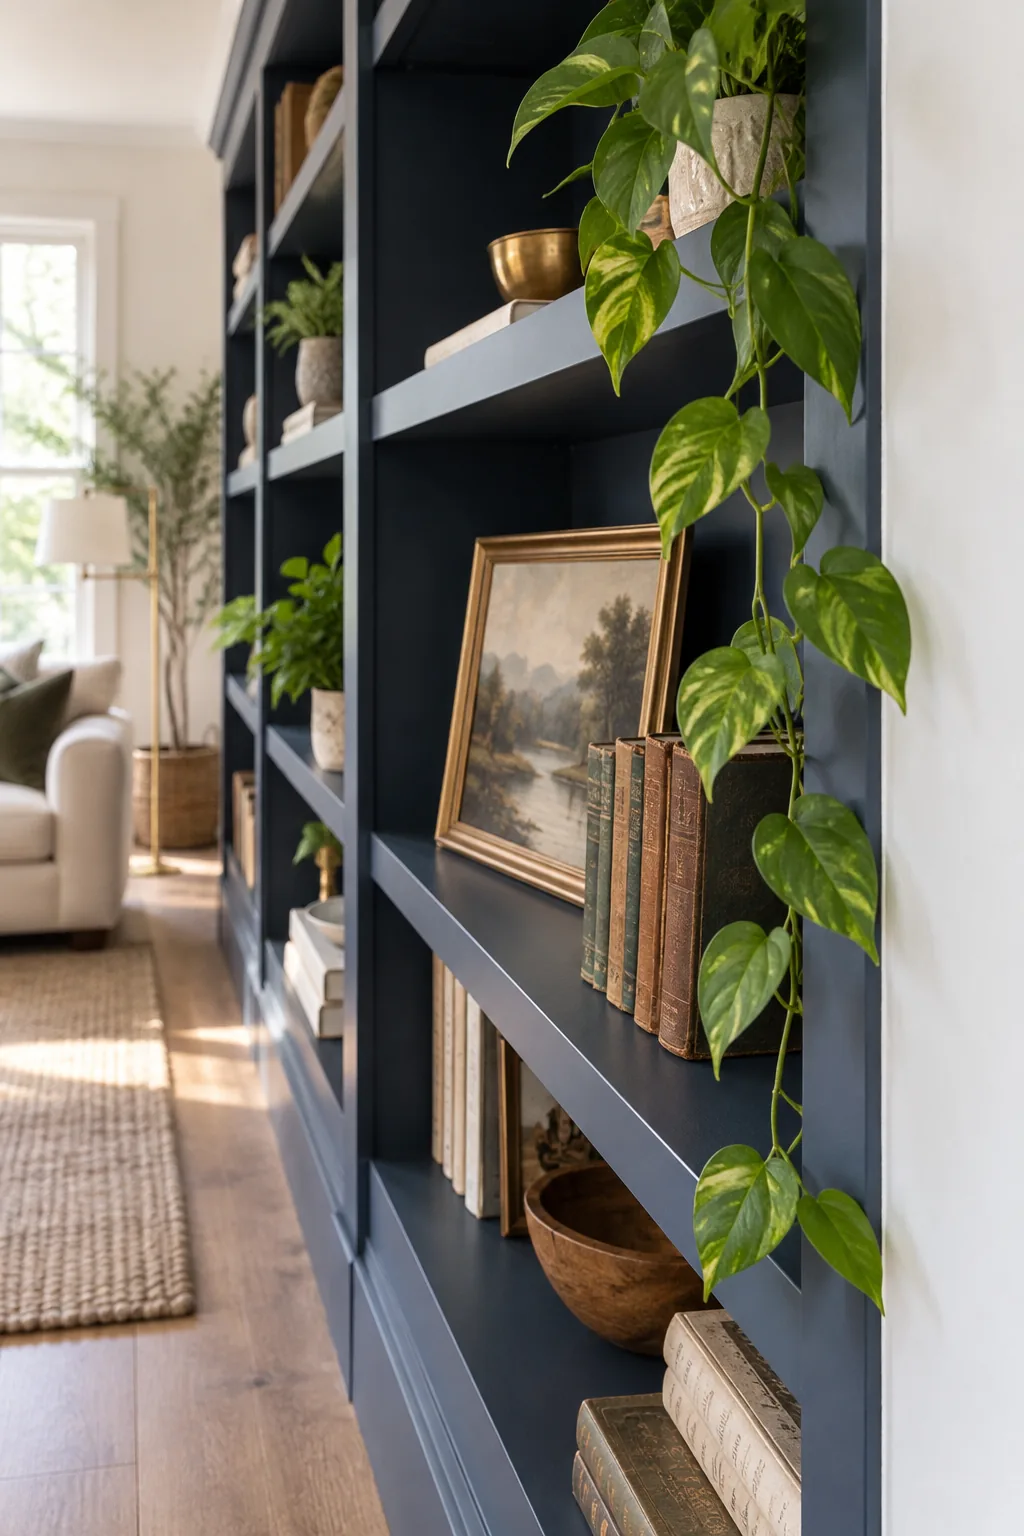
Ripping these smooth panels down to your exact measured gap creates a flush transition that makes the entire unit look permanently installed.
Measuring the Awkward Wall Gaps
Measure the distance from the edge of your outer bookcase to the wall at the top, middle, and bottom, as drywall is rarely perfectly plumb.
Creating a Cardboard Scribing Template
If your drywall is severely bowed, cut a cheap piece of corrugated cardboard to match the gap first, testing the fit before cutting into your expensive MDF.
Scribing to Uneven Drywall
Run a simple compass along the drywall edge to trace its unique contours directly onto your MDF strip before making the final cut with a jigsaw.
Testing the Filler Strip Fit
Gently tap your freshly cut MDF board into the wall gap using a rubber mallet, ensuring it sits perfectly flush with the front of the bookcase framing.
Upgrading Edges with 1×2 Pine Face Frames
I used to skip face frames to save money, but after my first laminate shelf bowed under my heavy garden books, I realized attaching 1×2 pine boards hides the thin edges and adds crucial strength.
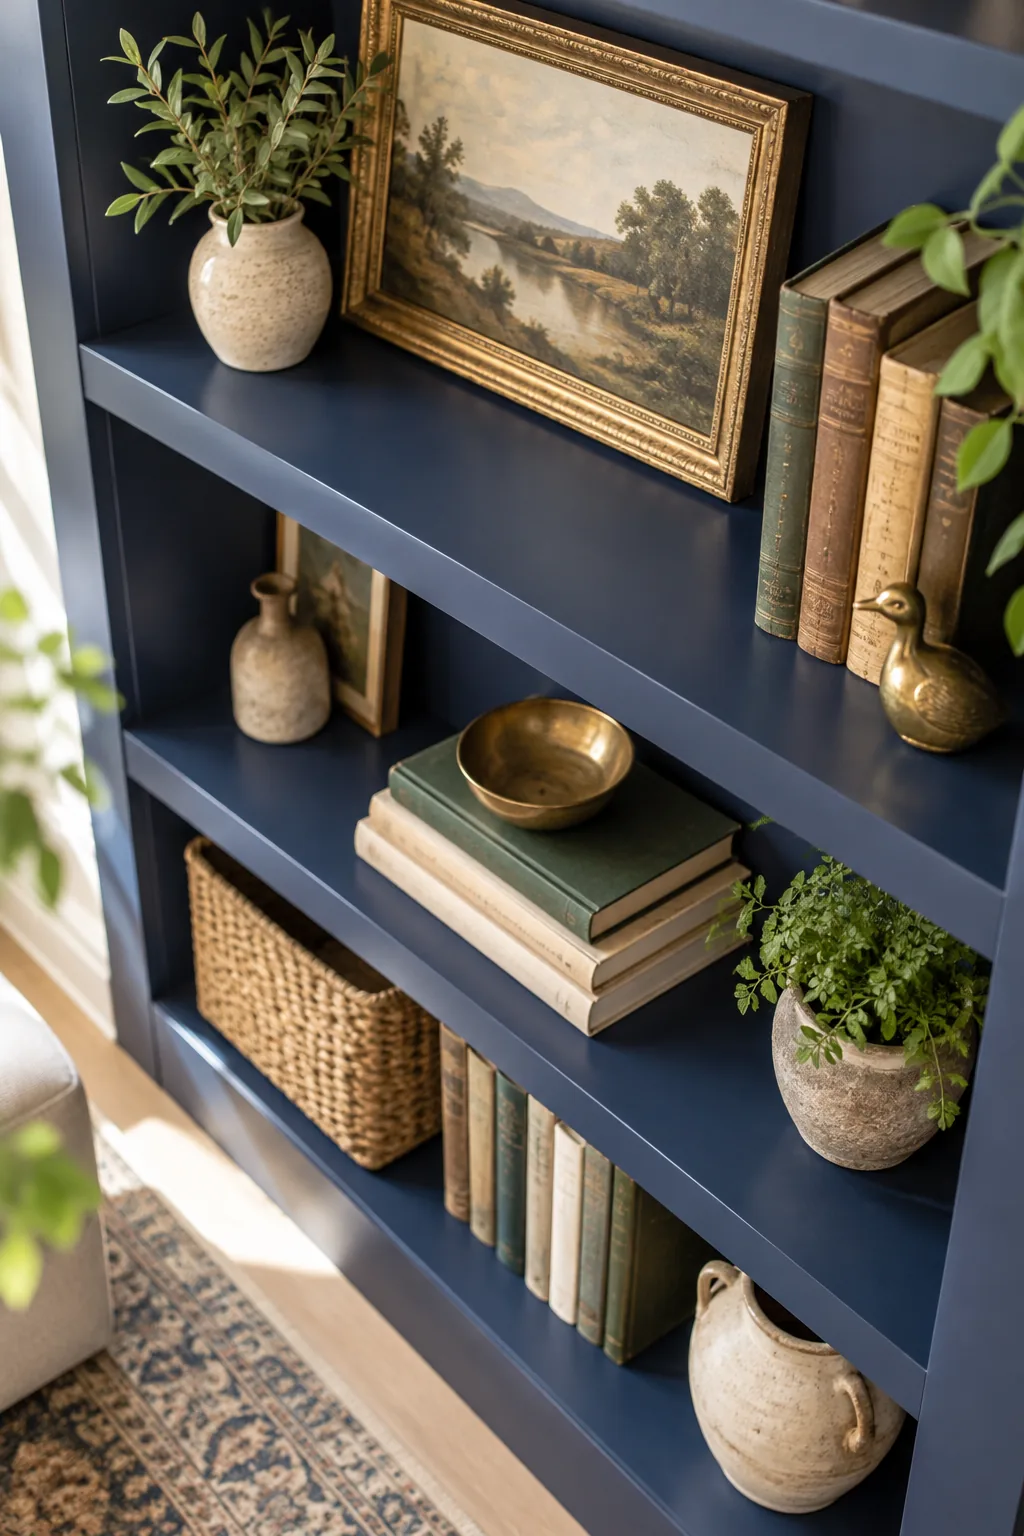
This 1.5-inch thick wooden profile adds significant visual weight and structural rigidity to the shelves, completely masking their budget origins.
Acclimating the Pine Boards
Leave your newly purchased pine boards resting flat inside your living room for at least forty-eight hours so the wood adjusts to your home’s indoor humidity.
Selecting Straight Lumber at the Store
Sight down the edge of every pine board at the hardware store to check for bowing, twisting, or cupping, selecting only the straightest pieces for your face frames.
Nailing and Gluing the Trim
Apply a continuous bead of high-quality wood glue before securing the pine face frames with 18-gauge brad nails to prevent the joints from separating.
Filling Nail Holes for a Seamless Look
Press a tiny dab of stainable wood filler into every brad nail depression, wiping the surface completely flat with your finger to hide the hardware.
Hiding the Flatpack Look: Spackled Peg Holes
Filling hundreds of tiny holes while listening to a podcast is oddly therapeutic, and addressing those unused 5mm adjustable shelf holes is the ultimate secret to mimicking high-end custom cabinetry.

Use a lightweight spackle and a flexible metal putty knife to press the compound deeply into each hole, swiping away the excess for a completely smooth inner vertical panel.
Choosing the Right Lightweight Spackle
Select a color-changing lightweight spackle that goes on pink and dries white, ensuring you know exactly when the filled holes are ready for the sanding phase.
Sanding for a Custom Cabinetry Finish
Once the spackle dries completely, lightly sand the interior panels and all wooden face frames with a 220-grit sanding block to remove any raised grain or lingering compound residue.
Vacuuming the Interior Corners
Use the brush attachment on your shop vacuum to pull out the fine white dust trapped deep inside the internal shelf corners before you even think about painting.
Wiping Away the Sanding Dust
Use a slightly damp microfiber cloth or a specialized tack cloth to meticulously wipe down every surface, ensuring no residual dust interferes with your primer adhesion.
The Secret to Flawless Paint: Shellac-Based Primer
I once tried painting a laminate desk with regular primer, and it peeled off like a sunburn within a week, which is why a shellac-based primer is the only reliable way to ensure paint adheres permanently.
Painting over factory laminate requires a specific chemical bond, and skipping essential preparation steps will inevitably lead to peeling, chipped shelves.
Applying Primer for Maximum Adhesion
Use a high-density foam roller to apply the shellac primer in thin, even coats, working quickly since shellac dries much faster than standard water-based alternatives.
Ventilating Your Workspace Properly
Open all nearby windows and run a box fan pointing outward, as shellac-based primers emit strong fumes that require excellent cross-ventilation during application and drying.
Choosing a Saturated Accent Color
A bold, monochromatic paint choice elevates the entire room and beautifully masks the budget-friendly materials, especially when you carry the color across the backing and trim.

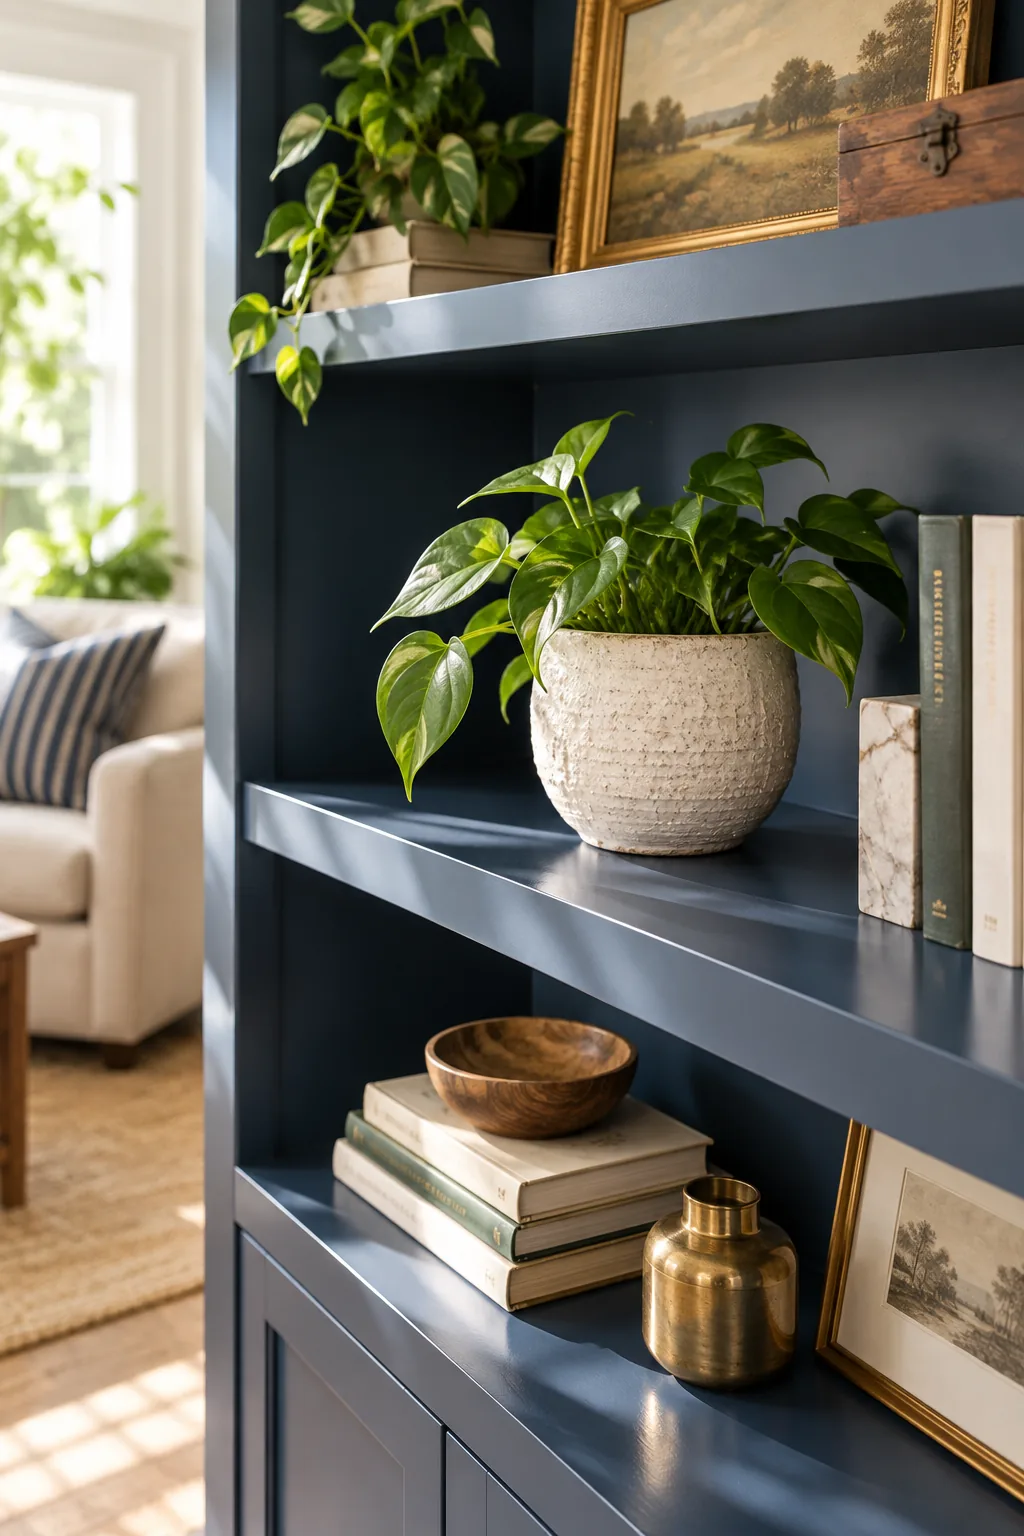
Painting the entire unit in a single, rich saturated hue like deep navy in a matte finish significantly elevates the perceived value and sophistication of the final build.
Painting Techniques for a Flawless Matte Finish
Apply your chosen saturated color using a premium angled synthetic brush for the tight internal corners and a fresh foam roller for the wide flat panels to eliminate visible brush strokes.
Applying a Second Coat of Paint
Wait at least four hours before rolling on a second coat of matte paint, ensuring complete, opaque coverage over the dark shellac primer.
Curing the Paint Before Styling
Resist the urge to immediately load your books onto the shelves; wait a full seven days for the matte paint to fully cure and harden to prevent sticking.
More Built-In Bookshelf Wall Ideas
Explore how different paint colors and styling choices can completely change the mood of your custom library.
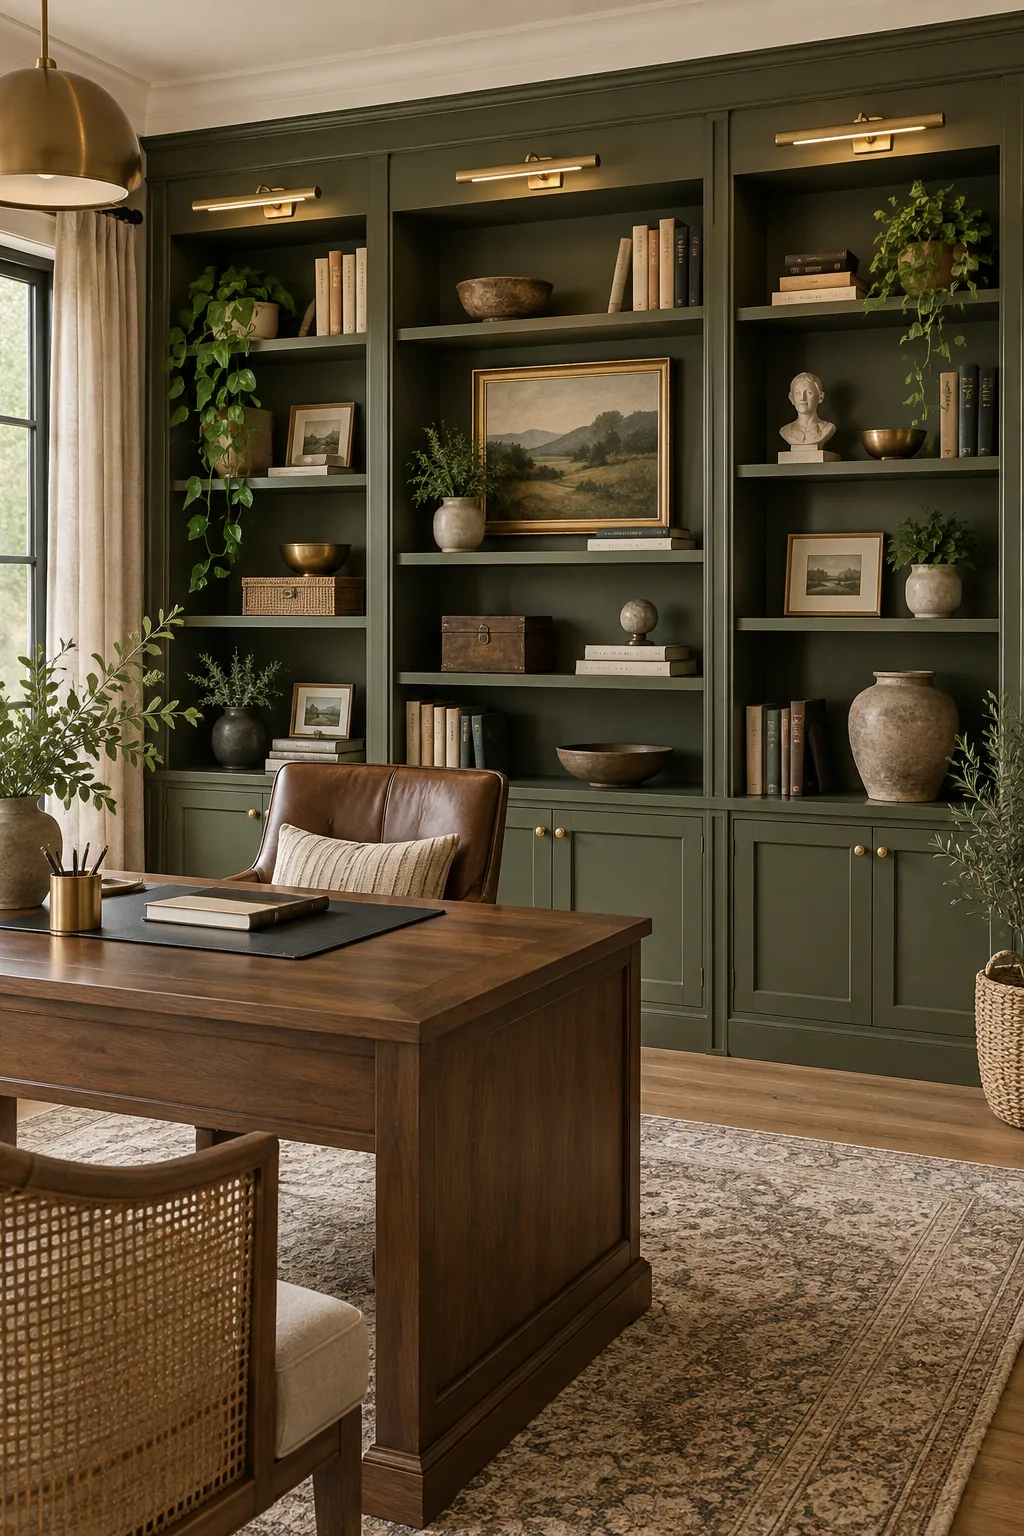
Olive Green Home Office: Deep olive green paint paired with brass picture lights creates a moody, sophisticated workspace perfect for focused reading.
Warm Greige Dining Room: Adding arched face frames and a warm mushroom tone turns basic shelves into a stunning custom display for your dinnerware.

Charcoal Bedroom Library: Framing a bedroom window seat with charcoal grey shelving maximizes storage while creating the ultimate cozy reading nook.

Styling Your Floor-To-Ceiling Bookshelf
Balancing your collection is essential, so aim for a styling ratio of 60% books, 30% decorative objects, and 10% negative space to create a curated, lived-in library feel.

Incorporate warm brass accents and vibrant trailing plants to provide striking visual contrast against the dark, moody paint, alternating between vertical and horizontal stacks for a rhythmic pattern.