Bathroom Ceiling Layers: The Wet-Room Material Checklist
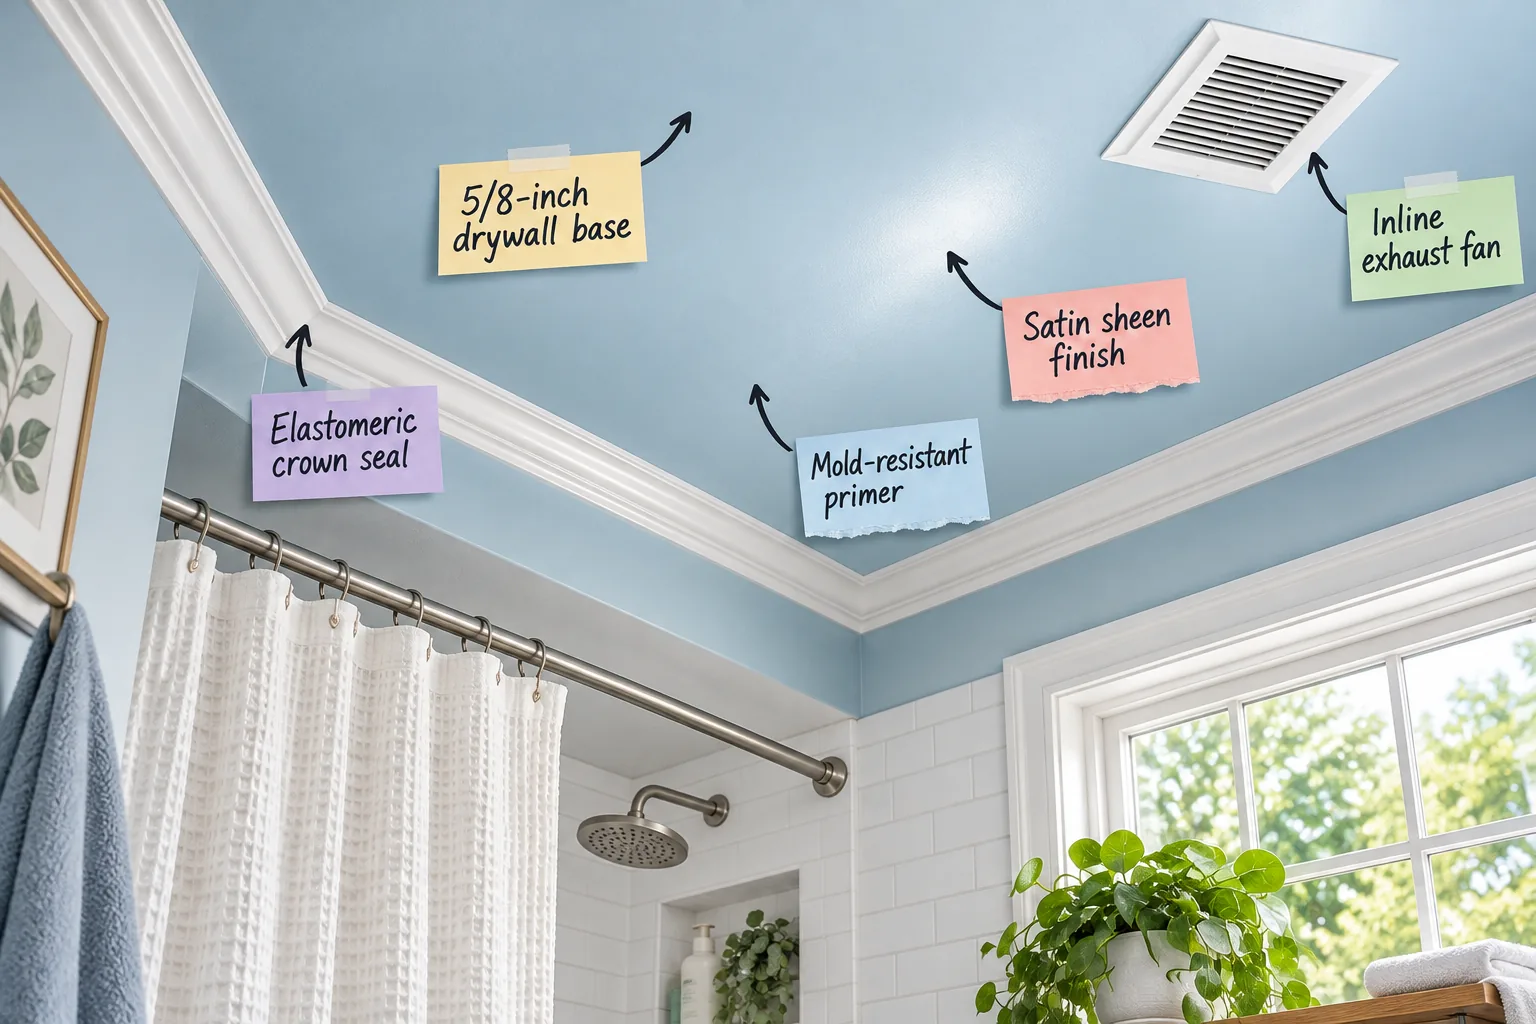
Planning a bathroom remodel requires knowing exactly how to build hidden layers that last against heavy daily steam. You can select the correct moisture-blocking materials and verify the proper installation sequence using this complete wet-room ceiling material checklist.
The 5/8-Inch Drywall Base
When I first renovated my Austin guest bath, I used standard half-inch board and watched it sag hopelessly within a year. Upgrading to a 5/8-inch moisture-resistant drywall provides the rigid structural integrity needed for a flat, flawless ceiling.
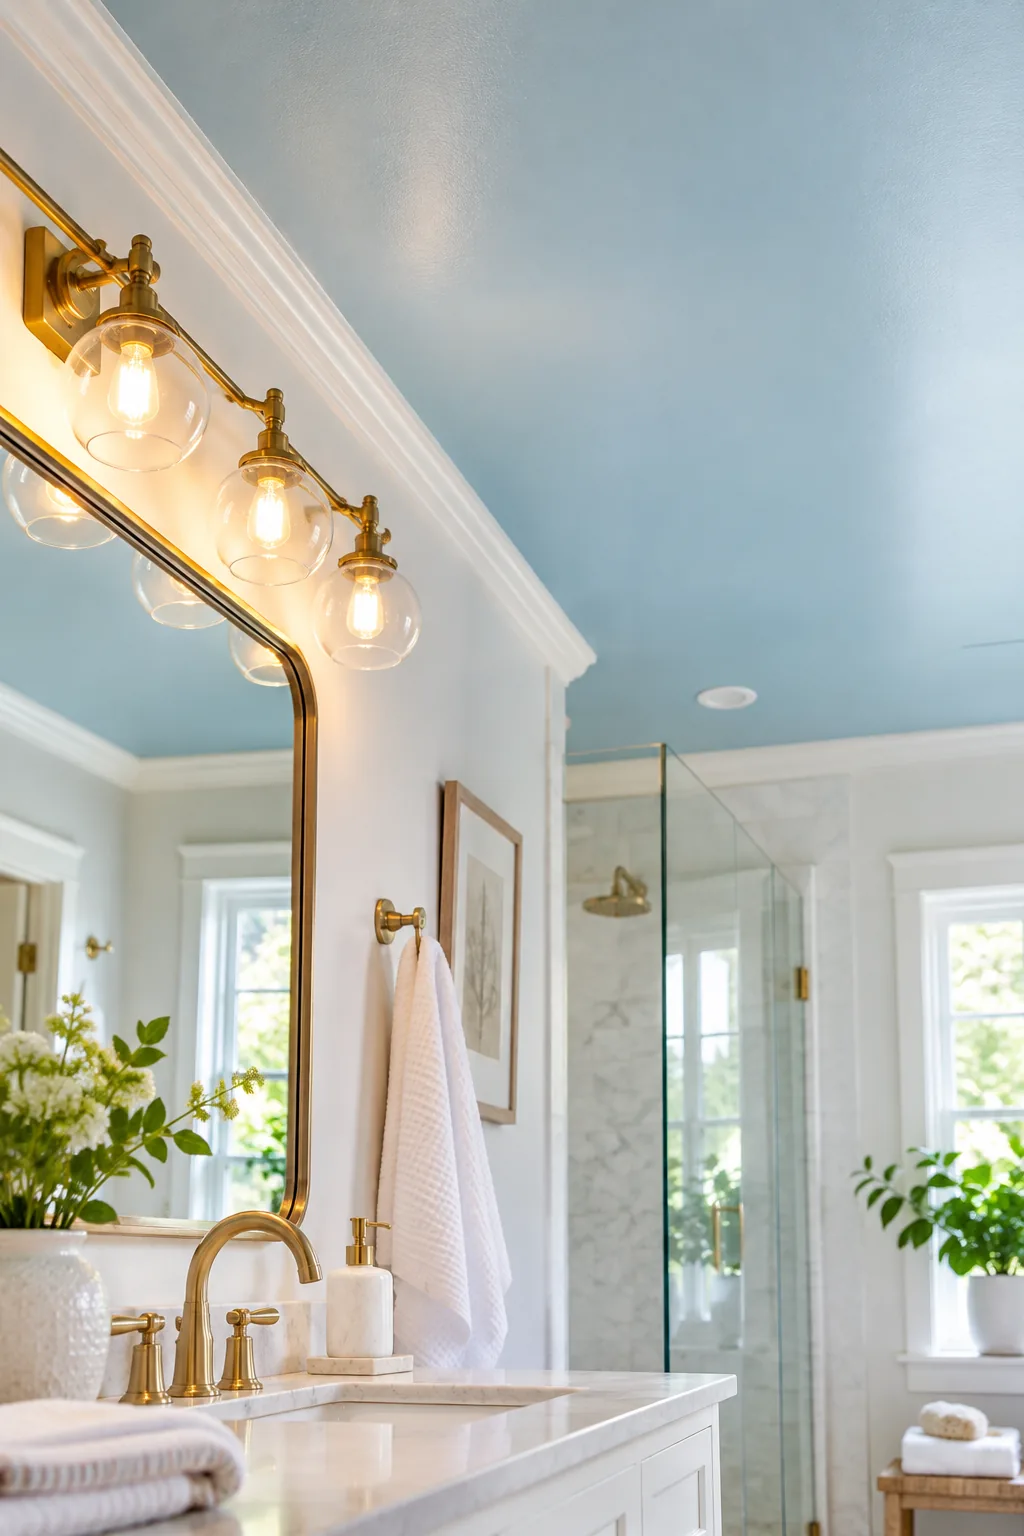
This thicker base layer spans ceiling joists without bowing, even under the heavy weight of condensation. Standard half-inch drywall is simply too prone to sagging when exposed to constant heavy moisture and steam over time.
Joist Spacing Requirements
Before hanging the heavy boards, you must verify the structural layout above the room. Taking the time to properly map the existing framing ensures your moisture-resistant drywall has adequate support to prevent future sagging.
- Measure the span between ceiling joists to confirm they sit exactly 16 inches on center.
- Install solid wood blocking between joists directly above the shower zone for extra rigidity.
- Secure the heavy boards using specialized drywall lifts to prevent accidental corner cracking.
Securing the ceiling boards requires driving coated screws every twelve inches along the joists. This tight fastening pattern prevents the heavy drywall from pulling away from the framing under the weight of thick primer and paint.
Choosing the Right Fasteners
Standard drywall screws will quickly rust when exposed to the high humidity that penetrates bathroom paint. Always use ceramic-coated or stainless steel screws to ensure your fasteners remain completely corrosion-free inside the ceiling layers.
Choosing the Right Joint Compound
Standard lightweight mud absorbs water easily, compromising the structural integrity of your seams. Selecting a setting-type joint compound provides a much harder, water-resistant finish that bonds securely with the fiberglass mesh tape across every joint.
Fiberglass Mesh Joint Tape
Paper tape tends to bubble and peel when exposed to continuous bathroom humidity. Pressing self-adhesive fiberglass mesh tape into the seams creates a significantly stronger, moisture-proof bond that locks the drywall panels together permanently.
Sanding and Dust Control
Smoothing the dried joint compound creates a massive amount of fine dust that can ruin your primer bond. Use a vacuum-attached pole sander to keep the air clean and wipe the ceiling with a damp sponge before painting.
Mold-Resistant Primer
I once skipped this step to save time, and the resulting mildew spots taught me a hard lesson about Texas humidity. A high-quality, high-build mold-resistant primer seals these porous surfaces completely before any color goes on the ceiling.
| Layer Feature | Standard Primer | Mold-Resistant Primer |
|---|---|---|
| Moisture Barrier | Porous and breathable | Completely impermeable |
| Mildew Protection | None included | Active biocides added |
| Build Thickness | Thin consistency | High-build formulation |
Raw drywall paper and joint compound act like sponges in a humid bathroom environment. Apply two even coats to create an impermeable barrier that prevents mildew spores from taking root in the substrate.
Primer Drying Times
Rushing the painting process traps moisture inside the primer layer, leading to eventual peeling. Allow the mold-resistant primer to cure for a full twenty-four hours before applying your topcoat, ensuring a rock-solid foundation.
Protecting the Vanity Below
Applying high-build primer and ceiling paint inevitably leads to tiny splatters that can ruin expensive bathroom fixtures. Always drape a heavy canvas drop cloth over the vanity and tape heavy plastic sheeting over the glass shower enclosure.
Satin Sheen Finish
Flat paint absorbs moisture and shows water spots, while high-gloss highlights every single drywall seam. A satin sheen finish offers the perfect middle ground, providing a washable, slightly reflective surface that actively repels condensation.
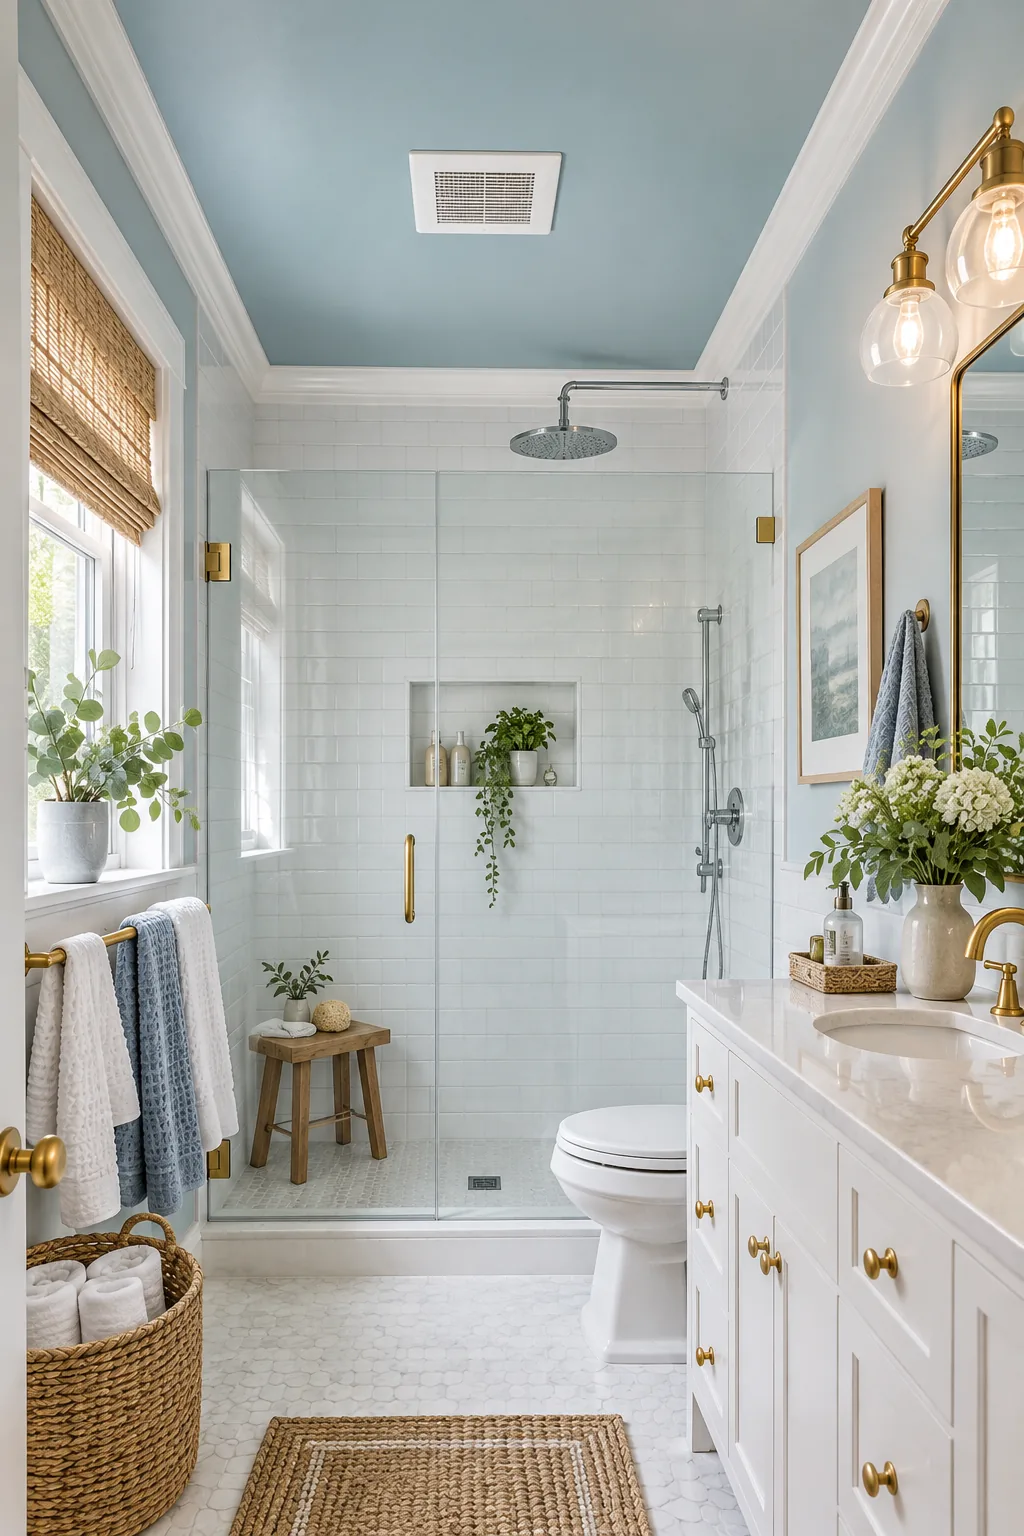
The soft reflection perfectly balances moisture repellency with a flattering, low-glare appearance above your vanity. Formulated bathroom paints in a satin finish include antimicrobial additives that keep the ceiling looking fresh and clean.
Painting with a Roller
Achieving a flawless satin finish requires maintaining a wet edge while rolling the paint across the ceiling. Use a thick 3/8-inch nap roller attached to an extension pole, working in small overlapping sections to prevent visible lap marks.
Antimicrobial Paint Additives
Modern bathroom paints are specifically engineered to survive in harsh, wet environments. The built-in antimicrobial agents continuously disrupt the cellular walls of mold and mildew, stopping unsightly organic growth before it can visibly stain the surface.
Cutting in the Edges
Creating a crisp line where the blue ceiling meets the upper walls requires a steady hand and the right brush. Use a short-handled, angled sash brush to carefully cut in the perimeter before rolling the main flat expanse.
Elastomeric Crown Seal
Watching my old acrylic caulk crack as the house shifted during our winter freezes drove me crazy. Using a premium elastomeric crown seal ensures the joint remains permanently flexible, stretching with temperature changes while maintaining a crisp line.
The joint where the ceiling meets the crown molding is highly vulnerable to steam intrusion. A standard acrylic caulk will crack as the house shifts, letting destructive moisture seep directly into the vulnerable wall cavity.
Tooling the Caulking Joint
A sloppy caulk line ruins the transition between your beautiful ceiling layers and the trim. Lightly mist the fresh elastomeric bead with soapy water and glide your finger across it to create a perfectly smooth, concave waterproof seal.
Curing Time for Elastomerics
Exposing fresh caulk to heavy steam will cause the flexible polymers to break down prematurely. Wait at least seventy-two hours before taking a hot shower, giving the elastomeric seal enough time to fully cross-link and cure.
Inspecting the Attic Space
Before cutting into the drywall, always climb into the attic to check for plumbing lines or electrical wires. Clearing the space directly above the shower zone ensures you have adequate room to mount the heavy inline fan motor.
Inline Exhaust Fan
Surface-mounted fans can be loud and visually intrusive in a beautifully designed bathroom space. An inline exhaust fan moves the actual motor into the attic space, leaving only a sleek, minimalist grille flush with the ceiling.
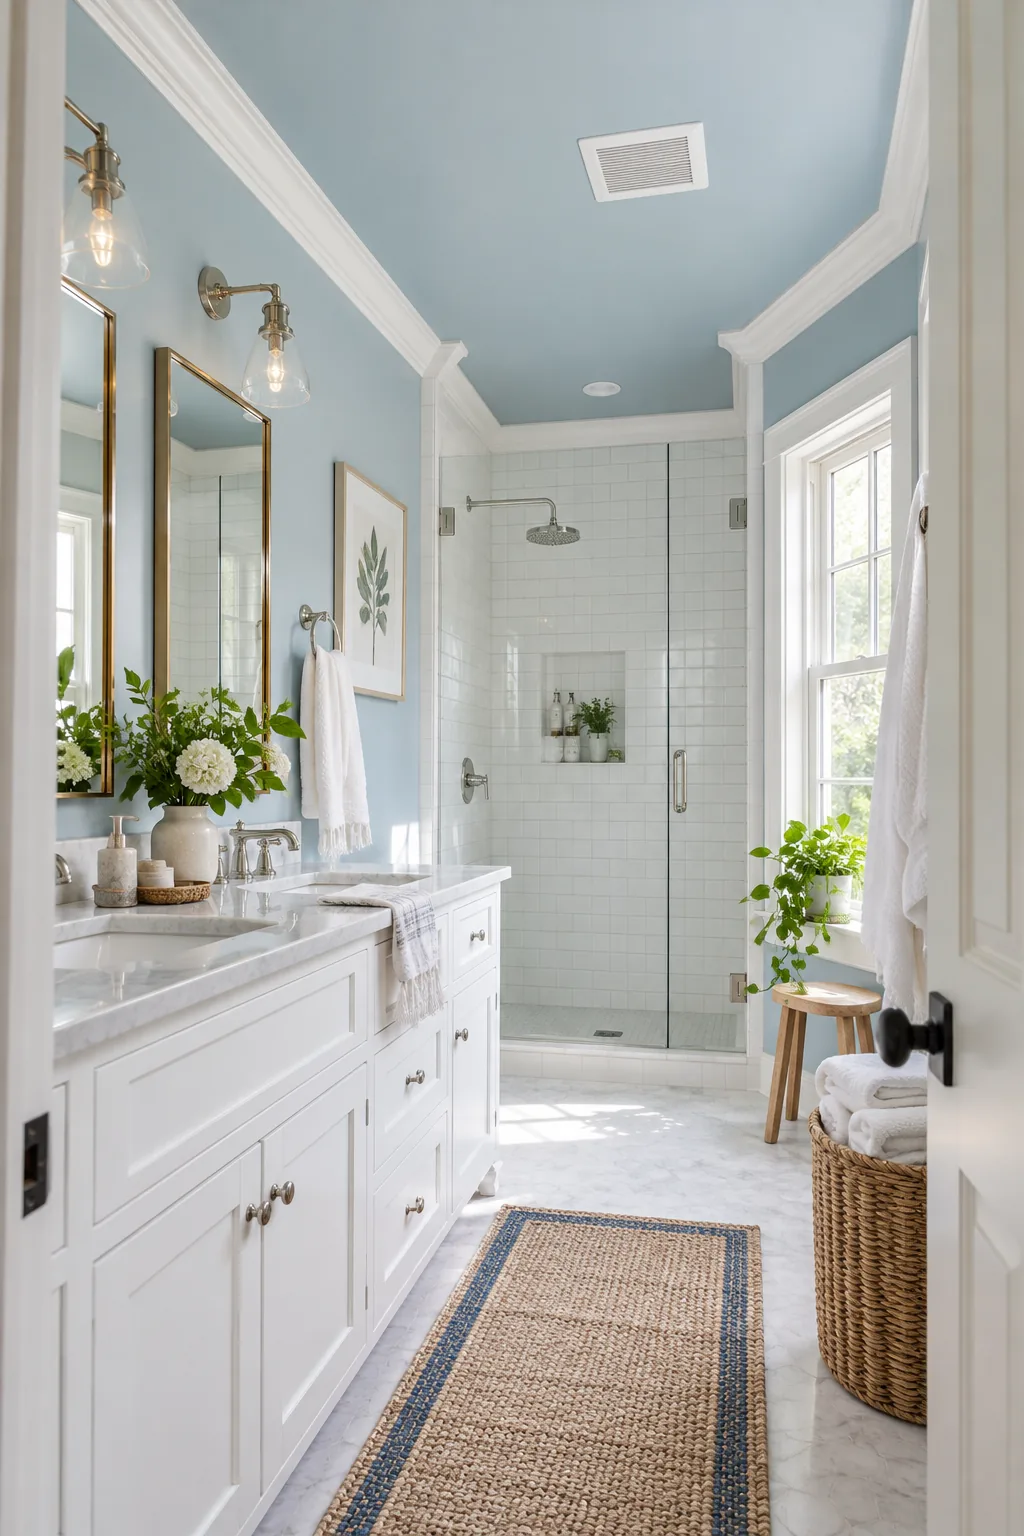
This hidden setup allows for higher cubic-feet-per-minute airflow with significantly less noise during your shower. The quiet operation encourages consistent use, which is critical for protecting the delicate ceiling layers from long-term steam damage.
Calculating Fan Power
Installing an undersized motor guarantees your bathroom will stay damp long after you leave. Multiply your room’s square footage by 1.1 to determine the absolute minimum CFM rating required to adequately clear the humid air.
Testing the Fan Draft
Once the inline fan is wired and the sleek grille is mounted, you must verify it actually pulls enough air. Hold a single square of toilet paper against the vent; if the suction holds it flat, the draft is sufficient.
Ventilation Placement Strategy
I originally centered my fan in the room, which just pulled steam across the cold mirrors instead of venting it outdoors. The vent grille should be positioned near the shower enclosure to capture steam immediately as it rises.
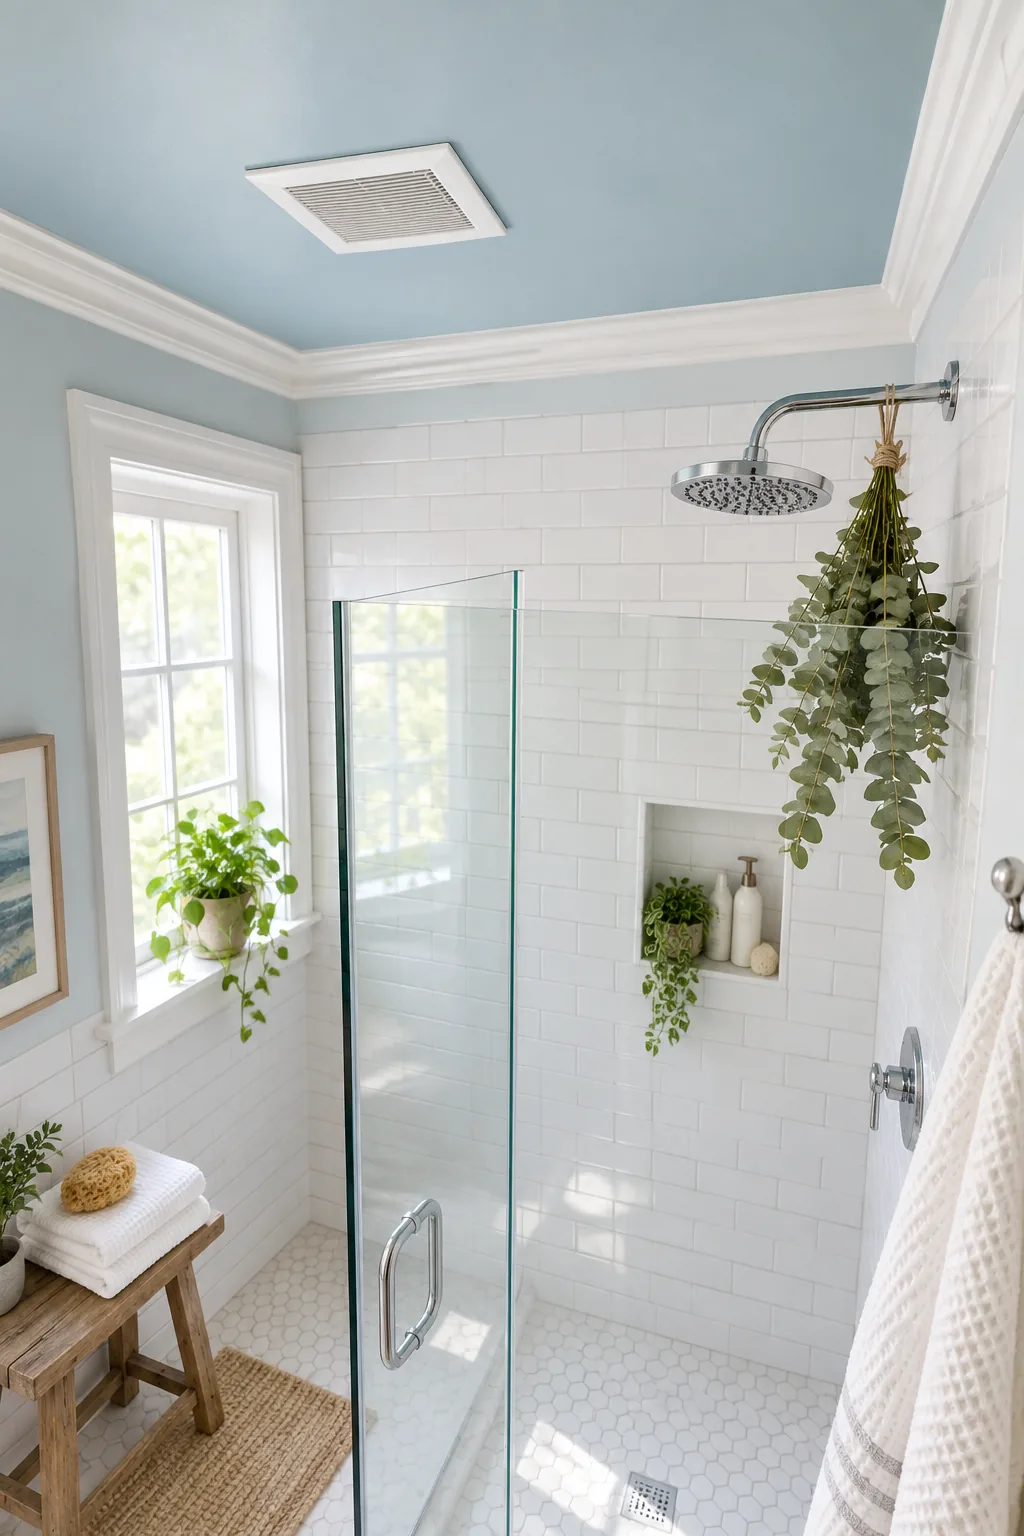
Strategic placement ensures your exhaust fan actually captures steam before it settles on the walls, but improper routing can cause severe unseen damage. Avoid placing the exhaust directly above an HVAC supply register, which will disrupt the draft.
Insulated Duct Routing
Running bare metal ductwork through a cold attic guarantees that warm steam will condense and drip back through the ceiling grille. Always use R-8 insulated flexible ducting and keep the run as short and straight as physically possible.
Roof Cap Installation
Pushing bathroom humidity out of the house requires a dedicated, weather-proof exit point. Install a high-quality roof cap with a built-in backdraft damper to prevent cold winter air from blowing back down into the warm bathroom.
Wet-Room Material Checklist
Gathering the right supplies before demolition ensures your ceiling is built to withstand daily humidity. This complete checklist covers every layer in sequence, from the structural boards to the final waterproofing details.
Ordering the Right Supplies
Hand this exact material sequence to your supplier to ensure no critical waterproofing steps are skipped during construction. Use these exact specifications when ordering materials or reviewing your contractor’s estimate for the upcoming remodel.
Long-Term Moisture Defense
A properly layered bathroom ceiling requires minimal maintenance if the ventilation system is used correctly every single day. Run the inline fan for at least twenty minutes after every shower to fully evacuate residual humidity from the space.
Routine Ceiling Maintenance
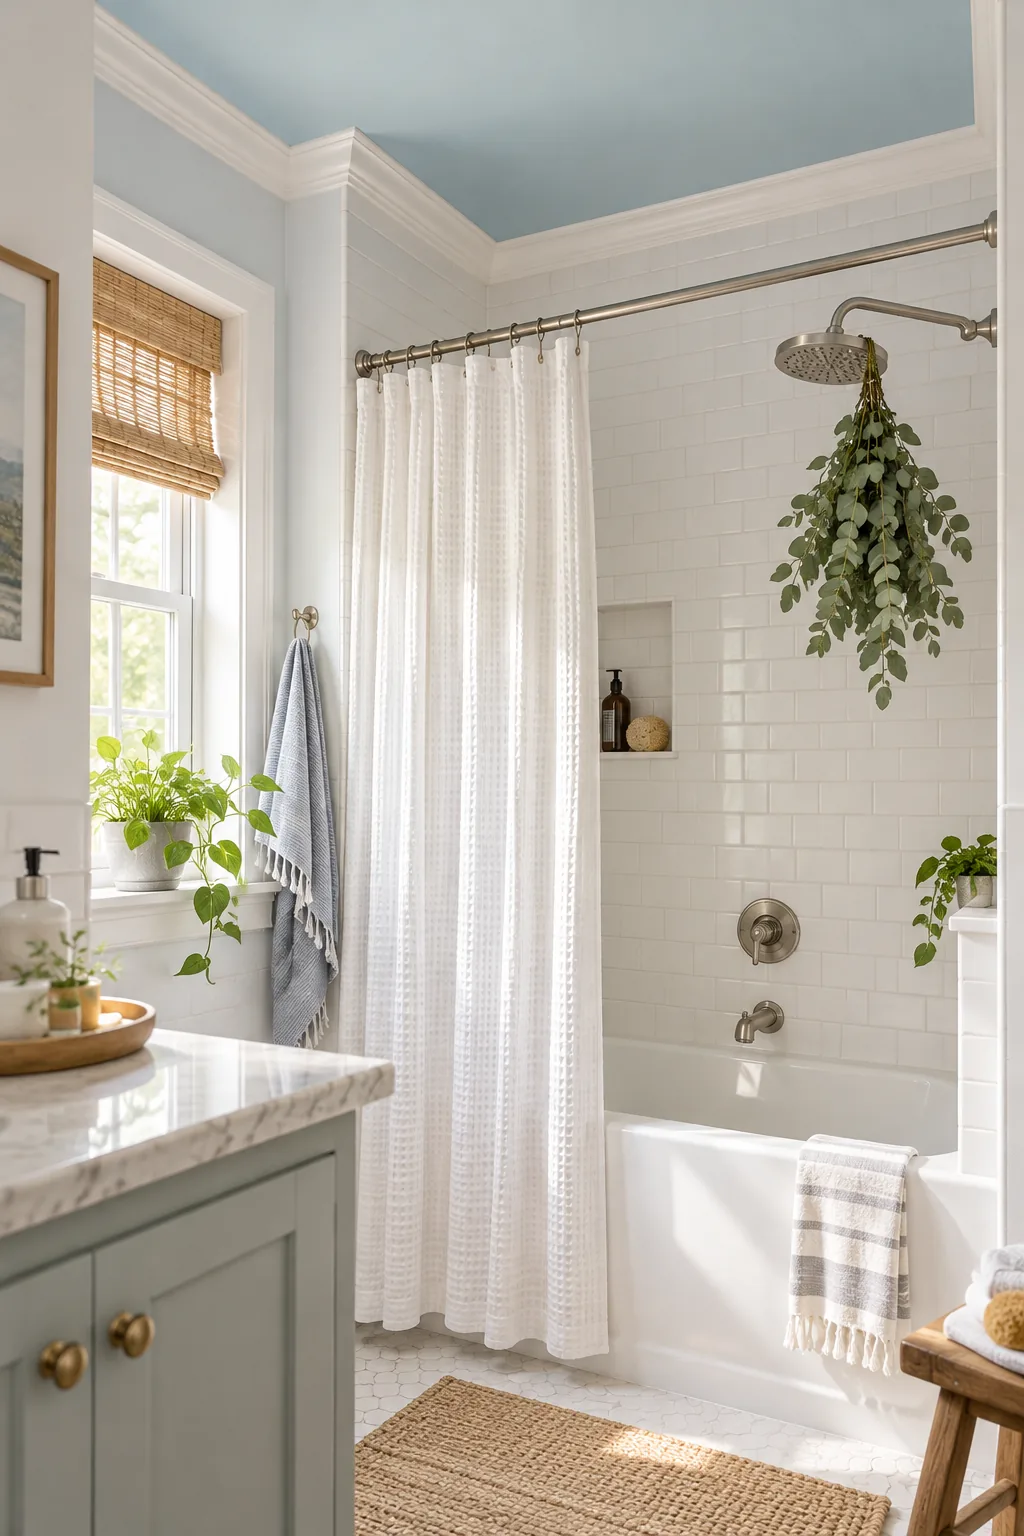
Periodically inspect the elastomeric seal around the crown molding and the vent grille for any dust buildup that might restrict airflow. Consistent ventilation prevents paint peeling and keeps the hidden ceiling layers structurally sound for decades.
Even the most powerful exhaust setup will struggle if the ceiling cover becomes clogged with household debris. Wipe the corners and pull the minimalist grille down twice a year to wash it, ensuring maximum airflow remains completely unobstructed.
Finished Bathroom Ceiling Ideas
Explore how different colors, materials, and architectural details can transform your bathroom from the top down.
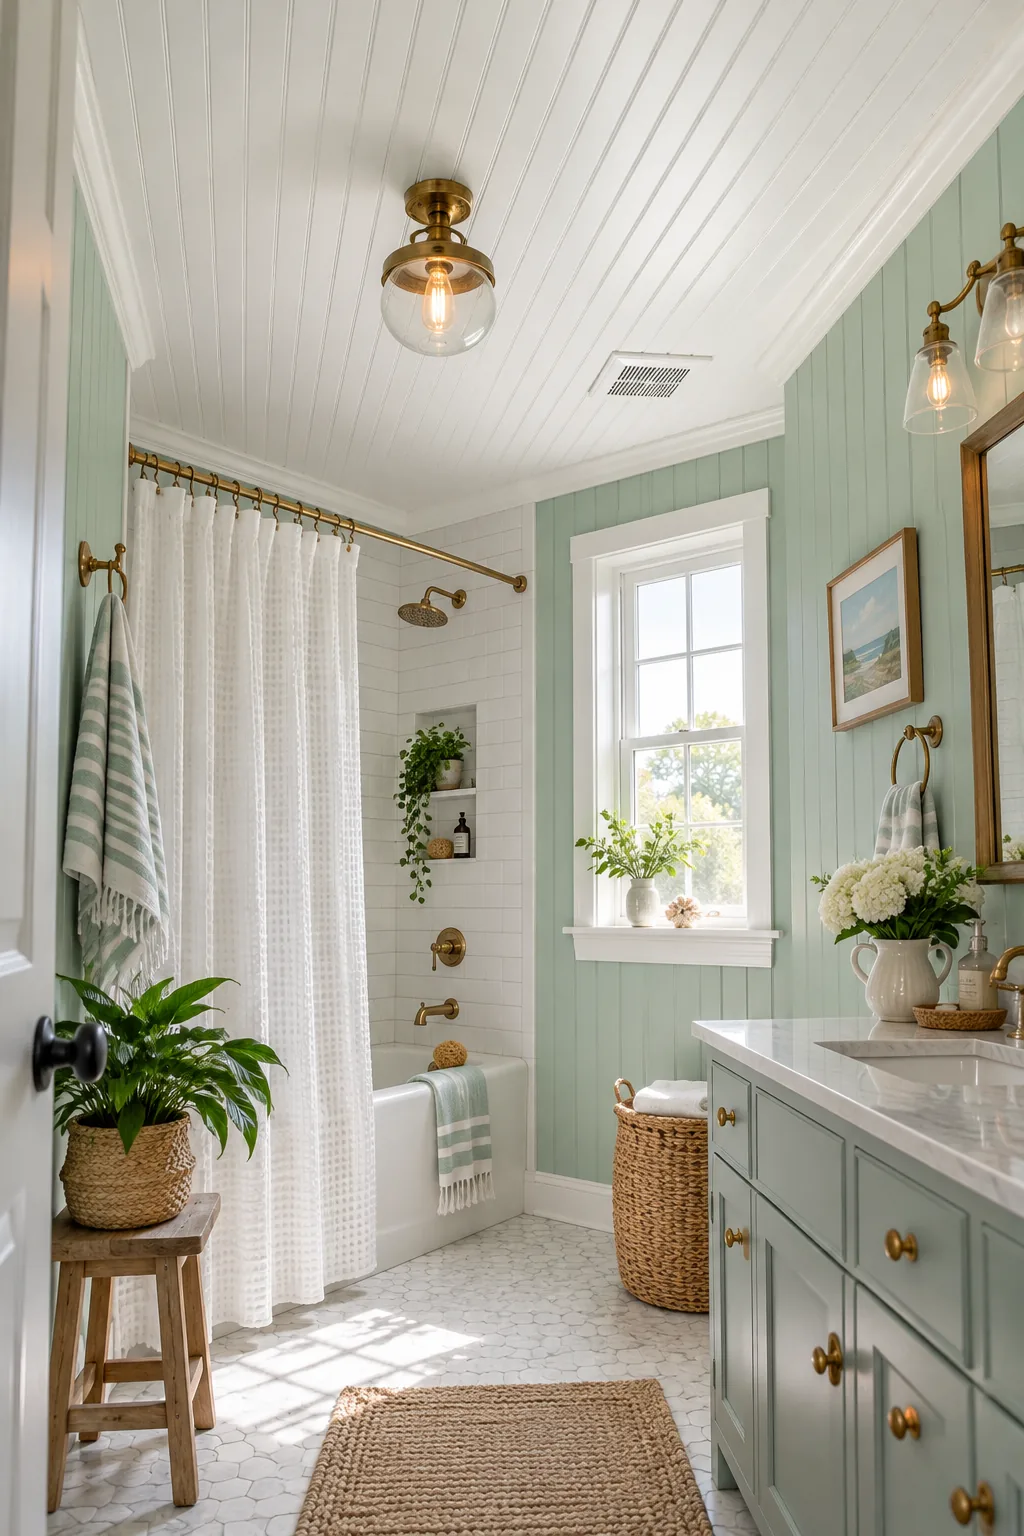
Beadboard Cottage Charm: Traditional beadboard adds coastal texture to the ceiling. Ensure the grooves are fully sealed with high-gloss paint to repel rising steam.
Dark Moody Contrast: A dark ceiling lowers the visual height for a cozy, dramatic feel. Use a premium satin finish to keep the dark color from looking chalky.
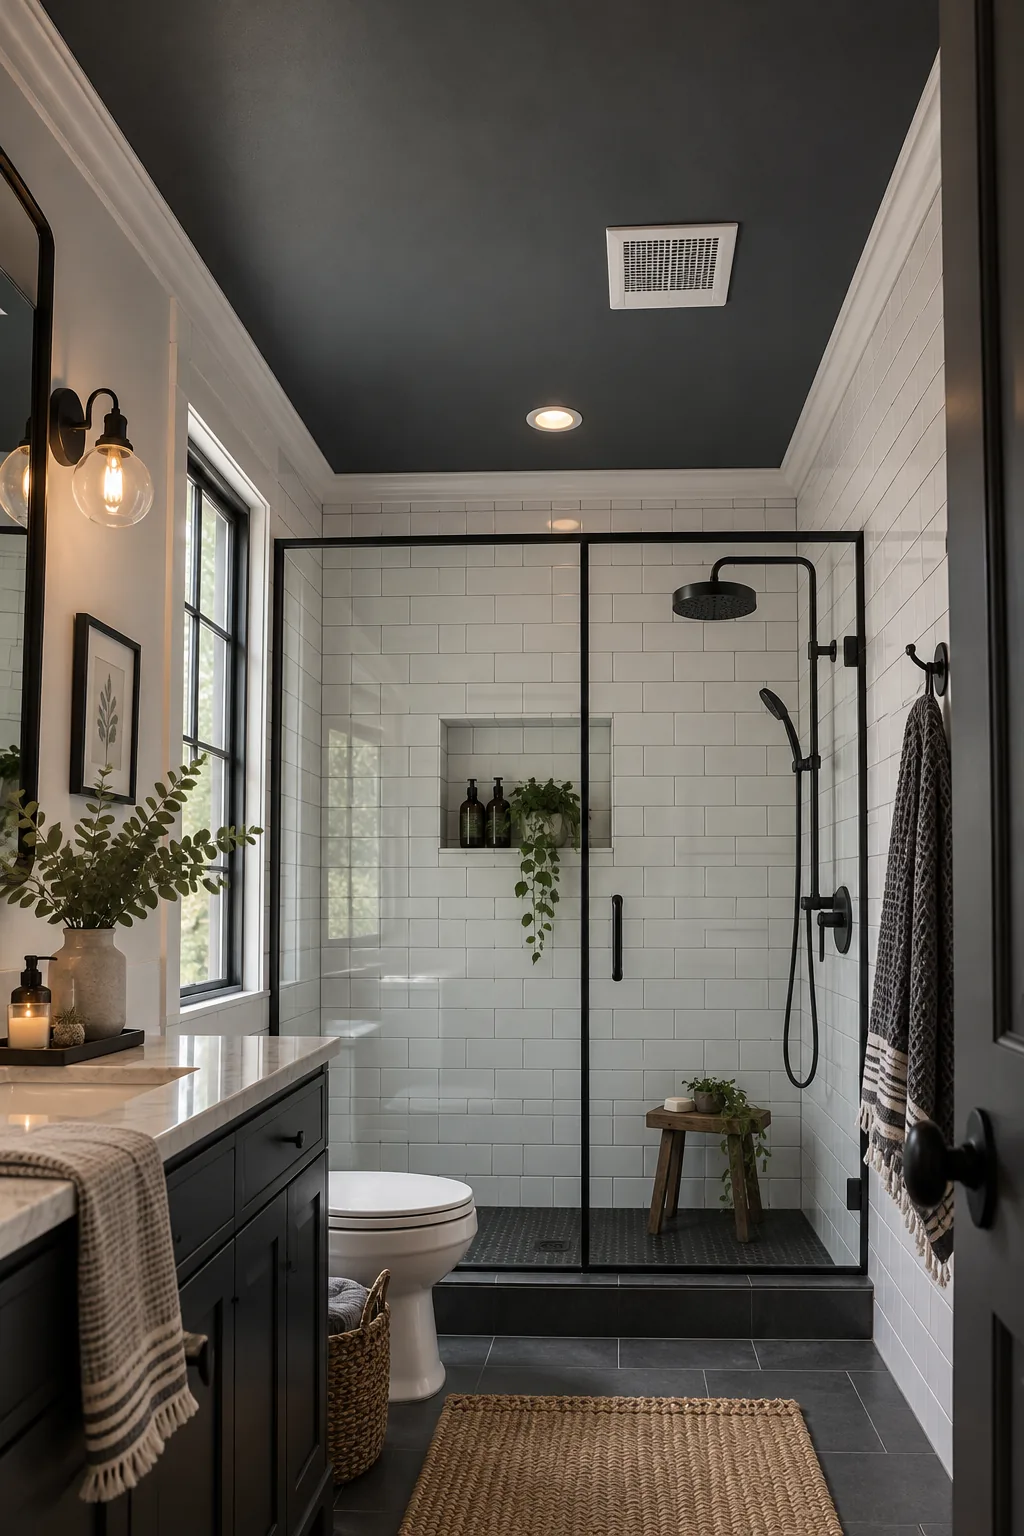
Natural Cedar Slats: Wood tones warm up cold stone surfaces. Choose clear-coated cedar or teak designed for saunas to withstand daily shower humidity.

High-Gloss Lacquer: A lacquered finish reflects light beautifully and creates an illusion of endless height. This requires a perfectly skim-coated drywall base to avoid highlighting imperfections.

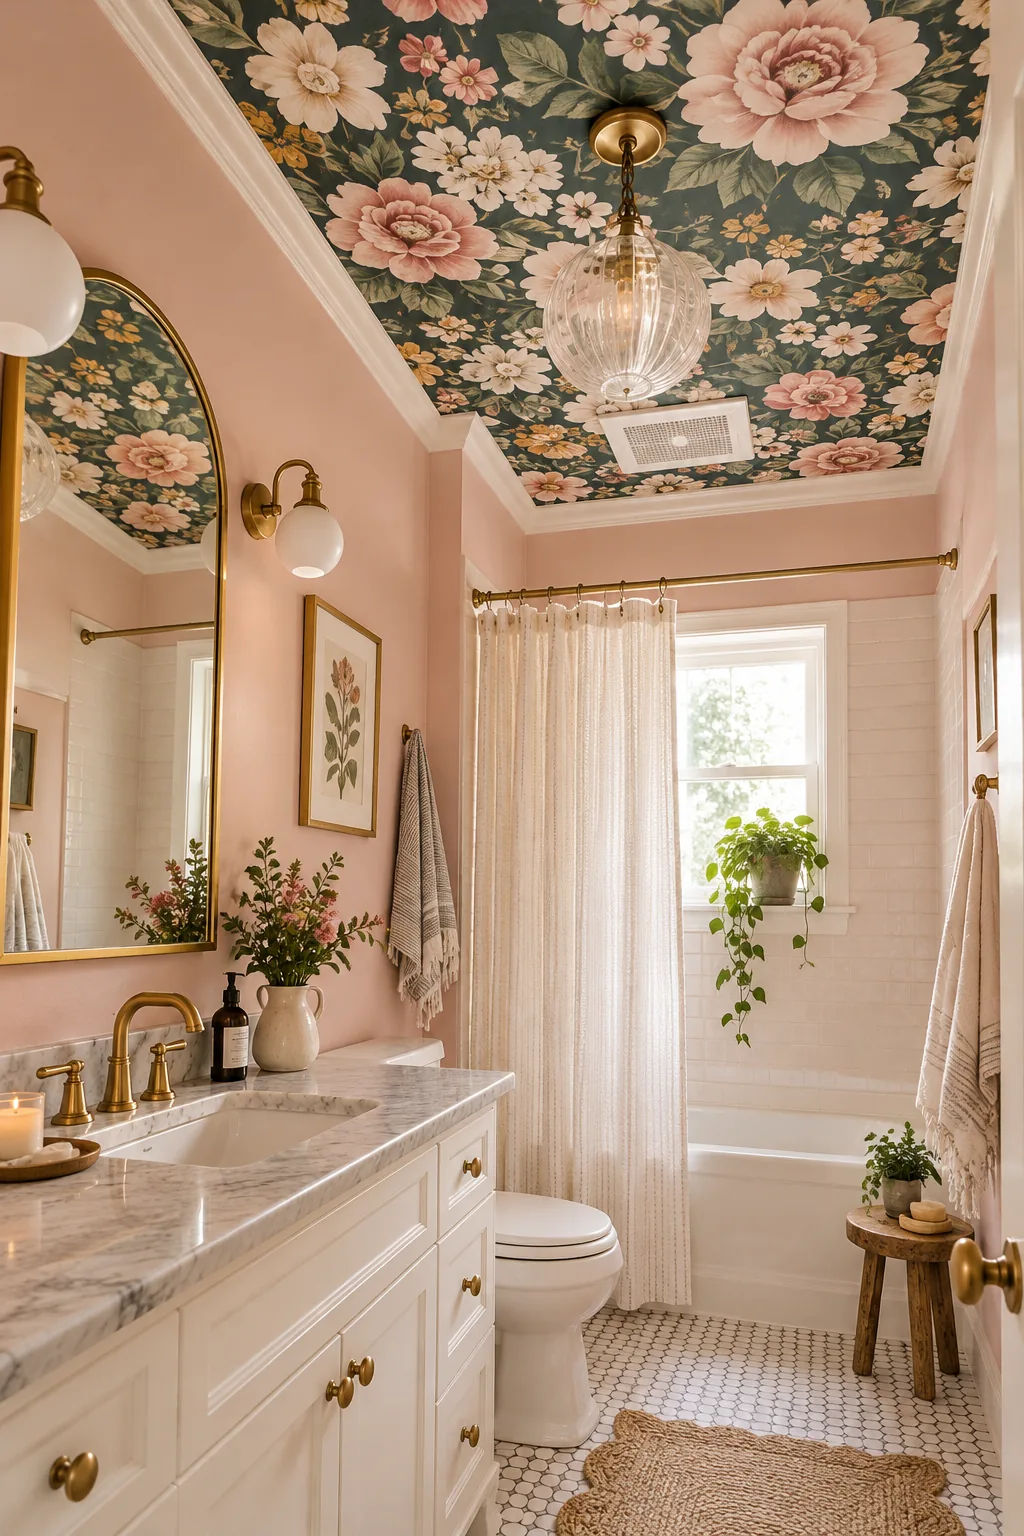
Wallpapered Accent: Draw the eye upward with a bold botanical print. Select a commercial-grade vinyl wallcovering and mold-resistant adhesive specifically rated for high-humidity environments.