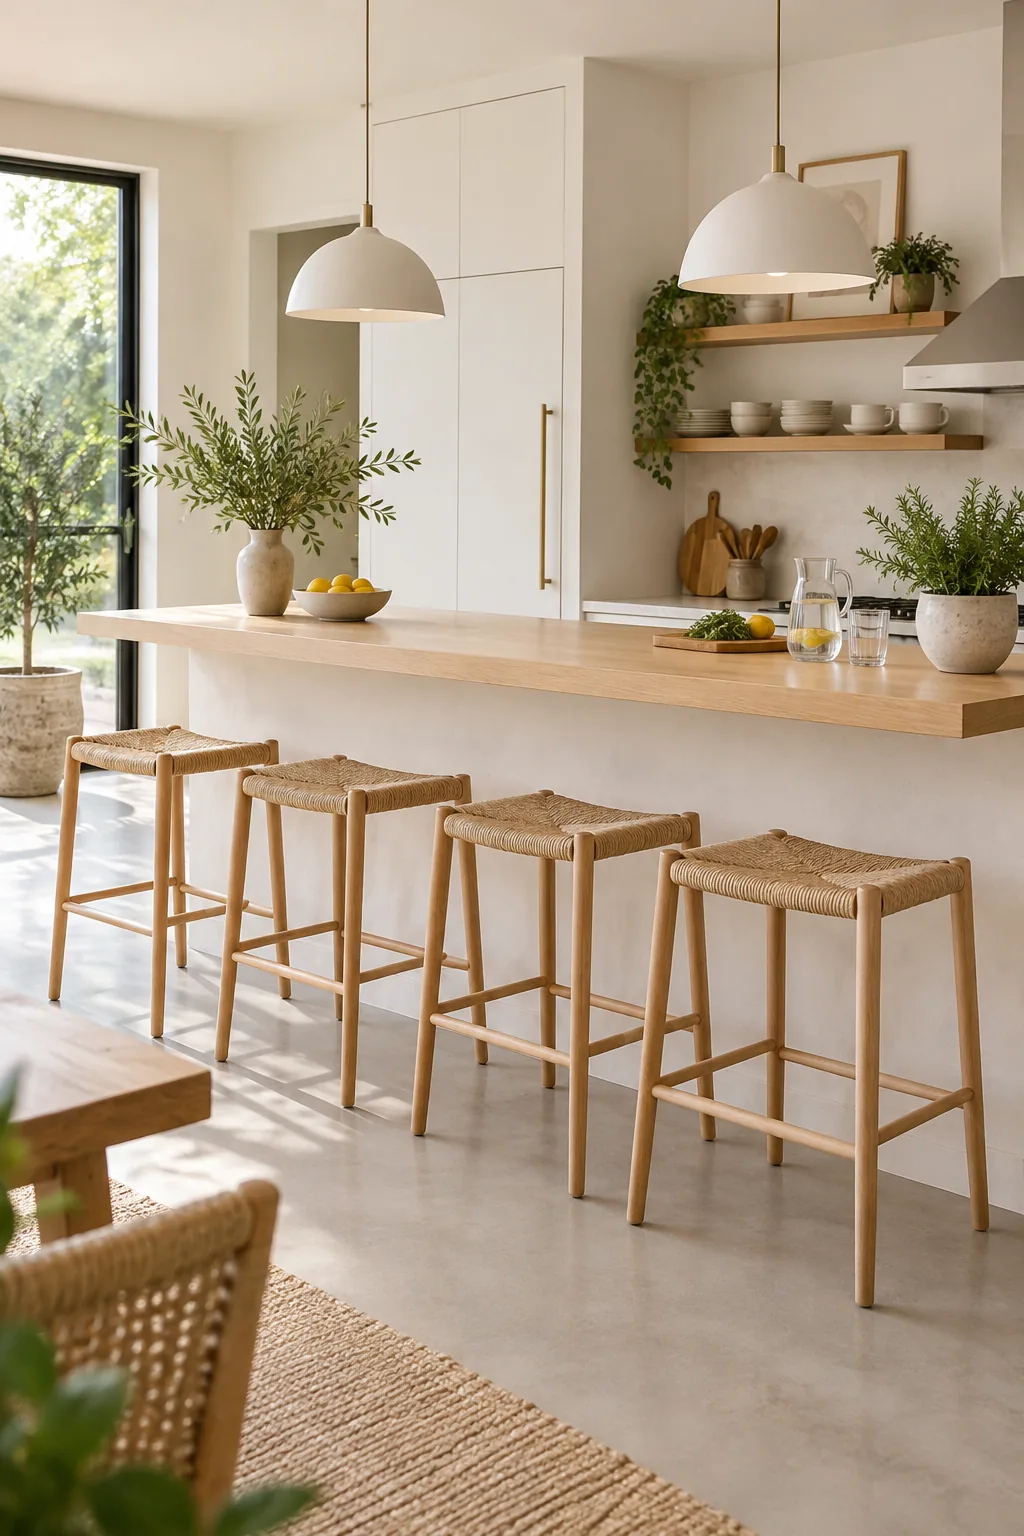
The Bar Top Sized for One More Round: Measurement Guide
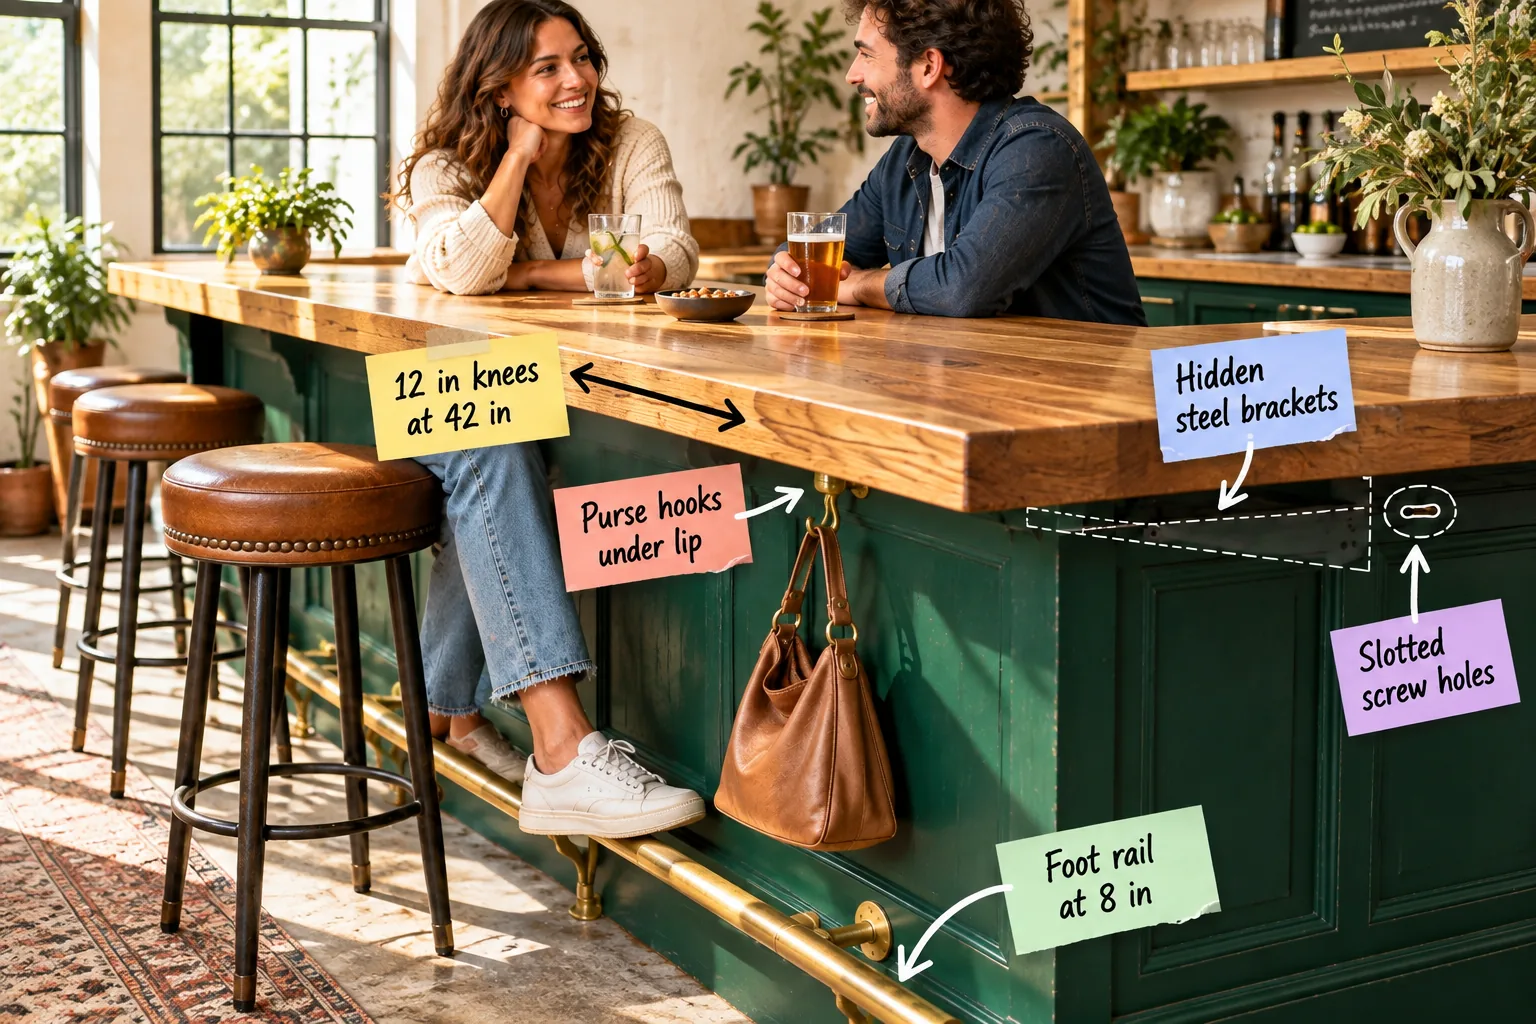
You are about to build a perfectly proportioned home bar, and our printable one-page measurement sheet gives you the exact dimensions for top heights, comfortable seating, knee-space overhangs, foot rail placements, and the necessary structural bracket spacing.
Choosing Your Bar Height and Elbow Room
The classic 42-inch bar height pairs beautifully with standard 30-inch stools, but you must also allow exactly 24 inches of lateral space per stool to ensure comfortable elbow room for your seated guests.
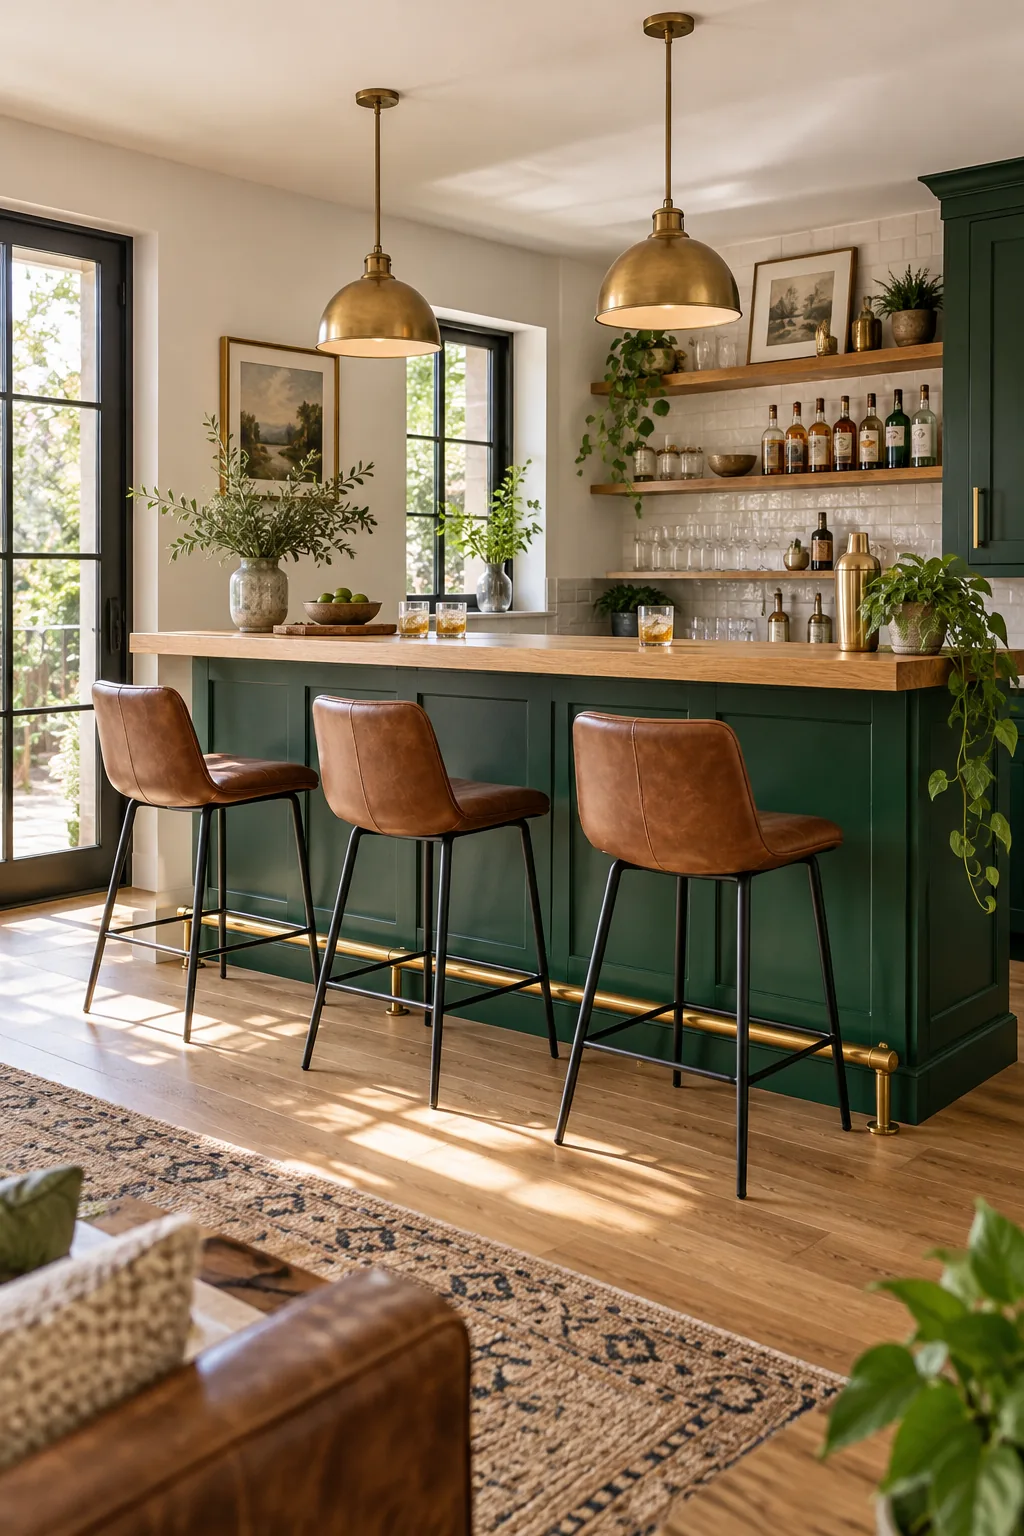
Getting the overall bar height and spacing precisely right is the most critical first step, as matching the seating to those specific dimensions is where many ambitious home setups ultimately fall short.
Calculating the Ideal Stool Spacing
Providing exactly 24 inches of elbow room per guest ensures everyone can comfortably lift their glasses, enjoy a meal, and turn to converse without constantly bumping shoulders with their neighbor during a busy gathering.
- Measure the total length of your finished bar top from edge to edge in inches.
- Divide that total measurement by 24 to determine the maximum number of stools your setup can handle.
- Mark the center point for each stool position to align your under-counter hardware perfectly.
Accounting for Armrests and Swivels
If you select luxurious bar stools with wide armrests or full swivel mechanisms, you must increase your spacing allowance to 28 or even 30 inches per seat to prevent frustrating collisions and damaged wood finishes.
Planning the Knee-Space Overhang
A standard 42-inch top height requires a 12-inch overhang extending from the front cabinet face to the outer edge to provide adequate knee clearance for seated adults to relax without feeling cramped.
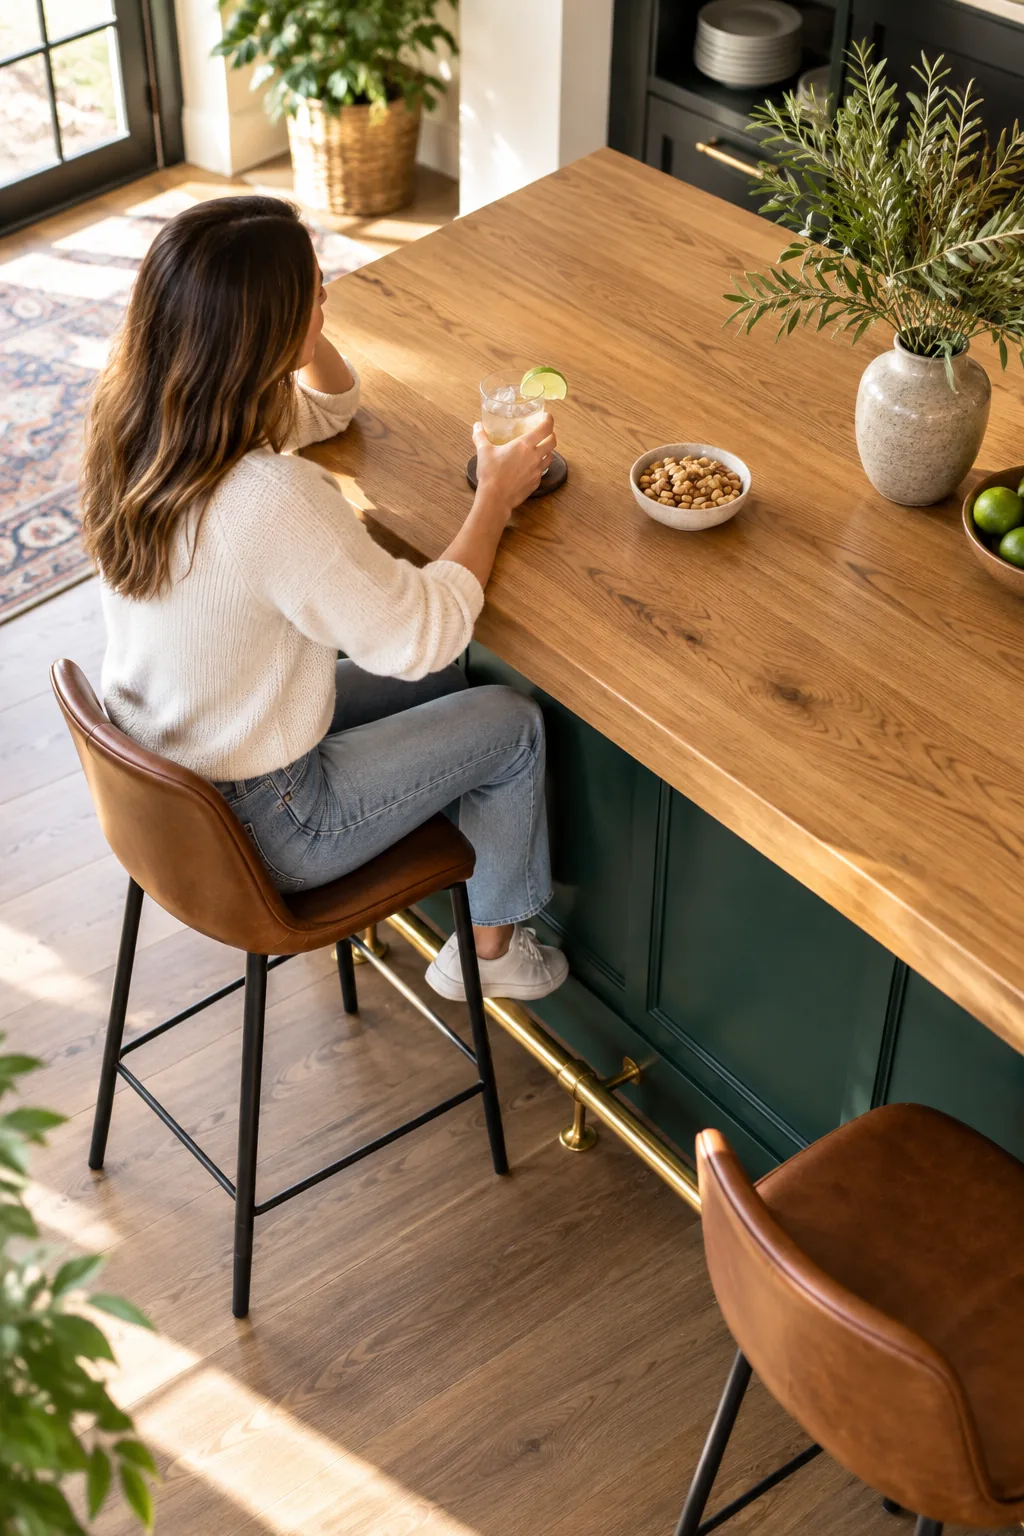
Because guests naturally sit slightly differently at lower heights, a 36-inch counter actually requires a deeper 15-inch overhang to keep knees from uncomfortably bumping against the base cabinetry or the decorative front panels.
Adjusting Overhangs for Thicker Edges
If you plan to add a built-up edge or a decorative front apron to your top, you must calculate your clear knee space starting from the back of that apron rather than the front edge.
Factoring in Base Cabinet Depth
Standard base cabinets measure exactly 24 inches deep, so adding a 12-inch overhang plus a standard 1-inch front lip means your solid wood top must be cut to at least 37 inches wide overall.
Securing the Bar Base to the Floor
Before finalizing your overhang measurements, permanently anchor your base cabinets or pony wall directly to the floor joists so the heavy cantilevered top cannot tip the entire structure forward when someone leans heavily on it.
Placing the Brass Foot Rail
Install your foot rail exactly 8 inches above the floor, measuring straight up from the ground to the center of the brass tubing to achieve the optimal ergonomic resting height for your guests.
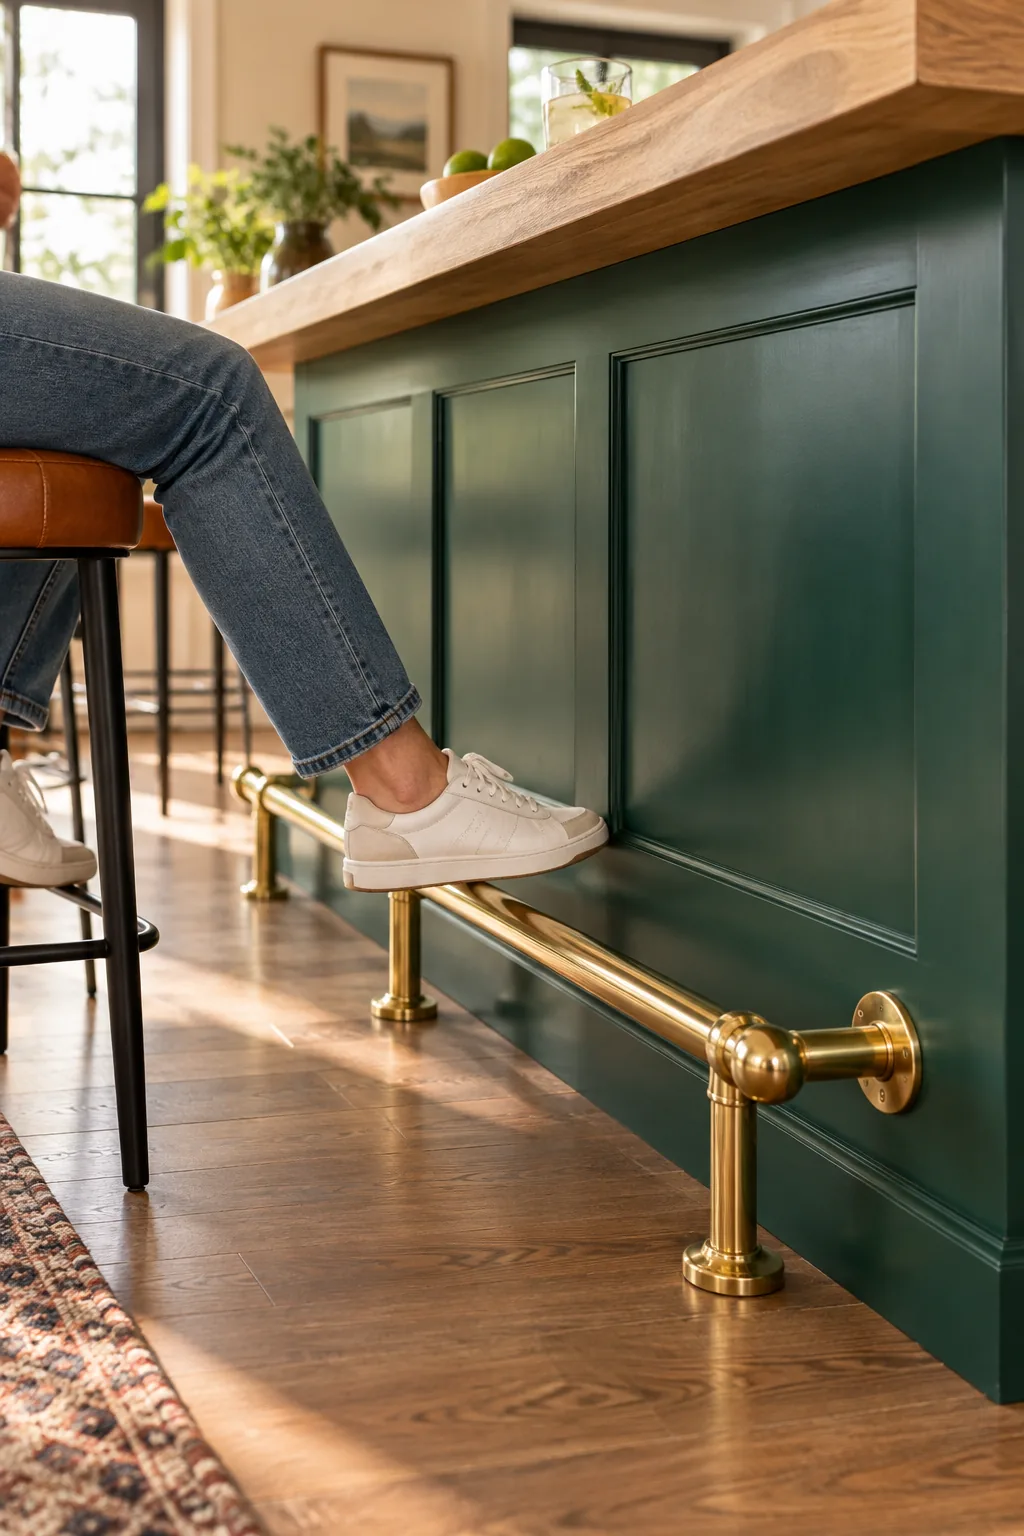
You also need to firmly set the rail back 6 to 8 inches from the front edge of the bar top so guests can bend their knees naturally while resting their feet on the brass.
Selecting the Right Tubing Diameter
Standard commercial bars utilize 2-inch outside diameter tubing to visually anchor a heavy wood top, but a 1.5-inch rail often looks much more proportional in smaller home setups while perfectly maintaining the necessary structural rigidity.
Spacing the Foot Rail Brackets
To prevent the brass tubing from bowing uncomfortably under the weight of multiple resting feet, install a sturdy support bracket at each end and space the intermediate brackets no more than 36 inches apart.
Capping the Exposed Tubing Ends
Always finish the exposed ends of your foot rail with decorative end caps or flush floor flanges, as raw cut tubing edges are surprisingly sharp and can easily ruin nice shoes or scratch bare ankles.
Supporting the Edge with Hidden Brackets
To prevent your 12-inch overhang from sagging or snapping, recess heavy flat steel support brackets into the cabinet frame spaced every 18 to 24 inches along the entire length of the seating area.
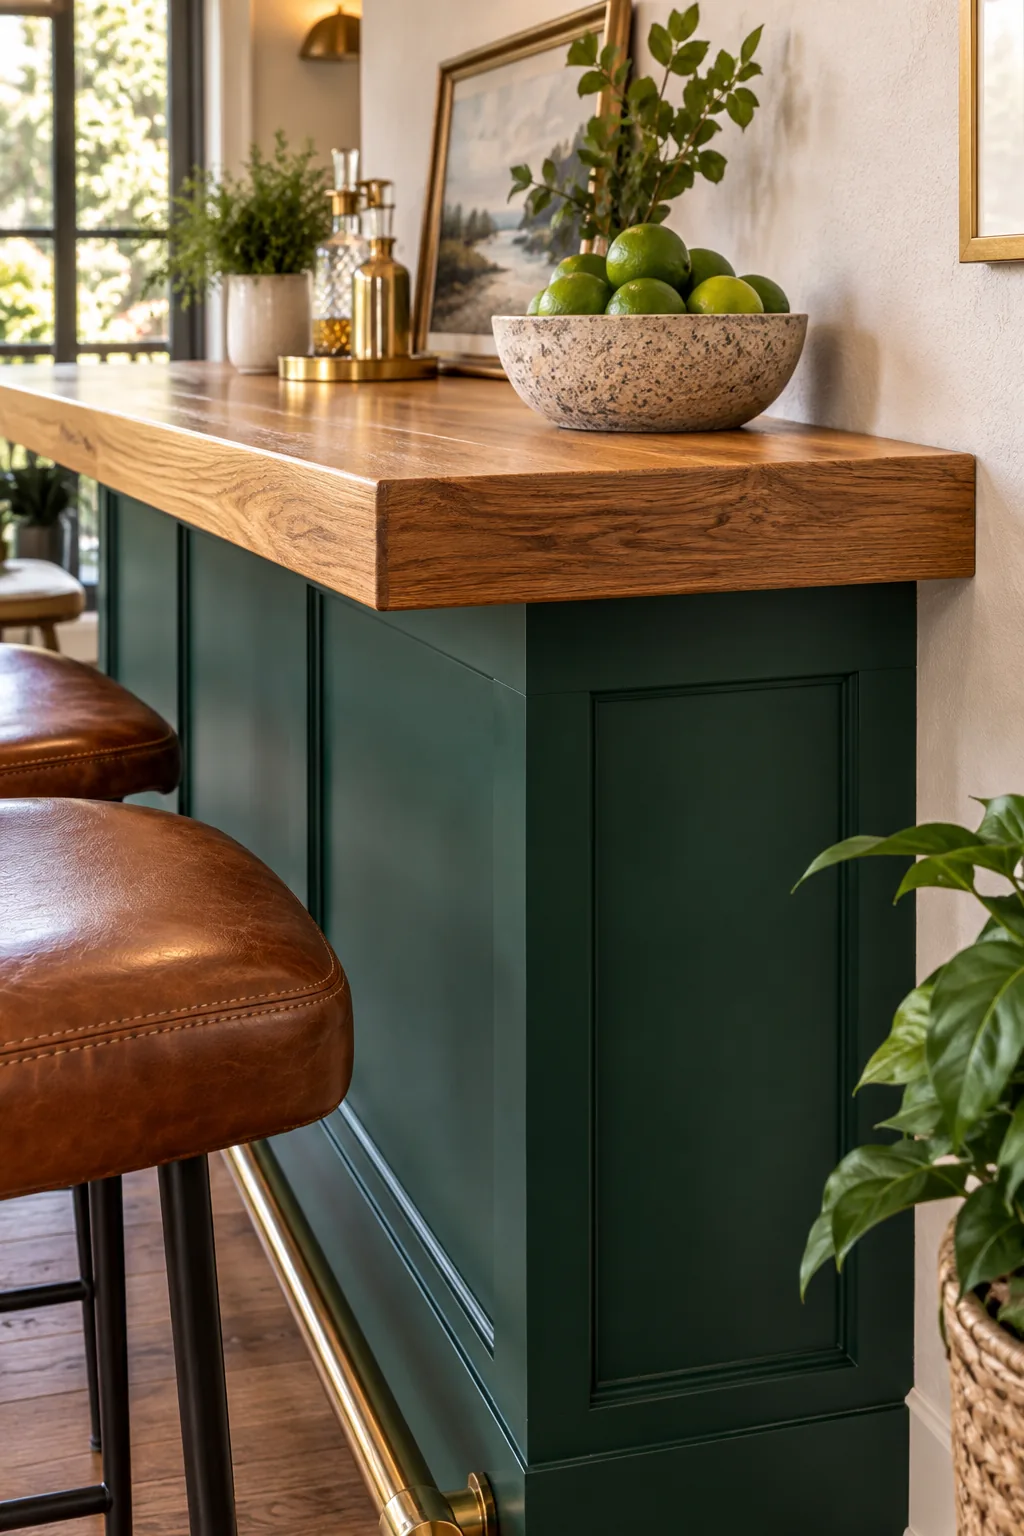
This invisible support keeps the knee space completely clear of bulky wooden corbels, but the installation requires careful routing so the top sits perfectly flush against the cabinetry without any annoying rocking or gaps.
Choosing the Steel Bracket Thickness
Standard thin shelf brackets will quickly flex under the weight of resting elbows, so you must use heavy-duty 3/8-inch or 1/2-inch thick flat steel bars to guarantee true structural integrity for your solid wood slab.
Routing the Recessed Bracket Channels
Use a powerful plunge router equipped with a straight bit to carve precise notches across the top plate of your pony wall, ensuring the steel bars sit perfectly parallel to each other and completely flush.
Fastening the Wood with Slotted Holes
Solid wood tops must be attached using elongated or slotted screw holes so the heavy butcher block can naturally expand and contract across the grain with seasonal humidity changes without cracking.
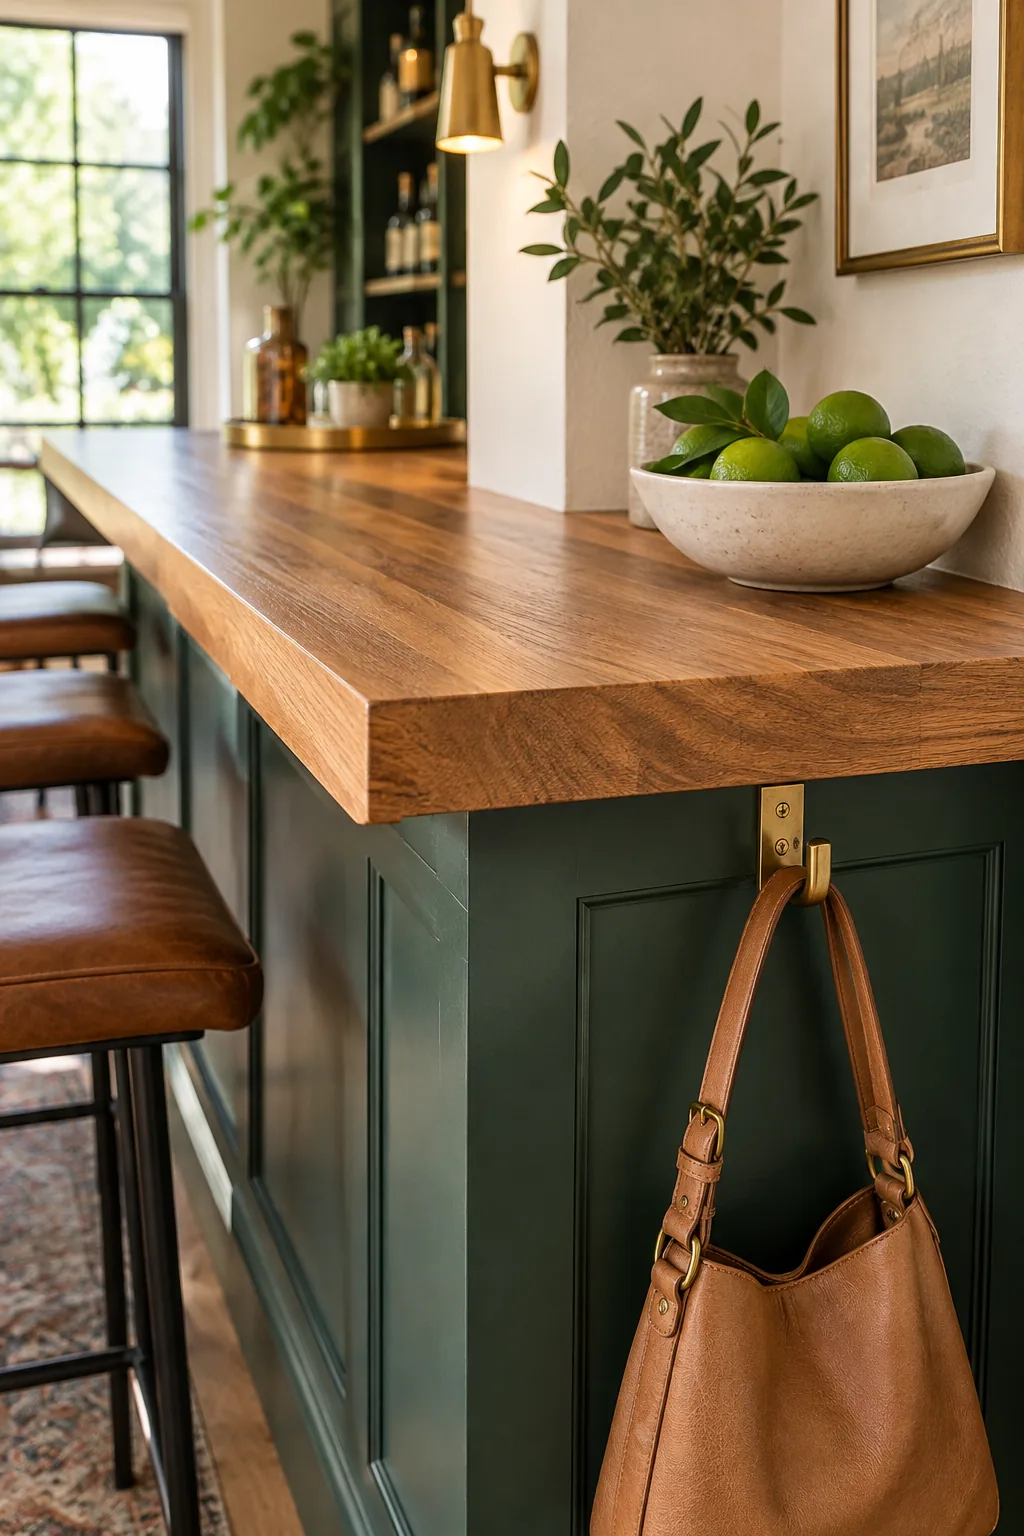
I learned this the hard way on my very first Austin patio bar, where a sudden summer humidity spike quickly split a rigidly screwed solid oak top right down the middle in a single afternoon.
Positioning the Fasteners Correctly
Drive your mounting screws exactly in the center of each slotted hole, using a wide metal washer to hold the wood flat while allowing the necessary lateral movement across the grain as the seasons change.
Sealing the Underside of the Wood
Before permanently fastening the top, apply the exact same number of polyurethane or penetrating oil finish coats to the underside as you do to the top to prevent uneven moisture absorption and subsequent severe warping.
Adding Purse Hooks Under the Lip
For a highly thoughtful hospitality detail, install small brass hooks screwed directly under the front lip, placing one roughly centered between each seating position to keep personal items secure and off the floor.
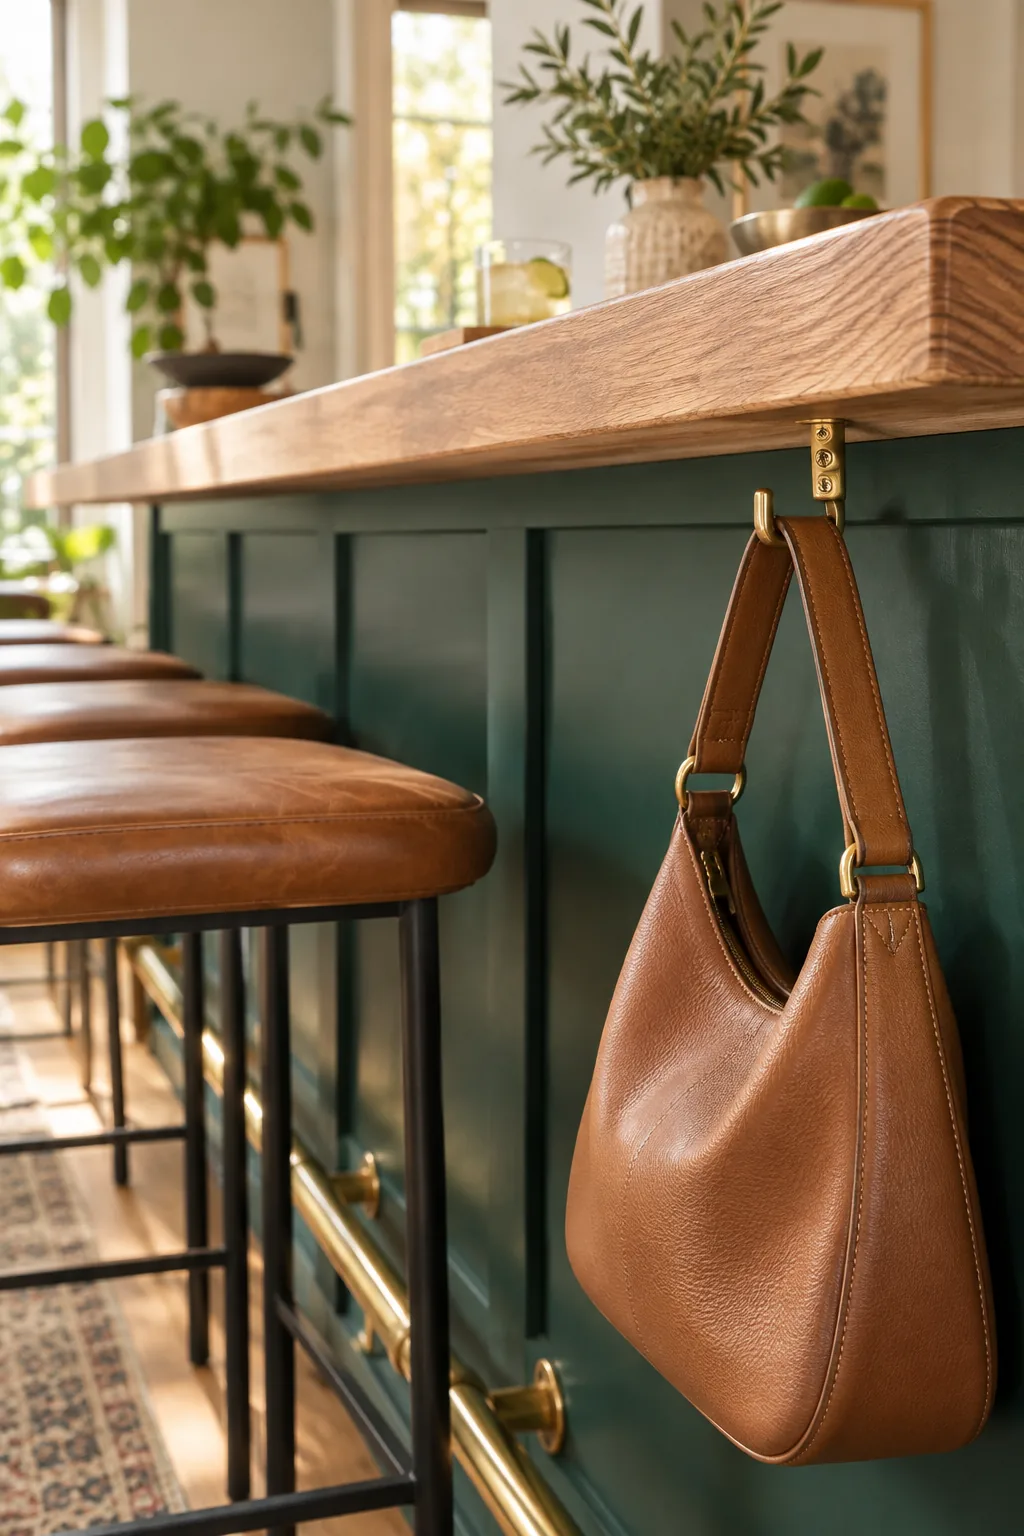
I added these simple hooks to my own dining room bar setup, and it immediately stopped guests from awkwardly piling their heavy bags on the floor or cluttering the pristine wood counter during parties.
Matching Hook Finishes to Hardware
Choosing beautiful unlacquered brass for both your hidden purse hooks and your prominent foot rail allows the metals to develop a matching, warm patina over time as they gracefully age together through years of entertaining.
Placing Hooks for Maximum Legroom
Keep the hooks tucked tightly against the back of the front drop edge so they remain completely invisible from across the room and never accidentally snag a guest’s clothing when they slide off their stool.
Verifying Dimensions Before Cutting
Always double-check your final stool heights, bracket placements, and overhang clearances against your actual purchased materials before making any permanent, irreversible cuts to your expensive custom butcher block slab or base cabinetry panels.
The Complete Bar Measurement Cheat Sheet
This printable measurement sheet compiles every critical dimension we just covered, ensuring you can easily reference all the exact heights, overhangs, and bracket spacings during your upcoming home bar build.
| Measurement | 42-Inch Bar | 36-Inch Counter |
|---|---|---|
| Stool Seat Height | 30 inches | 24 inches |
| Knee Overhang | 12 inches | 15 inches |
| Elbow Room | 24 in / stool | 24 in / stool |
| Foot Rail Height | 8 inches | 8 inches |
| Bracket Spacing | 18-24 inches | 18-24 inches |
I keep this exact cheat sheet pinned prominently to my workshop pegboard because referencing these specific drop heights and clearances instantly saves me hours of second-guessing on new custom bar projects for my home.
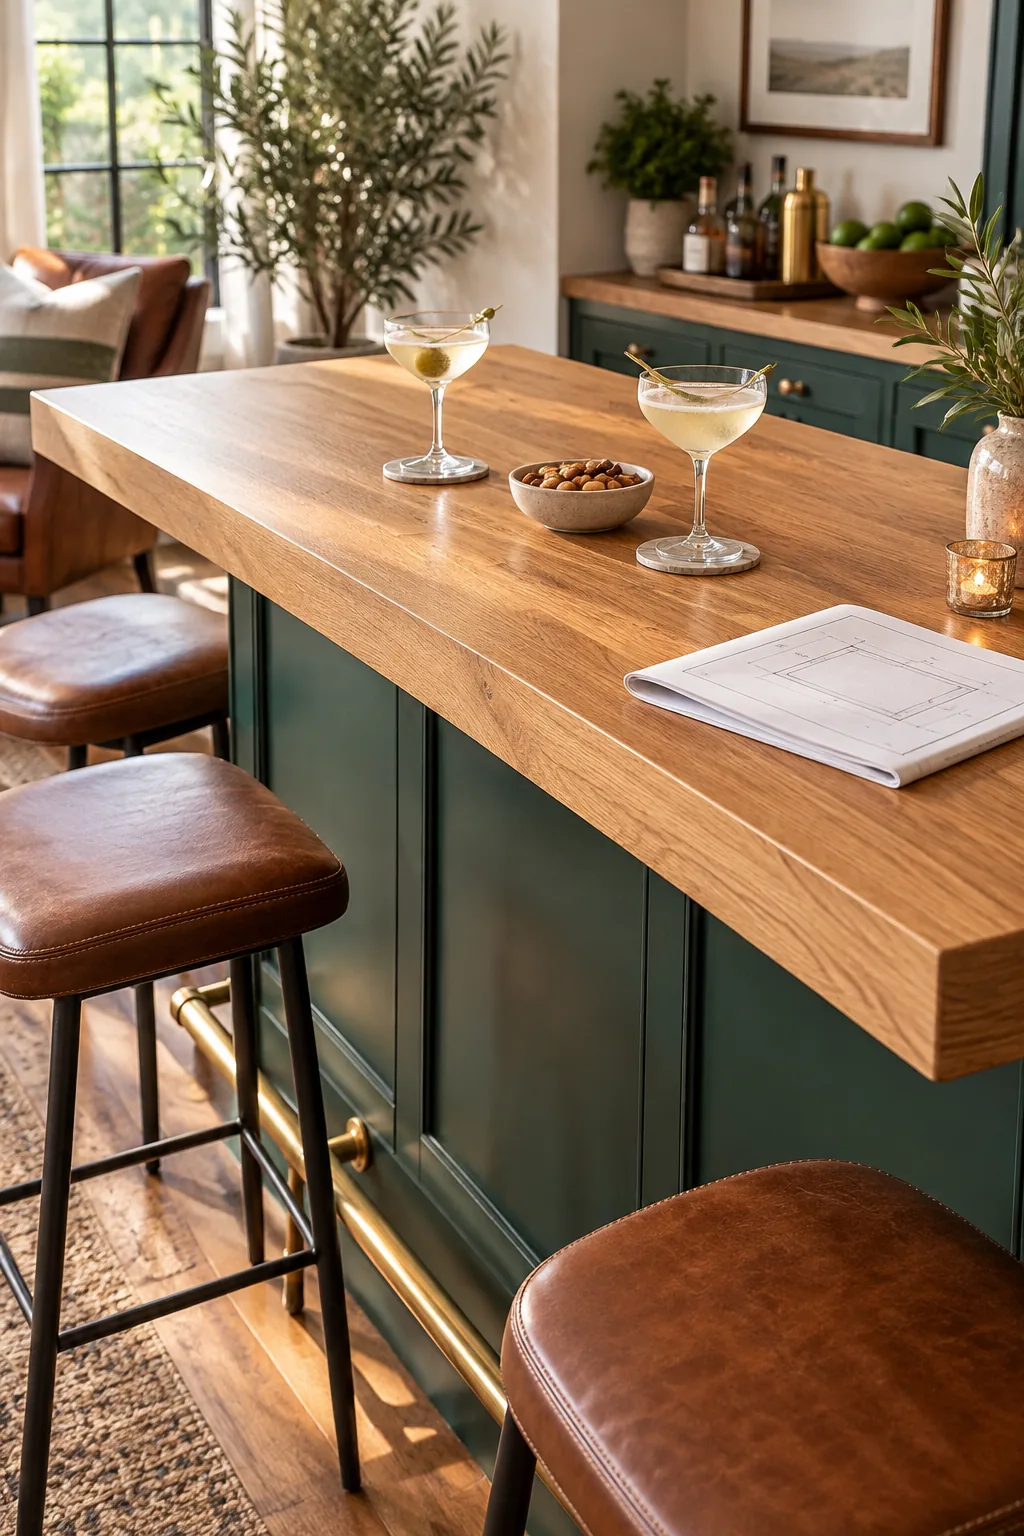
Bar Top Styles for Every Space
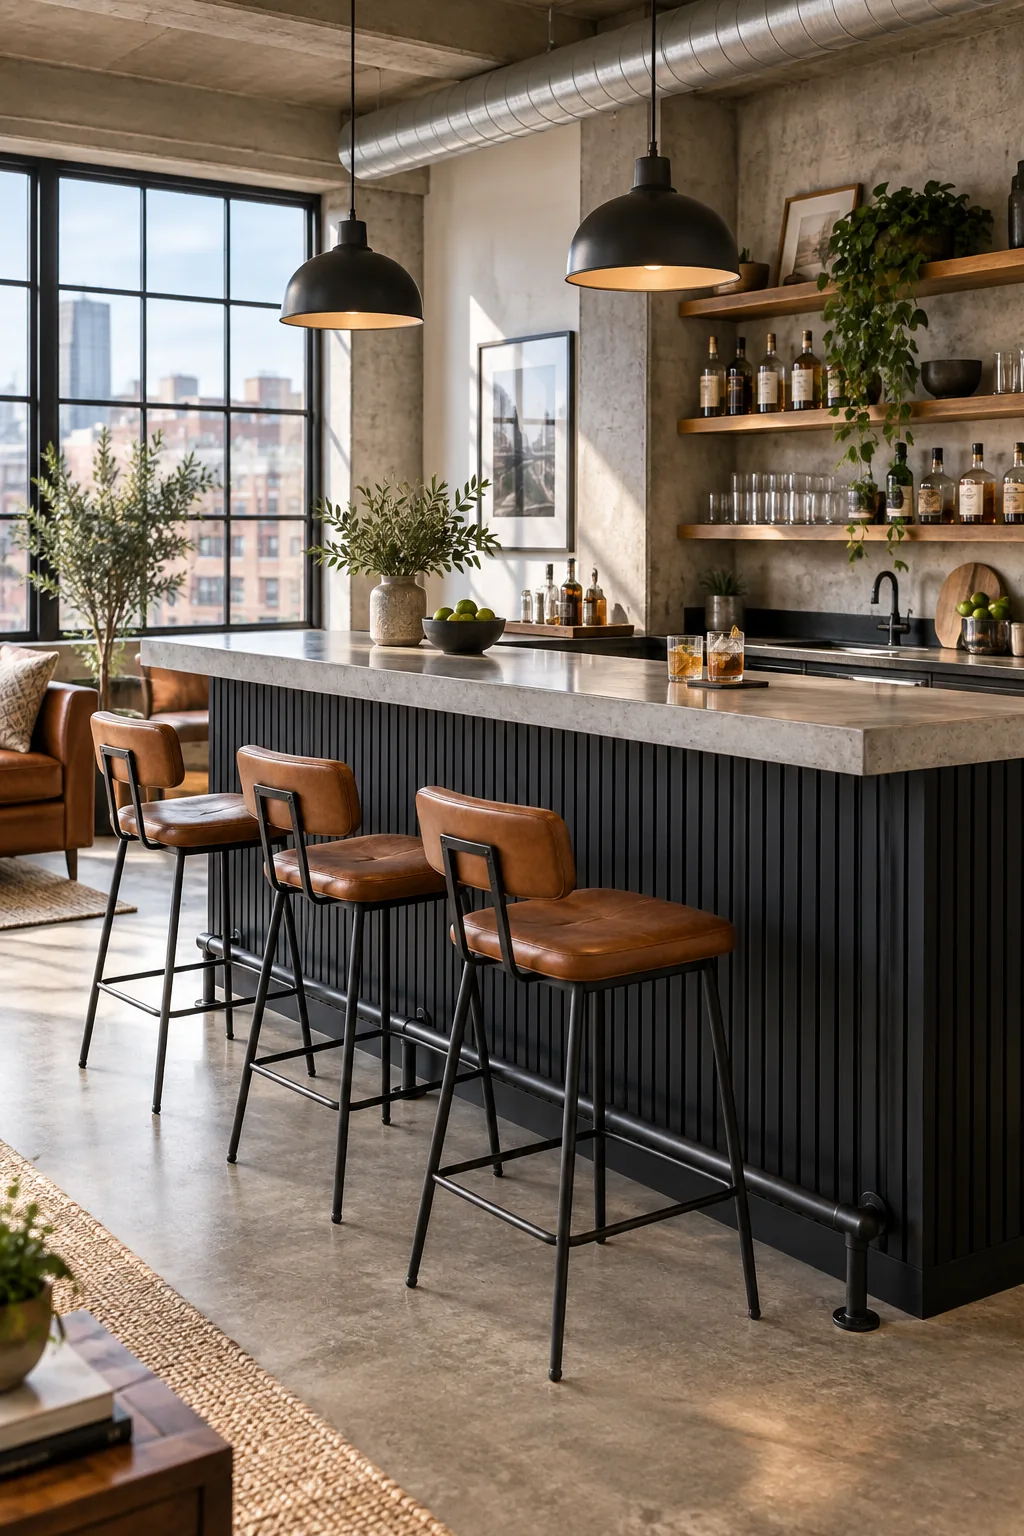
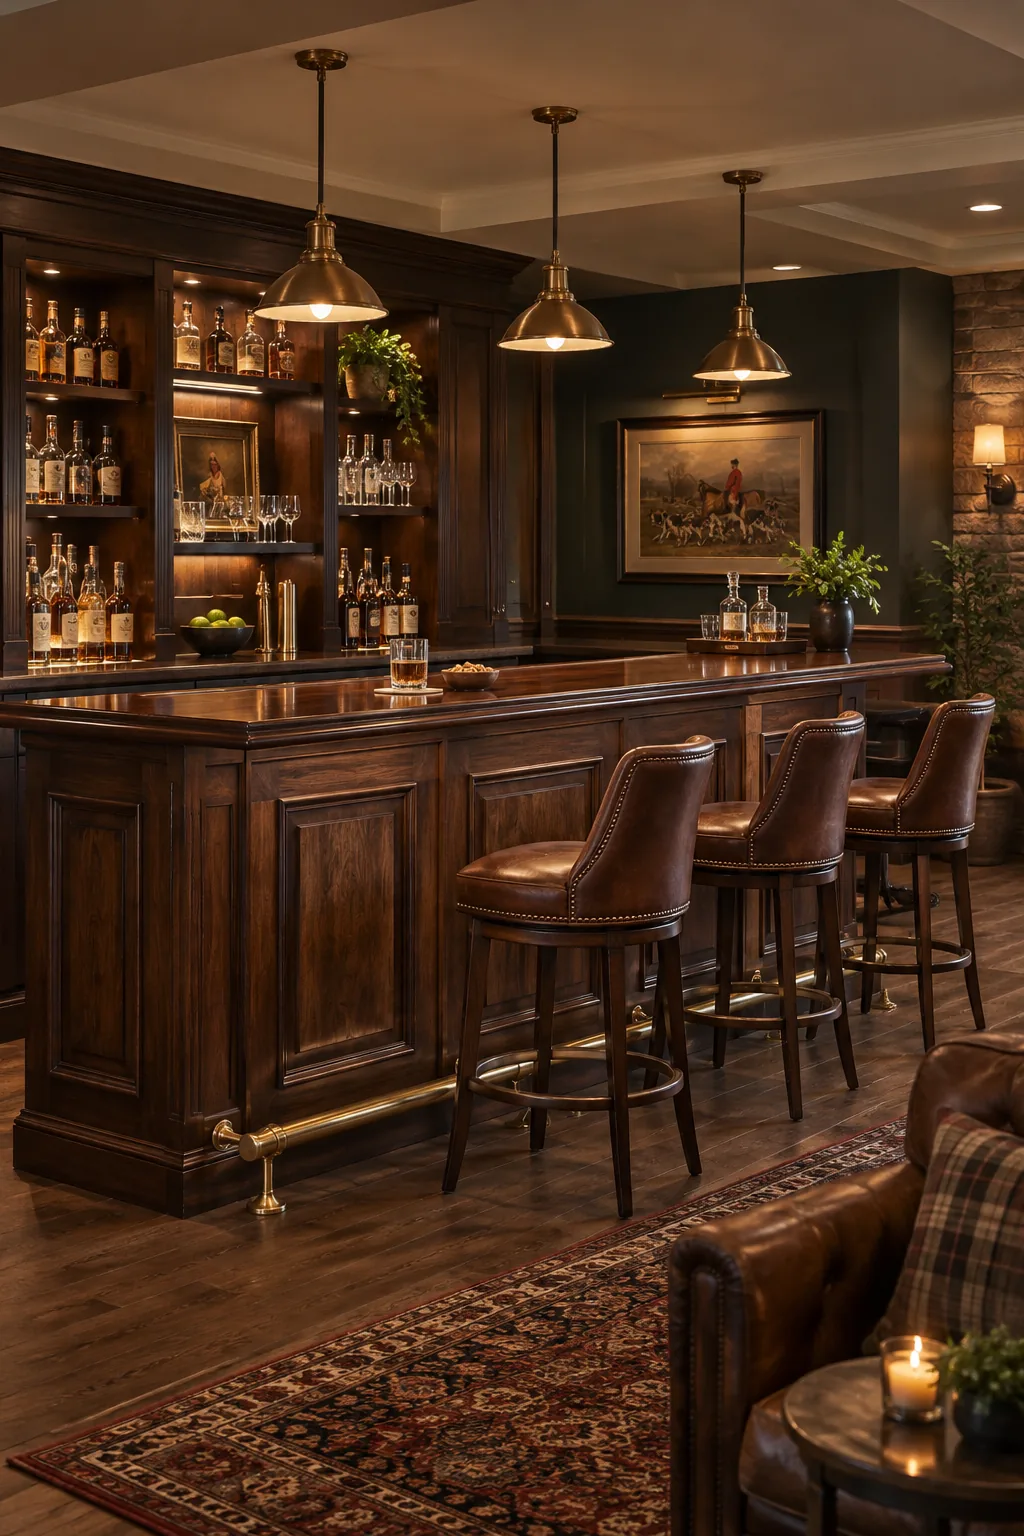
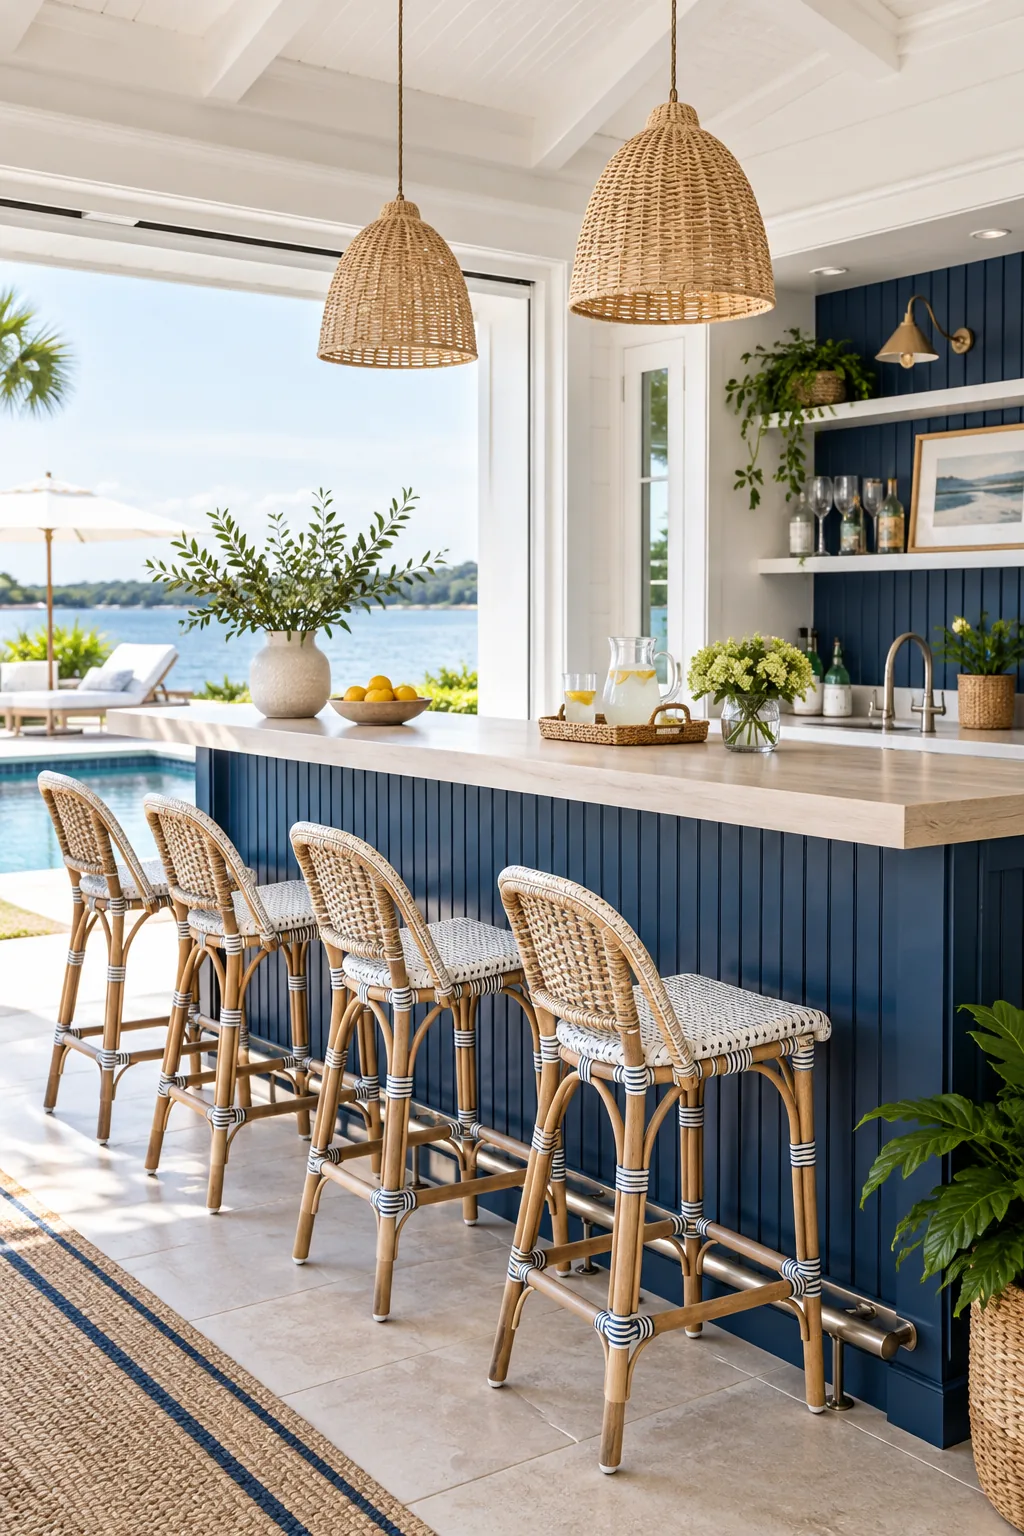
Explore how these exact same proportions adapt to completely different room styles and materials.
Modern Industrial Concrete and Black: A poured concrete top pairs perfectly with a matte black slatted front for a moody, industrial loft aesthetic.
Classic Pub Dark Mahogany: Rich mahogany and raised walnut panels create an authentic, traditional pub atmosphere right in your basement.
Coastal Navy and Whitewashed Maple: Navy blue beadboard and a whitewashed maple top bring a crisp, nautical energy to a bright pool house.
Minimalist Scandinavian Pale Birch: A pale birch top resting on smooth white plaster keeps the lines incredibly clean in a minimalist kitchen.