
Backyard Landscaping: The Architect's Zone & Layer Blueprint
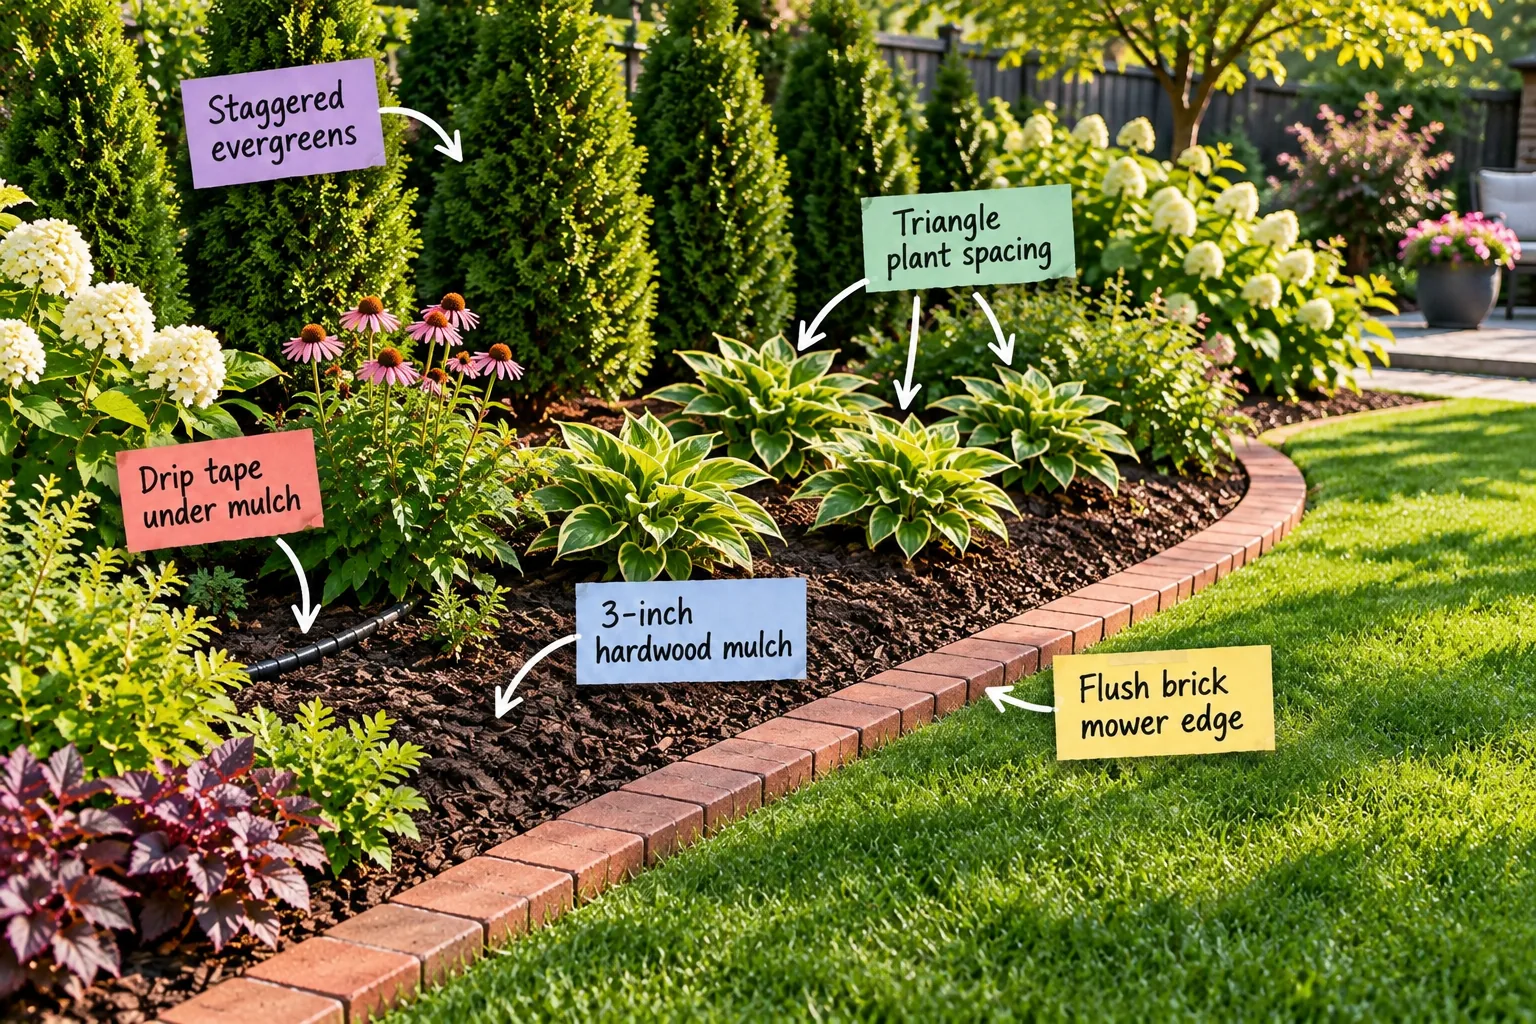
Transform your yard with our backyard landscaping zone and layer blueprint so you can map, edge, and plant a professionally layered garden bed using exact architectural spacing rules. You will master the exact spacing, edging, and planting layers professionals use to build lush, low-maintenance garden beds.
Defining the Border with a Flush Mower Edge
A clean transition between the lawn and the garden bed requires a hardscape boundary, so keep the brick level with the lawn for easy mowing. Installing a flush brick mower edge allows the lawnmower wheel to roll directly over the brick, eliminating the need for separate string trimming.
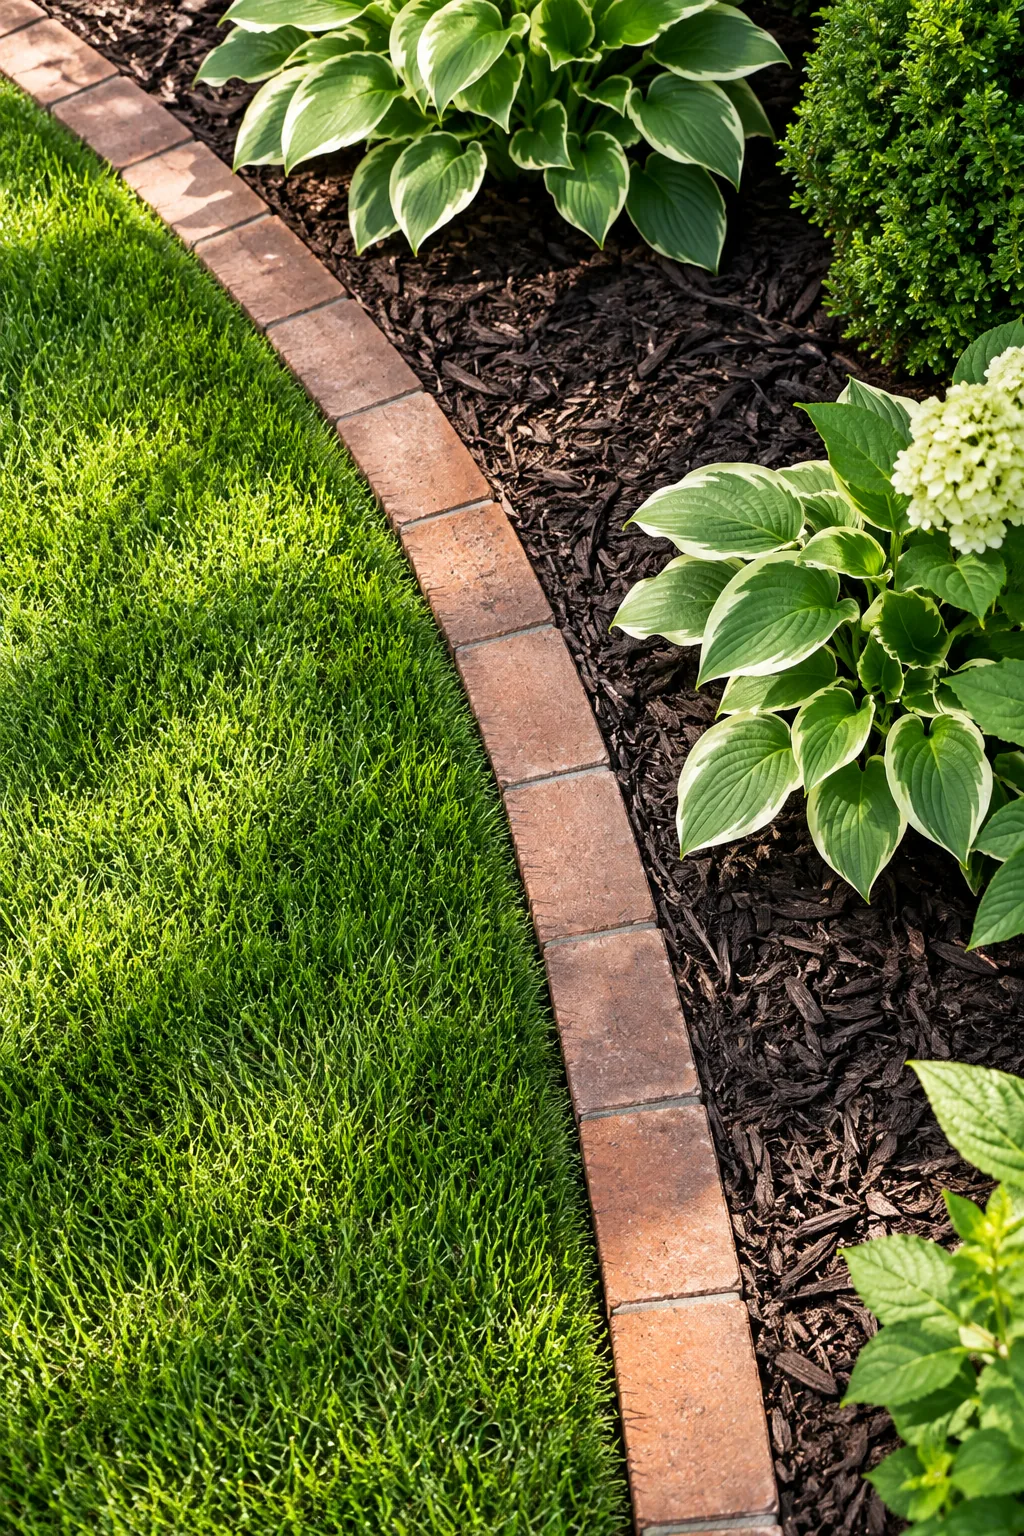
Setting the bricks exactly level with the soil grade of the lawn ensures the heavy mower blades pass safely over the top surface. This precise alignment protects your expensive equipment while maintaining a crisp, architectural line between the green turf and the dark planting zone.
Selecting Heavy Masonry for Border Stability
Choosing the correct block size ensures your border remains stable under the weight of heavy riding mowers and foot traffic. Standard clay pavers offer the best durability, as they naturally resist cracking during harsh winter freezes much better than poured concrete or thin plastic edging.
Locking the Pavers for a Seamless Edge
Heavy clay pavers lock together tightly when installed end-to-end directly along the freshly cut grass line. Their dense weight naturally prevents shifting, ensuring your flush mower edge stays perfectly horizontal season after season without requiring you to constantly readjust the boundary line every spring.
Trenching and Leveling the Hardscape Base
Bricks laid directly on topsoil will heave and sink after a single season, so dig a 4-inch deep trench along the bed perimeter to accommodate a compacted sand base. I learned this the hard way in my own Austin backyard when my first unlevel border completely sank after a heavy spring rainstorm.
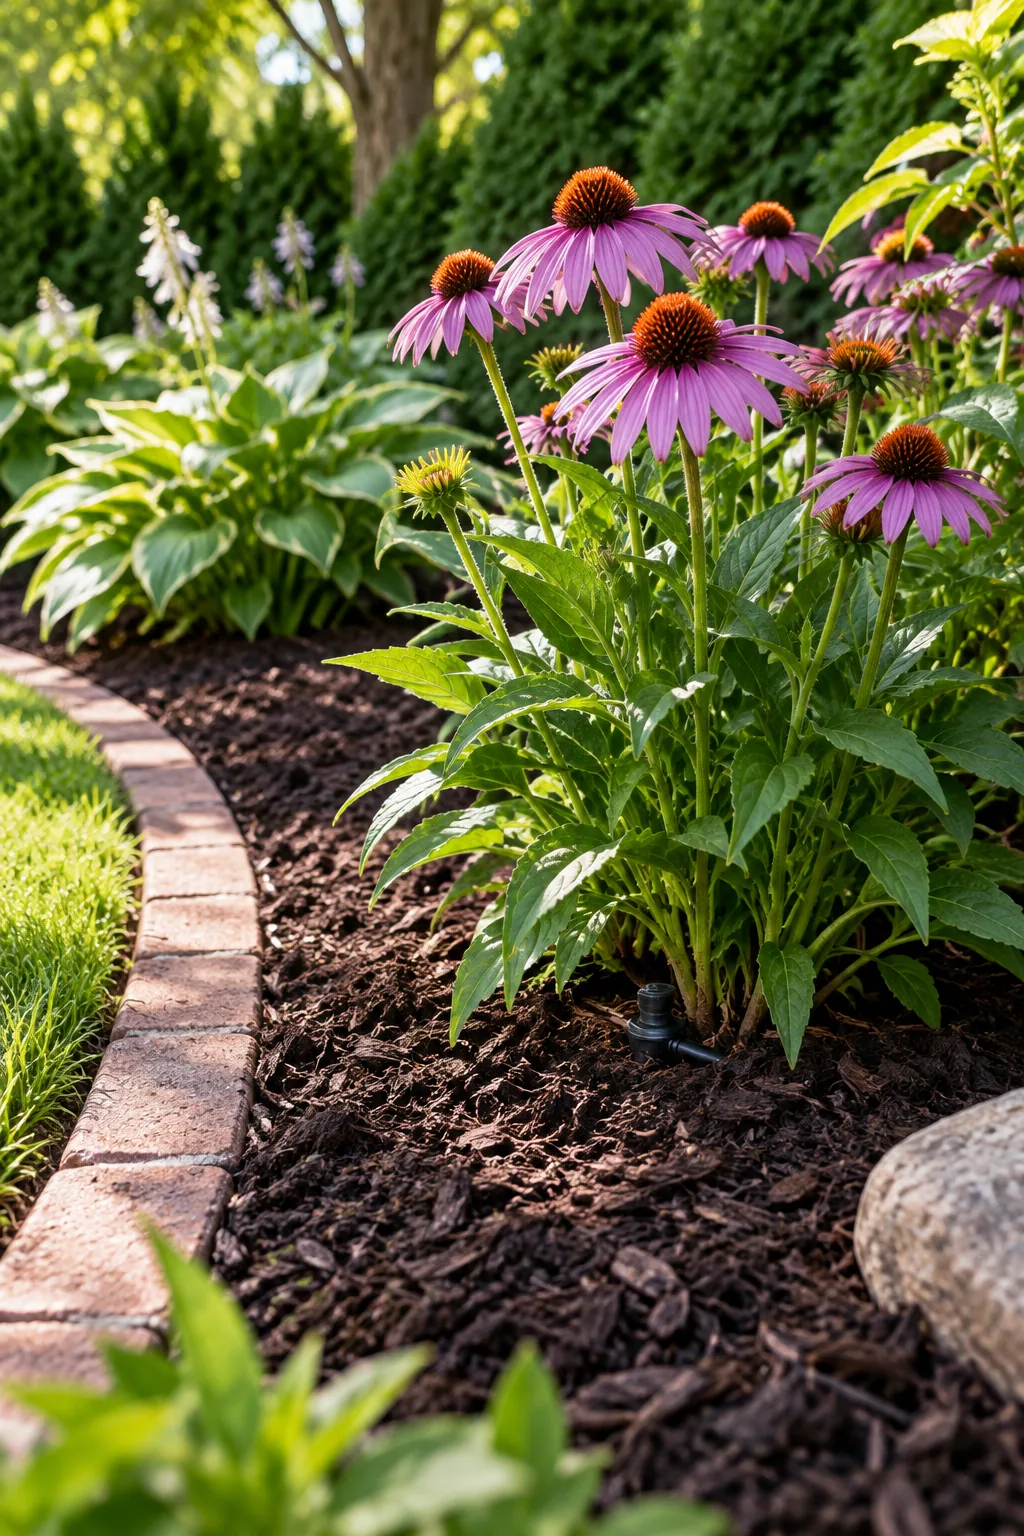
Once the base is solid, the structural foundation keeps the edging perfectly aligned to hold back the vital mulch layer. The 3-inch depth prevents weeds and retains moisture, but it relies entirely on this sturdy perimeter to stay in place during heavy seasonal downpours.
Even the most beautiful brick border will fail if the foundation is rushed. Watch out for these common installation errors that compromise the edge before you even begin planting.
Compacting the Sand Foundation for Longevity
Pouring sand directly into the trench is only the first step in building a lasting brick border. You must actively compress the leveling material to remove hidden air pockets, ensuring the base will not settle unevenly when exposed to heavy rain or constant foot traffic.
- Pour exactly two inches of coarse builder’s sand evenly into the bottom of the trench.
- Mist the sand lightly with a garden hose to help the jagged particles bind together.
- Pound the wet surface with a steel hand tamper until it feels as hard as concrete.
A thoroughly compacted base provides a rigid, level shelf for the heavy clay bricks to rest upon. This crucial step prevents aggressive grass runners from creeping underneath the brick joints and invading your carefully planned garden bed layers during the peak summer growing season.
Insulating the Soil with 3-Inch Hardwood Mulch
Behind the newly leveled brick border, the exposed soil needs immediate protection from the harsh sun and drying wind. I always apply exactly 3 inches of shredded hardwood mulch across the entire bed right after finishing the hardscape in my residential garden projects.
| Mulch Depth | Primary Benefit | Risk Factor |
|---|---|---|
| 1 inch | Decorative color | Weeds break through easily |
| 2 inches | Moderate moisture retention | Requires frequent topping off |
| 3 inches | Blocks weed seed germination | Optimal for feeder roots |
This specific depth is crucial because it is thick enough to block aggressive weed seed germination but porous enough to let oxygen reach the shallow feeder roots. Maintaining this exact volume creates a healthy, insulated environment for the plants to thrive year-round without suffocating.
Selecting Hardwood Over Pine Bark
Not all ground covers provide the same architectural benefits for a professionally layered garden bed. Shredded hardwood bark knits together as it settles, forming a cohesive mat that resists washing away during heavy downpours much better than large pine nuggets or lightweight dyed wood chips.
Routing Drip Tape Under the Mulch
Overhead sprinklers waste water and encourage fungal diseases on plant leaves, so placing irrigation below the mulch prevents water evaporation. Snake a black drip irrigation tape directly over the soil, then cover it completely with the thick hardwood mulch layer to hide the plumbing.
This hidden system delivers water straight to the root zones with zero evaporation loss, maximizing your watering efficiency. Keeping the foliage completely dry also stops mildew and rot from taking hold during humid summer nights, ensuring your delicate perennials stay vibrant and healthy.
Connecting and Automating the Drip System
Hooking your drip tape to a standard outdoor spigot requires a pressure regulator to prevent the delicate lines from bursting under municipal water pressure. Installing a simple battery-operated timer at the source allows you to automate the watering schedule, delivering consistent moisture early in the morning.
Securing and Capping the Irrigation Lines
Drip tape shifts as the ground freezes and thaws, which can pull emitters away from the plants. Planting in zig-zag groups of three creates instant fullness that conveniently hides the anchored lines from view while maintaining perfect moisture access for every individual root ball.
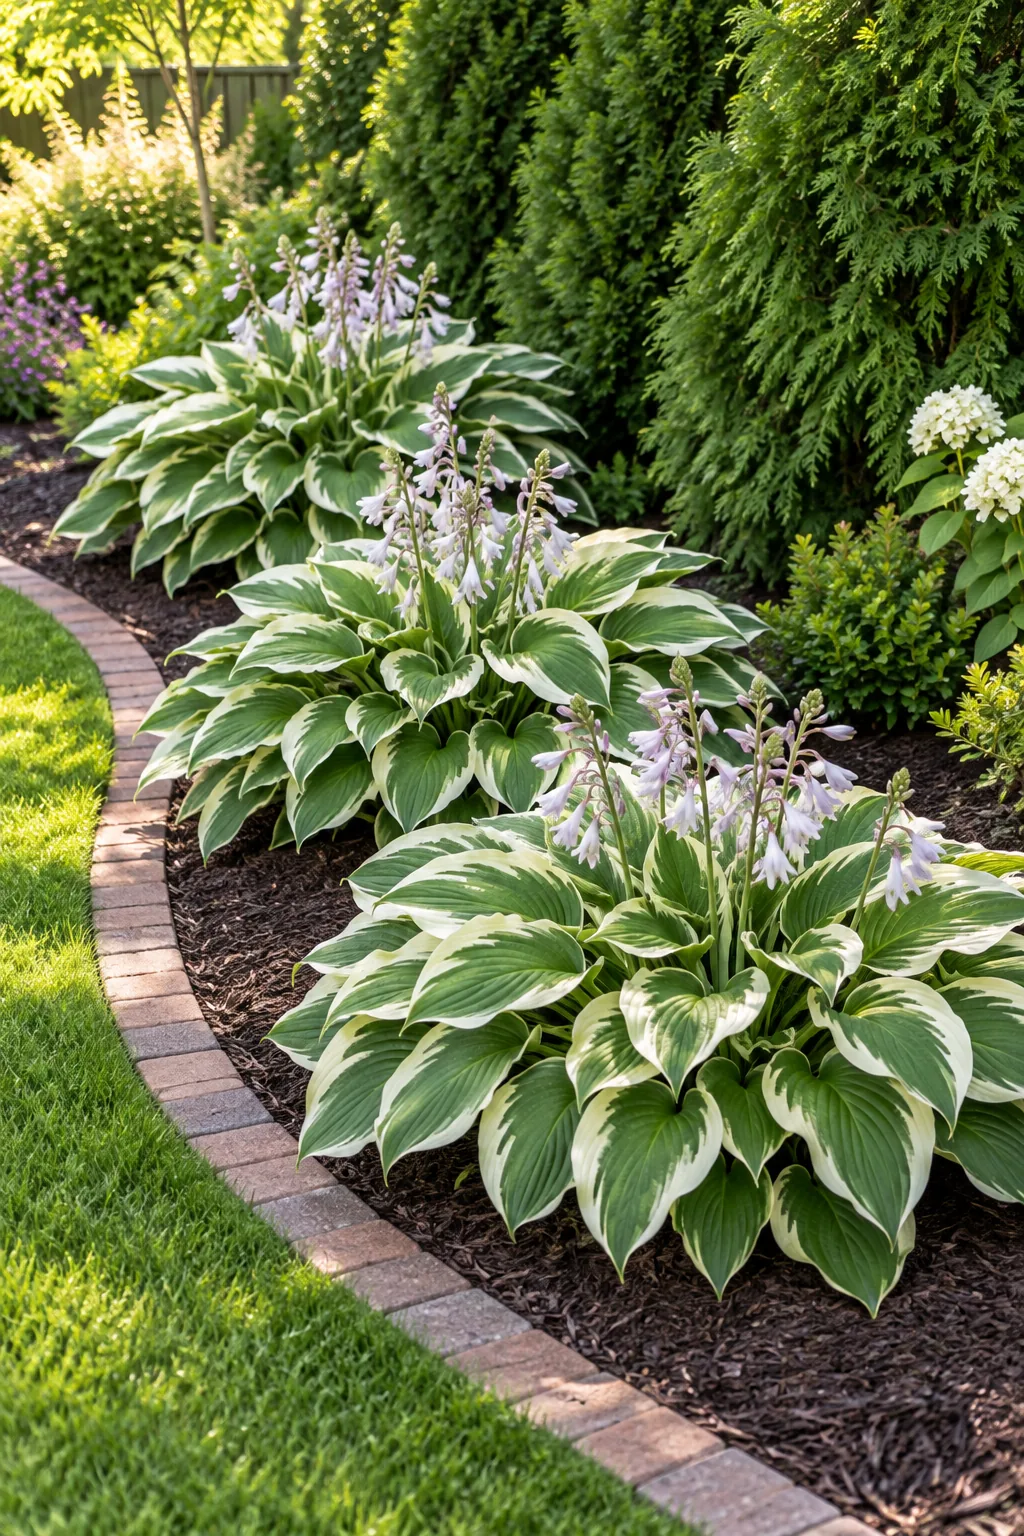
Pin the tubing down with galvanized landscape staples every 3 feet to keep everything perfectly positioned throughout the seasons. Ensure the end of the line is tightly capped or folded back on itself to maintain proper water pressure throughout the entire irrigation zone.
Filling the Midground with Triangle Plant Spacing
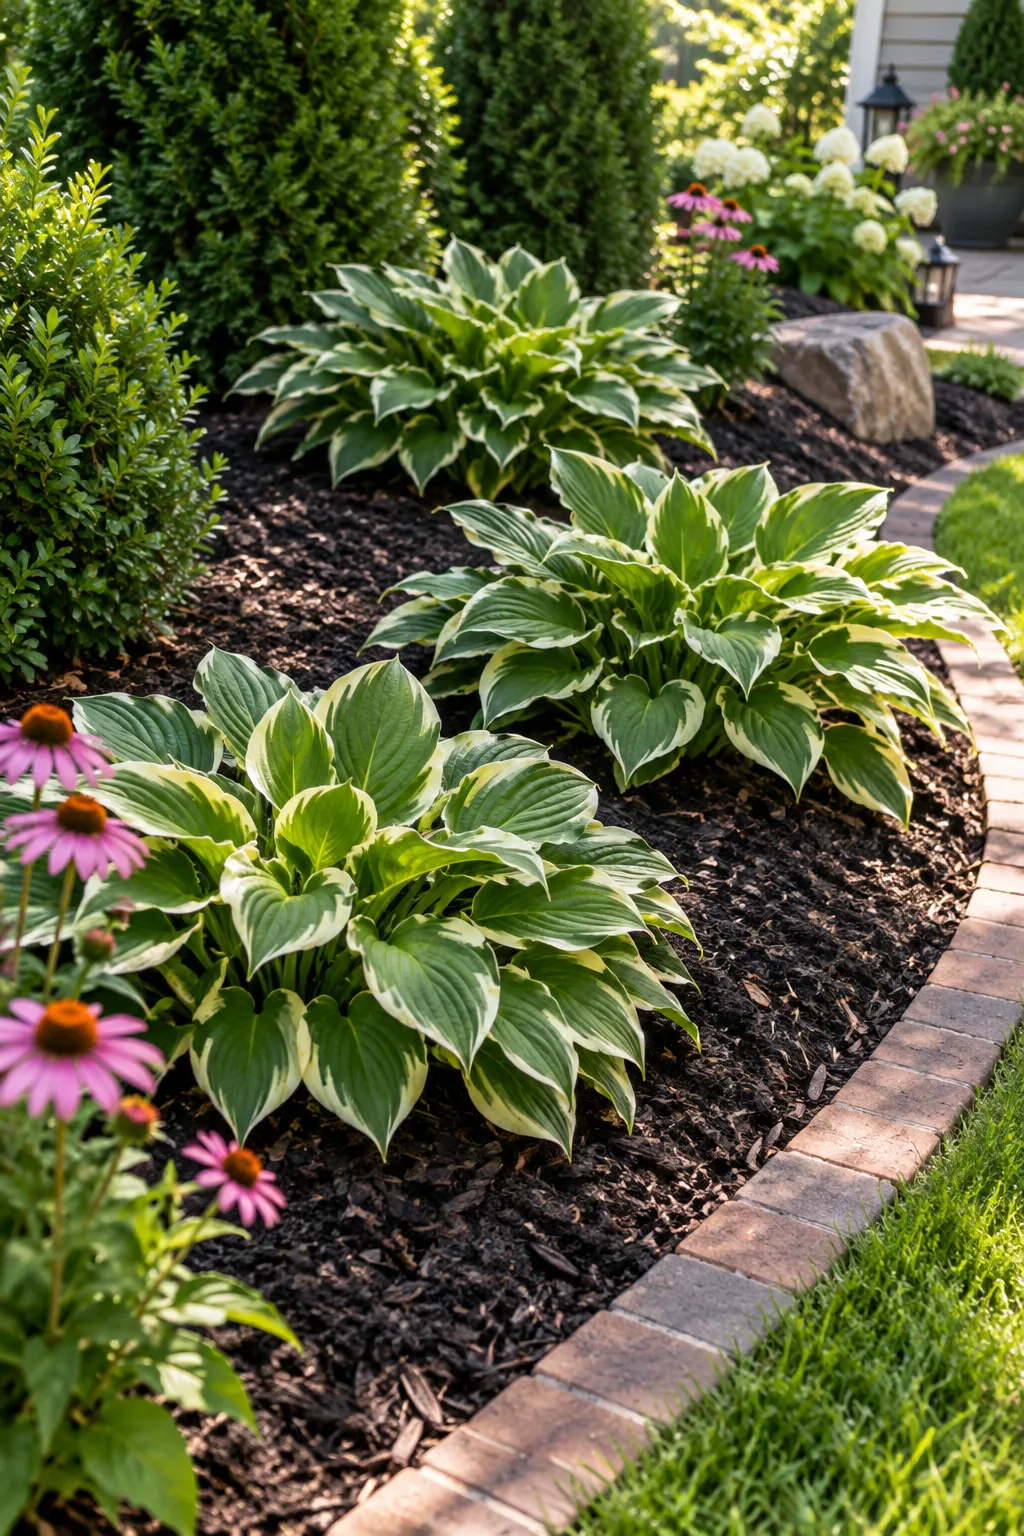
Planting in straight lines often looks rigid and sparse, making the garden feel artificial and incomplete. Use triangle plant spacing by grouping three identical perennials in an overlapping zig-zag pattern to mimic natural growth habits and quickly fill the empty visual gaps.
Calculating Spacing for Mature Plant Widths
Space the centers of the plants according to their mature width to create a naturally full, interlocking mass of foliage. This technique ensures the bed looks lush and established much faster than traditional linear planting rows, completely filling the midground visual layer with vibrant color.
Building the Backdrop with Staggered Evergreens
The back wall of the garden bed provides year-round structure and privacy, and zig-zagging tall shrubs creates a solid privacy wall. Plant a row of staggered evergreens, offsetting every other tree slightly forward to build incredible visual depth and block unwanted sightlines.
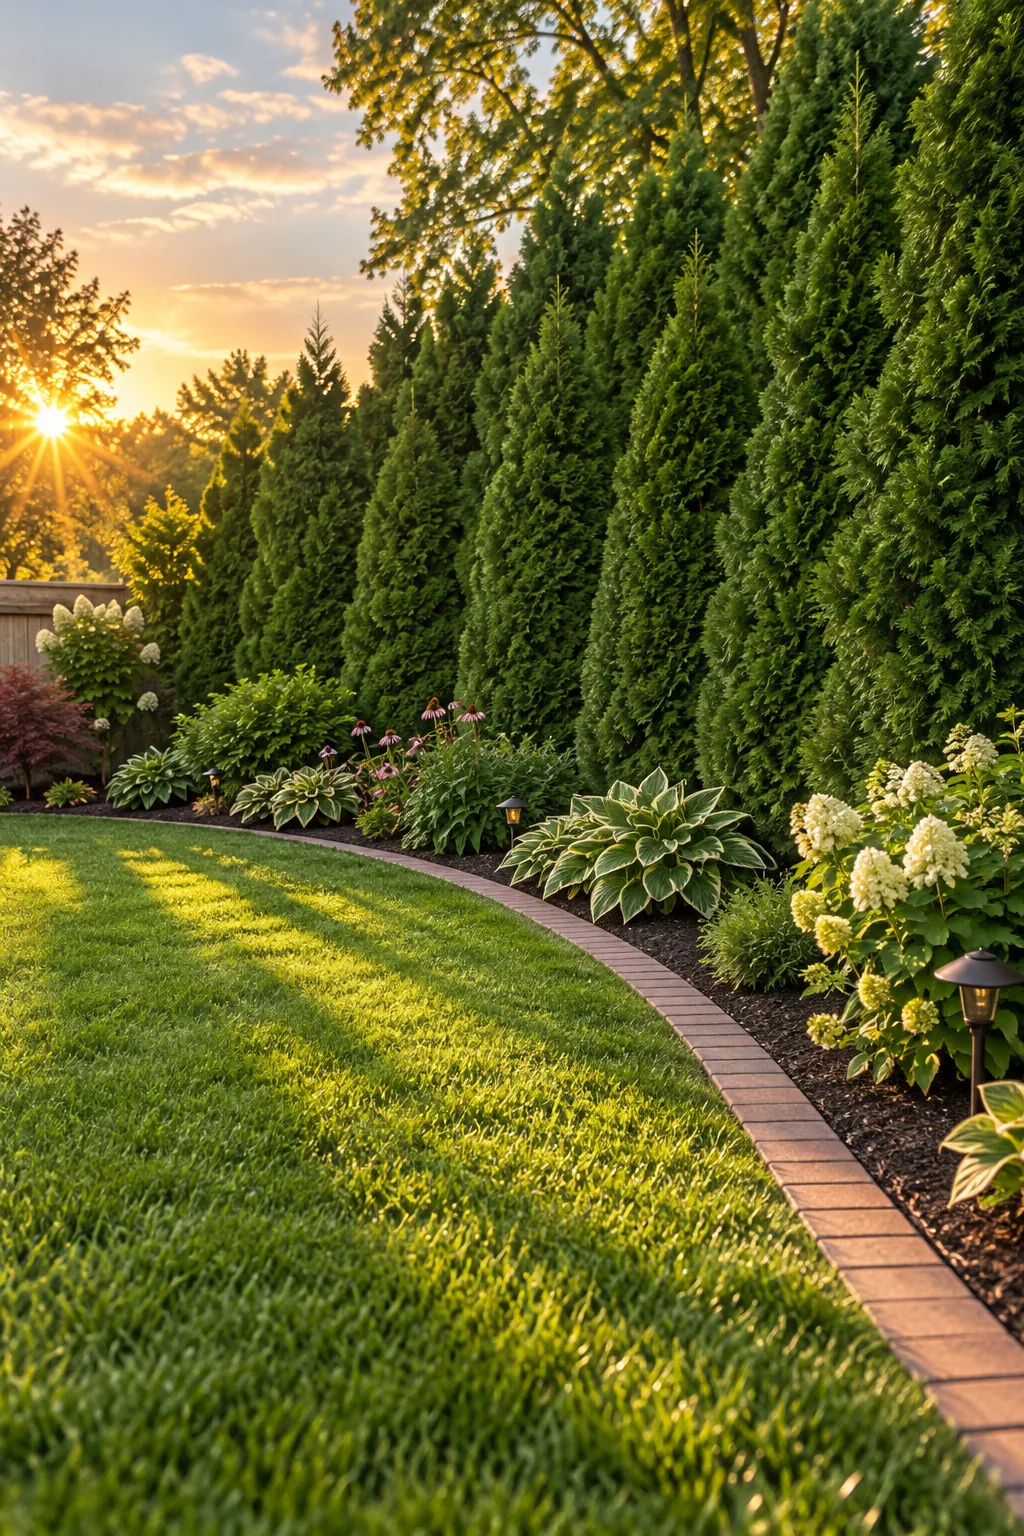
This technique closes the visual gaps between the branches much faster than a single straight line, creating a solid, lush green backdrop. When I planted the privacy screen at my own house, staggering the junipers instantly blocked the view of my neighbor’s busy driveway.
Pruning the Evergreen Privacy Screen
Pruning the staggered evergreens once a year keeps the privacy wall dense and encourages outward branching. Trimming the tips lightly in late winter ensures the shrubs maintain their shape without outgrowing the designated back layer of your carefully planned and spaced garden bed.
5 Distinct Landscaping Styles to Try
Explore these five distinct landscaping styles to find the perfect plant and material palette for your own backyard.
Modern Desert Architectural Oasis: Swap mulch for crushed gravel and use corten steel edging to create a striking, drought-tolerant desert aesthetic.
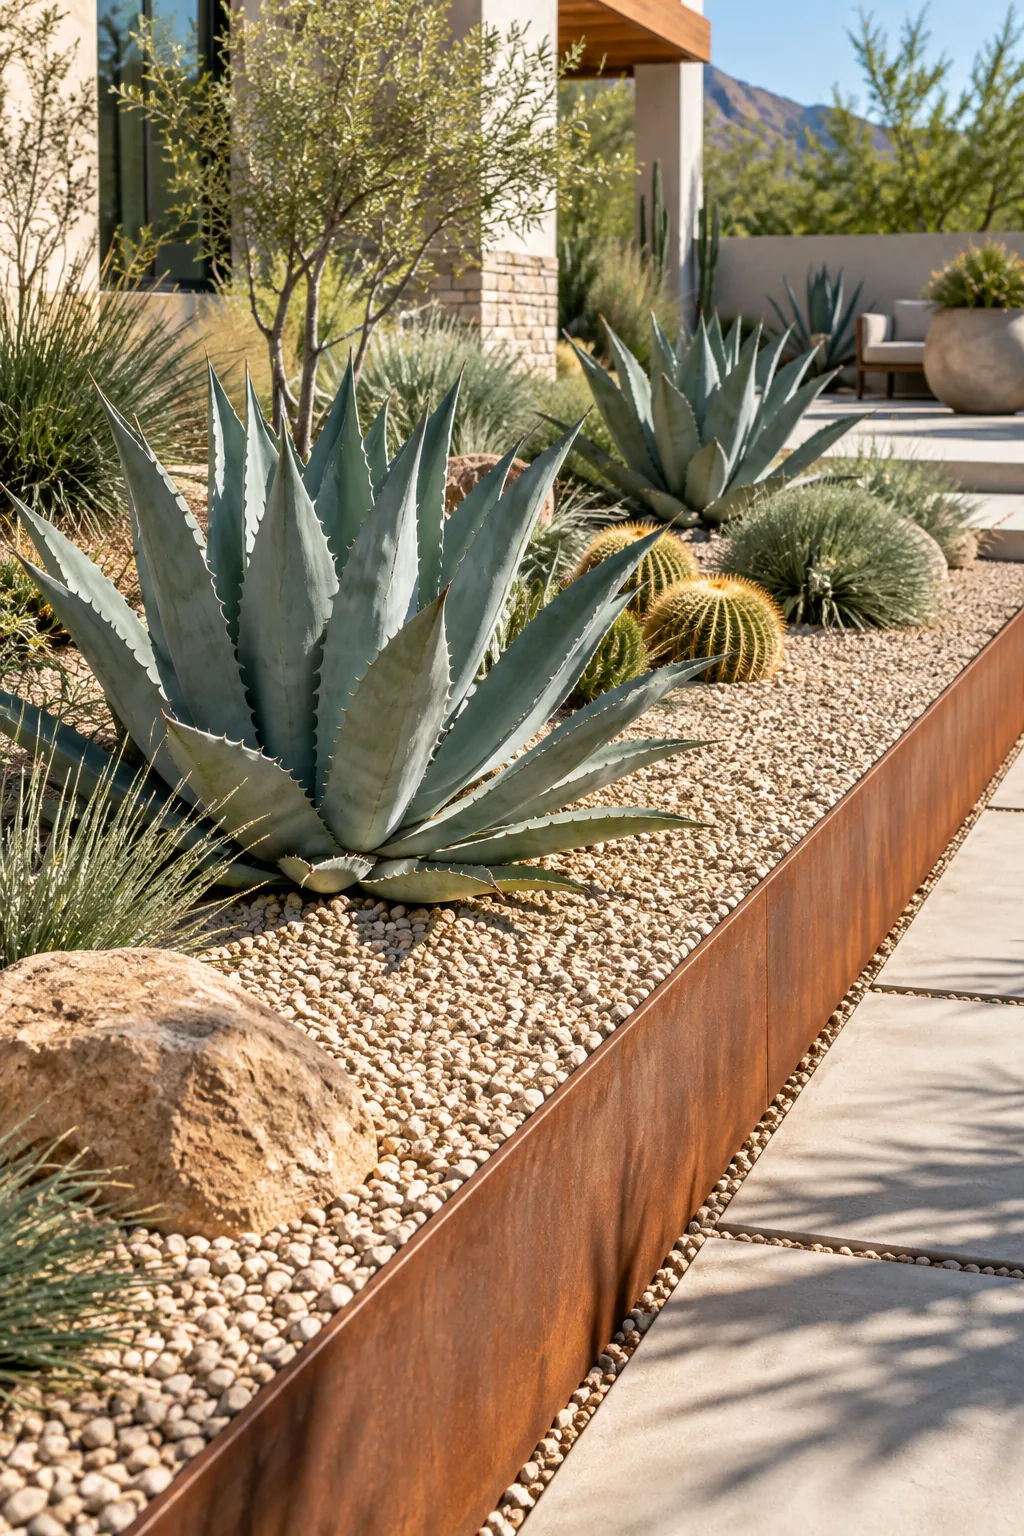
Romantic English Cottage Garden: Allow soft perennials like lavender to spill over natural flagstone borders for a relaxed, romantic cottage feel.
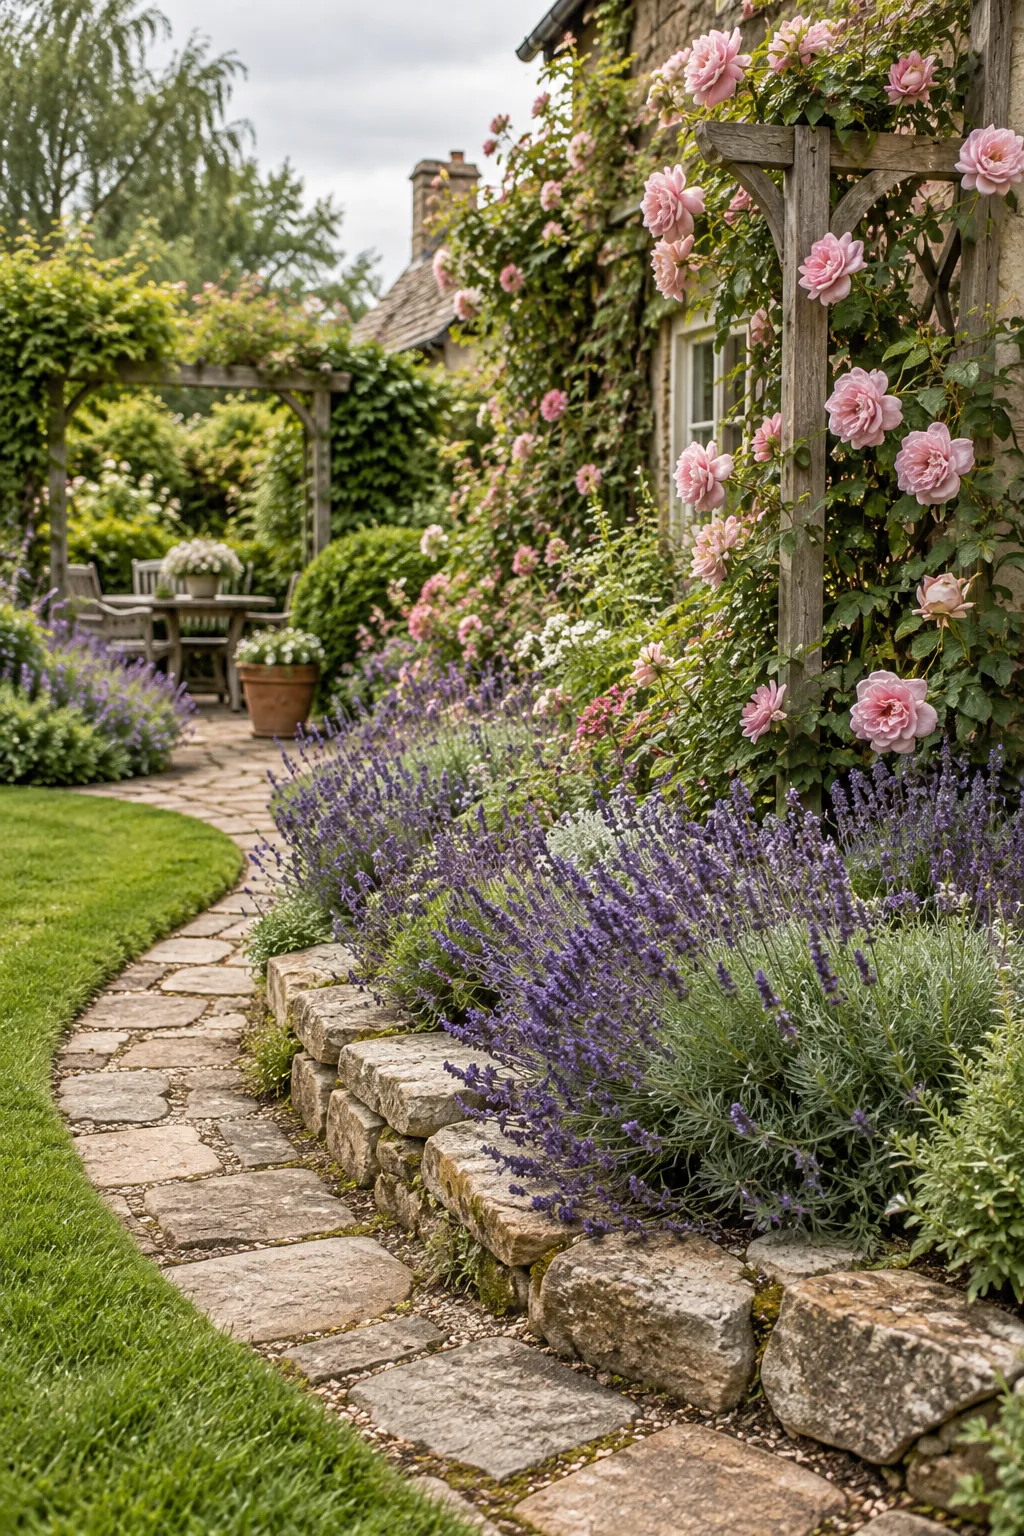
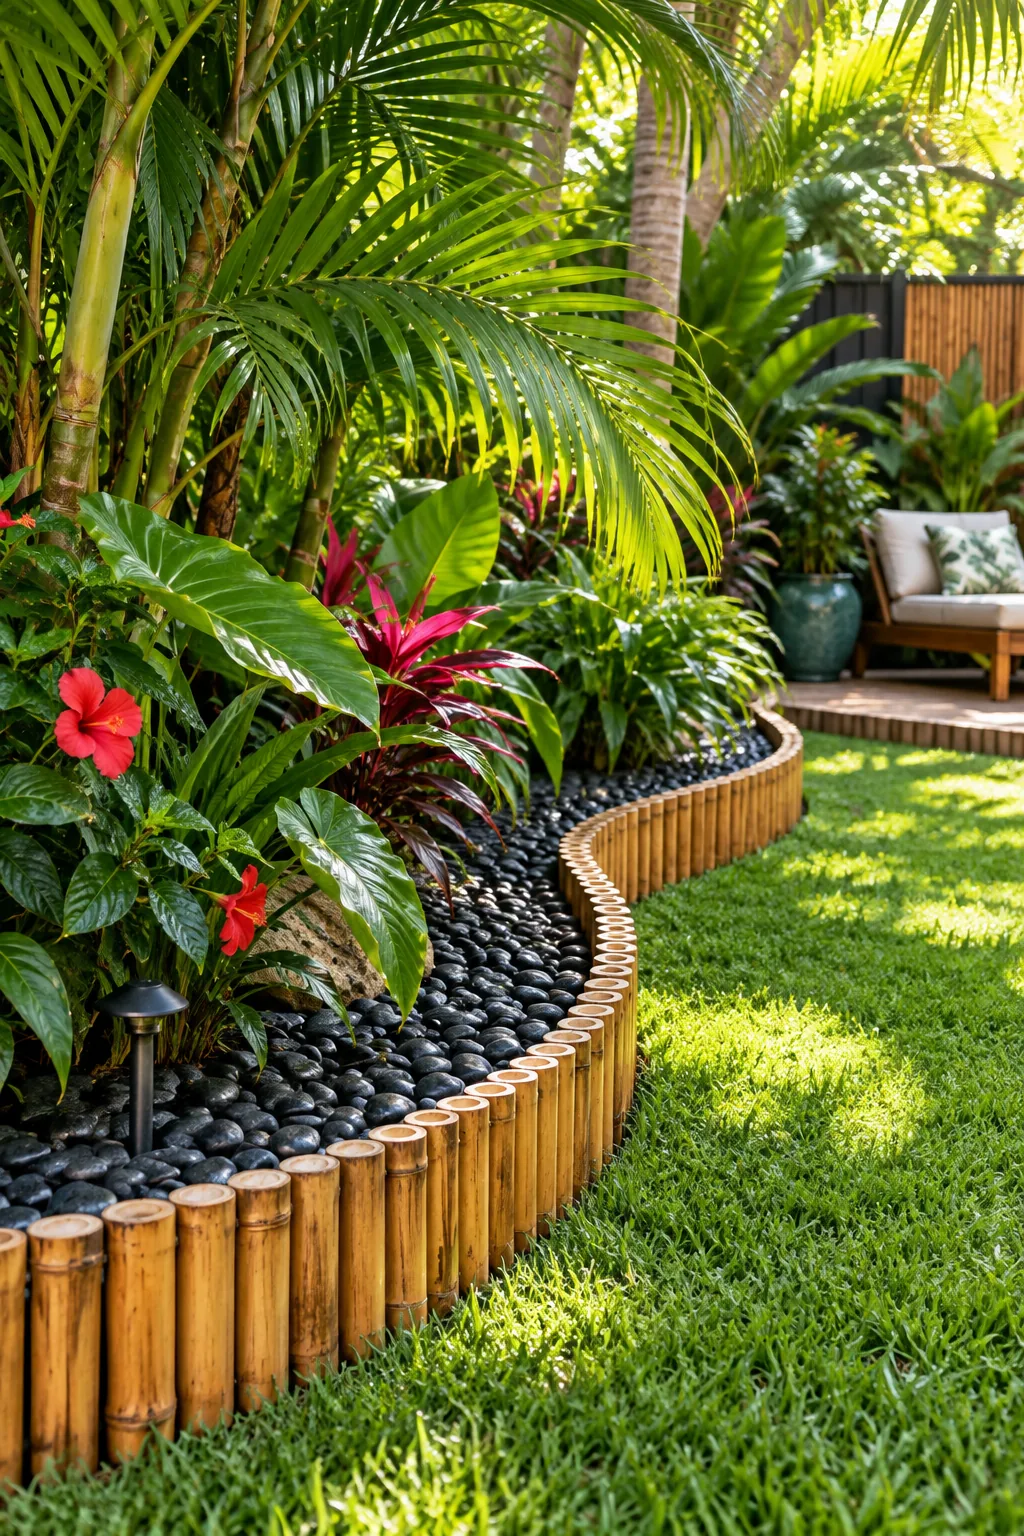
Vibrant Tropical Backyard Oasis: Use smooth black river rocks instead of wood mulch to contrast beautifully with oversized, glossy tropical foliage.
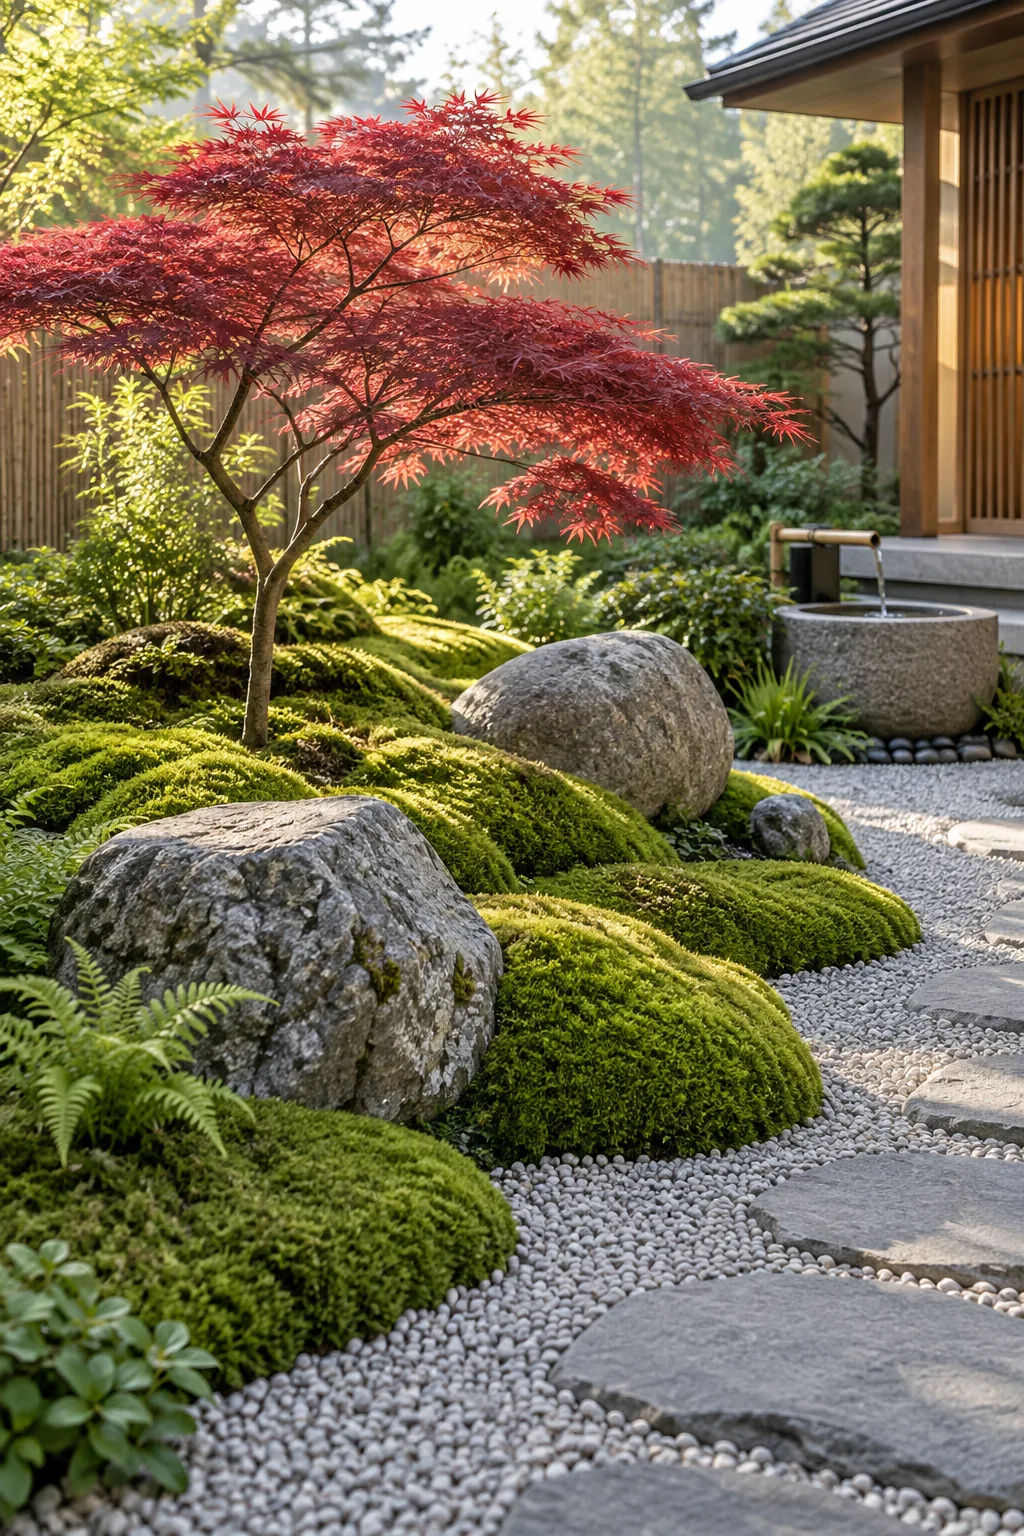
Serene Minimalist Zen Garden: Focus on extreme simplicity by layering vibrant green moss around smooth granite boulders and a single focal tree.
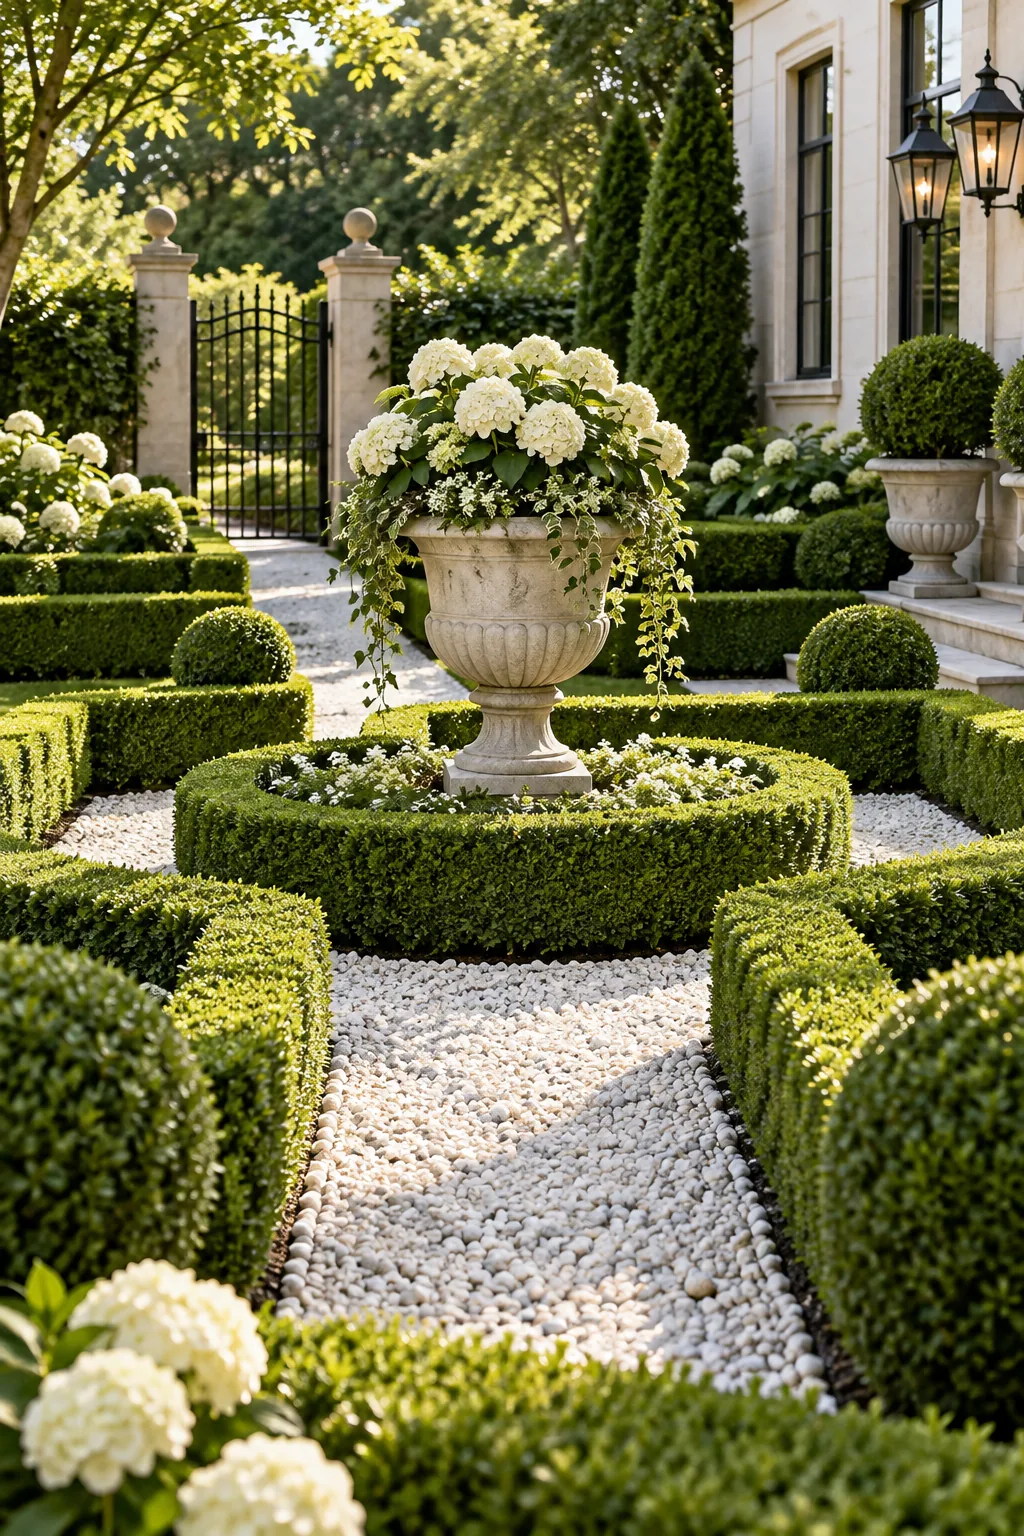
Traditional Formal Estate Elegance: Rely on strict symmetry and tightly clipped evergreen hedges to bring traditional, upscale estate elegance to your yard.
The Complete Zone and Layer Blueprint
Bringing these elements together creates a self-sustaining landscape ecosystem, and the final master plan brings all spacing and edging rules together. Your zone and layer blueprint requires placing the flush edge at the lawn line, routing the drip tape beneath 3 inches of mulch, clustering perennials in triangles, and anchoring the back with staggered evergreens.
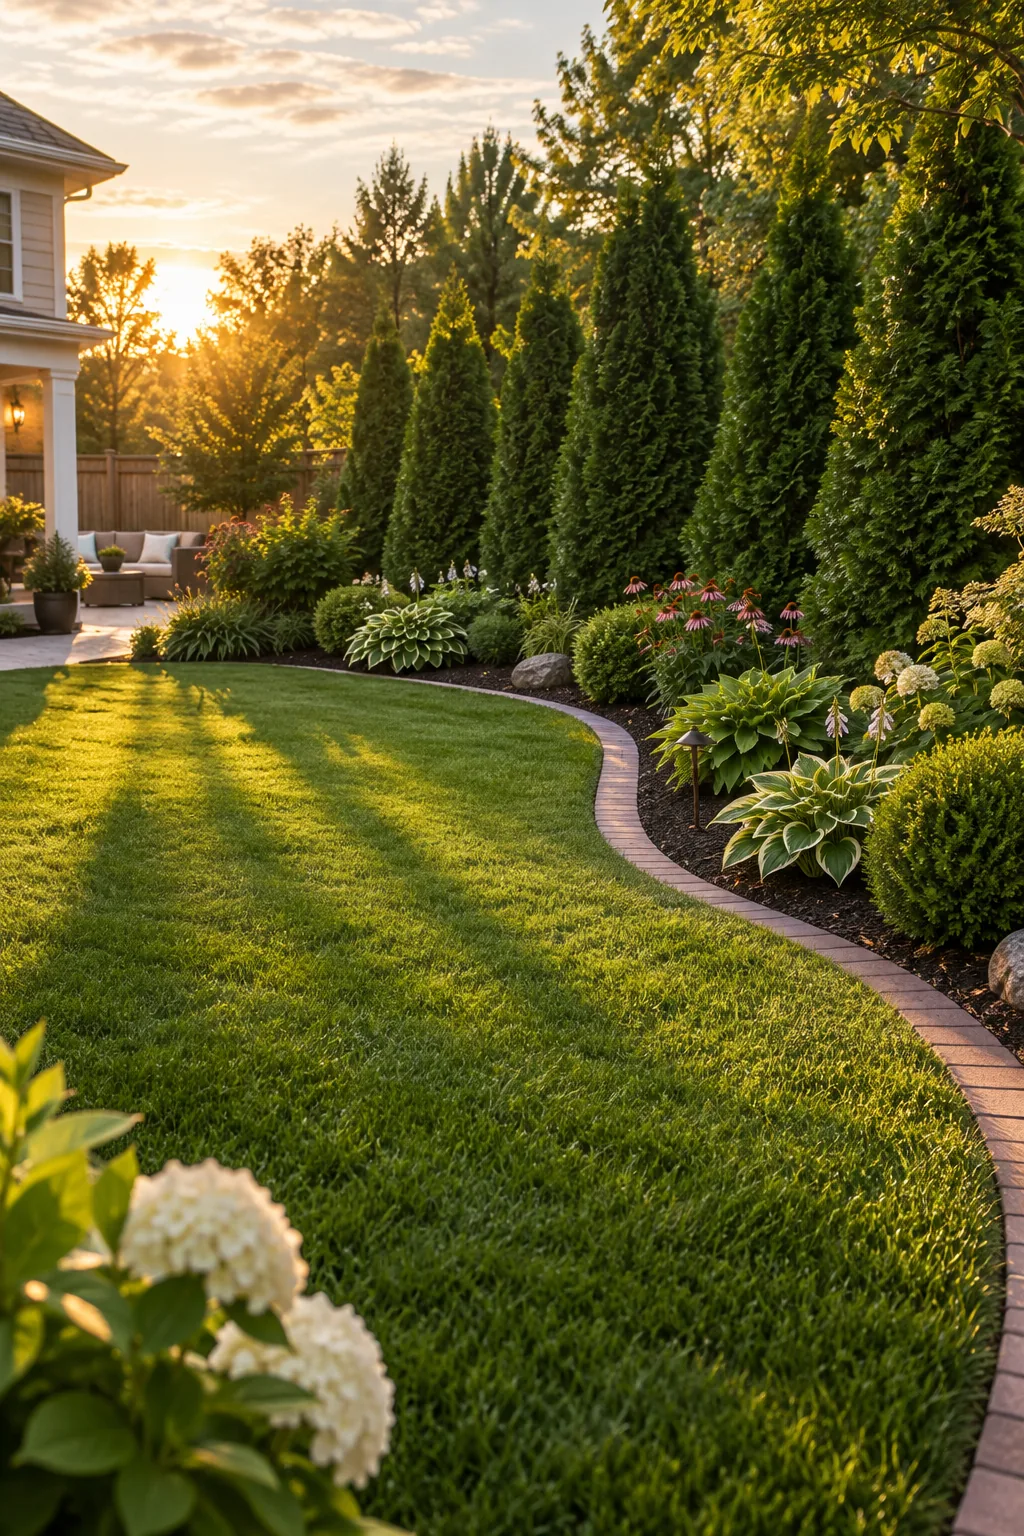
Follow this exact spatial order for a professional result, working from the outer border inward to the tallest back layer. Before you begin digging holes and laying brick, verify your layout against this final architectural checklist to ensure every element aligns perfectly.