
DIY 5-Foot Welcome Porch Leaner (Free Cut & Seal Sheet)
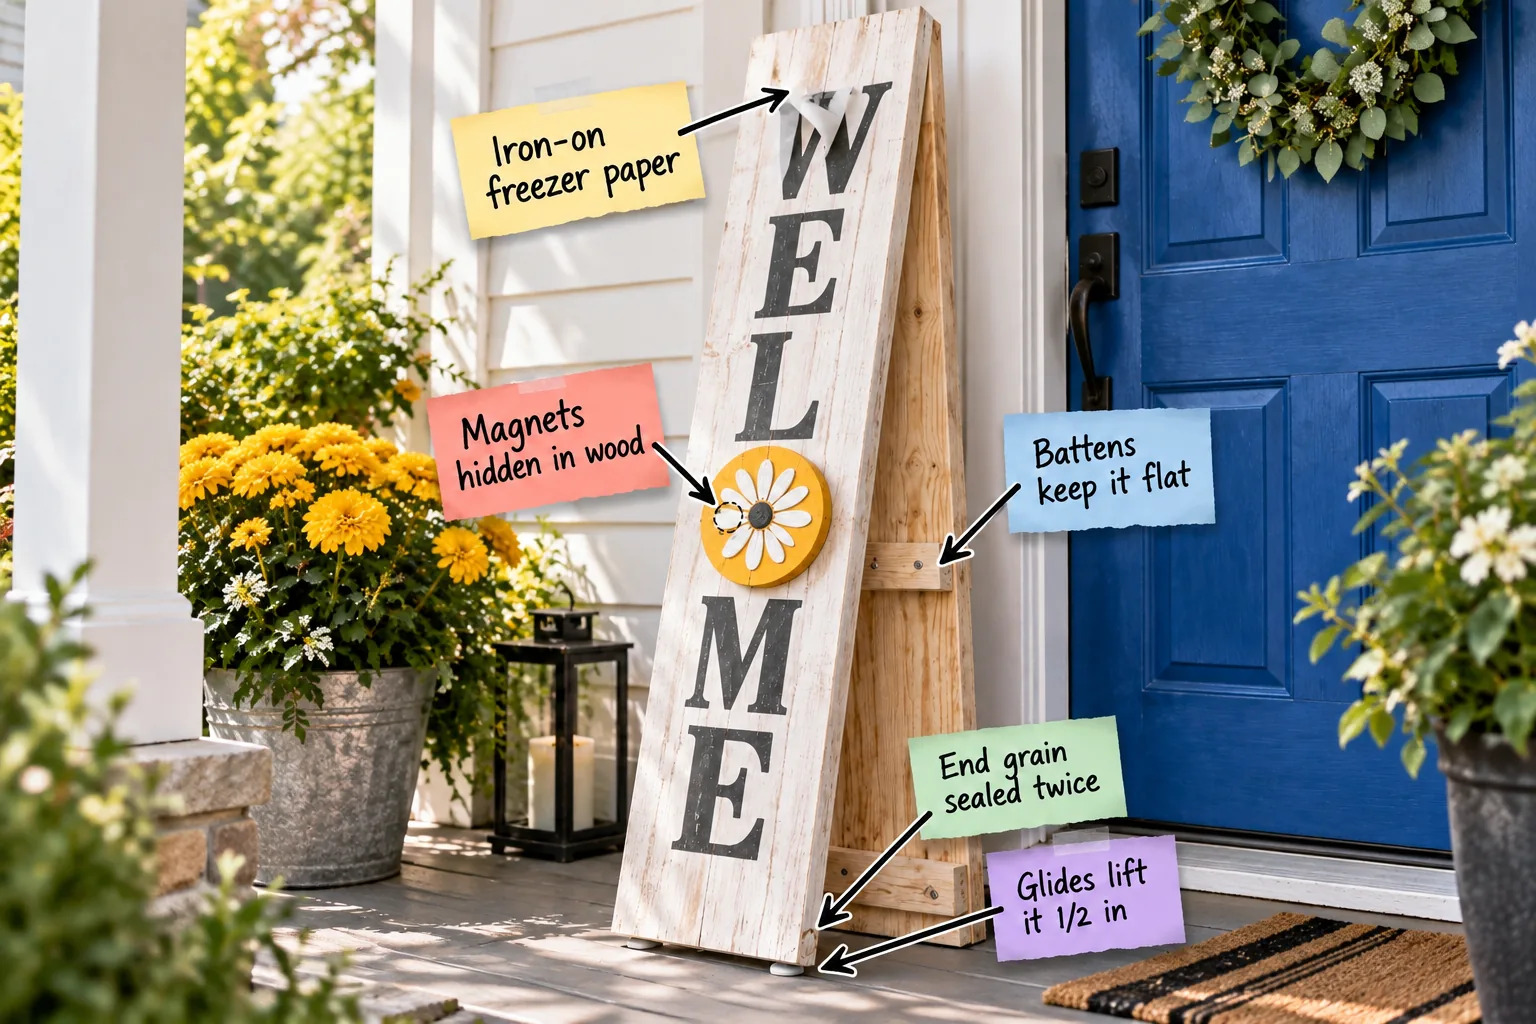
You will be able to cut, assemble, stencil, and waterproof a professional-quality 5-foot porch leaner that survives the elements using our free printable plans. Grab the download below for your complete cut list, hardware and magnet shopping list, letter-height spacing chart, and the ordered stencil, seal, and cure sequence.
The 5-Foot Cut List and Build Sheet
A standard 1×12 pine board cut to exactly 60 inches creates the perfect visual impact beside a typical front door without overwhelming your entryway or becoming too heavy to move. I always recommend selecting a premium, kiln-dried board with minimal knots and straight grain to ensure a smooth, professional painting surface that requires less sanding.

To get started immediately, download our comprehensive two-page printable build sheet that guarantees your spacing and hardware are perfectly dialed in for this specific size. This free guide includes your exact cut list, a detailed magnet and hardware shopping checklist, and a foolproof letter-height spacing chart for perfectly centered text from top to bottom.
Securing the Back Battens
My very first porch sign curled into a taco after one Texas thunderstorm, so now I always reinforce the back structure before applying a single drop of paint. A 5-foot pine board will inevitably cup outdoors if left unsupported, making horizontal cross battens absolutely essential for long-term stability and a perfectly flat face.
- Cut three 10-inch sections of 1×2 pine, recessing them at least one inch from the edges so they remain invisible from the front.
- Apply exterior-grade wood glue along the back of each batten; screws alone will eventually loosen as the wood expands.
- Secure the battens horizontally using 1 1/4-inch coated exterior deck screws to prevent orange rust from bleeding down your sign.
Recessing the Hidden Magnets
Creating a seamless, invisible connection for your seasonal shapes requires recessing the magnet directly into the wood before you start the whitewashing process. Measure down to your designated ‘O’ position, mark the exact center, and use a 1-inch Forstner bit to drill a shallow, flat-bottomed cavity exactly the thickness of your magnet.
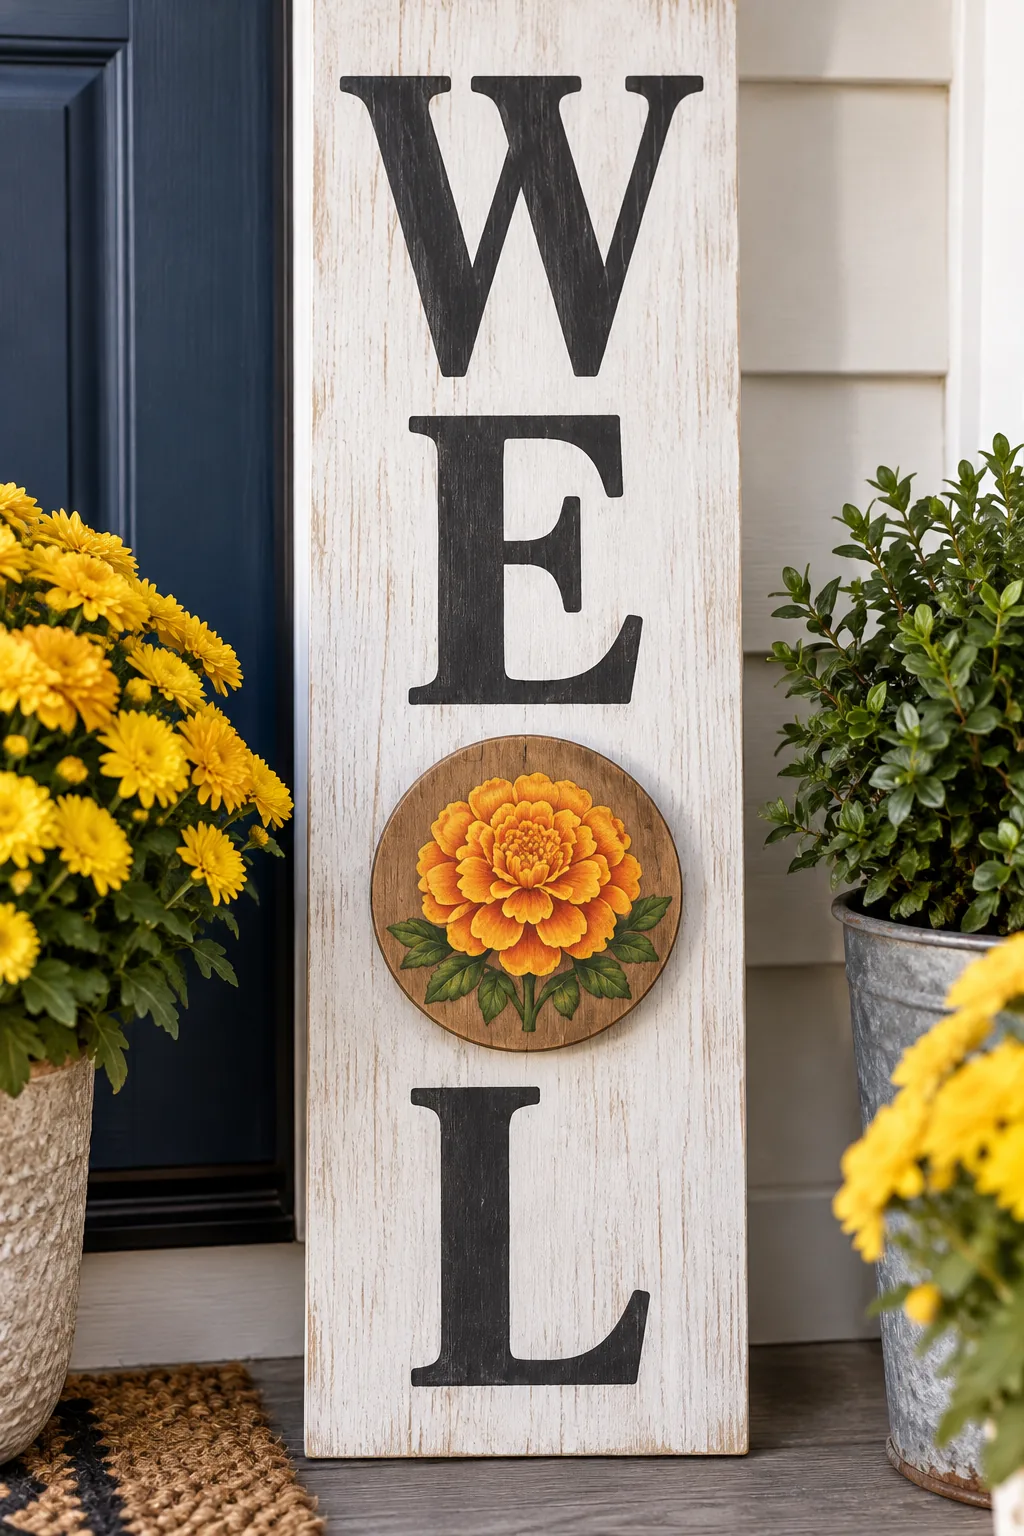
Once your precision hole is drilled and cleared of sawdust, epoxy a heavy-duty neodymium magnet flush with the wood surface and let it cure for 24 hours. This hidden magnetic base allows your interchangeable wooden seasonal rounds to snap on perfectly flat against the sign, completely eliminating the need for visible metal hooks, nails, or clumsy Velcro strips that degrade in the sun.
Whitewashing the Pine Base
Mix a simple, forgiving whitewash ratio of 1 part white exterior paint to 1 part water to create a bright but rustic background that highlights the wood grain. Brush the watery mixture on generously following the direction of the grain, then wipe it back immediately with a clean, lint-free cotton rag to let the natural pine texture show through the pigment.
Iron-On Freezer Paper Stenciling
I used to struggle with paint bleeding under rigid plastic stencils until I discovered the magic of using standard kitchen freezer paper for razor-sharp paint lines. Cut your WELCOME letters from the paper using a craft machine, position them carefully on the board, and iron the shiny side down directly onto the fully dried whitewashed wood.
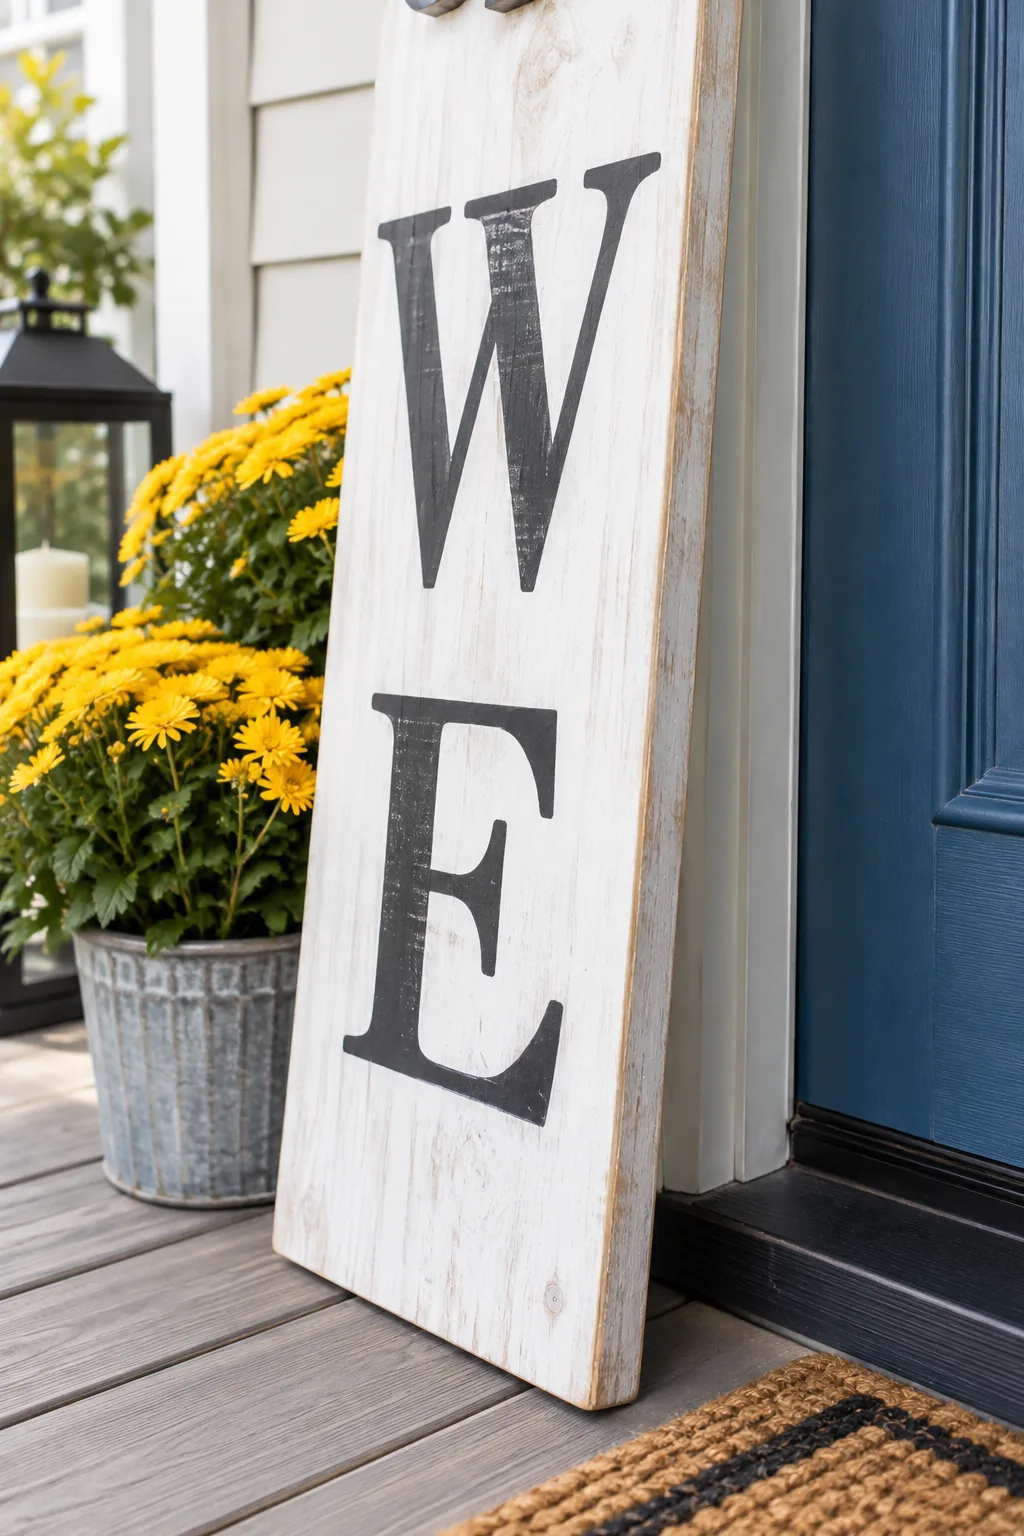
The gentle heat from your household iron melts the paper’s thin wax coating just enough to create a temporary, bleed-proof seal against the slightly rough pine surface. After lightly stippling your charcoal exterior paint over the letter cutouts and letting it dry to the touch, simply peel the paper away to reveal incredibly crisp, professional edges.
Painting the Seasonal Rounds
To replace the traditional letter ‘O’ in your sign, cut or purchase a set of 5-inch lightweight wooden circles from your local craft supplier. You can customize these blank shapes for every major holiday or season, attaching a matching neodymium magnet to the exact center back of each round with a strong two-part epoxy.
| Season | Design Idea | Base Color | Detailing |
|---|---|---|---|
| Spring | Blooming Tulip | Soft Pink | Green stem accents |
| Summer | Bright Sun | Golden Yellow | Orange painted rays |
| Fall | Rustic Marigold | Deep Orange | Brown center stippling |
| Winter | Crisp Snowflake | Ice Blue | White geometric lines |
While the colorful front of your sign gets all the neighborhood attention, applying a heavy protective seal specifically to the vulnerable bottom edge is what actually guarantees its survival. Ground moisture is the absolute worst enemy of any wooden porch decor, making specialized waterproof coatings an absolute necessity for longevity.
Waterproofing the End Grain
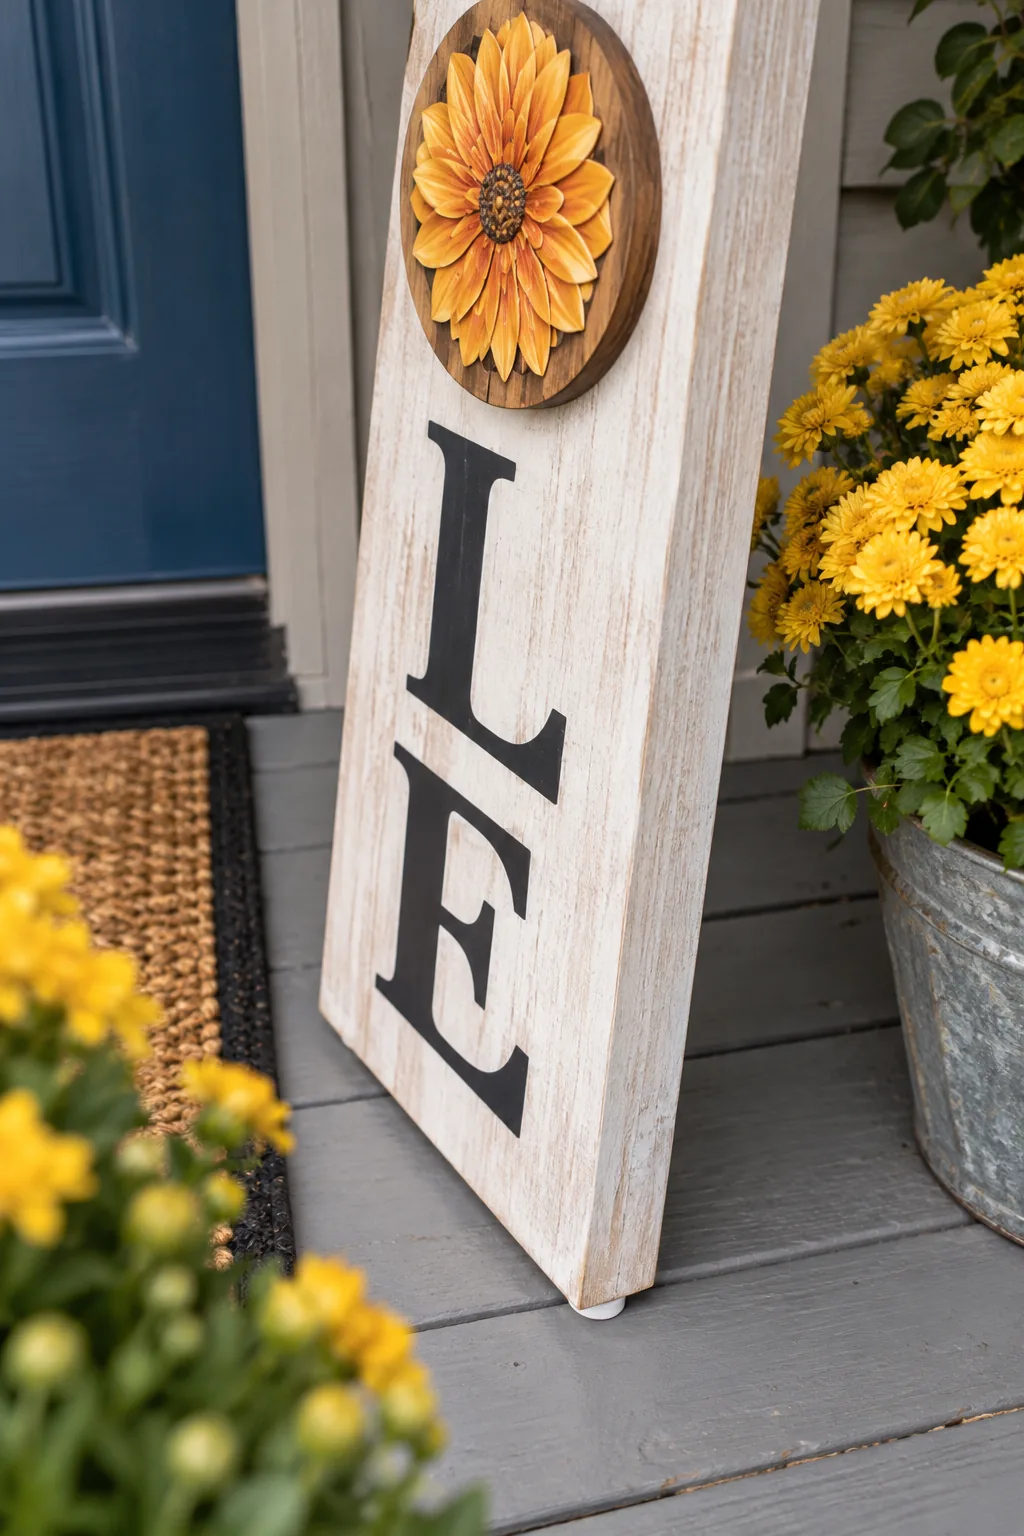
I once lost a gorgeous fall sign to base rot in a single season, so now I never skip sealing the bottom edge with two heavy coats of exterior spar urethane. The bottom end grain of a vertical pine board acts exactly like a sponge on a wet porch, so this specialized marine-grade finish is required to block ground moisture from wicking up into the wood fibers.
5 Ways to Style a Magnetic Porch Leaner
Swap out the colors and seasonal rounds to match your home's exact exterior style.
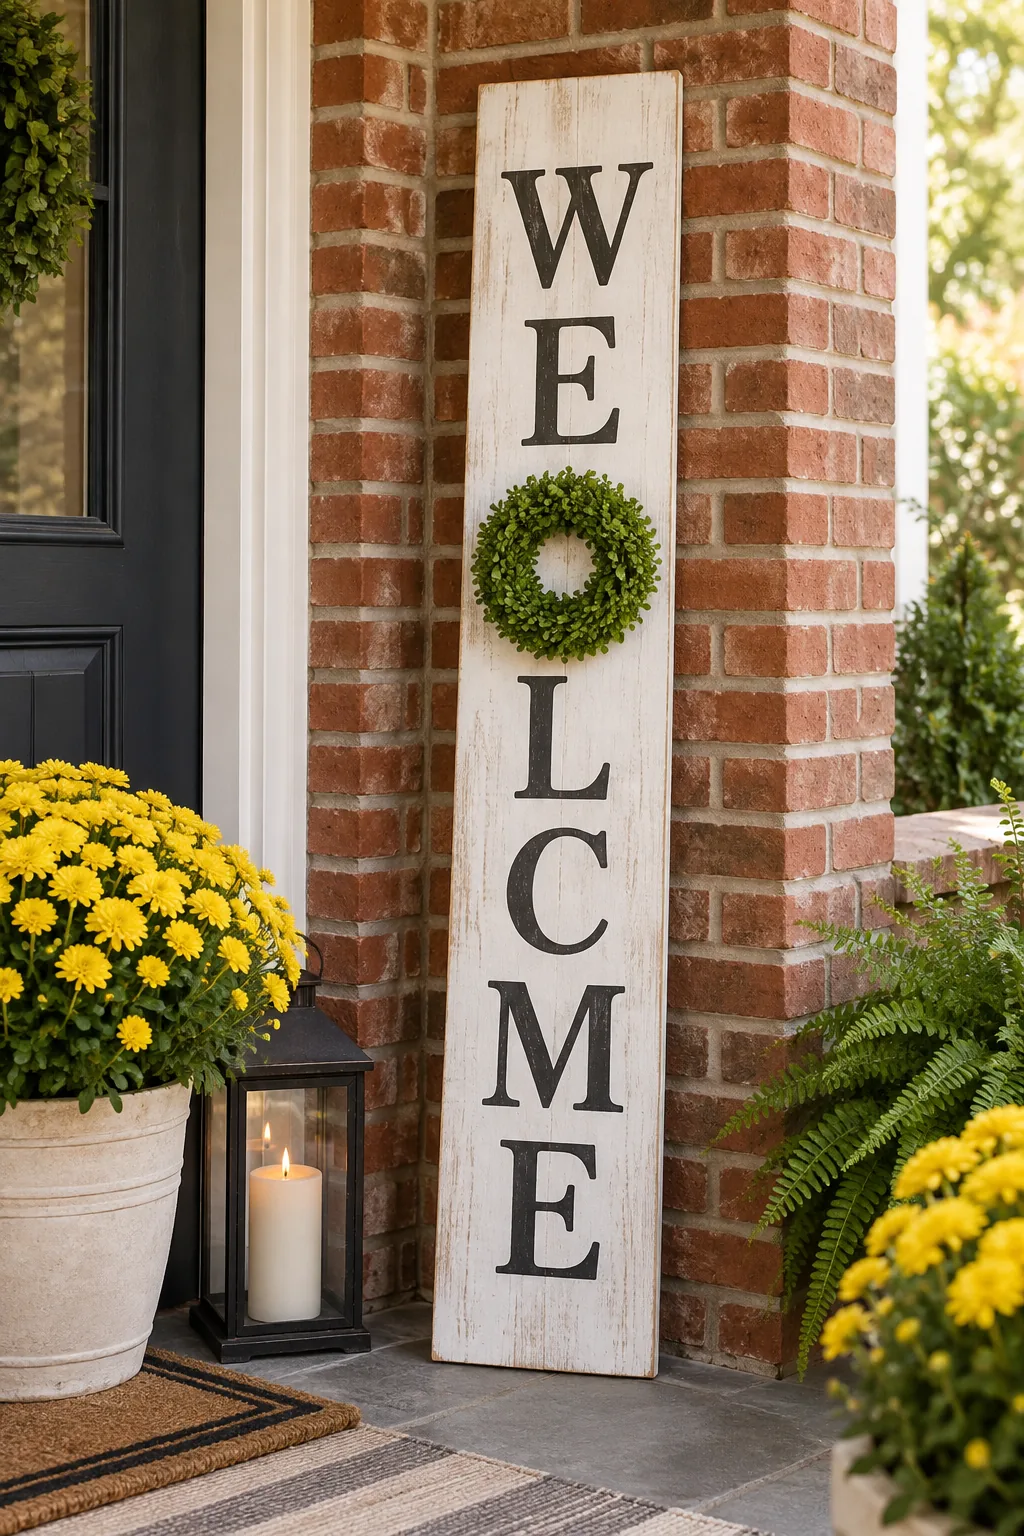
Farmhouse Classic: A simple boxwood wreath adds a pop of greenery that works beautifully year-round against traditional red brick.
Modern Coastal: Deep navy paint provides a striking contrast for white lettering and a beach-inspired starfish round.

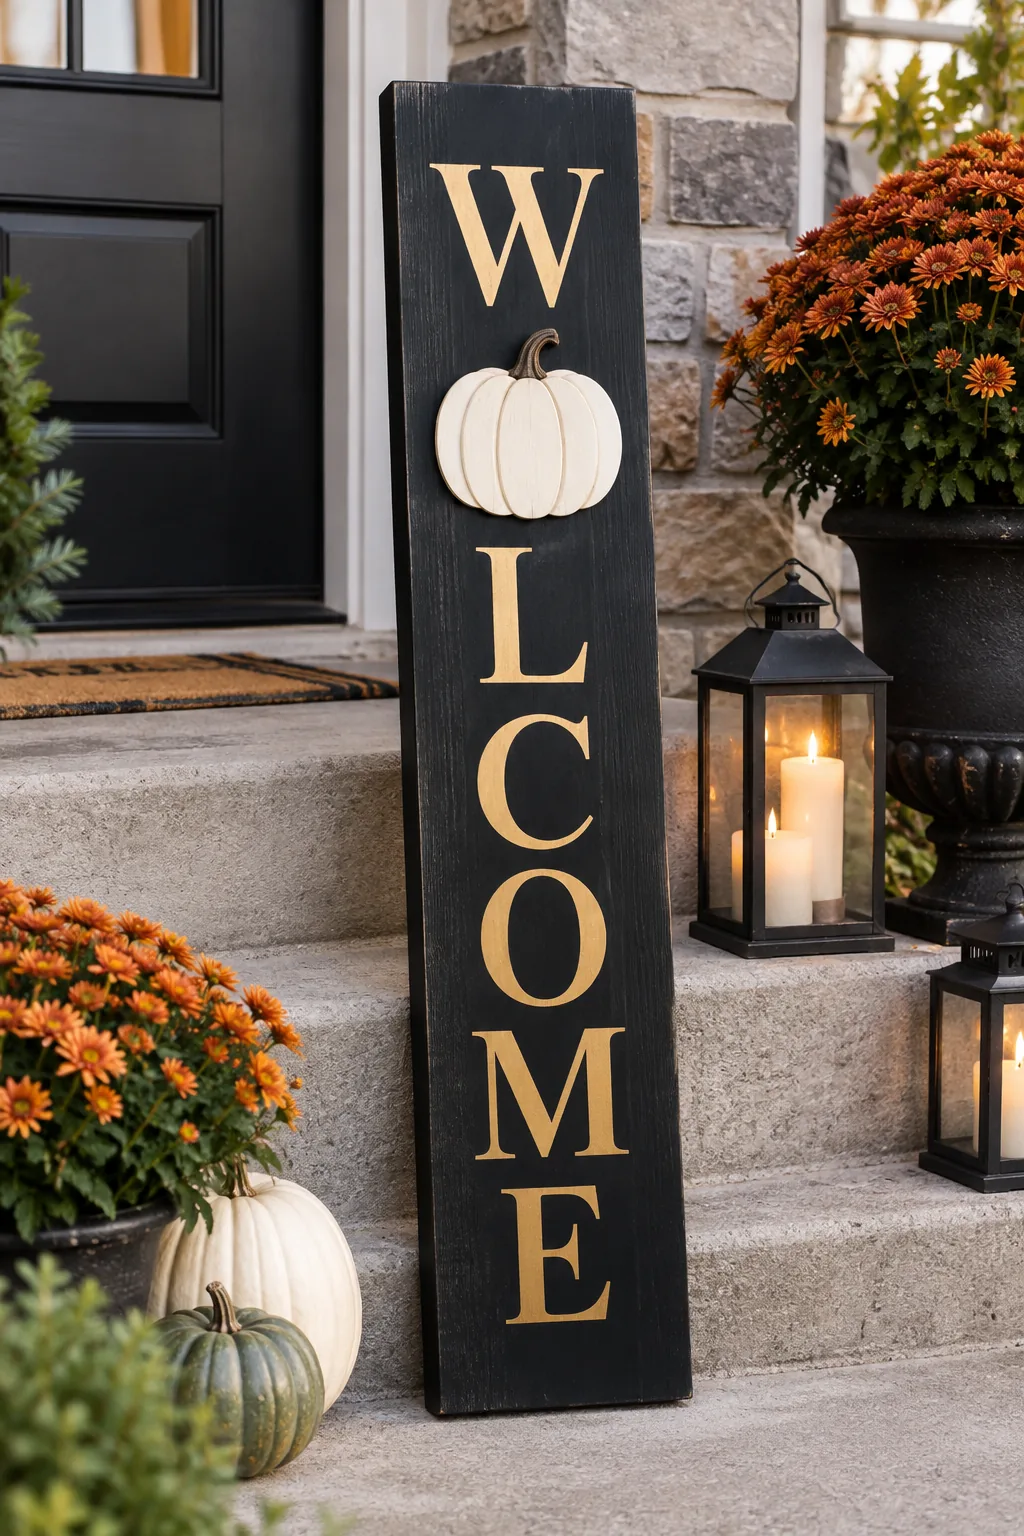
Moody Autumn: Matte black wood paired with metallic gold lettering creates an elegant, dramatic backdrop for a white pumpkin.
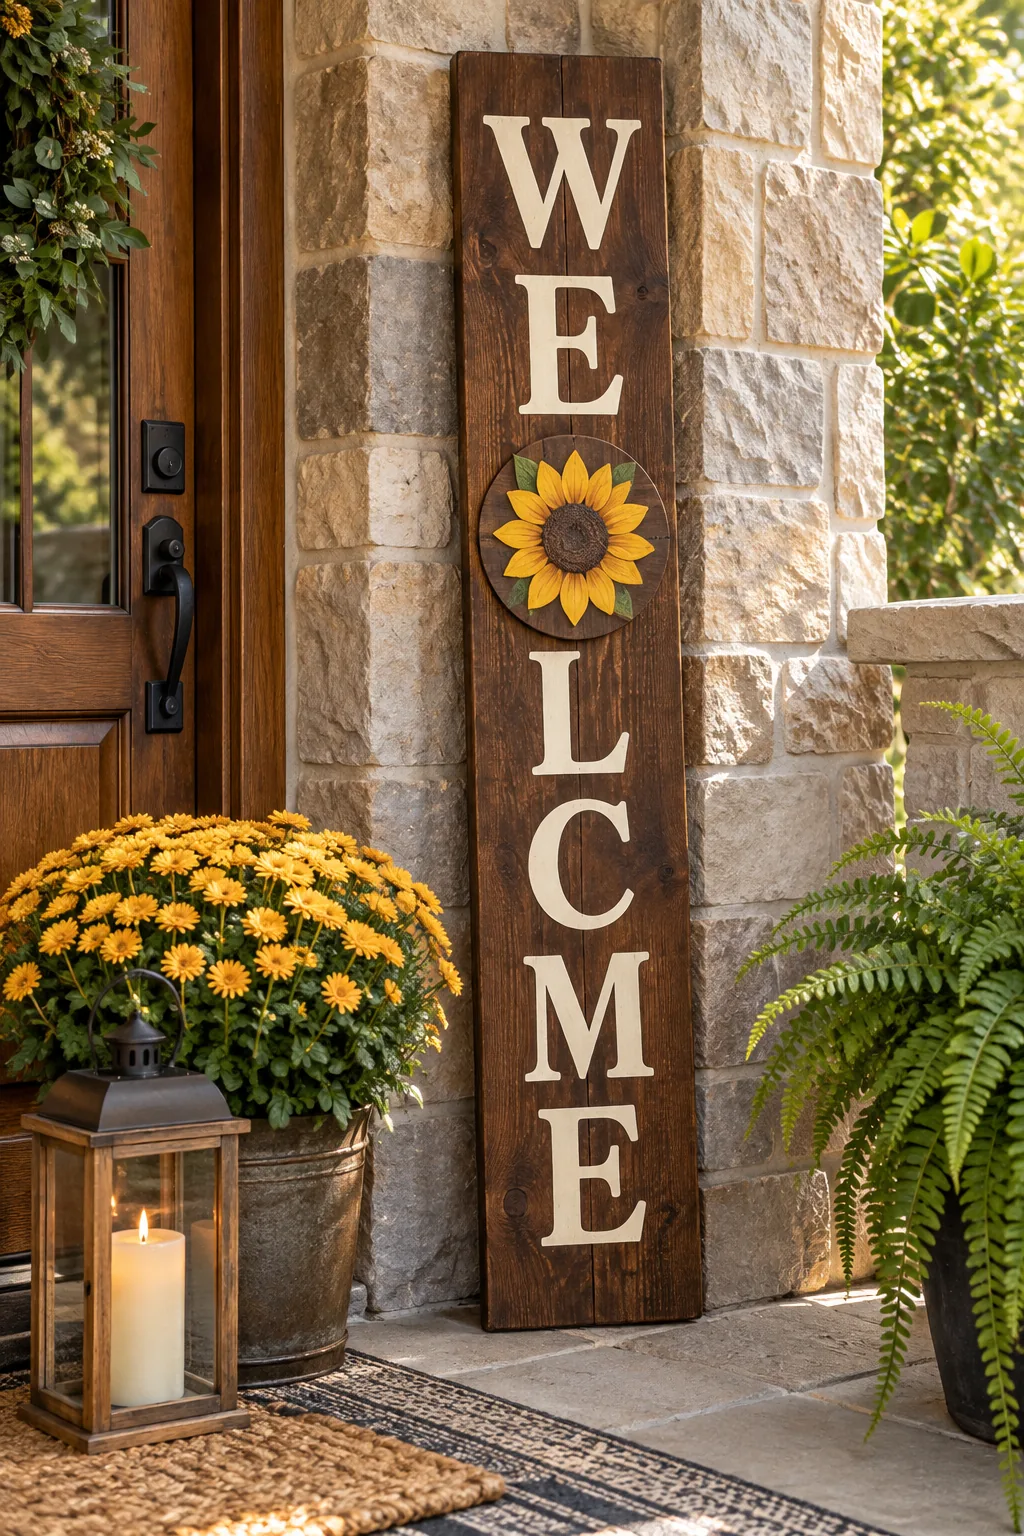
Natural Rustic: A rich walnut stain lets the natural wood grain shine through, warming up cold stone entryways.
Spring Pastel: Soft sage green paint feels incredibly fresh for spring when paired with a bright pink wooden tulip.

Elevating the Sign with Glides
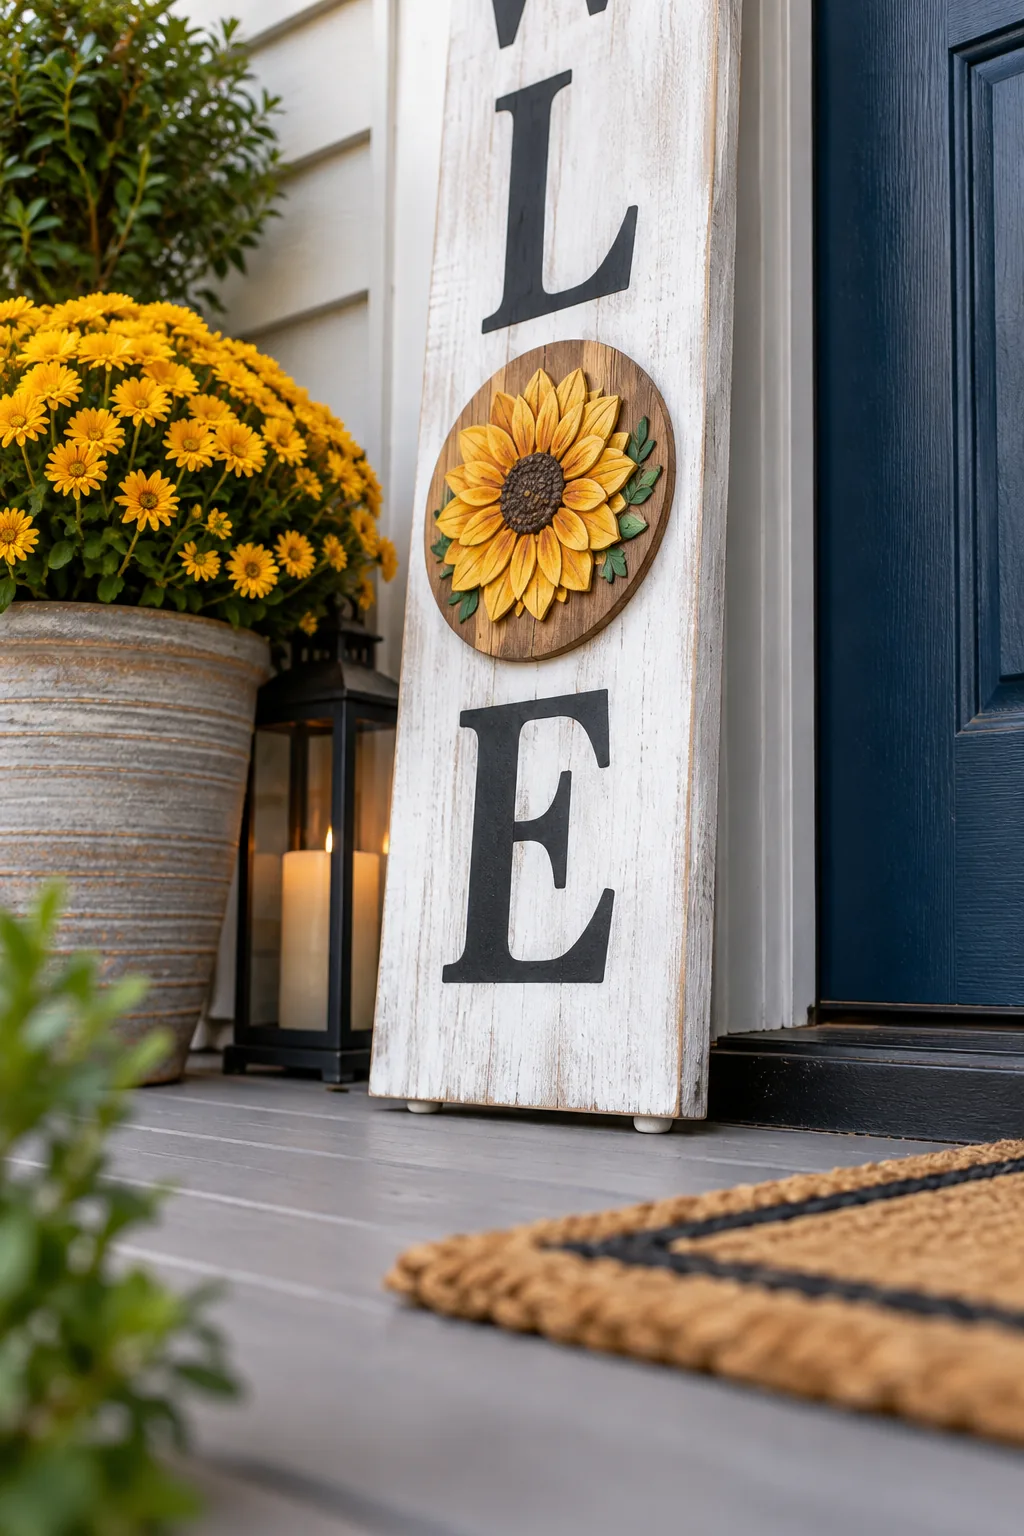
Even with a heavy urethane seal in place, creating a physical gap between your wood and the concrete porch is the ultimate defense against moisture damage. Tapping small nylon furniture glides into the bottom corners lifts the wood exactly 1/2 inch off the porch deck, keeping it completely out of standing rainwater and allowing crucial airflow.
Before you set your beautifully finished leaner out on the porch to welcome guests, run through these final durability checks to ensure it survives the season.