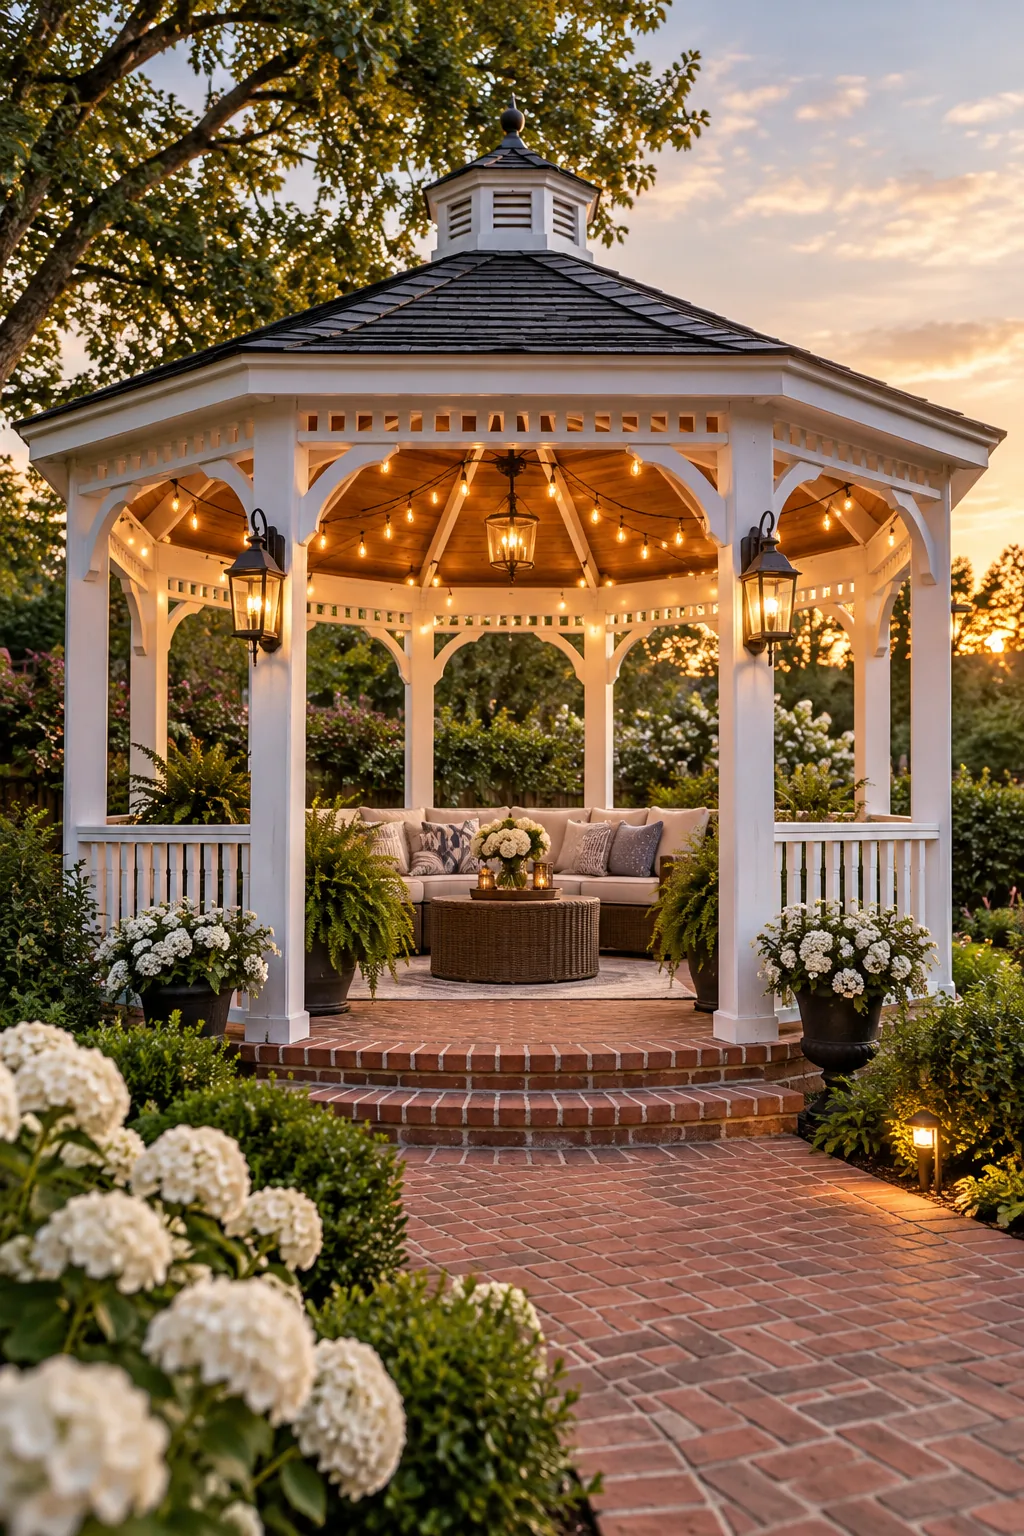
Gazebo Lighting: The Pro Layout and Setup Supply List
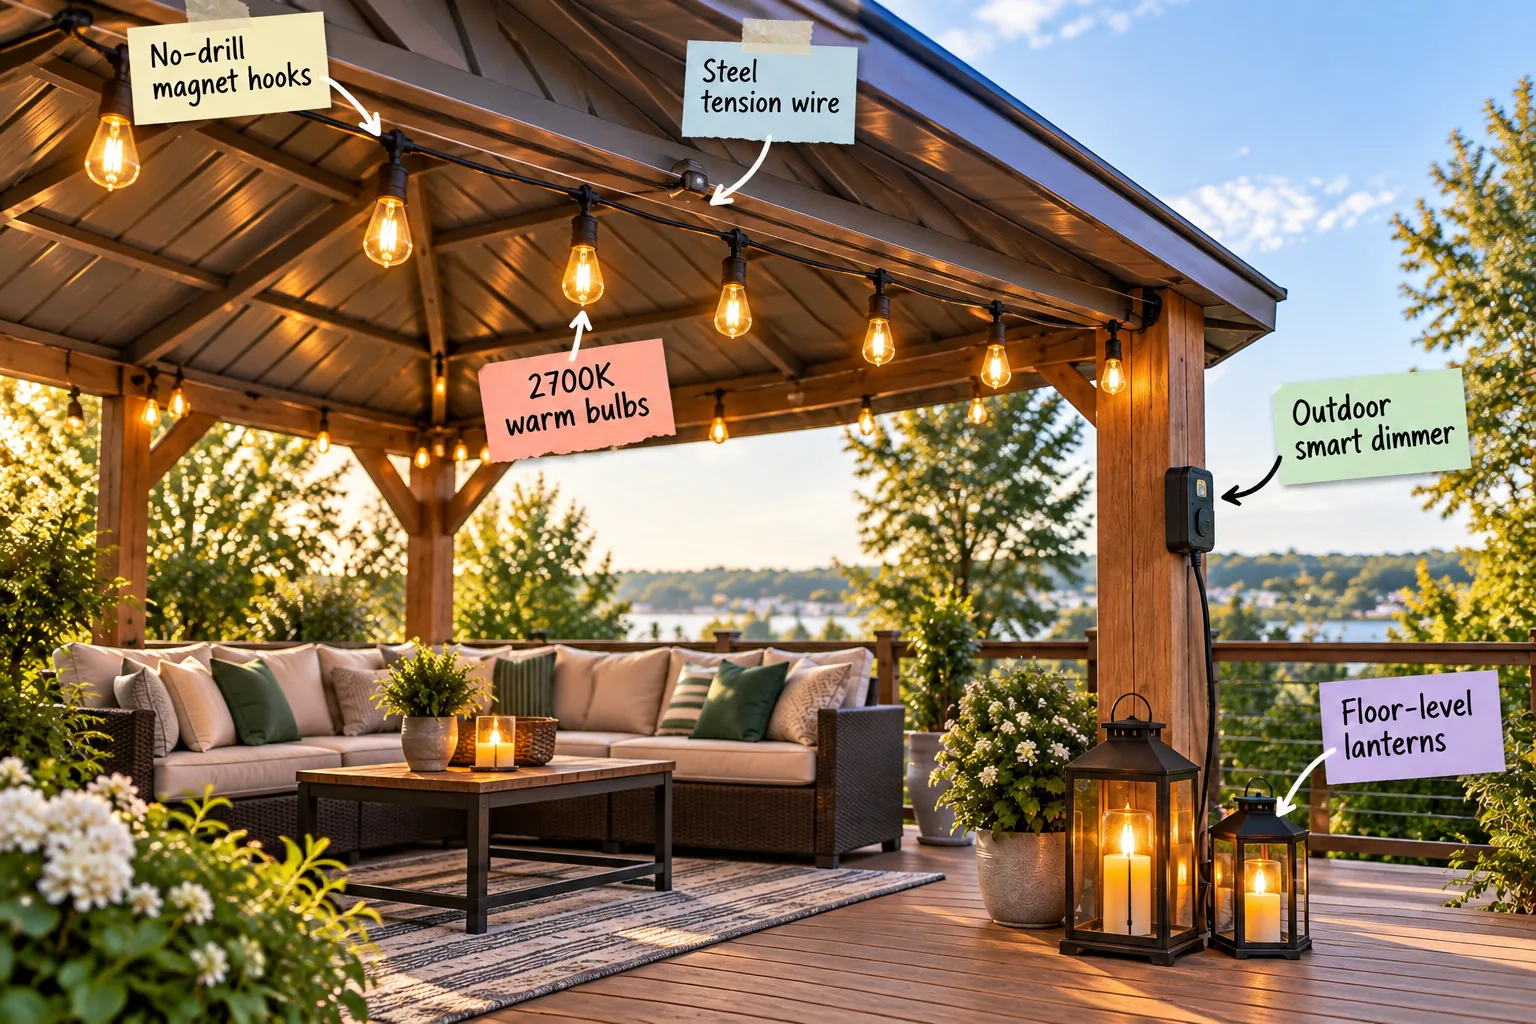
You can map out a sag-free gazebo lighting layout and install it securely without drilling a single hole. Here is the exact string light layout, suspension method, and pro supply list you need for a perfectly glowing outdoor room.
The Pro Gazebo Lighting Layout
Start with a perimeter-and-cross layout to ensure even illumination across your entire seating area. In my own Denver backyard, spacing the main parallel runs exactly 3 to 4 feet apart across the ceiling grid completely eliminated dark corners.
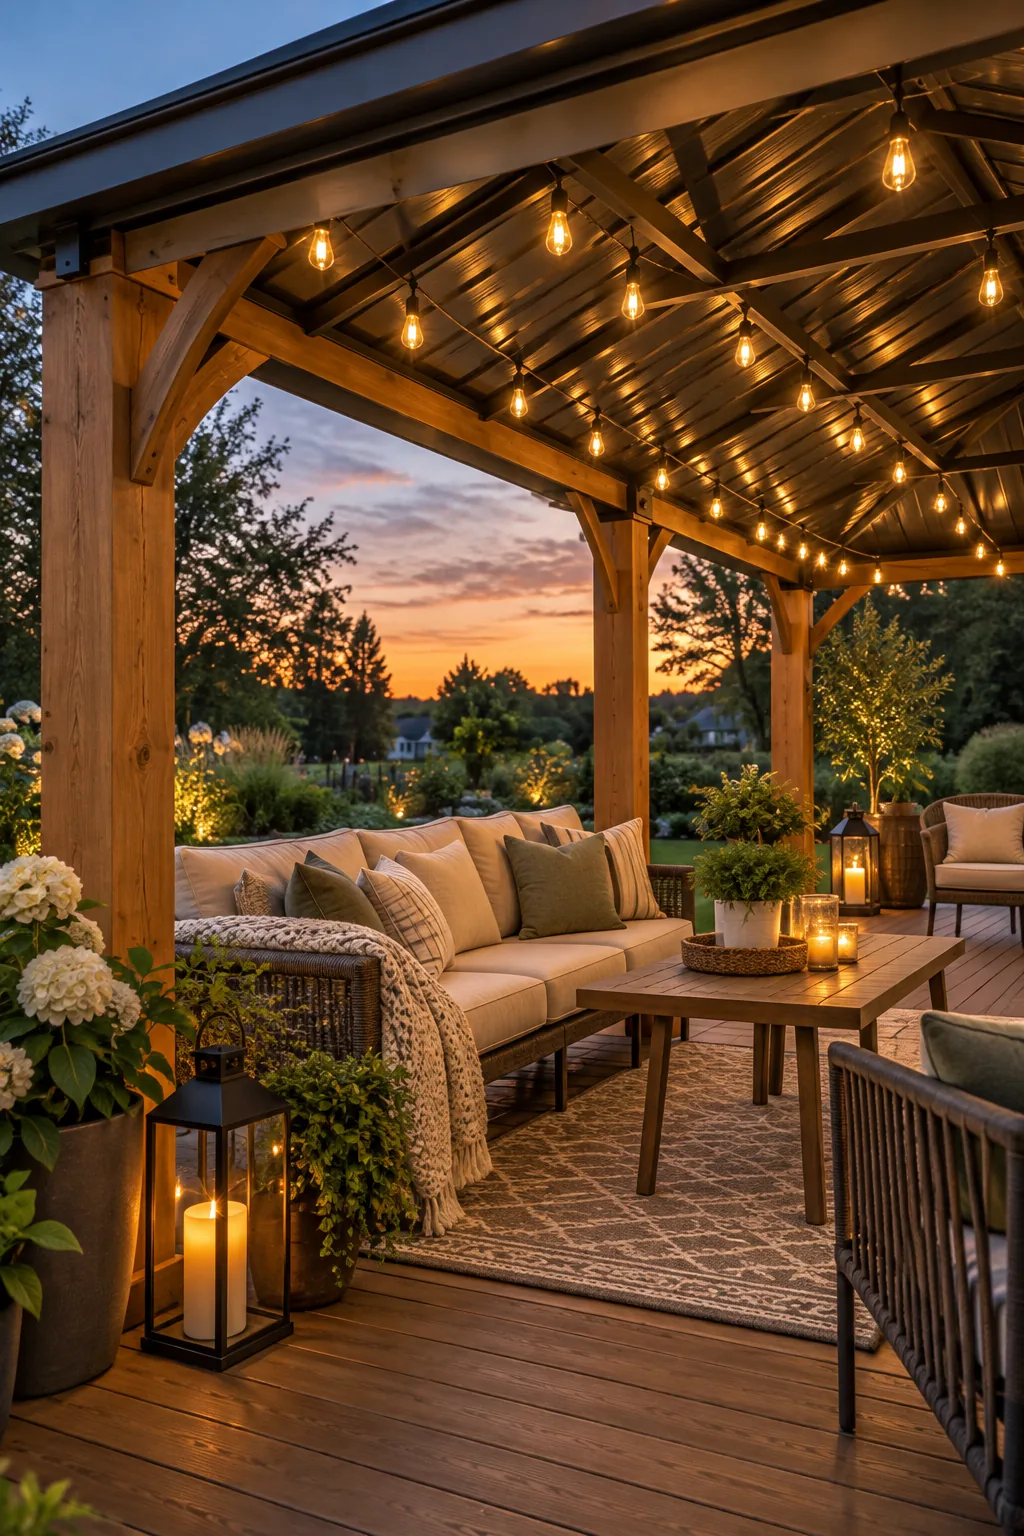
Gather these specific components to replicate this exact lighting scheme before starting your installation so you are never left improvising on a ladder.
Having all materials staged on your deck before you begin ensures the top-to-bottom installation order flows smoothly and safely.
Measuring the Ceiling Grid
Measure the internal dimensions of your gazebo roof to calculate the exact linear footage of string lights required. Purchasing strands that are 10 percent longer than your total grid measurement provides enough slack for corner drops.
Mapping Your Power Source
Route the main plug down the least visible back post to keep sightlines clean, just as I do in client projects to hide the extension cord. Keep the total electrical run under 50 feet to prevent voltage drop.
| Cord Length | Wire Gauge | Max Wattage | Voltage Drop Risk |
|---|---|---|---|
| 25 feet | 16 AWG | 1250W | None |
| 50 feet | 14 AWG | 1500W | Low |
| 100 feet | 12 AWG | 1800W | High for low-voltage |
Matching your extension cord gauge to the total run length guarantees your Edison-style bulbs shine at their true intended brightness.
Selecting the Right Extension Cord
Invest in a heavy-duty, outdoor-rated extension cord featuring a black or brown jacket that blends seamlessly into the gazebo structure. Securing this cord flush against the wooden post prevents dangerous tripping hazards near the seating area.
Inspecting the Roof Ribs
Wipe down the steel roof ribs with a damp microfiber cloth to remove dust and pollen before attaching any magnetic hardware. A perfectly clean metal surface ensures the magnets achieve their maximum rated pull strength without slipping.
No-Drill Magnet Hooks for Metal Roofs
Avoid voiding your gazebo’s warranty by attaching heavy-duty neodymium magnet hooks directly to the steel roof ribs. I learned this the hard way after a drilled roof leaked, so now I strictly use hooks rated for a 25-pound pull strength.
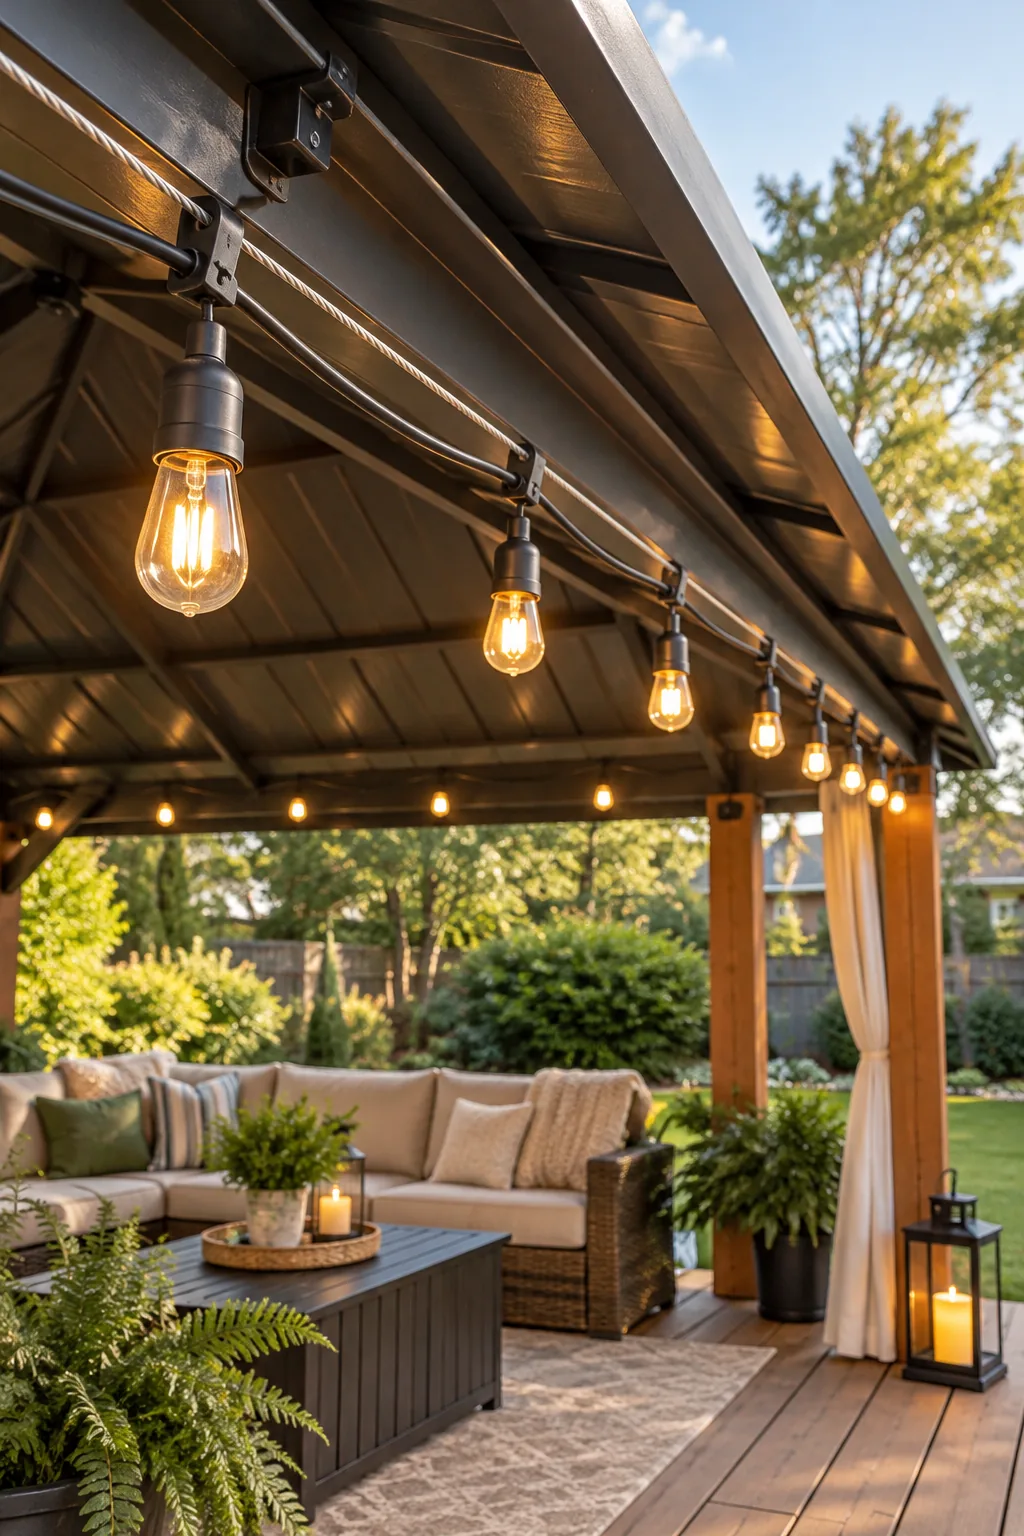
These magnetic anchors provide incredible stability while allowing you to easily adjust the layout if you decide to change the spacing later.
Testing the Magnetic Pull Strength
Verify the holding power of your magnets by hanging a small weighted bag from the first hook before installing the entire grid. A true 25-pound rating ensures the hardware will not slide down the slanted roof during severe wind gusts.
Steel Tension Wire to Prevent Sagging
String a 1/16-inch steel tension wire tightly between the magnet hooks to act as a weight-bearing guide. This foundational step is the true pro secret for maintaining a polished, architectural look over time.
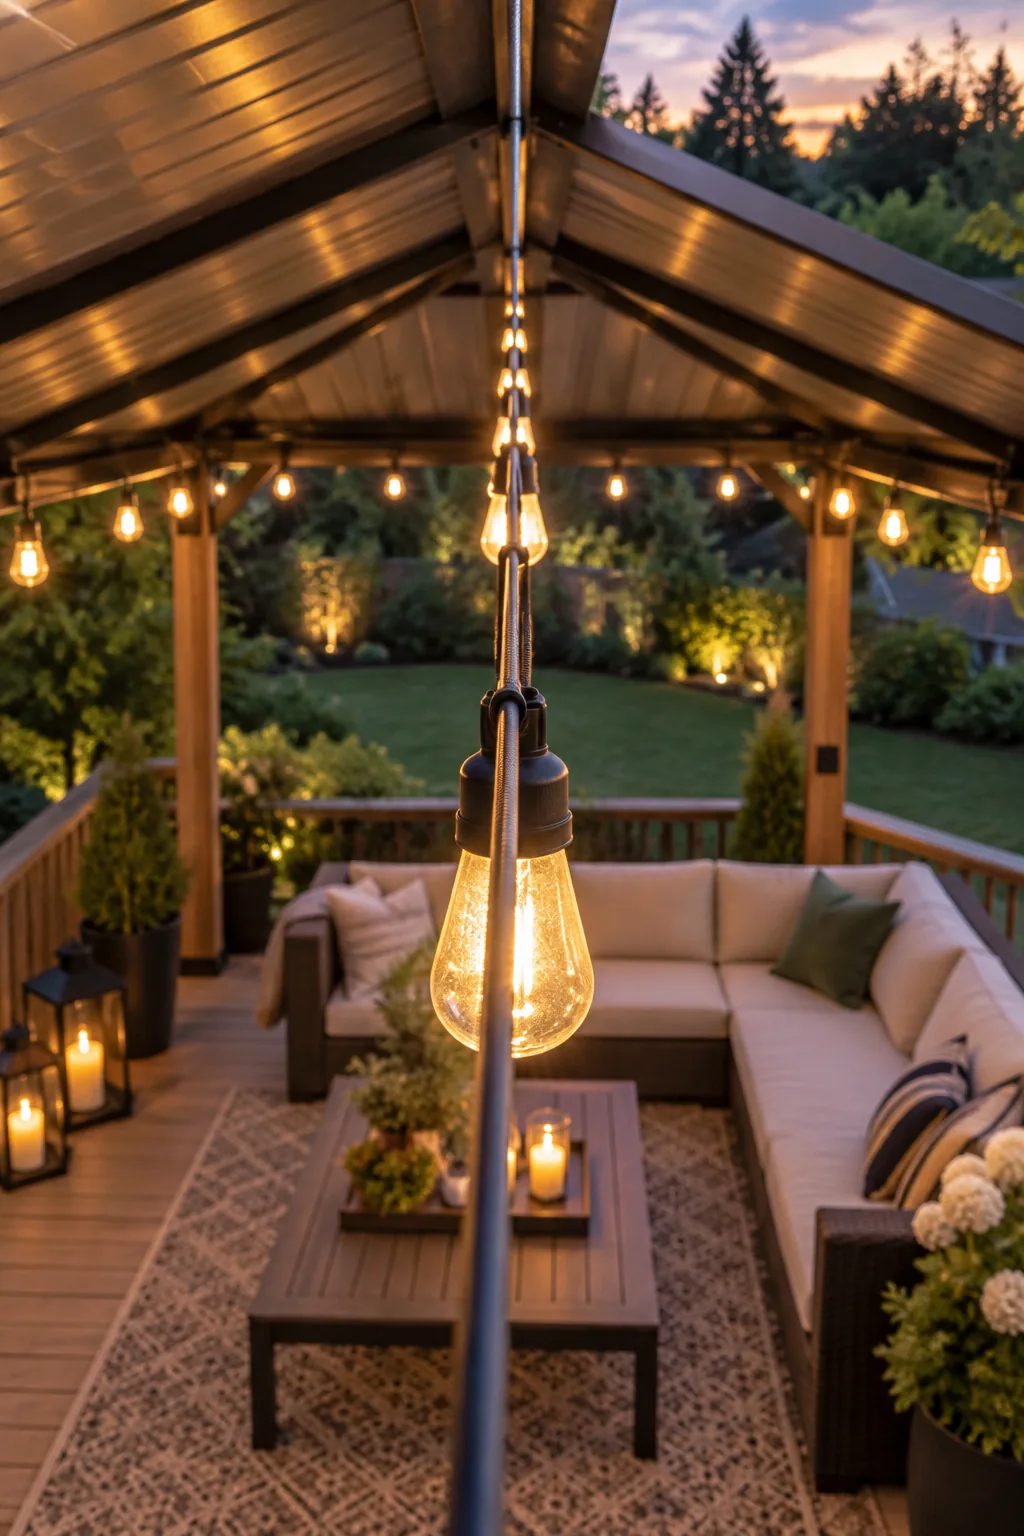
Zip-tie the string light cord directly to this wire every 12 inches so the electrical cord never bears its own weight in the wind.
Securing the Wire Anchors
Crimp the ends of the steel tension wire into small aluminum sleeves to form secure loops that easily slip over the magnet hooks. Using a dedicated wire crimping tool creates a permanent hold that resists constant pulling forces.
Choosing the Right Zip Ties
Secure the electrical cord to the tension wire using ultraviolet-resistant black zip ties rather than standard clear ones. UV-rated ties withstand harsh summer sunlight without becoming brittle, ensuring your overhead lighting layout remains safely suspended.
Spacing the Light Strands
Position the outermost light strands at least 6 inches inward from the gazebo’s roof edge to prevent heavy rain runoff from splashing the sockets.
Correcting these placement errors early keeps your lighting safe and durable through changing weather and high winds.
Managing Corner Transitions
Create a gentle, sweeping curve when transitioning the light strand from one perimeter side to the next rather than forcing a sharp 90-degree bend. This relaxed cornering technique protects the internal copper wiring from snapping.
Choosing 2700K Warm Bulbs
Select 1-watt LED Edison bulbs with a 2700K color temperature for the most flattering, welcoming glow in your outdoor living room.
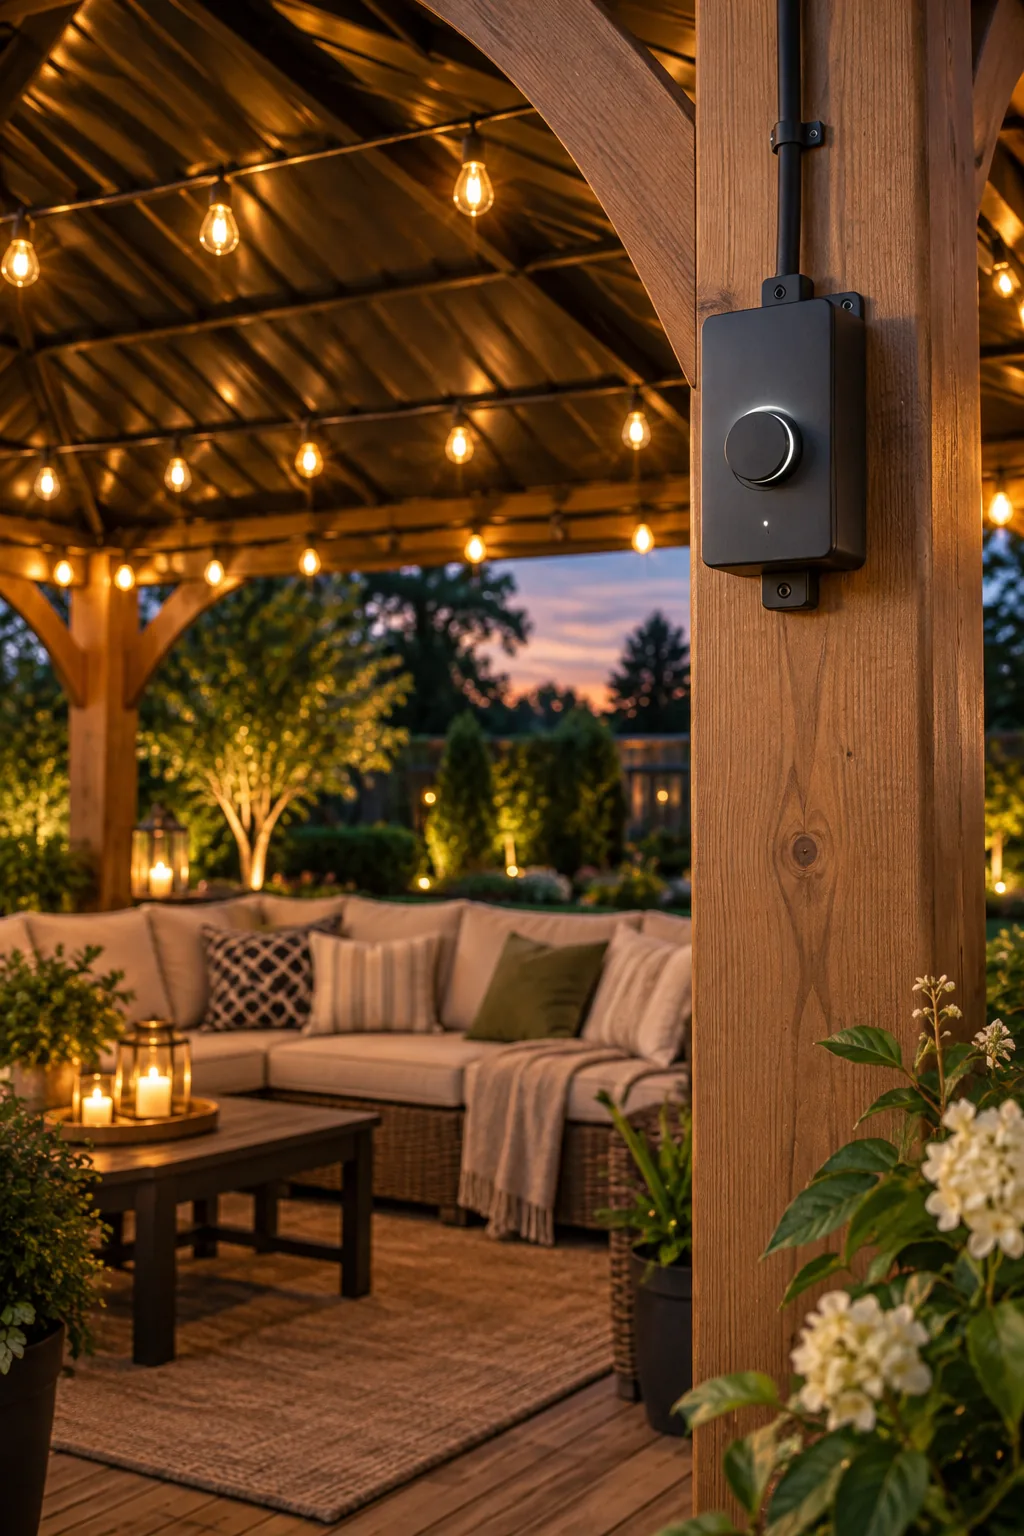
This specific warmth avoids the harsh blue tint of daylight bulbs and the overly orange cast of vintage replicas, perfectly mimicking natural candlelight.
Calculating Total Wattage
Count the total number of sockets on your string and multiply by the 1-watt rating of each LED bulb. Keeping the entire ceiling grid under 50 total watts guarantees your smart dimmer functions smoothly without overheating.
Hiding the Excess Cords
Bundle any excess string light cord at the corners using small black zip ties, tucking them behind structural beams so the ceiling lines remain straight.
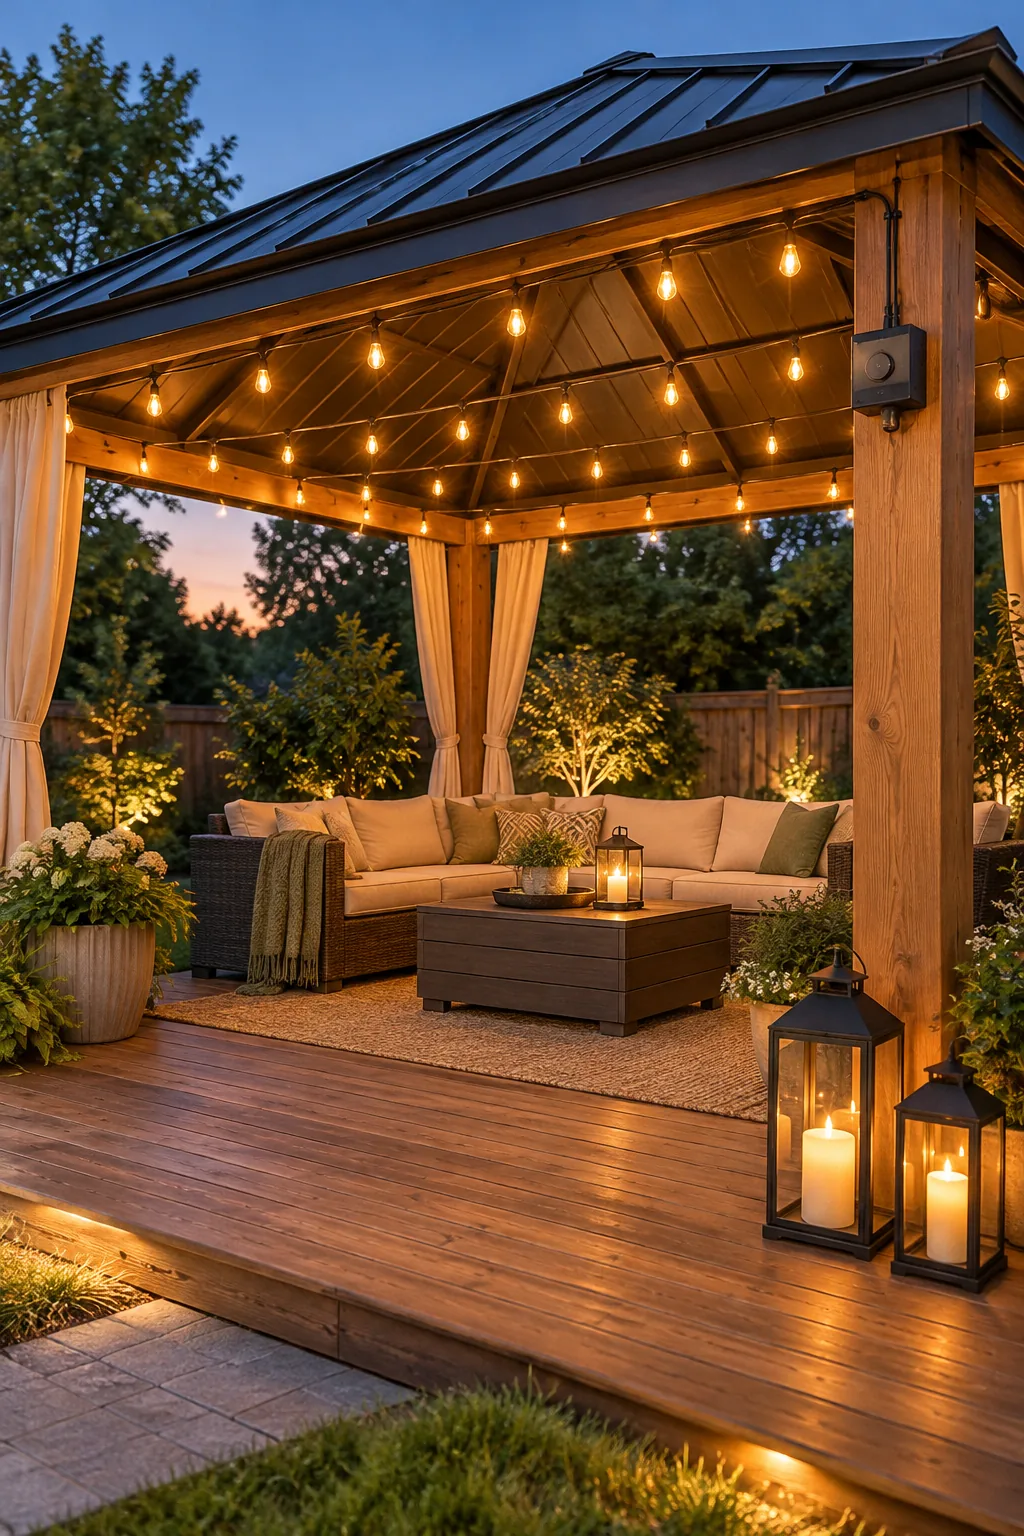
In my own gazebo, I also mount a weatherproof outdoor smart dimmer on the post right below these bundles to control brightness levels easily.
Weatherproofing the Connections
Wrap the junction where the string lights meet the extension cord in a layer of self-fusing silicone tape. This simple addition creates a watertight seal that prevents moisture from tripping your outdoor ground-fault circuit interrupter.
Positioning the Smart Dimmer Box
Mount the weatherproof dimmer box high enough on the main power post to remain completely out of reach of young children. Keeping the control unit elevated also protects the sensitive internal electronics from accidental impacts.
Controlling the Mood with a Smart Dimmer
Program your newly mounted smart dimmer app to set the lights to 50 percent brightness for evening dining so guests can see their meals clearly.
Setting Automated Lighting Schedules
Configure the dimmer’s smart application to automatically power on the gazebo lights exactly fifteen minutes before sunset every single day. You can easily drop the overhead glow to 20 percent brightness for late-night lounging.
Layering with Floor-Level Lanterns
Ground the lighting scheme by placing two or three large floor lanterns at the base of the wooden gazebo posts.
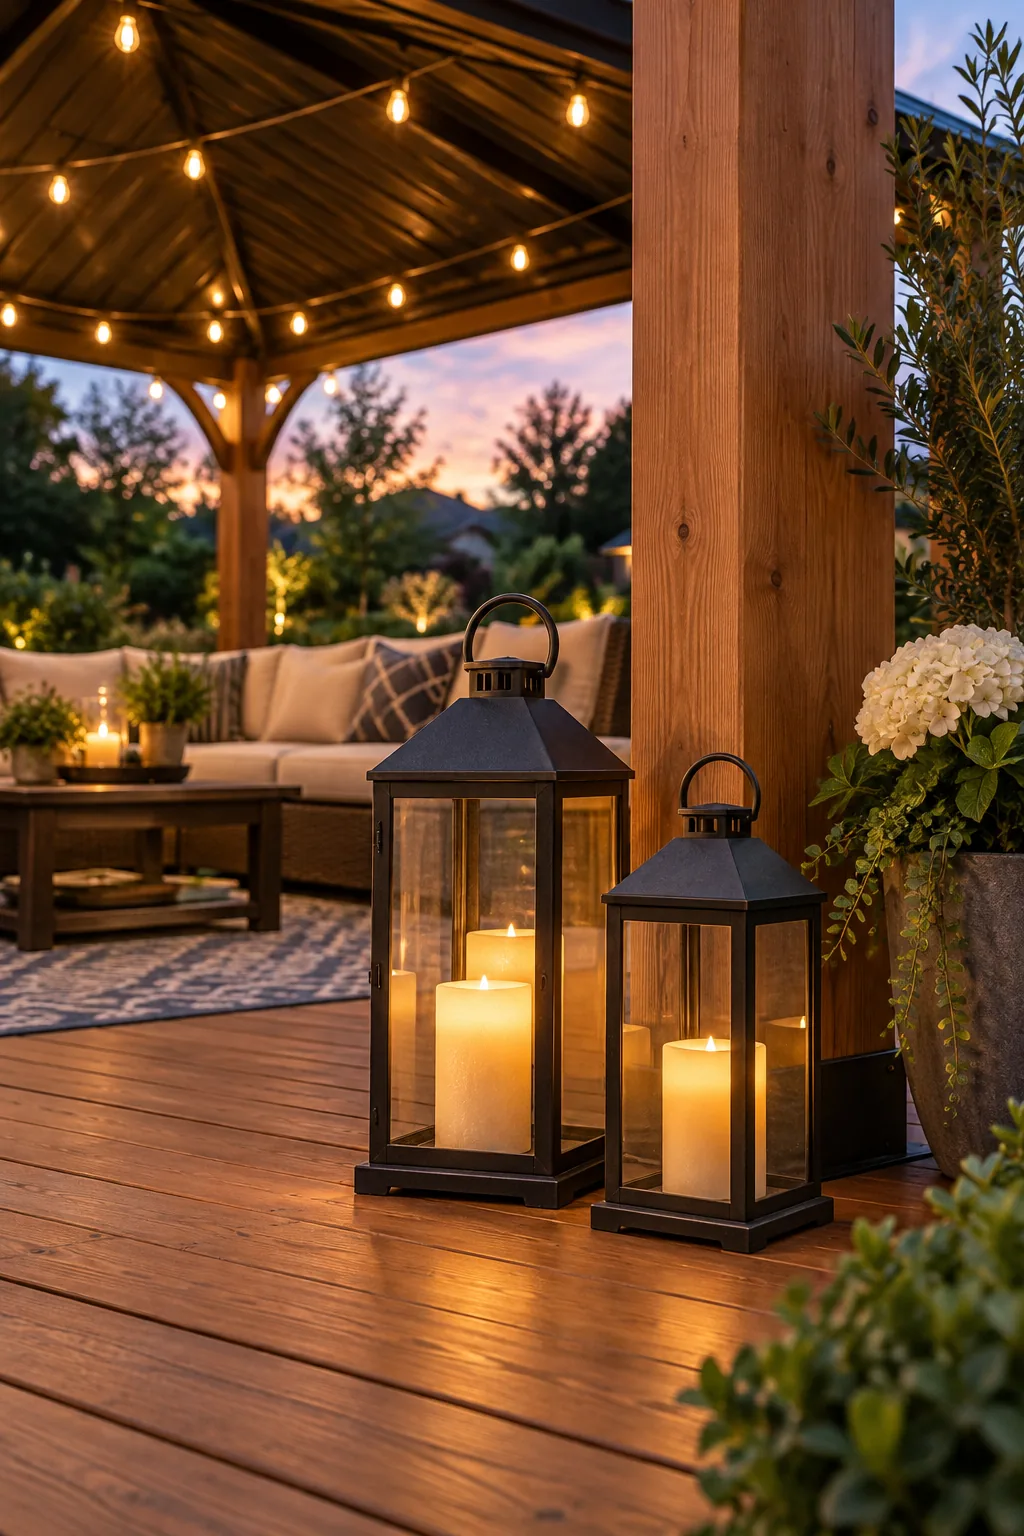
Equip them with 6-inch and 8-inch outdoor LED pillar candles to balance the bright overhead lights with a soft, inviting lower glow.
5 Gazebo Lighting Styles to Try
Explore how different fixtures and bulb shapes can completely change the mood of your outdoor room.
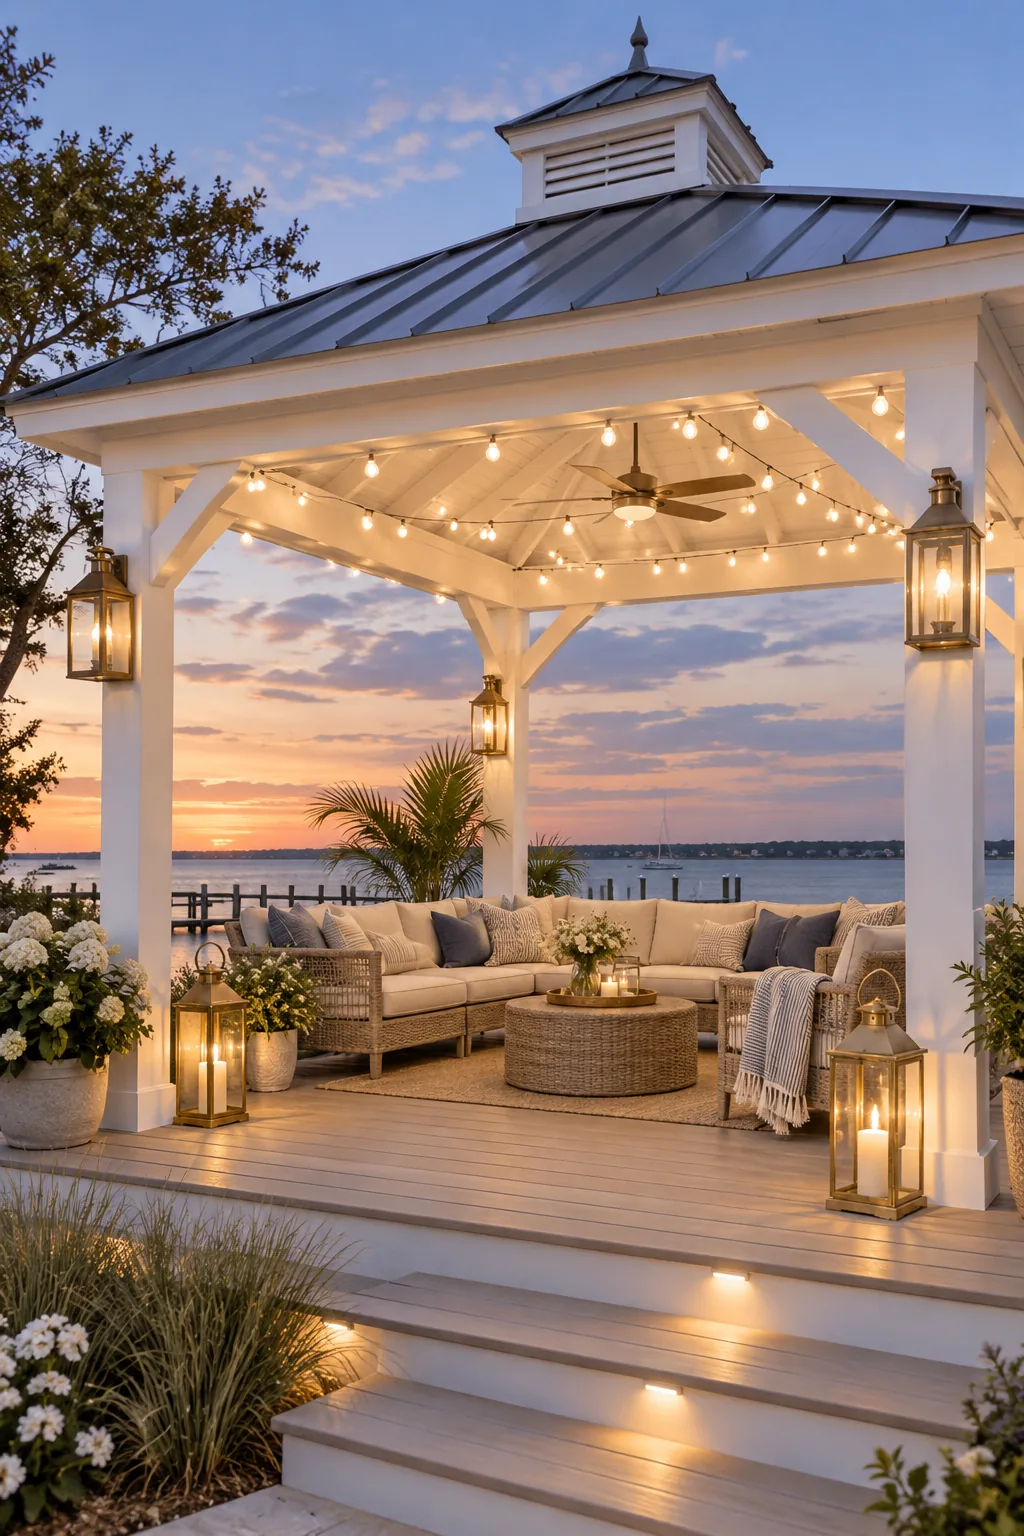
Modern Coastal Brass: Bright white framing pairs beautifully with polished brass lanterns to create a crisp, beach-inspired aesthetic.
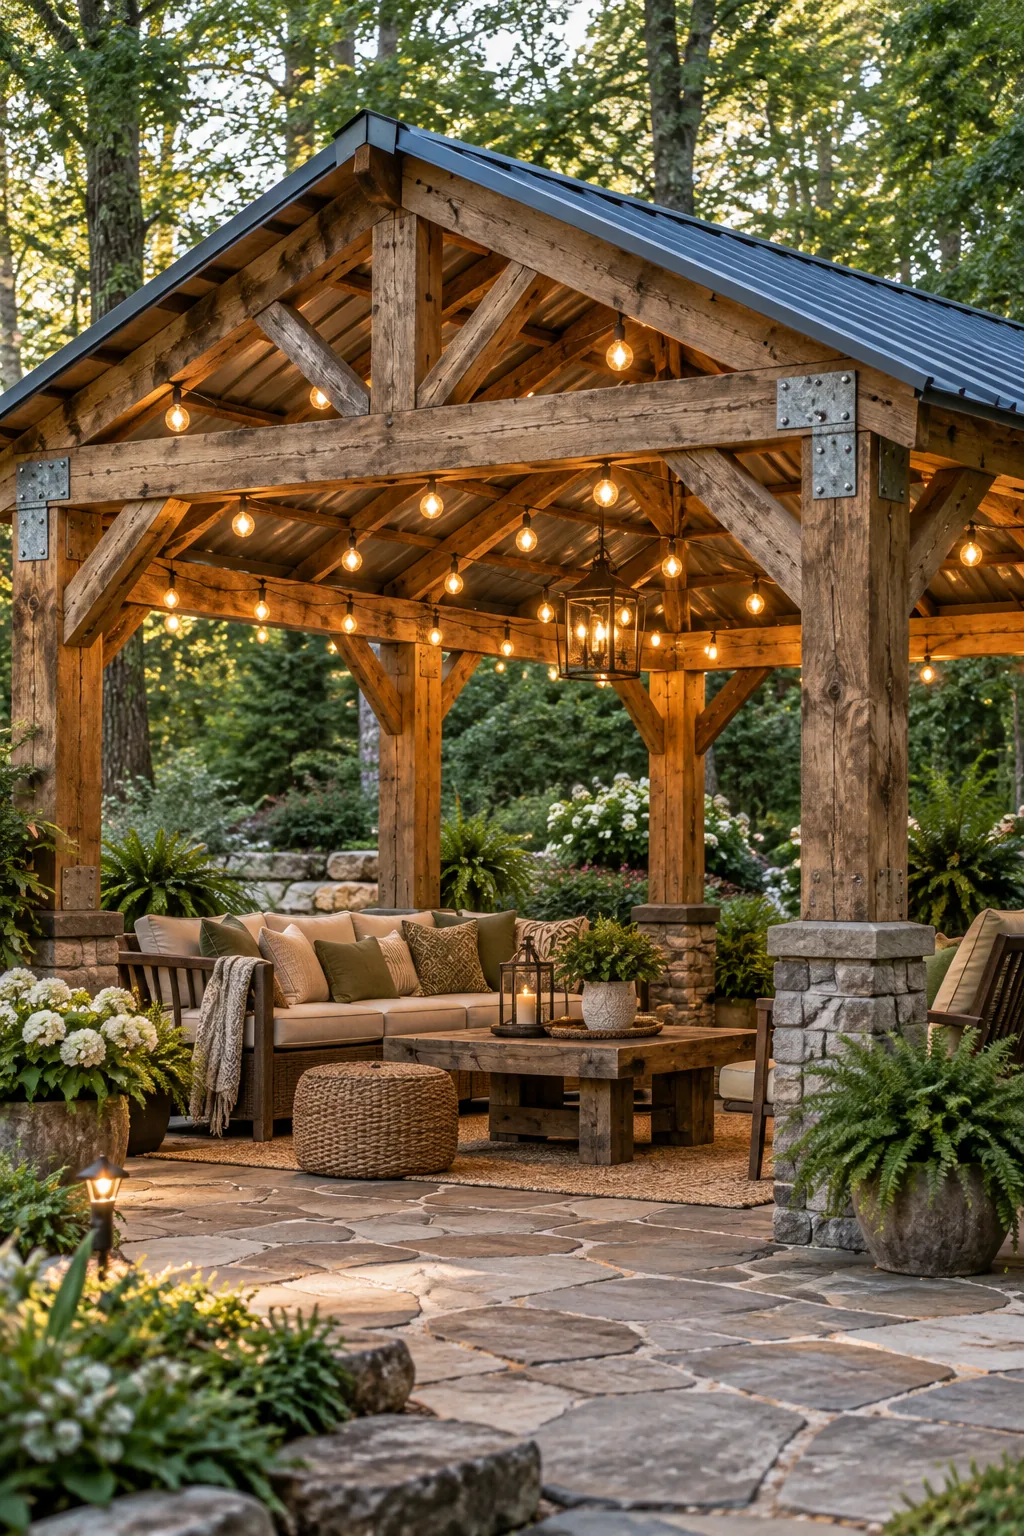
Rustic Woodland Timber: Rough-hewn timber beams and galvanized metal accents give this warm amber lighting setup a cozy cabin feel.
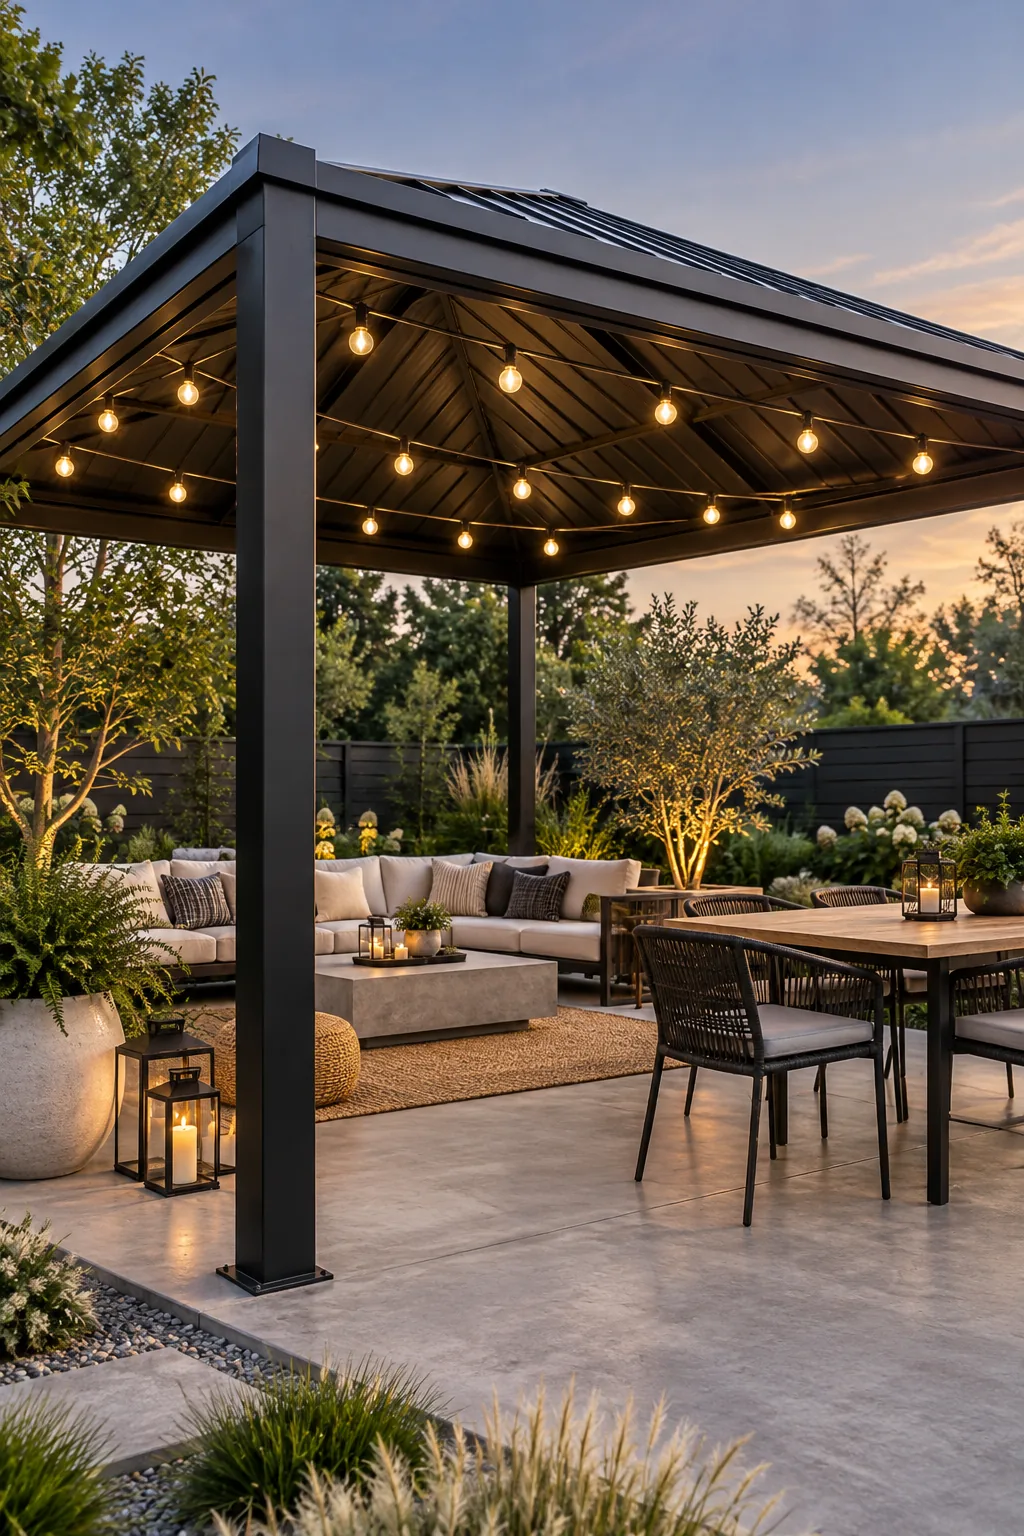
Minimalist Industrial Steel: A matte black steel frame and perfectly spaced globe lights keep the look sharp, modern, and uncluttered.
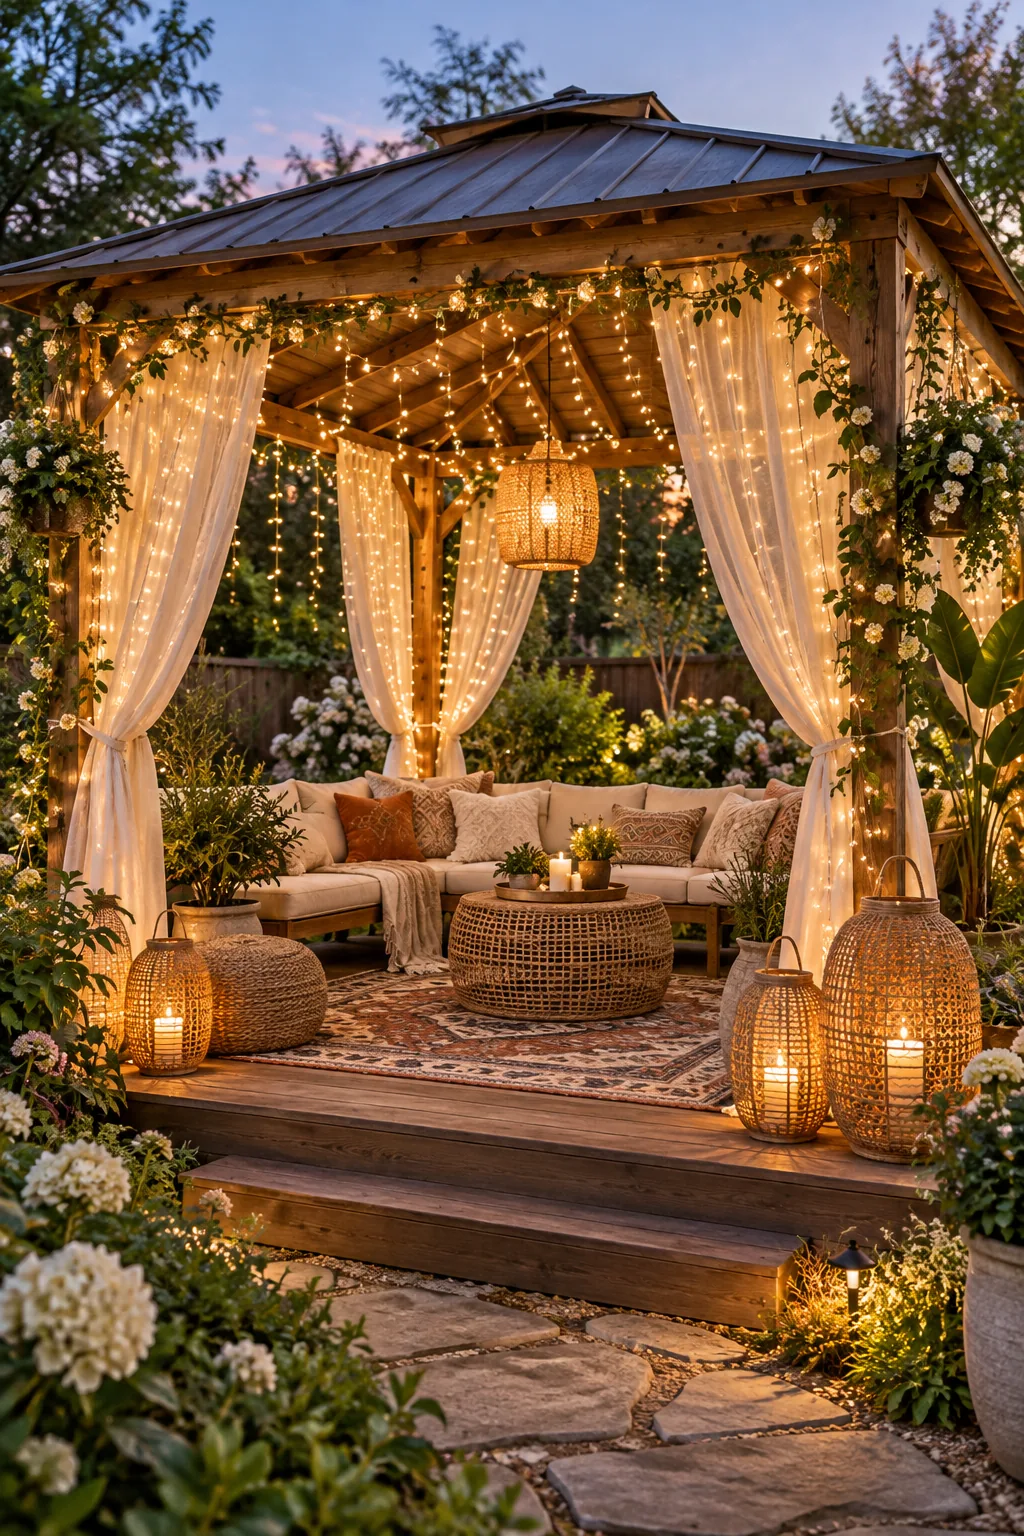
Bohemian Garden Glow: Cascading fairy lights and woven rattan lanterns add rich texture and a relaxed, eclectic energy to the space.
Classic Traditional Carriage: Timeless black carriage lanterns and a warm brick patio provide an elegant, enduring foundation for evening entertaining.