
DIY Mid-Century Record Console: Plans & Dimension Guide
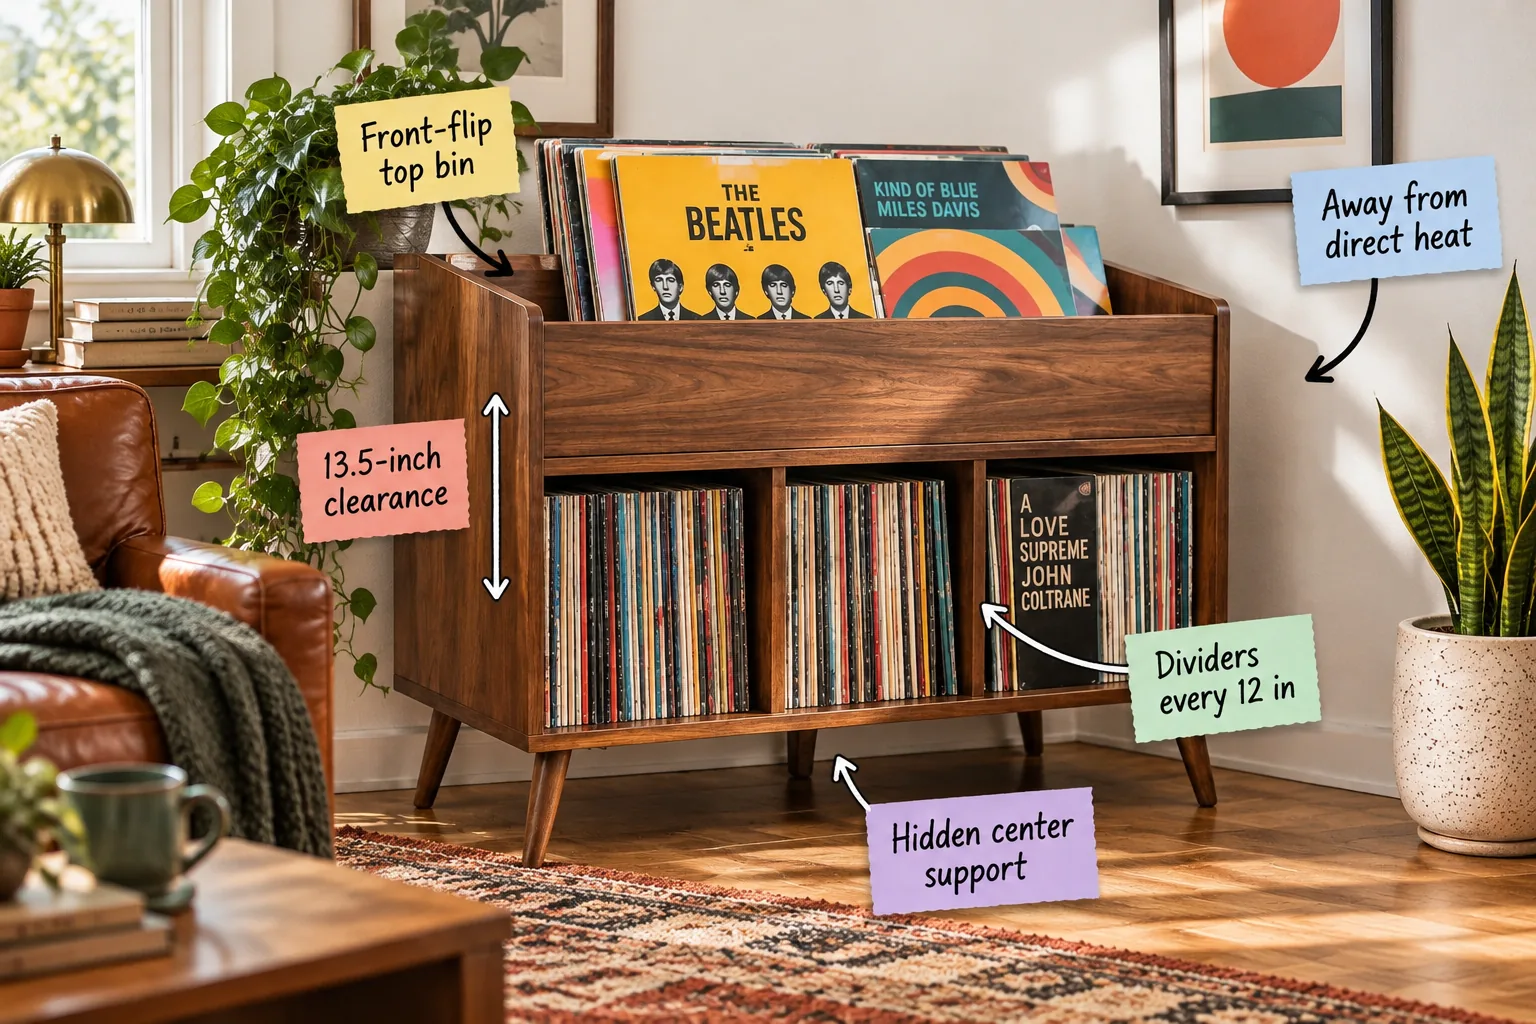
You can build a structurally sound, mid-century record console under three feet wide using our complete safe-shelving dimension guide and cut sheet. This exact layout protects your vinyl collection while fitting perfectly into tight apartment corners.
Protecting Vinyl From Heat and Light
Before cutting any wood, you need to plan your console’s footprint around safe room zones to keep albums away from direct heat and light. I once ruined a vintage pressing by leaving it near a sunny window, so now I strictly map out my storage spots first.
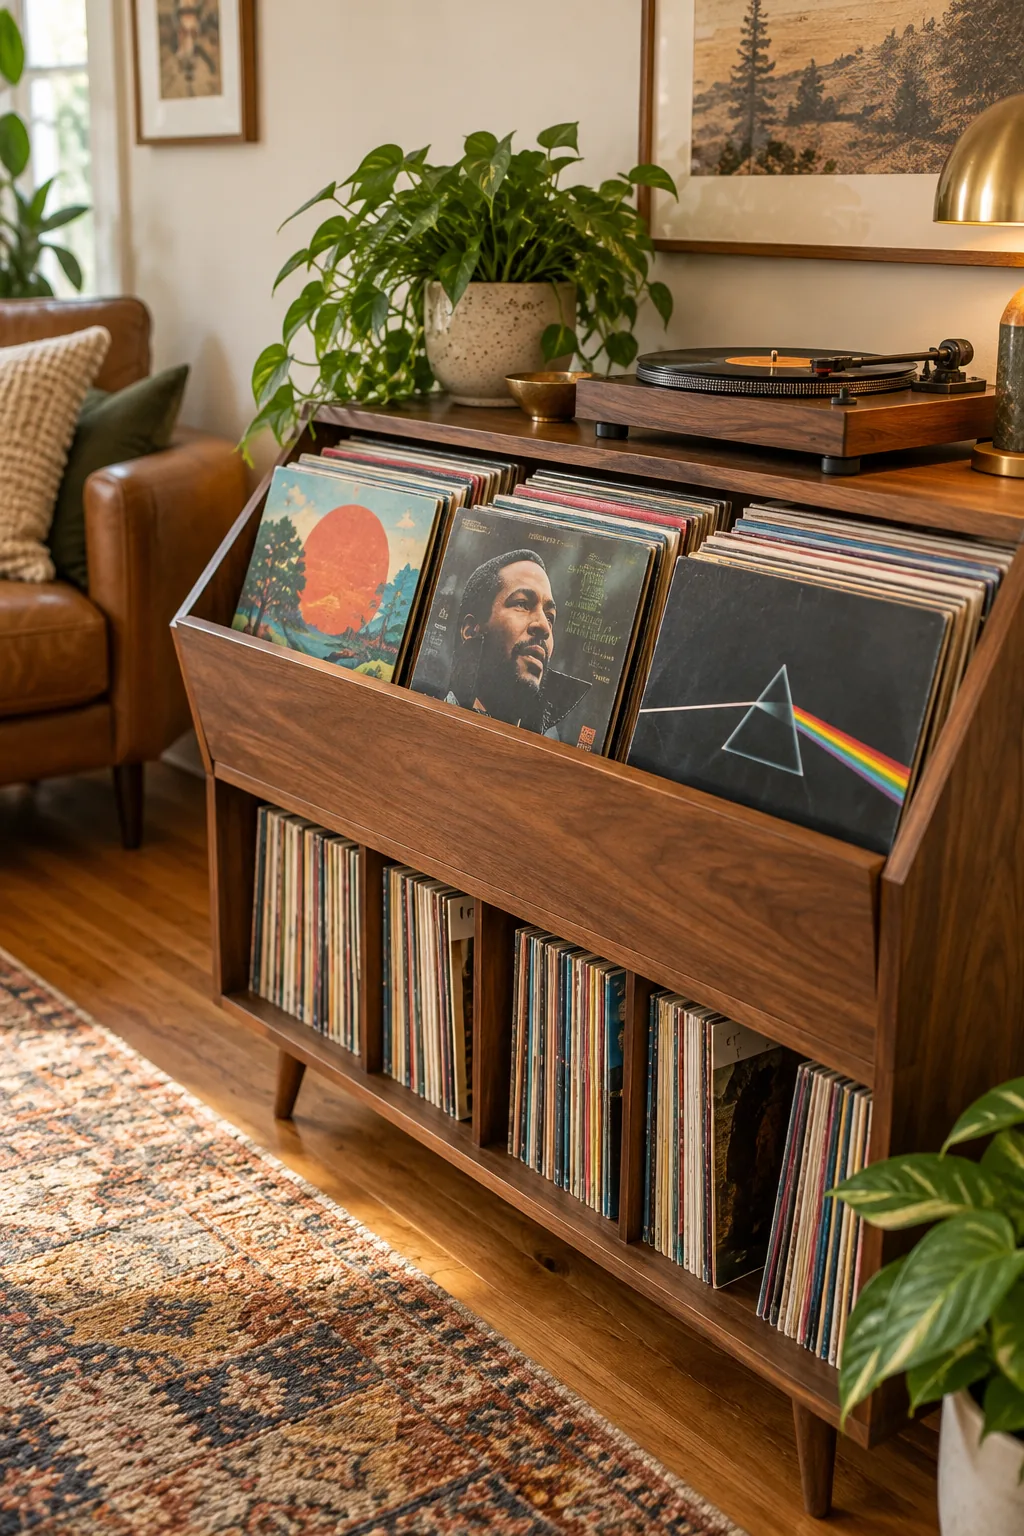
Finding a spot under three feet wide is easy, but choosing a location that actively protects your collection requires avoiding a few common environmental hazards.
Choosing the Right Plywood for Record Weight
Before looking at the specific bins, you have to select a material that can handle the sheer density of your collection. I always recommend using three-quarter-inch hardwood plywood because it resists bending far better than standard particleboard.
- Birch plywood: Offers a smooth finish and excellent core strength for heavy loads.
- Walnut veneer plywood: Provides that classic mid-century look right off the shelf.
Picking a sturdy core material ensures your fasteners will actually hold over the years. This strong structural foundation prepares you for the specialized storage zones we are about to build.
The Front-Flip Browsing Bin
Once you have your materials, we can look at the front-flip top bin designed for authentic record store-style browsing. This angled upper deck comfortably holds about 40 to 50 daily-rotation albums facing forward for incredibly quick access.
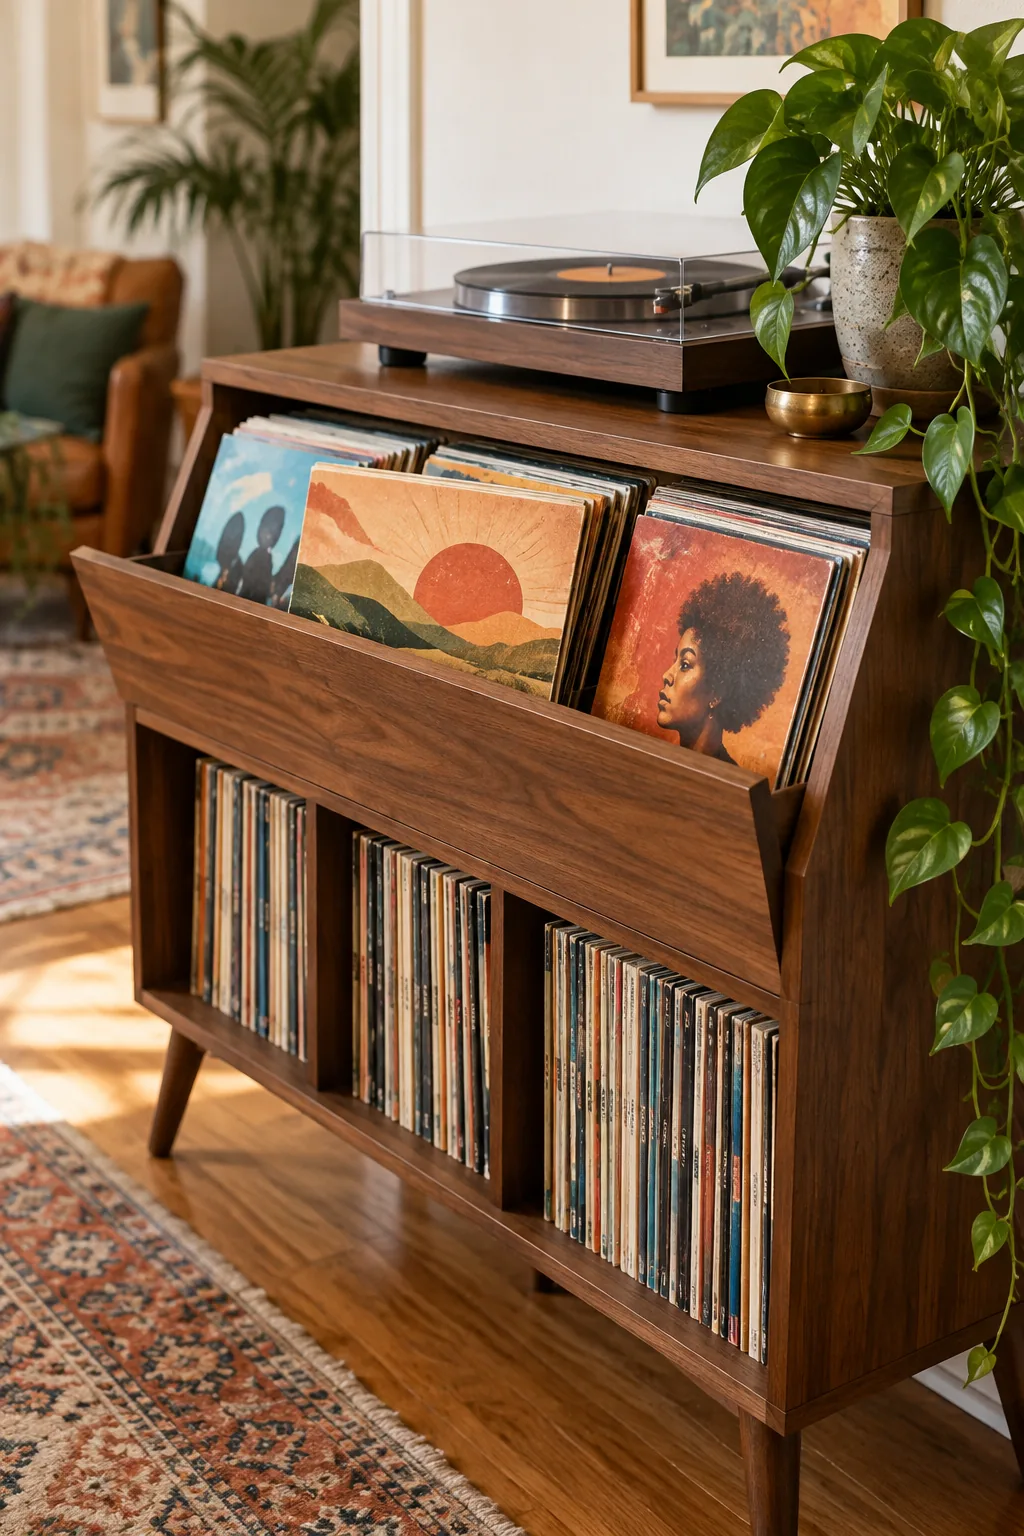
Keeping your current favorites up top means you can flip through cover art without bending down or straining your back. This setup completely changes how you interact with your collection during a casual listening session.
Ideal Clearance for Lower Shelves
Moving down to the main storage bay, you must account for the exact vertical space needed for spine-out albums. Standard 12.5-inch records require a strict 13.5-inch clearance to provide exactly one inch of finger room above the sleeves.
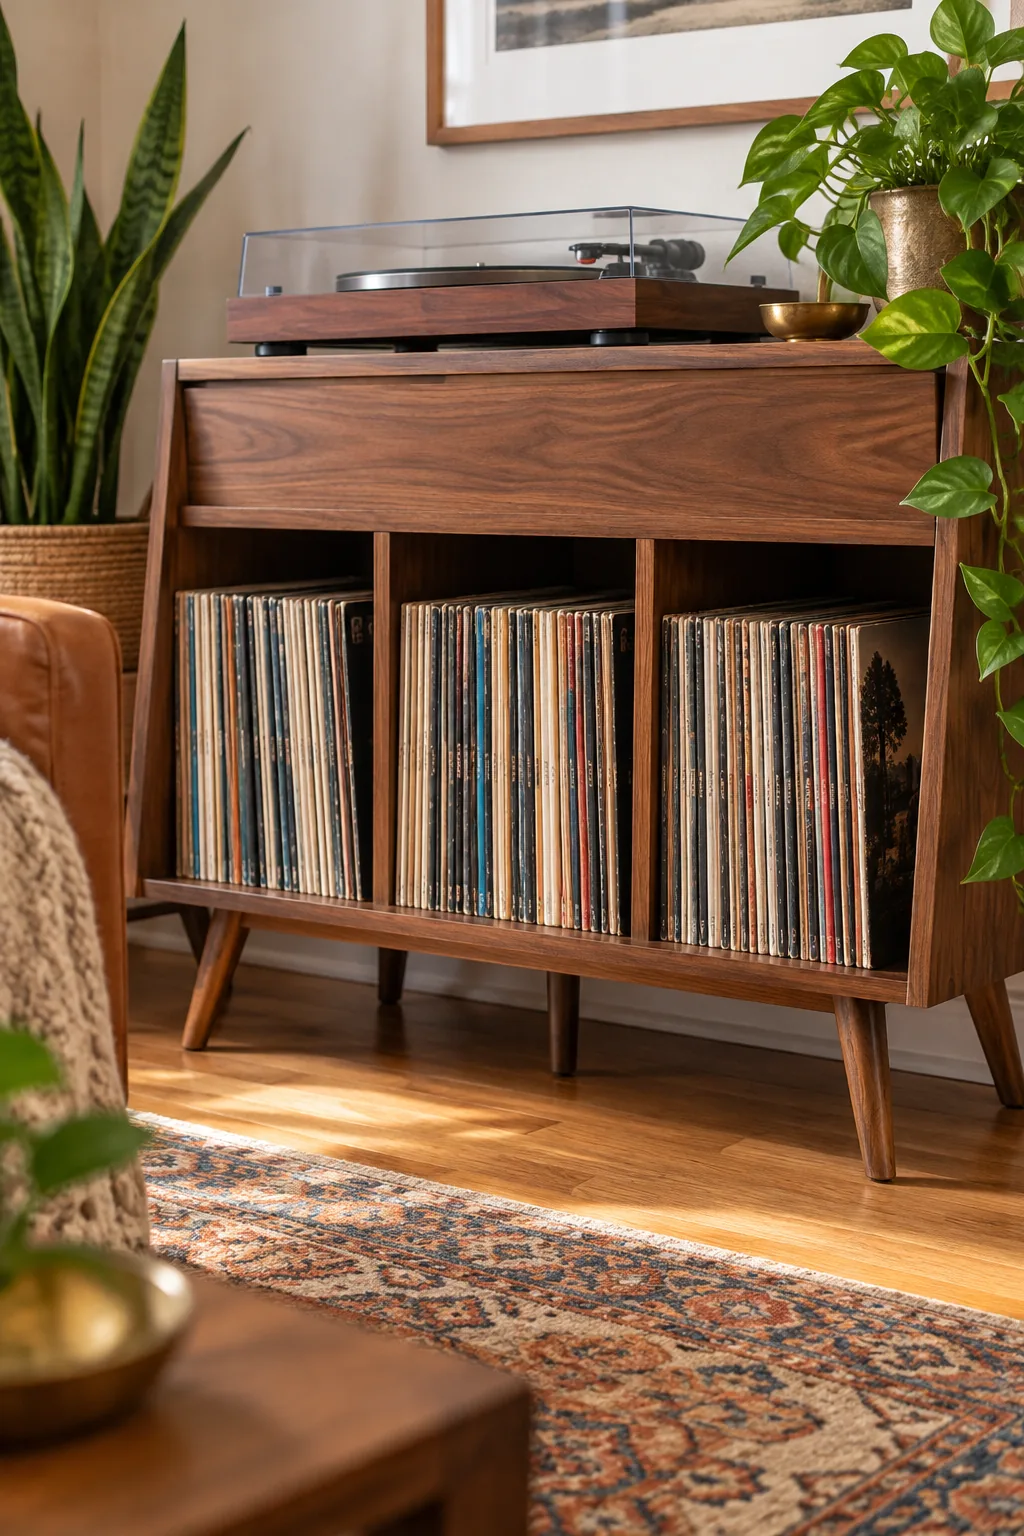
Giving yourself that precise inch of wiggle room ensures you can slide albums out safely without snagging the delicate cardboard tops. Anything less than this measurement practically guarantees you will eventually tear a vintage jacket.
Spacing Dividers to Prevent Warping
To keep those heavy records perfectly upright, you need vertical wooden separators built securely into the lower shelf. Placing rigid dividers every 12 inches prevents the destructive domino effect that causes permanent sleeve and vinyl damage over time.
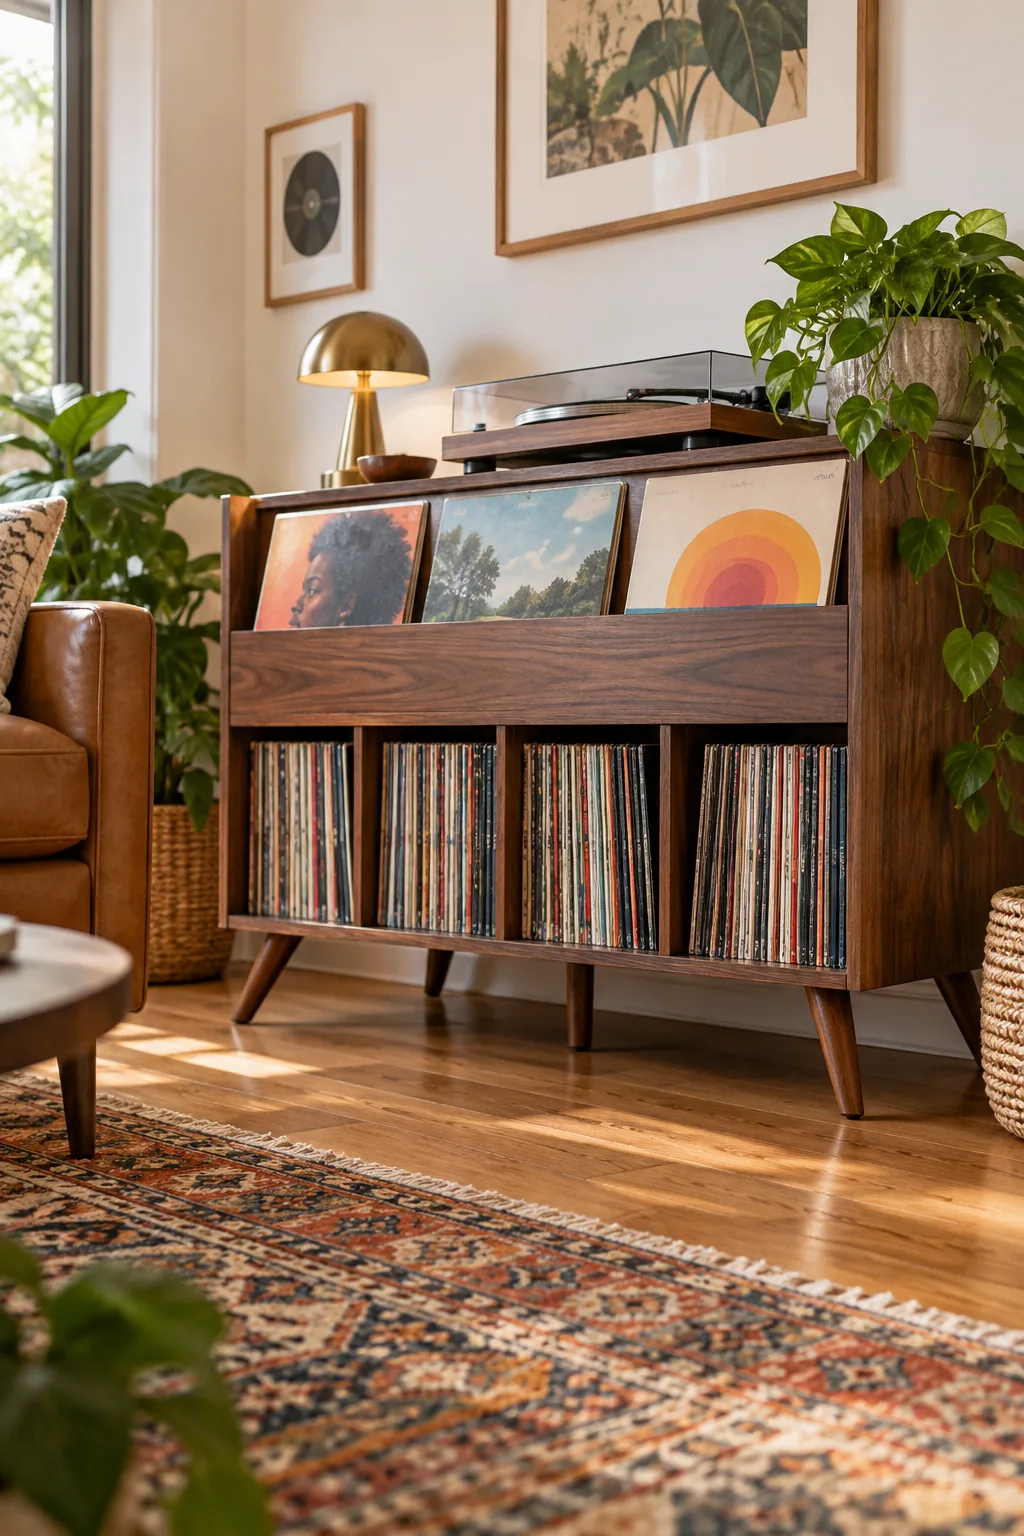
While spacing is critical for keeping albums perfectly vertical, the method you use to install these dividers determines how clean the final piece looks.
Selecting the Best Joinery Method
Once your spacing is planned, you need to decide how to connect those vertical pieces to the main shelves. Relying on wood glue alone is never enough for vinyl storage, so you must incorporate mechanical fasteners like pocket hole screws hidden on the underside for a seamless look.
Adding a Hidden Center Support
A full vinyl collection is incredibly heavy, averaging about 35 pounds per linear foot of shelving. I learned this the hard way when my first DIY shelf sagged, which is why this design includes a hidden center support.
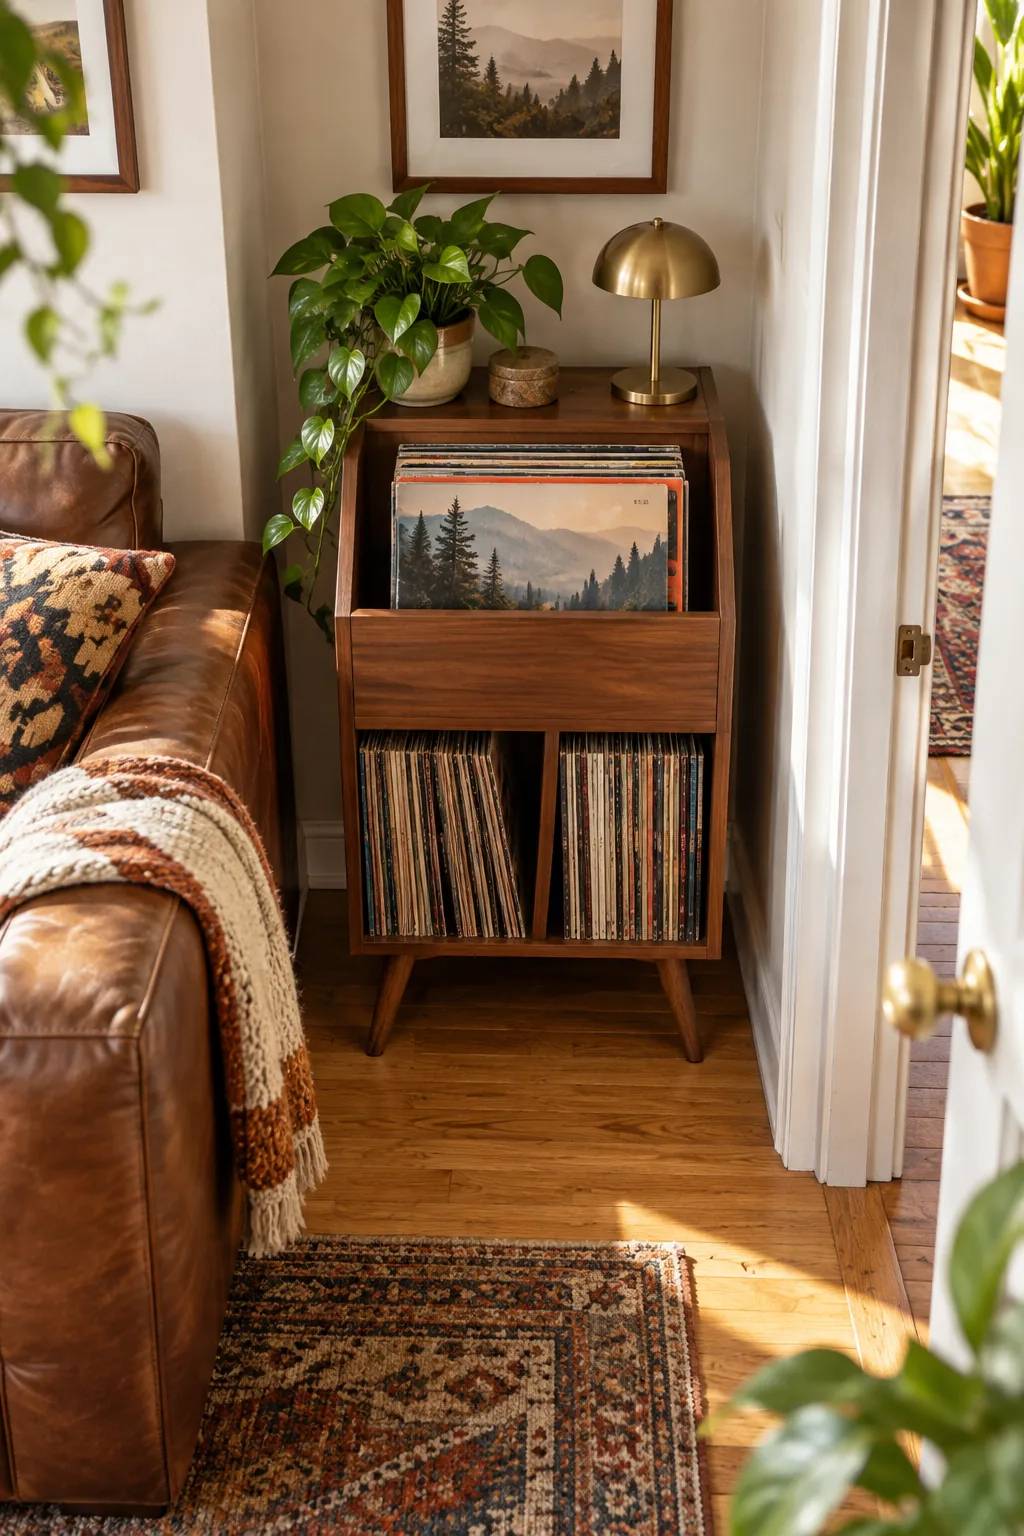
Adding that discrete extra leg under the middle of the bottom shelf guarantees the wood will never bow over time. It absorbs the central mass of the records while remaining completely invisible from a normal standing angle.
Sourcing Authentic Mid-Century Legs
With the structural base secured, you can focus on the aesthetic details by sourcing genuine tapered wooden legs with solid brass ferrules. Installing them on angled mounting plates provides that iconic splayed stance while keeping the heavy unit perfectly balanced.
Fitting Storage Under Three Feet
Even with all this heavy-duty support, keeping the total width to just 34 inches allows the console to fit into tight alcoves. This narrow footprint maximizes your square footage while still housing over 200 records securely in one place.
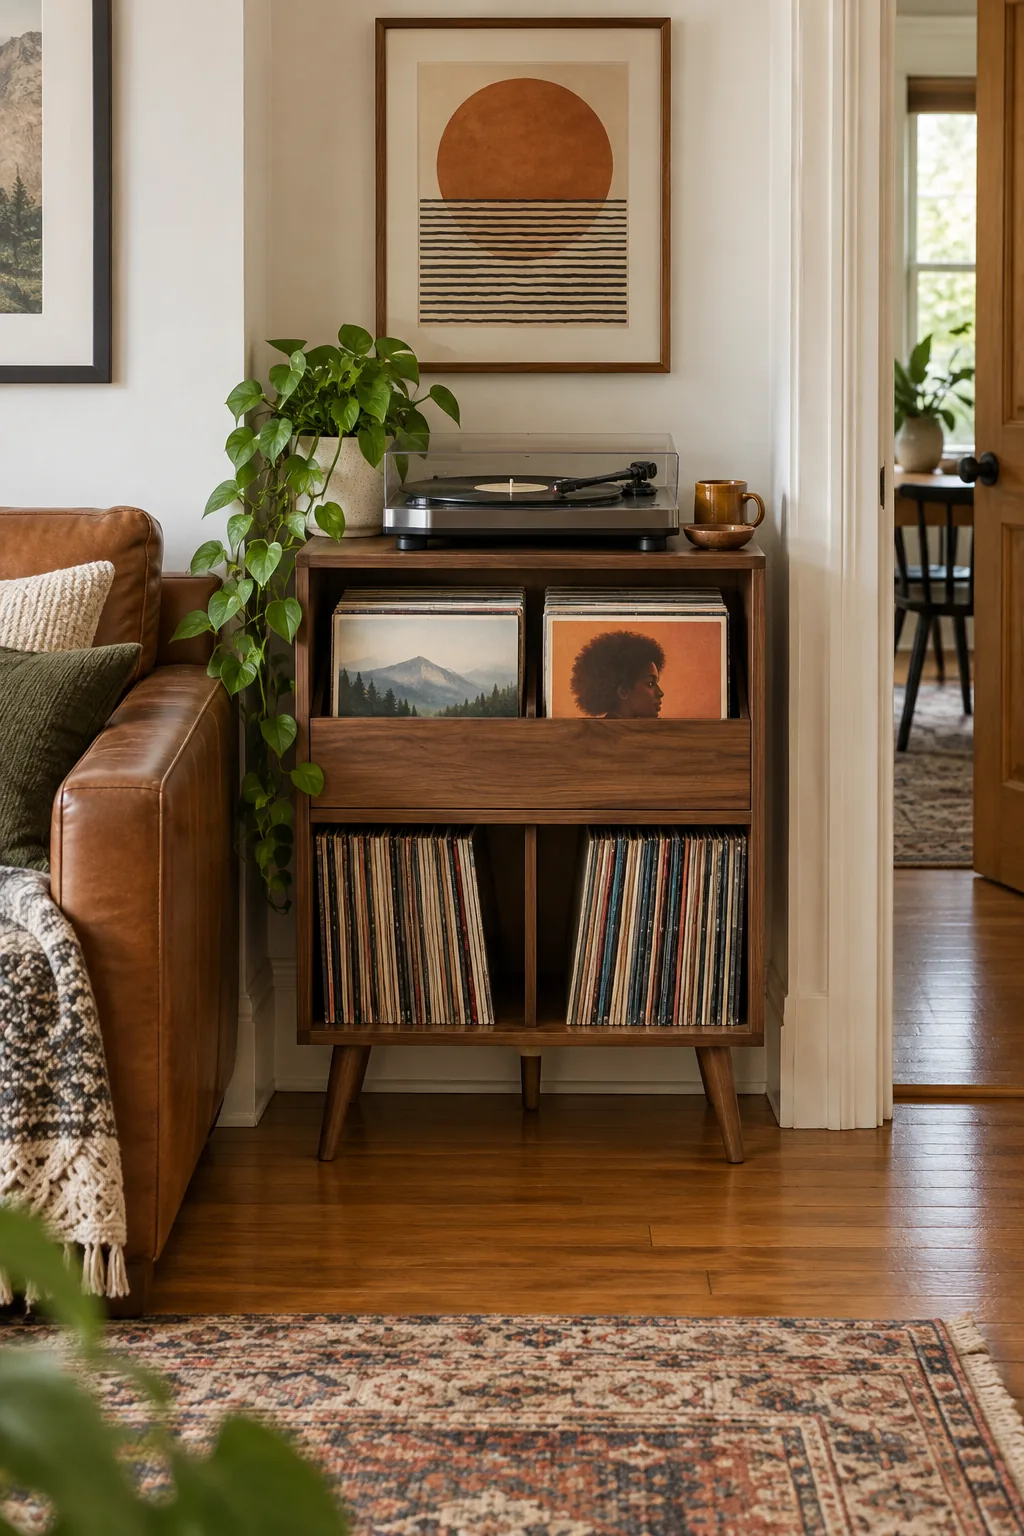
You get the massive storage capacity of a dedicated media unit without overwhelming a small living room. This compact scale feels intentional and airy, perfectly capturing that classic mid-century modern aesthetic.
Applying a Durable Top Coat
Before loading up your albums, wipe on three coats of a satin polyurethane blend to protect the veneer from scratches. Sanding lightly between each coat guarantees a buttery smooth surface so your record sleeves glide effortlessly without catching on rough wood grain.
Three Ways to Style Your Console
See how changing the wood finish and room decor completely transforms this compact storage unit.
Light Oak Boho: A pale oak finish and rattan accents give this compact record console a breezy, relaxed feel perfect for a sunny listening room.
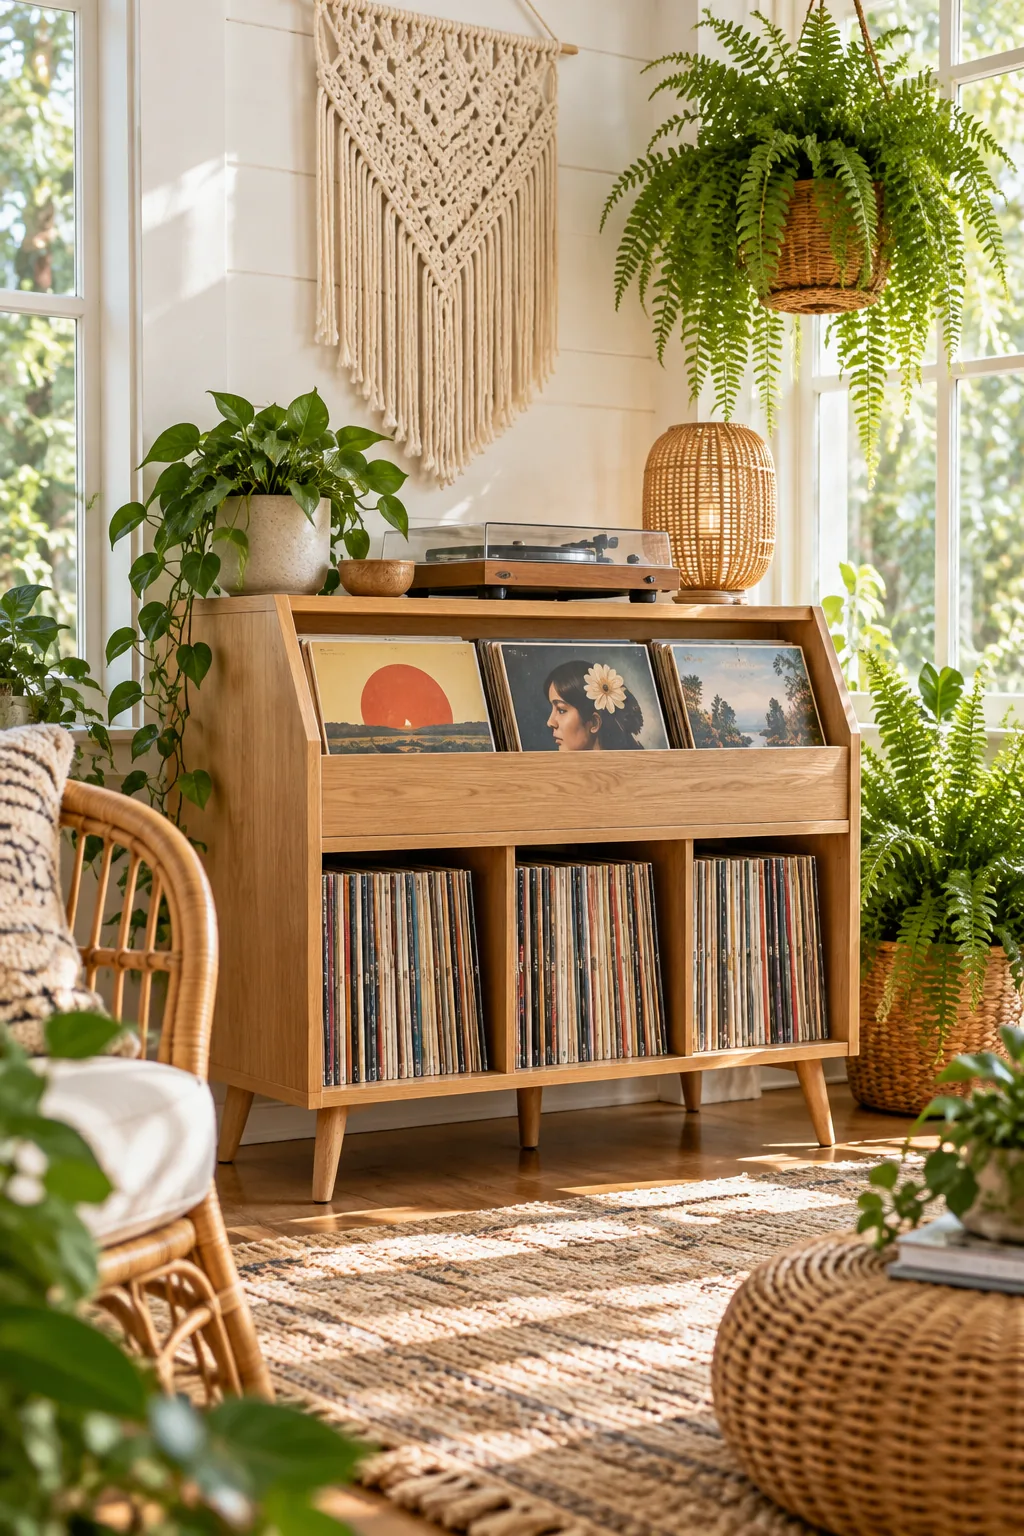
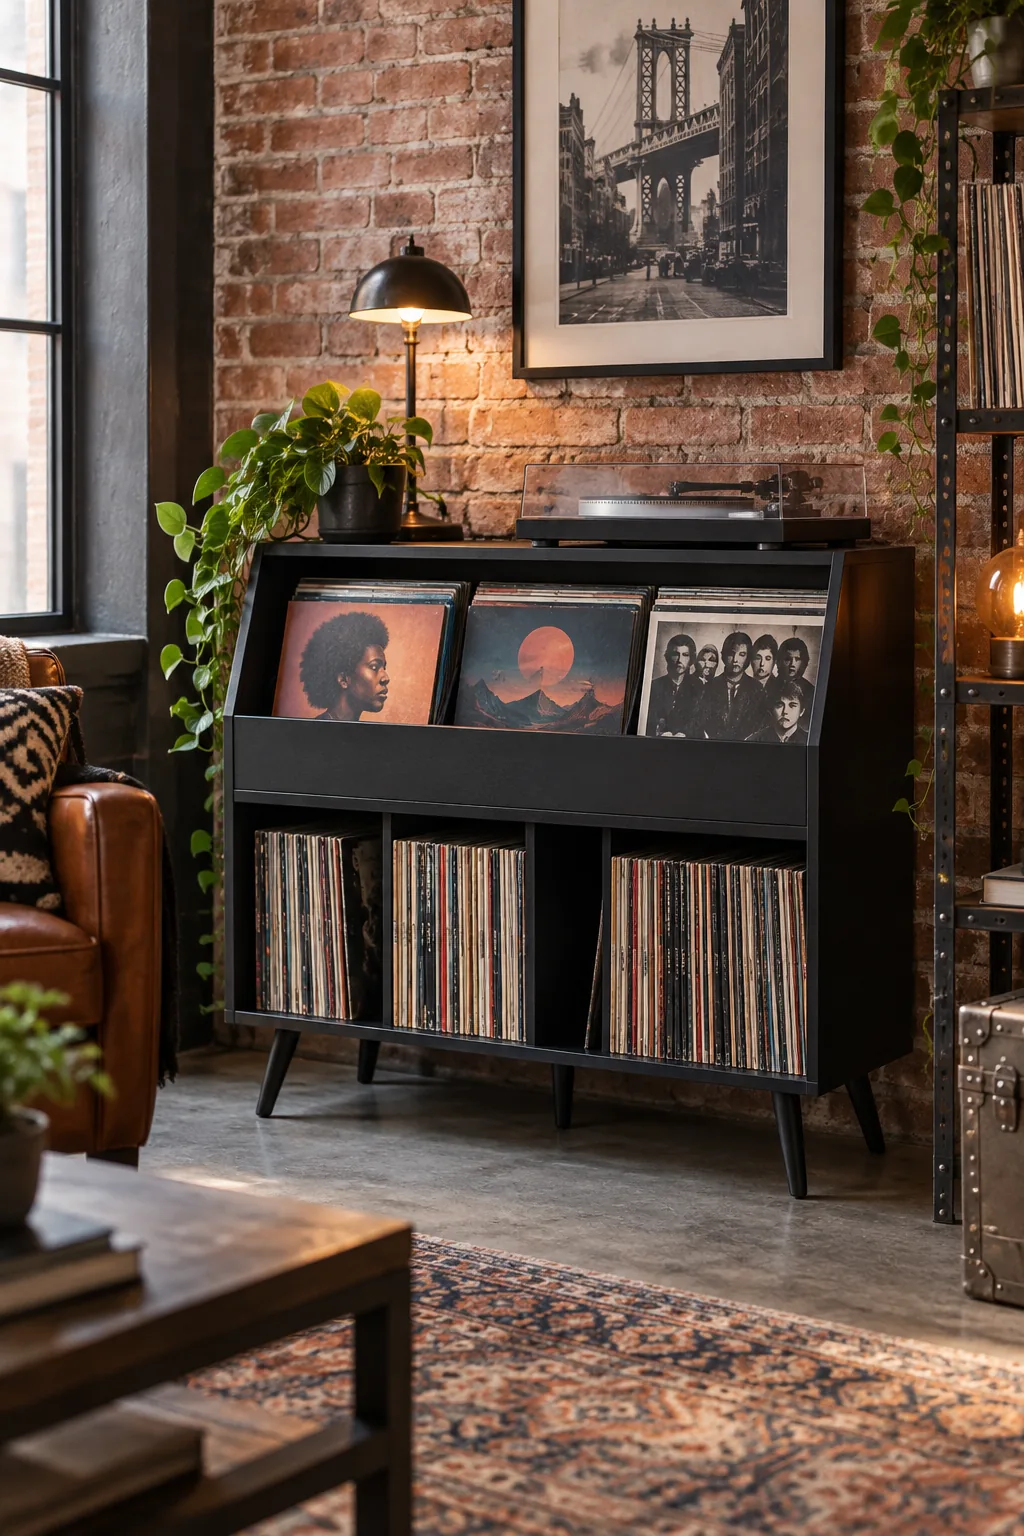
Matte Black Industrial: Painted entirely in matte black, this sleek version blends seamlessly into an industrial space alongside exposed brick and heavy metal fixtures.
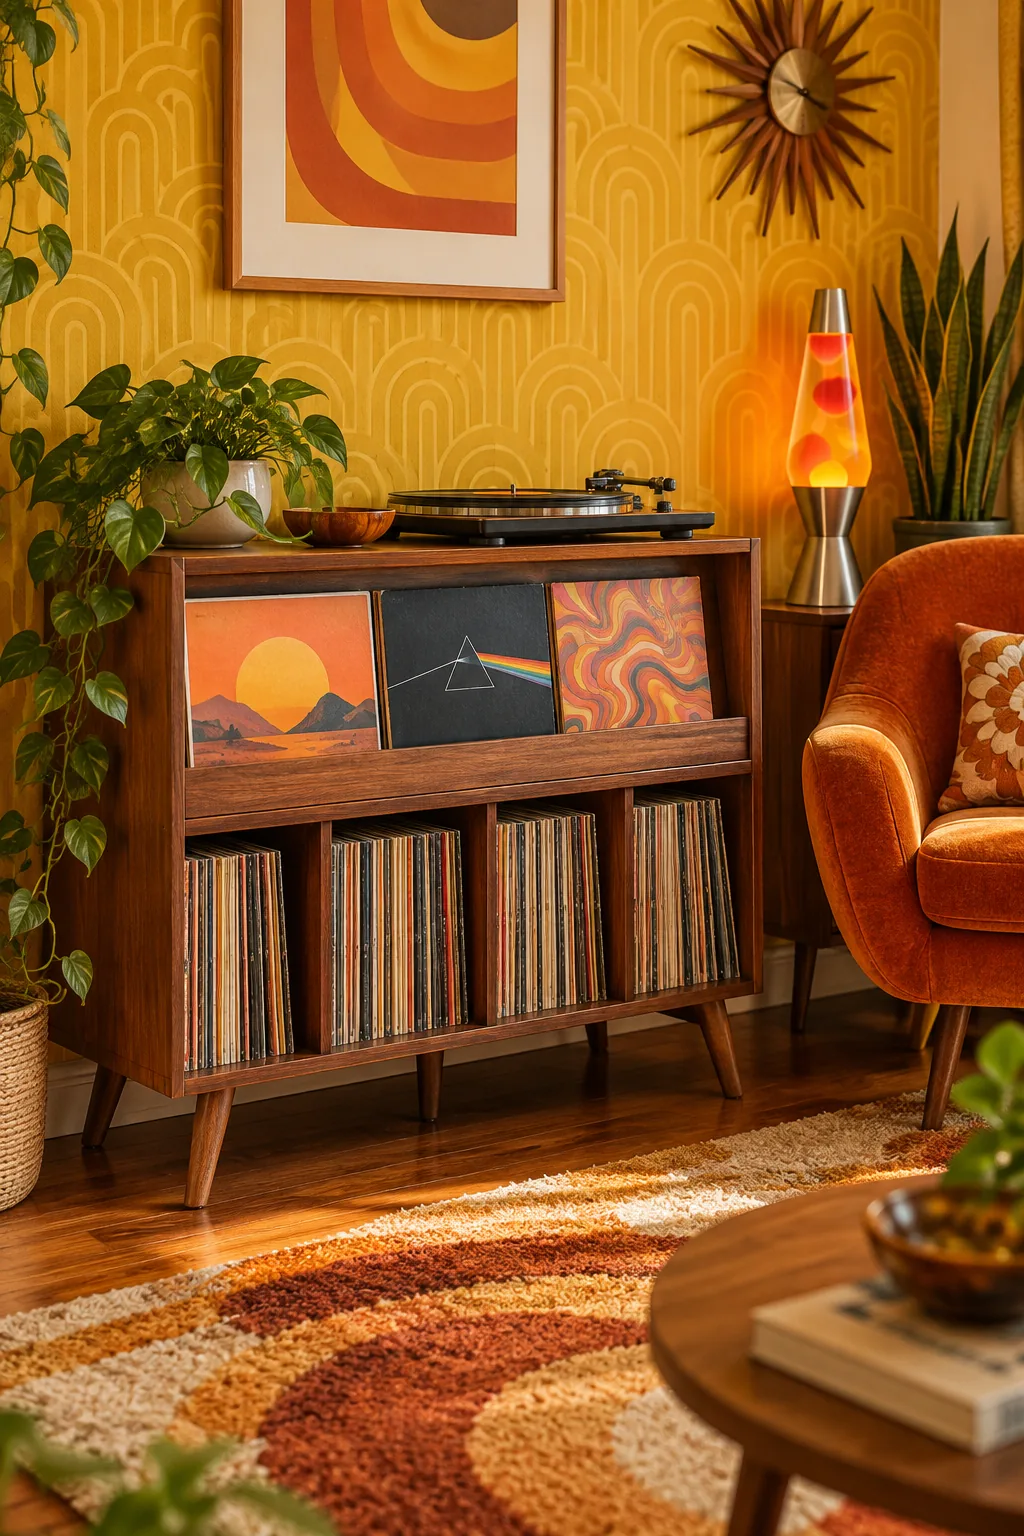
Teak Retro Lounge: Rich teak wood paired with vibrant orange textiles and mustard decor creates a highly authentic 1970s listening room atmosphere.
Your Safe-Shelving Dimension Guide
Now that you understand the anatomy, here is the complete cut sheet and dimension guide for your build. I keep a printed copy of this exact list in my workshop because it makes the lumber aisle so much less stressful.
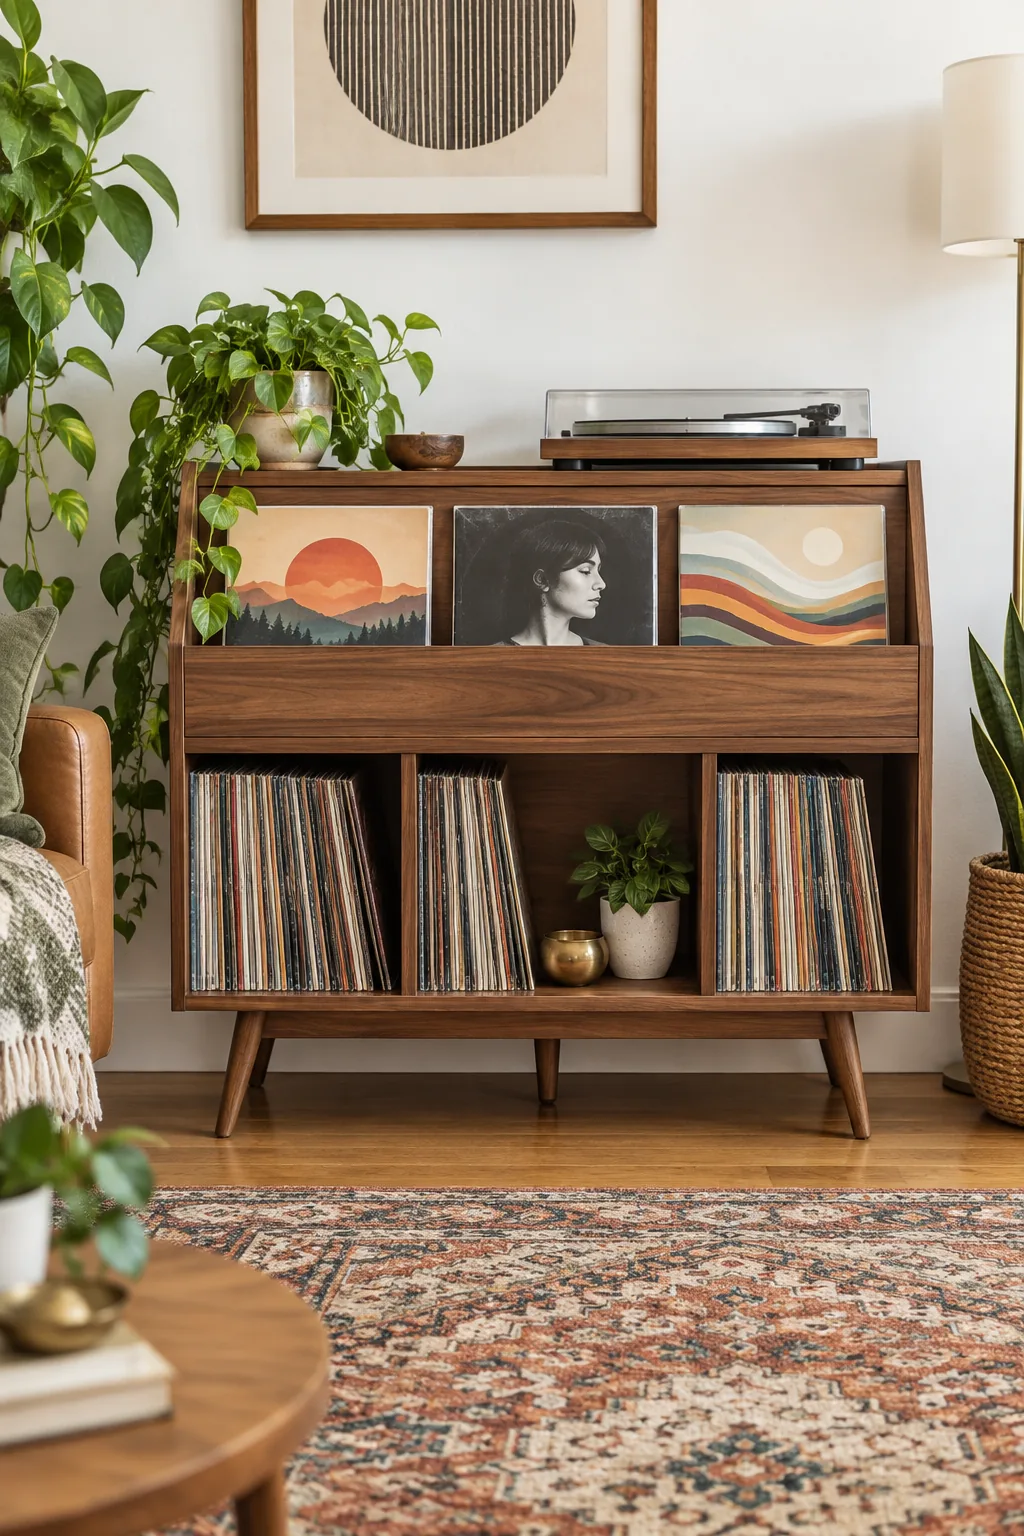
Follow this simple breakdown to recreate the safe-shelving proportions perfectly in your own space.
| Part | Thickness | Width | Depth |
|---|---|---|---|
| Top Deck | 0.75 in | 34 in | 15 in |
| Bottom Shelf | 0.75 in | 34 in | 15 in |
| Side Panels | 0.75 in | 13.5 in | 15 in |
| Vertical Dividers | 0.75 in | 13.5 in | 14 in |
Once your pieces are cut to these exact dimensions, you can move on to the final assembly phase.
- Attach the side panels to the bottom shelf using wood glue and pocket hole screws.
- Slide the vertical dividers into your stopped dado grooves to lock them in place.
- Secure the top deck, ensuring the front-flip bin area remains unobstructed.
- Install the four angled mid-century legs, followed by the straight center support leg.