
Get Our Small Bathroom Tile Layout Sheet for a Roomier Look
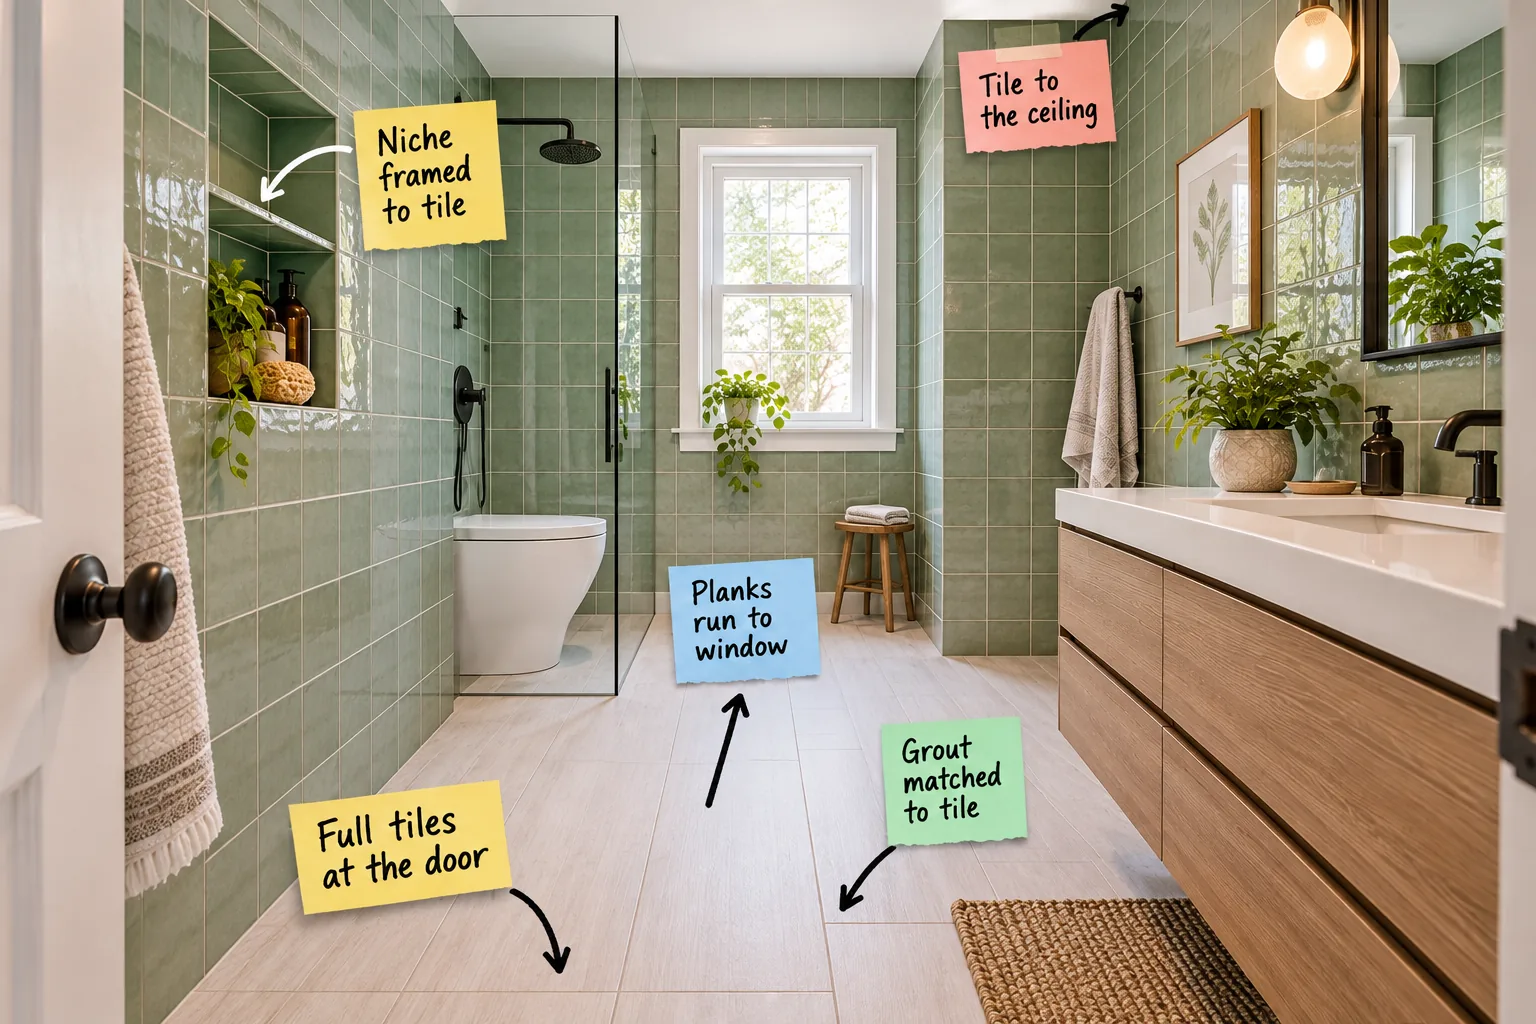
Make your compact 5×8 footprint feel incredibly expansive by downloading our Small-Bathroom Tile Layout Sheet, a printable step-by-step guide. You will be able to snap precise center lines, calculate exact 10 percent overages, and hide awkward cuts for a flawless finish.
Grab the Small-Bath Tile Layout Sheet
I always start my Denver design projects by mapping the exact room geometry before a single bag of thinset is opened. In my own guest bath, taking ten minutes to sketch the floor grid saved me from ruining the tub edge.
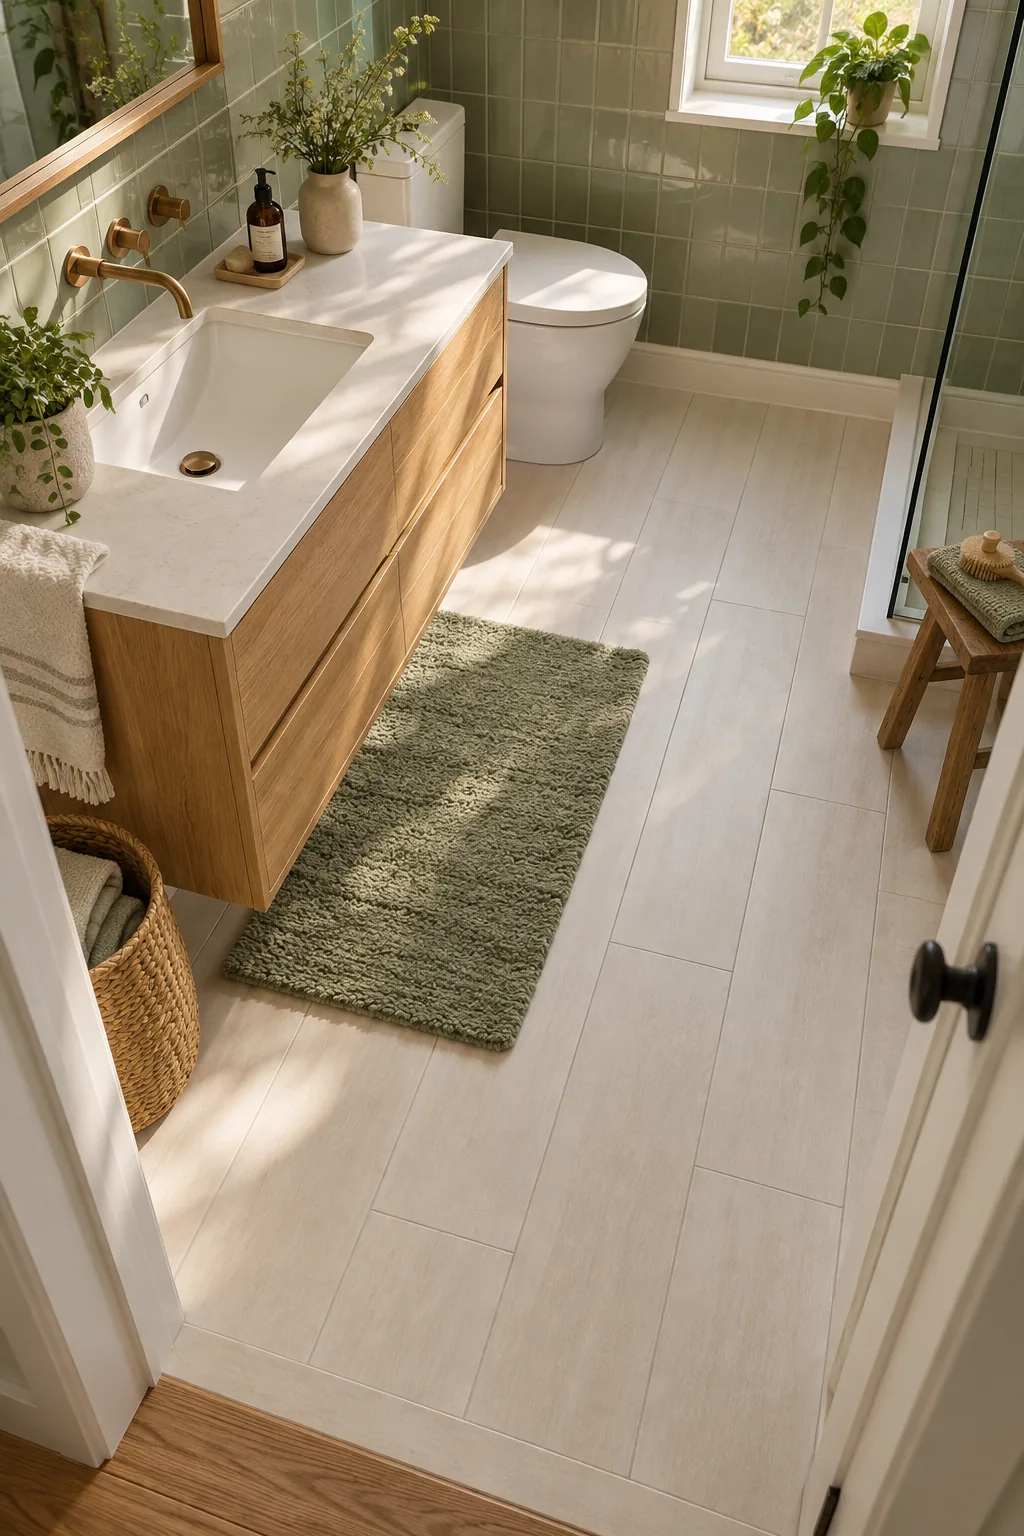
Download the printable one-page step sequence to snap your center line straight from the doorway and set your plank direction. This layout sheet ensures you map the room mathematically so those inevitable narrow cuts fall completely out of sight.
Map the Room Geometry Before Ordering
Understanding how your specific tile dimensions interact with a standard 5×8 footprint dictates your entire strategy. I treat this phase like a chess opening, calculating where the full tiles will land before committing to a permanent mortar bond.
| Room Zone | Tile Format | Primary Goal | Visual Effect |
|---|---|---|---|
| Doorway | Plank | Full width | Seamless entry |
| Floor | Plank | 1/3 offset | Elongates room |
| Walls | Square | Ceiling height | Lifts roofline |
| Niche | Square | Whole tiles | Custom finish |
Reviewing these structural goals against your actual square footage prevents you from ordering the wrong format. A tight grid plan guarantees that your materials work in harmony rather than fighting the room’s natural boundaries.
Start with Full Tiles at the Door
The threshold is the most visible transition in a compact bathroom, setting the visual tone for the entire floor. You want to plan the grid so a row of uncut, full-width planks sits perfectly flush at the doorway.
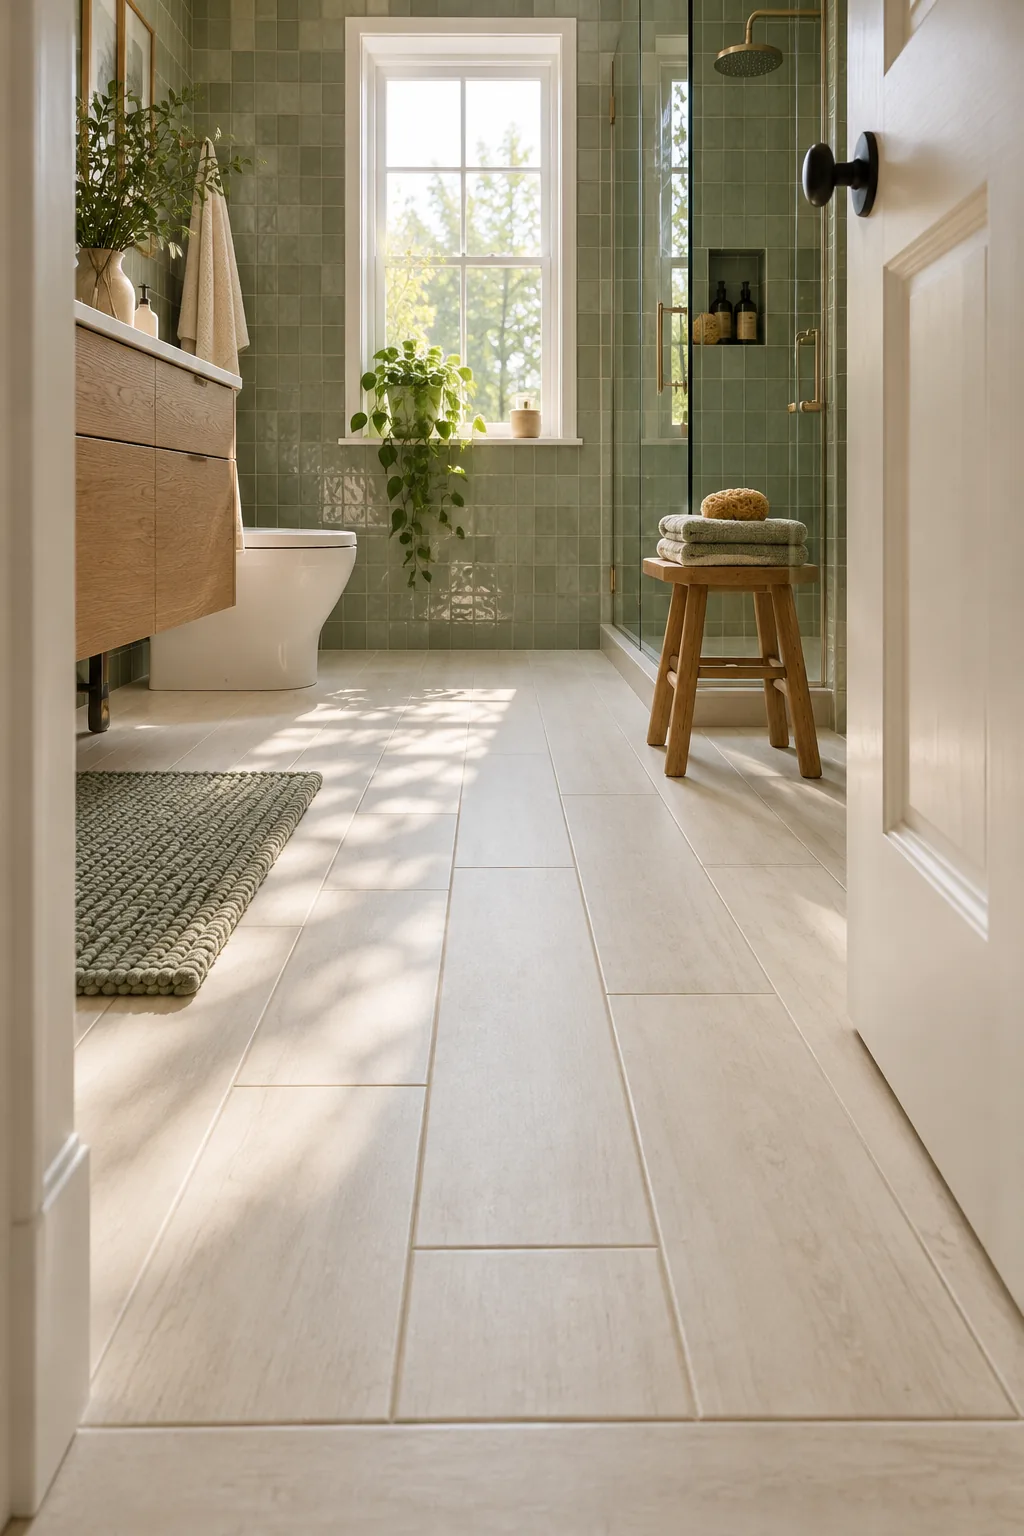
Securing this primary sightline pushes the necessary cut strips to the back wall where the vanity or toilet base hides them. It immediately tricks the eye into perceiving a wider, uninterrupted floor plane the moment you step inside.
Snap a Precise Reference Line
Establishing a mathematically perfect center line ensures your full tiles stay square to the doorway threshold. I never rely on the existing walls being plumb, because small framing variations will severely compound as you work across the floor.
- Measure the exact center point of your doorway threshold.
- Mark a parallel point on the opposite wall behind the toilet.
- Snap a chalk line between these two marks to guide your first row.
Working outward from this established chalk line guarantees your grout joints remain perfectly straight. This disciplined approach keeps the entire floor grid locked into the room’s true geometric center, preventing angled cuts along the side walls.
Push Narrow Cuts to the Back Wall
By anchoring your full tiles at the entry, the layout naturally forces any fractional pieces to the perimeter. This strategic shift ensures that the least attractive parts of the installation are entirely obscured by your heavy plumbing fixtures.
Run Floor Planks Toward the Window
Directional layouts act like arrows, so orient the long axis of your floor planks to point directly toward the far window. This simple geometric move draws the eye entirely through the space and maximizes the natural light.
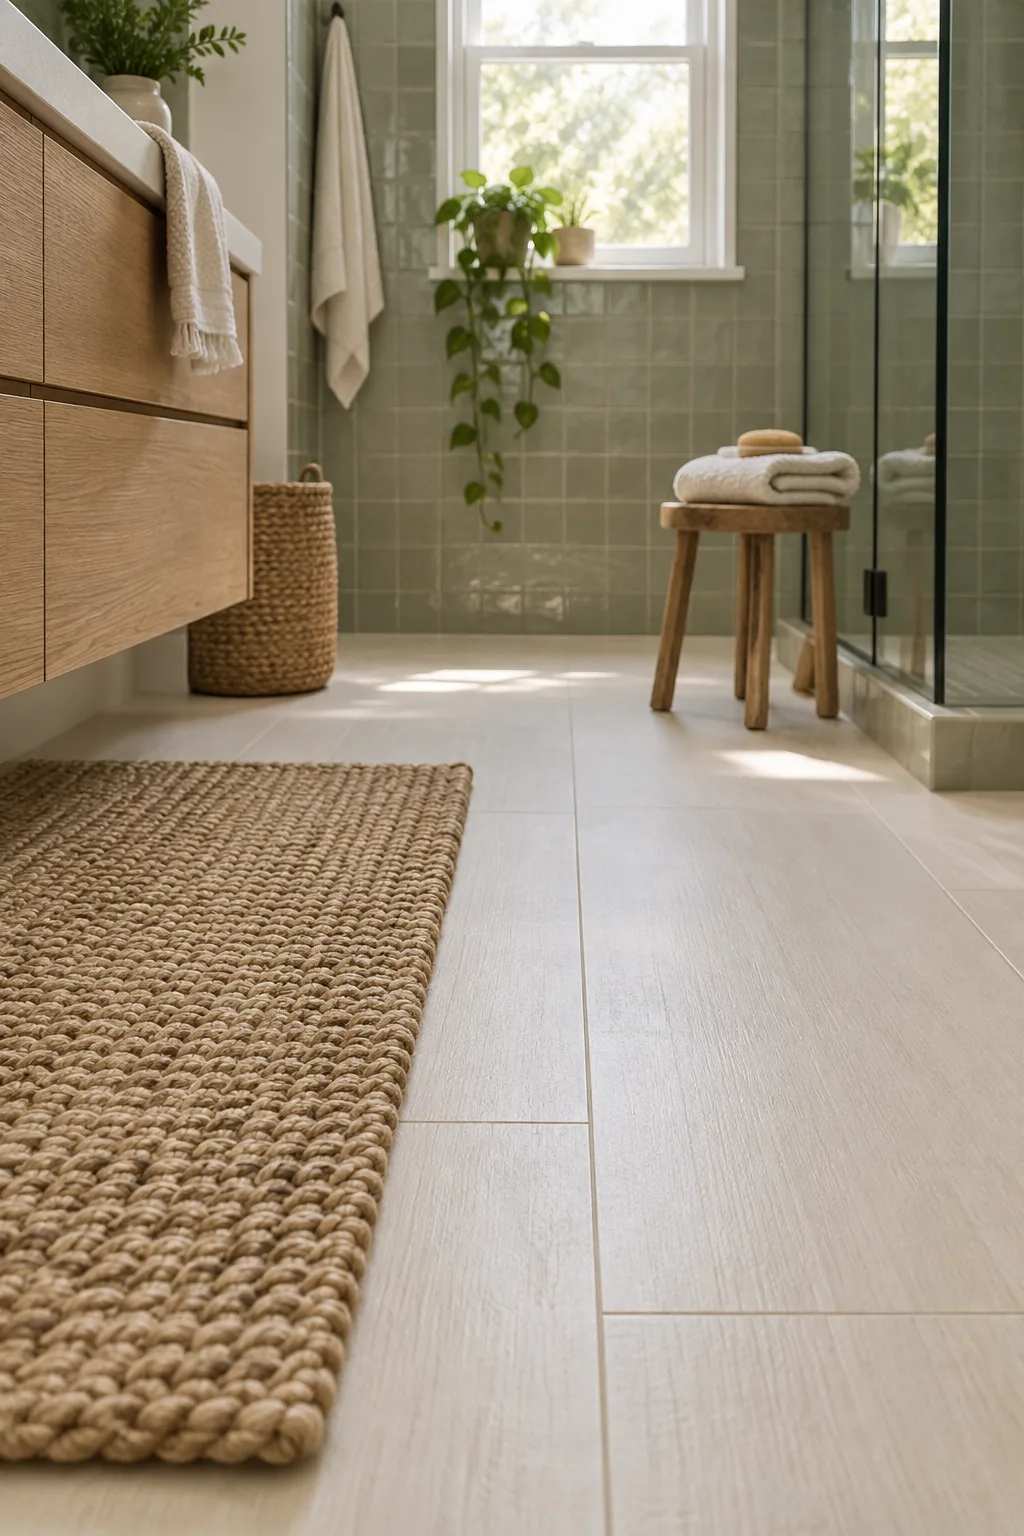
By emphasizing the longest dimension of the room, the side walls feel significantly further apart. A directional plank layout enhances this stretching effect, making a standard 5×8 footprint feel much deeper than the tape measure suggests.
Use a One-Third Offset for Planks
Staggering your floor planks correctly prevents unsightly lippage where the center of one tile bows slightly higher than the ends. A precise 1/3 offset creates a balanced, organic flow that mimics traditional hardwood installations without the blocky look of a half-offset.
Match Grout to the Floor Tile
High-contrast joints chop a small floor into a busy, distracting grid, which instantly shrinks the room. Instead, select a grout color that perfectly matches your warm-white porcelain planks to soothe the visual landscape.
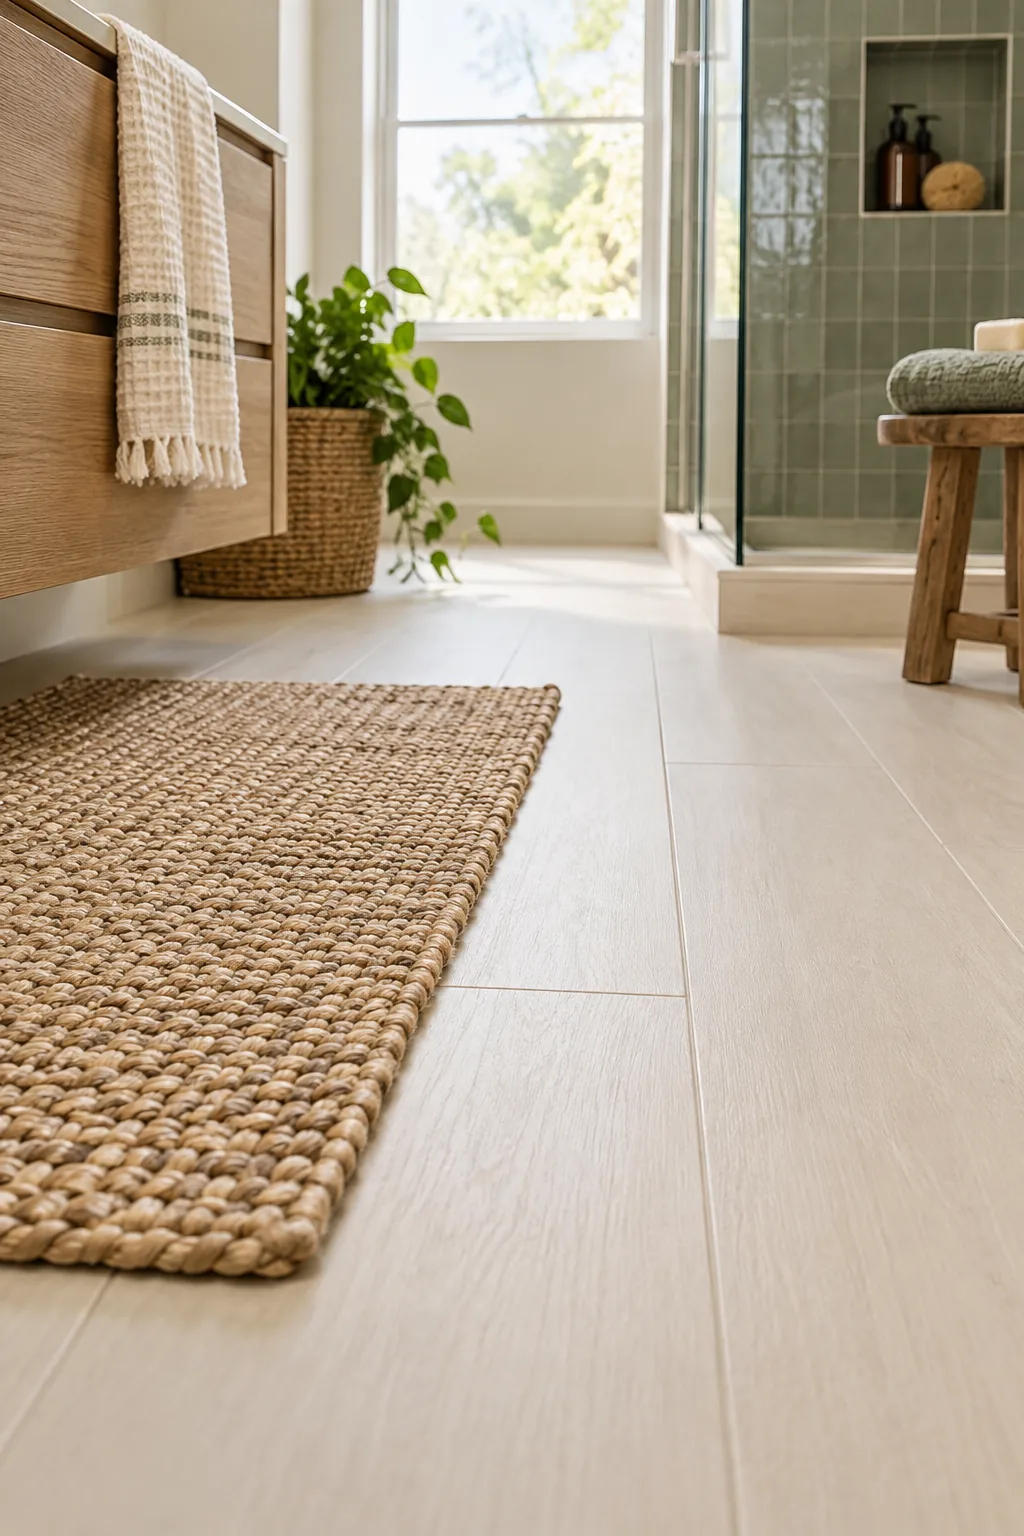
Blending the joints reduces visual clutter and allows the individual pieces to read as one continuous surface. A monolithic floor plane is the easiest, most cost-effective way to make a compact space feel luxurious and expansive.
Keep the Floor Plane Monolithic
When the grout disappears into the tile color, your eye glides over the floor without stopping at every seam. This unbroken canvas provides a calm foundation that allows your vanity and fixtures to stand out as the true focal points.
Carry Wall Tile to the Ceiling
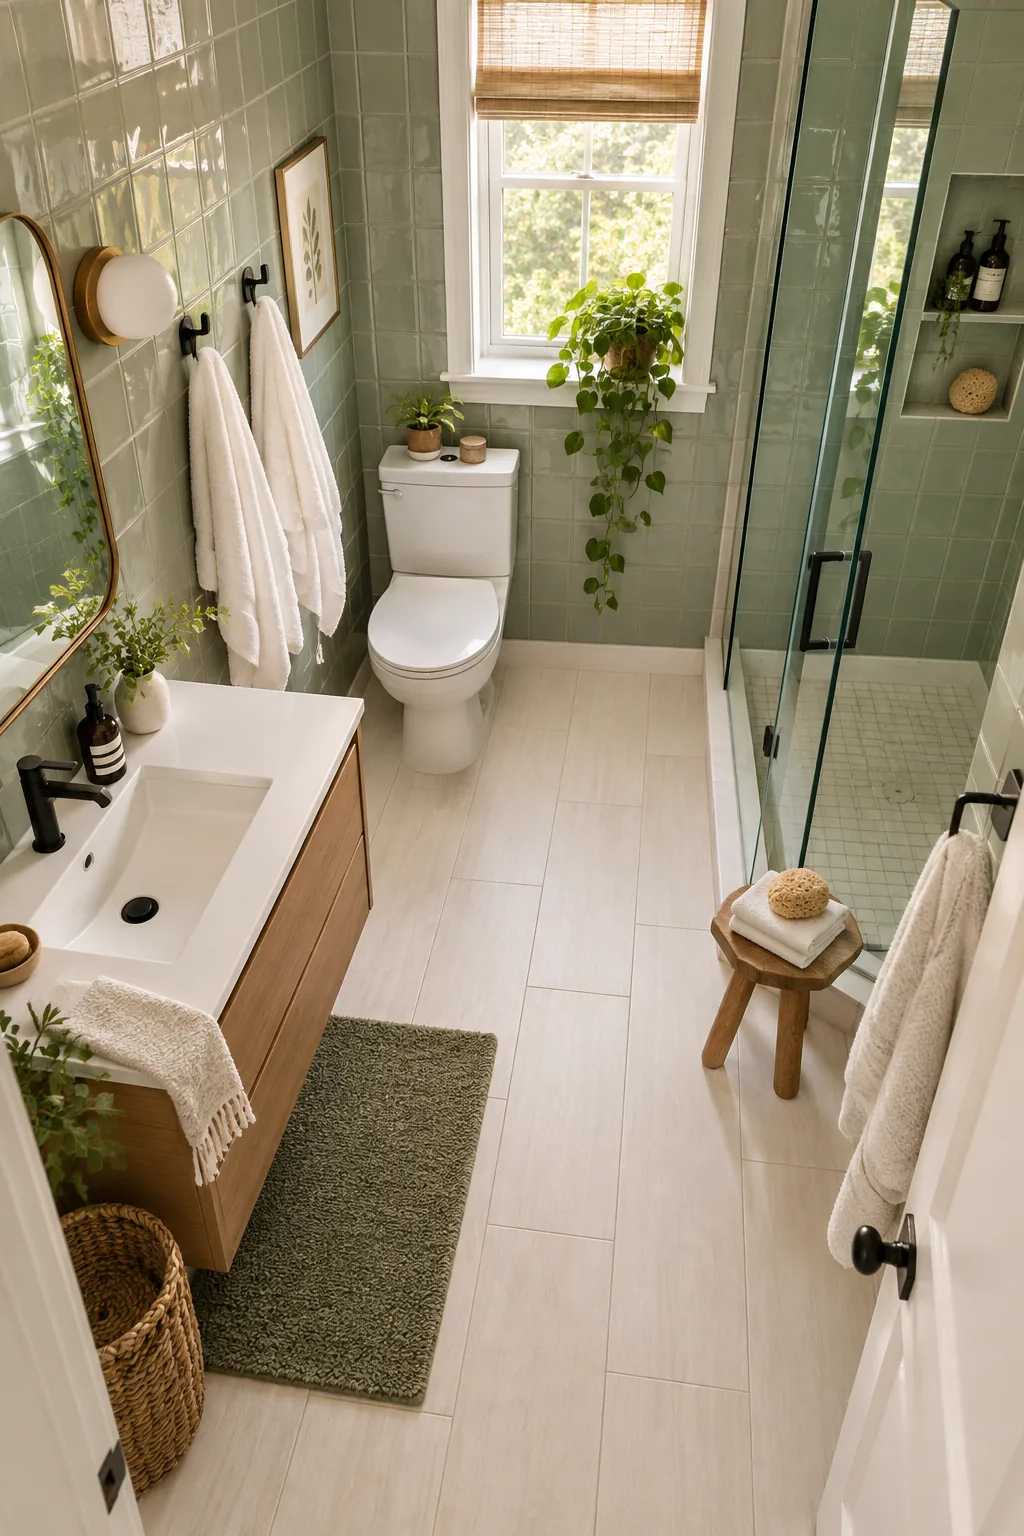
Stopping your wall tile at a standard wainscot height leaves a painted band above it, visually chopping the room in half. Take your sage-green wall tile all the way to the ceiling line instead for maximum architectural impact.
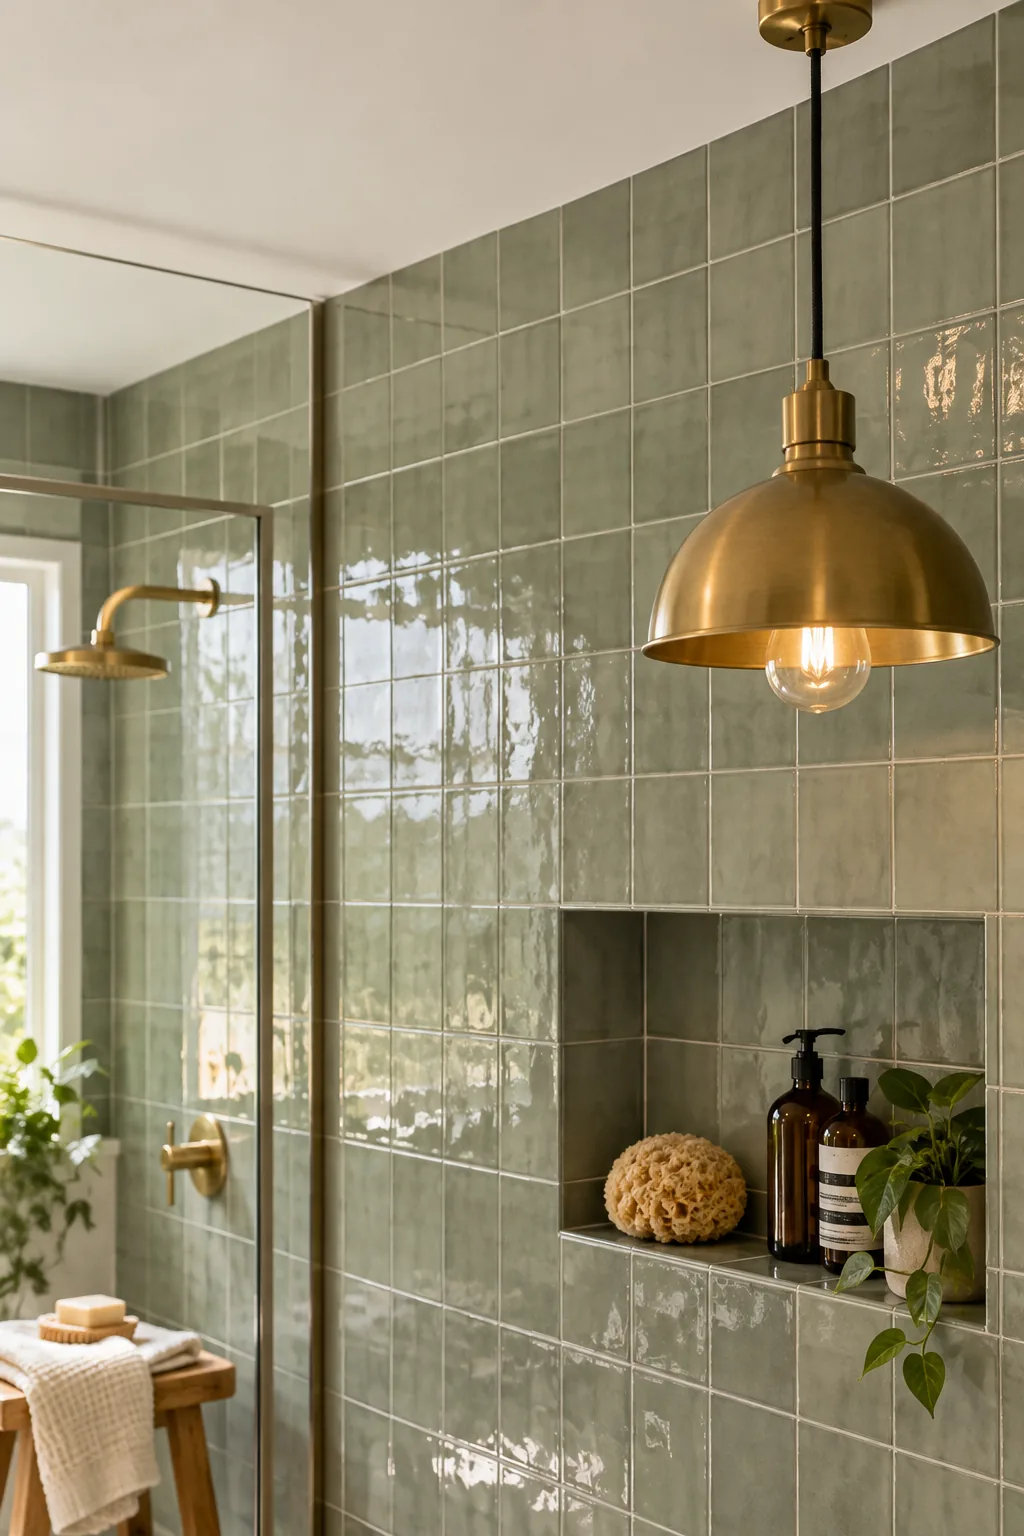
Full-height coverage completely removes that horizontal dividing line, making the ceiling feel significantly taller. This continuous vertical sweep acts as a unified backdrop that visually expands the shower enclosure and elevates the entire room.
Eliminate the Horizontal Painted Band
When you break a wall into two different materials, the high contrast physically stops the eye from traveling upward. Wrapping the entire vertical surface in a single, glossy finish reflects light beautifully and creates a seamless, spa-like atmosphere.
Wrap the Wet Zone Continuously
Continuing the exact same tile from the vanity wall straight into the shower enclosure unifies the bathroom’s footprint. I love how this unbroken horizon line makes the glass shower partition nearly disappear into the background.
Frame the Shower Niche to Whole Tiles
I learned early in my career that framing a niche without checking tile sizes leads to messy, jagged slivers on the inside corners. Now, I always calculate the recessed dimensions using strict tile-plus-joint multiples.
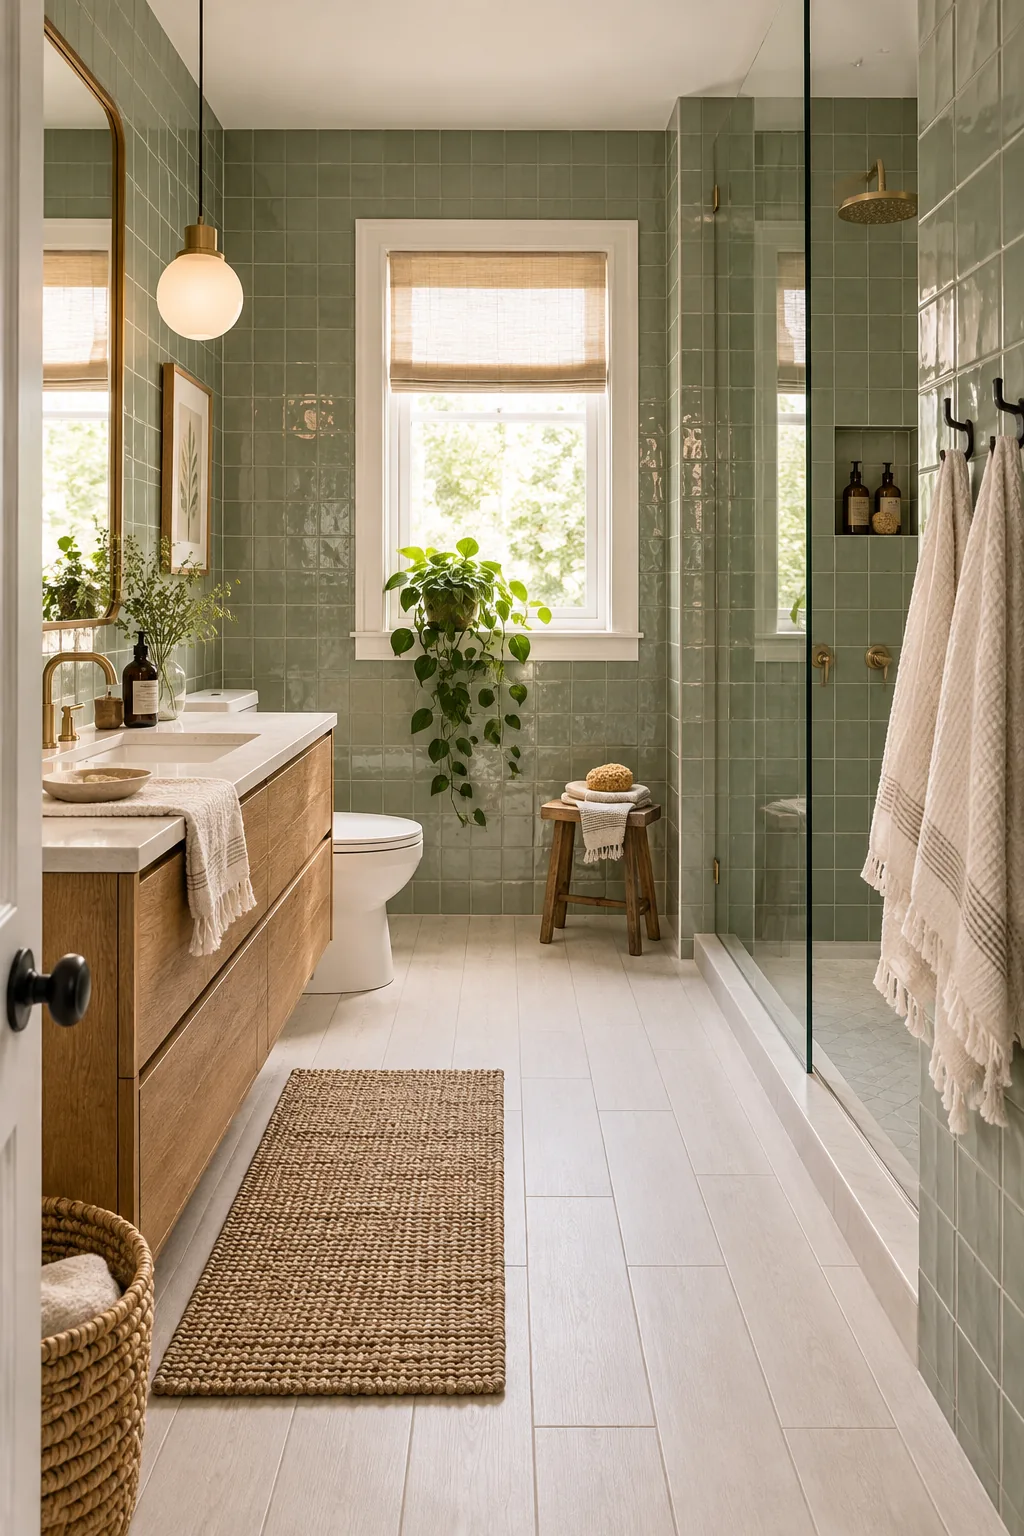
Adjusting the wall framing so the niche edges align exactly with your planned grout lines eliminates awkward cuts entirely. This premeditated alignment creates a flawless, custom finish that looks incredibly intentional and highly crafted.
Calculate Multiples for the Niche
To find the perfect rough opening, lay out your chosen wall tiles on the floor with spacers between them. Measure the total width and height of whole tiles, then build your custom framing block to match those exact dimensions.
Avoid Jagged Slivers on Corners
When the grout joints run continuously from the main wall straight through the recessed box, the architecture feels perfectly integrated. Taking the time to adjust the studs ensures your expensive bullnose trim frames a perfectly symmetrical opening.
More Ways to Style a Small Bathroom
Explore how different palettes and layouts can transform a compact footprint.
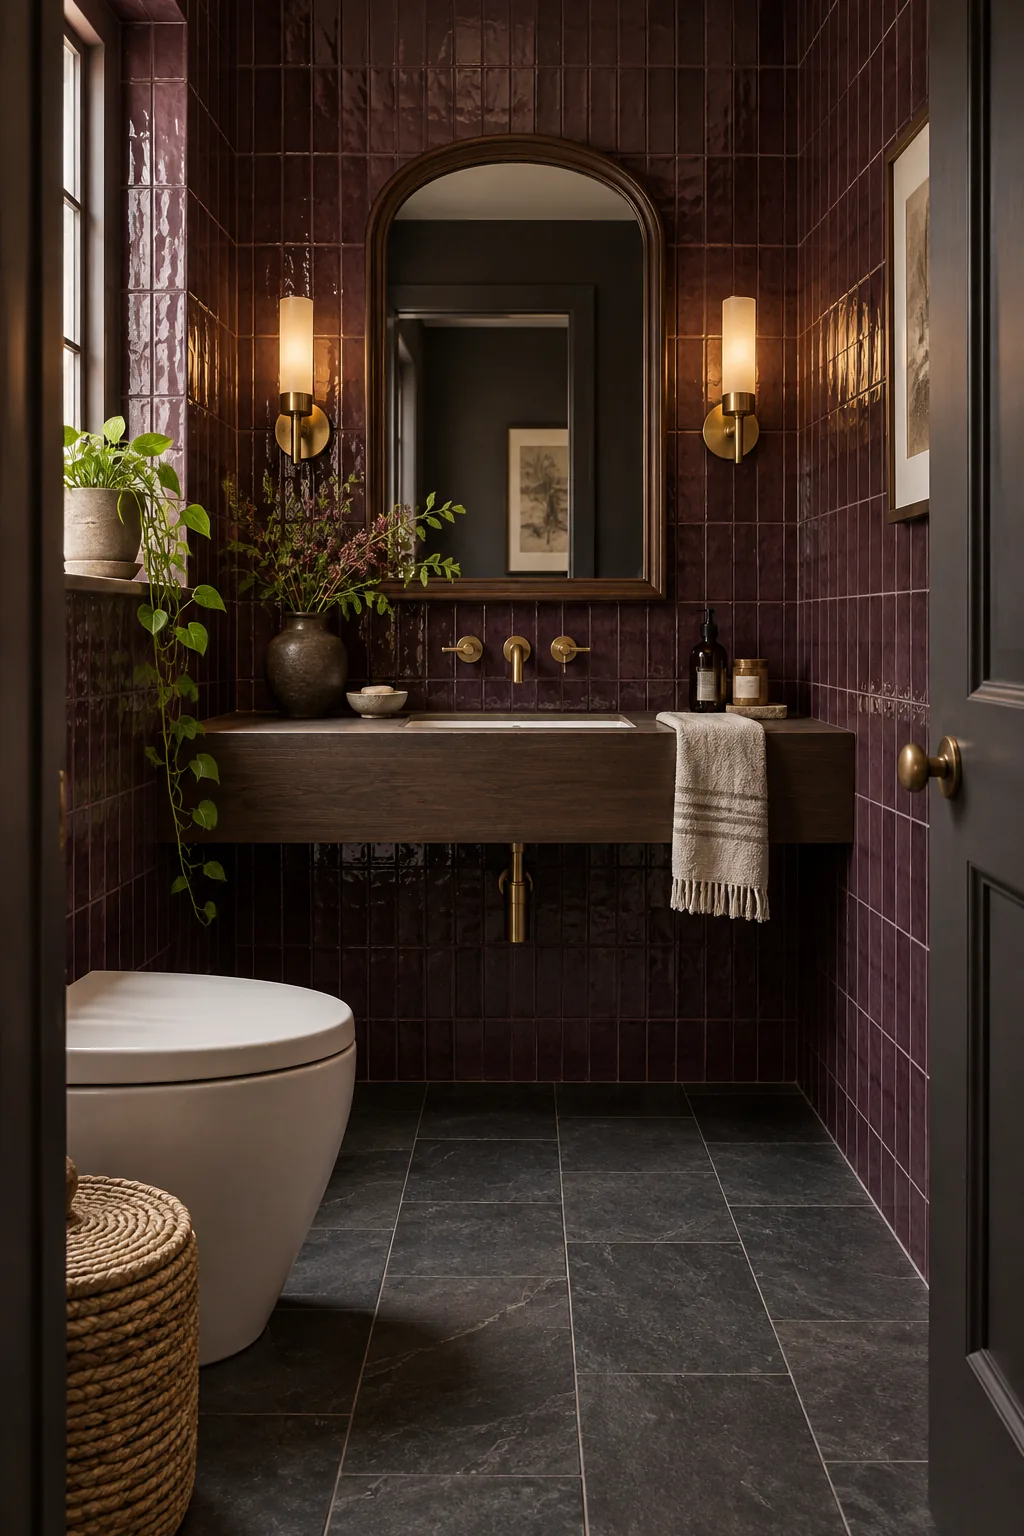
Moody Organic Powder Room: Deep plum walls paired with slate floor planks create a moody powder room. Copy this look by taking dark glossy tiles all the way to the ceiling.
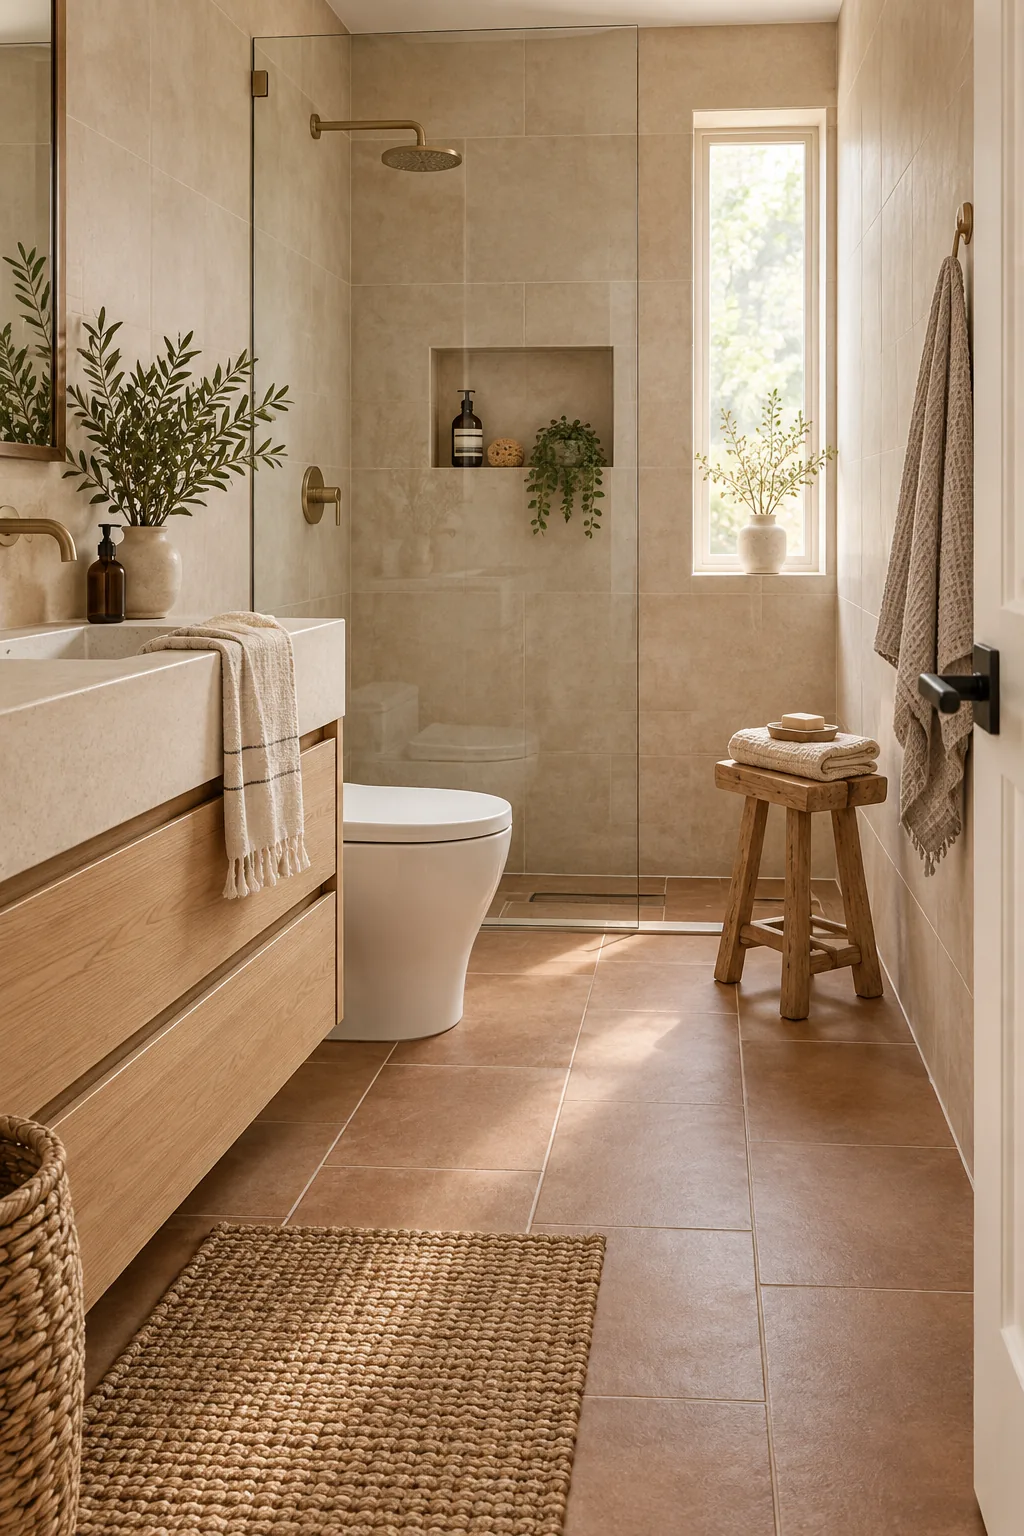
Warm Minimalist Guest Bath: Matte sand walls and warm clay floors give this guest bath a soft, earthy glow. Recreate it by matching a warm grout perfectly to the floor.
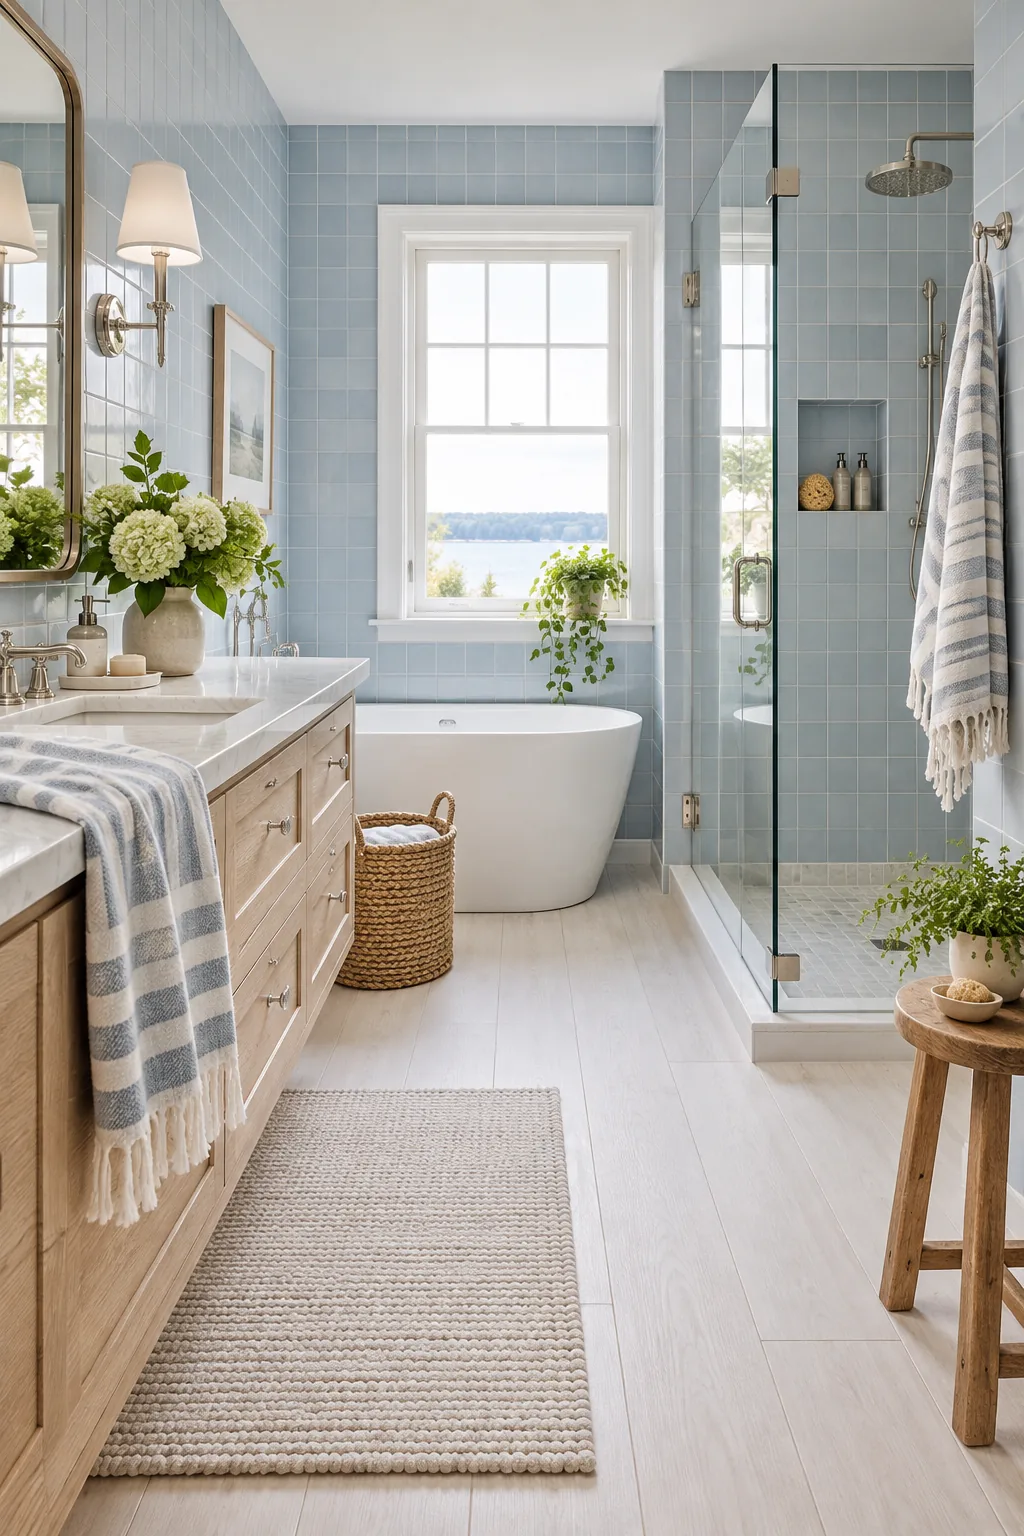
Coastal Fresh Primary Ensuite: Light blue ceramic squares and whitewashed planks make this primary ensuite feel coastal and bright. Steal this style by framing a wide niche opposite the window.
Calculate Quantities for 25 to 50 Square Feet
Standard small-bath floors and walls require precise material planning, which you can map easily using the layout sheet’s chart. Always order a 10 percent overage to account for the 1/3 offset cuts and accidental breakage during installation.
Before finalizing your cart, run through these essential quantity checks to ensure you have enough matching material to finish the job.