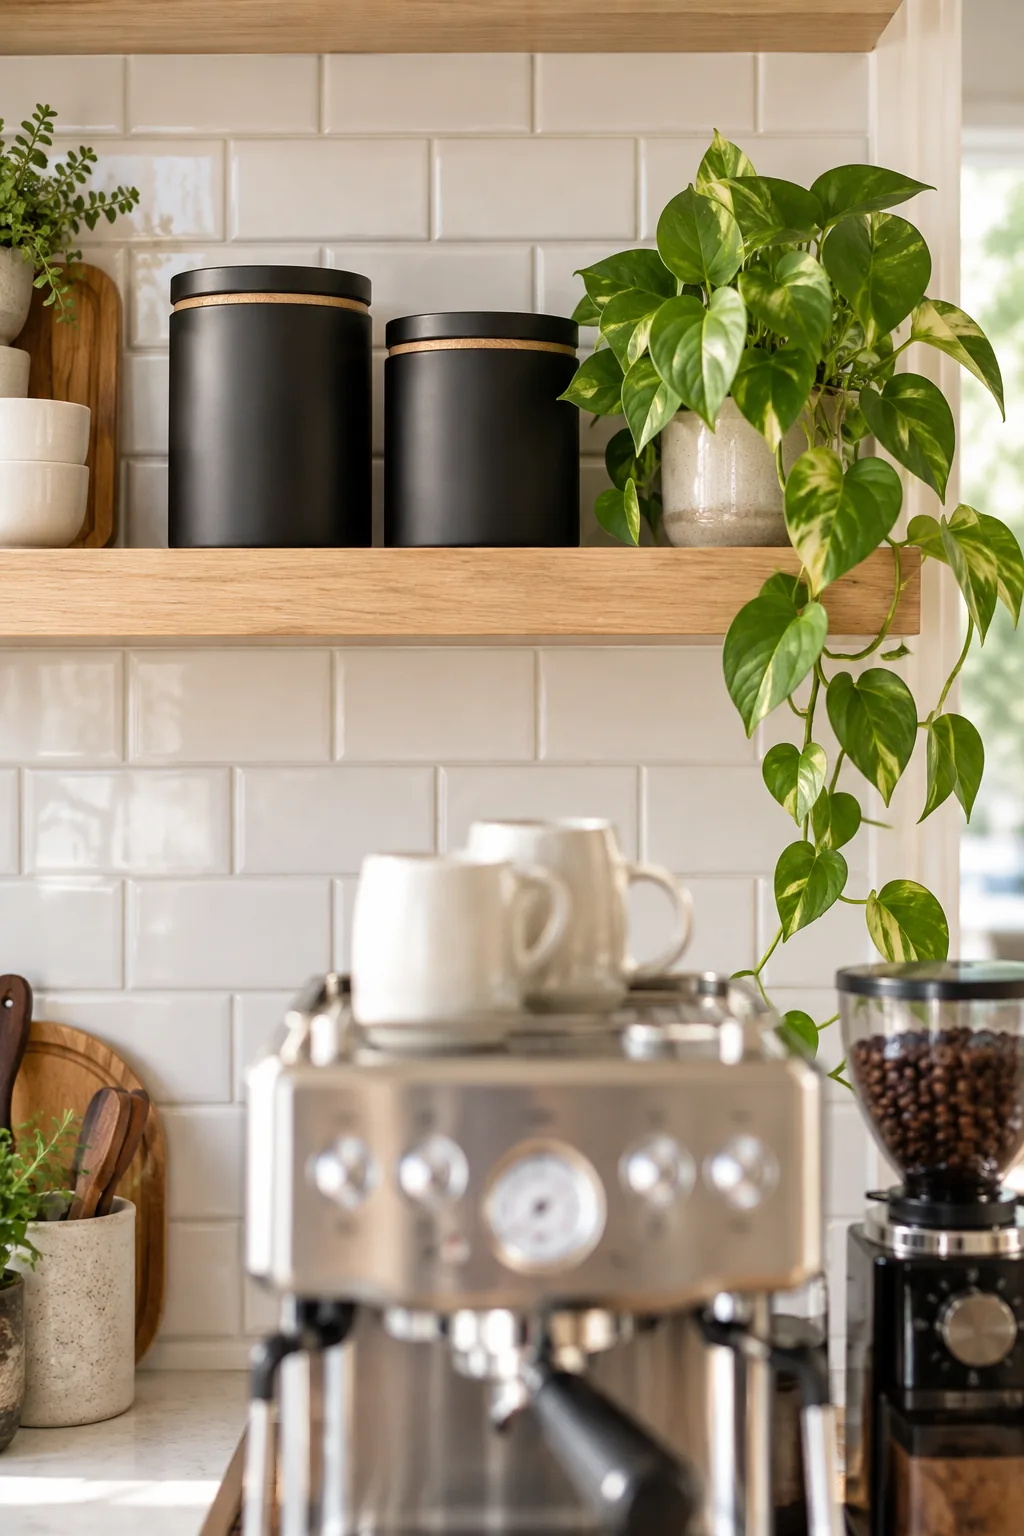
Countertop Coffee Station Mapped for Small Spaces: Zoning Guide
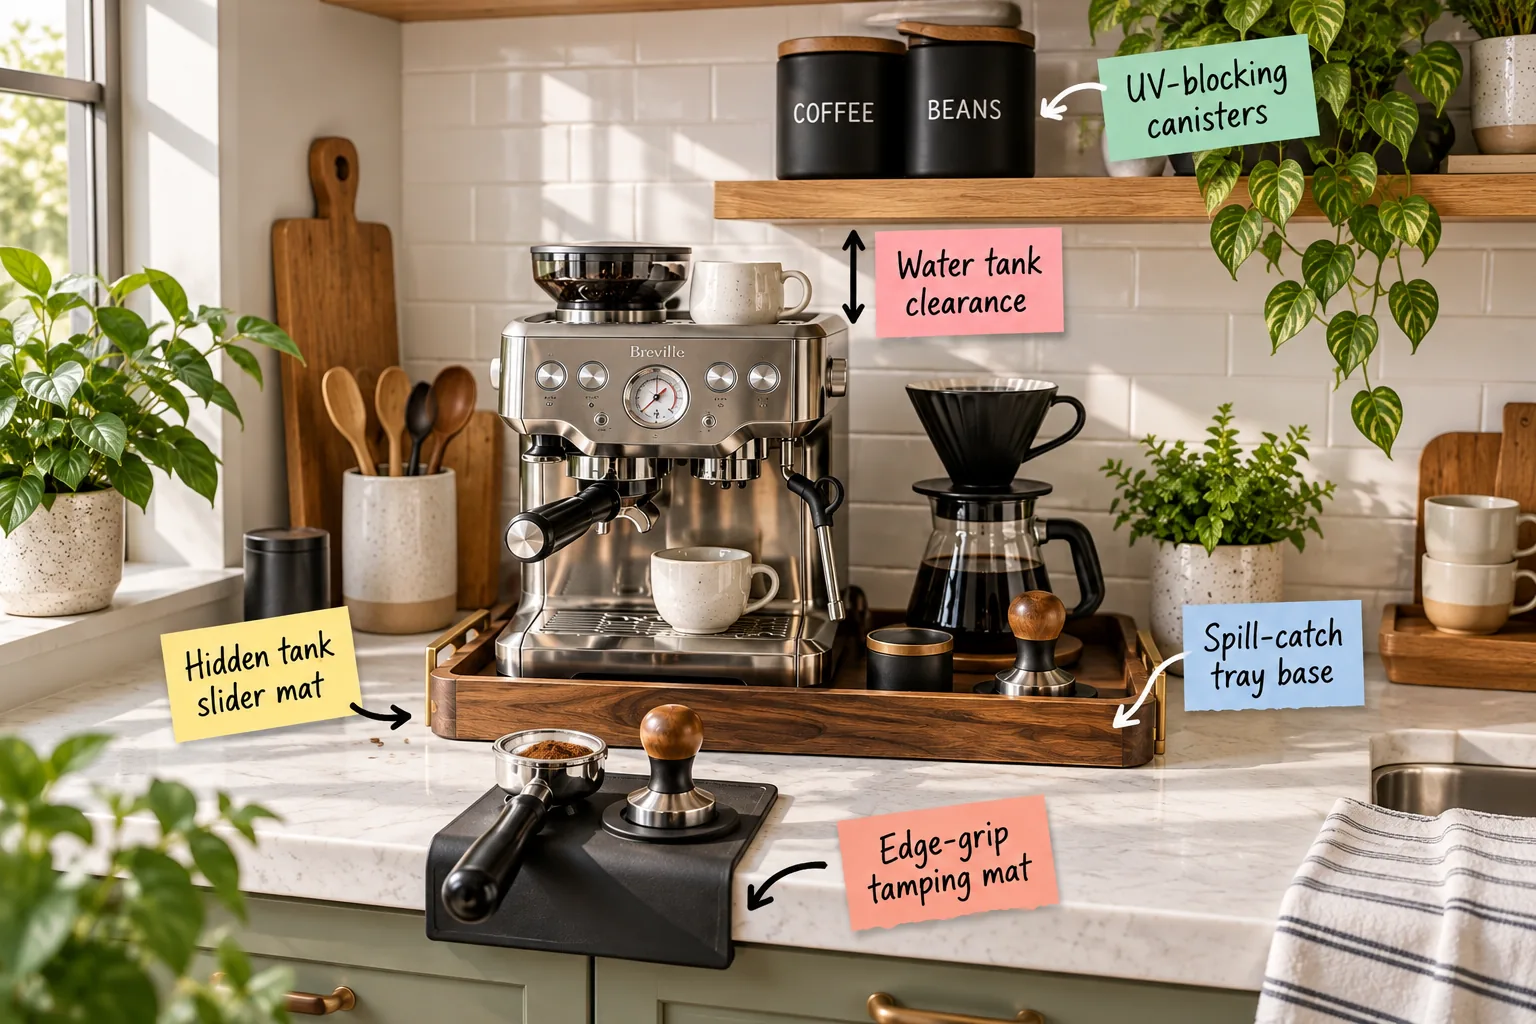
Building a functional, compact barista setup requires a solid plan, which is why I created this countertop station zoning map and spacing guide. You will be able to measure, zone, and assemble a fully equipped, spill-proof coffee station that fits your existing counter perfectly.
Assessing Your Existing Countertop Profile
Before purchasing new equipment, you must evaluate the physical constraints of your kitchen architecture. Measure the distance from the backsplash to the front bullnose edge to verify you have a standard 24-inch depth to support a complete barista setup.
Anchoring with a Spill-Catch Tray
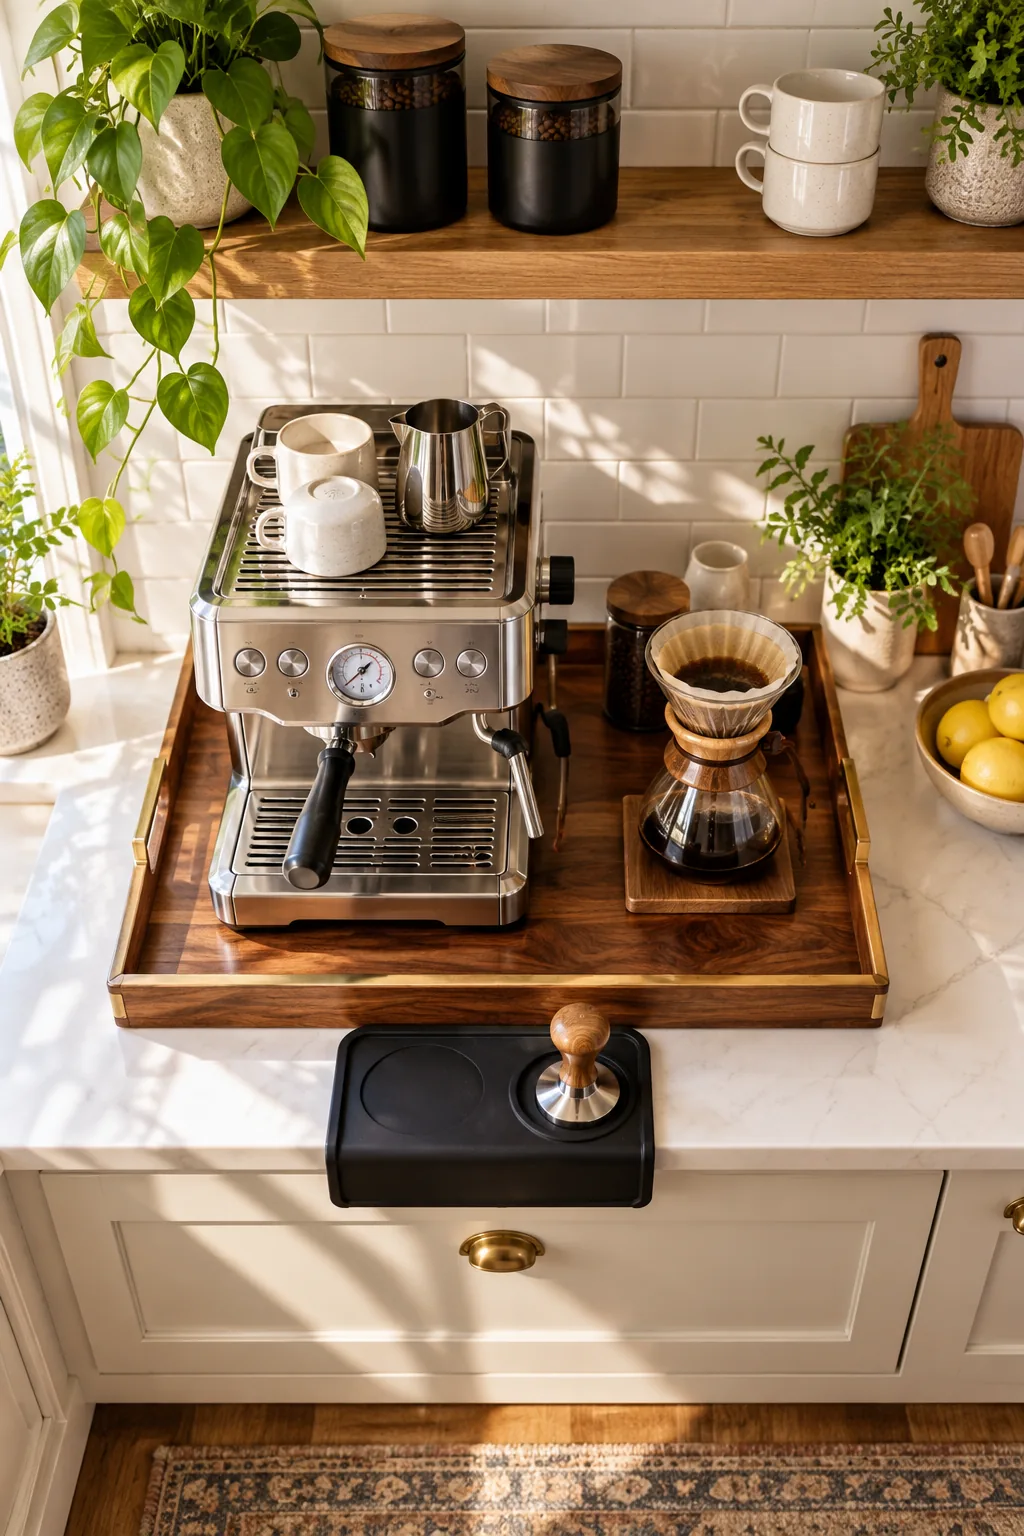
Start by defining the primary brew zone with a wooden tray to protect the quartz counter from heat and moisture. Choose a tray with at least a 1.5-inch lip to successfully contain scattered coffee grounds and accidental water spills.
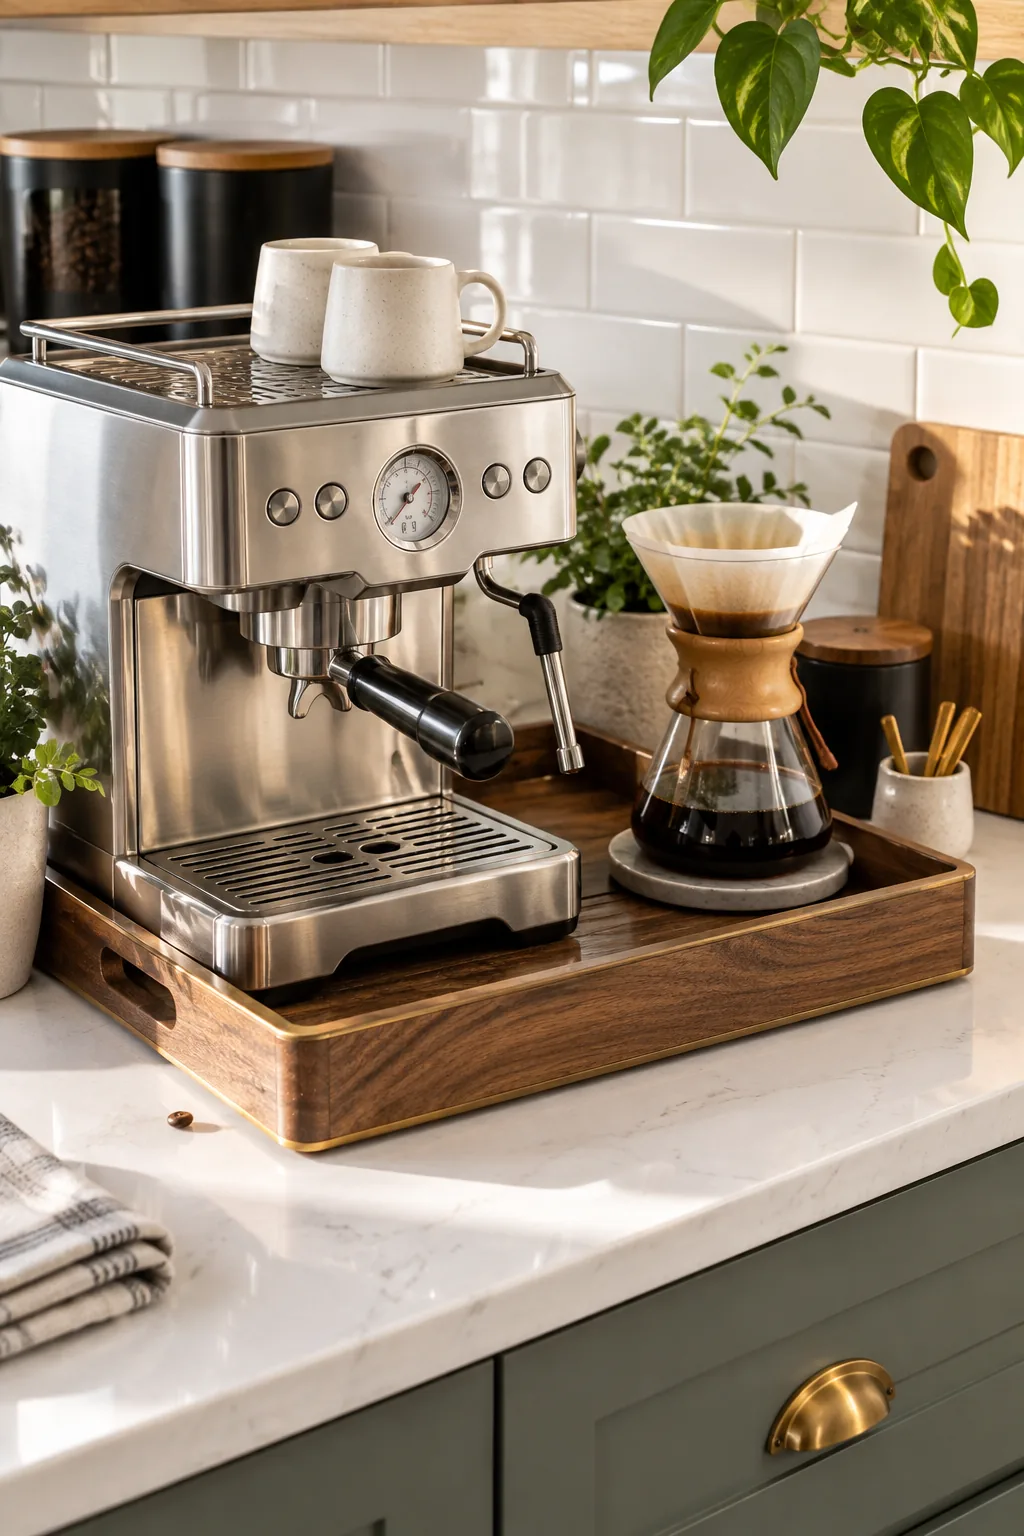
While a tray looks decorative, its primary job is structural protection for your delicate kitchen surfaces.
Sizing the Tray for Your Equipment
A cramped tray workflow leads to shattered cups and spilled milk during the morning rush. Ensure your chosen wooden base is at least 6 inches wider than your espresso machine to provide an adequate landing pad for your steaming pitcher.
The Hidden Slider Mat Trick
In my own Denver kitchen, my heavy espresso machine sits tucked under the upper cabinets, making it impossible to move without a trick. Cut a piece of 1/8-inch thick felt or Teflon slider material slightly smaller than your wooden tray to allow effortless forward gliding.
Choosing the Right Slider Material
Hardwood counters require a different protective approach than engineered stone or solid marble. Use a dense felt mat on delicate natural stone to prevent scratching, but opt for a waterproof Teflon slider if your tray sits on butcher block.
Setting Up the Edge-Grip Tamping Mat
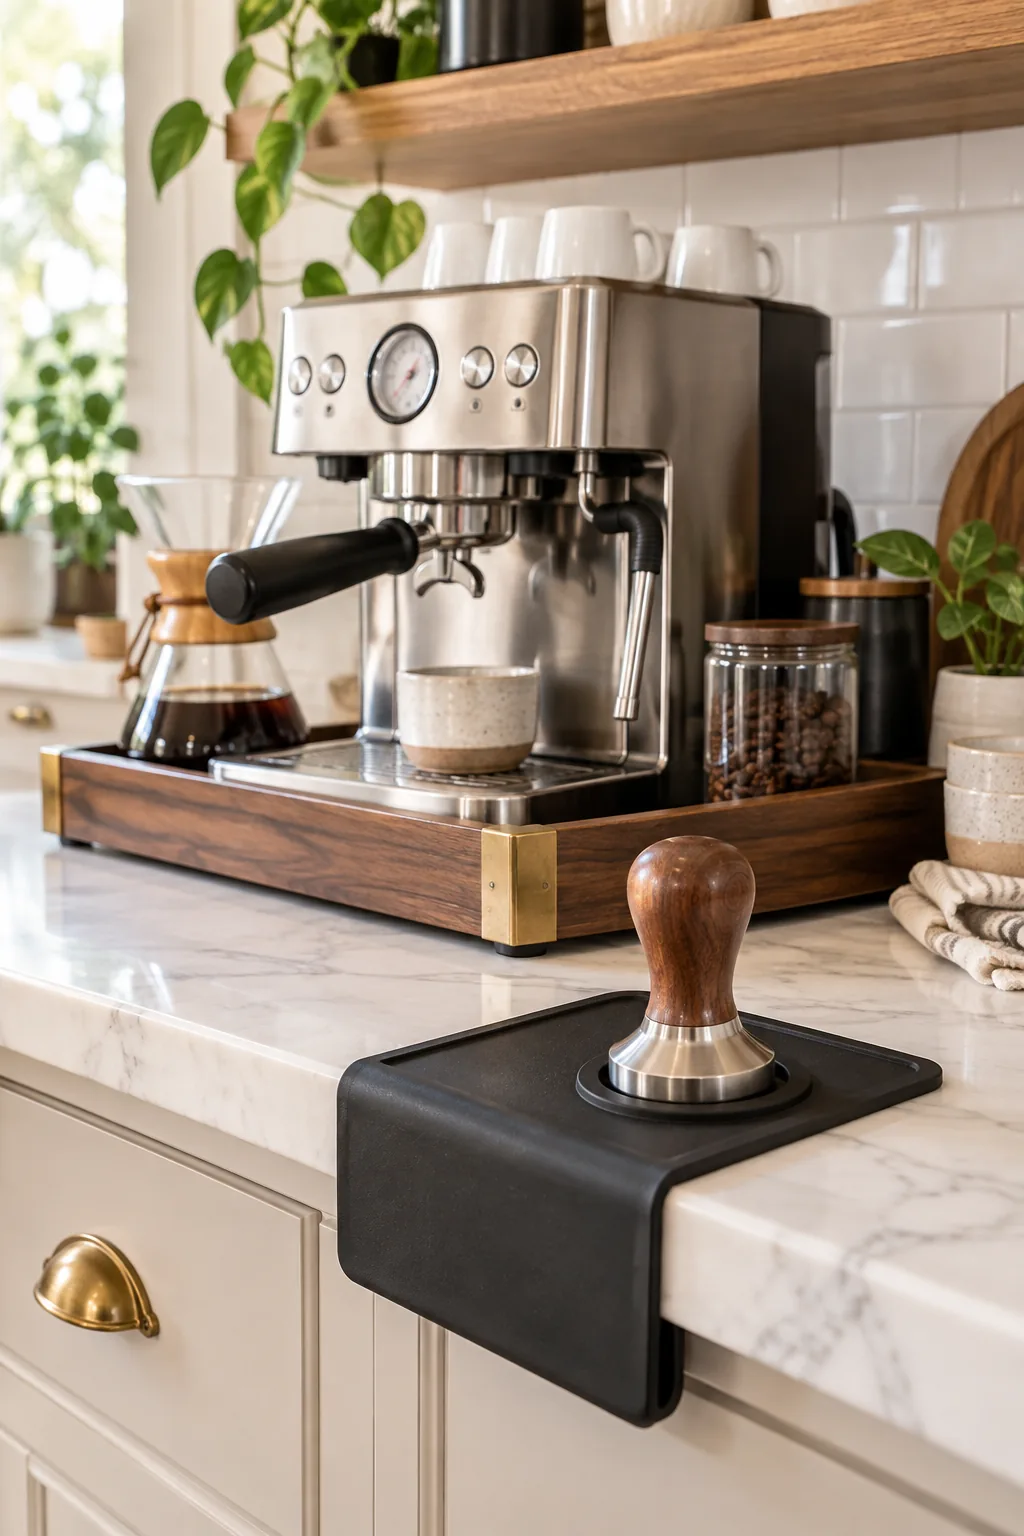
Tamping espresso requires applying roughly 30 pounds of downward pressure, which can easily chip delicate stone edges over time. A silicone edge-grip mat folds over a standard 1.5-inch countertop profile to absorb this force and keep the portafilter perfectly level.
Understanding Tamping Ergonomics
Proper body mechanics prevent wrist strain when pulling multiple shots for guests. Position your tamping mat exactly shoulder-width away from the espresso machine group head to ensure your arm remains at a comfortable 90-degree angle during the tamping motion.
Managing Heat and Steam Output
Espresso machines and electric kettles vent active steam that can severely damage painted cabinets or warp MDF over time. Follow a strict spacing hierarchy to ensure proper ventilation around your primary brew boiler and adjacent woodwork.
| Equipment Type | Back Wall Clearance | Side Cabinet Clearance | Vertical Venting Space |
|---|---|---|---|
| Single Boiler Machine | 3 inches | 2 inches | 6 inches |
| Heat Exchanger | 4 inches | 3 inches | 8 inches |
| Dual Boiler Setup | 5 inches | 4 inches | 10 inches |
| Electric Gooseneck Kettle | 3 inches | 2 inches | 12 inches |
| Standalone Burr Grinder | 2 inches | 2 inches | 4 inches |
| Drip Coffee Brewer | 4 inches | 3 inches | 10 inches |
While managing steam above, you must also protect the counter below from espresso preparation using a dedicated silicone mat folded over the edge.
Routing Cables Behind the Station
A cluttered web of power cords ruins the visual balance of your carefully mapped space. Follow a strict routing sequence to keep high-voltage cables safe from water spills and completely out of sight.
- Bundle the grinder and scale cords: Group these low-profile cables together using reusable velcro ties before routing them behind the wooden tray.
- Isolate the heating elements: Route the thick espresso machine and kettle cords along the upper edge of the backsplash using adhesive cable clips.
- Secure the main power strip: Mount a surge protector horizontally to the underside of the upper cabinet to keep all plugs elevated above the wet zone.
Station Zoning Map and Spacing Guide
A standard kitchen counter offers 24 inches of depth, which provides plenty of room if divided purposefully. Download the station zoning map below to divide your space into distinct 8-inch deep horizontal zones: front prep, middle brew, and rear storage.
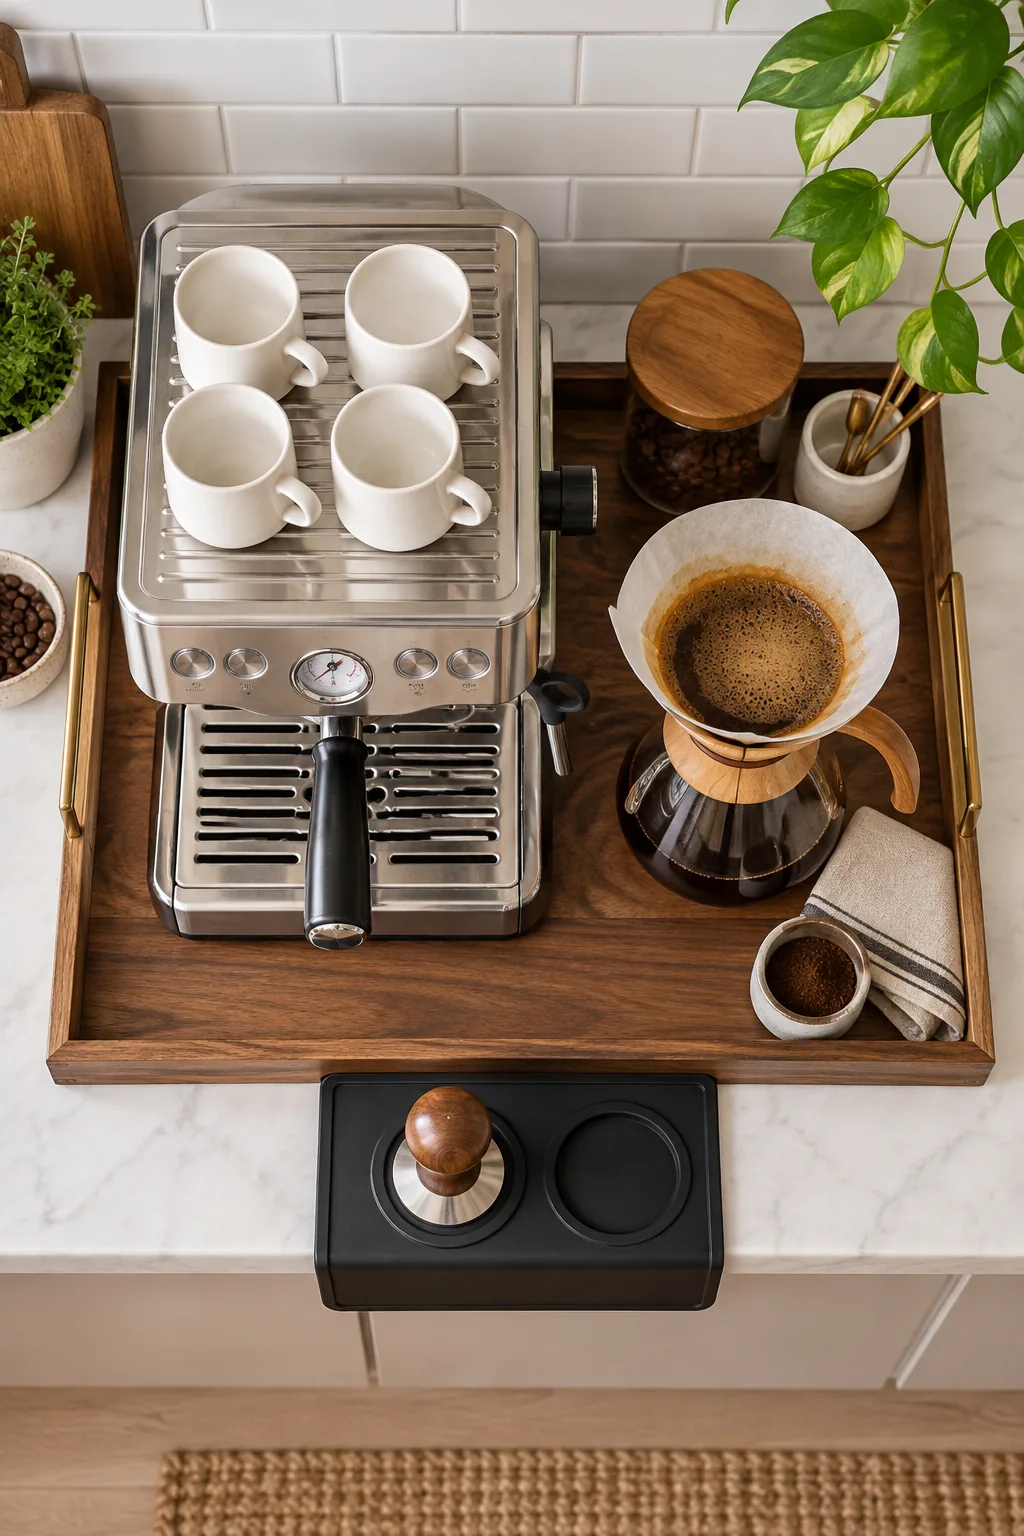
Before committing to a layout, confirm your kitchen’s physical dimensions match the required footprint.
Balancing Eastern Symmetry in Layout
I always approach small space design by balancing visual weight across the horizontal plane. Anchor the heaviest element, usually the espresso machine, in the center, and flank it with lighter accessories like the grinder and scale to create a harmonious composition.
Defining the Wet Prep Zone
The front 8 inches of your counter serve as the high-traffic wet prep zone. Reserve this accessible area exclusively for messy tasks like tamping, milk frothing, and pouring to keep water away from your electrical connections.
Defining the Dry Storage Zone
The rear 8 inches near the backsplash should remain completely dry and undisturbed during the brewing process. Utilize this protected zone for storing extra filters, cleaning brushes, and your digital scale when it is not actively in use.
Positioning the Burr Grinder
Coffee grinders generate significant static electricity, which scatters fine chaff across the counter. Place your grinder on the left side of the spill-catch tray, maintaining a minimum 3-inch gap from the espresso machine to prevent heat transfer to the beans.
Integrating a Knock Box for Spent Pucks
A dedicated knock box streamlines your workflow by keeping wet coffee grounds out of your kitchen sink. Position a compact, rubber-bar knock box directly behind the tamping mat for a seamless transition from brewing to cleaning.
Calculating Water Tank Clearance
In a recent client project, we almost trapped a beautiful espresso machine because we forgot to account for the swinging lid. Measure your machine’s total height and add a minimum of 8 to 10 inches of vertical clearance below the shelf to avoid awkward maneuvering.
Accommodating Top-Fill Espresso Machines
If your kitchen cabinets sit lower than the standard 18 inches above the counter, a top-fill machine becomes a frustrating obstacle. Utilize the hidden slider mat trick to pull the entire unit forward, clearing the upper cabinets entirely before pouring water.
Organizing the Pour-Over Components
When I arrange manual brewing tools, I group the V60 dripper and carafe to maintain a maximum 12-inch reach radius from the gooseneck kettle. This dedicated pour-over zone requires the same 8 to 10 inches of vertical clearance to ensure a smooth pouring motion.
Managing Water Filtration Pitchers
Using filtered water extends the lifespan of your espresso boiler by preventing scale buildup. Dedicate a small footprint on the far right edge of your station for a slim water filtration pitcher, ensuring it remains within easy reach for daily reservoir top-offs.
Storing Portafilters and Tampers
Leaving heavy brass tools scattered across the counter creates unnecessary visual clutter. Install a wall-mounted portafilter rack or use a slotted wooden block to keep your tampers, distributors, and extra baskets organized and elevated above the spill zone.
Choosing the Right Wood Finish
The constant exposure to steam and acidic coffee drips will quickly ruin a poorly finished wooden accessory. Treat your spill-catch tray and tamping block with a food-safe hard wax oil every six months to maintain a durable, water-repellent barrier.
Selecting Shelf Brackets for Heavy Storage
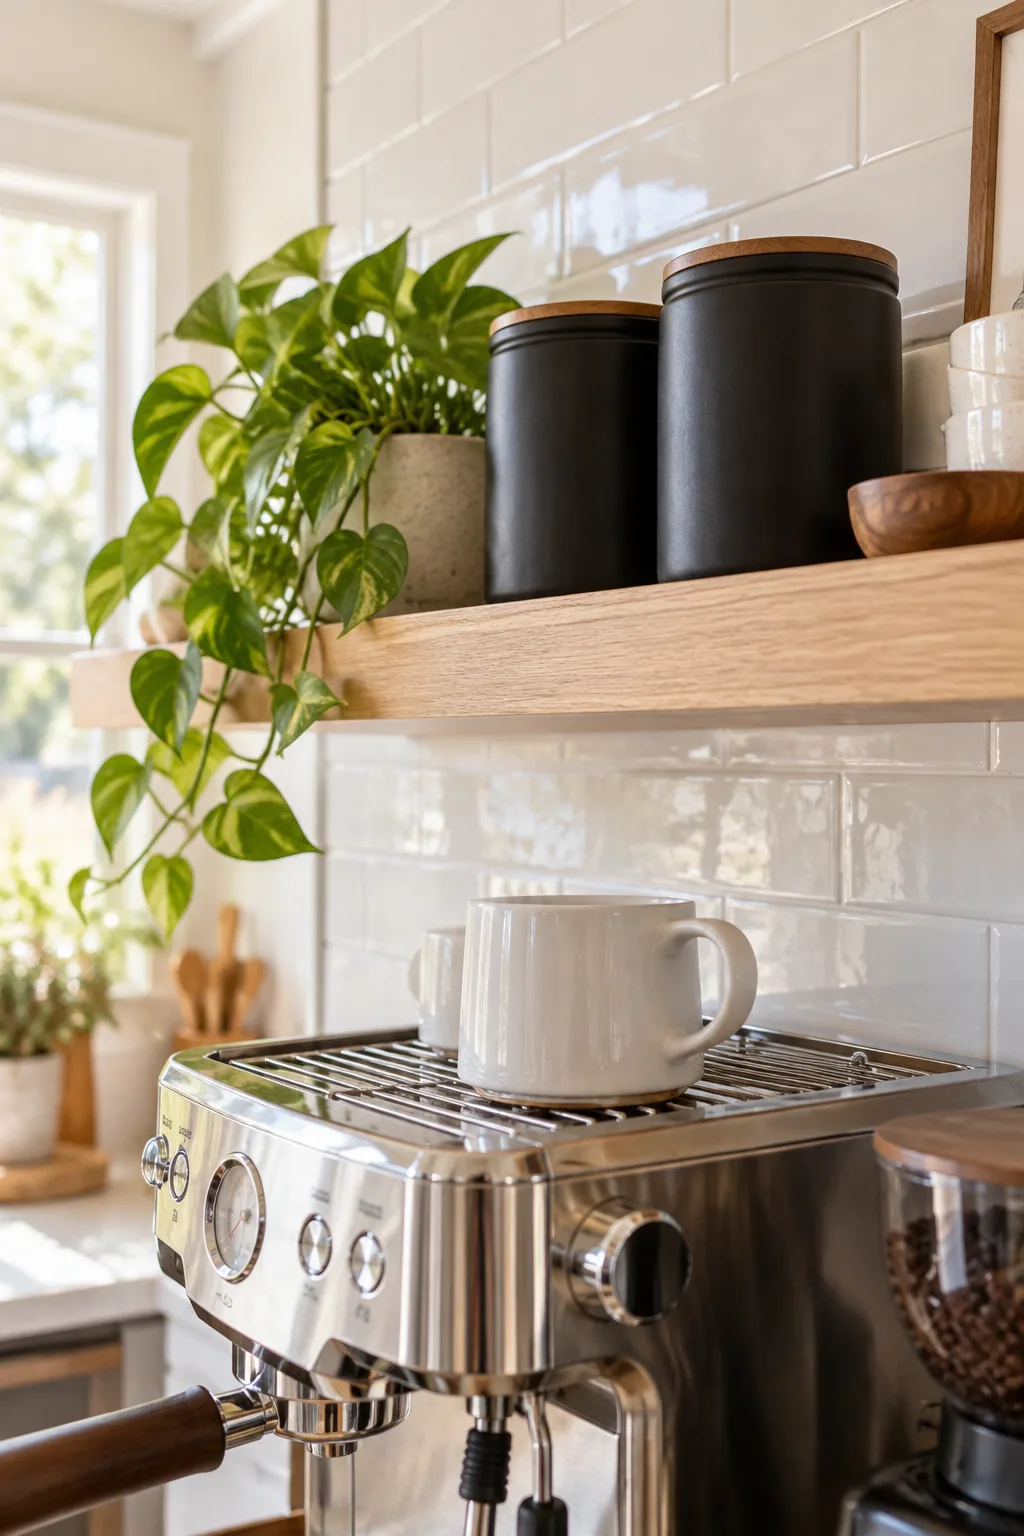
Floating shelves above a coffee station must support heavy ceramic mugs, thick glass carafes, and dense bags of beans. Anchor heavy-duty steel brackets directly into the wall studs to ensure the shelf can safely hold a minimum of 40 pounds.
Dialing in the Ambient Lighting
Early morning brewing requires excellent task lighting without the harsh glare of overhead kitchen bulbs. Install a warm, 2700K LED light strip under the first floating shelf to illuminate the espresso machine controls and highlight the rich crema of your shots.
Maintaining the Silicone and Felt Layers
Even the most protected coffee station requires regular maintenance to prevent mold growth under the mats. Once a week, slide the entire wooden tray forward, remove the silicone edge grip, and wipe the quartz counter with a gentle, pH-neutral stone cleaner.
Coffee Station Style Variations
Explore how this exact zoning layout adapts to three distinct kitchen aesthetics.
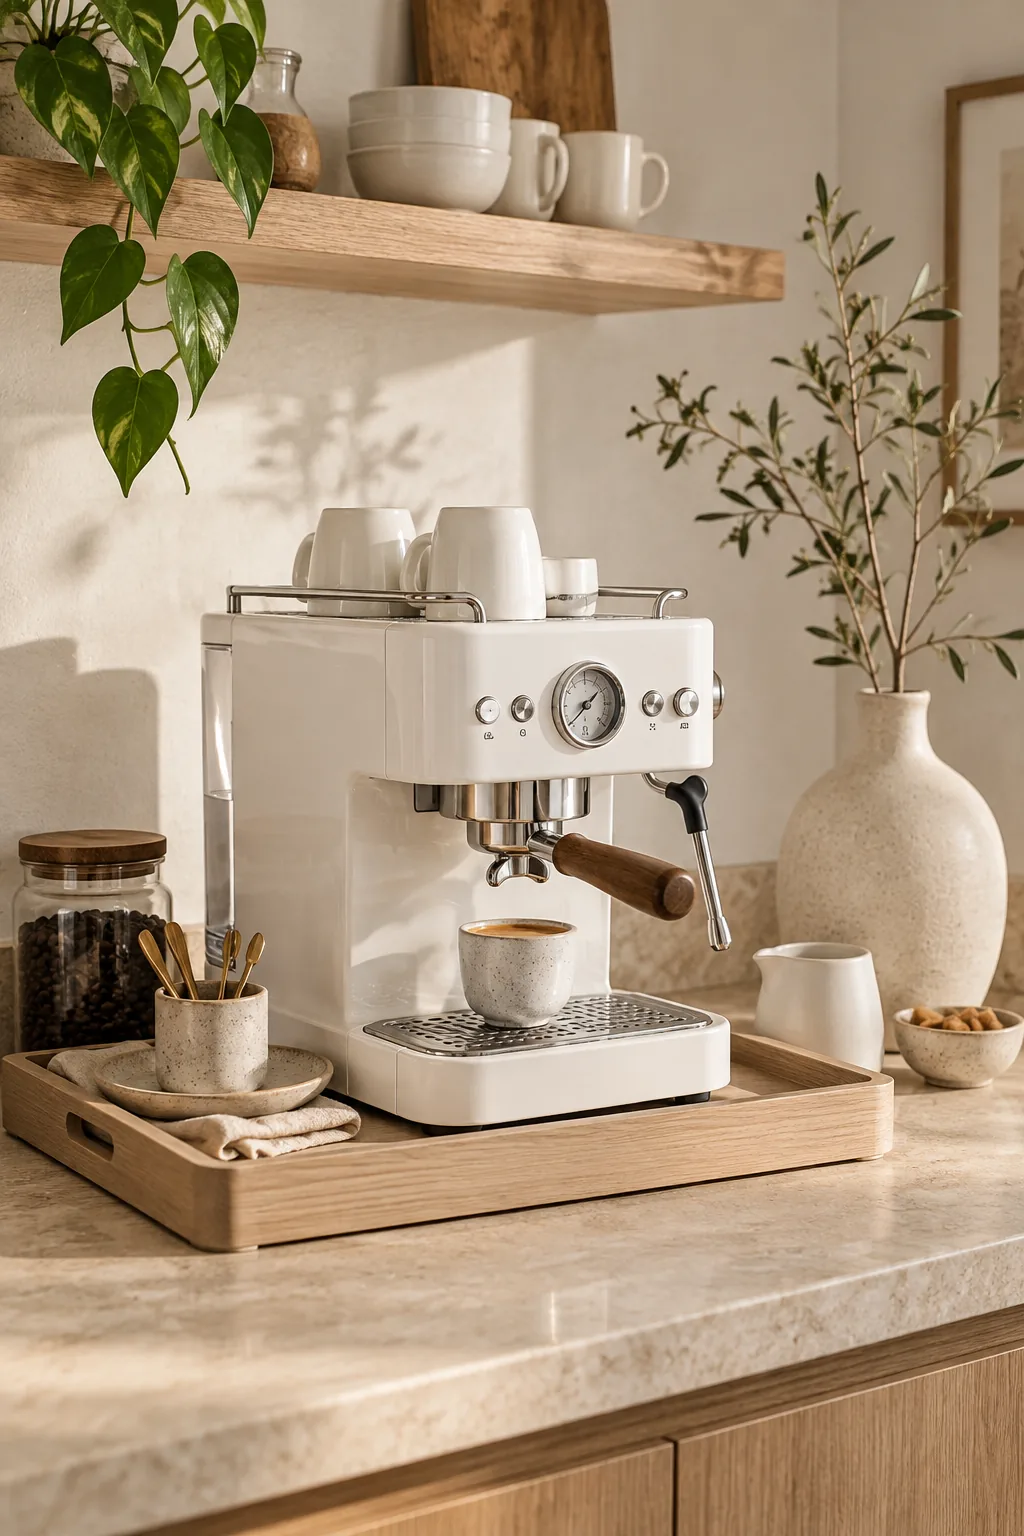
Warm minimalist limestone and ash: Tone-on-tone neutrals create a calming morning ritual, utilizing pale ash wood and matte white ceramics to blend seamlessly into light kitchens.
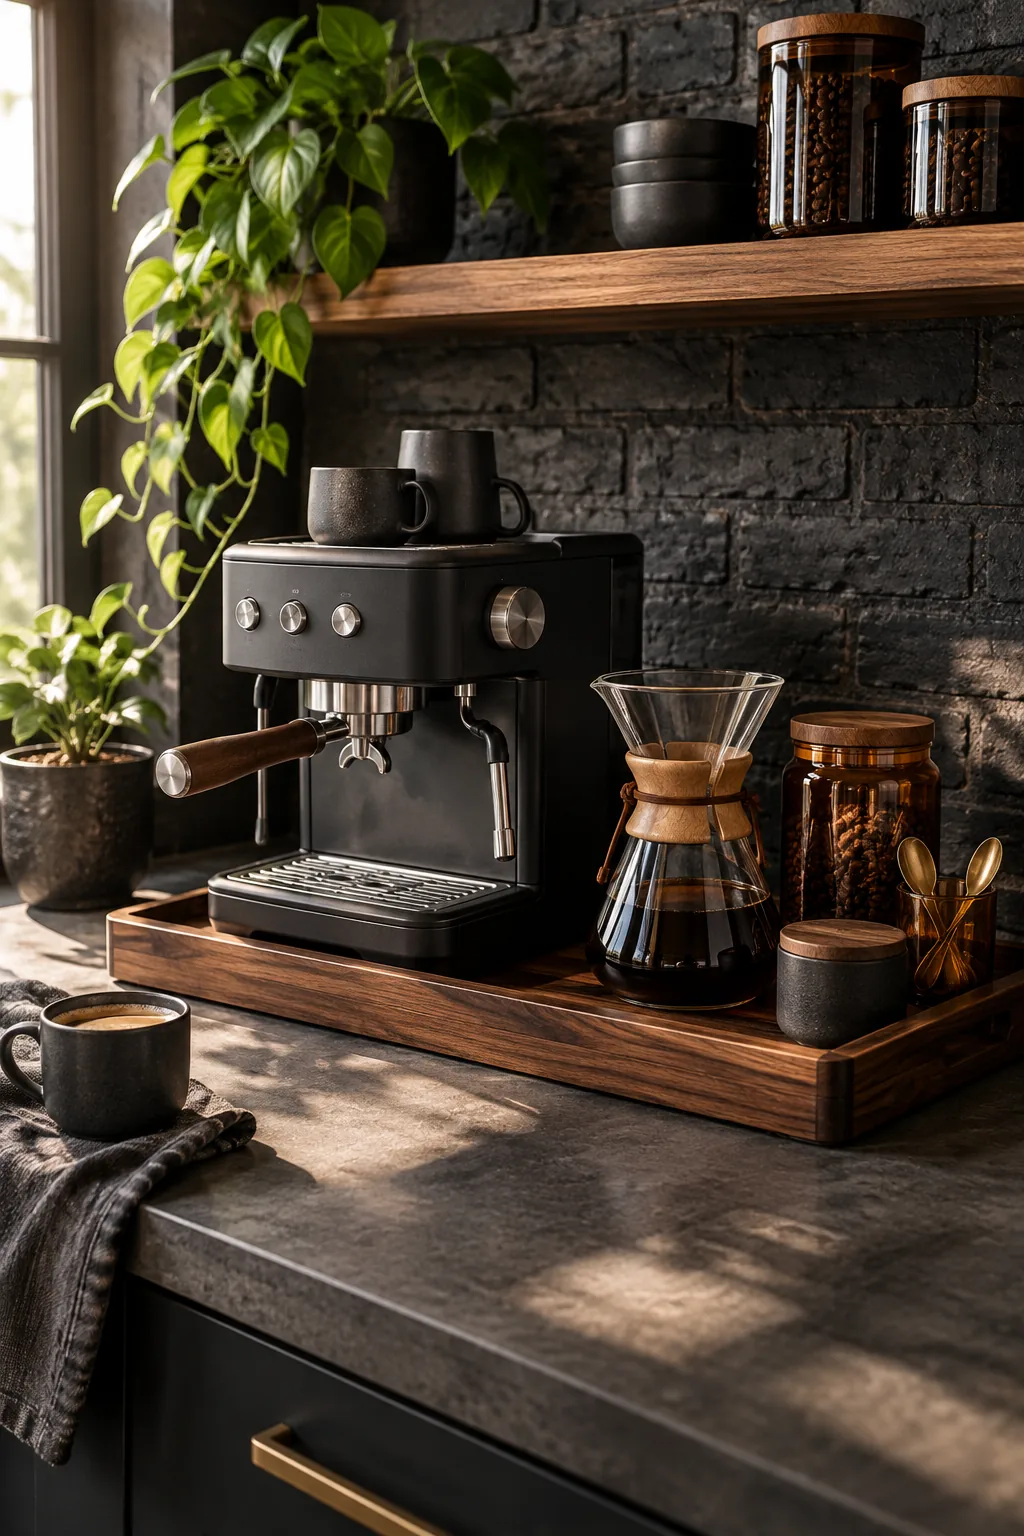
Moody industrial concrete and walnut: Dark concrete and rich walnut introduce a sophisticated cafe atmosphere, anchored by matte black steel appliances and amber glass accents.
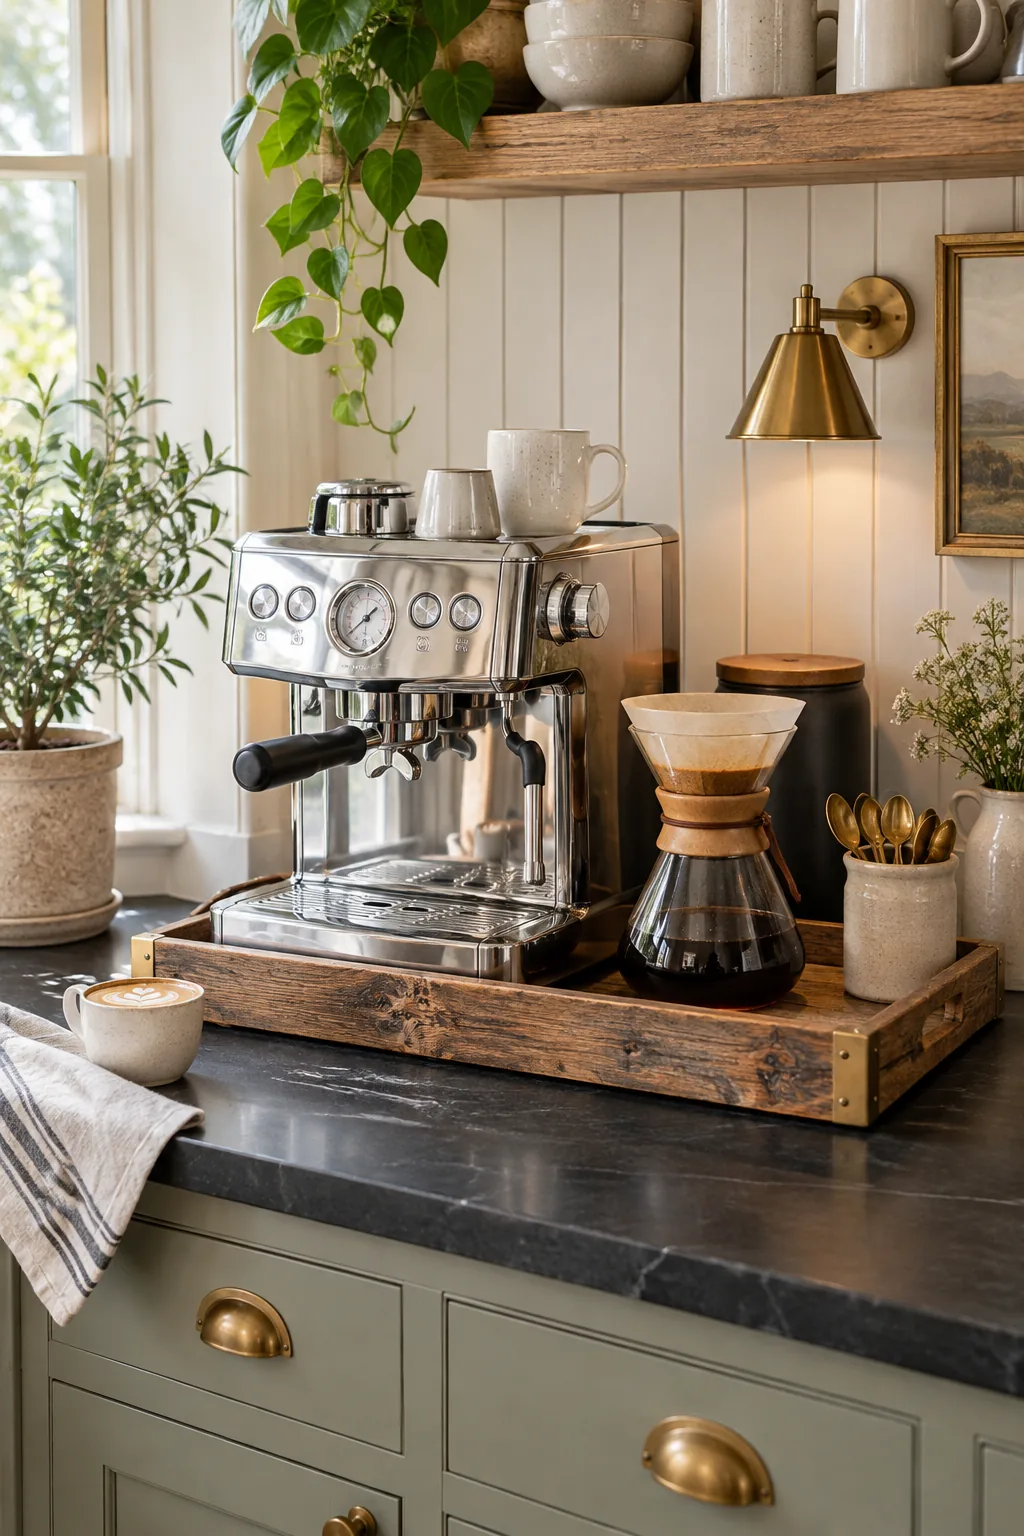
Modern farmhouse soapstone and beadboard: Classic beadboard and dark soapstone provide a timeless backdrop, allowing polished chrome appliances and rustic reclaimed wood to shine together.
Storing Beans in UV-Blocking Canisters
I used to leave coffee beans in clear glass jars until I realized how quickly the afternoon sun was destroying their flavor profile. Move bulk storage onto the upper floating shelf using opaque, UV-blocking canisters to preserve volatile flavor compounds.