How to Hang Art Above Your Bed: Sizes, Heights & Hardware
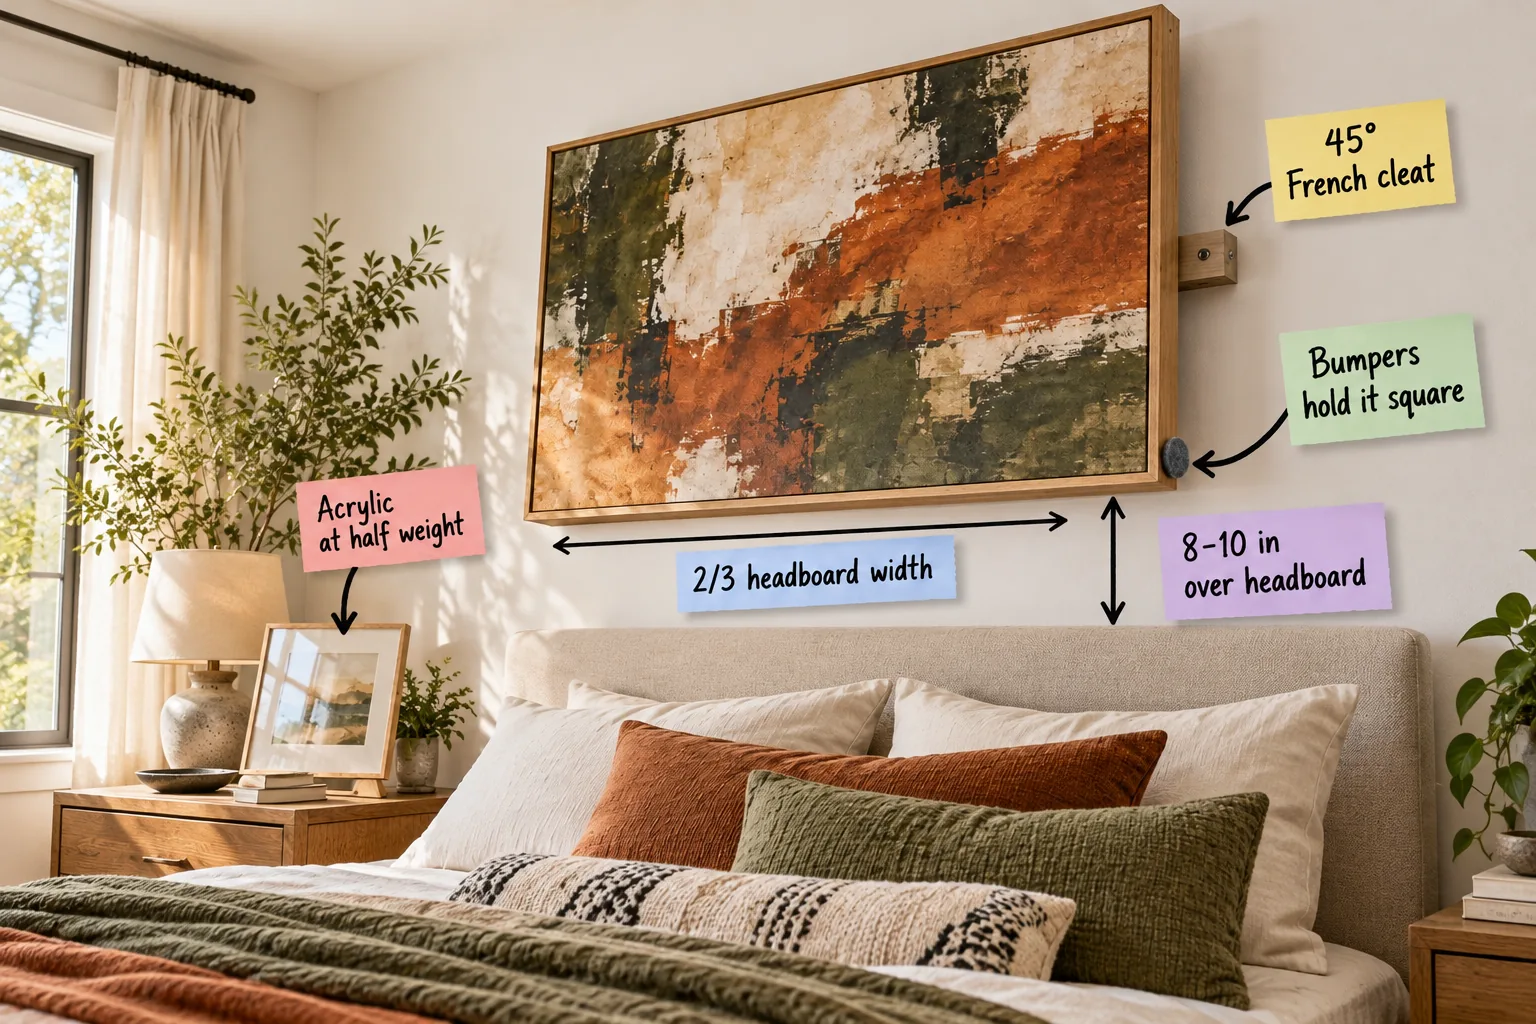
You will be able to size your canvas precisely to your mattress, position it at the ideal height, and mount it securely using our printable Above-Bed Art Hanging Sheet. This complete guide covers exact widths for every bed size and the hidden French cleat method.
Finding the Right Canvas Width
In my own Denver bedroom, I once hung a tiny frame over a king mattress, and the art completely vanished into the vast drywall. Art above a bed looks most intentionally balanced when it spans exactly 2/3 headboard width.
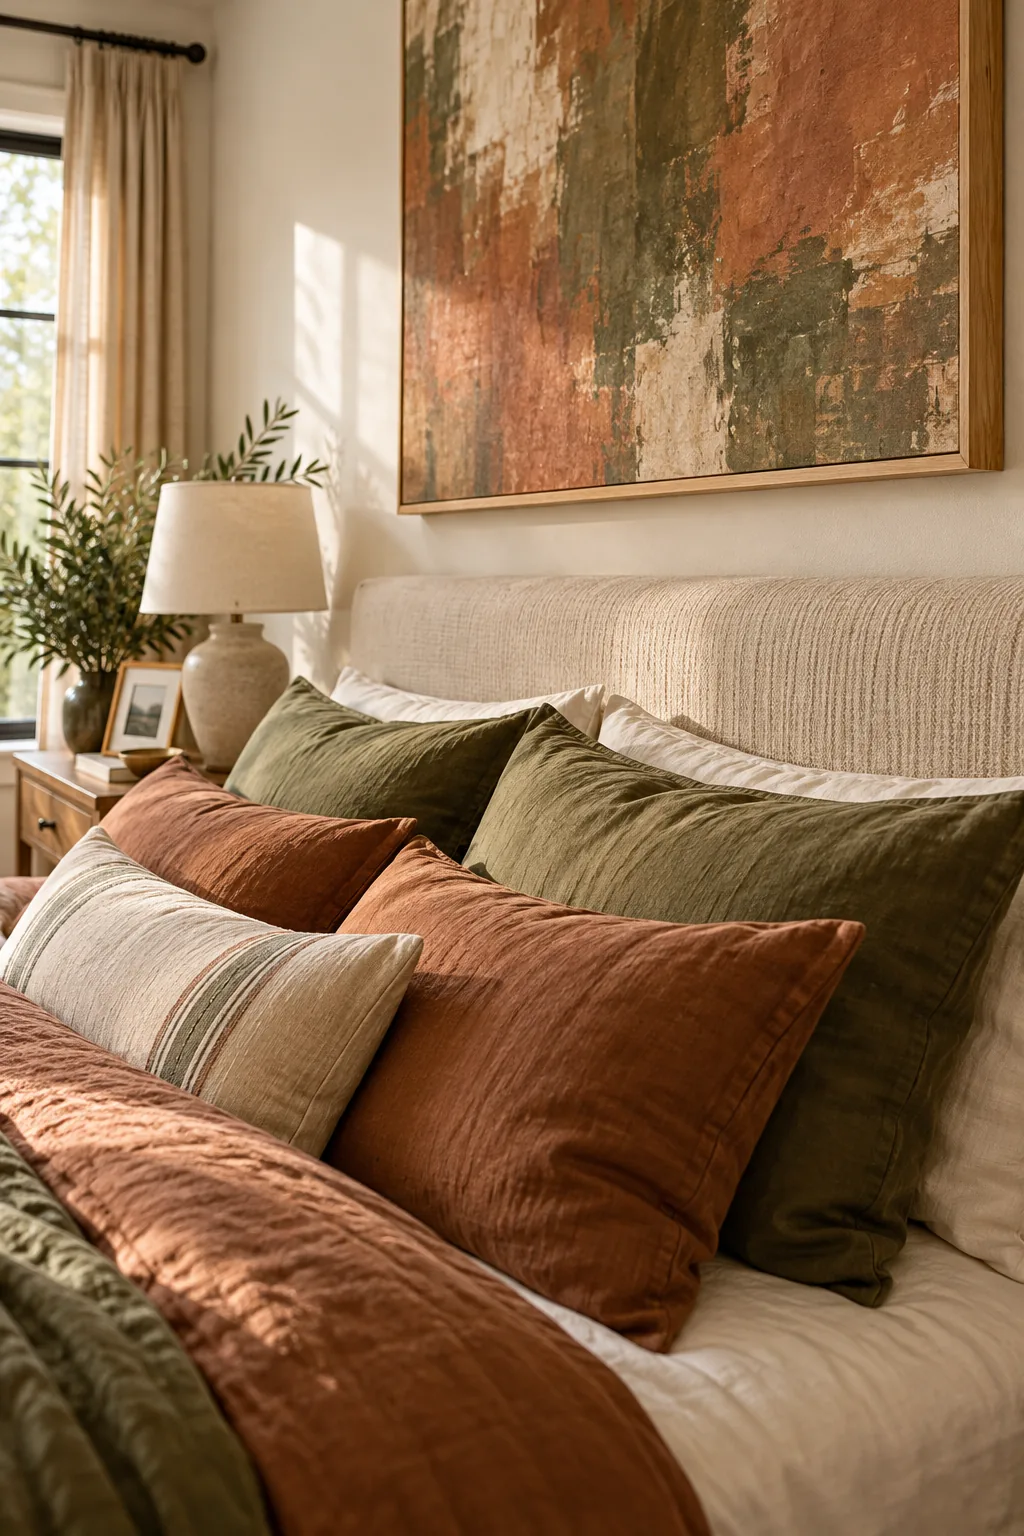
Maintaining this precise structural ratio prevents the canvas from dwarfing your bedroom furniture or looking entirely lost on a large wall. Center the art horizontally over the mattress rather than trying to center it within the overall room dimensions.
Sizing Art for King Beds
Finding a single canvas large enough to satisfy the two-thirds rule for a massive king bed often proves challenging. When a single fifty-inch piece feels too heavy, hanging a perfectly spaced diptych achieves the exact same proportional width with lighter individual frames.
Balancing the Surrounding Furniture
Applying the two-thirds rule creates a cohesive visual column that anchors the sleeping area, leaving enough negative space on either side for tall bedside lamps. This dedicated breathing room ensures your lighting fixtures never overlap or visually compete with the framed artwork.
Setting the Vertical Gap
I always advise my design clients to leave a strict 8–10 in over headboard before the bottom edge of the frame begins. This specific measurement keeps the art visually connected to the bed while safely clearing your standard sleeping pillows.
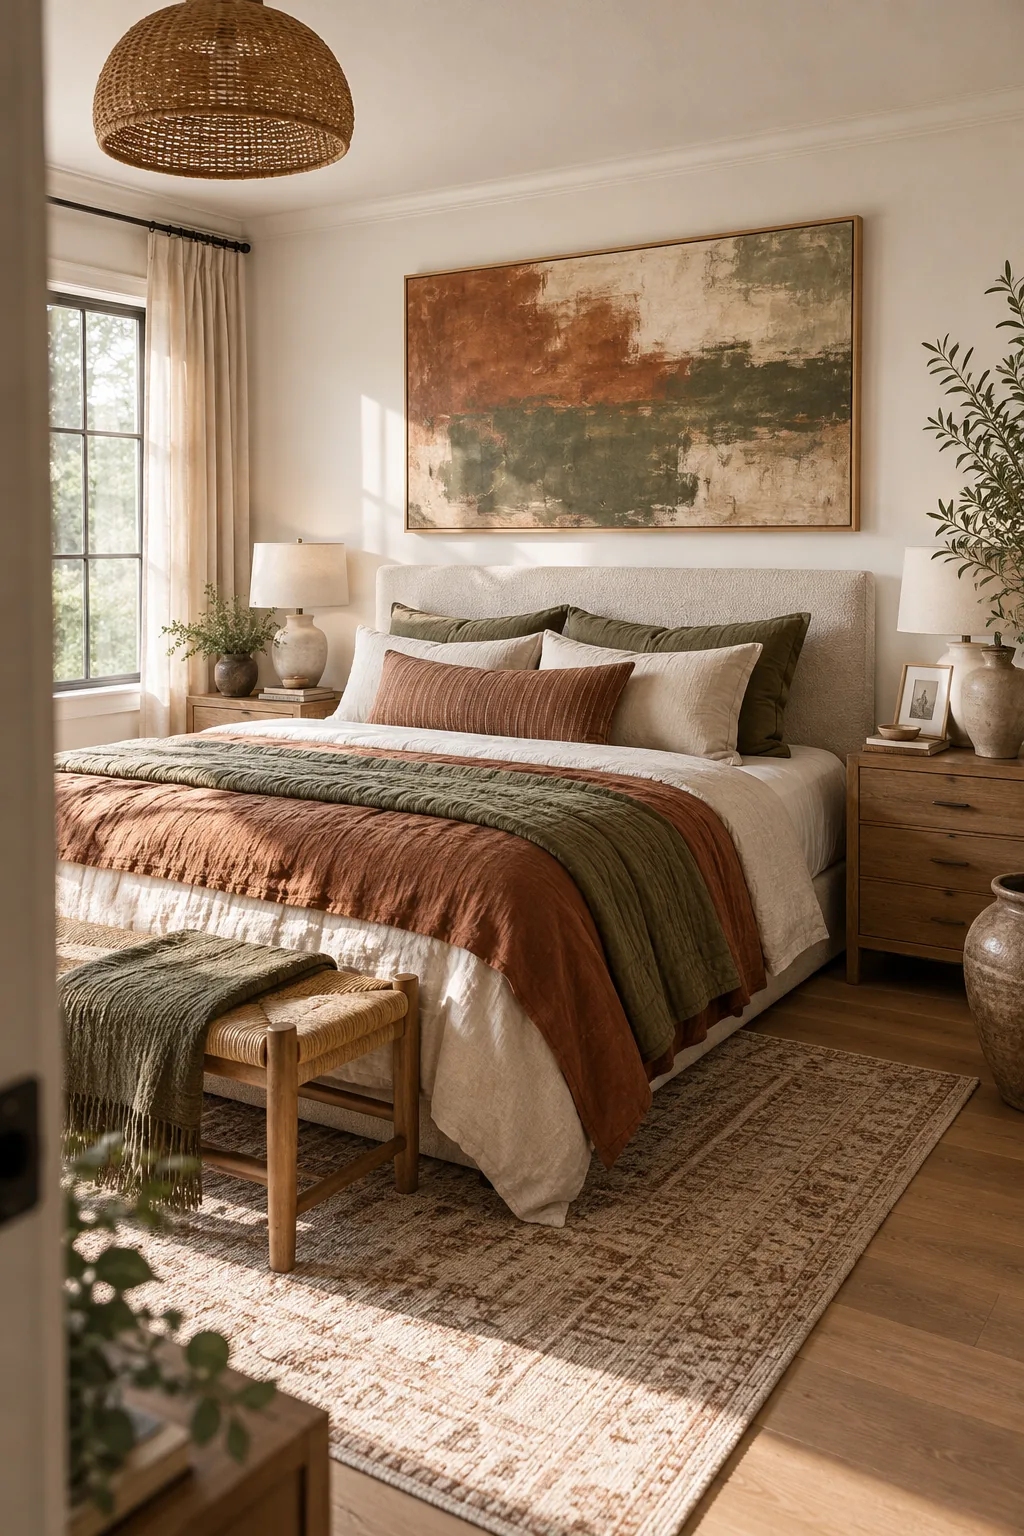
Getting the height right requires measuring upward from the furniture itself, never from the floor. Avoid these common placement errors when marking your bottom line to ensure your artwork remains fully visible once the bed is made.
Measuring from the Mattress
If you sleep on a platform frame without a traditional headboard, measure your starting height directly from the top of the mattress. Treat the mattress surface as your visual anchor, applying the same vertical gap to maintain proportional harmony across the bedroom wall.
The Above-Bed Art Hanging Sheet
To eliminate the guesswork from your bedroom styling, consult this reference table to find the exact two-thirds width calculation for your specific mattress. Match your bed size to the recommended canvas width before purchasing any large-scale artwork or custom framing.
| Bed Size | Mattress Width | Canvas Width |
|---|---|---|
| Twin | 38 inches | 26 inches |
| Full | 54 inches | 36 inches |
| Queen | 60 inches | 40 inches |
| King | 76 inches | 50 inches |
Using these standardized measurements guarantees your artwork will perfectly complement the scale of your bed. Print this sheet and take it with you when shopping for canvases to ensure you never bring home a piece that overpowers your sleeping space.
Choosing Safe Framing Materials
Hanging a heavy object directly over where you sleep demands a strict evaluation of your framing materials. Traditional glass panels add immense unnecessary weight to the frame, increasing the sheer load on your drywall anchors and creating a genuine hazard during minor seismic events.
Swapping Glass for Acrylic
Any art positioned above a sleeping area requires shatterproof glazing instead of traditional delicate glass. Selecting acrylic at half weight significantly reduces the physical strain on your mounting hardware while providing identical visual clarity and superior UV protection for the print.
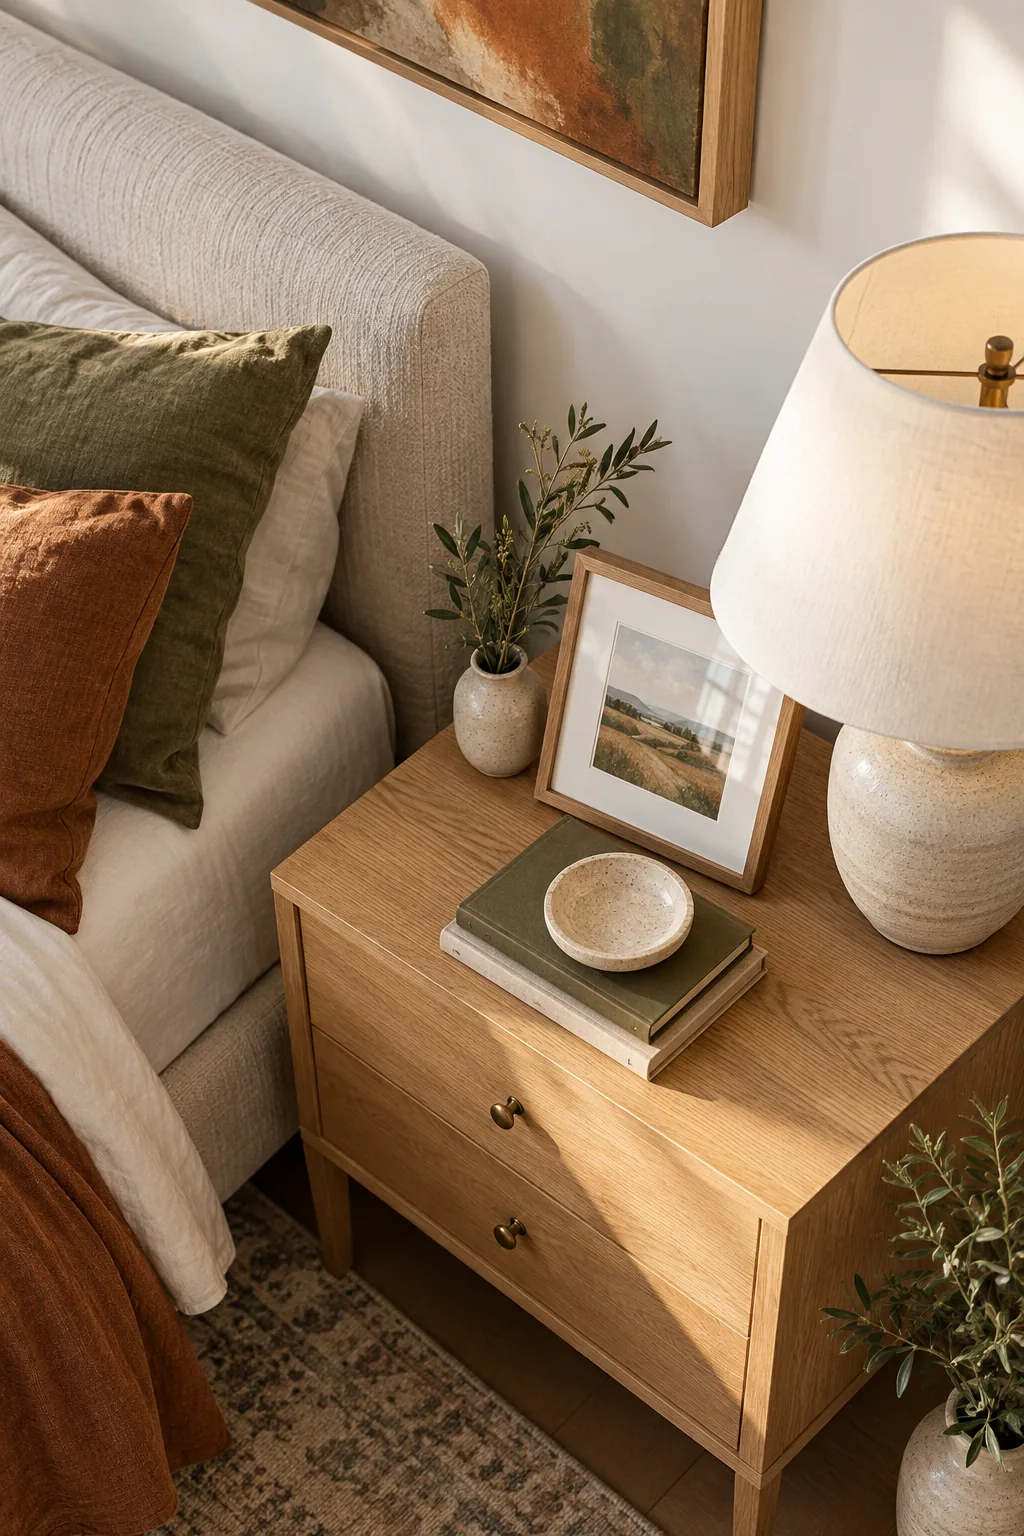
Modern gallery-grade acrylic reflects light softly without the harsh glare associated with standard glass panels. This lightweight material makes handling oversized canvases much easier during installation, allowing you to lift the finished piece into position without requiring a second set of hands.
Upgrading to a French Cleat
A rigid 45° French cleat stands as the absolute safest hardware choice for securing large above-bed canvases. These interlocking bevelled wooden strips distribute the frame’s weight evenly across the wall, rather than concentrating the entire physical burden onto a single picture hook.
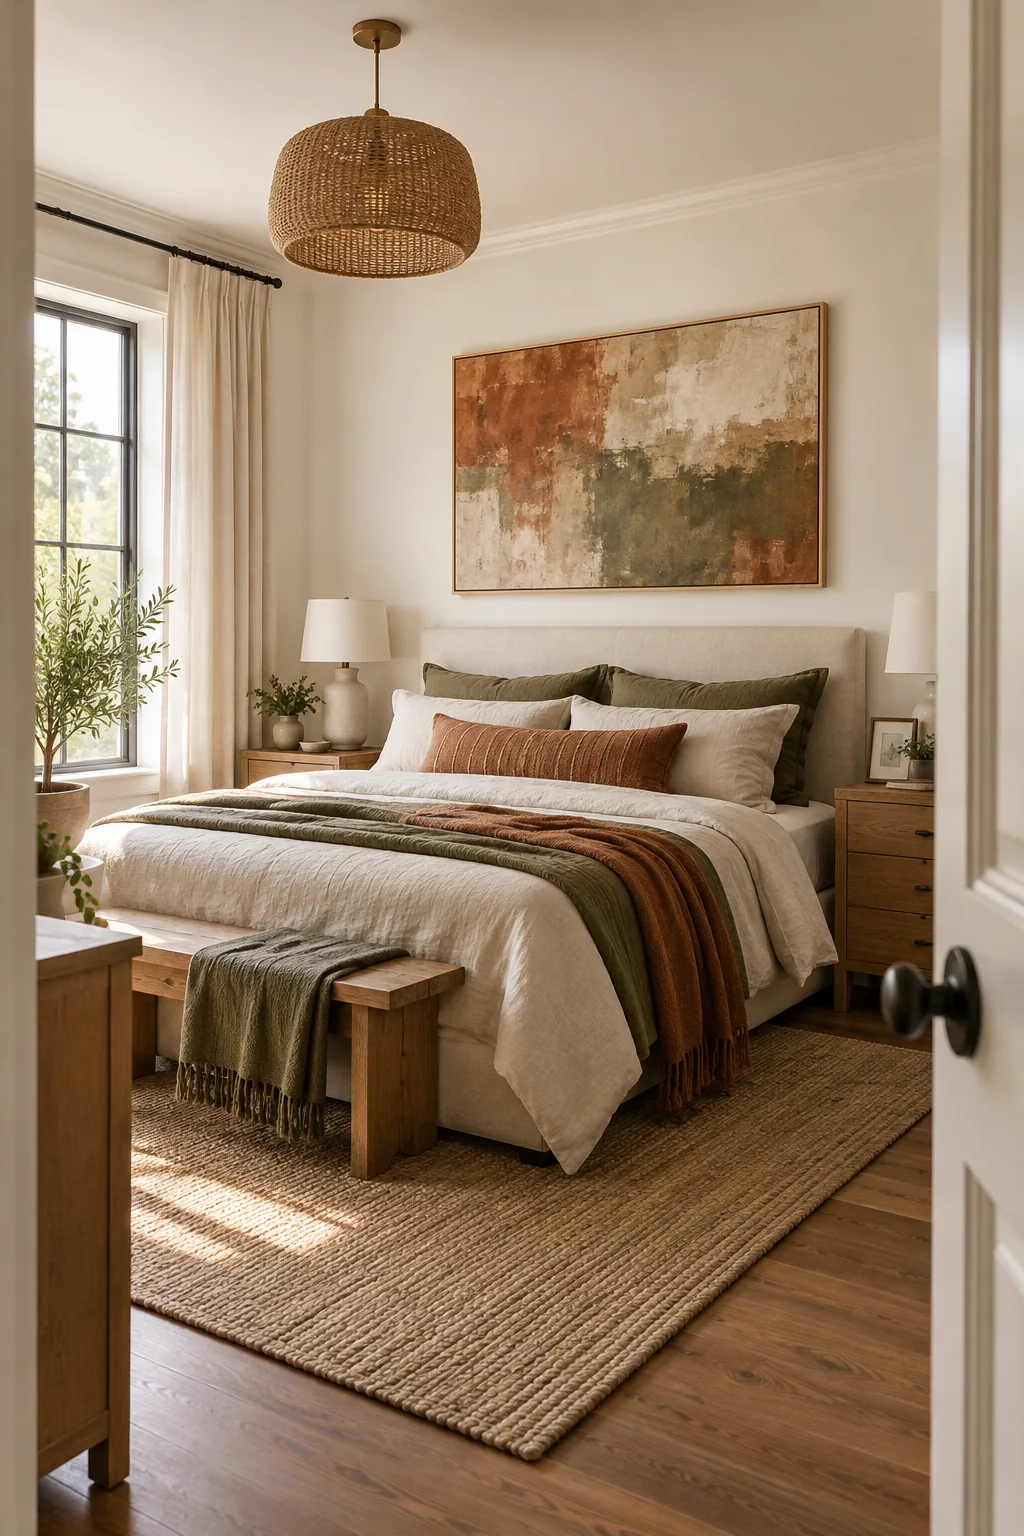
Unlike a traditional wire that sags and shifts over time, a continuous wooden cleat locks the frame perfectly flush against the drywall. This flush mounting profile prevents dust from accumulating behind the canvas and keeps the artwork looking intentionally built into the architecture.
Managing Wall Texture Variations
If your bedroom features heavy plaster textures or uneven drywall, the rigid cleat system actually helps bridge those surface imperfections. The continuous wooden strip spans across dips in the wall, providing a perfectly flat mounting plane that a standard picture wire could never achieve.
Preparing the Canvas Backing
Before touching the wall, attach the downward-facing half of the wooden cleat to the top back edge of your frame. Ensure this strip sits perfectly level and rests securely against the solid wooden stretcher bars, driving the included screws deeply into the frame structure.
Securing the Wall Strip
When installing heavy cleats in historic Denver homes, I always prioritize finding solid wood framing behind the plaster before drilling. Anchoring the lower upward-facing half of the cleat securely ensures your art will never bow or pull away from the wall.
- Locate at least one wooden wall stud using a reliable magnetic stud finder.
- Drive a heavy-duty wood screw through the cleat directly into that located stud.
- Use expanding toggle bolts or heavy-duty drywall anchors for the remaining holes.
Driving at least one structural screw into a solid wooden stud provides the essential backbone for the entire hanging system. This hybrid anchoring approach guarantees maximum stability, easily supporting oversized acrylic-glazed canvases without risking damage to your delicate drywall surfaces.
Testing the Weight Capacity
After driving the final anchor into the wall strip, apply firm downward pressure with your hands to test the overall structural integrity. The wooden cleat should feel entirely rigid against the drywall, showing zero signs of flexing or pulling away when subjected to weight.
Locking the Frame in Place
Lift the canvas slightly above your level pencil line, then lower it slowly until the downward-facing strip engages. The continuous interlocking mechanism drops seamlessly onto the upward-facing wall strip, grabbing the frame securely and preventing it from ever shifting out of level.
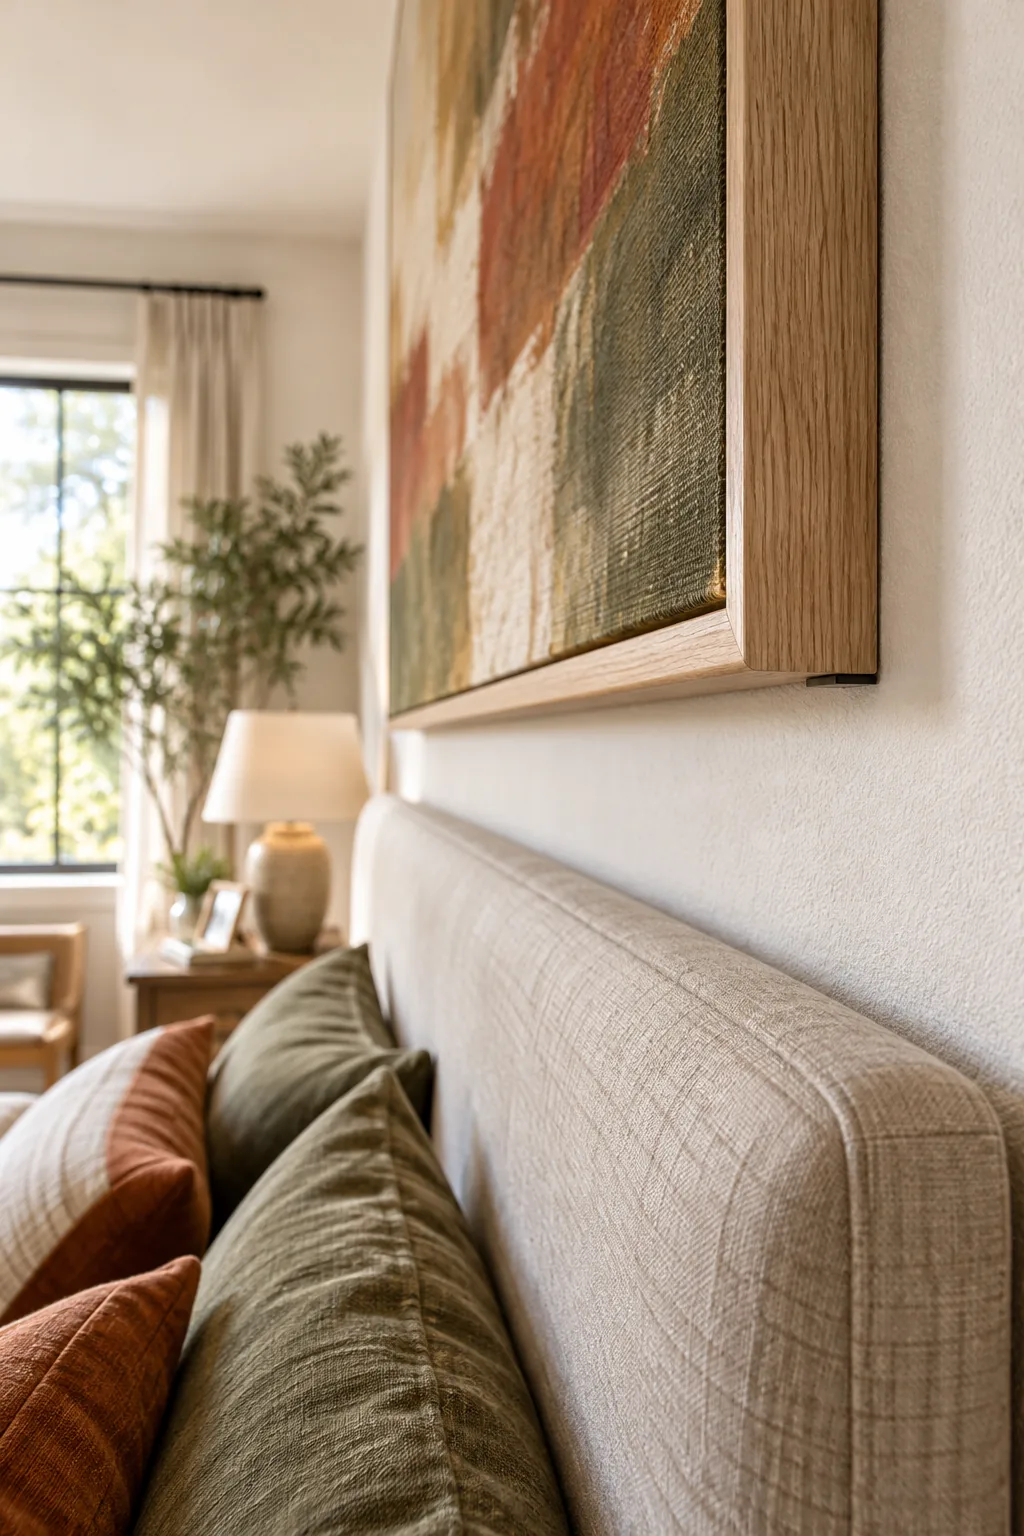
You will feel a distinct physical click as the two bevelled edges slide together and lock tightly. This robust two-part system holds the artwork completely rigid, meaning a slammed door or heavy footsteps will never cause your carefully leveled frame to tilt.
Aligning Multiple Frames
If you choose to hang a series of smaller frames instead of one large canvas, mount a single continuous French cleat across the wall. This trick allows you to slide the individual pieces left and right along the track until the spacing looks perfectly balanced.
Concealing the Hardware Profile
A properly installed French cleat remains entirely invisible from the side angles of the room, preserving the clean aesthetic of your bedroom. Keeping the wooden strips slightly narrower than the canvas frame ensures the mounting hardware never peeks out past the vertical edges.
Checking the Final Level
Because the French cleat dictates the exact angle of the hanging artwork, verifying your horizontal line before locking the frame is crucial. Once you have your exact dimensions marked, follow this simple sequence to mount your hardware perfectly on the first try.
Adding Corner Bumpers
The final finishing step requires applying small round felt pads to the lower back corners of the wooden frame. Because the top cleat pushes the canvas out slightly, these bumpers hold it square to the wall, matching the upper depth perfectly.
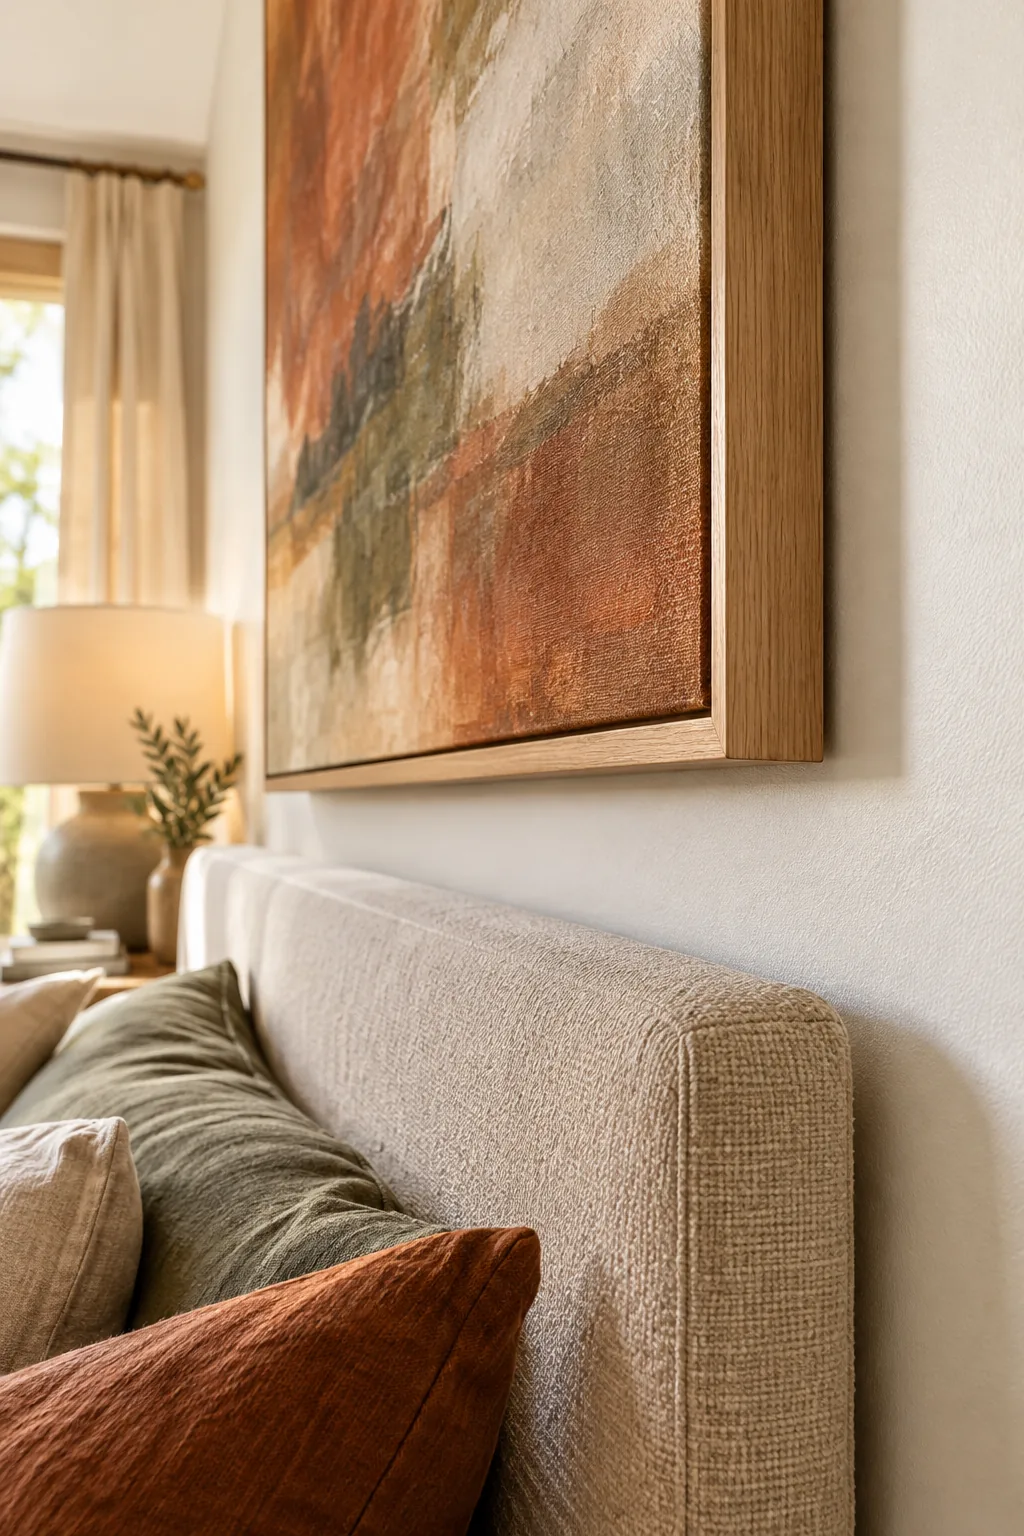
Pressing these soft felt bumpers into the bottom corners ensures the lower frame edge never scuffs your fresh bedroom paint. This small detail keeps the artwork perfectly plumb, completing the professional installation and leaving your bedroom feeling like a curated luxury hotel suite.
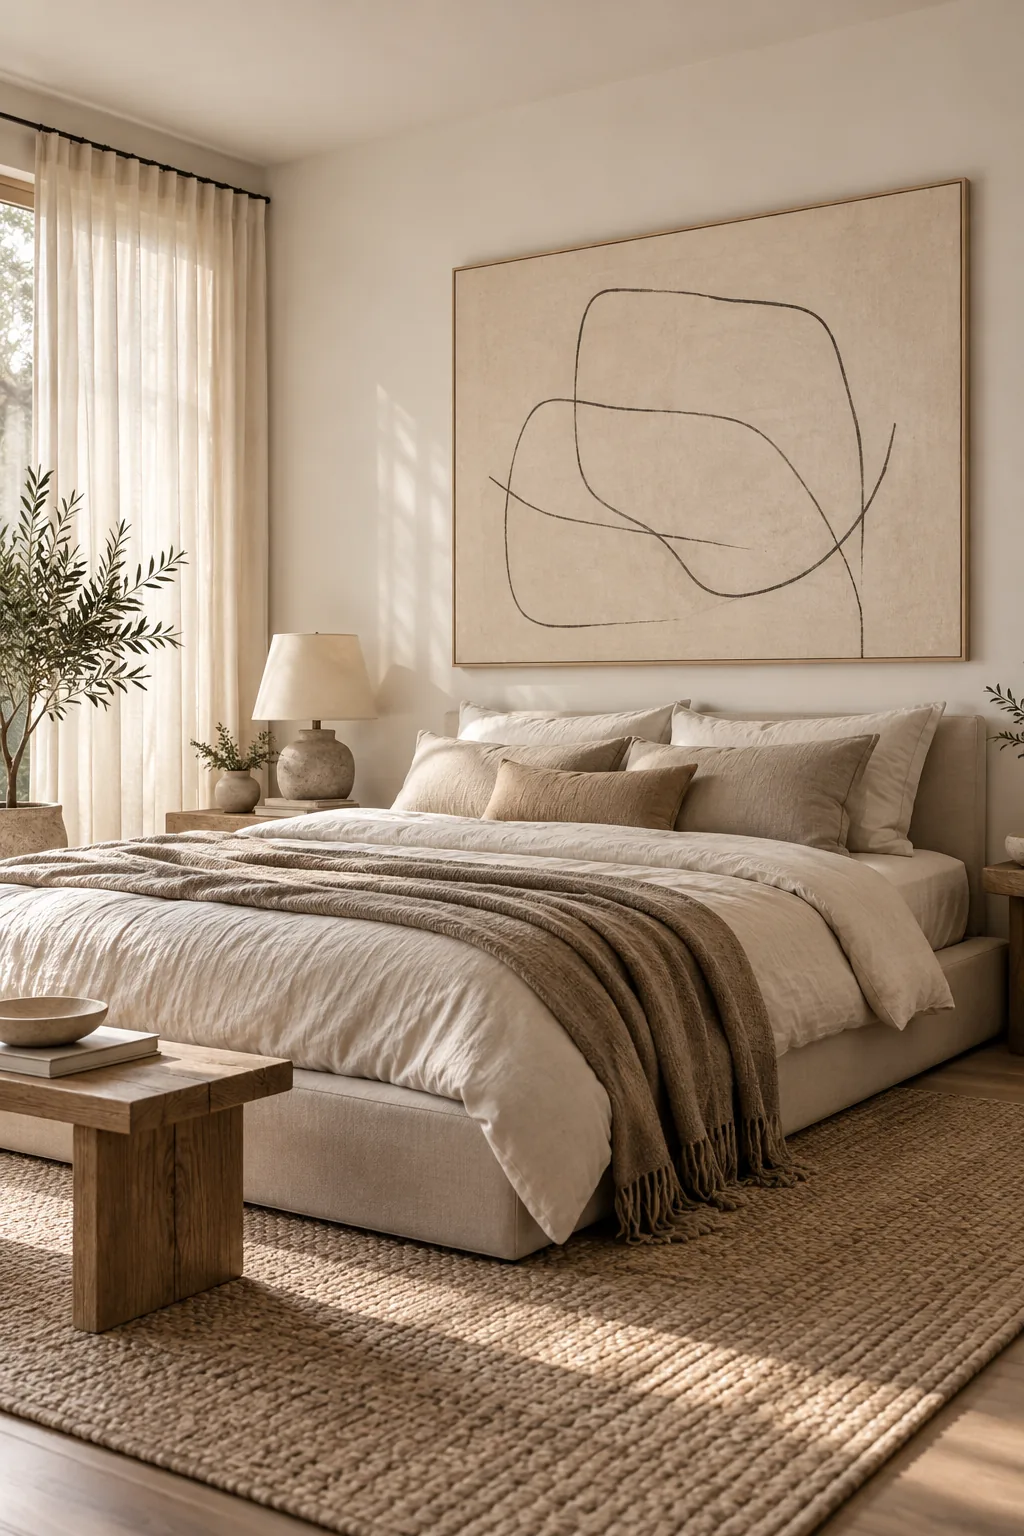
Above-Bed Art in Three Distinct Styles
See how the two-thirds proportion and correct height translate across different bedroom aesthetics.
Minimalist Linen Bedroom: A raw canvas line drawing keeps this neutral space feeling airy and uncluttered.
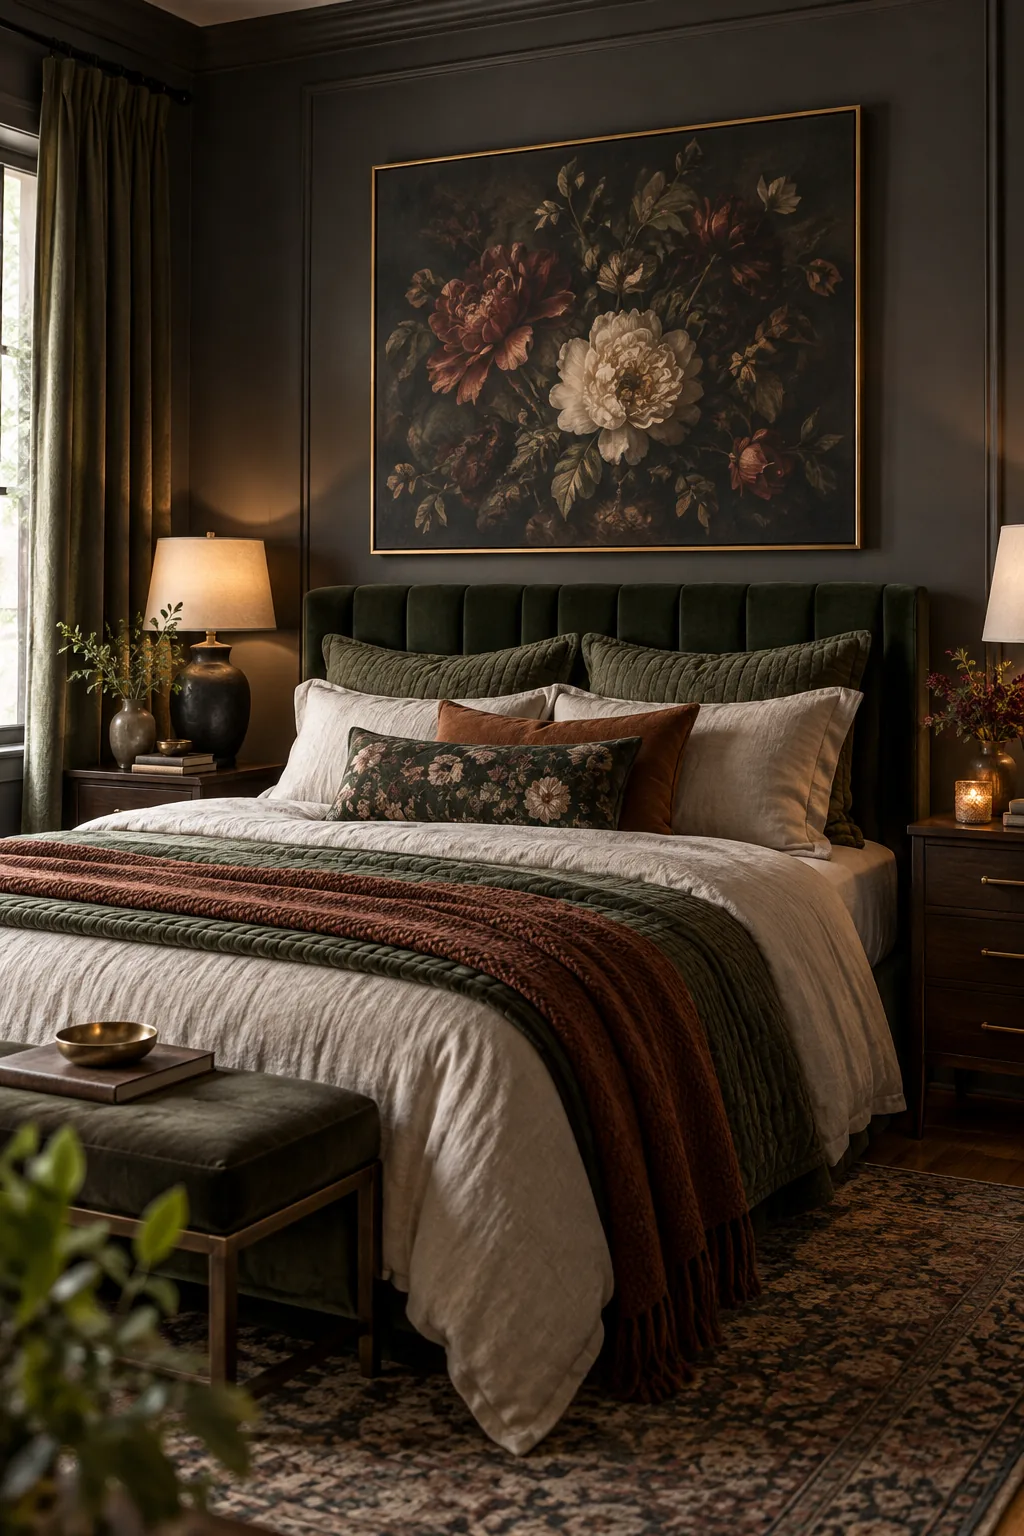
Moody Guest Room: A dark floral canvas in a thin brass frame pops beautifully against charcoal walls.
Coastal Primary Suite: A large seascape painting anchors this sun-drenched room without overwhelming the woven rattan textures.