Living Room Stone Fireplace Pro Tricks & Planning Checklist
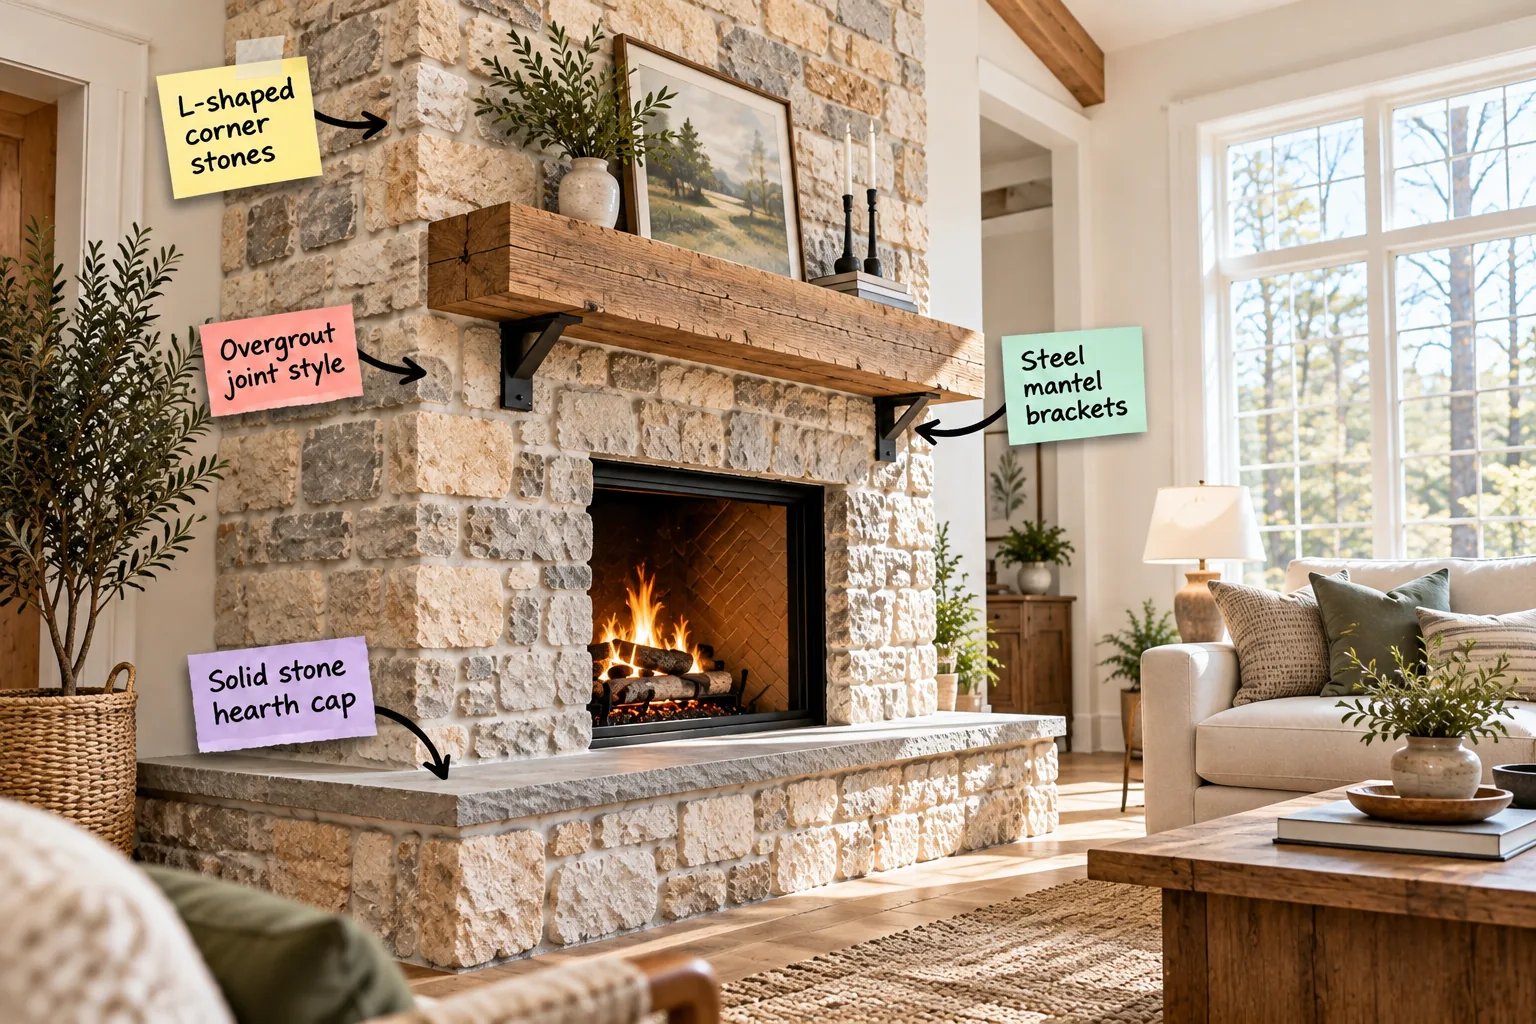
You will be able to specify the exact materials, dimensions, and masonry techniques required to build a flawless floor-to-ceiling stone fireplace using my fireplace dimension and materials checklist. We are breaking down every pro trick you need to confidently hand your contractor a rock-solid plan.
Framing the Hearth Base
Start your project by framing a sturdy foundation out of two-by-fours to support the immense weight of the masonry. Build this base to a comfortable seating height of 15 to 18 inches so it naturally doubles as extra living room seating during large gatherings.
Capping the Raised Hearth
Top your framed base with a solid stone slab featuring a 1- to 2-inch overhang rather than piecing smaller stones together. When I built my own living room hearth, choosing one continuous slab completely prevented those annoying crumbling mortar joints where people sit.
Supporting the Hearth Overhang
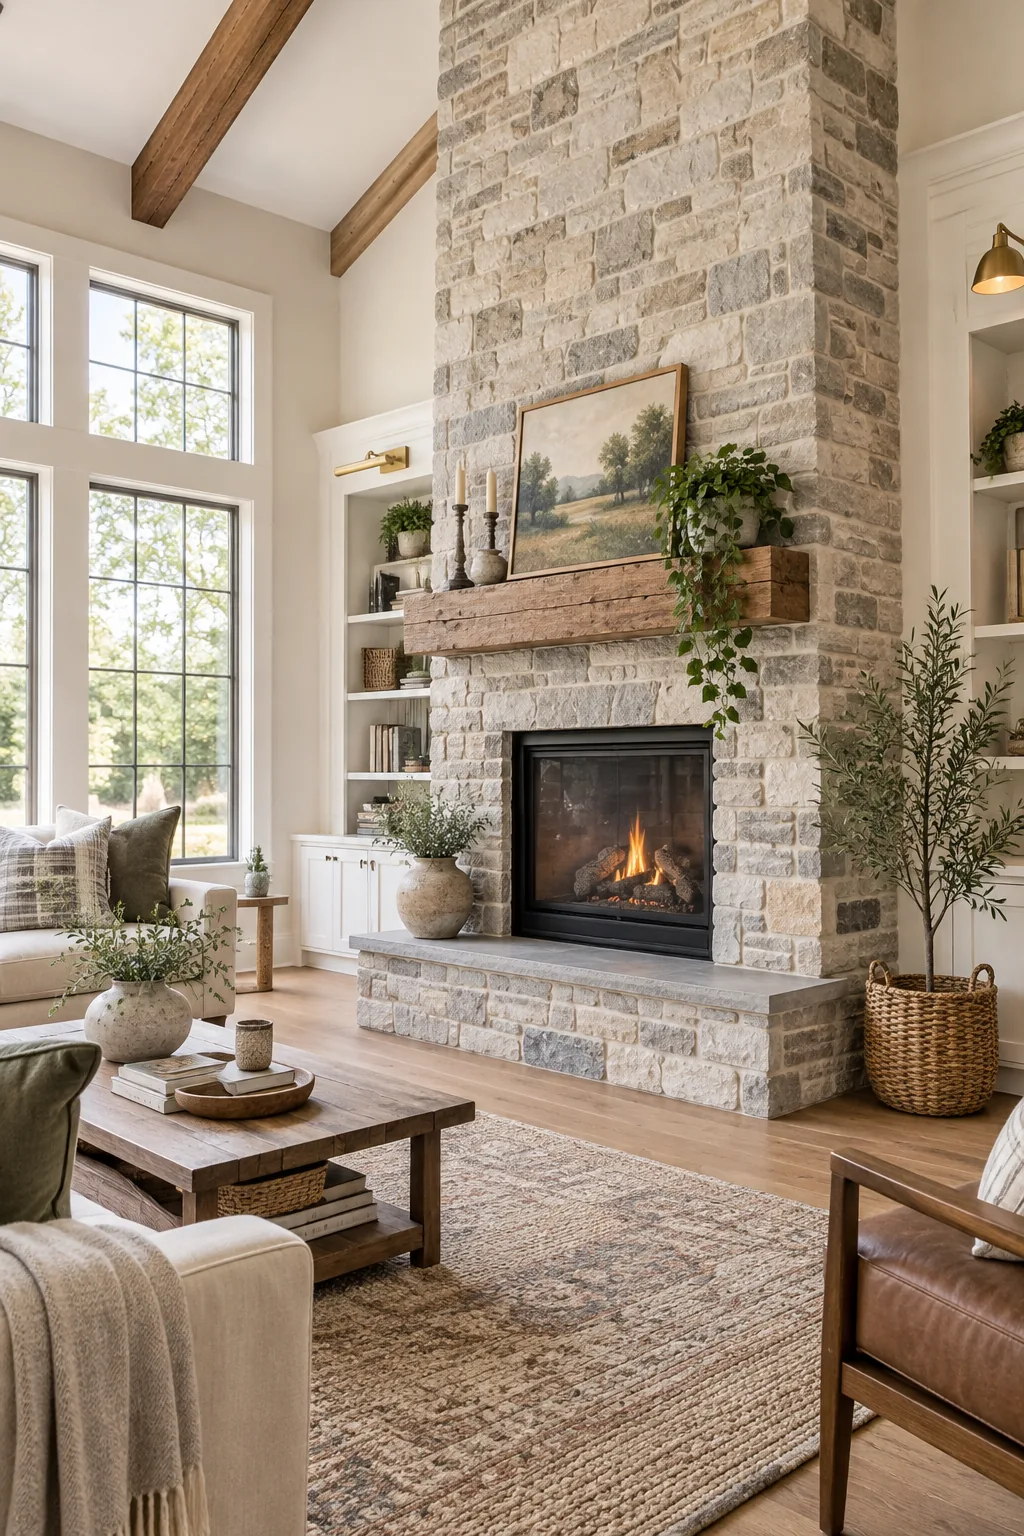
Ensure your solid stone cap is fully bedded in a thick layer of mortar to prevent any hollow spots underneath. That structural support is crucial because any unsupported overhang can easily snap if someone accidentally drops a heavy piece of firewood on the edge.
Preparing the Wall for Heavy Veneer
Cover the existing drywall with a high-quality water-resistive barrier before any masonry work begins. This protective layer ensures that moisture from the wet mortar does not seep into your home’s framing and cause hidden structural rot behind your beautiful new fireplace.
Installing the Metal Lath
Fasten expanded metal lath tightly over the moisture barrier, driving galvanized roofing nails directly into the wall studs. You need to overlap the lath seams by at least 1 to 2 inches to create a continuous mesh that grips the heavy mortar securely.
Applying a Proper Scratch Coat
Trowel a thick layer of mortar over the metal lath, pushing it deeply into the mesh holes. Use a scarifier tool to carve horizontal grooves into this wet scratch coat, giving your heavy stone veneer a textured surface to grab onto during installation.
Creating Seamless Edges with L-Shaped Stones
Wrap the outer 90-degree edges of the fireplace using specialized L-shaped corner stones to hide the veneer thickness. I learned this the hard way on a backyard firepit; flat stones on corners instantly scream “fake veneer,” but these L-shapes look incredibly authentic.
Achieving a realistic masonry look requires careful attention to exactly how your stones meet at those critical outside edges.
Staggering the Corner Joints
Work your way up the corner by alternating the orientation of the long and short legs of your L-shaped stones. This simple weaving technique tricks the eye into seeing full-depth structural masonry rather than a thin surface application glued to the drywall.
Planning the Stone Layout
Lay your stones out on the floor before mixing any mortar so you can visualize the final pattern. This dry-run allows you to balance the sizes and shapes perfectly, ensuring you never end up with awkward vertical seams running up the center of the wall.
Achieving the Overgrout Joint Style
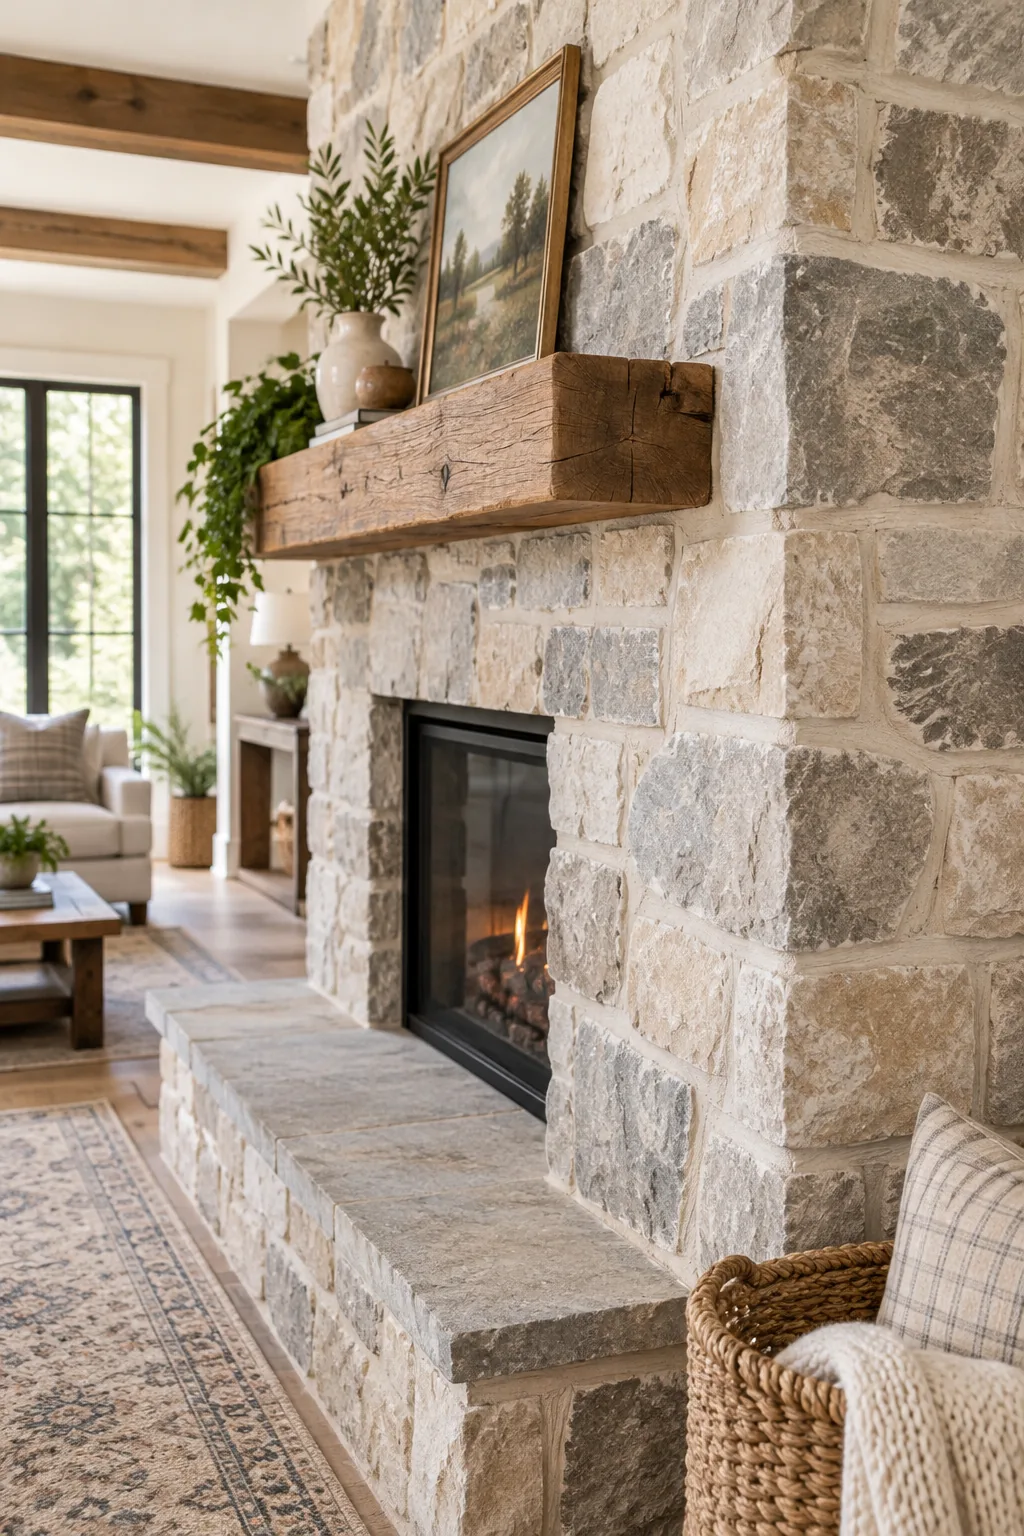
Apply a heavy layer of mortar between the stones, bringing it flush with or slightly over the stone faces. This thick overgrout technique complements cream and gray stones perfectly by softening the overall texture of the fireplace.
Mixing the Type S Mortar
Blend a warm sand-hued Type S mortar to achieve the structural strength required for heavy vertical stone applications. This specific mix holds its shape brilliantly without sagging, ensuring your wide overgrout joints stay exactly where you pipe them.
Piping the Mortar Joints
Squeeze your mixed mortar into the gaps using a heavy-duty masonry grout bag, much like piping frosting onto a cake. Fill every joint completely flush with the stone faces to eliminate deep shadows and create that smooth, cohesive cottage-style finish.
Sponging the Mortar for Texture
Wait until the piped mortar becomes thumb-print hard, then gently dab the joints with a damp masonry sponge. This crucial finishing step removes harsh trowel lines and exposes the natural sand grains, giving your fireplace a beautifully aged, historic appearance.
Selecting the Stone Blend
Mixing warm cream and cool gray stones bridges the different wood tones and fabrics in your living room without feeling visually overwhelming. Follow these simple steps to get the perfect balanced ratio for your space before you place your material order.
- Select your neutral field stones to make up 70 percent of the total blend.
- Choose darker accent stones for the remaining 30 percent to add necessary depth.
Distributing the Accent Stones
Step back frequently while setting your stones to ensure those darker 30 percent accent pieces are scattered evenly. You want to avoid accidental clustering, which creates heavy, distracting dark patches that pull the eye away from the beautiful wood mantel.
Mounting the Steel Mantel Brackets
Support a heavy wood beam using heavy-duty black steel brackets bolted directly into the wall studs, which are typically spaced 32 inches apart. We actually had to tear down drywall in our house to add blocking because we forgot to mount the brackets first!
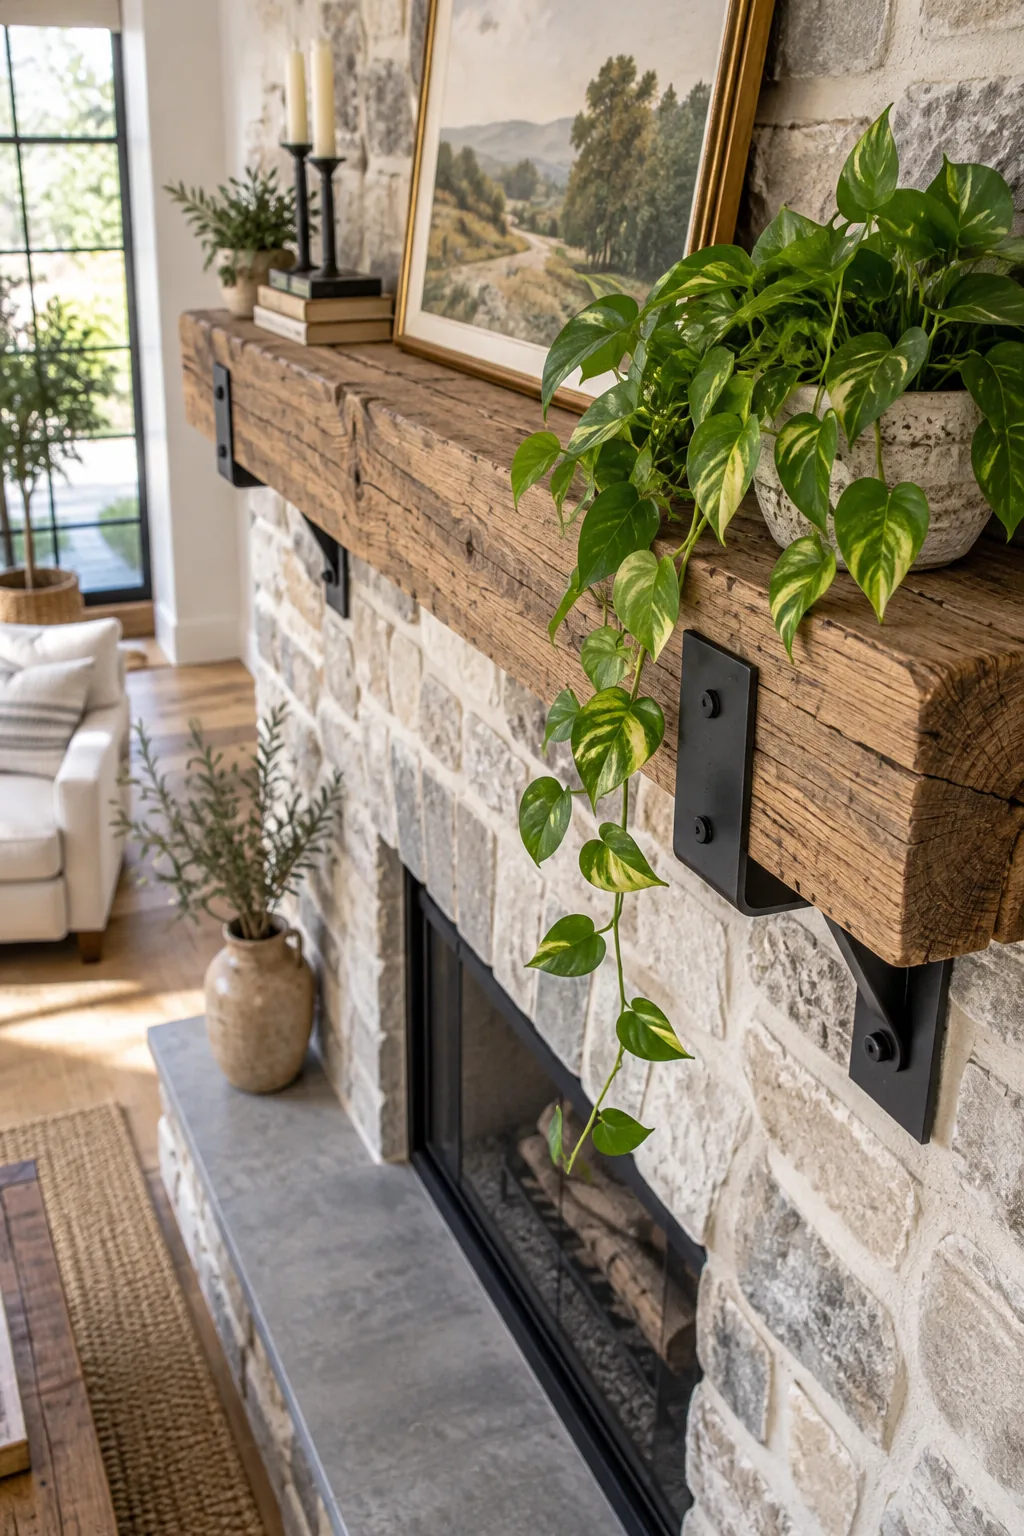
Blocking Between the Studs
Install horizontal two-by-six blocking between your vertical wall studs if your desired bracket locations do not align with the existing framing. This hidden structural reinforcement guarantees your massive wood mantel will never sag or pull away from the heavy stone face.
Sizing the Reclaimed Wood Mantel
Choose a chunky 6×8 or 8×8 inch reclaimed wood beam to balance the massive visual weight of a floor-to-ceiling stone surround. A thin, delicate shelf will simply get lost against the rugged texture and heavy mortar joints of the overgrout style.
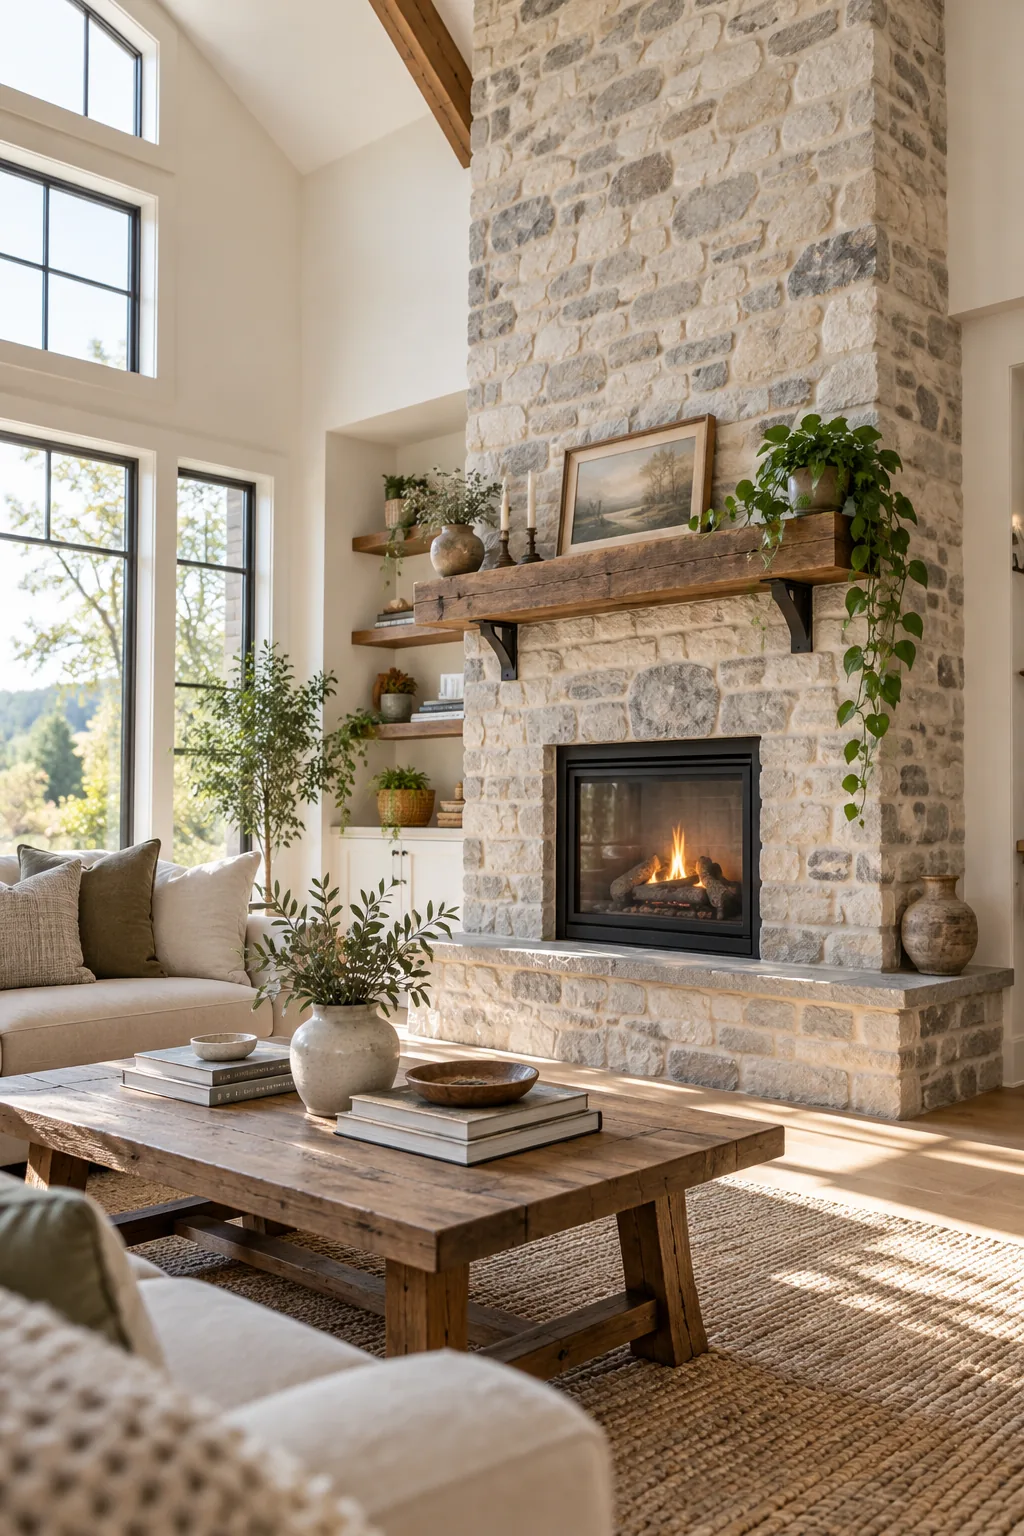
Securing the Wood Beam
Drive heavy lag screws up through the pre-drilled holes in your steel brackets directly into the bottom of the wood mantel. This invisible fastening method keeps the beam completely stable while allowing the beautiful reclaimed wood grain to remain the star of the show.
Upgrading the Firebox Interior
Elevate the entire design by installing a classic herringbone brick liner inside the firebox. This subtle architectural pattern adds beautiful depth to the dark void, making your fireplace look completely finished even when the flames are turned off.
Installing the Herringbone Liner
Use specialized refractory mortar to set your interior firebox bricks, as standard mortar will crack and crumble under extreme heat. The angled herringbone pattern naturally draws the eye inward, creating a stunning focal point that rivals the exterior stone veneer.
Selecting the Gas Log Set
Choose a high-quality vented gas log set that properly fills the width of your upgraded firebox without crowding the side walls. Leaving at least 2 to 3 inches of breathing room on each side ensures realistic flame movement and prevents soot buildup.
Managing Combustible Clearances
Mount your wood mantel at least 18 inches above the top of the firebox opening to meet standard clearance requirements. Always consult your specific gas insert manual, as placing combustible wood too close to the heat source creates a serious fire hazard.
Sealing the Stone Veneer
Apply a breathable, penetrating stone sealer over the entire fireplace once the mortar has cured for at least 28 days. This invisible shield repels accidental soot stains and makes it incredibly easy to dust the rough stone faces without damaging the mortar joints.
Hiding the Television Wiring
Plan for a recessed media box behind your flat screen before the stone veneer goes up if you intend to mount a television. Running a simple PVC conduit tube through the framing completely hides ugly HDMI cords and keeps the focus on your beautiful masonry.
Styling the Reclaimed Mantel
Keep your mantel decor incredibly simple to let the rugged stone texture shine without feeling cluttered. I love leaning one large vintage mirror against the stone and adding a trailing pothos plant to soften those heavy architectural lines.
The Fireplace Dimension and Materials Checklist
Gather all your measurements and material counts before any masonry work begins so your installation proceeds smoothly and meets local building codes.
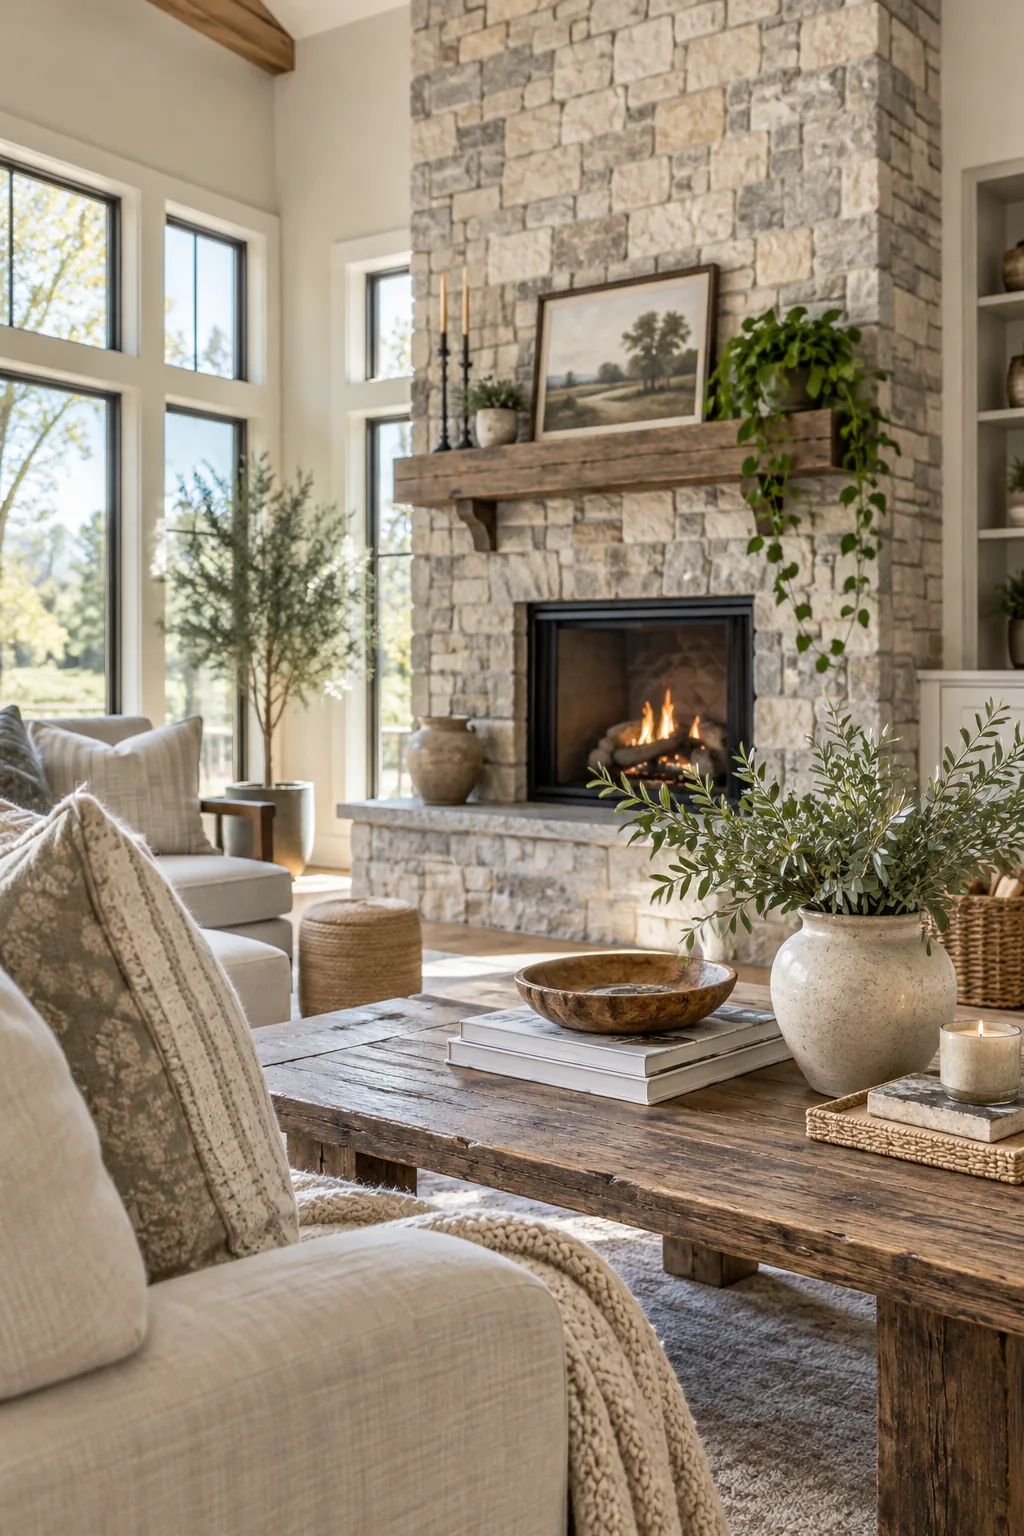
Run through this final planning checklist to verify your materials and dimensions are ready for the contractor.
More Stone Fireplace Styling Ideas
Explore how different stone profiles and mantel finishes can completely change the mood of your living room.
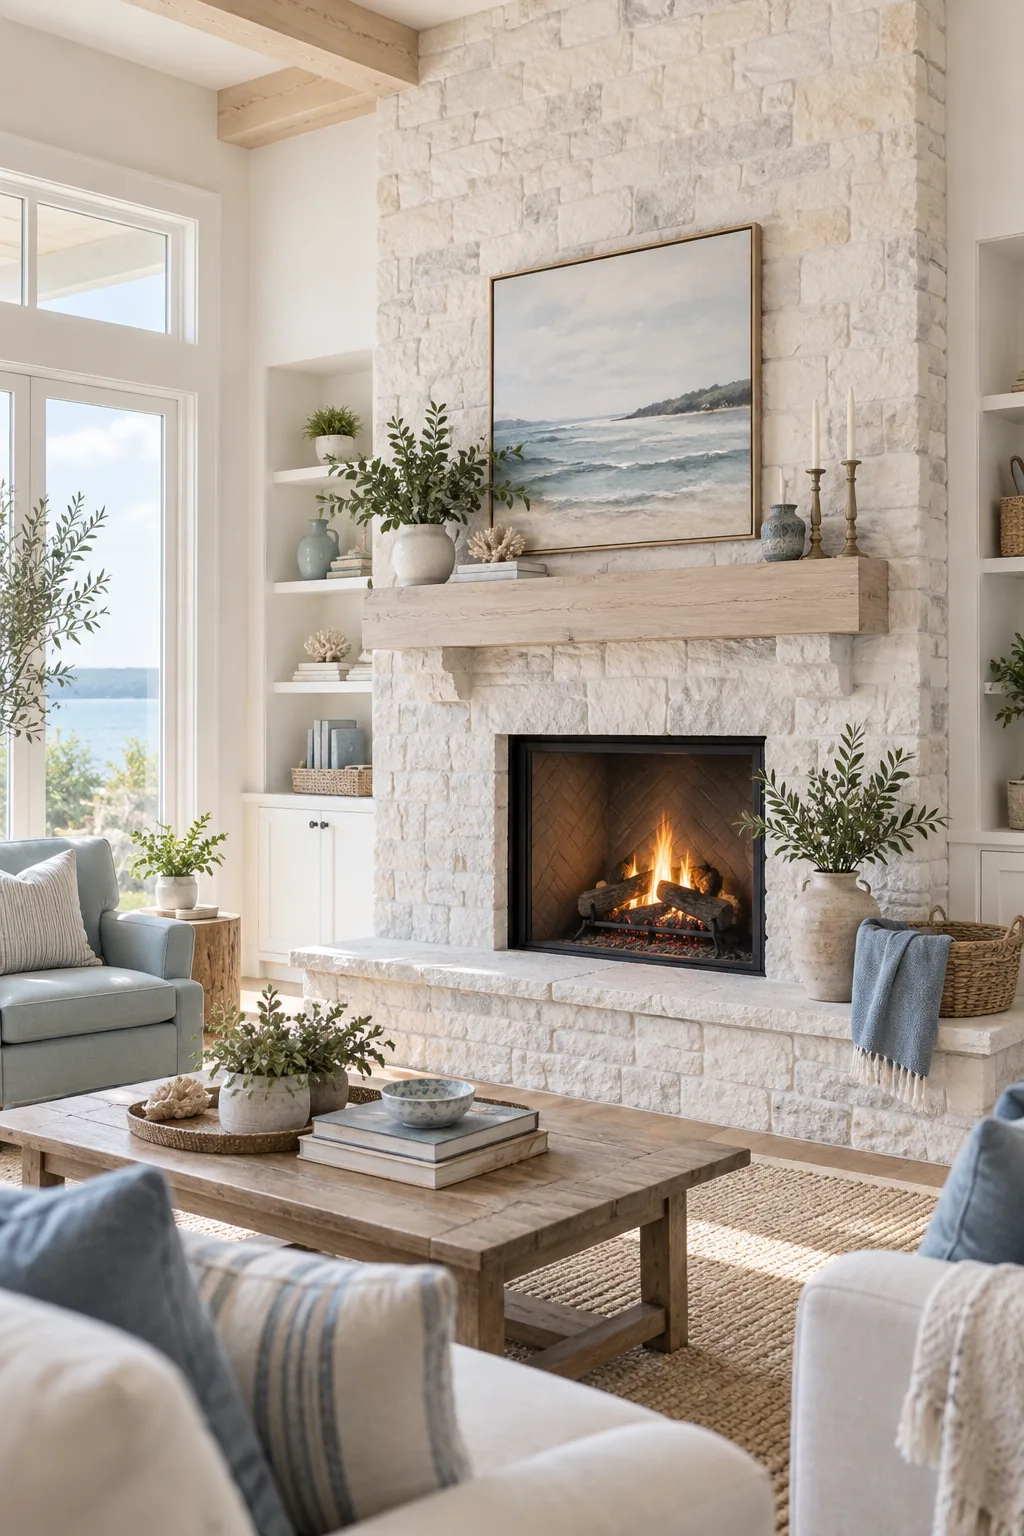
Modern coastal white limestone: Bright white limestone paired with a bleached oak mantel creates a breezy, coastal atmosphere perfect for sunlit spaces.
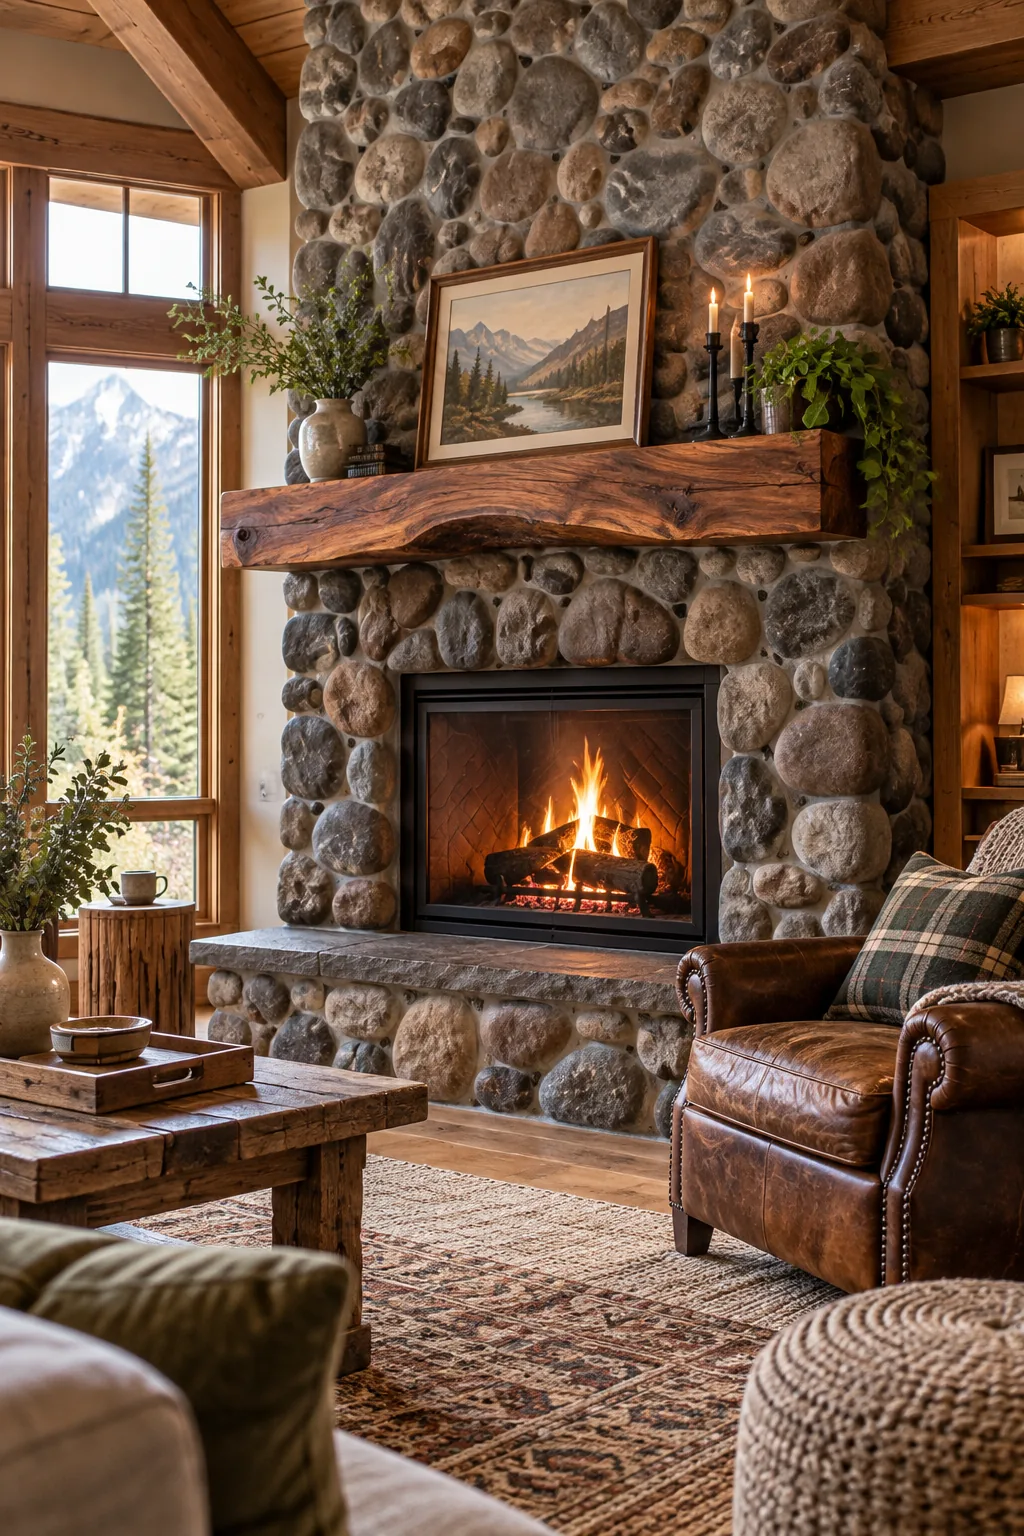
Rustic river rock cabin: Dark, rounded river rocks and a live-edge walnut mantel bring an authentic, cozy cabin aesthetic to the room.
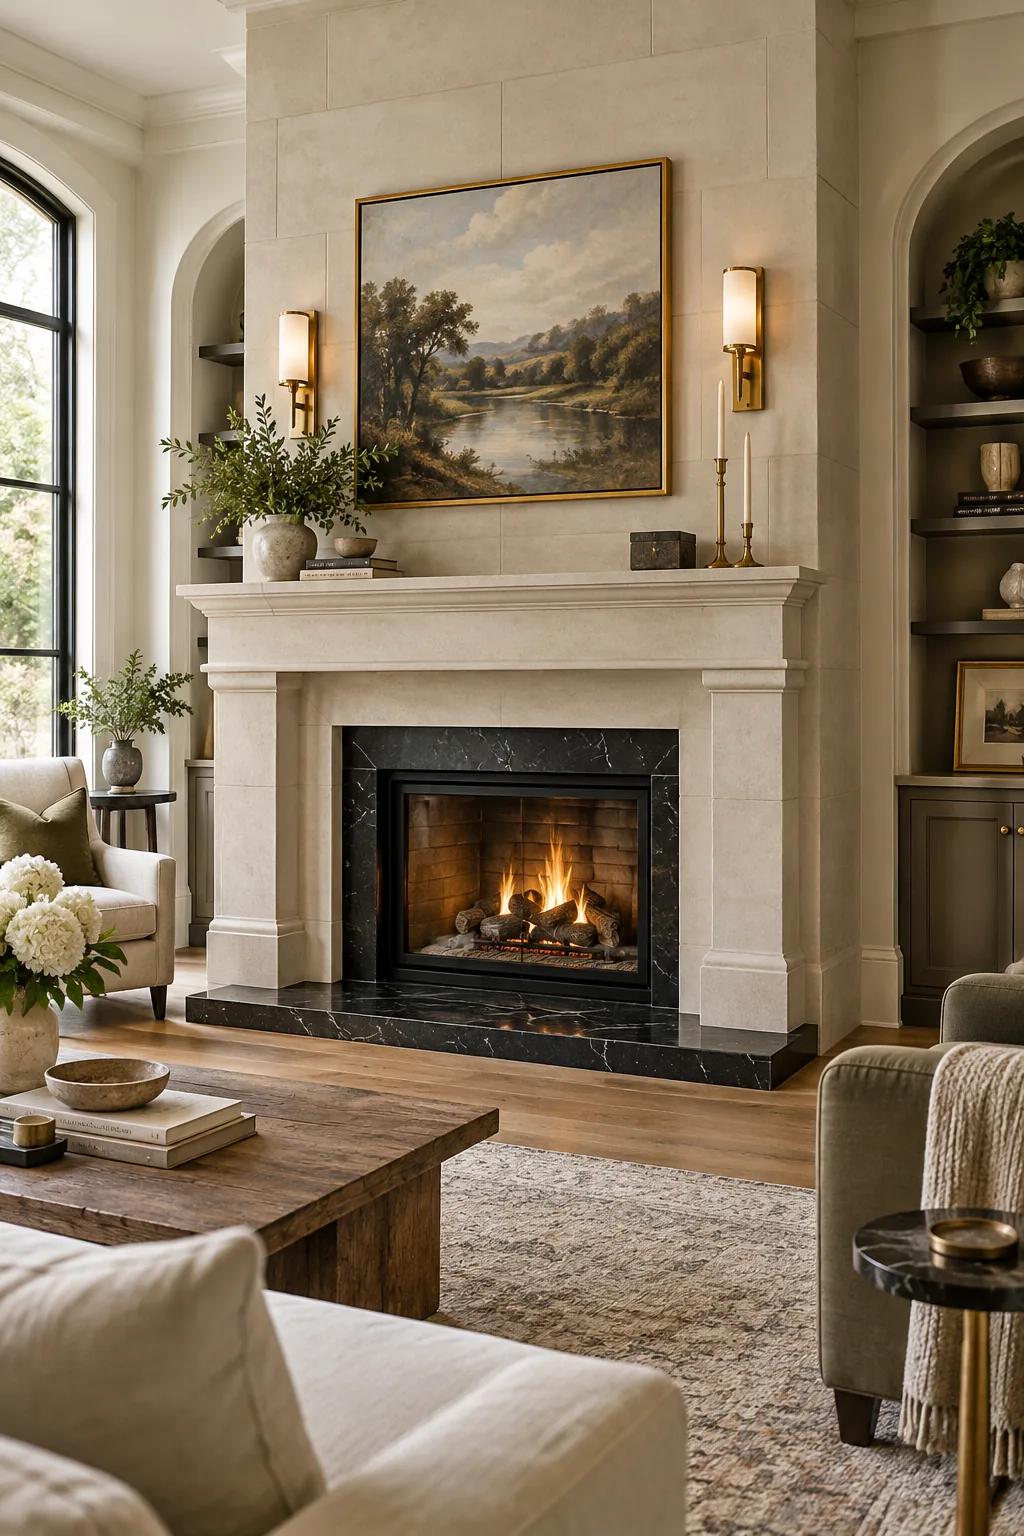
Transitional smooth cast stone: Smooth cast stone blocks and polished brass sconces offer a refined, transitional look that bridges modern and traditional styles.
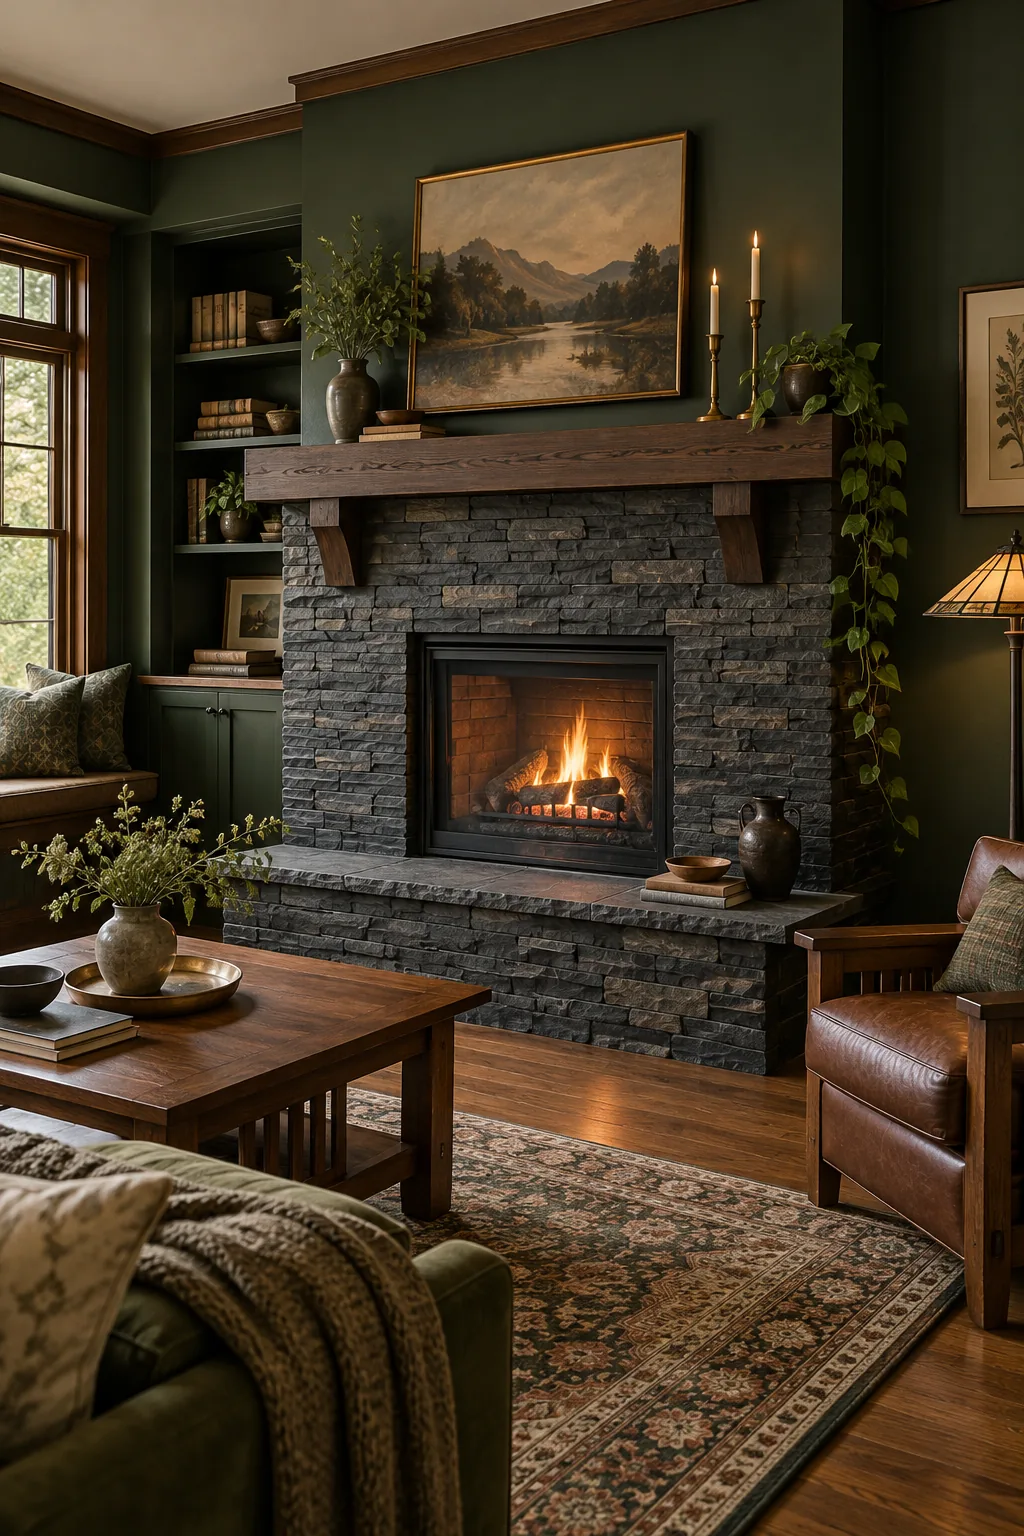
Moody dark slate craftsman: Stacked dark slate and deep green painted walls create a moody, intimate environment with rich craftsman character.