Dining Buffet Decor That Effortlessly Transitions to Serving
You will be able to style a beautiful everyday dining buffet that converts into a functional serving station in minutes. Download our Buffet Sizing & Party-Switch Sheet today to effortlessly transition your space for weekend hosting with exact measurements and proven layout strategies.
Sizing Your Mirror or Art
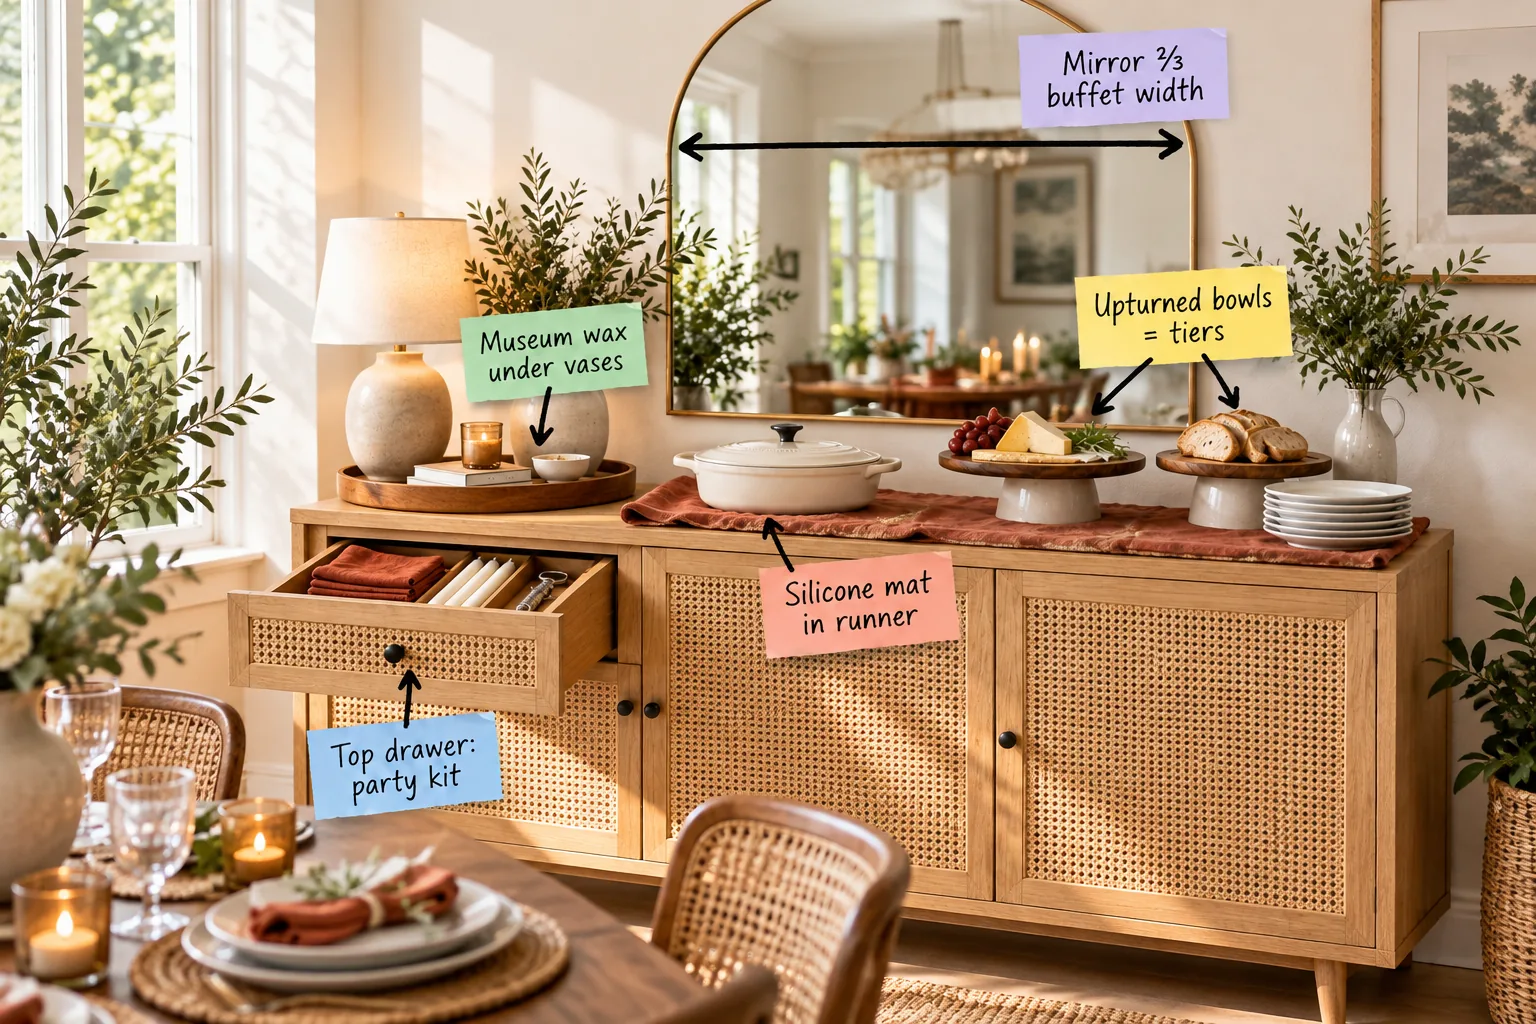
Anchor the dining room by hanging a mirror or art piece that spans exactly ⅔ the width of your buffet. This precise mathematical ratio prevents the wall from feeling top-heavy while maintaining intentional negative space for a perfectly balanced, elegant focal point.
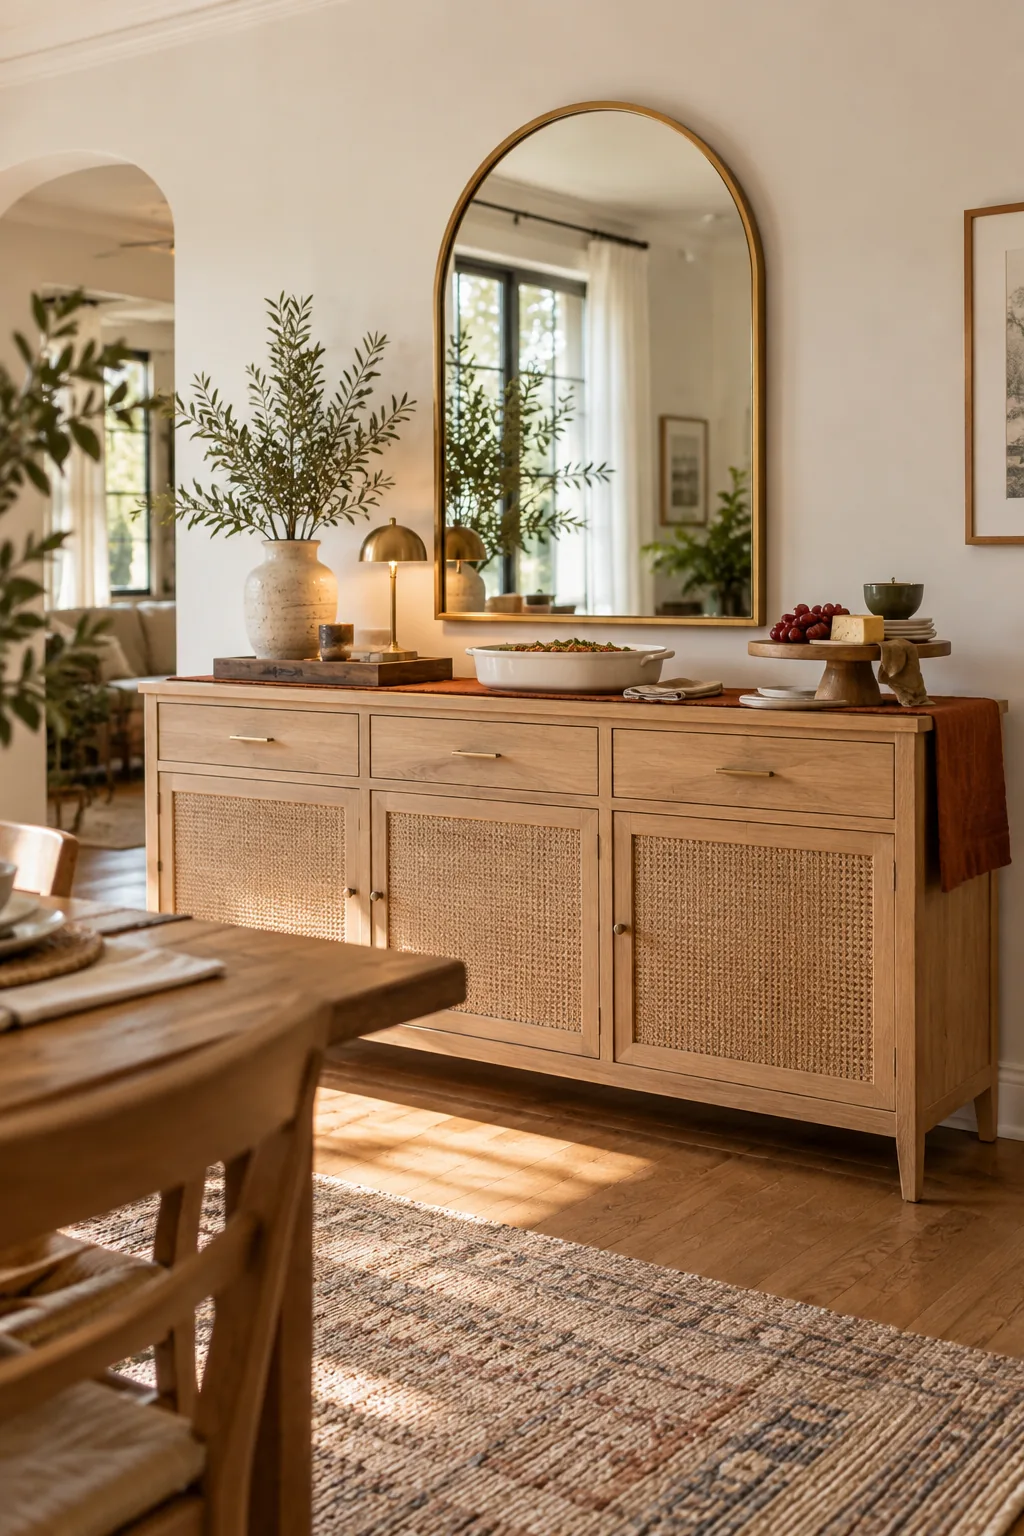
Keeping the bottom edge hovering four to six inches above the wood visually connects the mirror to the furniture. This tight vertical spacing ensures the reflection actively captures your styled vignette rather than just the opposite ceiling.
Grounding the Everyday Display
Group your everyday decor onto a single wooden tray to create a cohesive vignette. In my Boston apartment, this self-contained tray makes it incredibly easy to slide your everyday decor out of the way when large platters take over.
You simply push the entire grounded collection to the far left edge of the furniture before guests arrive. This single motion instantly opens up the primary central serving zone without requiring you to find temporary storage for your favorite decorative objects.
Securing Breakables for High Traffic
Apply a pea-sized dot of museum wax under vases and lightweight lamps to anchor them firmly to your wooden tray. This invisible, non-damaging grip ensures delicate ceramics stay exactly where you placed them, even in a bustling, high-traffic dining room environment.
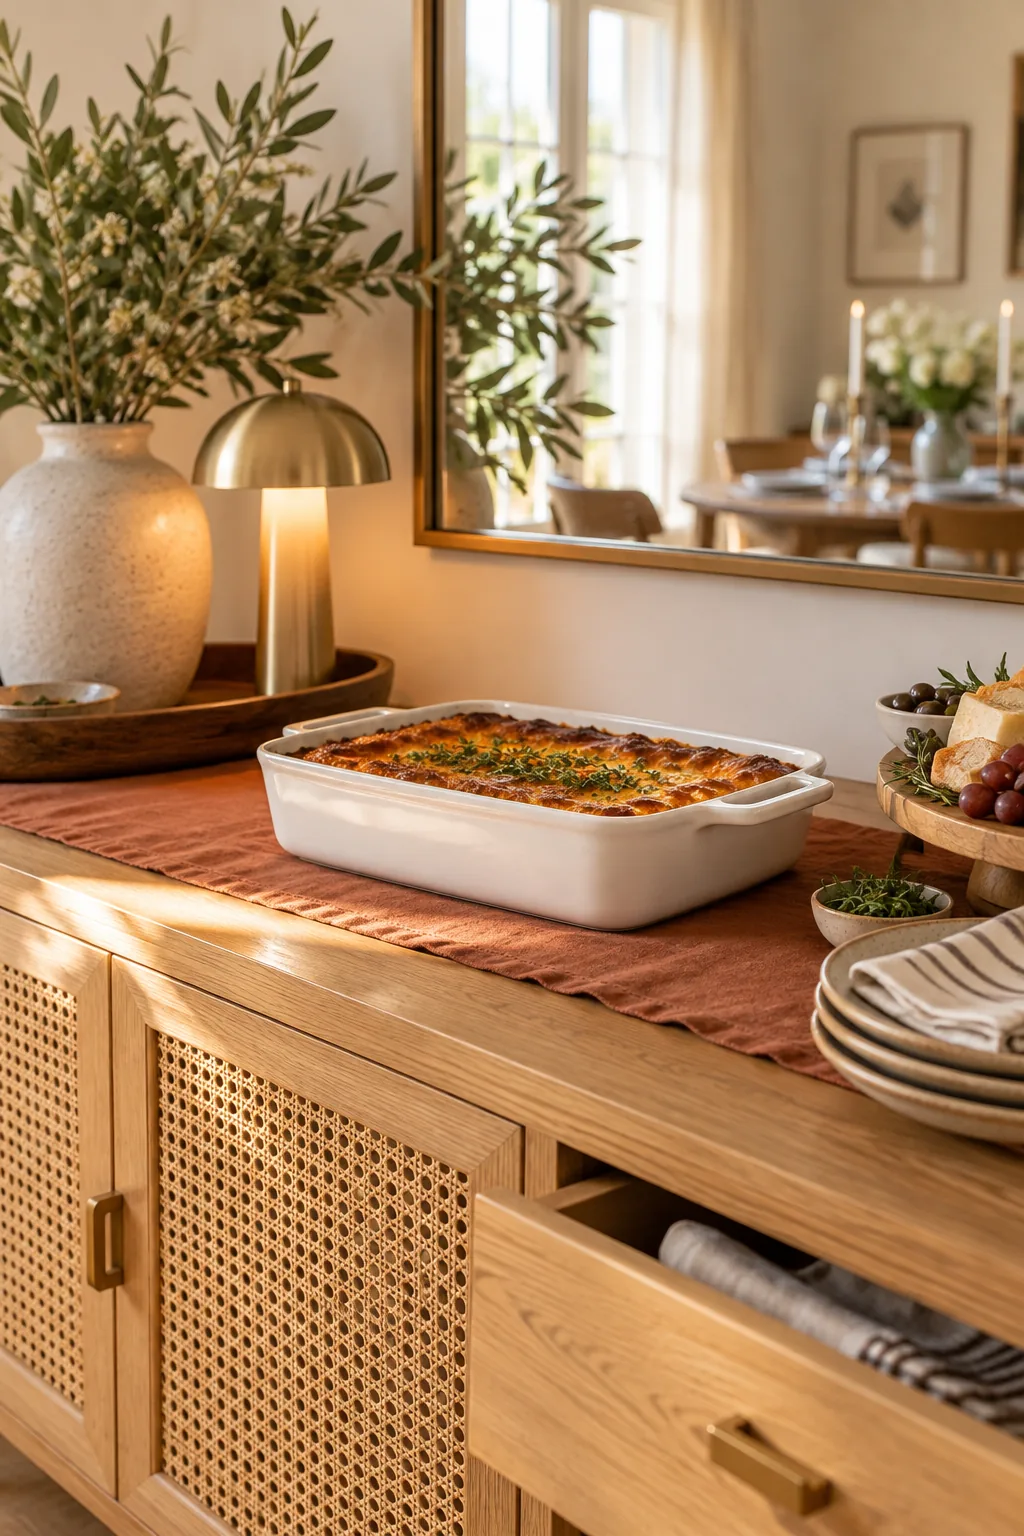
This hidden stabilization prevents tall items from wobbling or tipping when guests brush past the furniture during a lively dinner party. It also absorbs the subtle vibrations created whenever you open and close heavy, silverware-filled drawers directly below the styled surface.
Building a Hidden Party Kit
Dedicate the top drawer: party kit immediately below your serving surface to hold all your essential entertaining supplies. Organizing these crucial tools right at the point of use streamlines your entire hosting workflow and significantly reduces frantic, last-minute kitchen runs.
- Folded rust linen napkins stacked vertically for immediate, easy grabbing.
- Extra unscented taper candles to quickly replace burned-out centerpieces.
- A heavy brass bottle opener and a highly reliable double-hinged corkscrew.
- A small stack of blank cardstock for spontaneous, elegant food labels.
- Dedicated serving tongs and slotted spoons reserved strictly for entertaining.
Stocking this hidden inventory guarantees you never have to leave the room or abandon your guests while hosting a busy gathering. Everything required to refresh the table, serve a new dish, or open wine remains mere inches from the action.
Heat-Proofing the Runner
Protect the delicate oak finish from scorching hot ceramic baking dishes by slipping a flat silicone mat in runner folds. Placing this utilitarian rubber barrier directly on the wood creates an invisible, highly effective heat-resistant shield for your most demanding casseroles.
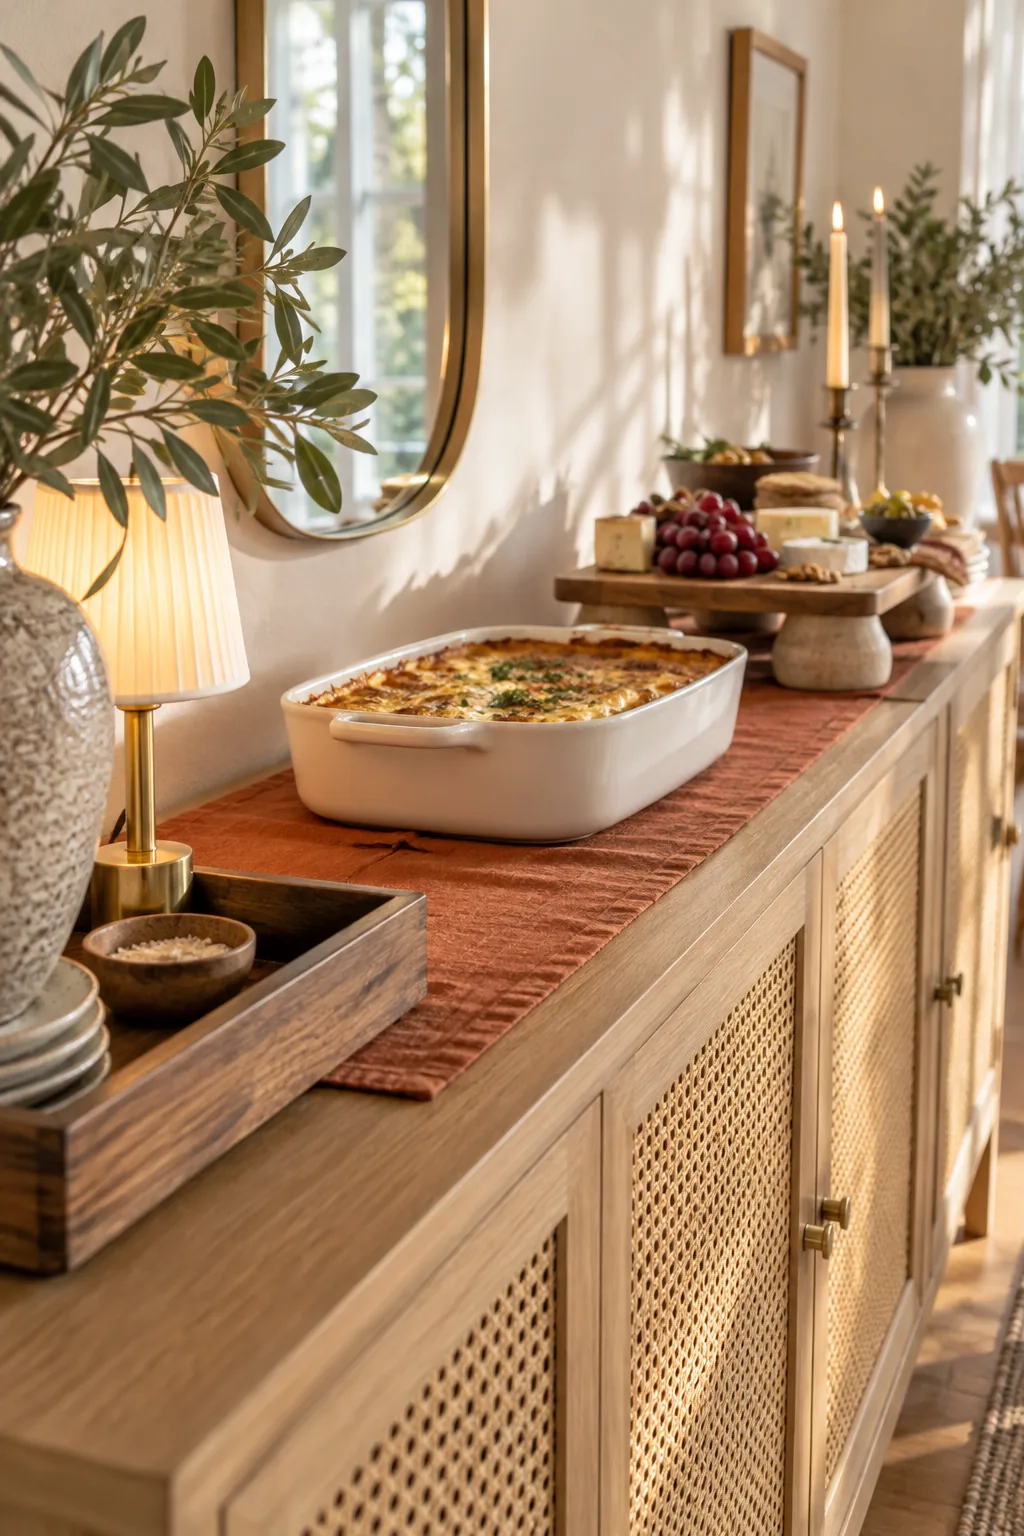
The thick, textural rust linen fabric completely hides the protective underlayer from your guests’ view. This clever, discreet layering provides a perfectly safe landing zone for bubbling hot food while maintaining the elevated, elegant aesthetic of your weekend dinner party.
Creating Tiers with Everyday Bowls
Elevate flat wooden cheese and bread boards by resting them on heavy-bottomed ceramic bowls hidden beneath the draped fabric. Using upturned bowls = tiers provides instant architectural height without requiring you to purchase or store specialized, bulky catering risers for occasional events.
Draping the linen runner loosely over these hidden supports creates soft, organic humps that beautifully showcase your charcuterie boards. This varied elevation naturally draws the eye right across the buffet and makes it significantly easier for guests to serve themselves comfortably.
Mapping the Serving Flow
Leave a strict minimum of 12 inches of empty space between the hot dish station and the elevated wooden boards. Whenever I host a holiday dinner, this dedicated drop zone proves absolutely crucial for preventing frustrating traffic jams along the buffet.
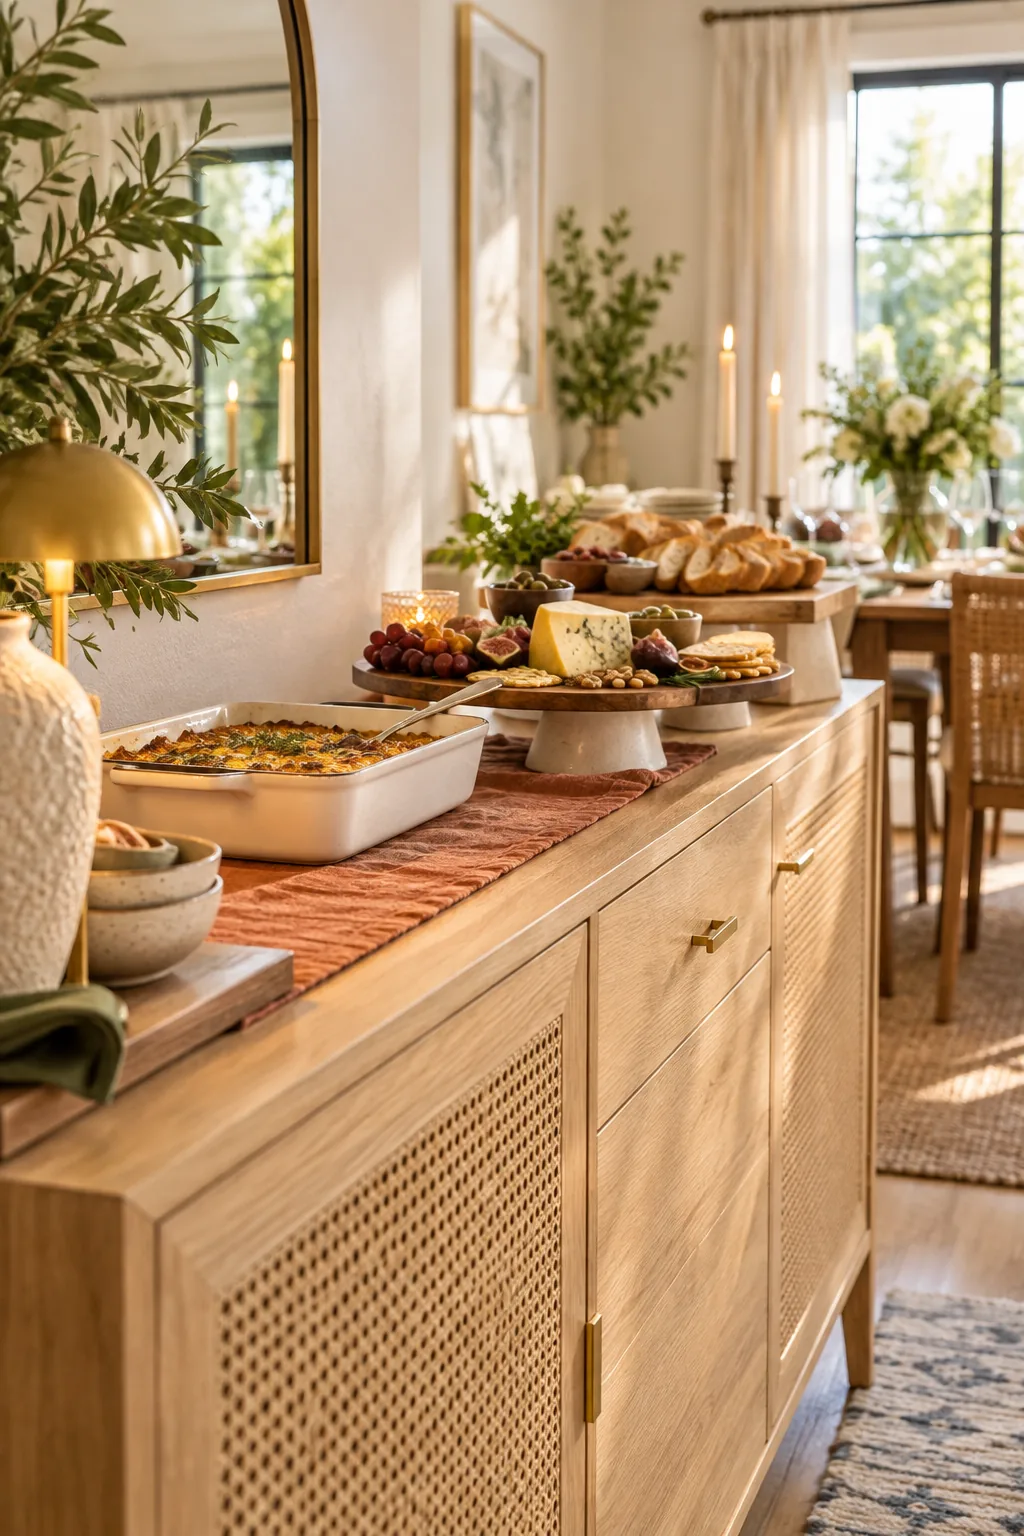
This intentional gap allows guests to comfortably set their heavy plates down while using both hands to slice bread or serve a complex dish. Proper spacing transforms a crowded tabletop into a highly functional, intuitive serving line that flows effortlessly.
The Saturday Serving Transition
Transitioning from a styled focal point to a functional serving line follows a predictable sequence that takes less than five minutes. Executing this systematic changeover allows you to prep the dining room right before the doorbell rings without breaking a sweat.
Once the runner is laid out and the hidden infrastructure is secure, your buffet is fully prepped to receive the hot dishes. This streamlined process ensures you spend less time rearranging heavy furniture and more time actually enjoying your weekend company.
Your Buffet Sizing & Party-Switch Sheet
Page one of the guide provides the crucial mirror-width chart and hang-height table for standard buffets. Having these standardized dimensions on hand takes the guesswork out of sourcing the absolute perfect wall anchor for your specific dining room proportions.
| Buffet Width | Single Mirror Width | Gallery Wall Width | Ideal Hang Height |
|---|---|---|---|
| 48 inches | 32 inches | 32 inches total | 4-6 inches up |
| 60 inches | 40 inches | 40 inches total | 4-6 inches up |
| 72 inches | 48 inches | 48 inches total | 4-6 inches up |
| 84 inches | 56 inches | 56 inches total | 4-6 inches up |
Use this printable two-page guide to perfect your everyday setup and master the rapid weekend changeover. Having the complete layout strategy in hand allows you to confidently transition your space without second-guessing your spacing or material choices.
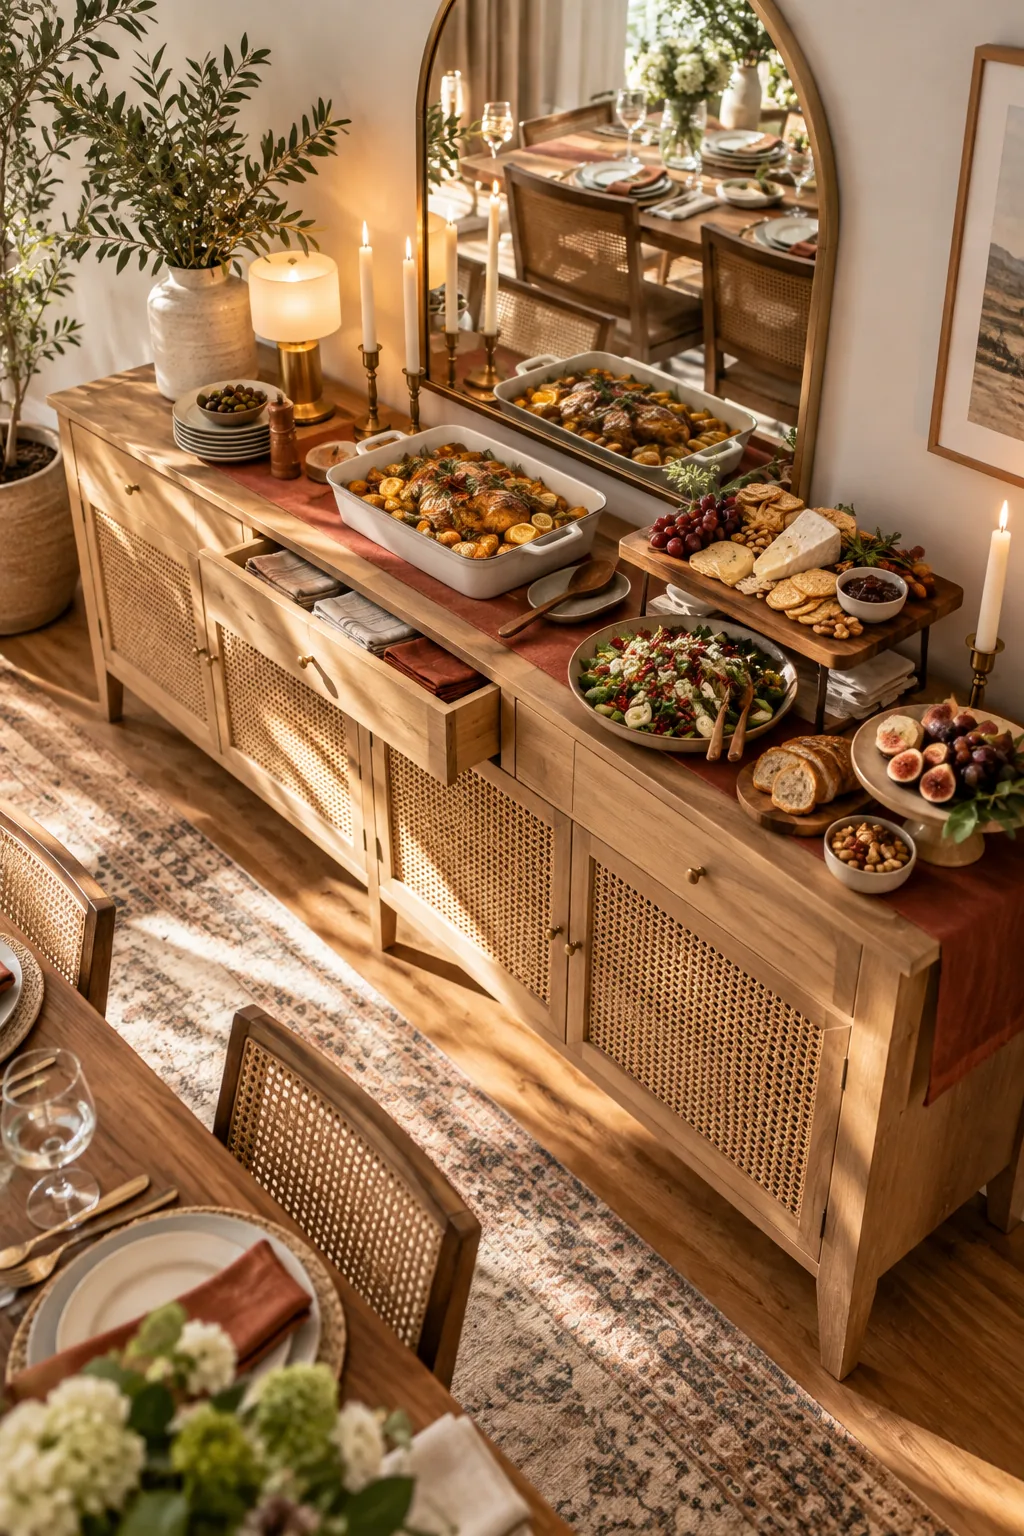
Page two includes the top-drawer inventory checklist and the complete five-step party transition sequence to keep your hosting duties seamless. Following this exact chronological method prevents you from having to move heavy food platters to adjust the runner later.
- Measure your buffet to determine the exact two-thirds width ratio.
- Source a perfectly sized mirror and hang it four inches above the surface.
- Build your everyday tray vignette using museum wax on all breakables.
- Stock the top drawer with your essential party kit items and linens.
- Practice the five-step serving transition before your first big weekend event.
- Keep the printed reference sheet taped inside your lower cabinet door.
Print the Buffet Sizing & Party-Switch Sheet today to transform how you utilize and style your dining room. You will finally have a beautiful everyday display that effortlessly converts into a highly practical serving station the moment your guests arrive.
More Dining Buffet Styling Ideas
Explore these different styles to find the perfect buffet decor for your dining room.
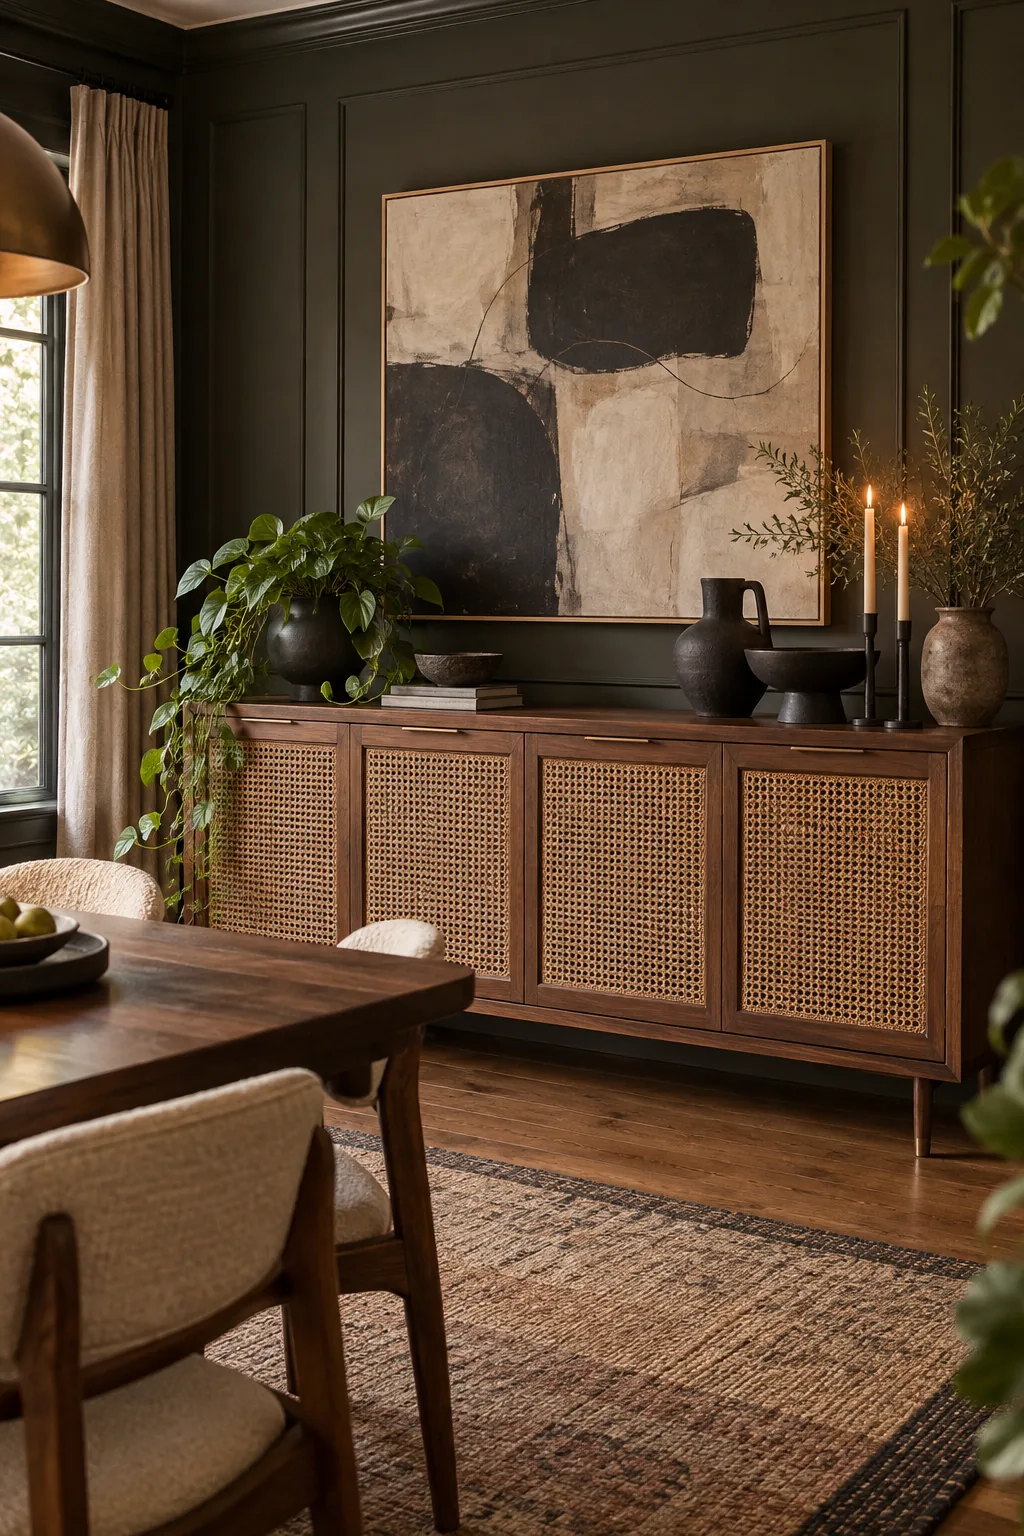
Moody Modern Organic: Rich walnut wood and matte black ceramics create striking contrast against dark walls. Copy this look by swapping a mirror for an oversized abstract canvas.
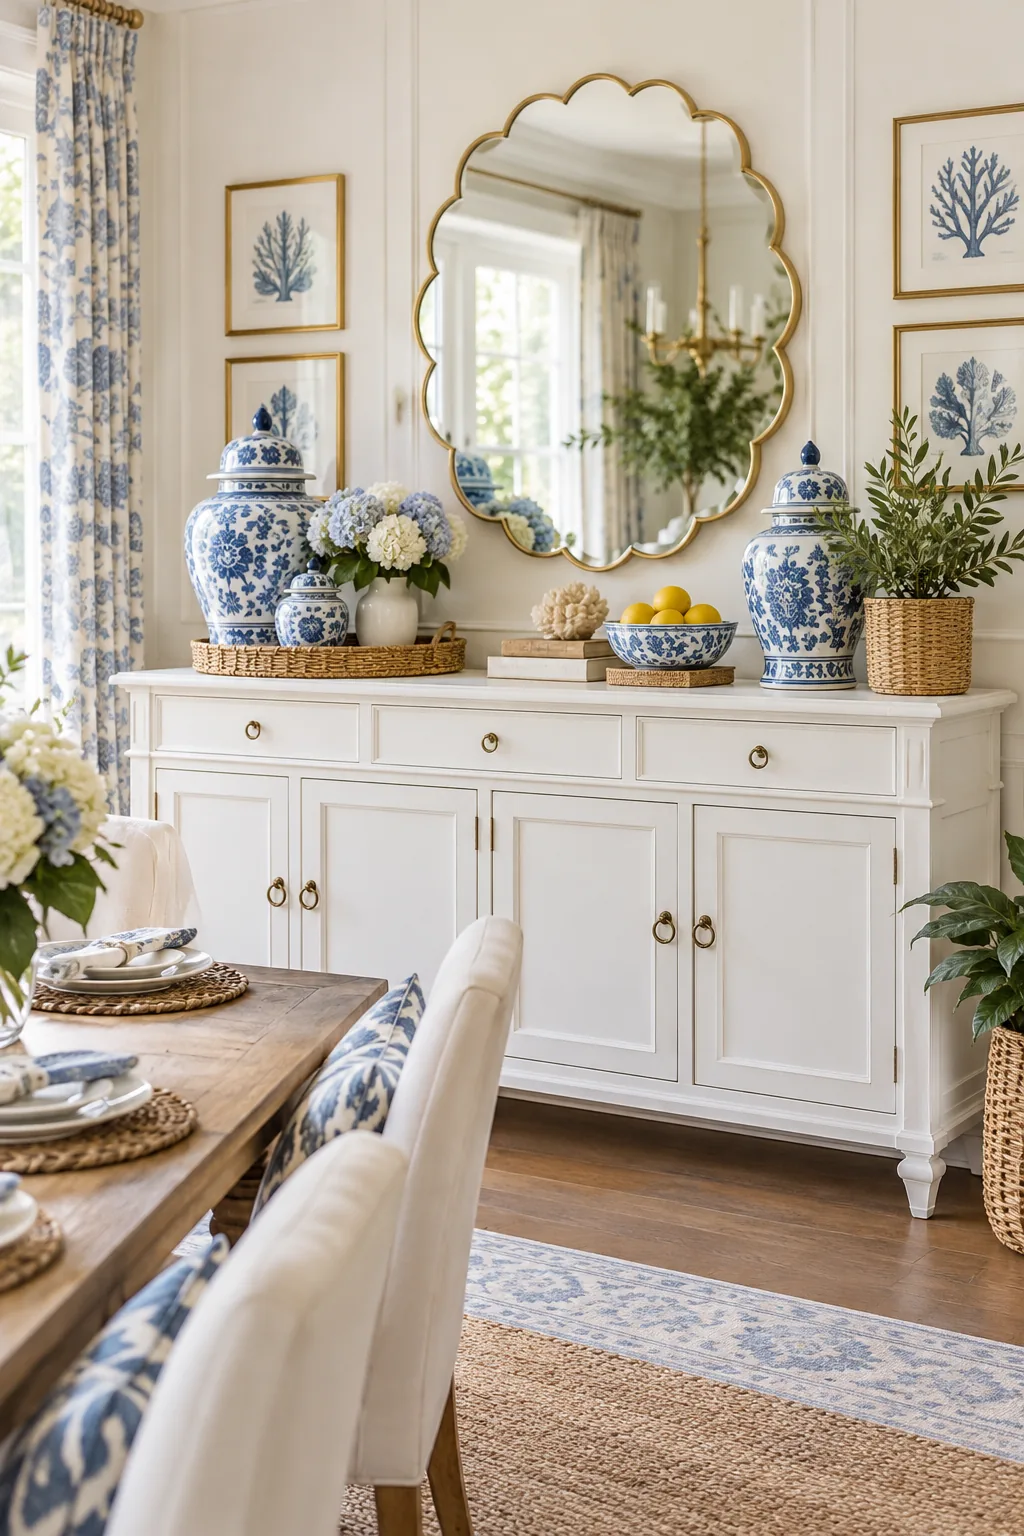
Coastal Grandmillennial Charm: Crisp white paint and woven textures bring a breezy feel to the dining room. Group blue and white ginger jars of varying heights for classic appeal.
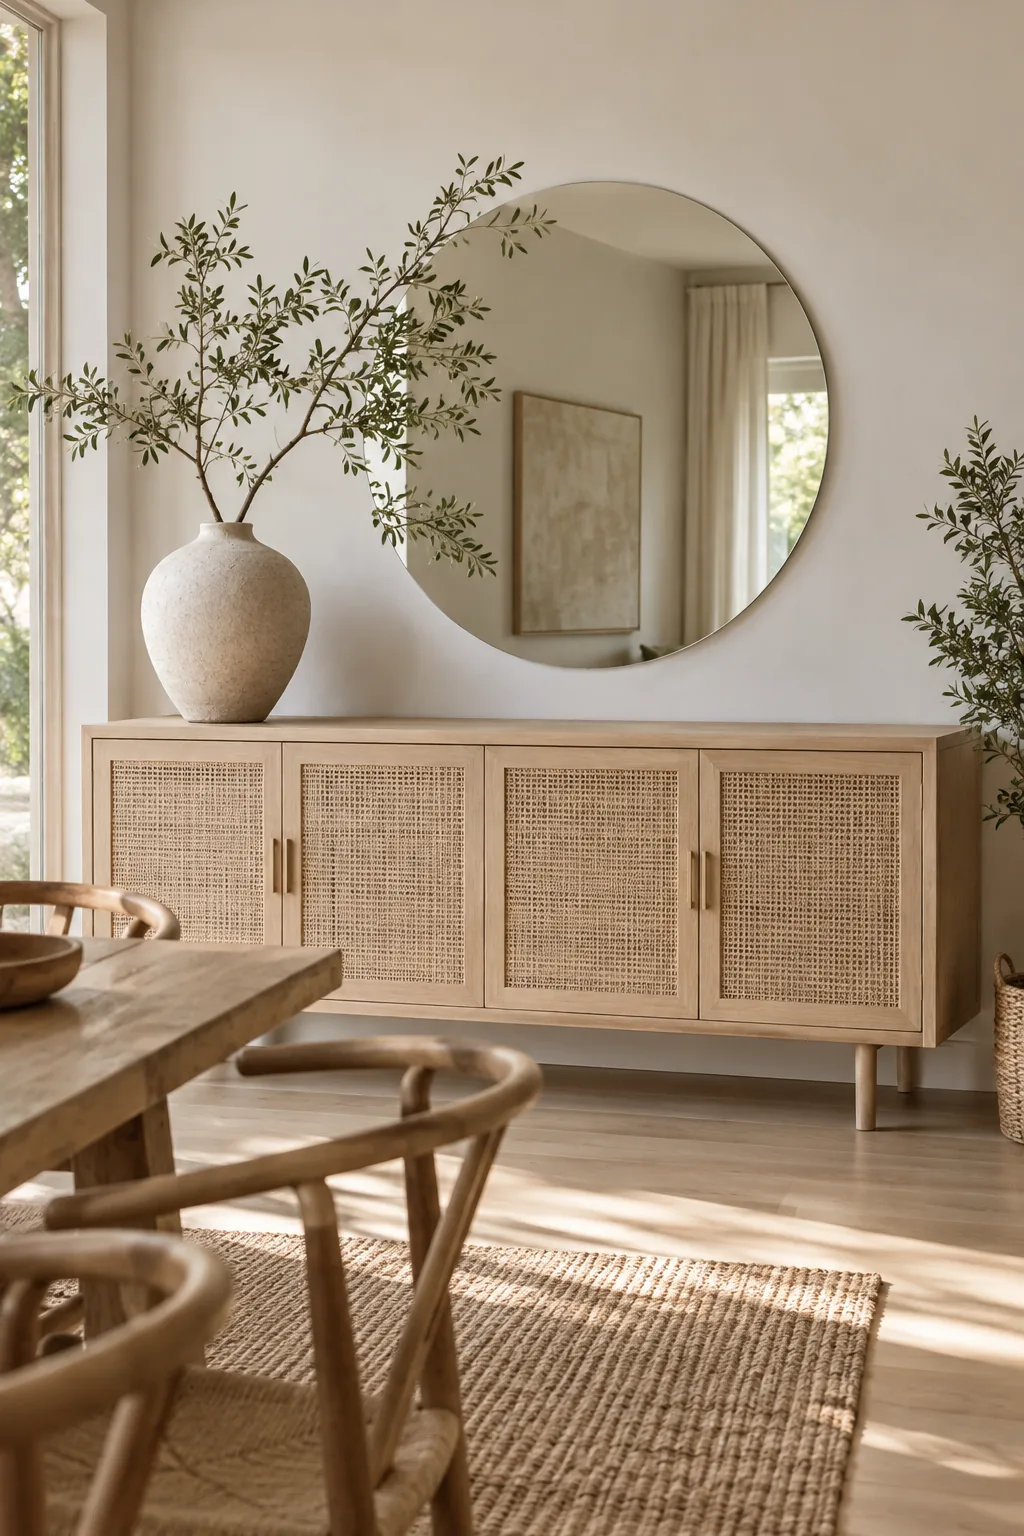
Minimalist Scandinavian Simplicity: Pale ash wood and intentionally bare surfaces let the furniture's craftsmanship shine. Make a statement using a single oversized vase with one dramatic branch.
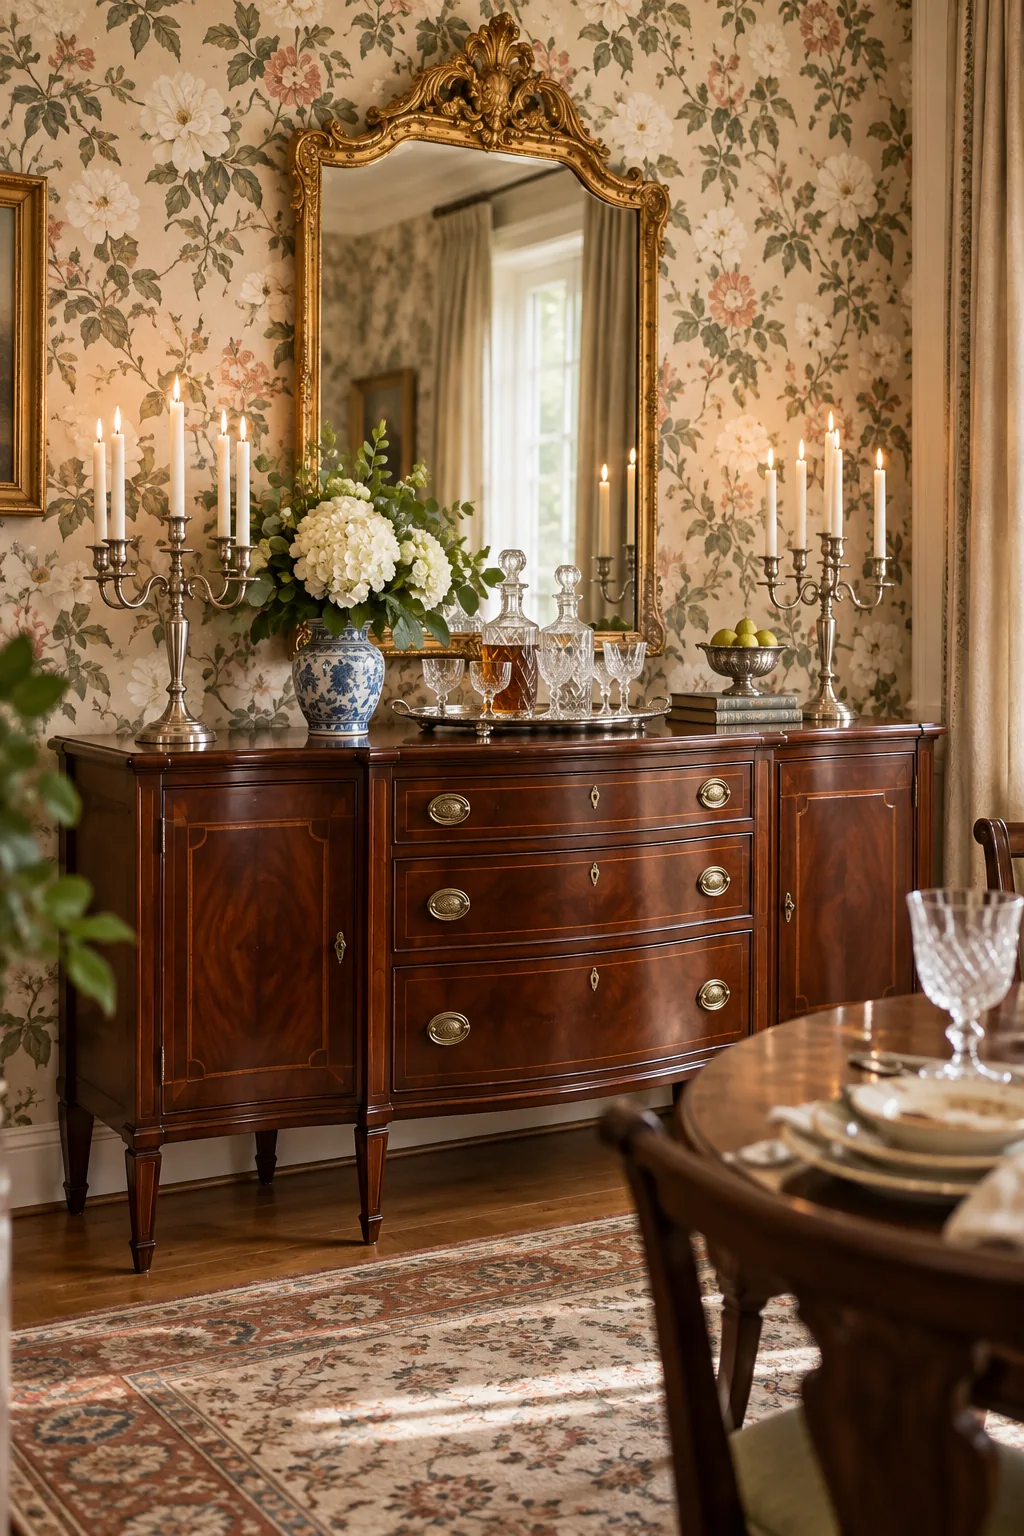
Traditional Polished Elegance: Polished mahogany and silver accents bring formal sophistication to entertaining. Use a mirrored or silver tray to beautifully reflect the light from crystal decanters.
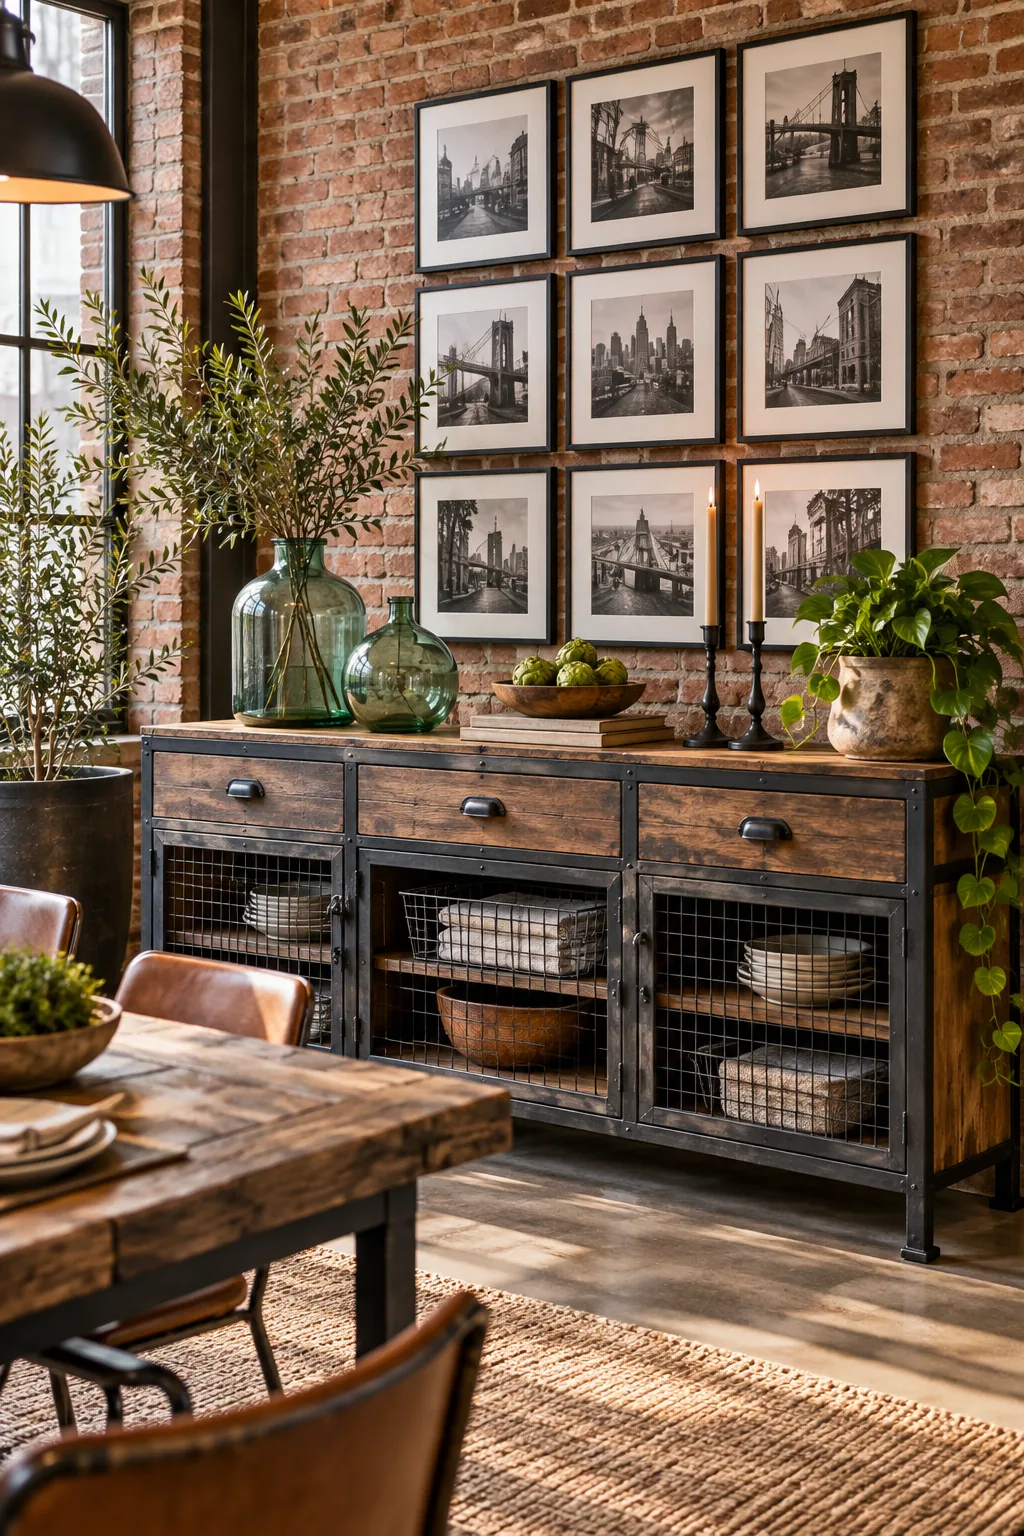
Industrial Loft Edge: Raw metal frames and reclaimed wood add rugged character to an open floor plan. Anchor the setup with a grid of black-and-white photography instead of a mirror.