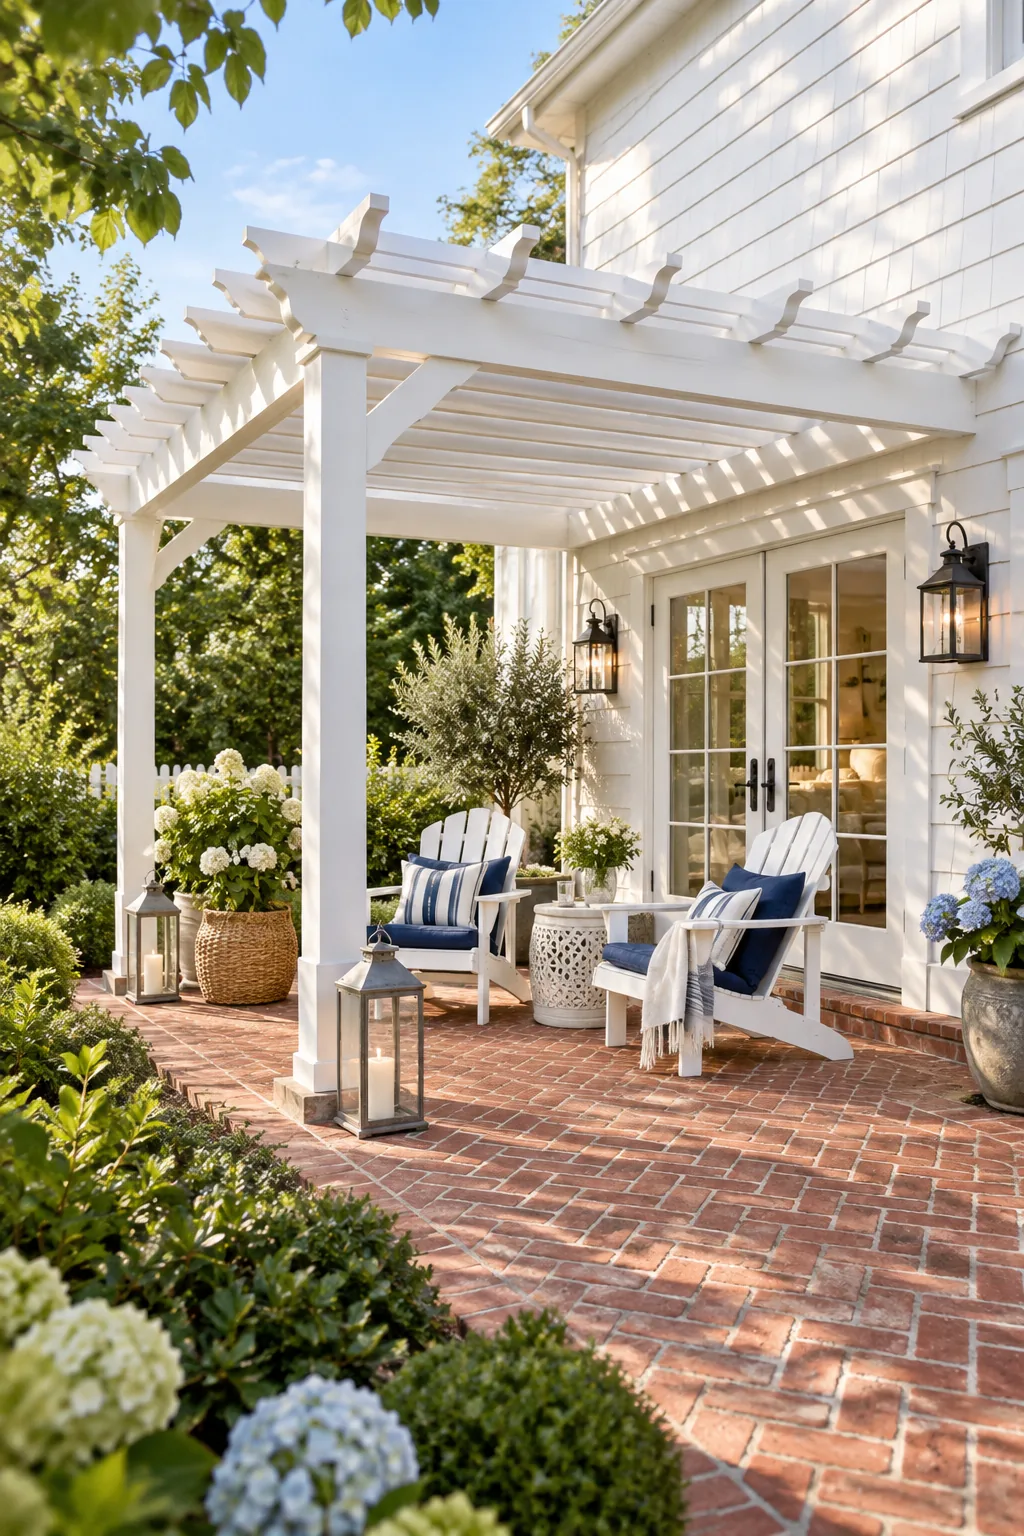
Small Attached Patio Pergola: Free 8×10 Plans & Cut List
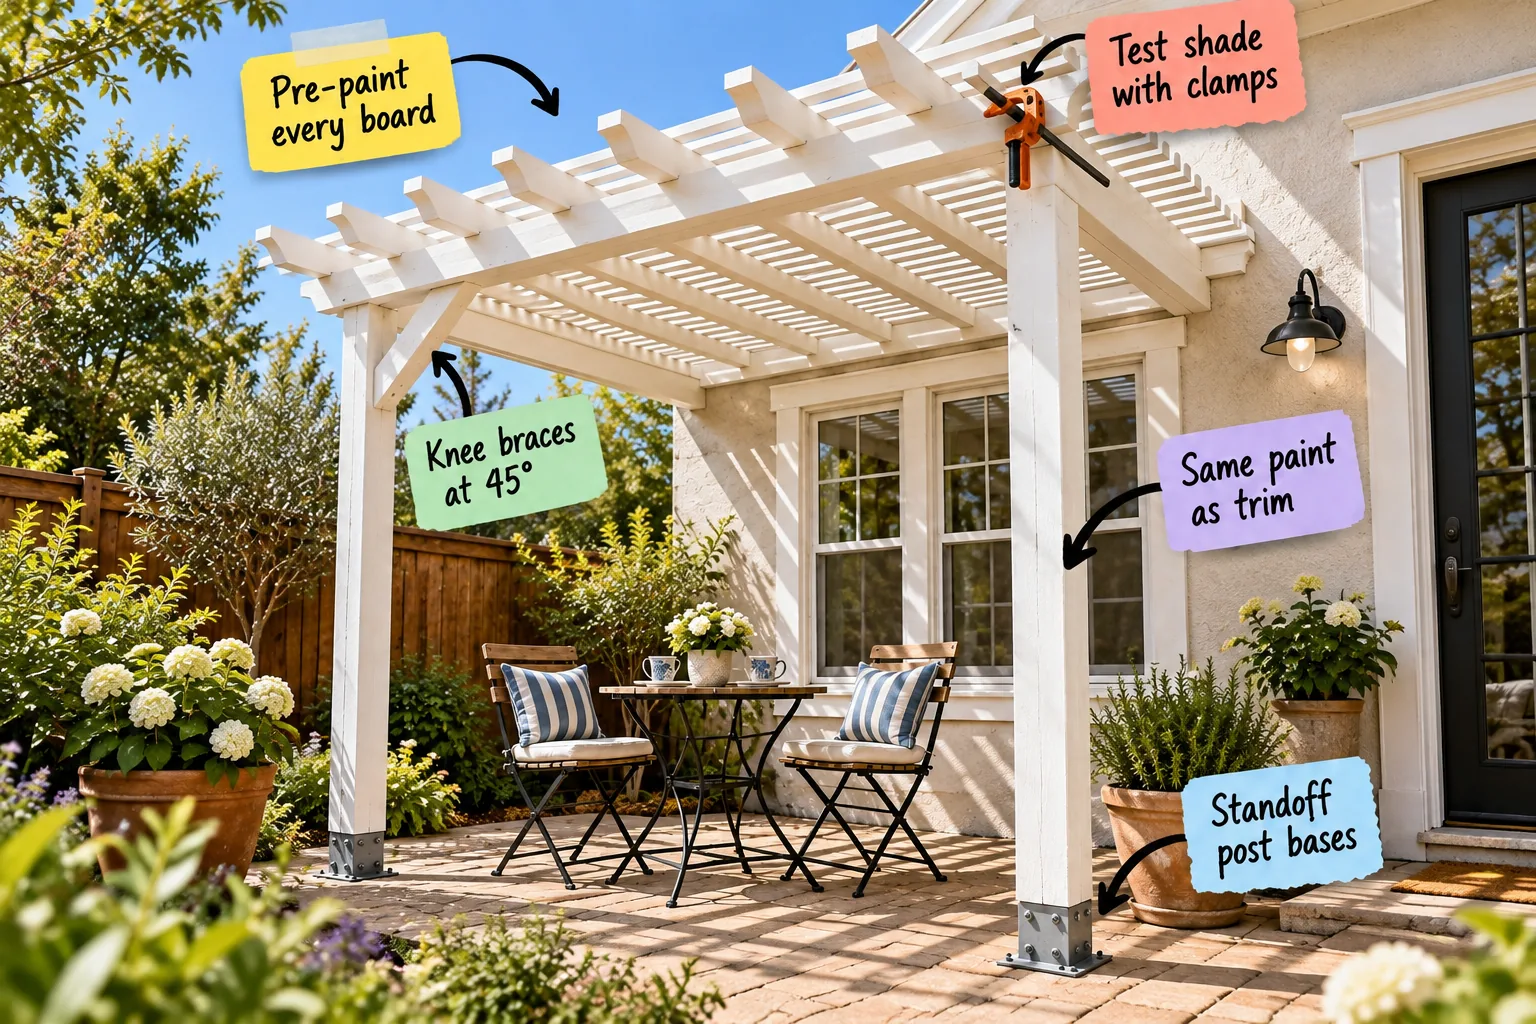
You will be able to download the exact lumber measurements, buy the right hardware, and assemble a sturdy two-post pergola attached to your house using our printable two-page 8×10 cut list. Grab the complete hardware guide and slat spacing tips today so your concrete slab finally gets a proper ceiling.
The 8×10 Cut and Hardware List
Downloading the complete two-page cut list gives you the exact lengths for the ledger, beam, rafters, slats, and knee braces to ensure a perfectly smooth build. Gathering all materials beforehand keeps your momentum going strong once the actual backyard construction starts.
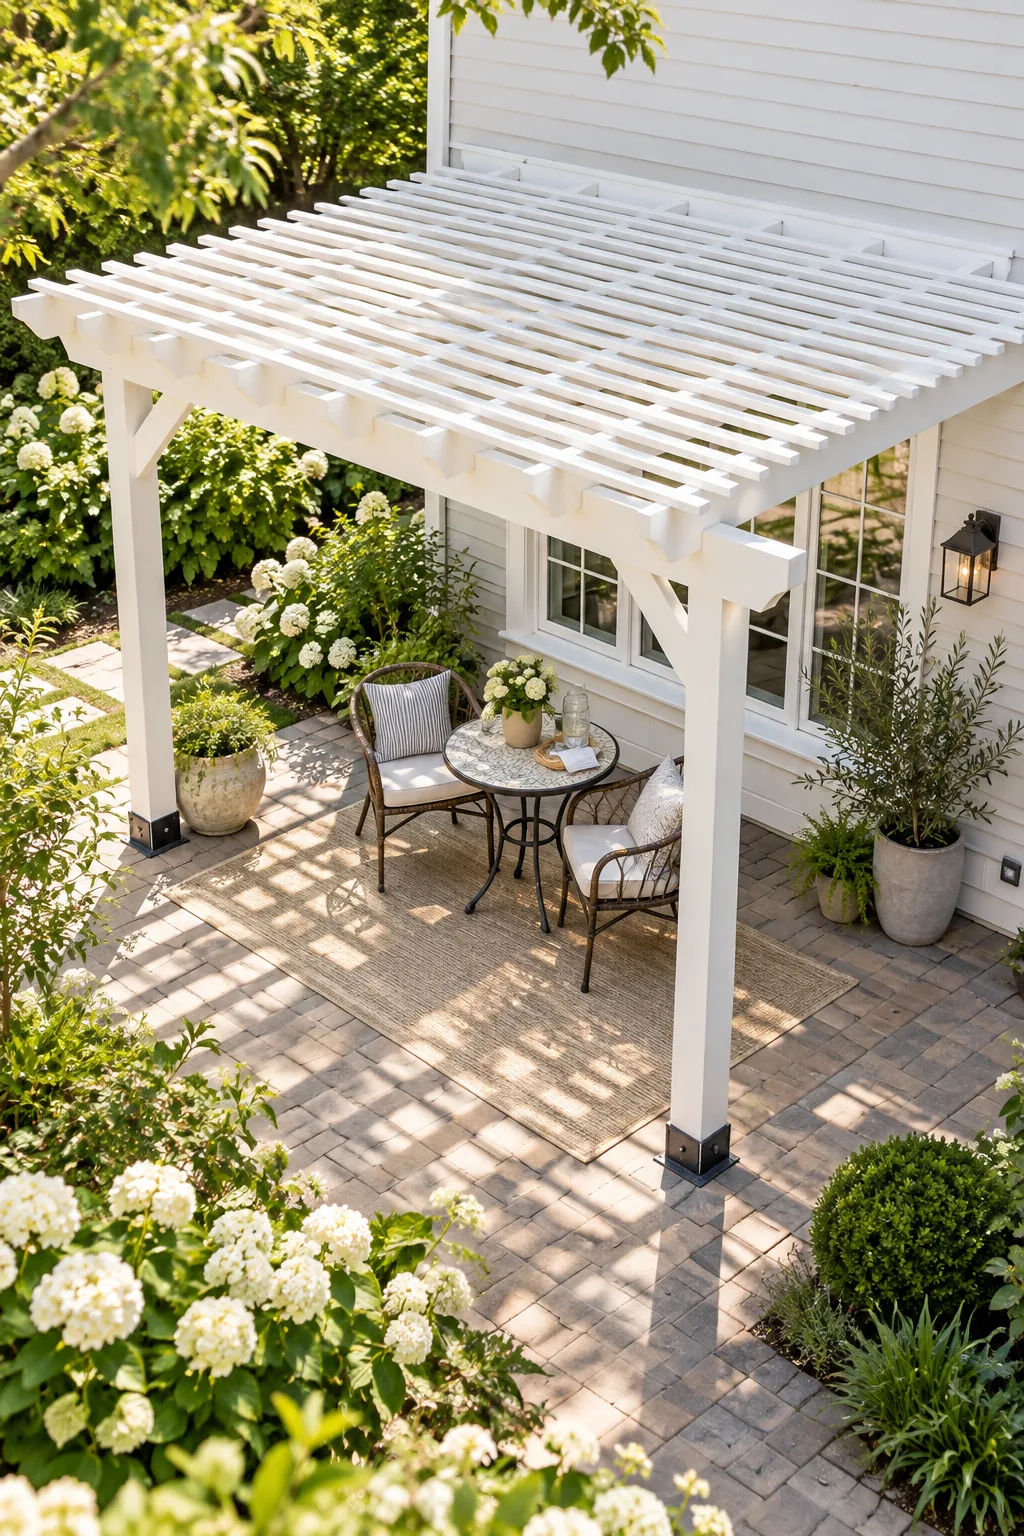
Before you head to the local lumber yard, double-check that your shopping cart includes the specific structural fasteners required for a completely safe build. Having the correct heavy-duty hardware on hand prevents frustrating mid-project delays and guarantees lasting structural integrity.
Selecting Structural Lumber
Choosing the right wood species dictates how well your new patio cover survives harsh outdoor seasons. Western red cedar and pressure-treated pine offer excellent natural resistance to rot, making them the most reliable options for any permanent overhead backyard structure.
| Wood Type | Rot Resistance | Weight | Best Use |
|---|---|---|---|
| Western Red Cedar | Naturally high | Lightweight | Overhead rafters and slats |
| Pressure-Treated Pine | Chemically treated | Heavy | Vertical structural posts |
| Douglas Fir | Moderate | Medium | Painted structural beams |
| Redwood | Naturally high | Medium | Premium visible trim |
Inspect every single board at the store to ensure it is completely straight and free of deep structural cracks. Buying premium, kiln-dried lumber minimizes future warping, meaning your carefully measured roof slats will remain perfectly aligned for many years to come.
Positioning the Ledger Board
Determining the exact mounting height for your wall ledger dictates the final ceiling height of your entire outdoor room. Measuring up from the patio slab ensures that you leave plenty of comfortable head clearance for tall guests and hanging pendant lights.
Same Paint as Trim
Choosing an exterior paint color that exactly matches your home’s window trim integrates the new wooden structure beautifully. This simple design choice makes the pergola feel like a seamless, built-in extension rather than an obvious, disconnected backyard afterthought.
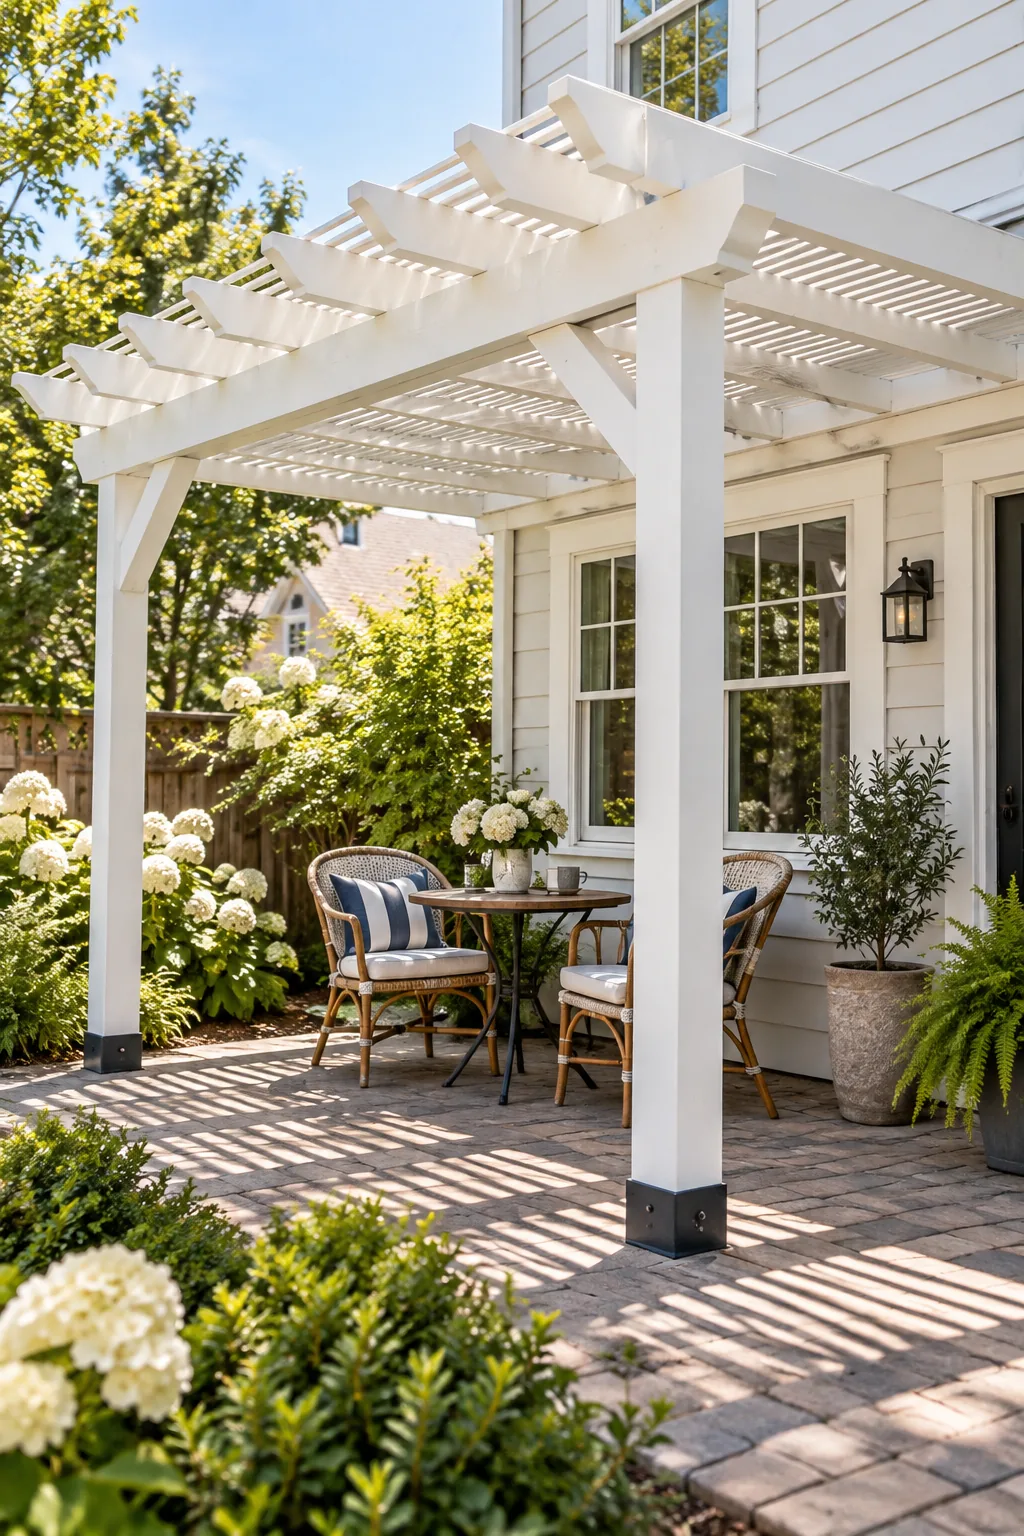
Applying that matching soft white hue unifies the main house and the patio into one cohesive, welcoming outdoor room. You immediately upgrade the overall curb appeal when the new architecture speaks the exact same visual language as the original house.
Pre-Paint Every Board
Applying two thick coats of exterior paint to all sides of the lumber prior to installation saves you from tedious overhead brushwork later. Pre-painting every board guarantees that the crisp, evenly coated rafter tails and slat edges always look absolutely flawless.
This crucial preparation step fully seals the end grain against moisture and protects the intersecting faces that become completely hidden once the boards cross. Taking the time to finish the wood on the ground ensures a much longer lifespan for your structure.
Measuring the Patio Footprint
Verifying your exact patio dimensions guarantees that the heavy wooden posts will land exactly where you planned. Taking precise diagonal measurements across the concrete slab ensures the entire overhead framework remains perfectly square before you drill any permanent anchor holes.
- Measure the total width along the house wall to locate the center point.
- Mark the two front post locations exactly eight feet out from the wall.
- Measure diagonally between the post marks and the wall to confirm a square footprint.
- Snap a chalk line to mark the precise outer boundary for the metal bases.
Double-checking these layout numbers prevents the frustrating realization that your roof rafters are running crooked. A perfectly square foundation grid means every single top slat you cut will fit flawlessly without requiring difficult custom angled adjustments.
Standoff Post Bases
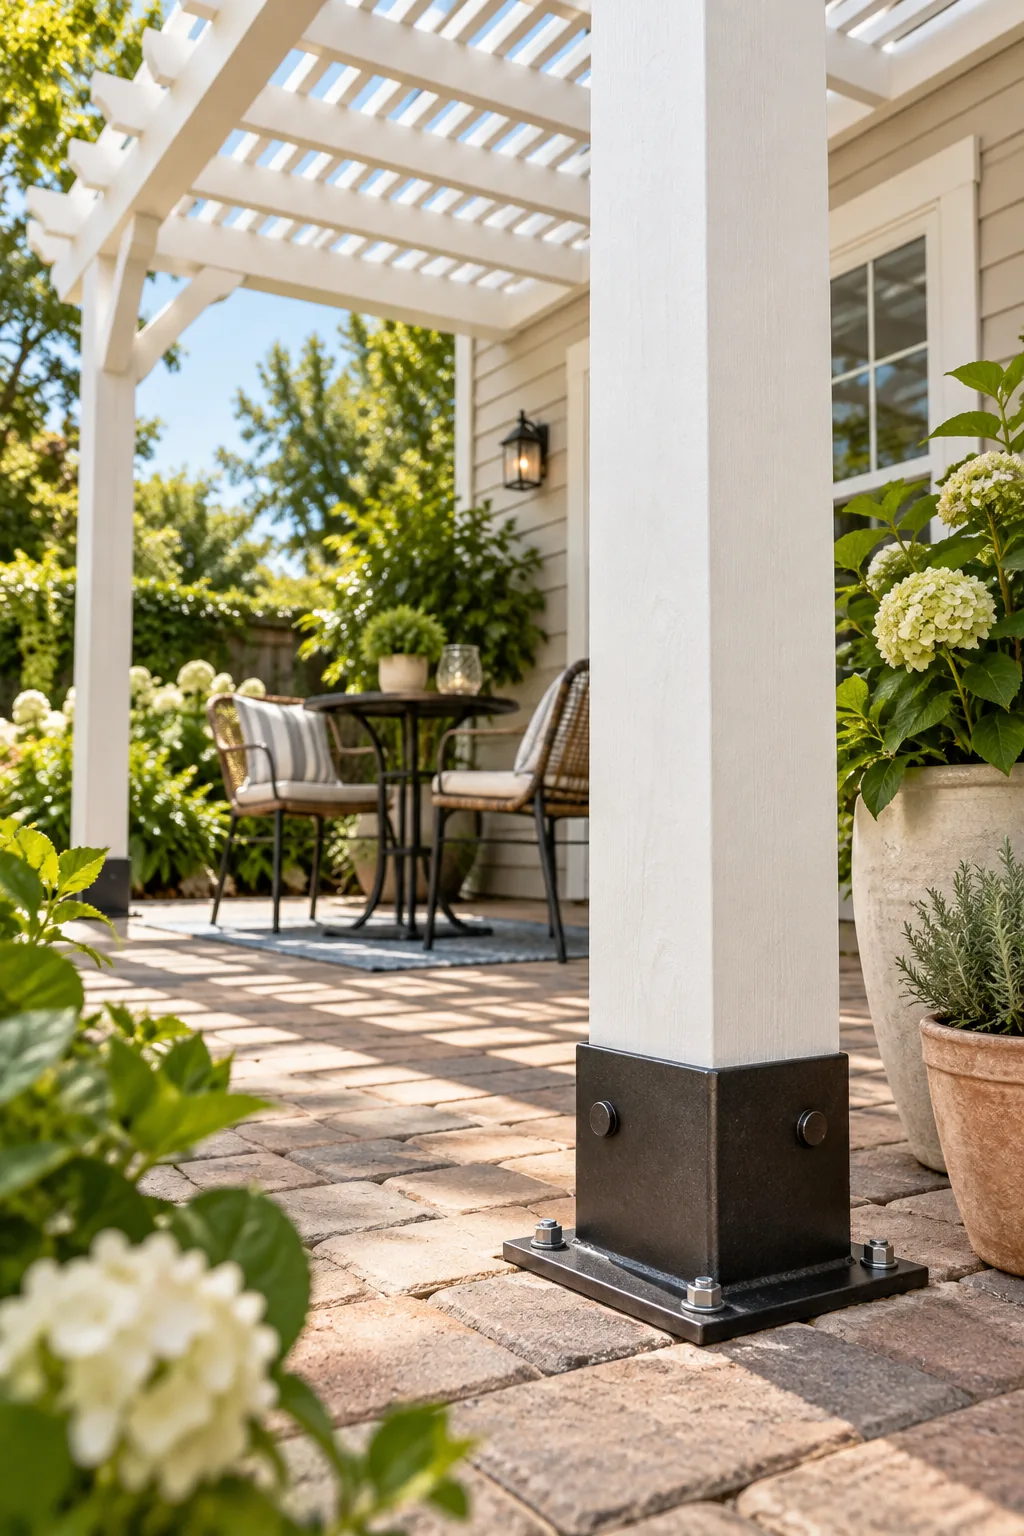
Using metal standoff hardware to anchor the vertical supports protects the wooden posts from pooling patio moisture. The heavy-duty bracket bolts directly into the concrete pavers, providing a rock-solid foundation that resists high winds and heavy seasonal storms.
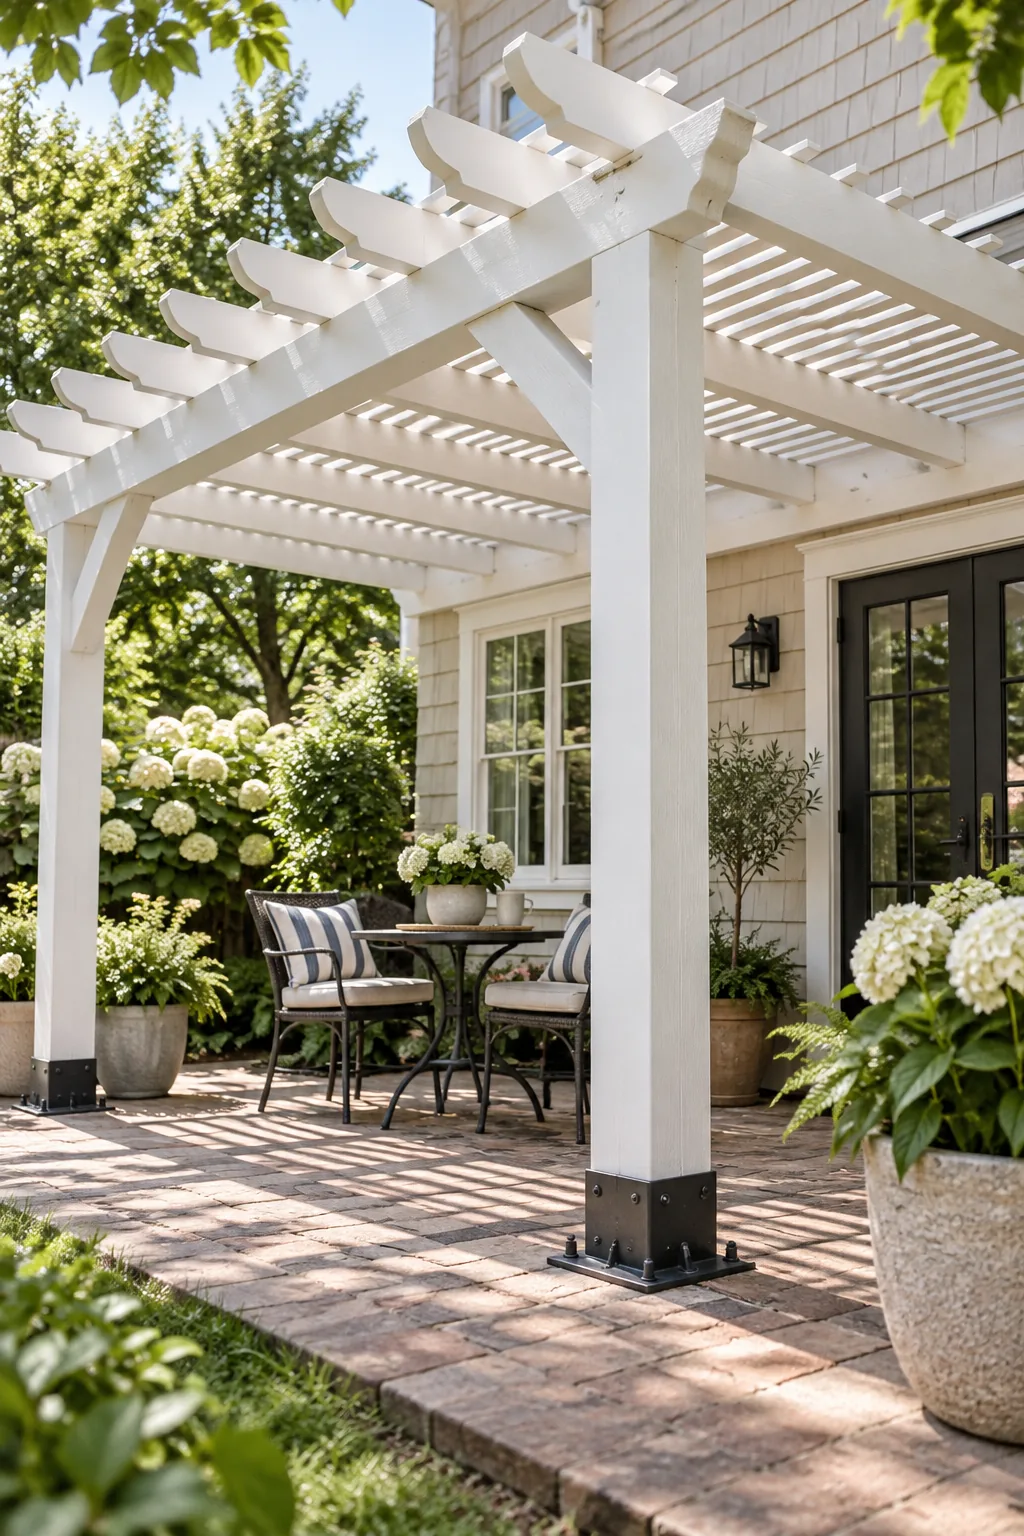
I learned the hard way on an older deck that wood sitting directly on stone will eventually rot, so elevating the end grain by exactly one inch prevents destructive moisture wicking. These standoff bases keep the posts completely dry even after heavy downpours.
Wall Ledger Board
Anchoring the back of the pergola directly to the home’s structural framing provides incredible strength for the entire roof system. Driving heavy exterior lag bolts through the ledger board and into the wall studs creates a rigid, totally reliable connection.
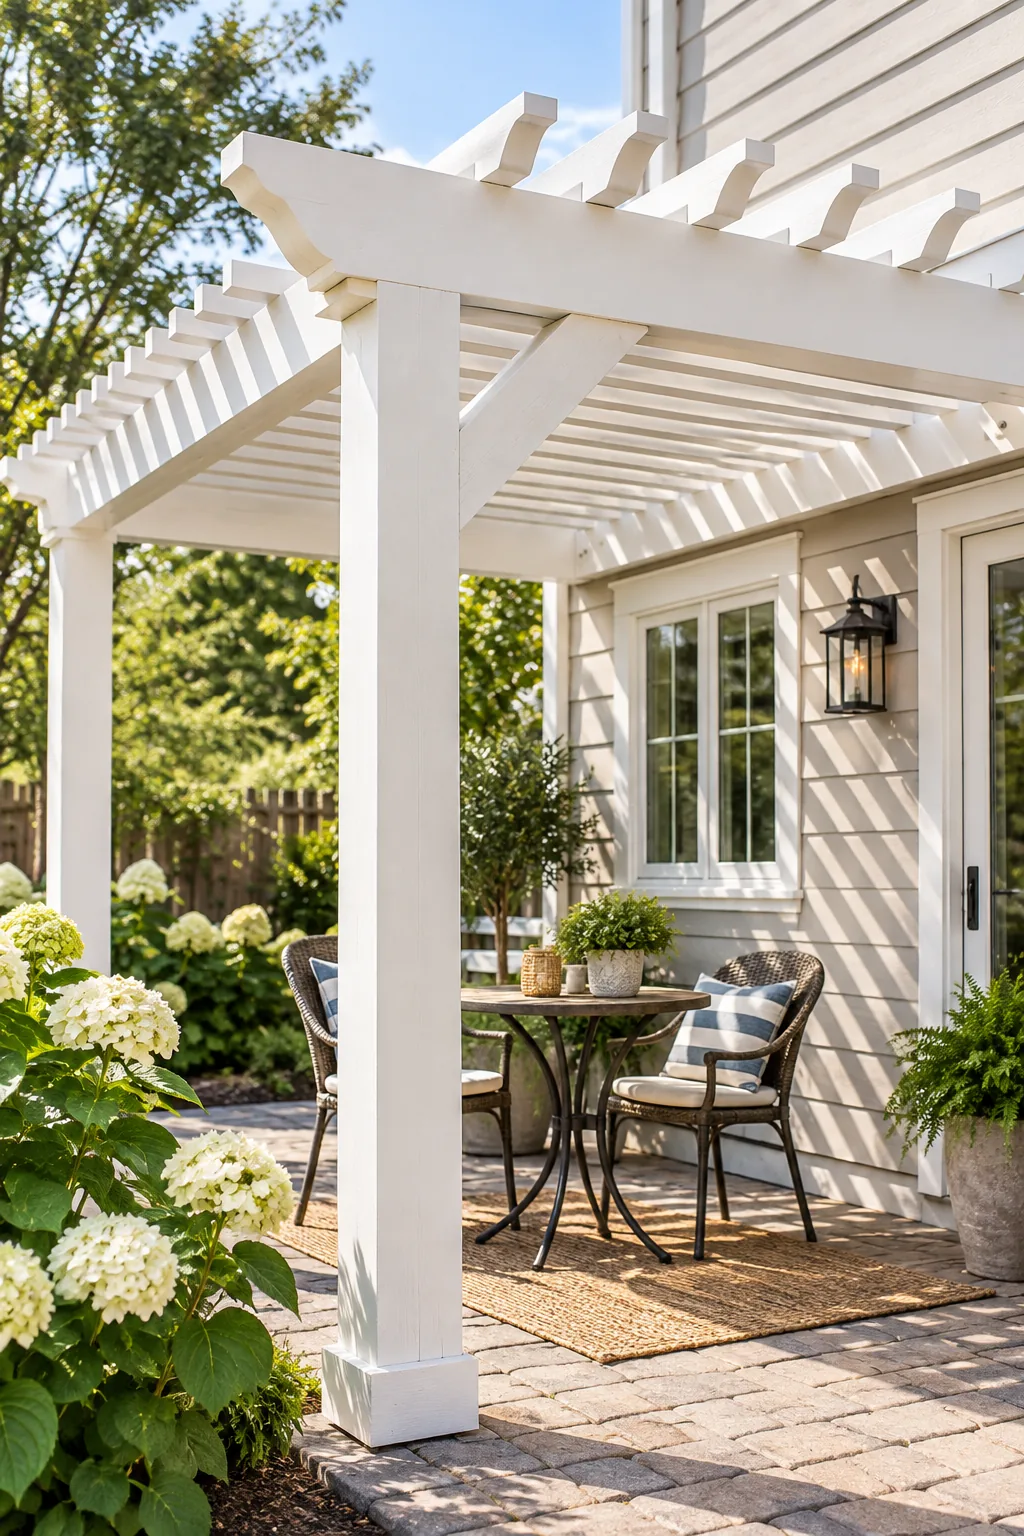
When I built my own patio cover, relying on the house for support cleanly eliminated the rear posts, which opened up so much valuable floor space. Skipping those extra legs makes a small patio feel wonderfully expansive and highly functional.
Front Posts and Beam
Erecting the two front posts and securing the heavy cross beam establishes the primary framework for your outdoor room. Plumb the vertical posts carefully so the heavy horizontal beam sits perfectly level across the entire top span.
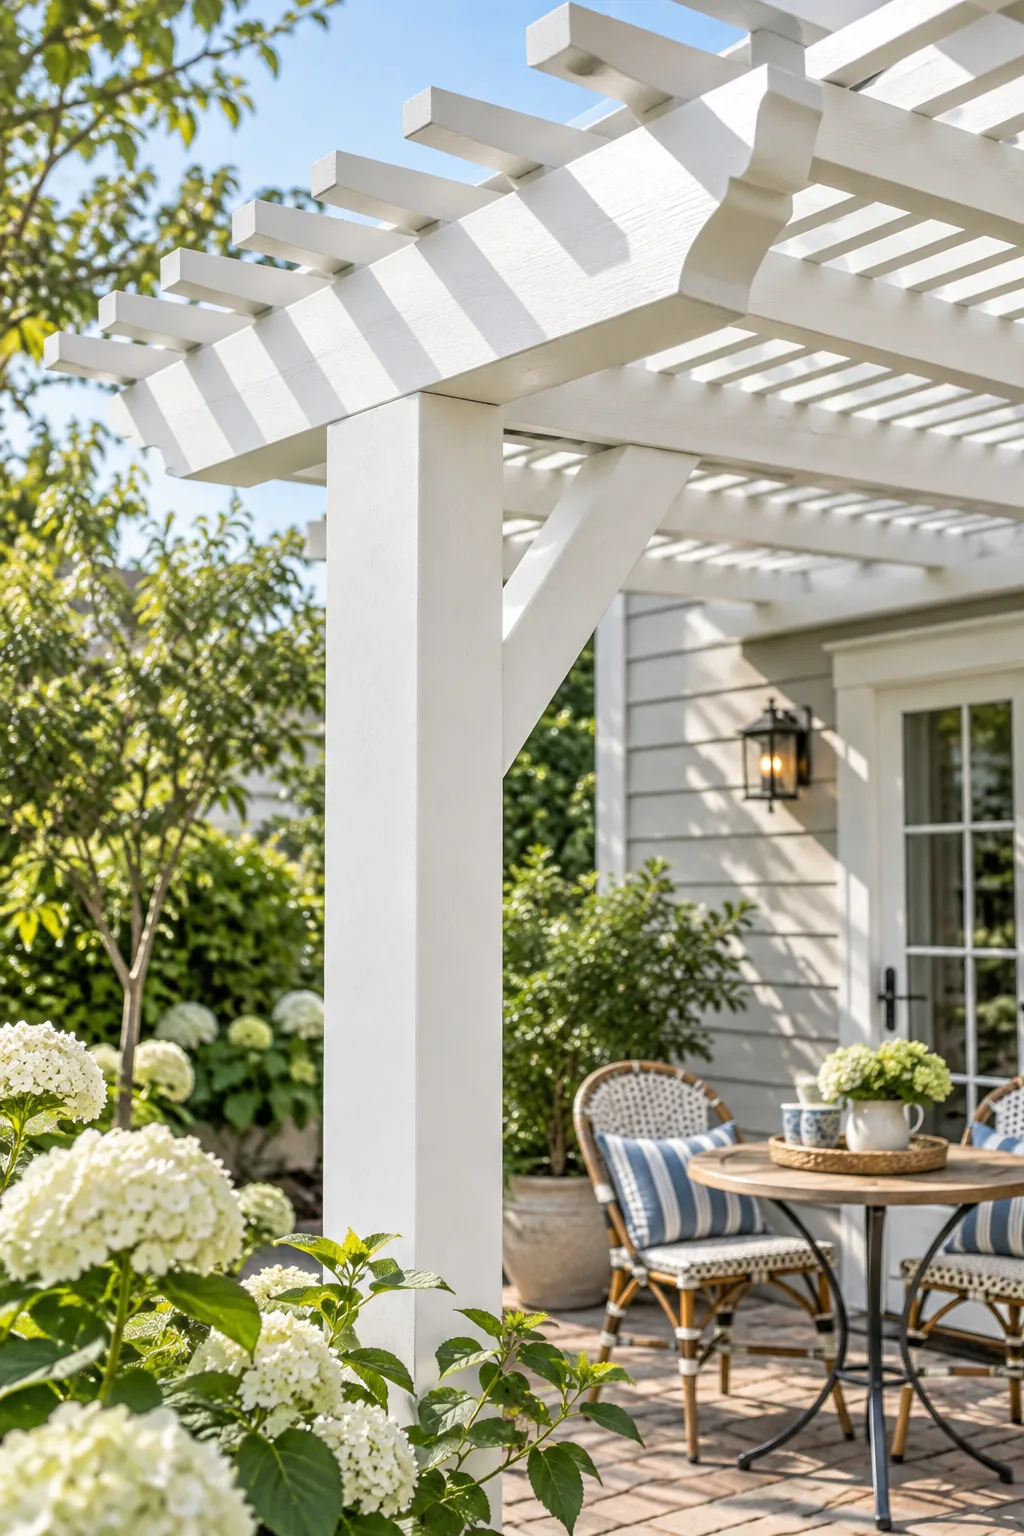
I always love allowing the main beam to overhang the posts slightly because it adds such classic architectural character to the silhouette. That small cantilevered detail instantly elevates the design from a basic box to a beautiful custom-crafted garden feature.
Lifting the Rafters
Hoisting the long wooden rafters into place bridges the gap between the house ledger and the front beam. Spacing these heavy structural members evenly across the roof ensures the weight is distributed properly and provides a balanced visual rhythm.
Securing each joist securely with specialized structural screws guarantees the roof frame will never twist or warp out of alignment over time. Taking a moment to check the spacing at both ends keeps the entire overhead grid looking sharp and professional.
Knee Braces at 45°
Adding short diagonal corner braces between the vertical posts and the horizontal beam provides essential lateral stability. Cutting these sturdy wooden supports at a precise 45-degree angle creates incredibly strong, rigid corners that lock the frame together.
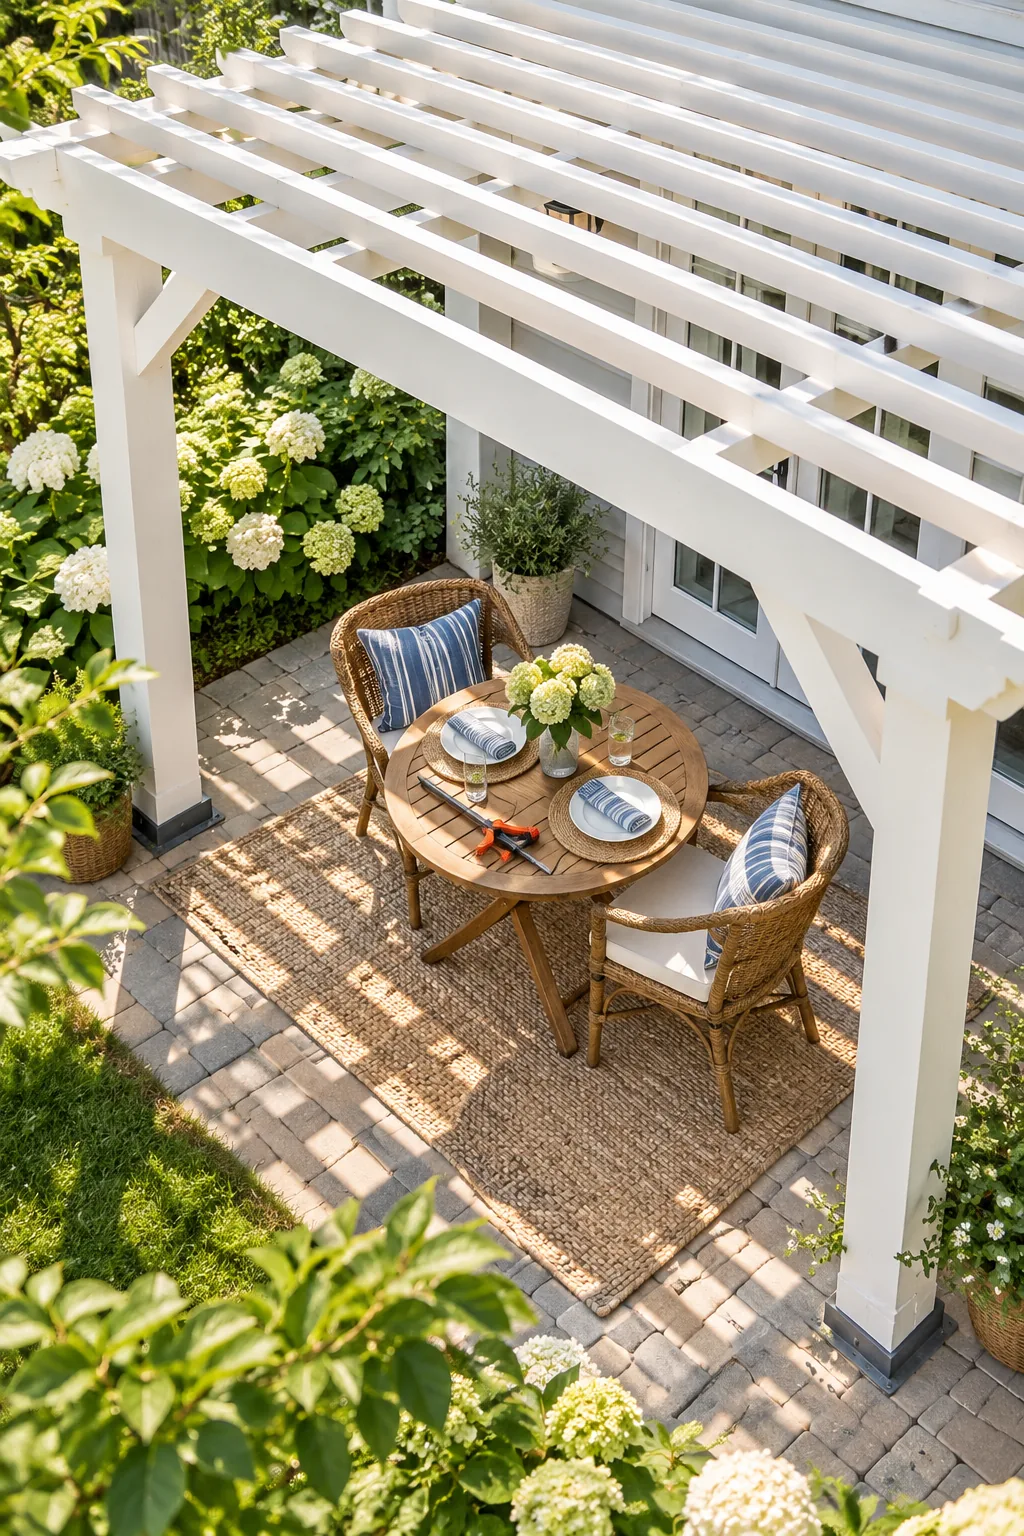
This traditional carpentry joinery completely stops the structure from swaying side-to-side when high winds sweep through the backyard. Installing heavy-duty knee braces ensures your new patio ceiling remains perfectly square, secure, and wonderfully safe in absolutely any weather.
Securing the Rafter Tails
Fastening the overhanging rafter tails to the main horizontal beam completes the primary structural shell of your new outdoor room. Driving heavy structural screws down through the top of each rafter locks the entire grid firmly against the support beam.
Sealing the Exposed Hardware
Protecting your newly installed structural screws and metal brackets with a quick coat of exterior-grade clear sealant prevents premature rusting. Taking this final preventative step guarantees that your beautiful white pergola remains completely free of ugly orange rust stains for decades.
Test Shade with Clamps
Dry-fitting the top slats with a small orange bar clamp allows you to test the shadow pattern before drilling any pilot holes. You can easily adjust the gaps for full or dappled shade precisely at the hour the patio table is used.
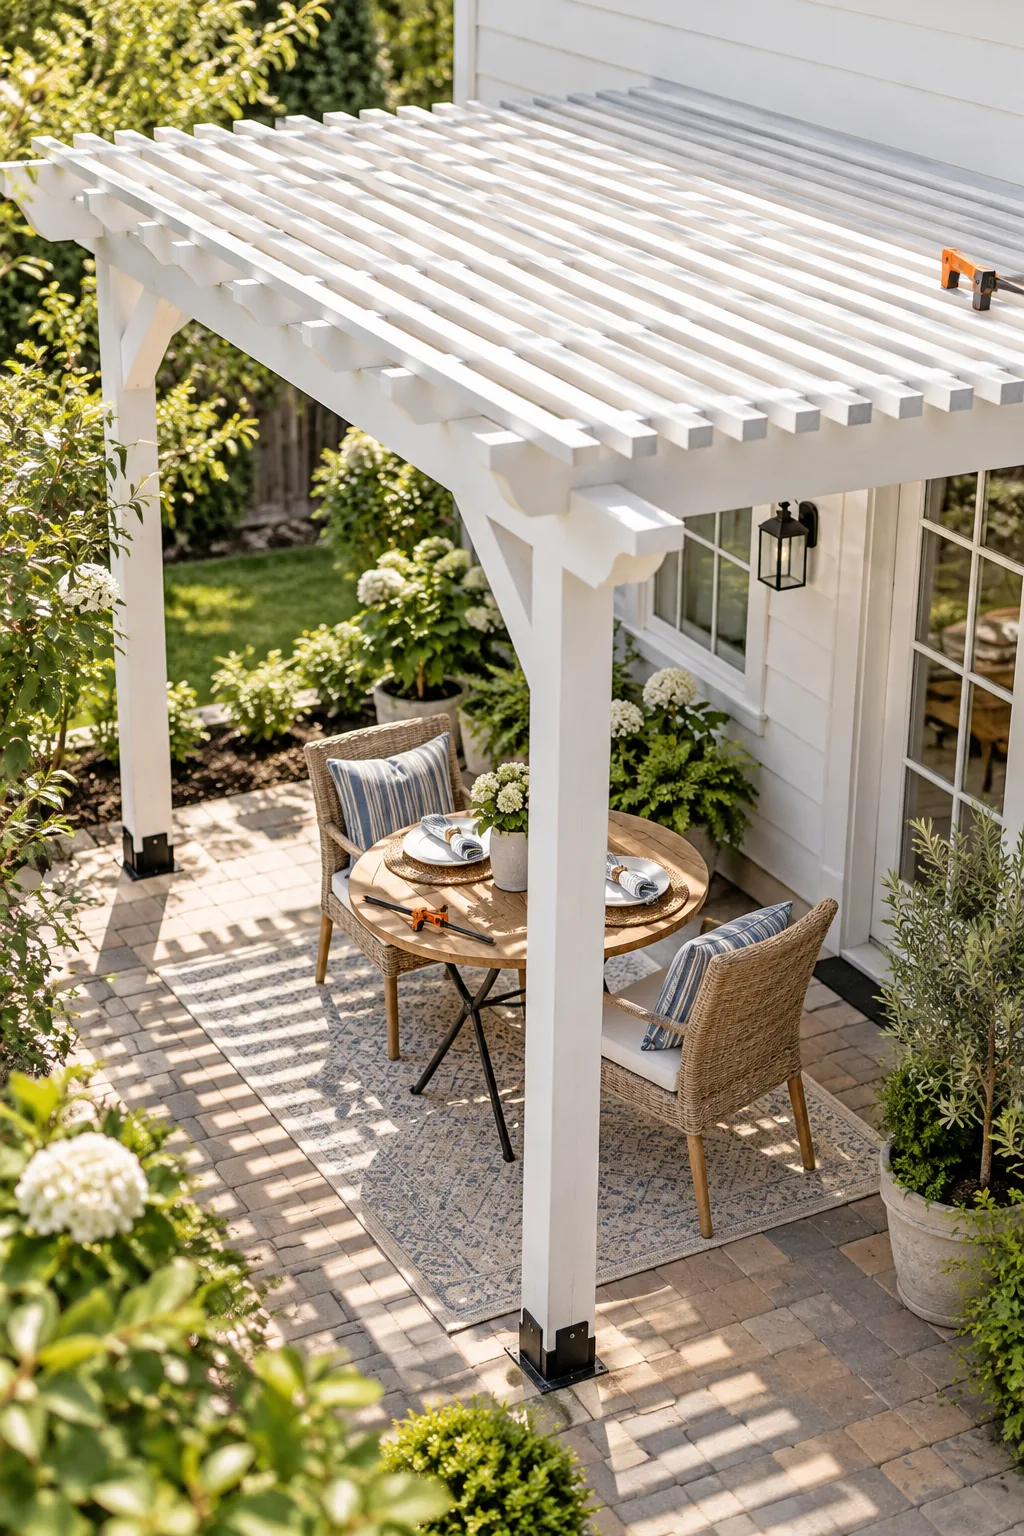
Locking the boards in place temporarily lets you experience the real-world shadow pattern before making it permanent. I did this during a hot afternoon, shifting the slat spacing until the dining chairs were perfectly shielded from the harsh summer sun.
More Ways to Style Your Patio Pergola
Discover how different finishes and furniture can completely change the mood of this exact structure.
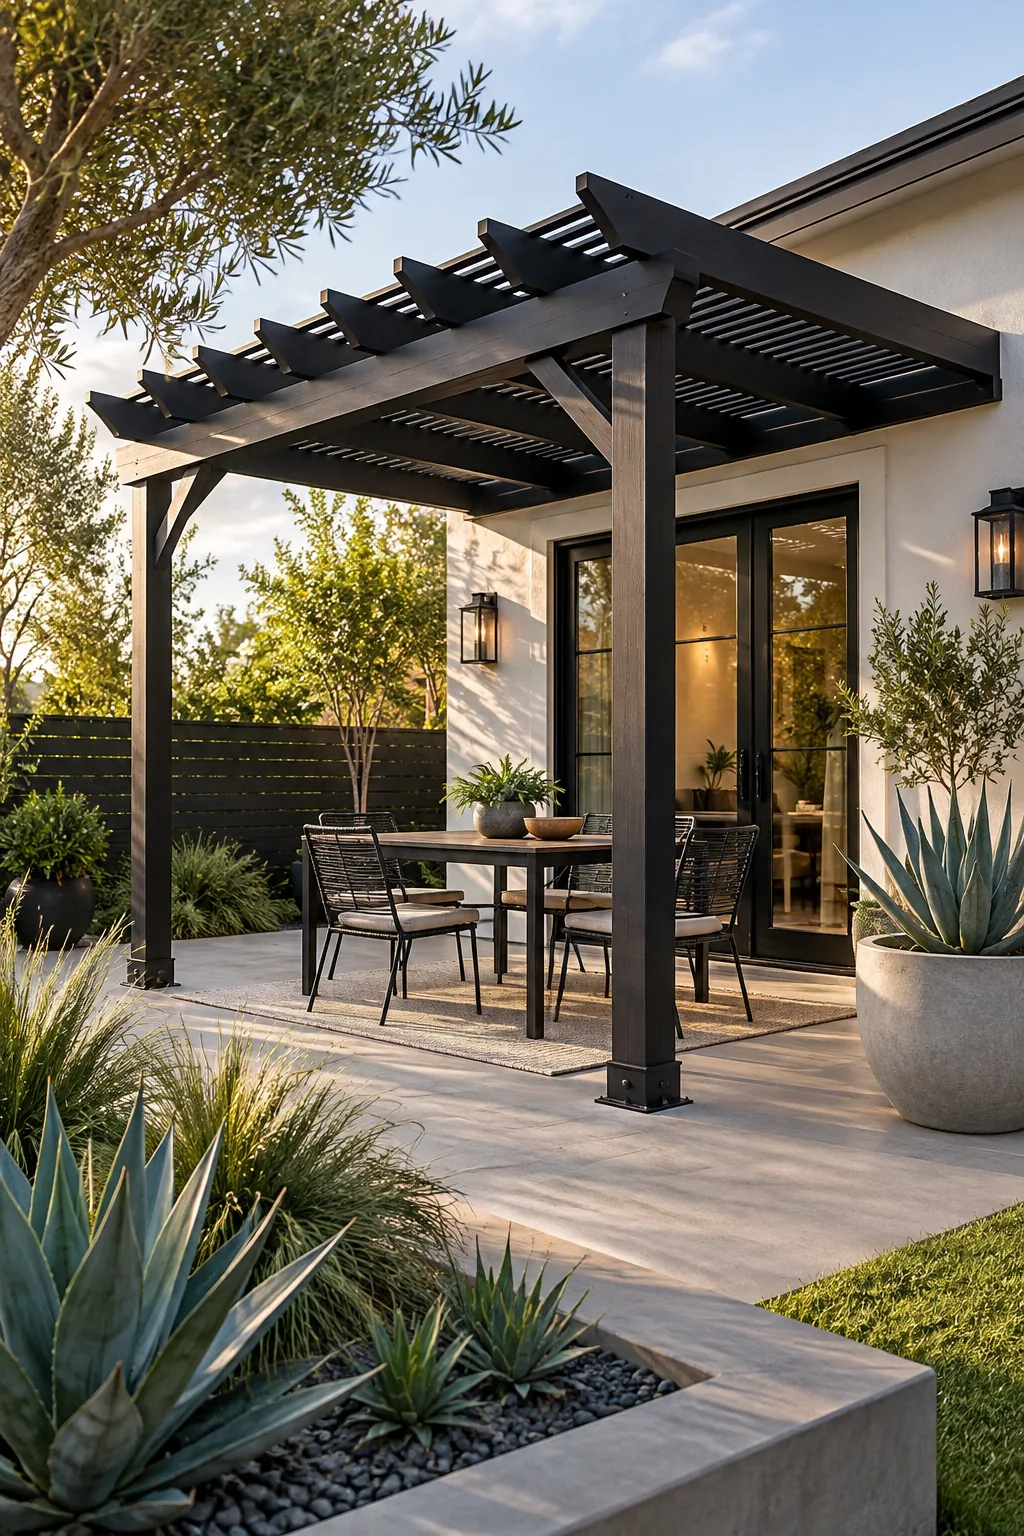
Modern Black on Concrete: A matte black finish turns this traditional structure into a striking modern focal point.
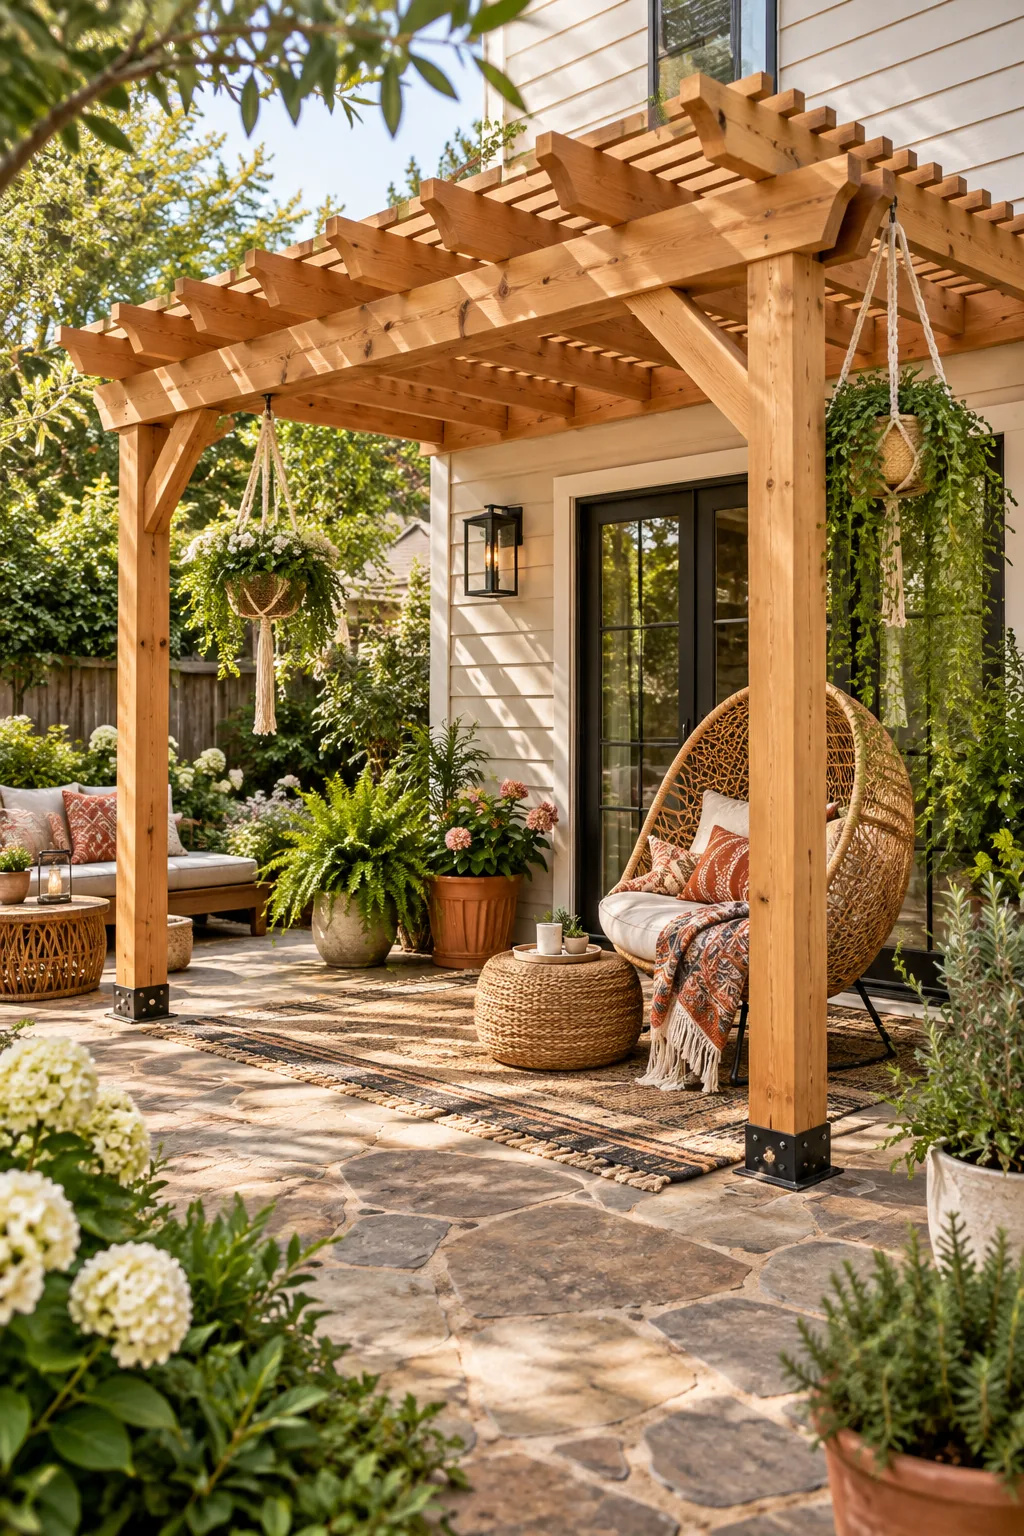
Natural Cedar and Stone: Leaving the wood unpainted highlights the natural grain and warms up a stone patio.
Coastal White and Navy: Crisp white paint paired with classic brick and navy accents creates an instant coastal retreat.