Awesome DIY Celestial Goddess Halloween Costume Under $20
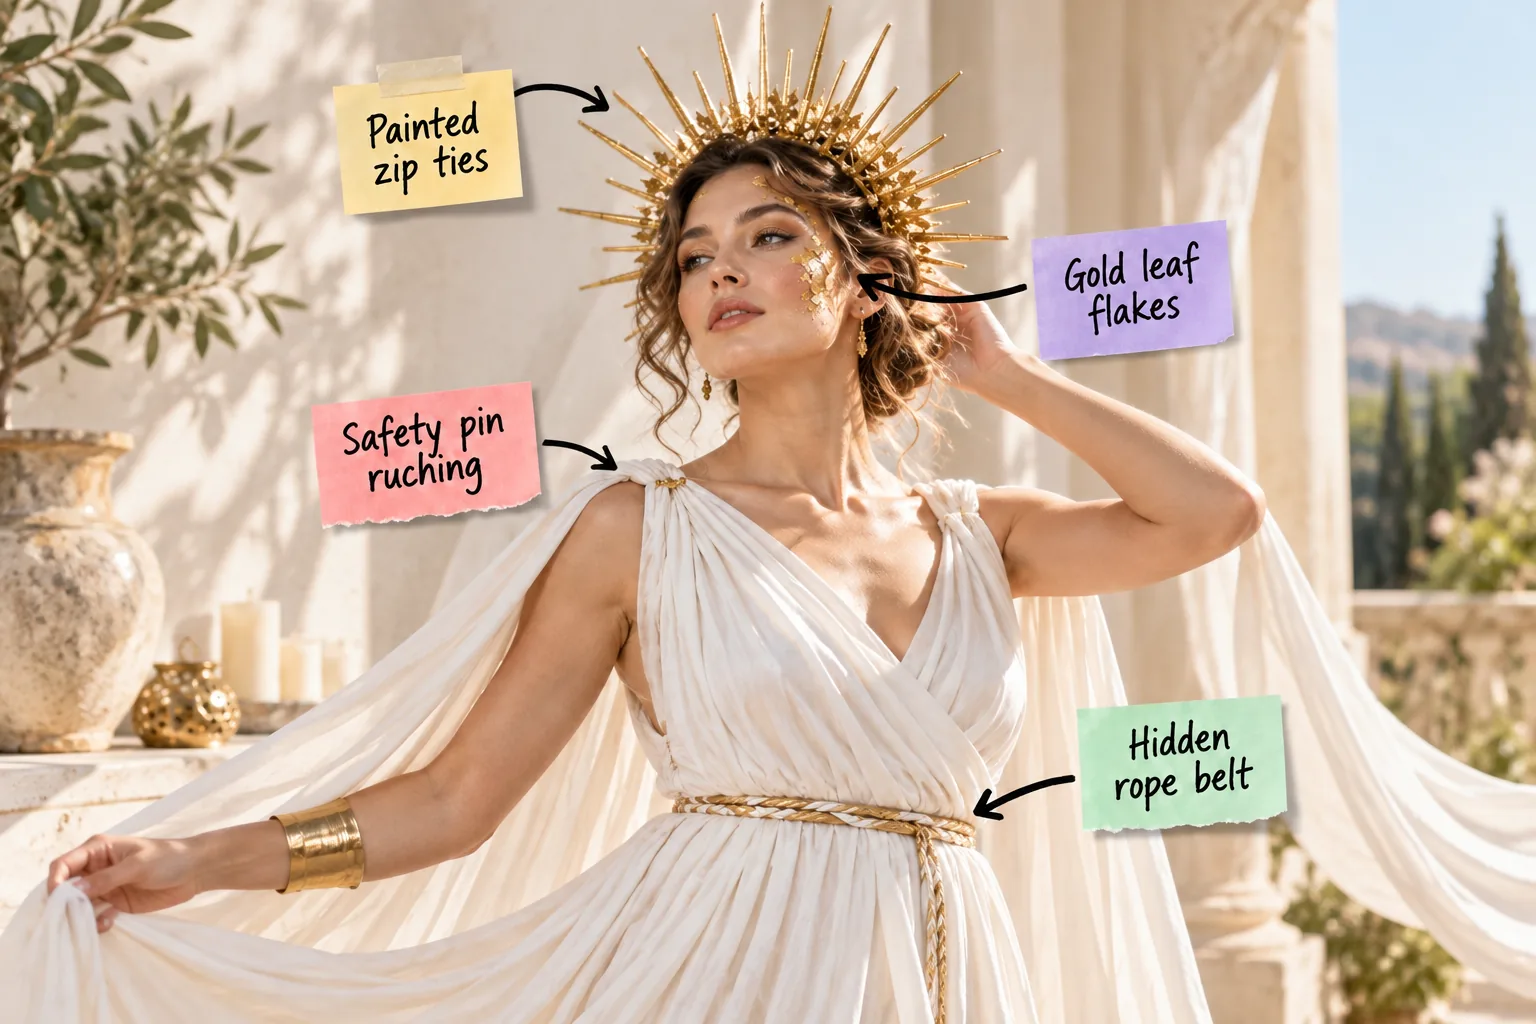
I promise you can build a stunning, custom-fitted goddess costume using the exact $20 thrift and craft shopping list provided below. By combining simple hardware store materials with thrifted fabric, you will assemble a high-impact ethereal look on a budget.
The $20 Celestial Goddess Concept
Building a show-stopping costume does not require expensive theatrical garments when you combine a $4 thrifted bedsheet with clever hardware store materials. Treating inexpensive items with a cohesive metallic gold finish creates a custom-fitted look that rivals high-end rentals.
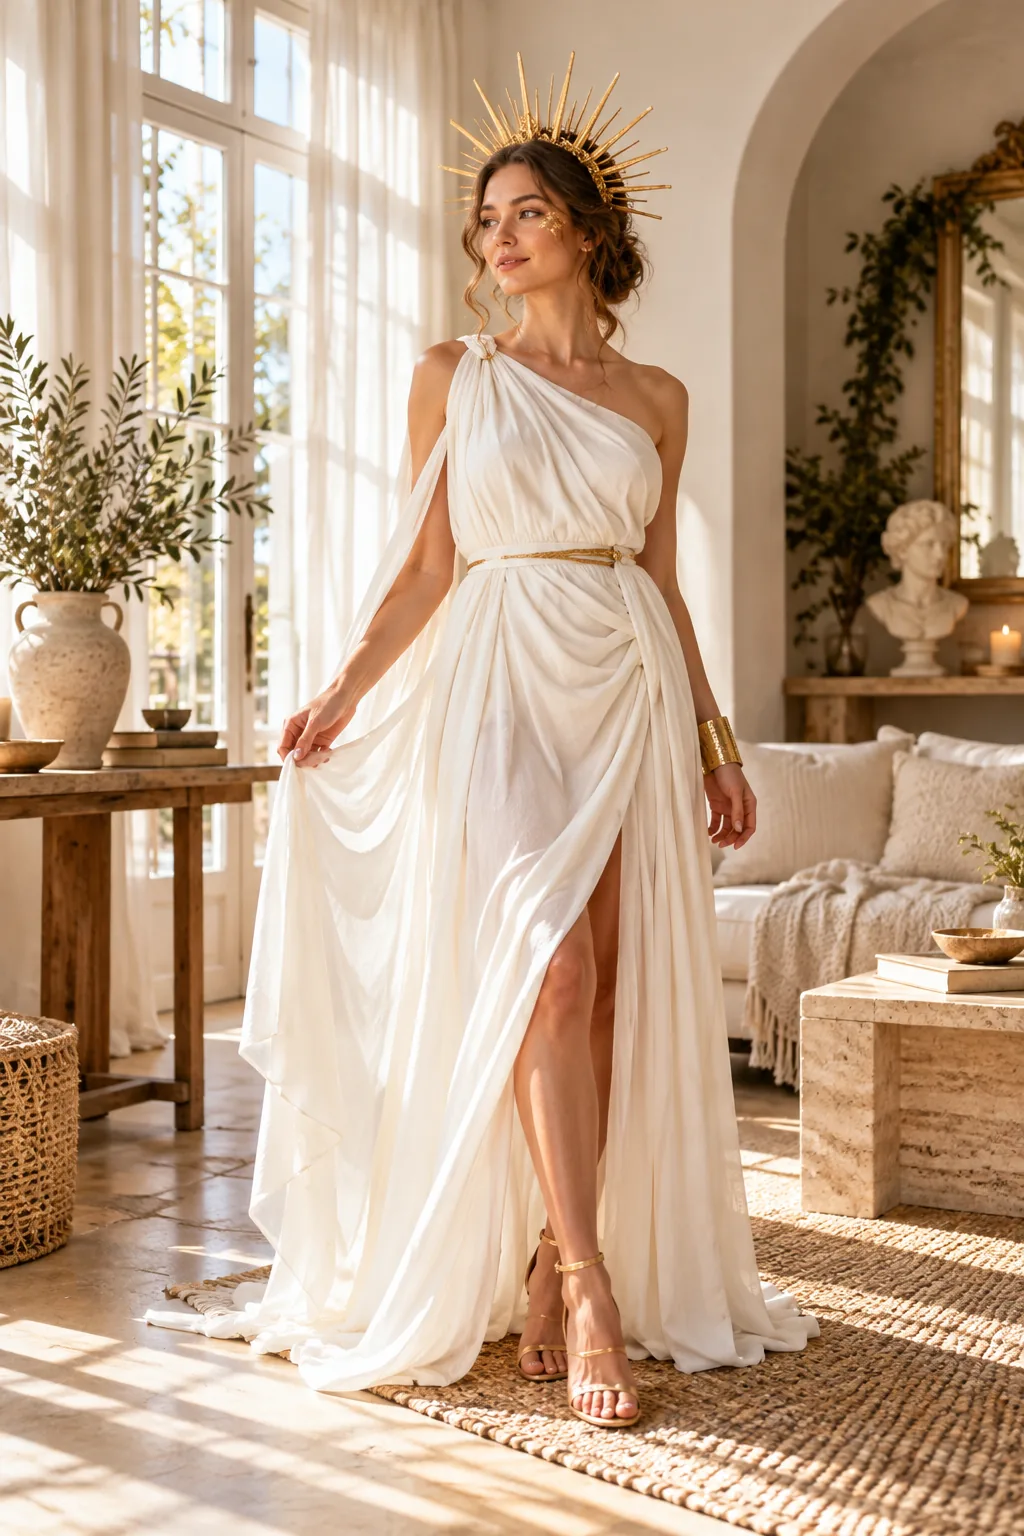
Starting with this affordable foundation lets you focus your creative energy on the dramatic accessories that truly define the celestial goddess aesthetic. Keeping your material costs low means you can experiment freely without worrying about ruining expensive designer yardage.
Selecting the Right Metallic Finishes
Achieving a convincing gilded metal appearance relies entirely on choosing the right tone of gold spray paint. Bright yellow golds often look artificial, so you should look for cans labeled as antique brass or warm champagne.
- Select a paint with a built-in primer to ensure it grips the smooth plastic hardware securely.
- Test the color on a spare piece of plastic to verify the metallic sheen before coating your final pieces.
- Apply multiple light layers rather than one heavy coat to prevent unsightly drips and pooling.
Allowing each layer to dry completely between applications guarantees a durable, scratch-resistant finish that will survive a crowded Halloween party.
Building the Zip Tie Sunburst Crown
The defining feature of this look is the dramatic sunburst halo, made by securing alternating 4-inch and 8-inch plastic zip ties tightly around a $2 plastic headband. Two coats of metallic gold spray paint instantly transform the plastic into what looks like heavy gilded metal.
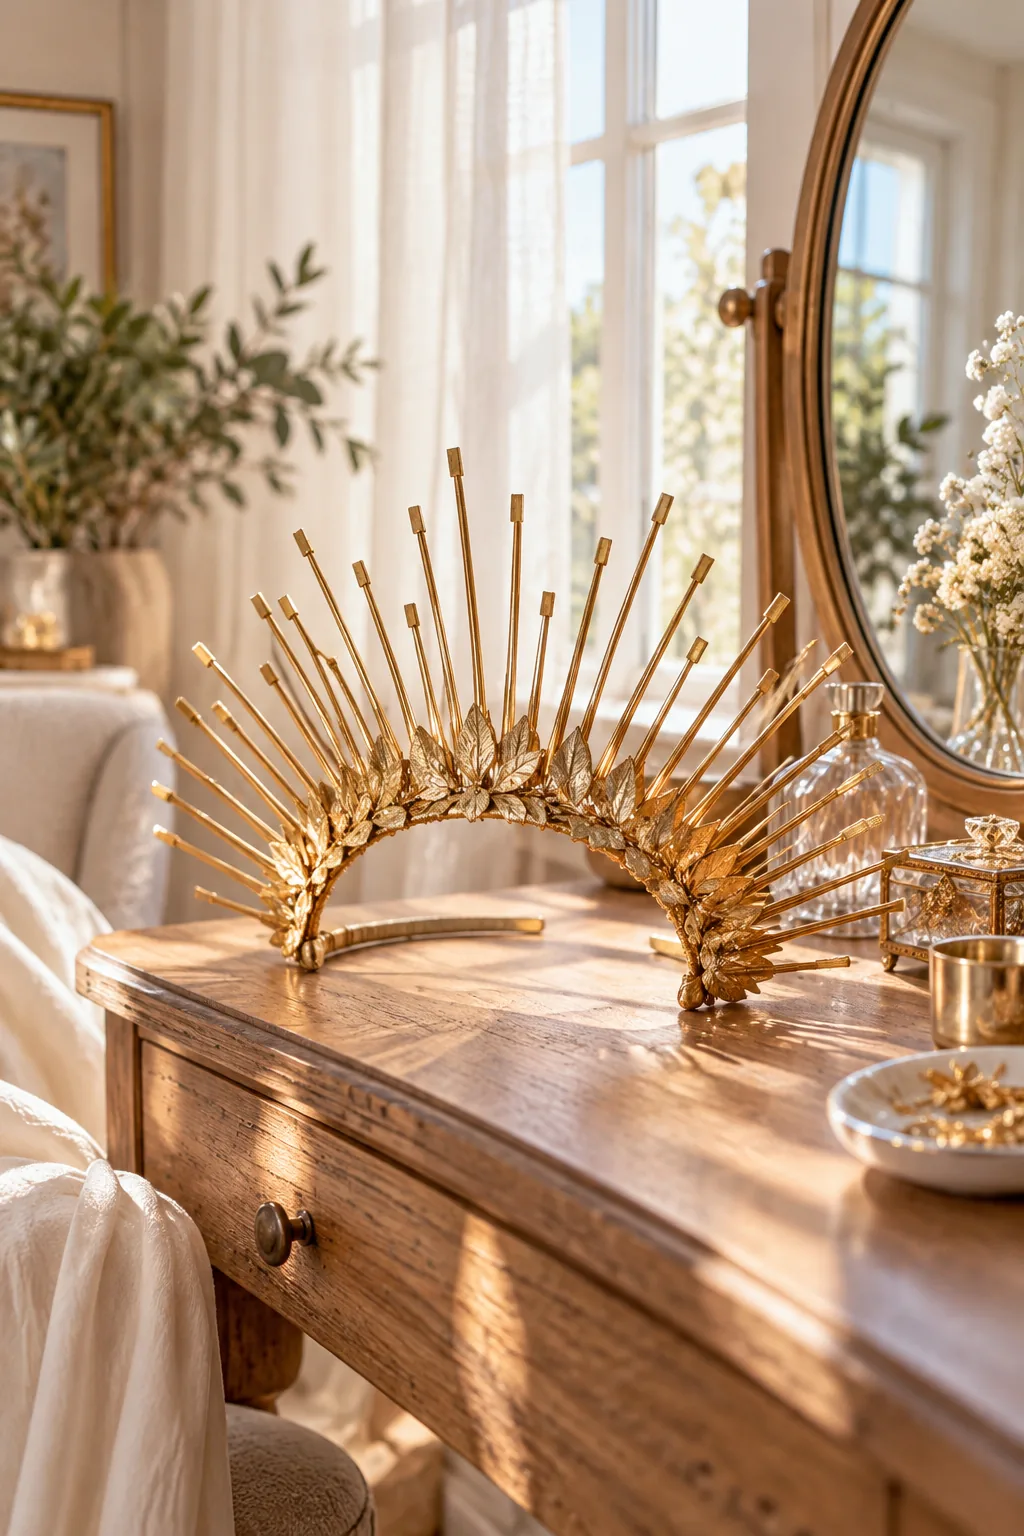
A small modification to the plastic materials makes a massive difference in the final metallic illusion before you apply the paint.
Prepping the Headband Base
Before you begin attaching the zip ties, lightly scuff the surface of your plastic headband with fine-grit sandpaper. This brief preparation step gives the plastic just enough texture so the zip ties grip firmly without sliding around.
Once all the ties are locked into place, you can trim the excess tails from the inside of the headband for a comfortable fit.
Applying Gold Leaf Flake Makeup
Carry the metallic theme onto the face with delicate gold leaf flakes applied along the cheekbones and temples using a damp makeup sponge. A $5 jar of skin-safe craft gold leaf provides more than enough material for multiple applications.
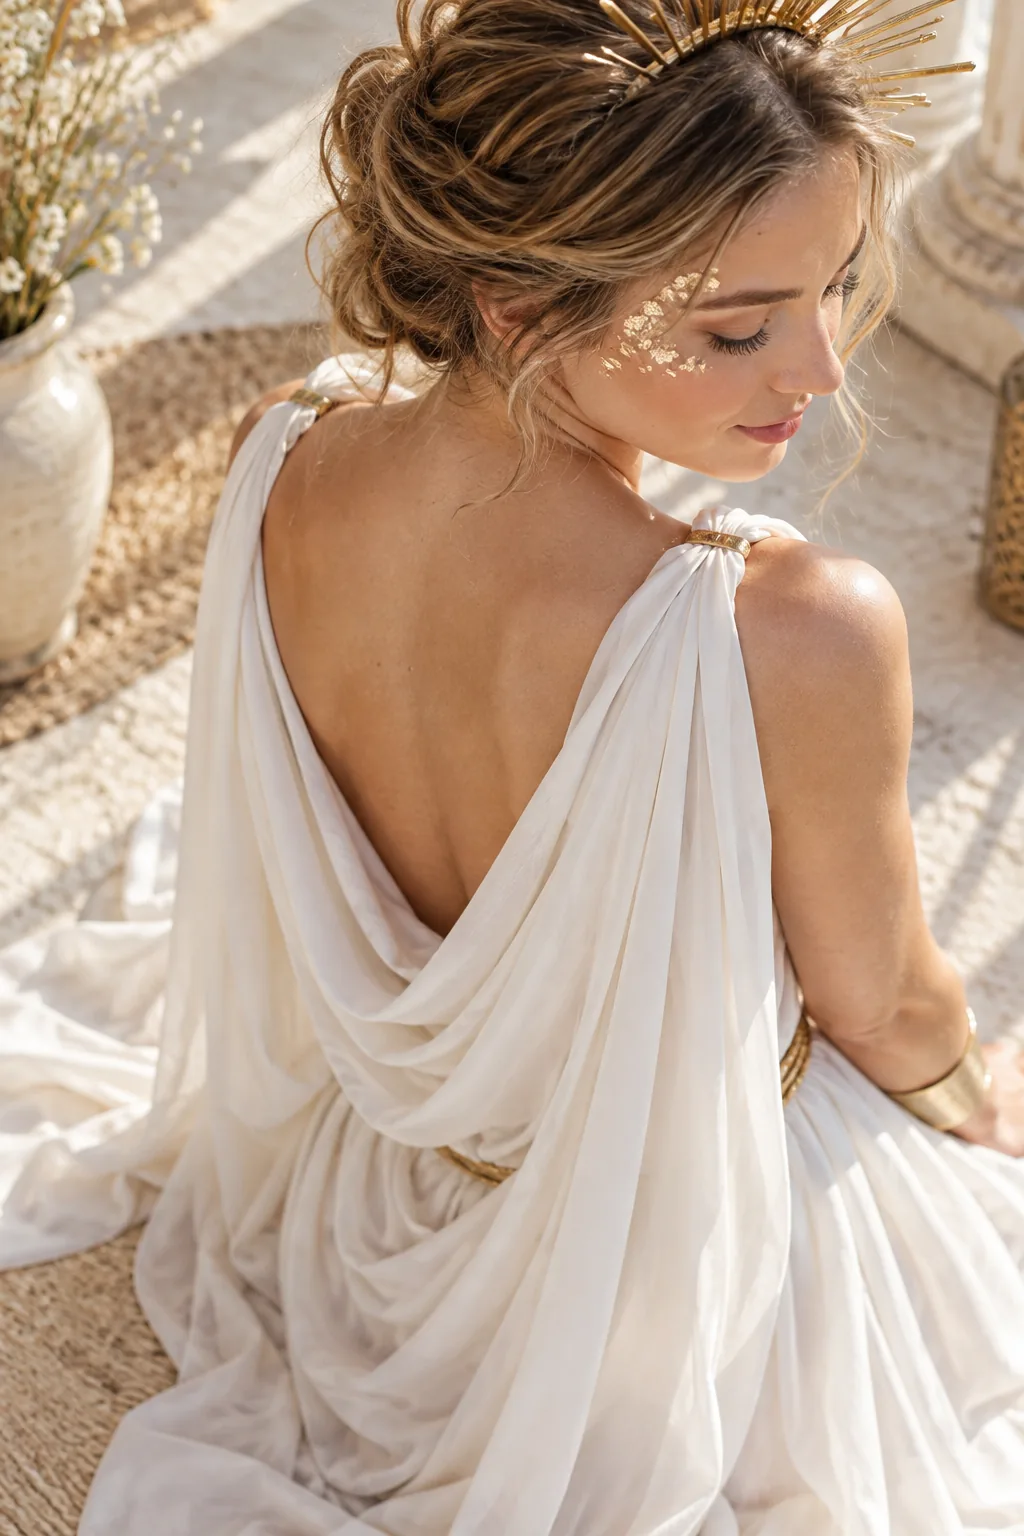
I actually wore this exact gold flake technique to an Austin Halloween party last year, and it stayed perfectly intact through hours of dancing. The secret is using a reliable cosmetic adhesive as your base layer.
Setting the Metallic Makeup
To ensure your gilded accents do not flake off, dab a thin layer of eyelash glue directly onto your cheekbones before pressing the delicate gold flakes into the tacky adhesive. Misting your entire face generously with a setting spray seals the edges perfectly so you will not leave a trail of gold dust everywhere you walk.
Sourcing the Perfect White Sheet
A standard flat king-size bedsheet provides the ideal yardage for a seamless goddess gown that drapes much better than stiff synthetic costume fabrics. Wash and iron the cotton-blend sheet thoroughly before beginning the wrapping process.
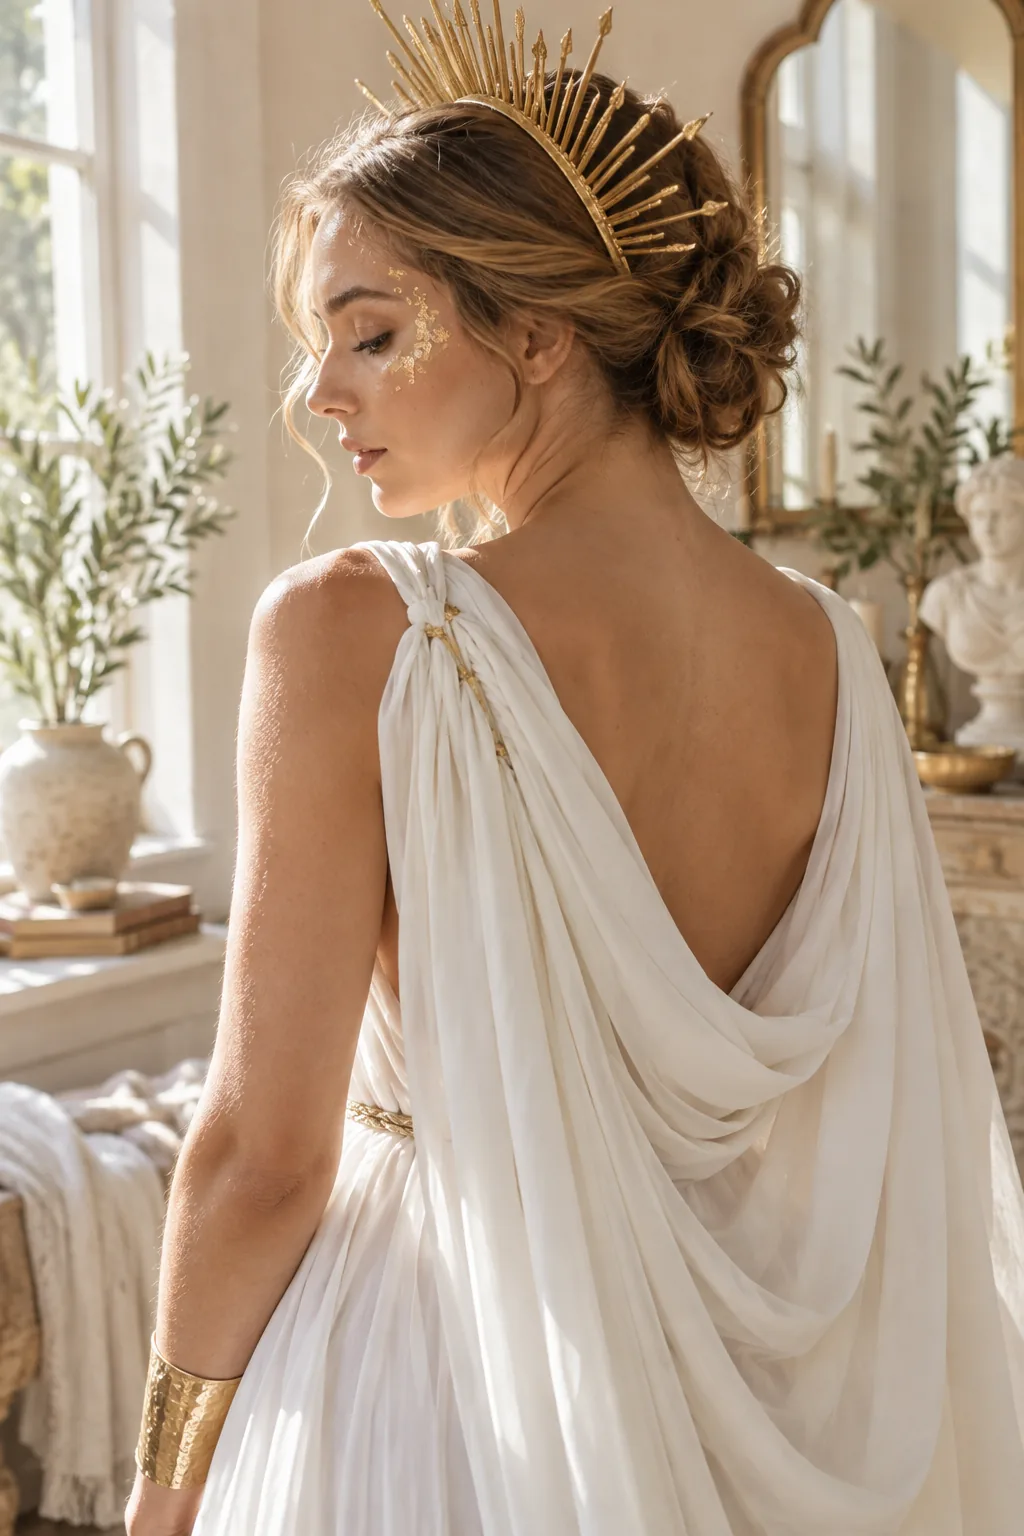
Once your fabric is completely smooth and prepped, you can move right into the folding and pinning phase.
Preparing the Fabric for Draping
Before you start wrapping, fold the top edge of the sheet down about six inches to create a clean, hemmed appearance at the neckline. This simple fold adds structure to the upper bodice and prevents raw edges from showing.
Draping with Safety Pin Ruching
Creating the elegant toga silhouette requires zero sewing; just drape the fabric over one shoulder and use medium-sized safety pins to gather it into neat, overlapping pleats. This safety pin ruching must be pinned from the inside so the hardware remains completely invisible.
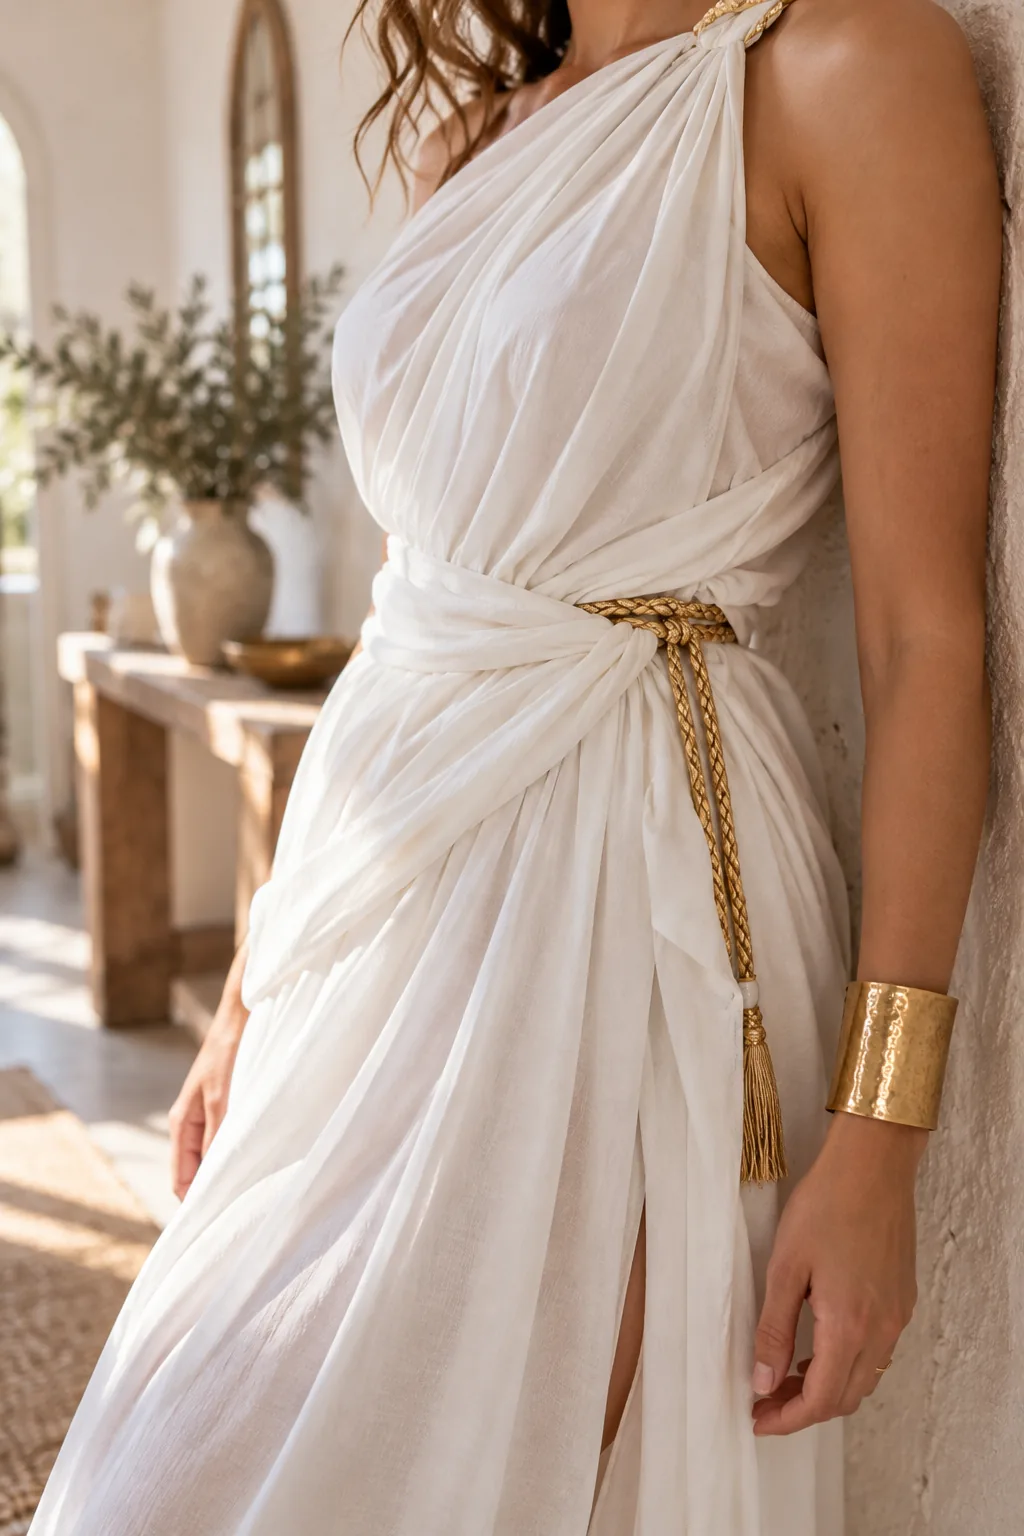
When I first attempted this draping in my living room, I realized that pinning from the underside also holds the tension much more securely across the shoulder.
Securing the Hidden Rope Belt
Define the waistline by tying a simple braided craft rope snugly around your natural waist. Gently pull a few inches of the upper fabric out and over the tie to create a hidden rope belt that supports that classic Grecian volume.
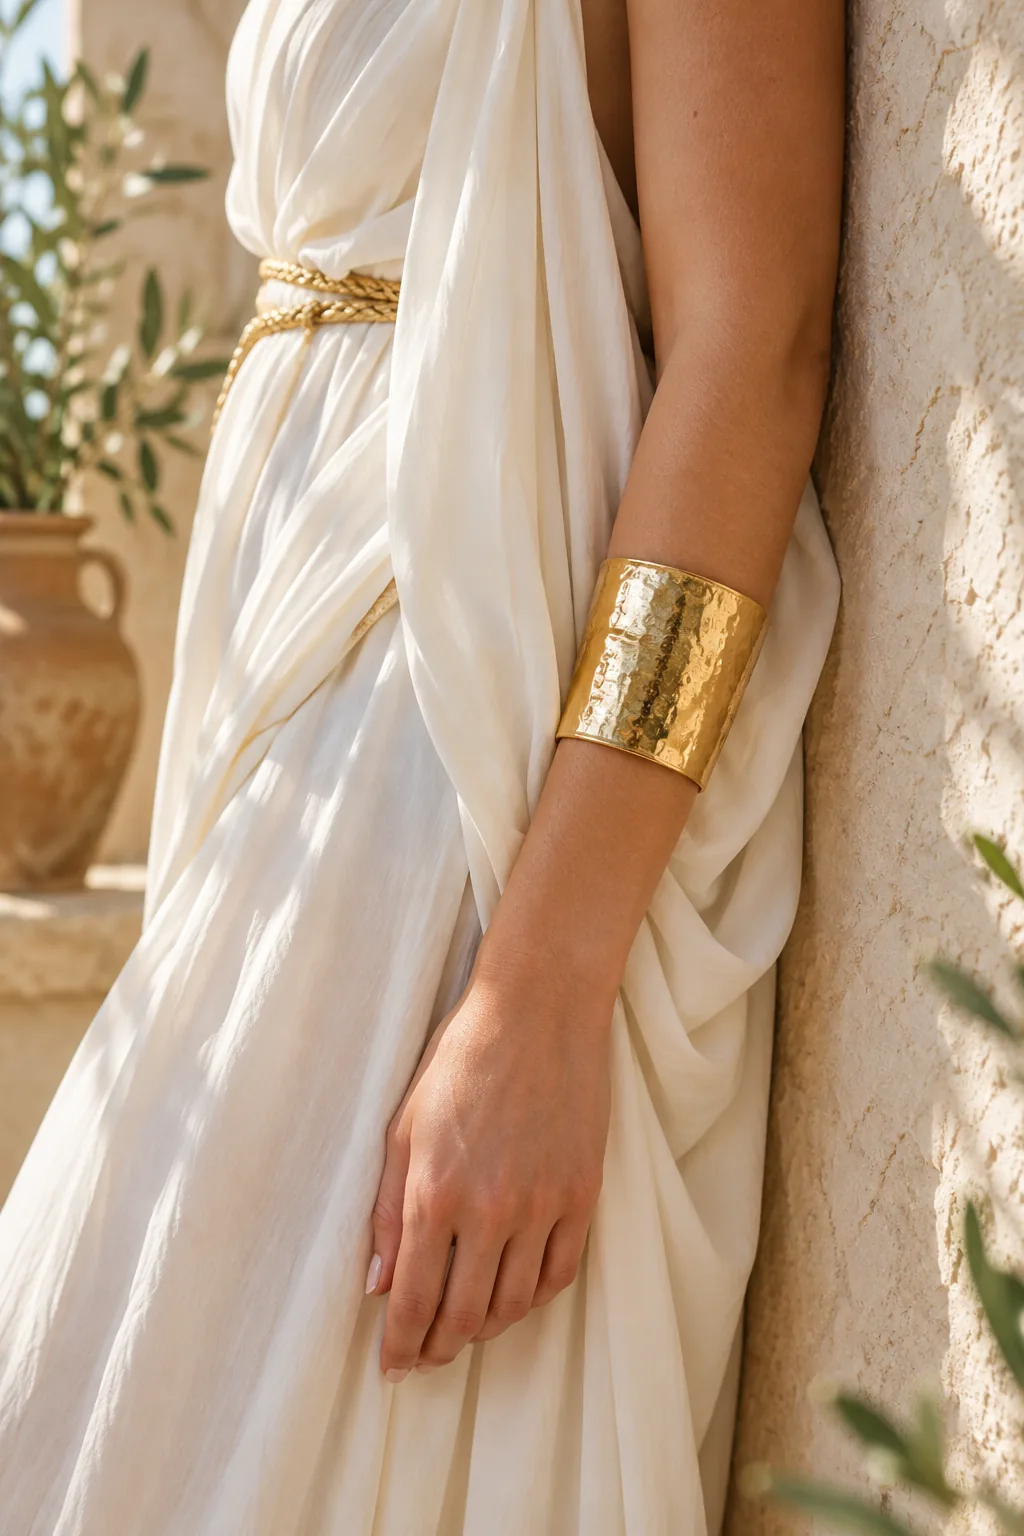
This blousing technique keeps the actual belt mostly concealed while ensuring the gathered fabric stays perfectly proportioned all night.
Adjusting the Grecian Volume
Take a moment to adjust the fabric evenly around your entire waist, ensuring the back has just as much elegant draping as the front. Pinning the bloused fold to the rope belt in two discreet spots prevents the fabric from shifting.
Adding Thrifted Gold Cuffs
Ground the flowing fabric with chunky, structural jewelry like wide metallic cuffs or stacked bangles to add necessary visual weight. If you cannot find gold jewelry at the thrift store, simply apply your leftover gold spray paint to inexpensive plastic bracelets.
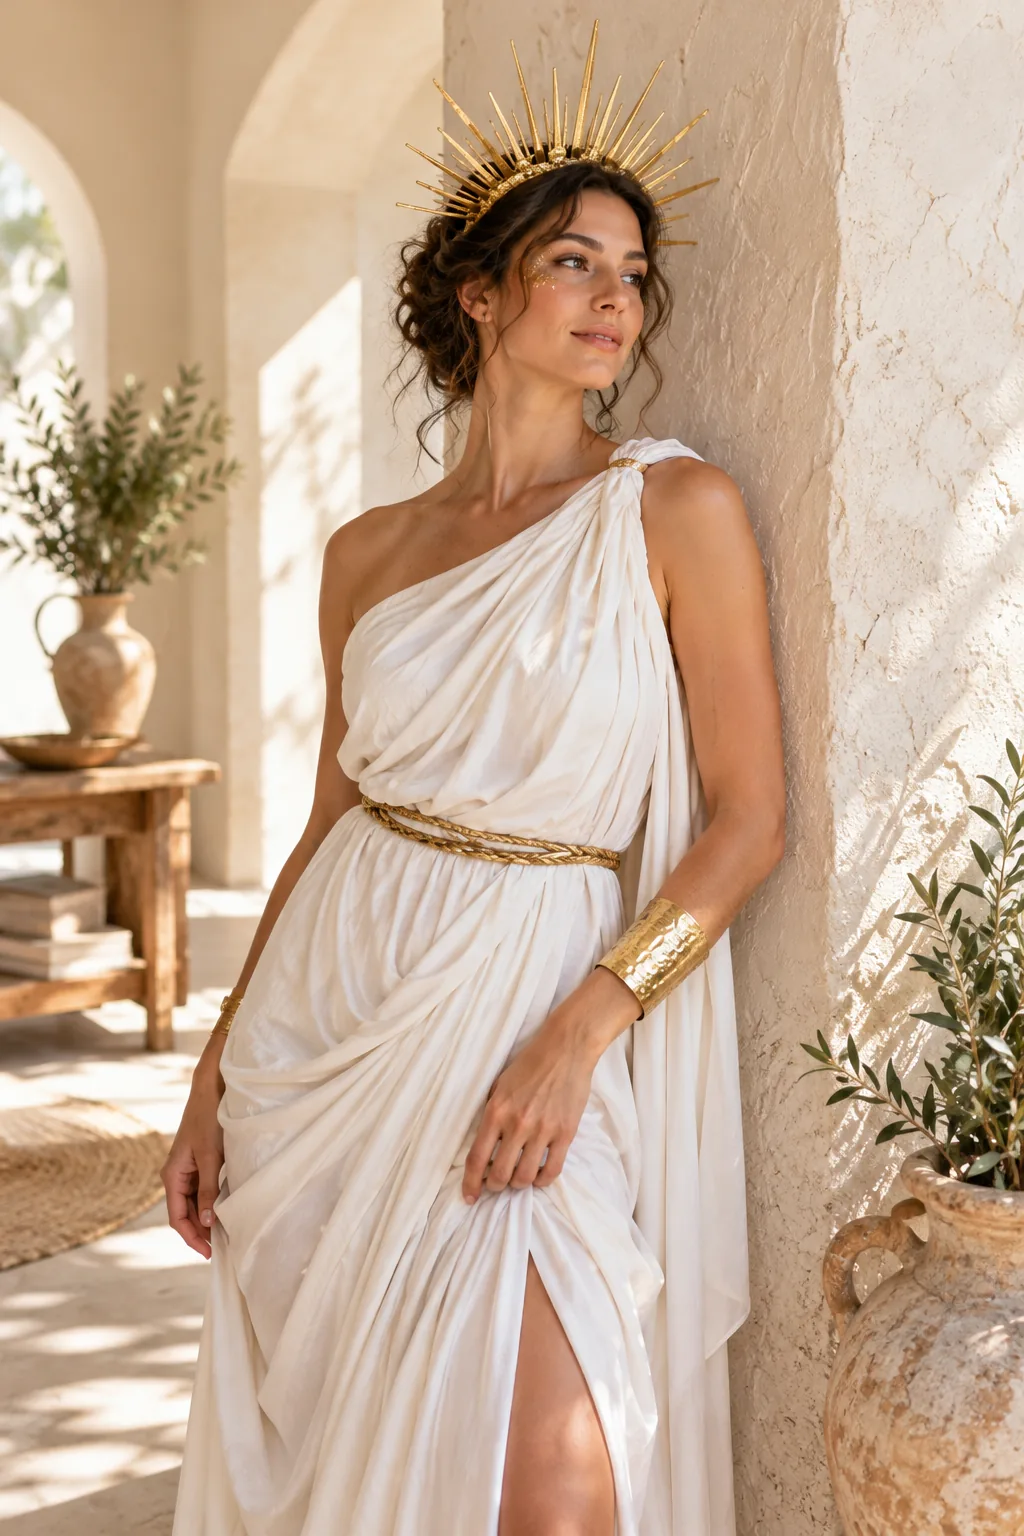
I spray-painted a cheap set of plastic bangles from a local thrift shop for my own costume, and they matched the sunburst crown flawlessly.
The Complete $20 Thrift & Craft Shopping List
Staying under budget requires a targeted shopping trip to grab exactly five specific items for this entire ensemble. Splitting your trip between the local thrift shop and the craft store ensures you keep the total cost strictly at the $20 mark.
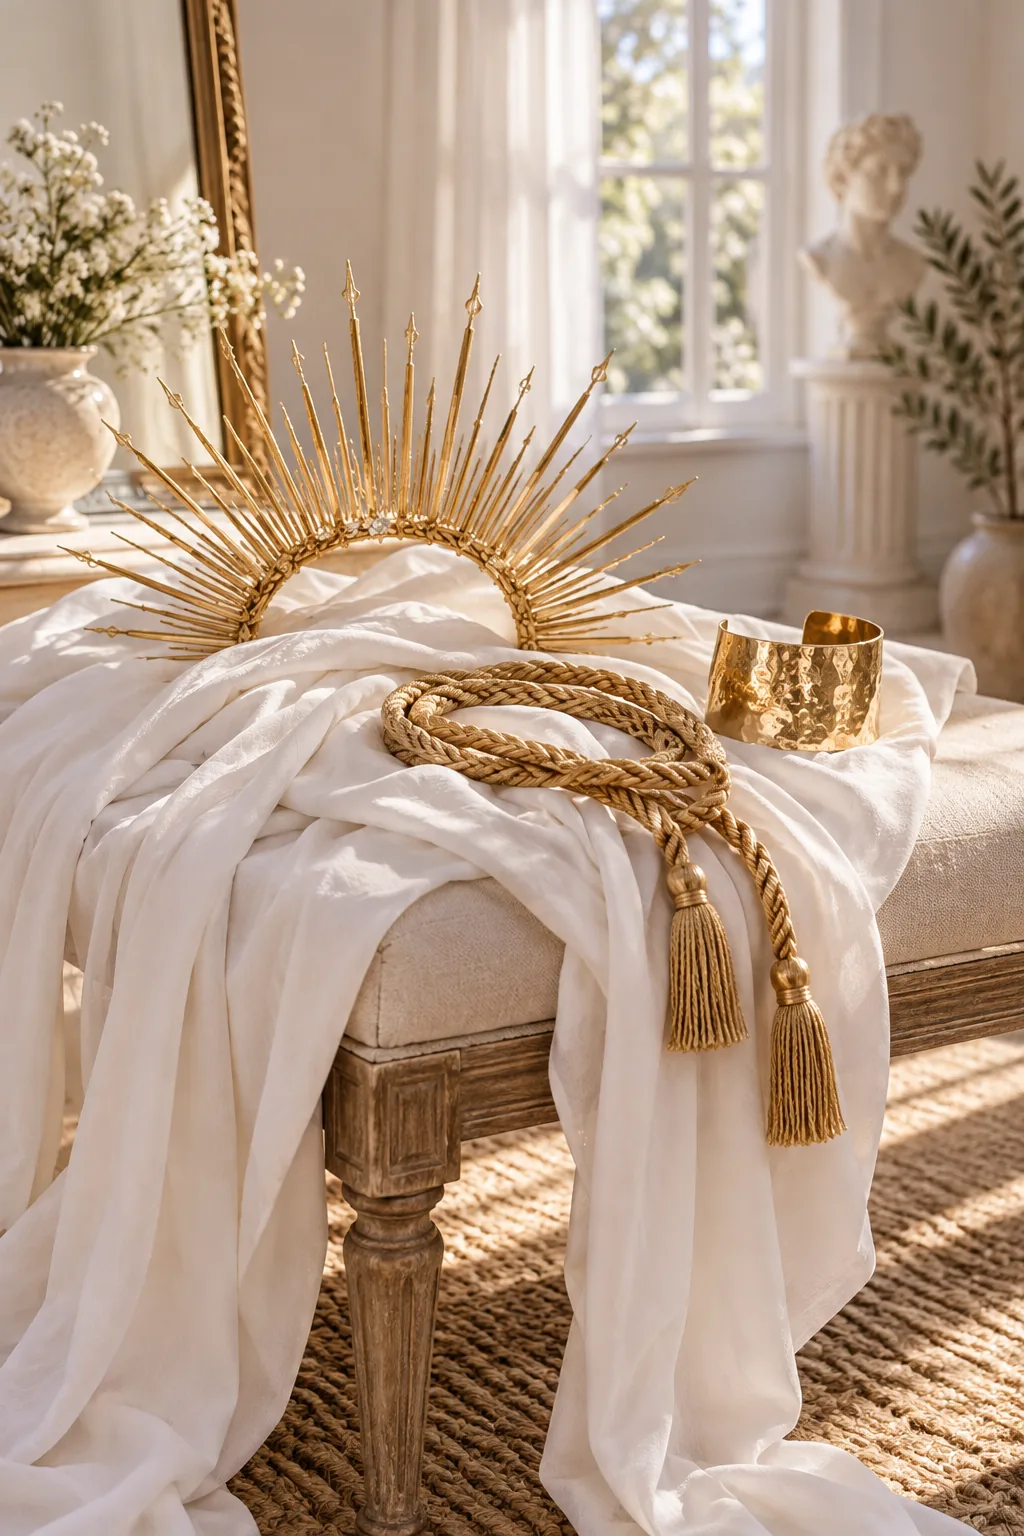
Take this exact breakdown with you to ensure you grab the right materials without overspending on unnecessary extras.
More Ethereal Costume Variations
Adapt this affordable draping technique to fit your favorite mythical aesthetic.
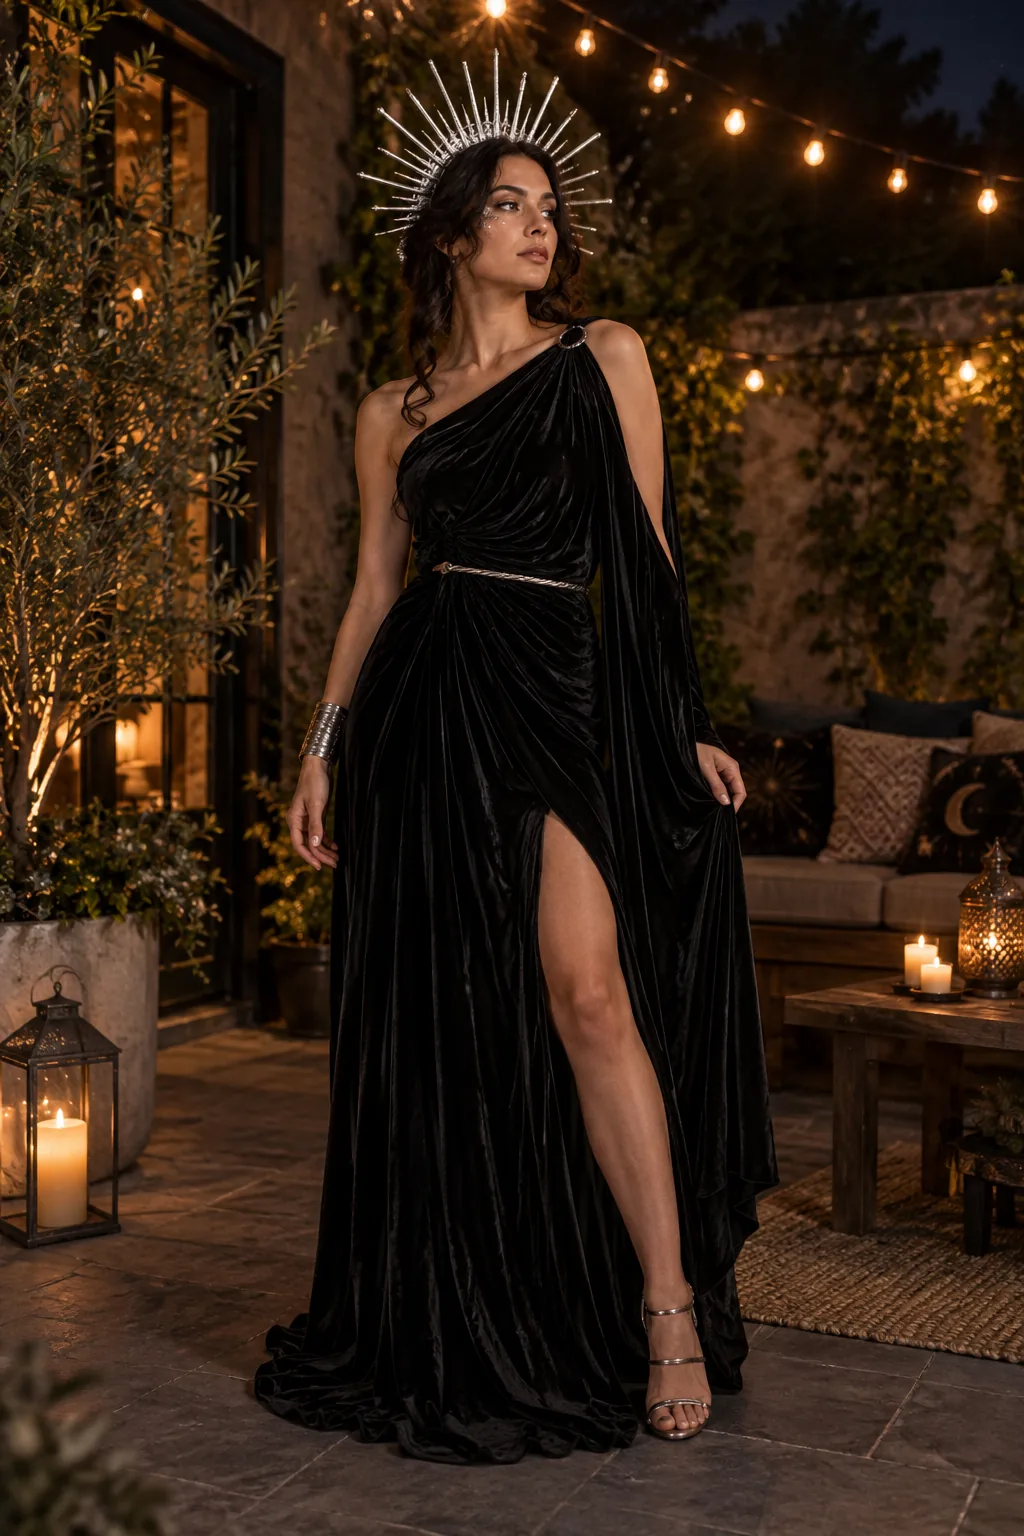
Dark Moon Goddess: Swap the white sheet for black velvet and use silver zip ties to create a moody, gothic take on the celestial theme.
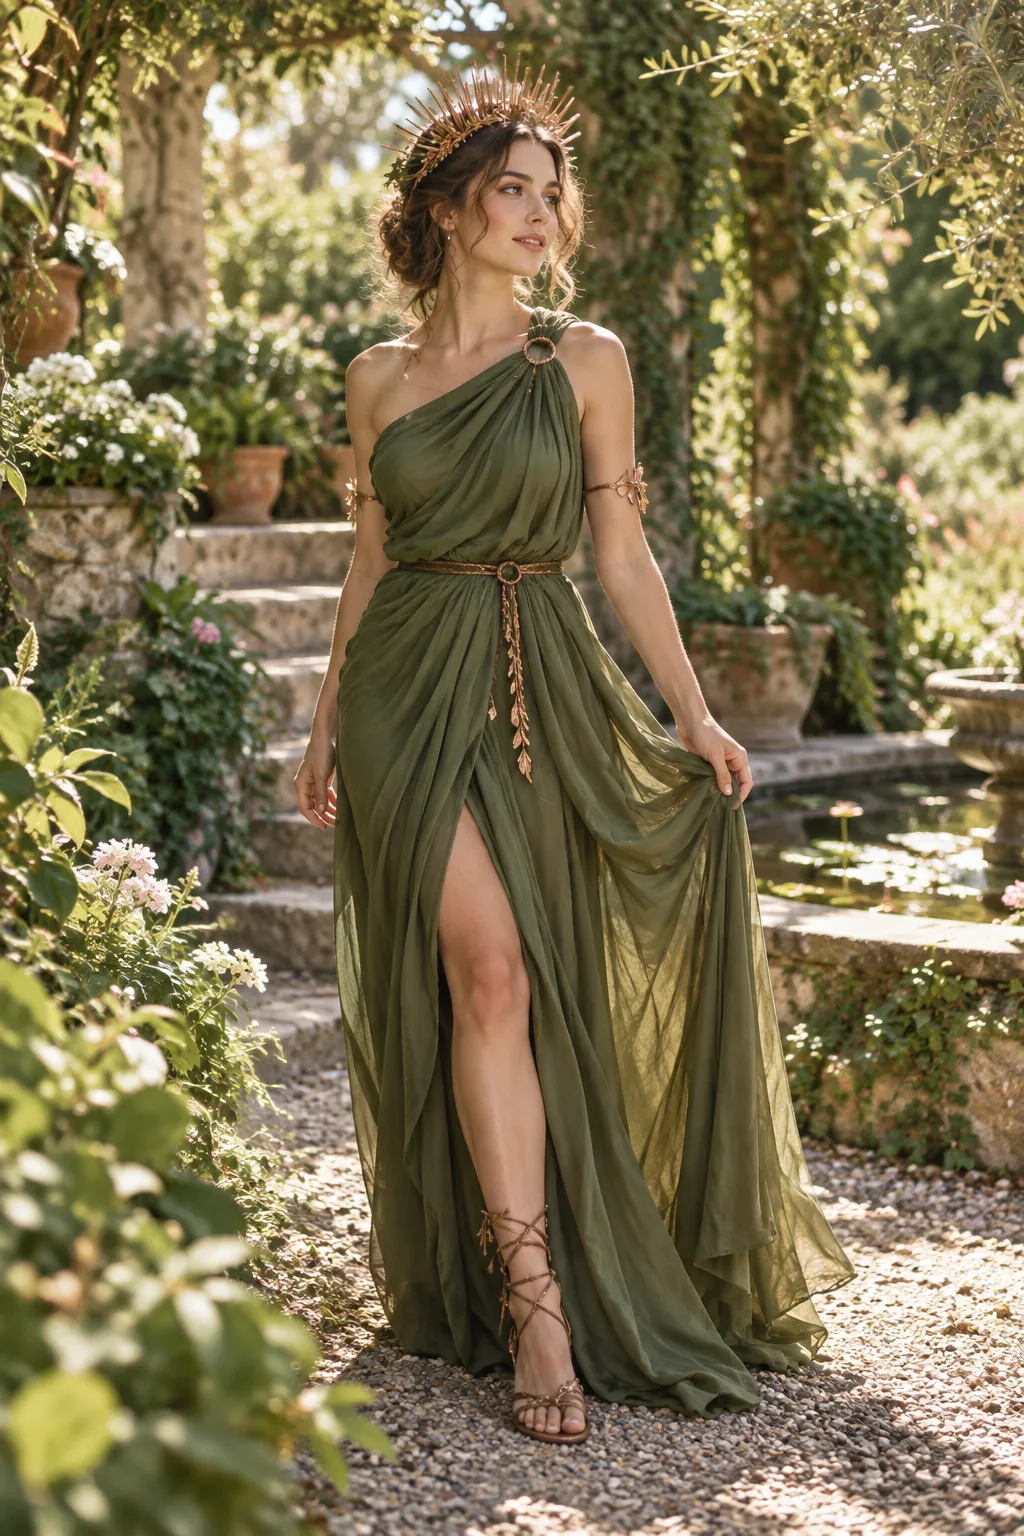
Earthy Forest Nymph: Use a moss green base and rich copper spray paint to transform the same technique into an earthy, woodland-inspired ensemble.
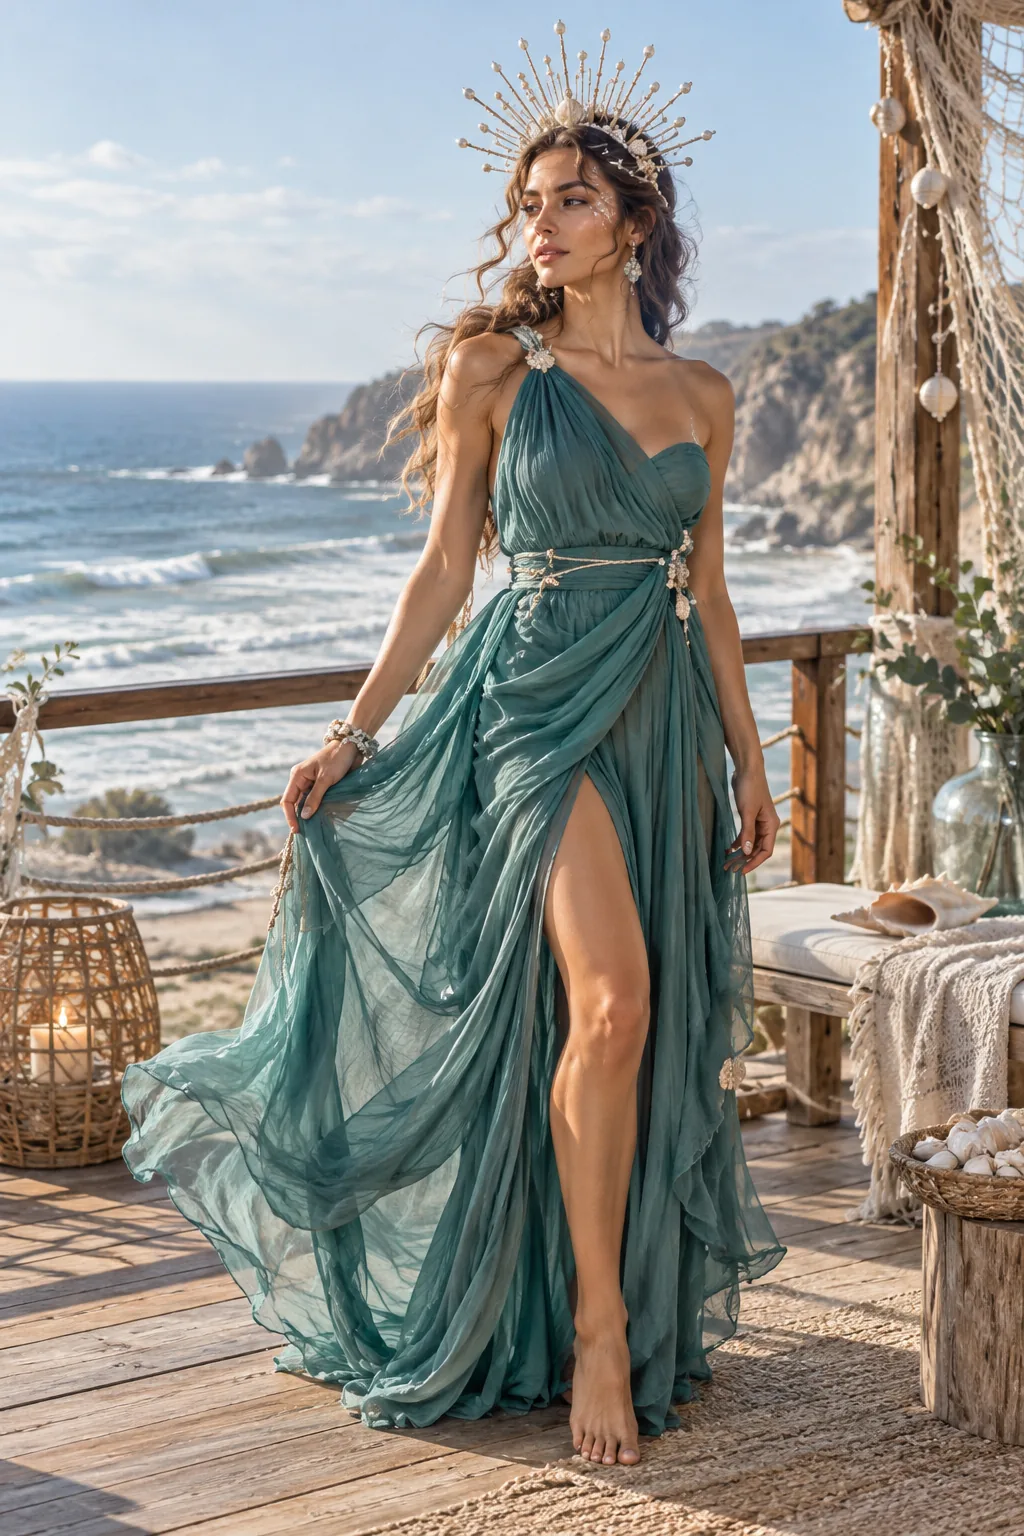
Ocean Siren: Opt for flowing teal fabric and glue small faux pearls to the base of your crown to channel a mystical aquatic siren.