
Hidden Bookcase Door Build Checklist & Pro Tips
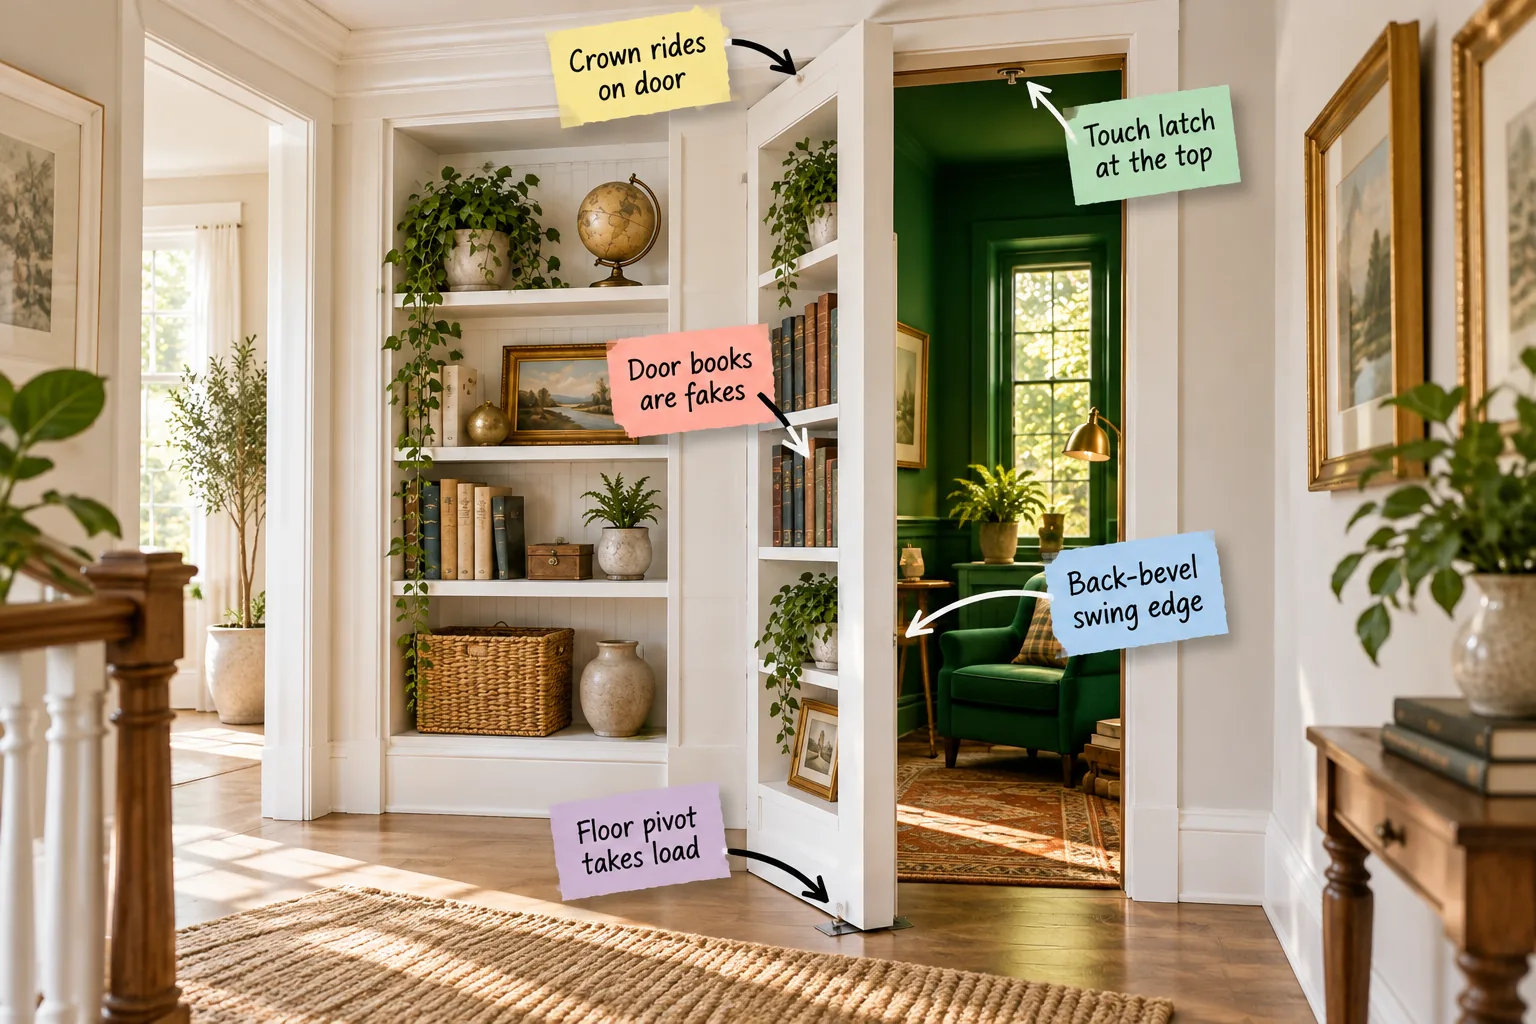
You will be able to plan, check clearances, and construct a perfectly disguised secret room using my complete two-page Hidden Bookcase Door Build Checklist. Download the printable guide below to master exact pivot hardware placement, swing clearances, and seamless trim tricks for a flawless finish.
Anchoring the Heavy-Duty Floor Pivot
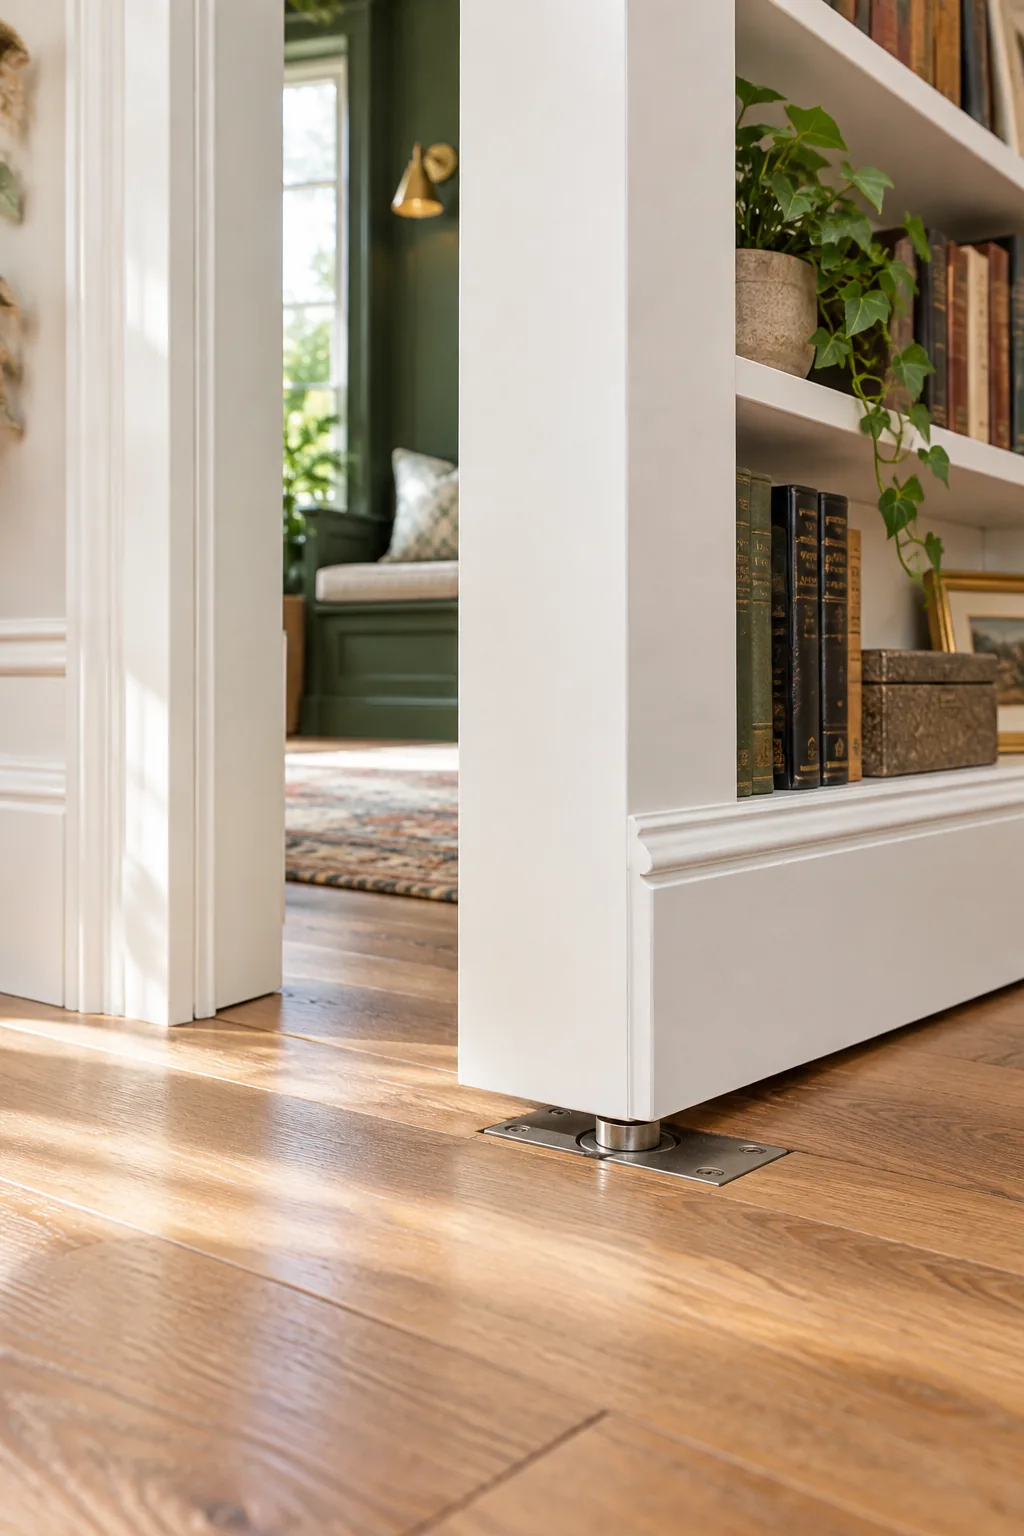
A standard butt hinge cannot support a loaded bookcase, so you need a heavy-duty floor pivot hinge rated for at least 300 to 500 pounds. Mounting this structural hardware directly into the subfloor transfers the entire dead load downward rather than pulling on the jamb.
Selecting the Right Pivot Hardware
Choosing the correct pivot mechanism dictates the entire success of your secret room. You must match the hinge rating to the finished cabinet weight plus the maximum book load, ensuring the internal bearings can handle the rotational friction without sagging or binding over time.
| Hardware Type | Weight Rating | Best Application | Clearance Needed |
|---|---|---|---|
| Standard Center Pivot | 300 lbs | Hollow core faux shelves | 5/8 inch |
| Heavy-Duty Offset Pivot | 500 lbs | Solid wood loaded bookcase | 3/4 inch |
| Commercial Floor Closer | 800 lbs | Wide double-door library | 1 inch |
Lubricating the Pivot Bearings
Before dropping the heavy bookcase onto the bottom pin, apply a generous coat of white lithium grease to the internal thrust bearings. This essential lubrication prevents the hardened steel components from grinding under the massive weight, ensuring a silent and effortless swing for years.
Reinforcing the Subfloor Blocking
Never mount a high-capacity floor pivot directly over a hollow joist bay. You must install thick solid wood blocking between the floor joists directly beneath the pivot location, providing a dense, unyielding anchor point for the massive lag screws that secure the bottom steel plate.
Framing the Rough Opening
A hidden door requires a much stiffer frame than a standard bedroom door. Frame your rough opening using engineered lumber or double trimmers to prevent the wall from flexing when the heavy bookcase swings open, keeping the surrounding drywall joints from cracking under sudden stress.
Cutting the Back-Bevel Swing Edge
Because a thick bookcase swings on a radius, I learned the hard way in my own hallway that a square edge will quickly bind against the fixed jamb. You must cut a 5- to 7-degree back-bevel along the entire latch-side edge of the casing.
Mapping the Swing Radius
Getting the swing clearance right on paper is easy, but executing it on the saw requires careful attention to your door’s final orientation. Drawing a full-scale template on a piece of cardboard helps visualize exactly where the back-bevel needs to taper away from the frame.
Accounting for Drywall Thickness
When calculating your final door depth, always factor in the thickness of the finished drywall wrapping into the opening. If you build the cabinet flush to the bare studs, the added half-inch of drywall will push the trim completely out of alignment with the adjacent walls.
Installing the Top Touch Latch
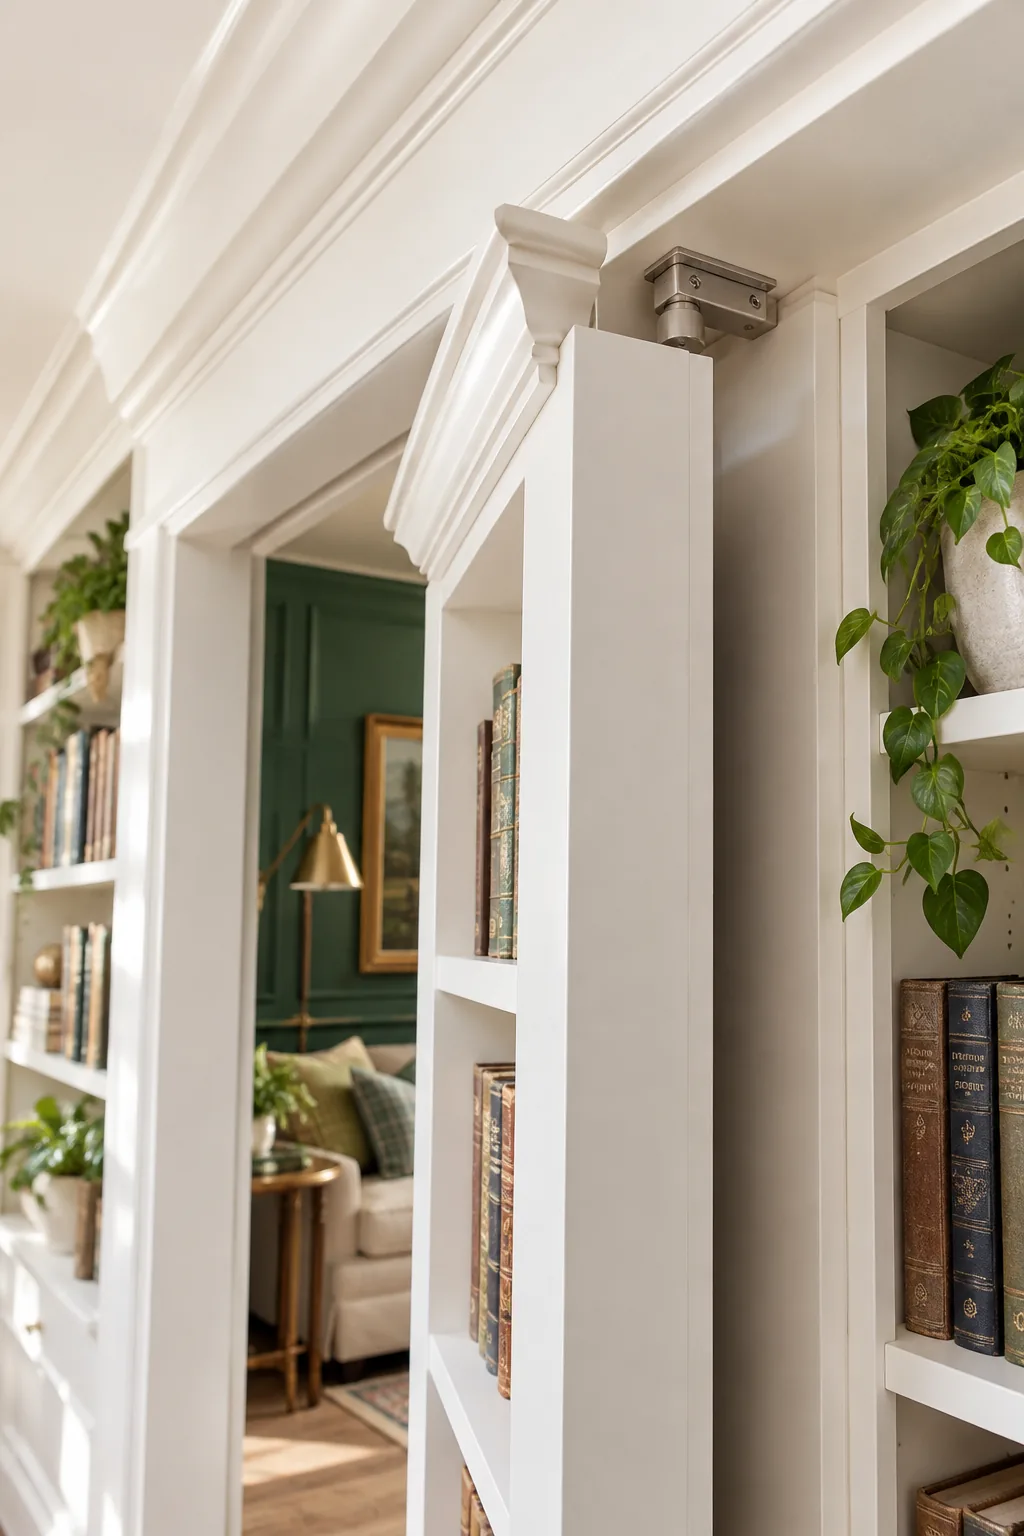
To keep the illusion completely intact, I always use a heavy-duty magnetic push latch mounted at the top inside frame corner instead of visible handles. This hidden mechanism holds the heavy unit securely closed against the stop without requiring any exterior hardware or strike plates.
Adjusting the Strike Plate Magnet
Once the latch is installed, carefully adjust the depth of the magnetic strike plate on the top of the door. The magnet must make full, flush contact with the latch plunger to provide enough holding force to prevent the heavy door from drifting open on its own.
Setting the Doorstop Over-Travel
A magnetic push latch requires about 1/4 inch of inward travel to release the internal spring. You must build this slight over-travel allowance into the doorstop depth, ensuring the bookcase can push inward just enough to trigger the mechanism before hitting the solid wooden frame.
Wiring for Hidden Lighting
If you want integrated shelf lighting, you must run the low-voltage wires directly through the hollow center of the top pivot pin. Routing cables anywhere else will cause them to pinch, stretch, or snap after just a few cycles of opening and closing the heavy bookcase.
Attaching the Crown Molding to the Door
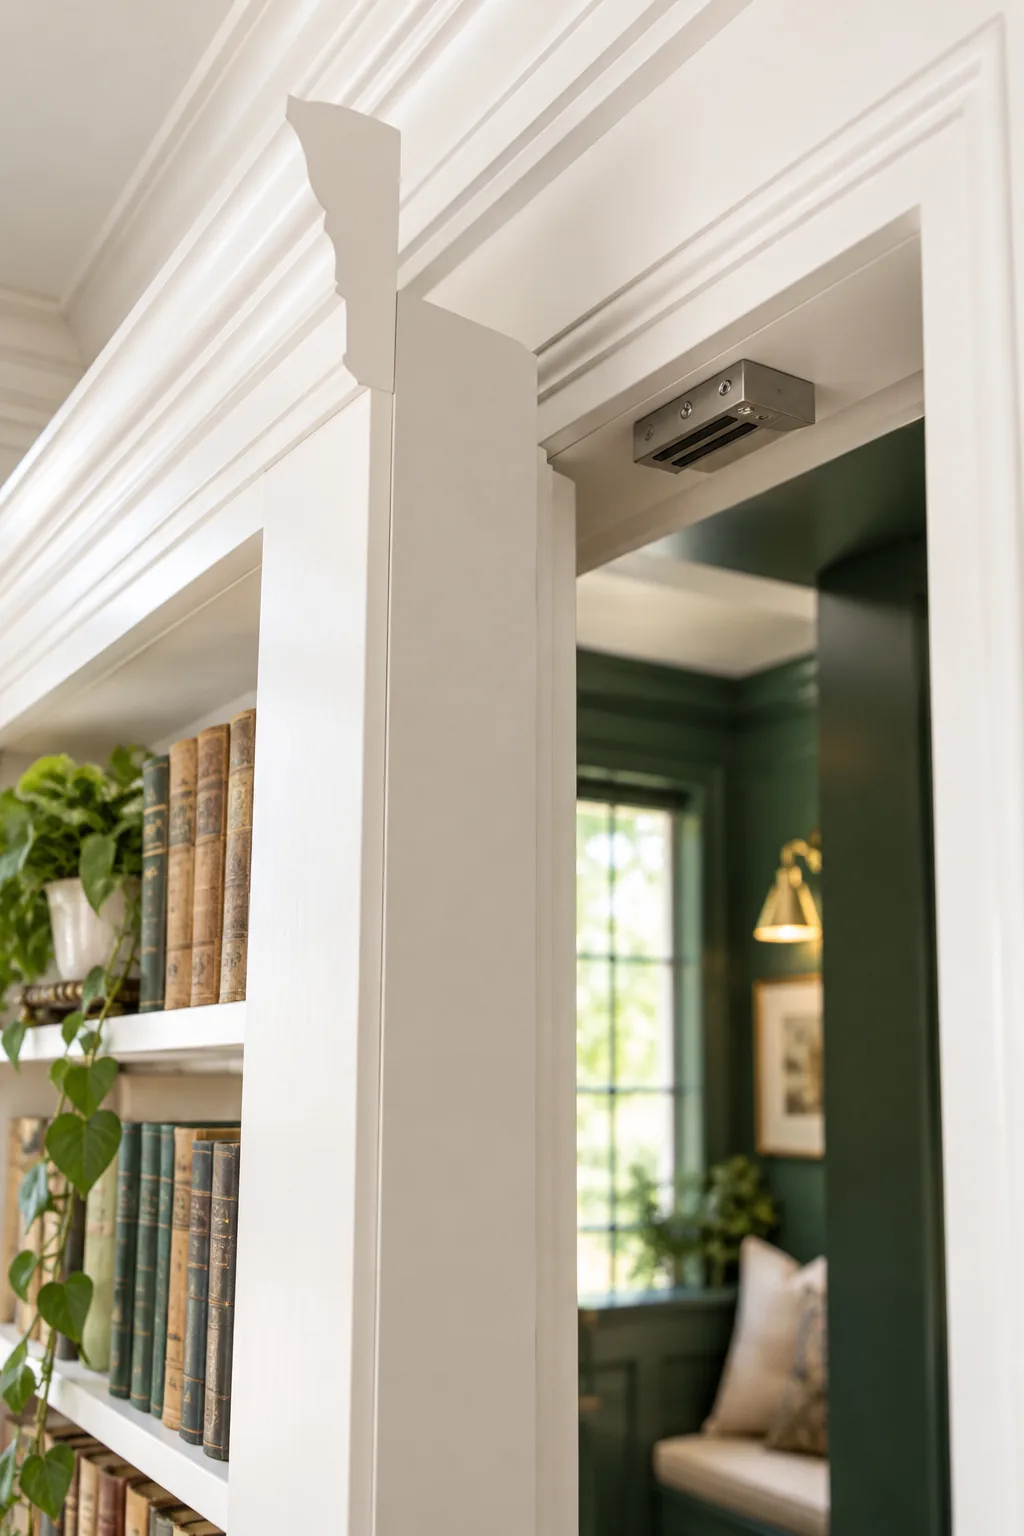
The most convincing hidden doors use the room’s architecture as camouflage by attaching a section of crown molding directly to the swinging bookcase. This brilliant trick makes the horizontal cut line disappear entirely into the molding’s natural shadow, completely fooling the eye of anyone walking by.
Splicing the Crown Returns
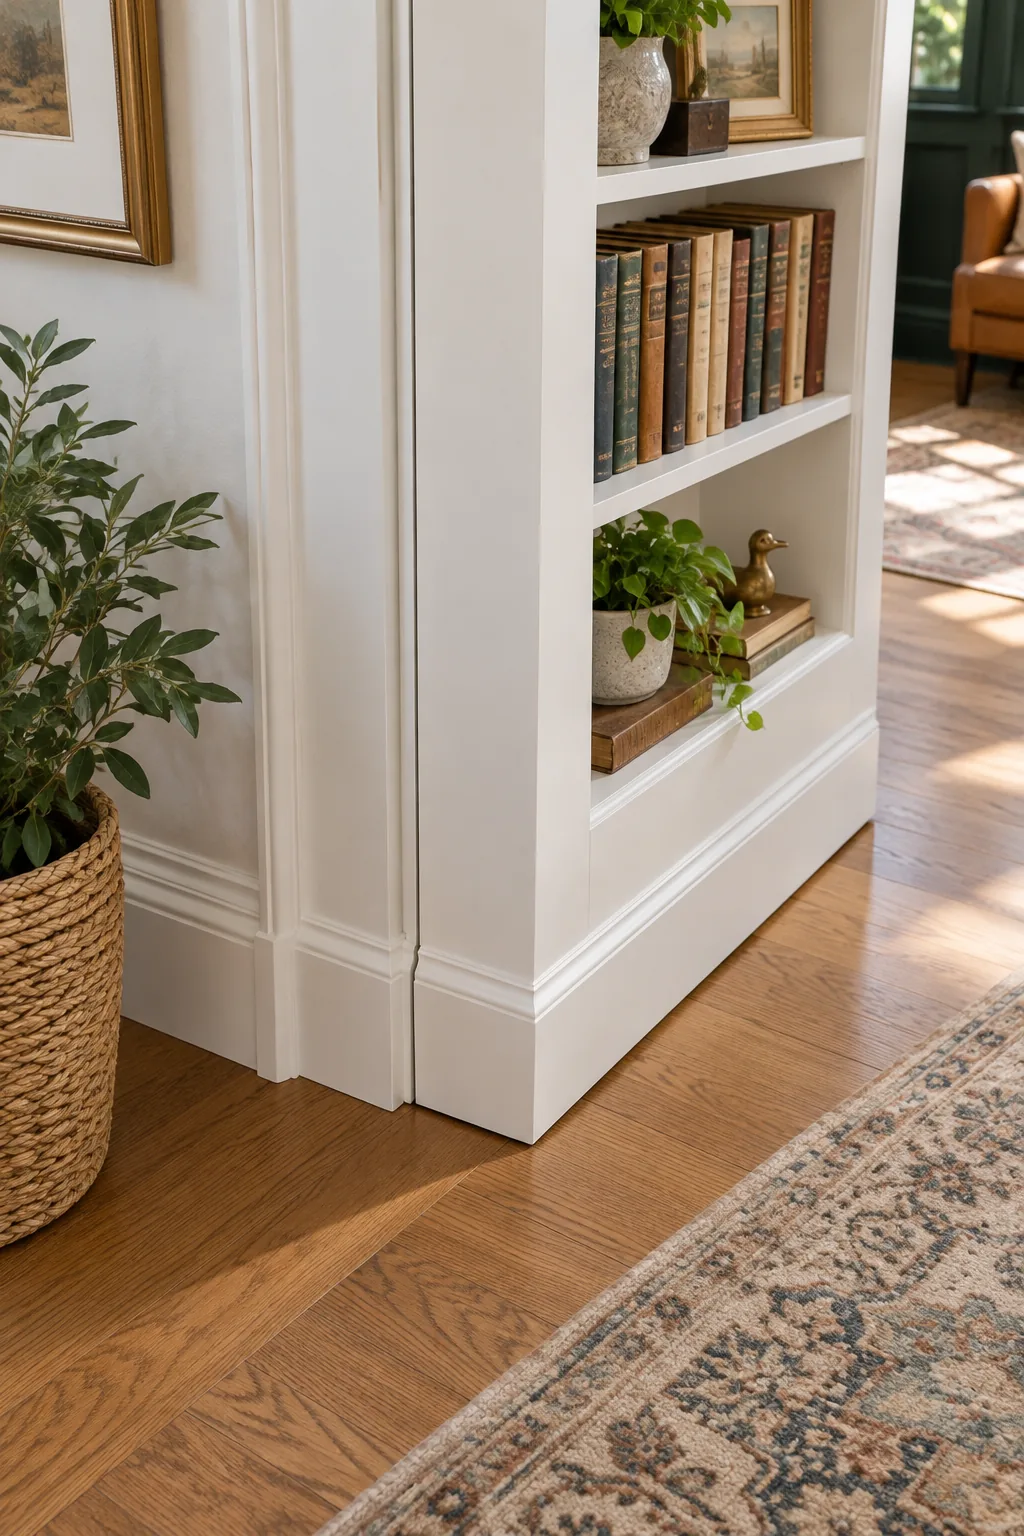
The moving section of crown molding must be cut perfectly flush at a 90-degree angle where it meets the fixed wall crown. Creating a clean splice requires a razor-sharp miter saw blade and rigid backing to prevent the delicate decorative edges from splintering during the cut.
Hiding the Vertical Jamb Seams
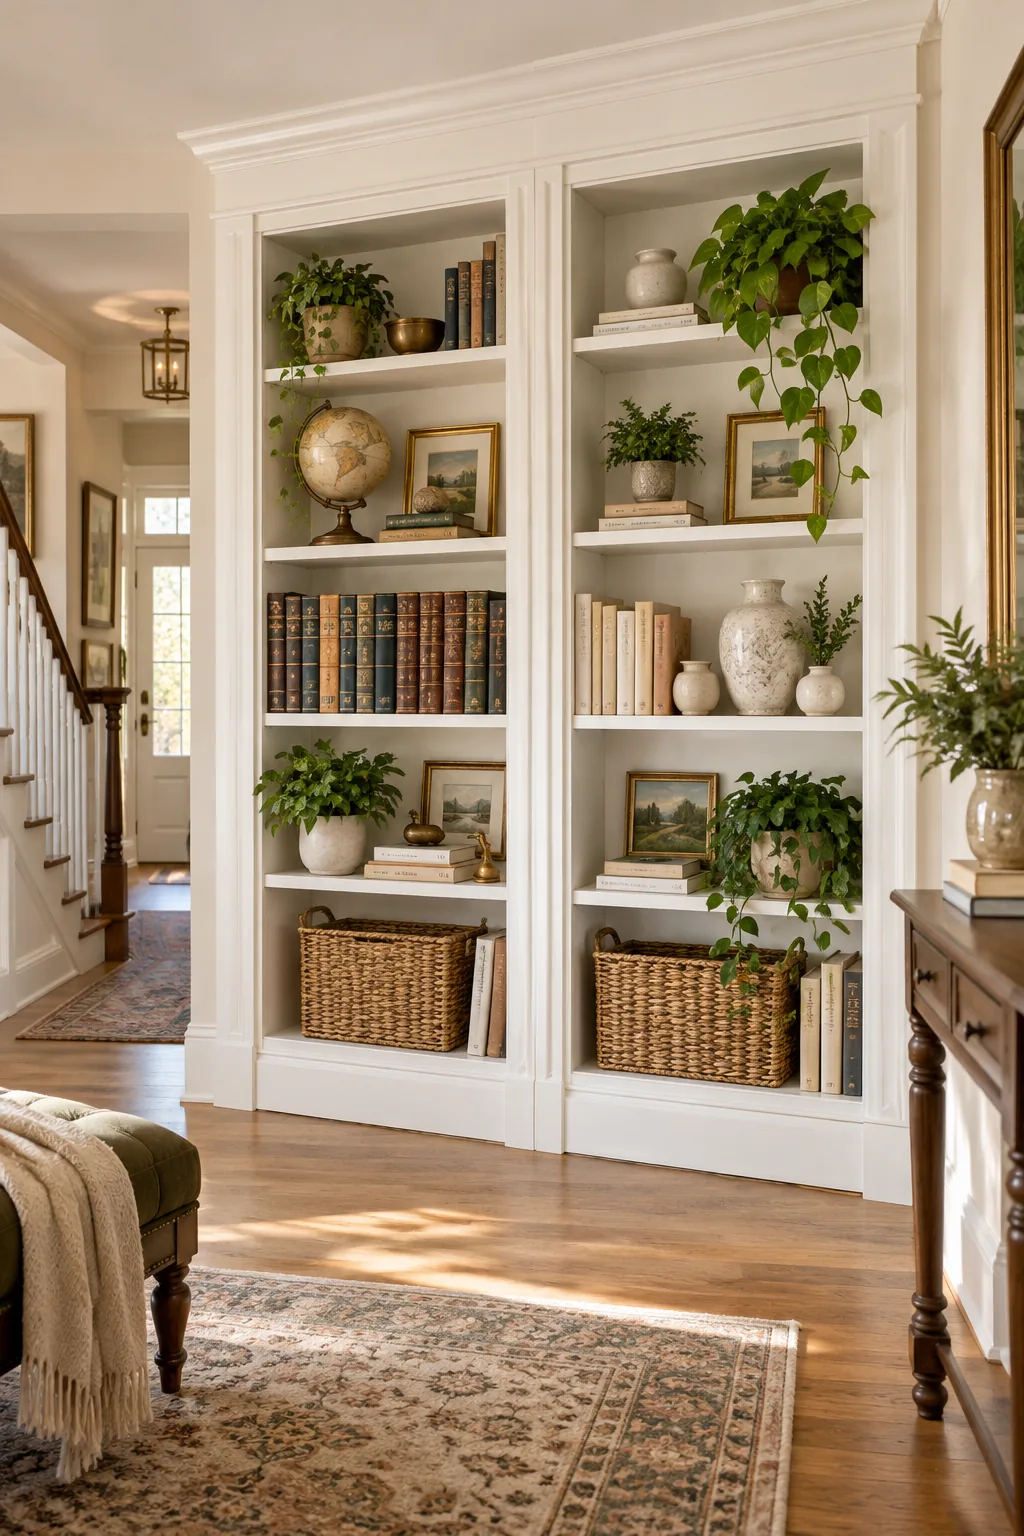
To disguise the vertical gaps on either side of the bookcase, overlap the face frame stiles past the cabinet box. This overlapping edge creates a natural shadow line that acts as a visual barrier, completely hiding the necessary clearance gaps between the swinging door and fixed drywall.
Aligning the Baseboard Trim
Just like the crown molding, the baseboard must ride on the door, but when I installed mine, I realized floor leveling is absolutely critical. You need to leave exactly 1/8 to 3/16 inch of floor clearance beneath the moving trim to avoid scraping the hardwood.
Managing Seasonal Wood Movement
Hardwood floors swell during humid summer months, which can suddenly cause a perfectly aligned hidden door to drag. Maintaining that precise 1/8-inch gap under the baseboard ensures the door continues to swing freely even when the indoor humidity peaks and the flooring expands upward significantly.
Selecting the Cabinet Plywood
Building the main bookcase box requires high-quality, void-free cabinet plywood rather than heavy MDF. Birch or maple plywood provides superior screw-holding power for the pivot hardware while keeping the overall dead weight of the swinging structure as low as possible without sacrificing essential structural rigidity.
Balancing the Hinge-to-Latch Weight
Even with a massive 500-pound pivot, uneven weight distribution will eventually cause the door frame to rack and drag. Plan your shelf loading carefully so that 70 percent of heavy items sit tightly on the hinge side, reserving the latch side for lighter decorative objects.

Securing the Fixed Shelves
Adjustable shelf pins will rattle and drop shelves when the door swings open quickly. You must glue and screw every shelf solidly into the cabinet sides, turning the entire bookcase into a rigid torsion box that strongly resists twisting forces when pushed from the unhinged side.
Applying the Face Frames
Solid wood face frames add crucial stiffness to the plywood cabinet box. Glue and brad-nail these hardwood frames directly to the front edges of the plywood, overlapping the sides slightly to hide the clearance gaps and provide a seamless, durable surface for mounting the decorative trim.
Styling with Faux Book Spines
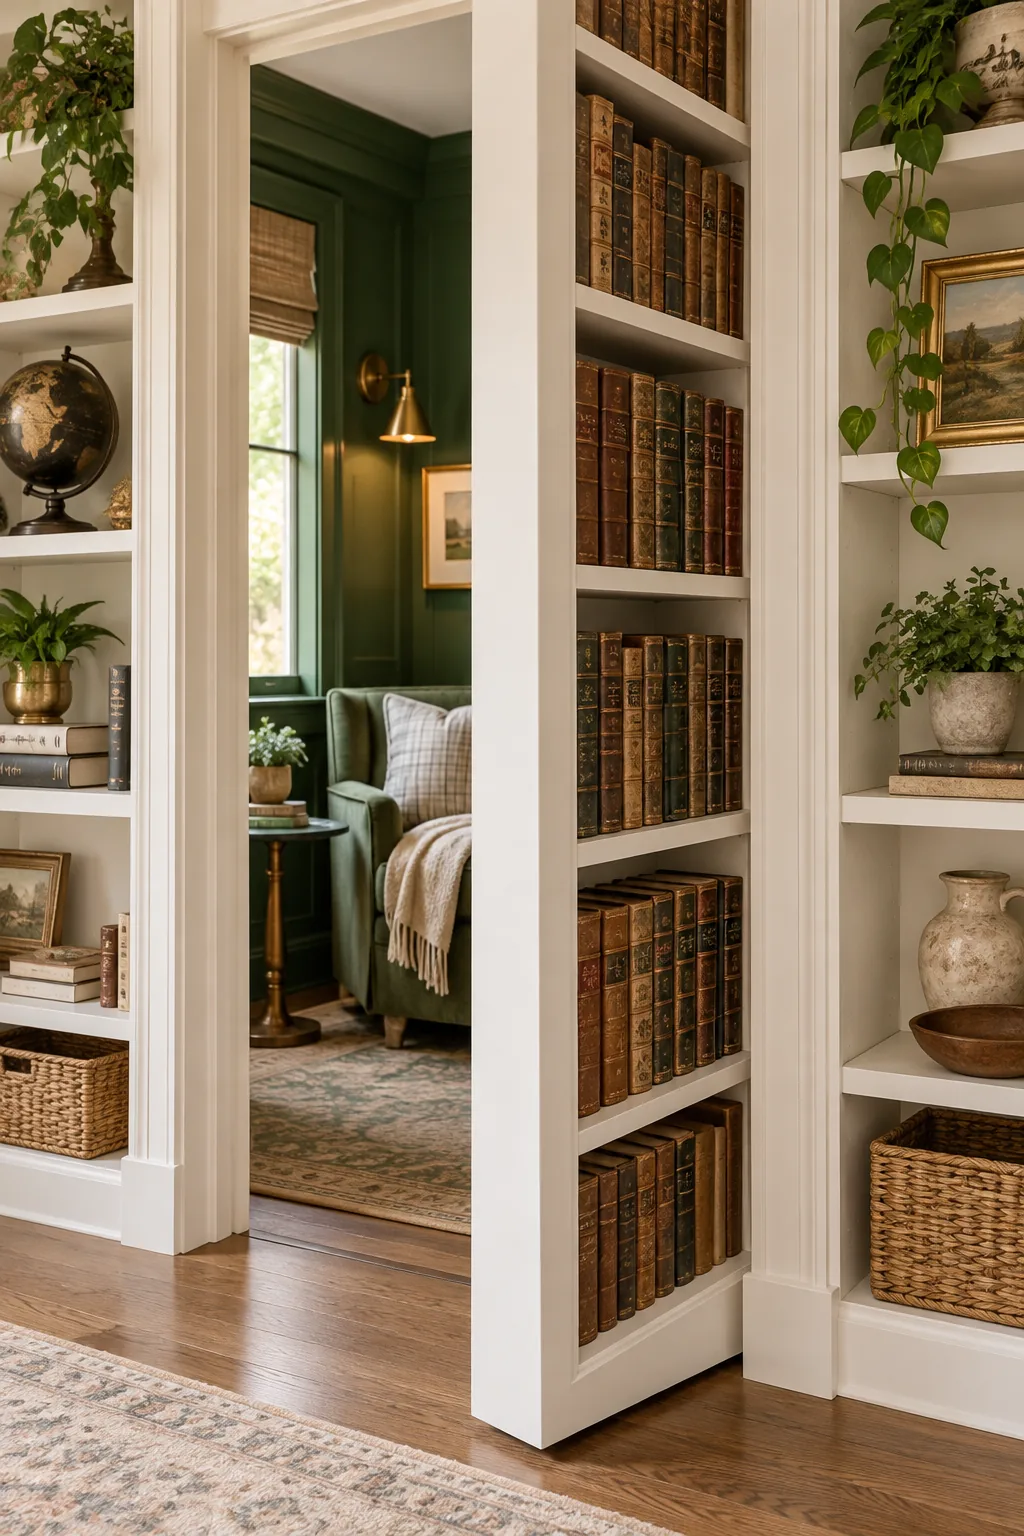
A fast-swinging door will easily throw loose books off the shelves, creating a mess and a tripping hazard. Creating a permanent display of faux book spines glued to a thin backing board keeps the classic library look perfectly intact without adding dangerous, shifting weight.
Choosing the Right Vintage Books
Creating a convincing faux book block is much easier when you start with authentic materials rather than buying cheap plastic replicas. Thrift stores are perfect for finding damaged hardcover books with beautiful, textured spines that can be beautifully repurposed for your hidden door display.
Painting and Finishing the Unit
Paint the hidden door and the surrounding walls at the exact same time using the identical batch of paint. Even slight variations in sheen or color batch will immediately draw the eye to the swinging section, ruining the seamless architectural illusion you worked so incredibly hard to build.
Secret Door Styles for Any Room
Explore how different finishes and architectural details can camouflage a hidden door in any space.
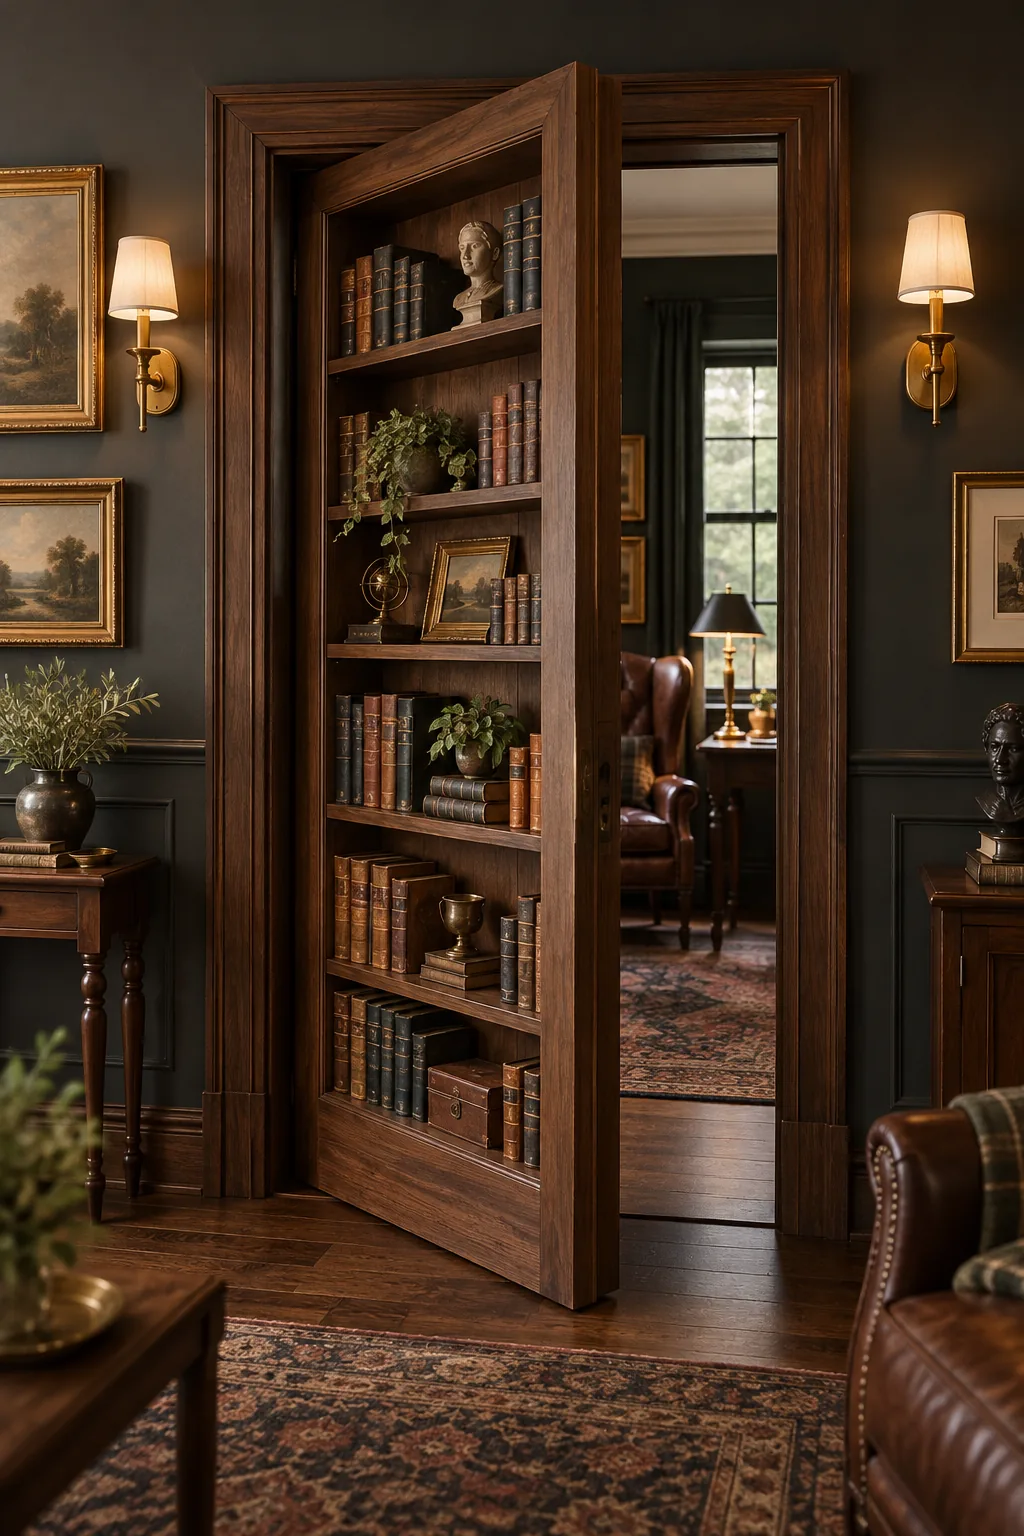
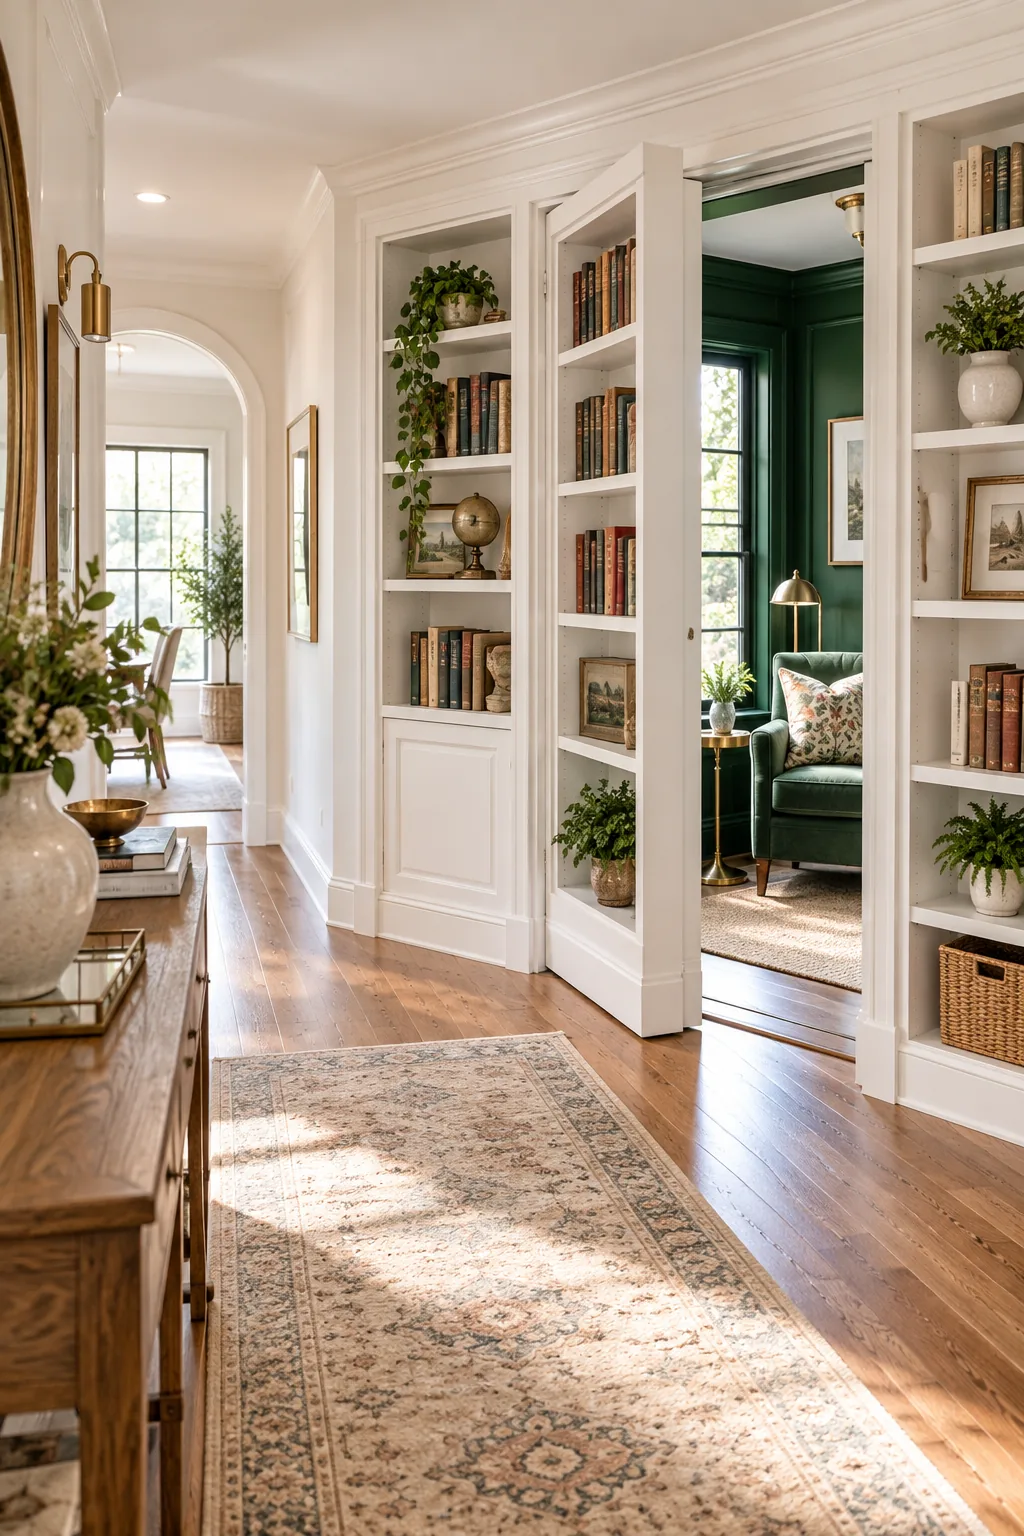
Dark Academia Library: Rich walnut wood and antique brass hardware give this secret door a classic, scholarly feel.
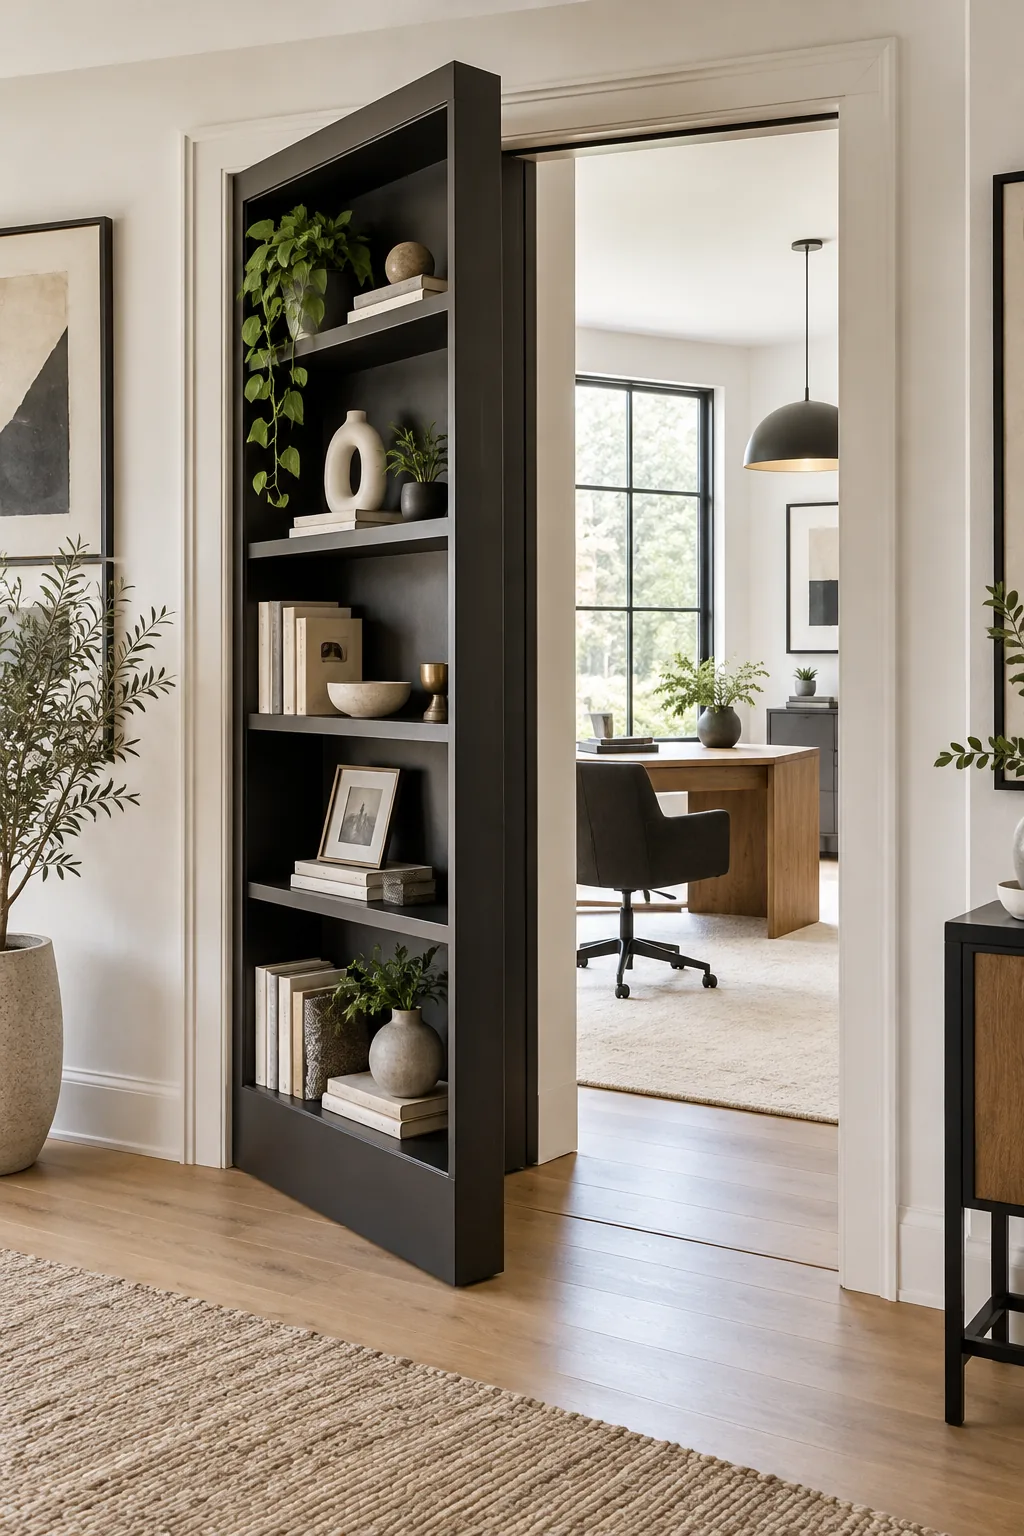
Modern Minimalist Office: Matte black paint and sparse, geometric styling make this secret door feel sleek and contemporary.
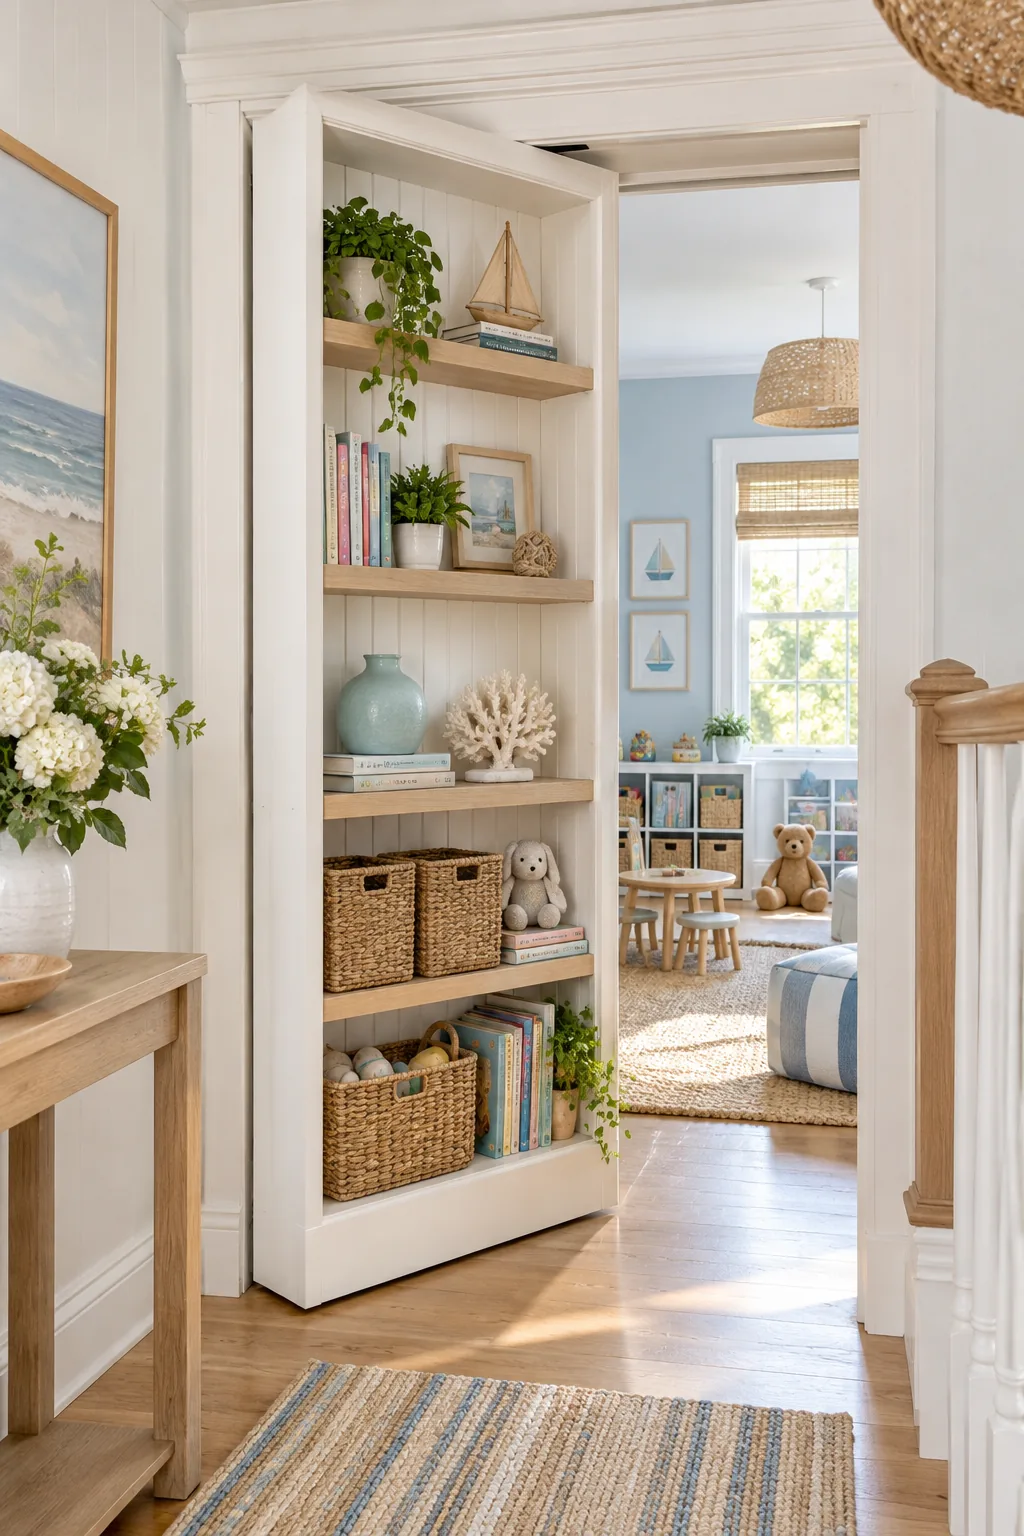
Coastal Cottage Playroom: Beadboard paneling and light oak accents perfectly disguise a hidden entrance to a children's playroom.
The Hidden Bookcase Door Build Checklist
Ready to start cutting? My printable Hidden Bookcase Door Build Checklist covers every critical phase of the build, including exact hardware specs for the pivot and latch, a clearance guide for edge-bevels, and the correct cut order for seamless trim-on-door integration.
Before you make your first permanent cut in the casing, run through these final mechanical checks to ensure a flawless swing and perfect alignment.