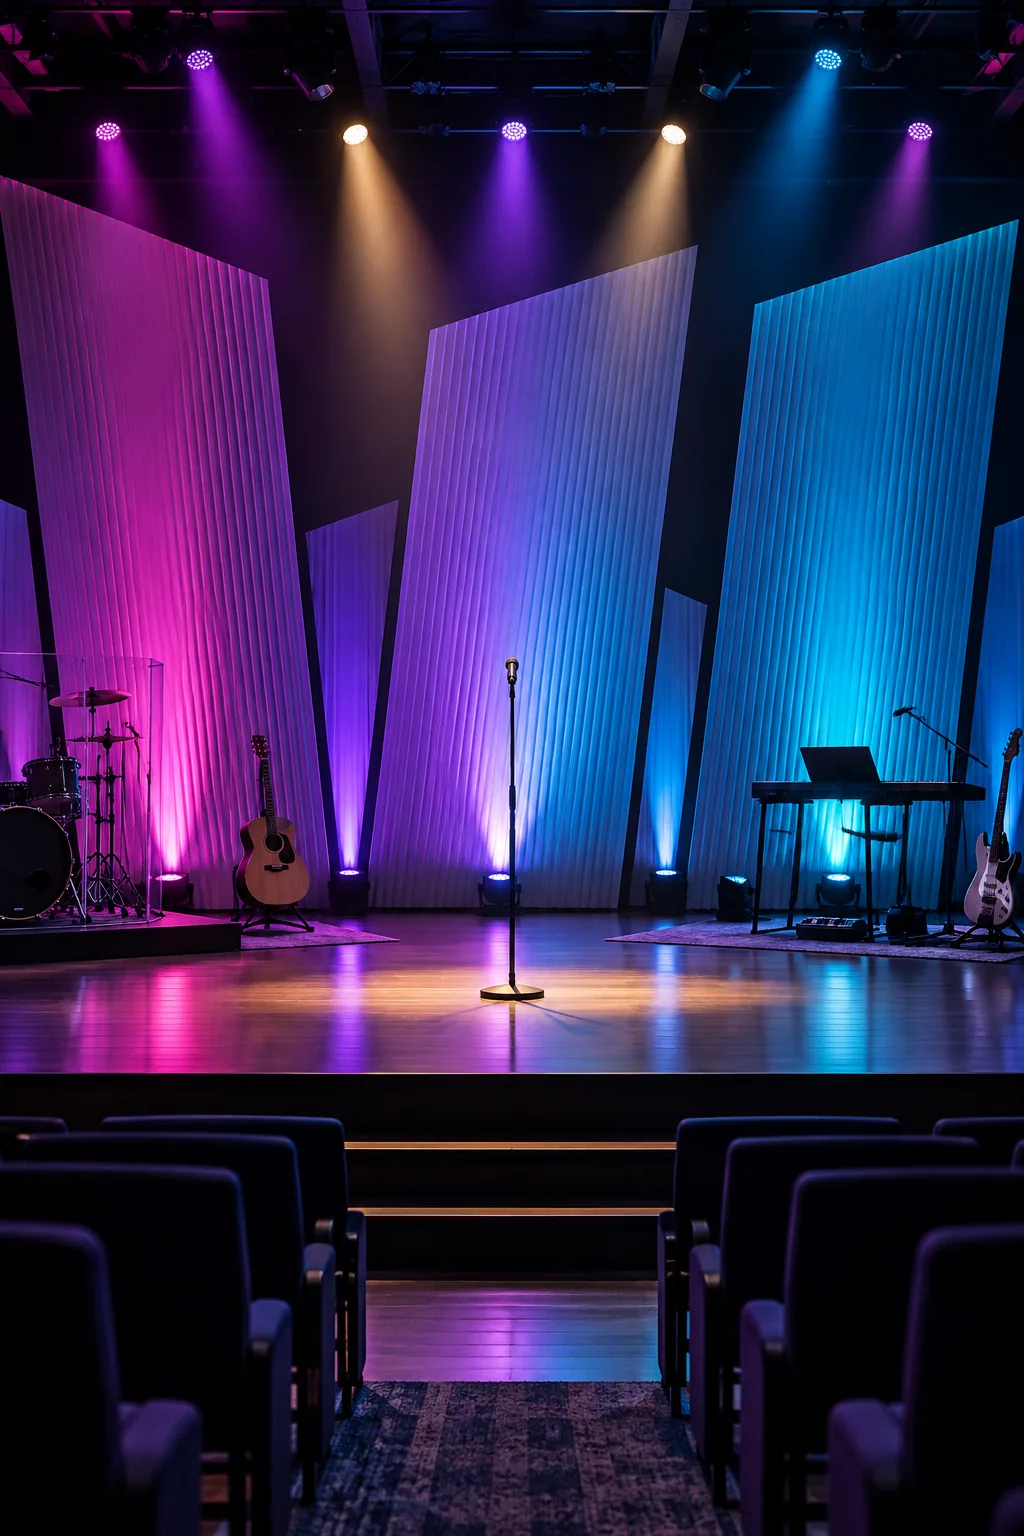
Church Stage Design: The Budget Lighting & Material Guide
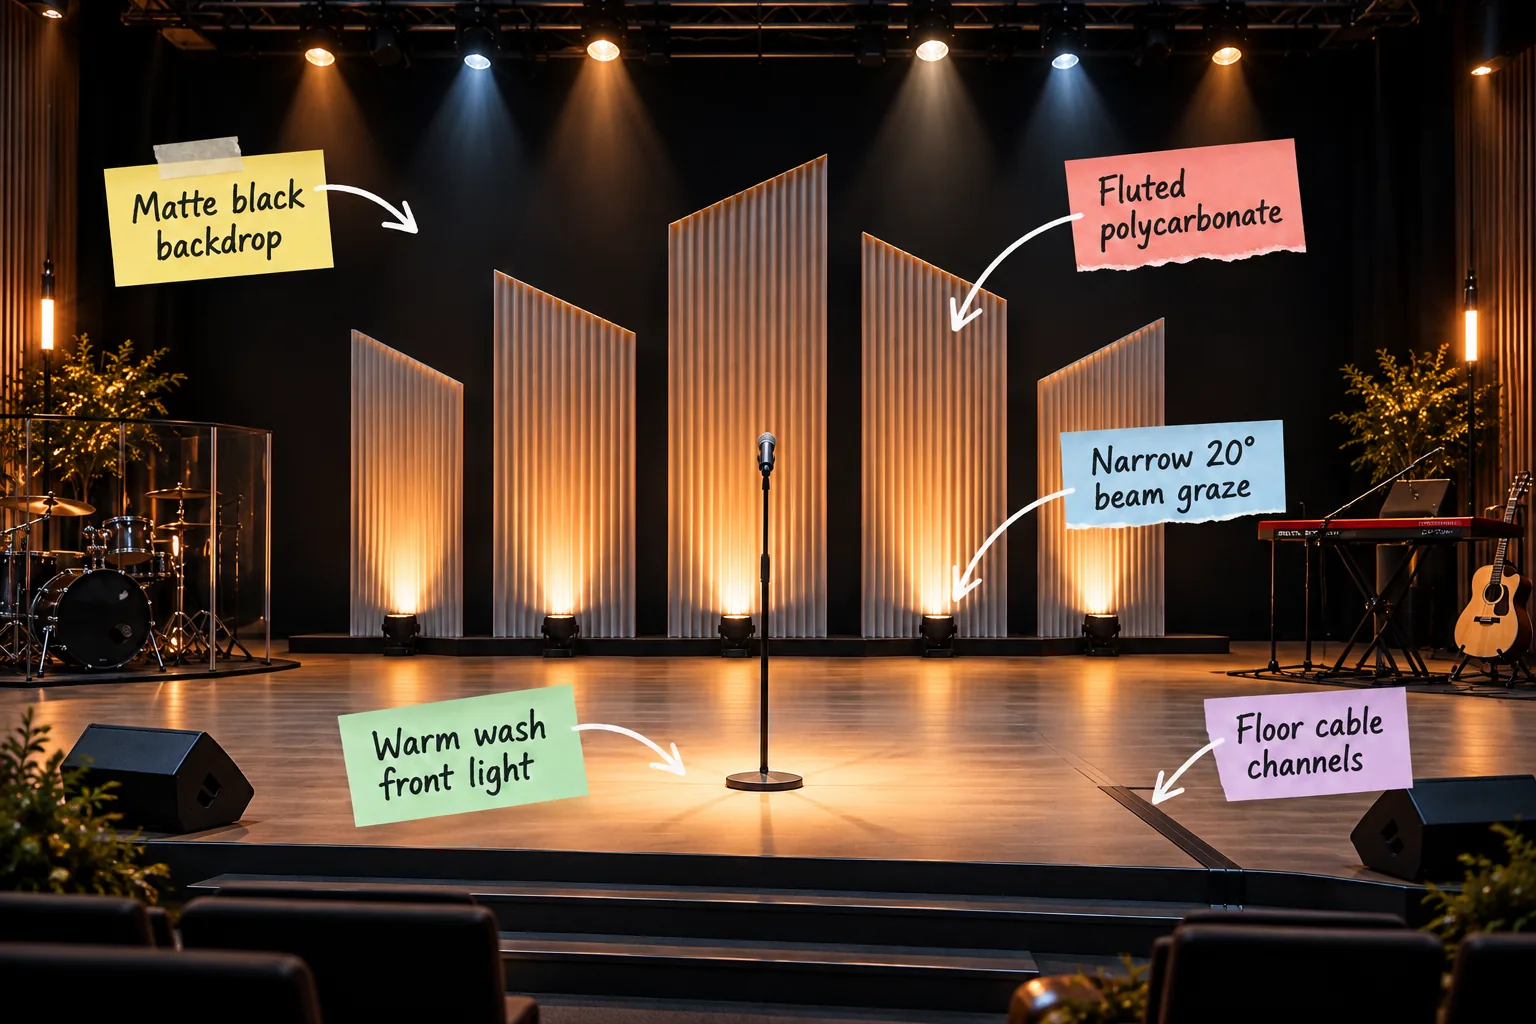
You can build a professional, glowing worship environment without a stadium budget by mastering a few strategic angles and materials. This budget material and lighting cheat sheet gives you the exact dimensions, spacing, and fixtures needed to transform your church stage design.
The Foundation: Matte Black Backdrop
A non-reflective dark background is the foundational secret to making your stage elements pop with intentional contrast. Paint the back wall with a flat black latex paint featuring a Light Reflectance Value (LRV) under 5 to absorb stray light.
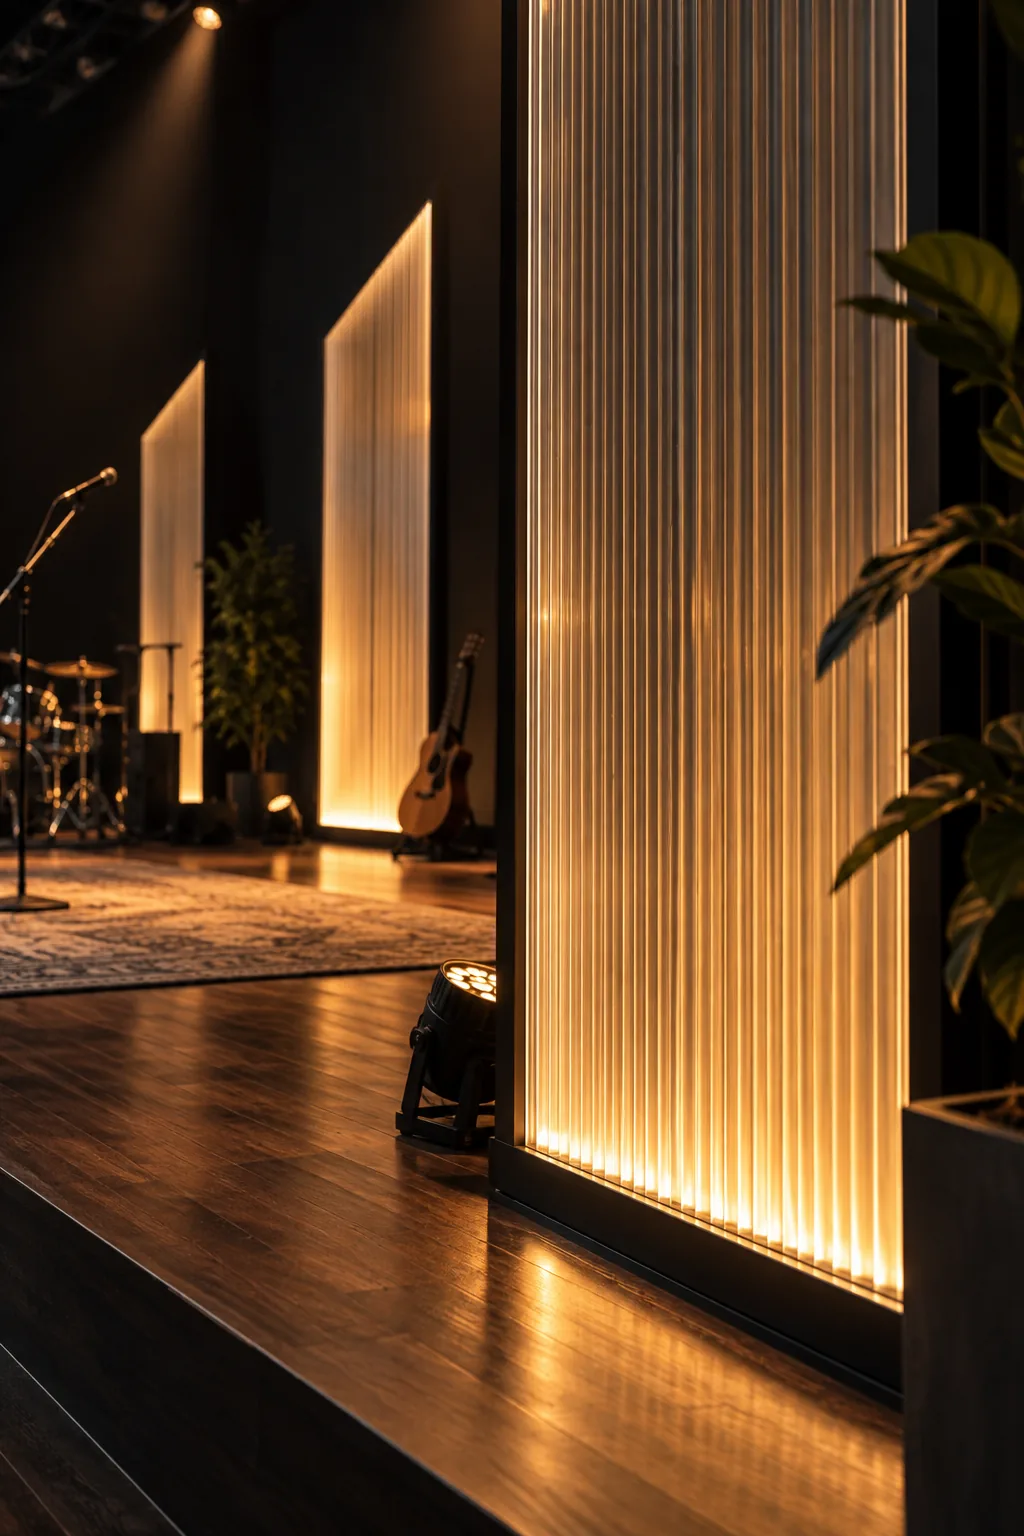
This ultra-matte finish creates an infinite void behind the panels, drawing the congregation’s focus entirely to the illuminated architectural elements in the foreground. Choosing the wrong paint finish can instantly ruin the illusion of infinite depth behind your stage.
Assessing the Existing Back Wall
Before applying any new coatings, evaluate your current stage wall for structural flaws or previous glossy paint jobs. Any existing sheen must be thoroughly deglossed, or your new flat black layer will simply peel away under the heat of the stage lights.
Repairing Drywall Imperfections
Harsh stage lighting reveals every single dent, nail pop, and poorly taped seam on a back wall. I always require my crews to apply a Level 4 drywall finish, floating the joints extra wide to ensure a perfectly monolithic surface.
Selecting the Right Primer
A high-quality bonding primer is non-negotiable when transitioning to a dark, light-absorbing stage backdrop.
- Purchase a high-hide acrylic primer.
- Ask the paint desk to tint it dark gray.
- Apply one thick, even coat using a 1/2-inch nap roller.
Tinting the primer significantly reduces the number of expensive topcoats needed to achieve that flawless, infinite void effect.
Applying the Flat Black Paint
Roll the flat black paint using vertical, overlapping strokes to maintain a consistent wet edge across the entire wall. Maintaining this technique prevents visible roller marks from showing up when the side-fill lights inevitably hit the surface.
Measuring the Stage Dimensions
Precise spatial planning is the only way to ensure your glowing columns feel scaled to the room. Measure the total width of your usable stage deck and mark the exact center point with a piece of white tape to establish your anchor.
Building the Set: Fluted Polycarbonate Panels
Standard fluted polycarbonate roofing sheets offer a high-end frosted glass look for a fraction of the cost. I actually used these exact lightweight panels to build a glowing room divider in a downtown Denver loft project, and the light diffusion is breathtaking.
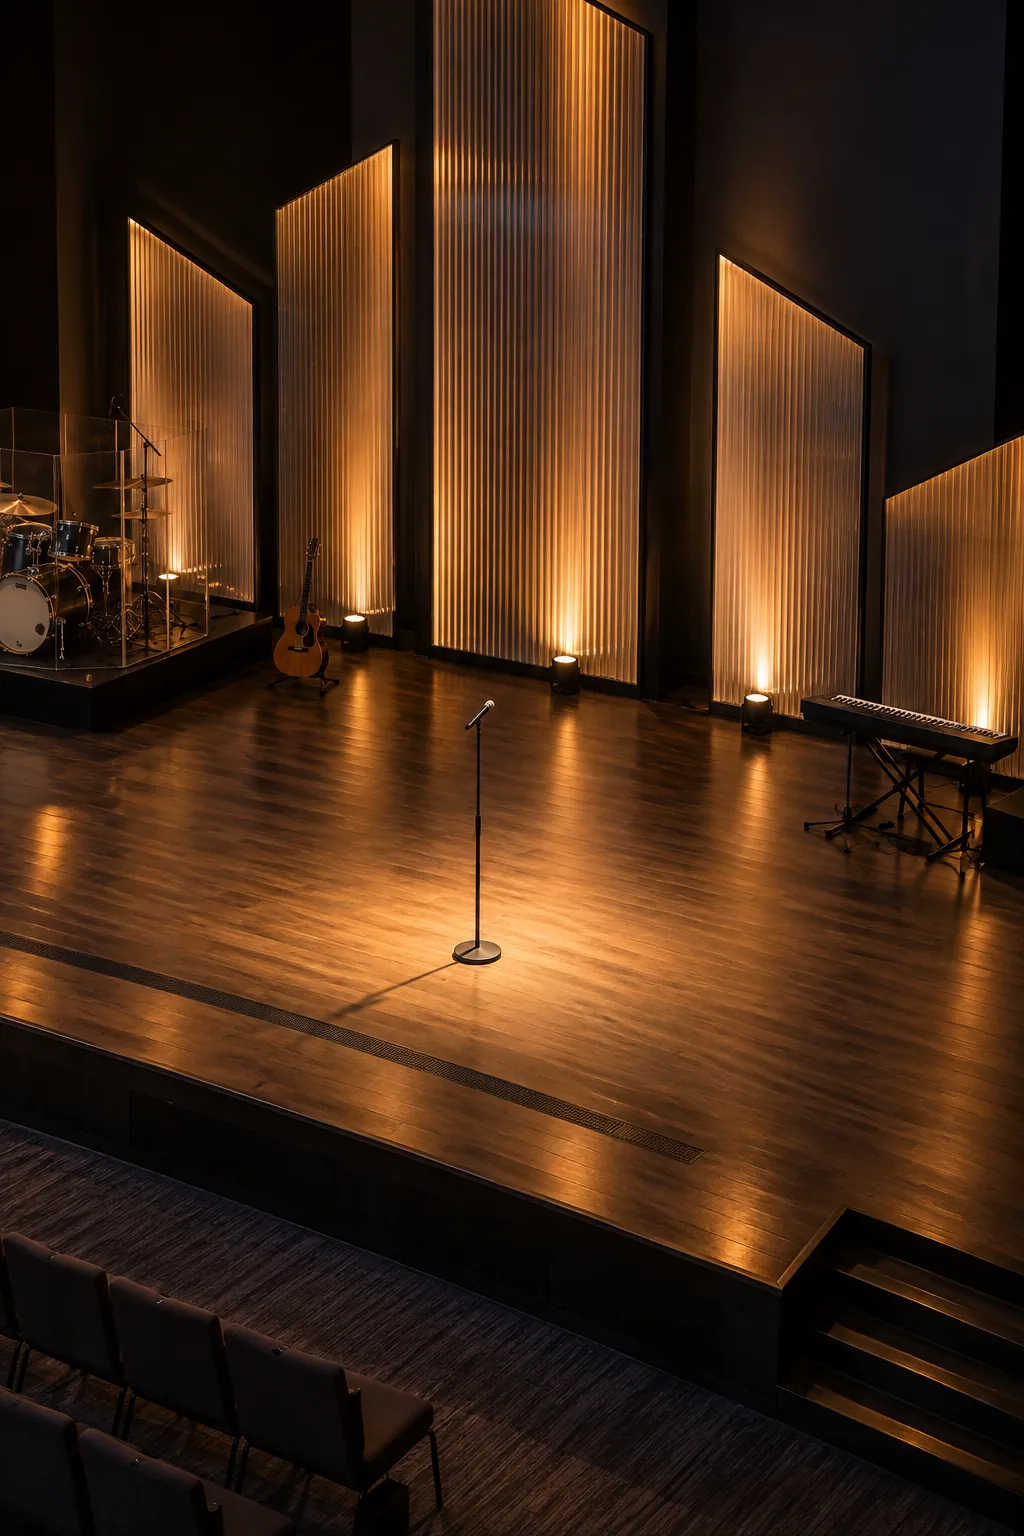
Cut these versatile sheets into staggered heights ranging from 6 to 10 feet to build an engaging, architectural focal point.
Sourcing Budget-Friendly Plastics
You can easily source 4×8 polycarbonate twin-wall sheets at commercial greenhouse suppliers or local architectural building yards. Buying directly from agricultural suppliers often cuts the material cost in half compared to purchasing from big-box hardware stores.
Choosing the Right Panel Thickness
For freestanding stage designs, 8mm or 10mm thick panels provide the ideal balance of structural rigidity and light transmission. Thinner sheets tend to warp under their own weight, while thicker sheets block too much of the LED beam.
Panel Spacing and Layout Strategy
Proper spacing prevents the stage from feeling like a solid, overwhelming wall of plastic. When I design a layout, I apply the Eastern concept of “Ma” or negative space, leaving 12 to 18 inches of empty space between each vertical panel.
| Stage Width | Panel Count | Gap Width |
|---|---|---|
| 20 feet | 5 panels | 18 inches |
| 30 feet | 7 panels | 15 inches |
| 40 feet | 9 panels | 12 inches |
This precise mathematical rhythm allows the matte black backdrop to frame the glowing columns, creating a balanced, breathable visual structure.
Designing a Symmetrical Layout
Always build your design outward from the center line to ensure perfect visual symmetry on camera. Placing your tallest 10-foot panel directly in the middle anchors the stage, allowing the shorter side panels to naturally guide the eye inward.
Cutting the Polycarbonate Sheets
Cutting fluted plastic requires a gentle touch to prevent the delicate internal ridges from shattering. Always use a fine-tooth circular saw blade installed backward to cleanly slice the material through friction rather than tearing it.
Constructing the Wooden Anchors
To keep the panels perfectly vertical, build simple L-shaped wooden floor brackets out of standard 2×4 lumber. Paint these structural spines flat black so they completely disappear against the backdrop when the house lights go down.
Fastening the Panels Securely
Attach the polycarbonate sheets to your wooden anchors using black washer-head screws driven directly through the plastic flutes. The wide washer head distributes the pressure, ensuring the brittle plastic does not crack when the bass frequencies vibrate the stage.
The Secret Weapon: Narrow 20° Beam Graze
To make the polycarbonate glow without washing out the back wall, use floor-mounted LED fixtures with a tight 20-degree beam angle. I use this exact grazing technique in residential dining rooms to highlight textured stone walls without causing glare.
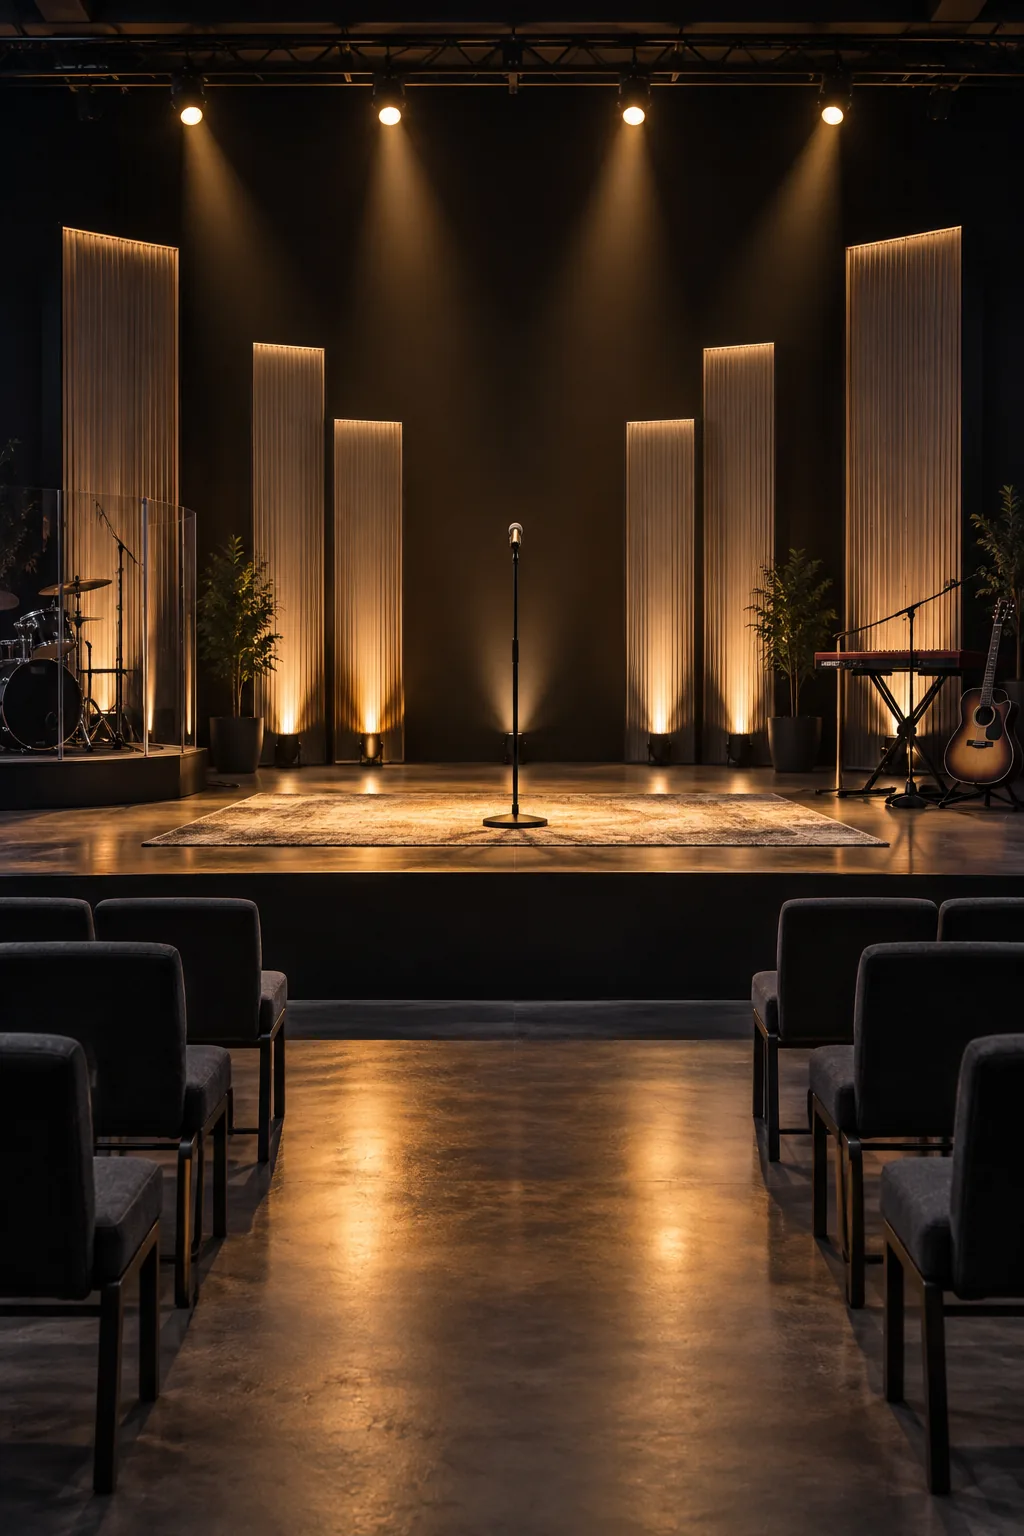
Position the lights exactly 4 to 6 inches from the base of the panels to perfectly graze the fluted texture.
Understanding Beam Angles
A narrow beam angle concentrates the light strictly on the vertical ridges of the plastic rather than spilling onto the floor. If you use a standard 40-degree wash fixture, the light will hit the black wall and destroy the illusion of depth.
Positioning the Floor Fixtures
Center each LED fixture perfectly beneath its assigned panel to ensure the light travels straight up the internal flutes. Even a slight horizontal misalignment will cast crooked, distracting shadows across the top half of the plastic sheet.
Dialing in the LED Color Palette
Selecting the right uplighting colors heavily influences the emotional warmth of the worship space. I recommend blending rich amber and deep blue tones across alternating panels to balance energetic warmth with calming, grounded stability.
Blending Eastern and Western Lighting Concepts
Western design often pushes for maximum brightness, but Eastern aesthetics embrace the beauty of intentional shadows. By keeping the backdrop completely dark and only illuminating the panels, you create a striking, contemplative atmosphere that feels both modern and reverent.
Balancing the Stage: Warm Wash Front Light
Dramatic backdrops require clear, flattering illumination for the people standing on stage. Use a 3200K warm white wash from your front lighting truss to separate the speaker and musicians from the glowing geometric background.
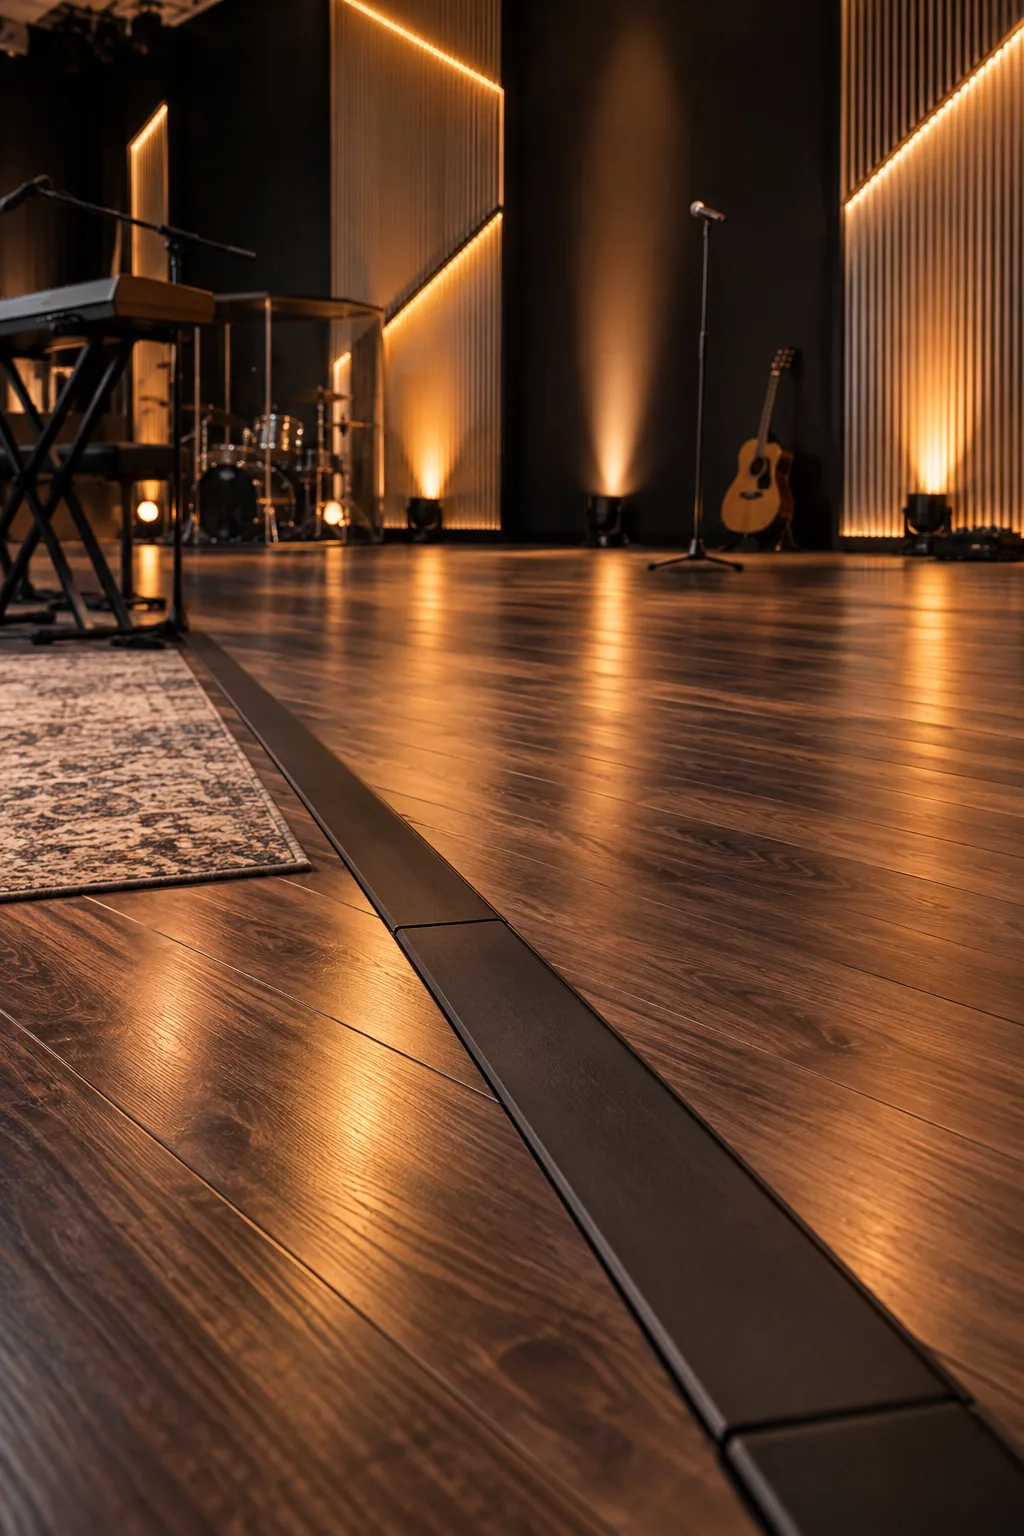
This dedicated front lighting ensures skin tones look natural and healthy on your live stream cameras.
Selecting the Ideal Color Temperature
Mixing different color temperatures on human faces creates a sickly, unnatural appearance on video. Lock all of your front wash fixtures to exactly 3200 Kelvin to mimic the flattering, familiar glow of traditional incandescent theatrical lamps.
Positioning the Front Lighting Truss
Hang your primary front wash fixtures at a 45-degree angle above and in front of the main speaking position.
This classic structural angle eliminates harsh shadows under the eyes and chin while keeping the intense beam out of the speaker’s direct line of sight.
Eliminating Unwanted Facial Shadows
To further soften the front wash, add a secondary fill light from the opposite side at a slightly lower intensity. This cross-fading technique gently wraps the light around the face, creating a three-dimensional, broadcast-ready image.
Hiding the Clutter: Floor Cable Channels
A professional stage must look impeccably clean on camera and remain strictly safe for the band. In my own home theater installs, I route all cords through low-profile, matte black rubber floor channels to completely eliminate visual clutter.
Routing Audio and Power Separately
Never run your microphone cables in the same channel as your heavy lighting power cords. Parallel routing of audio and high-voltage power introduces electromagnetic interference, causing a highly distracting buzz in the main sound system.
Securing Cables with Gaffer Tape
Once the cables are channeled, lock everything down securely to the stage deck. Use strips of black gaffer tape perpendicular to the channels every three feet to anchor the rubber mats firmly to the wooden floor.
Preventing Tripping Hazards on Stage
Low-light worship environments demand strict attention to floor safety around the musician zones. Running all cables at strict 90-degree angles along the natural perimeters of the stage ensures no one trips during a mid-service transition.
Power Distribution and Safety Checks
Isolate your lighting power from your audio circuits to prevent an audible ground hum in the sound system.
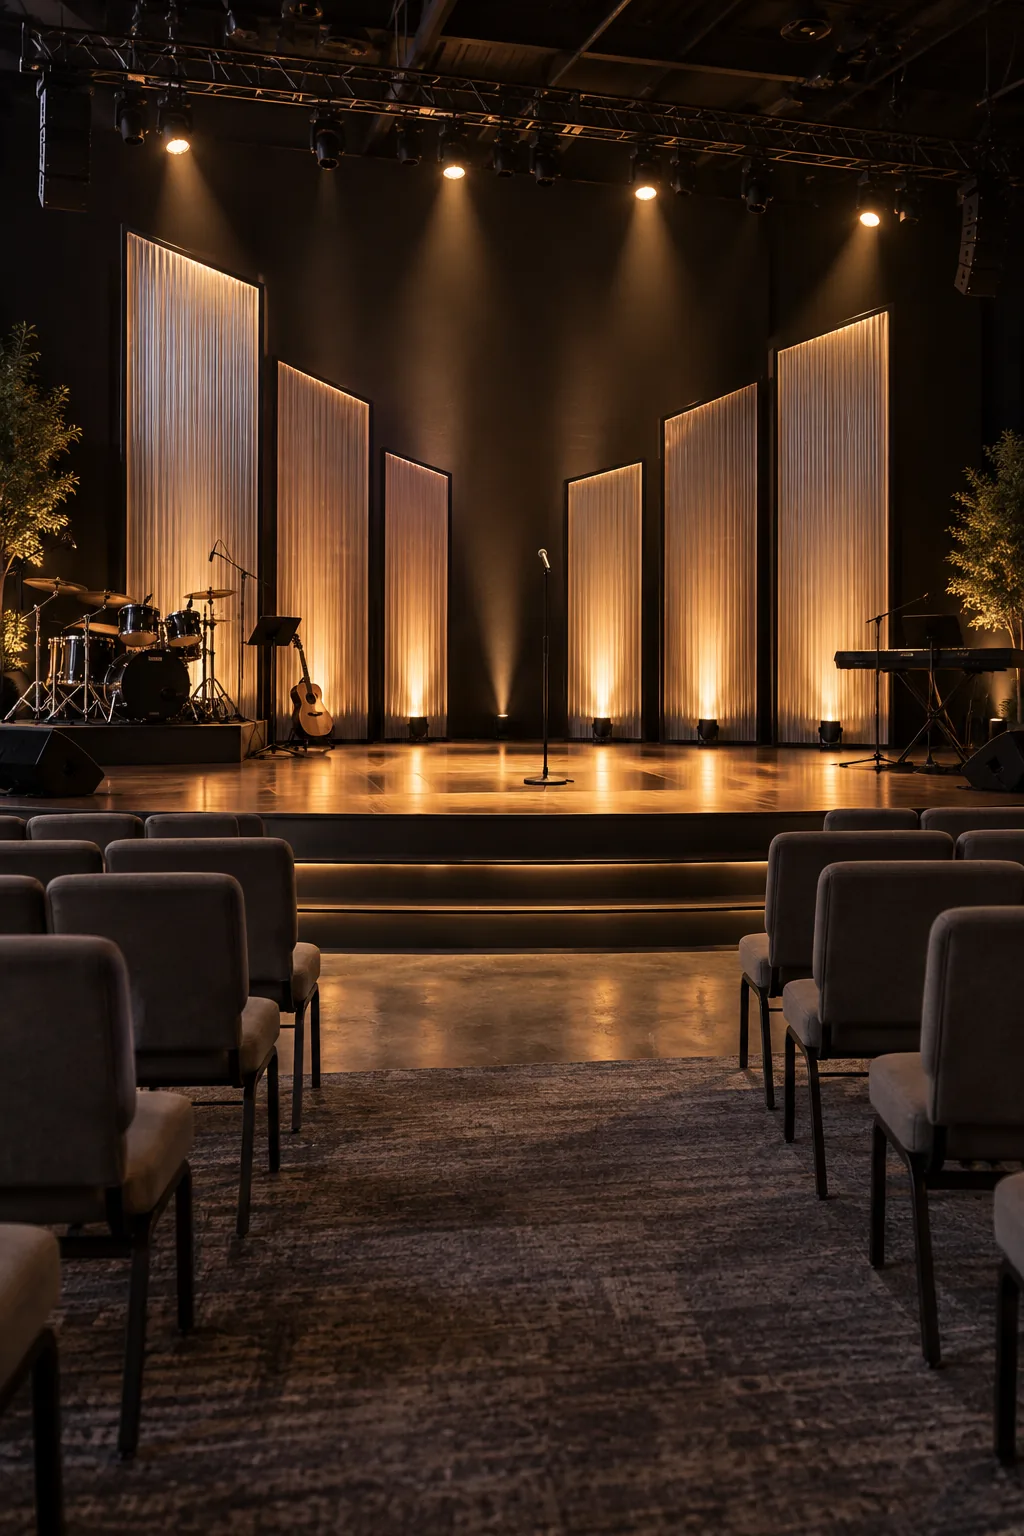
Ensure no single 15-amp circuit is loaded past 80 percent capacity with LED fixtures. Before the worship band steps on stage, run through a quick technical rehearsal to verify your power and lighting stability.
Calculating LED Circuit Loads
Always check the wattage draw of your specific LED fixtures before daisy-chaining them across the stage. Divide the total fixture wattage by your local voltage to find the exact amperage, ensuring you never trip a breaker mid-service.
Managing DMX Signal Chains
Long runs of lighting data cables require a DMX terminator at the end of the line to prevent signal bounce. Plugging a simple 120-ohm resistor into the final fixture guarantees your panels won’t randomly flicker or change colors.
The Complete Material & Lighting Cheat Sheet
To replicate this exact stage, you need four core items: flat black latex paint for the backdrop, 4×8 fluted polycarbonate sheets for the columns, 20-degree LED par cans for the graze, and matte black rubber cable protectors.
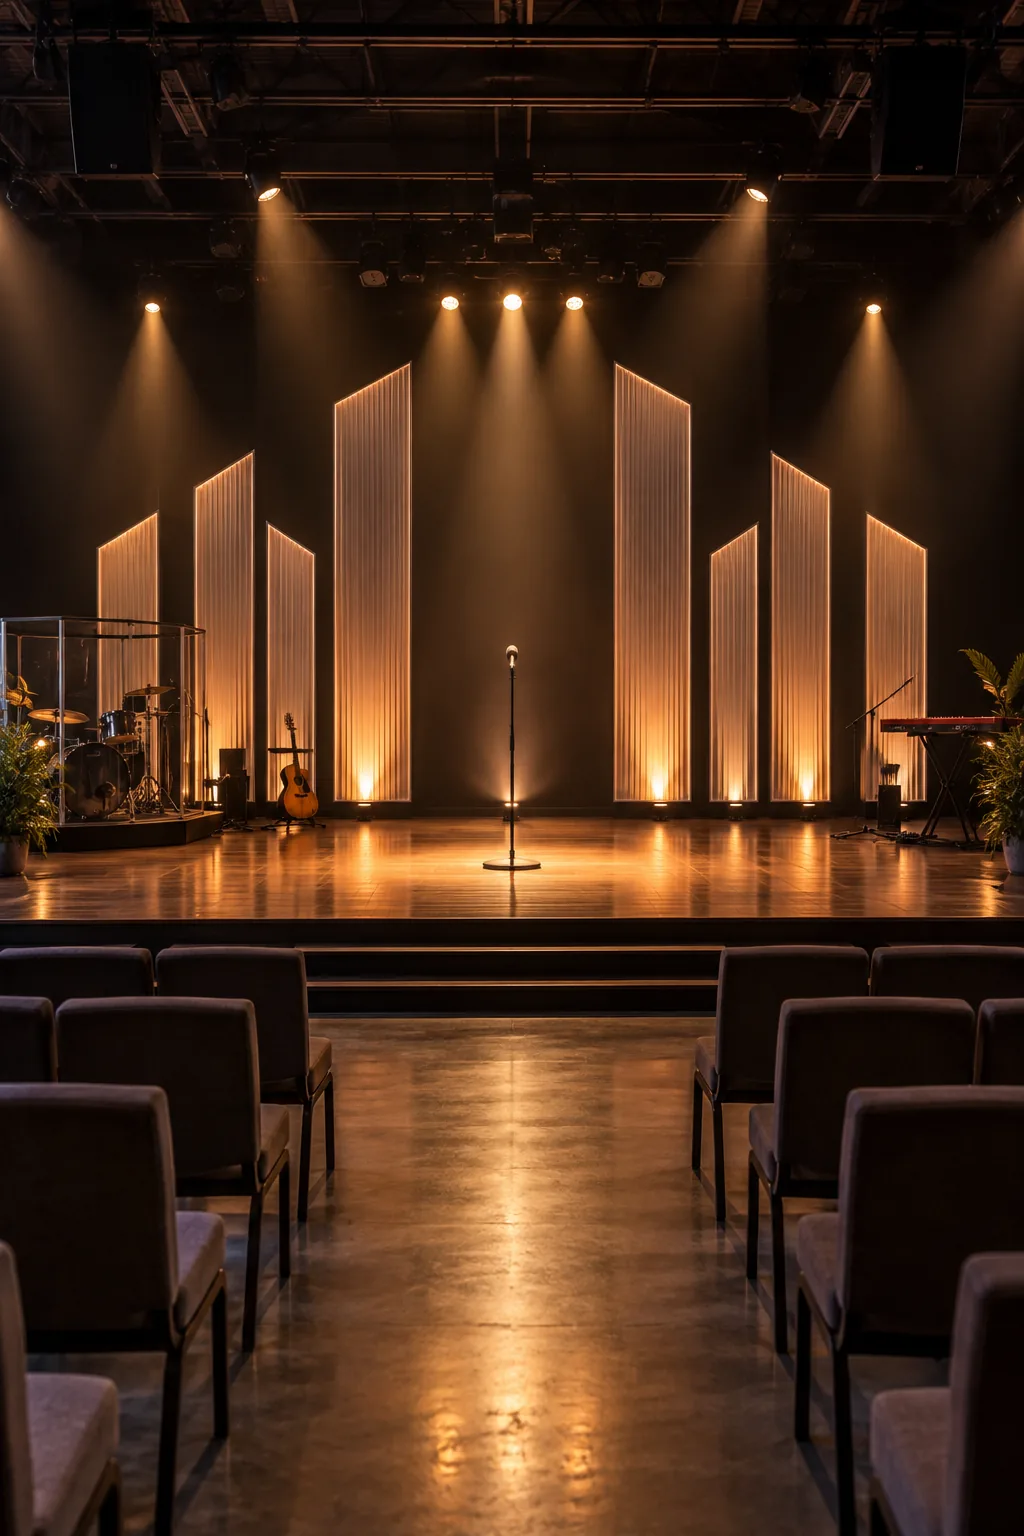
Combining these budget-friendly materials creates a broadcast-ready environment that feels both expansive and deeply intentional.
More Stage Lighting Looks to Try
Explore these different styling approaches to adapt the glowing panel concept for your specific sanctuary.
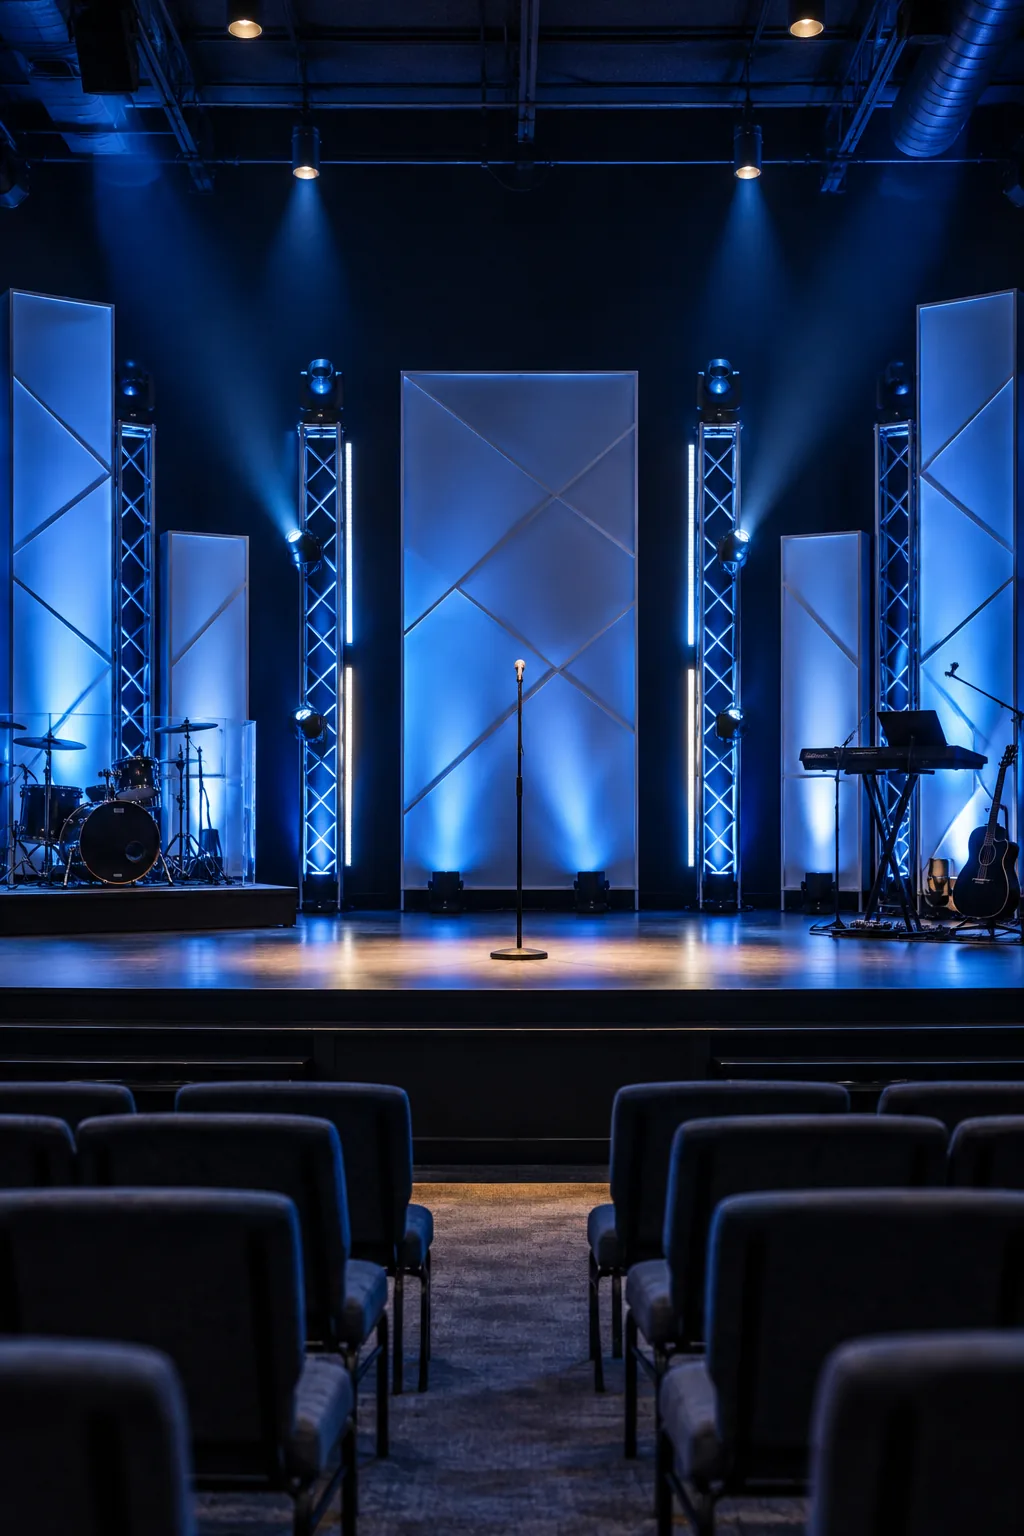
Cool Blue Tech Stage: Industrial silver trussing pairs perfectly with deep blue LED washes for a modern, high-energy youth ministry vibe.
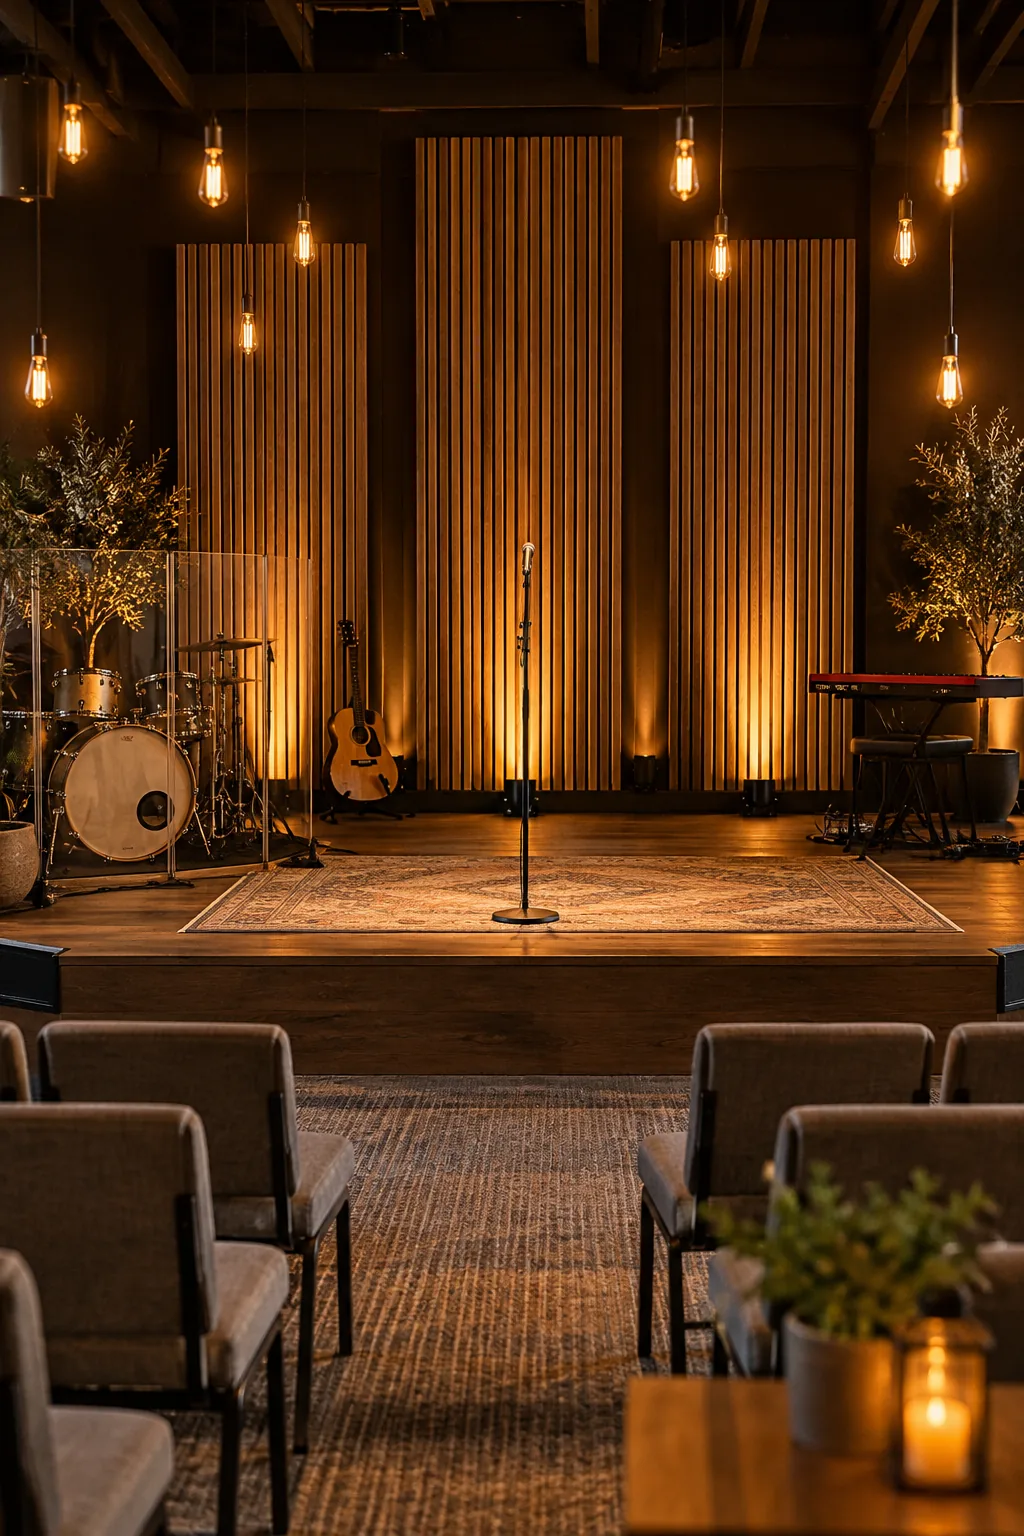
Warm Wood Acoustic: Natural slatted wood panels and vintage filament bulbs create an inviting, intimate atmosphere for acoustic worship sets.
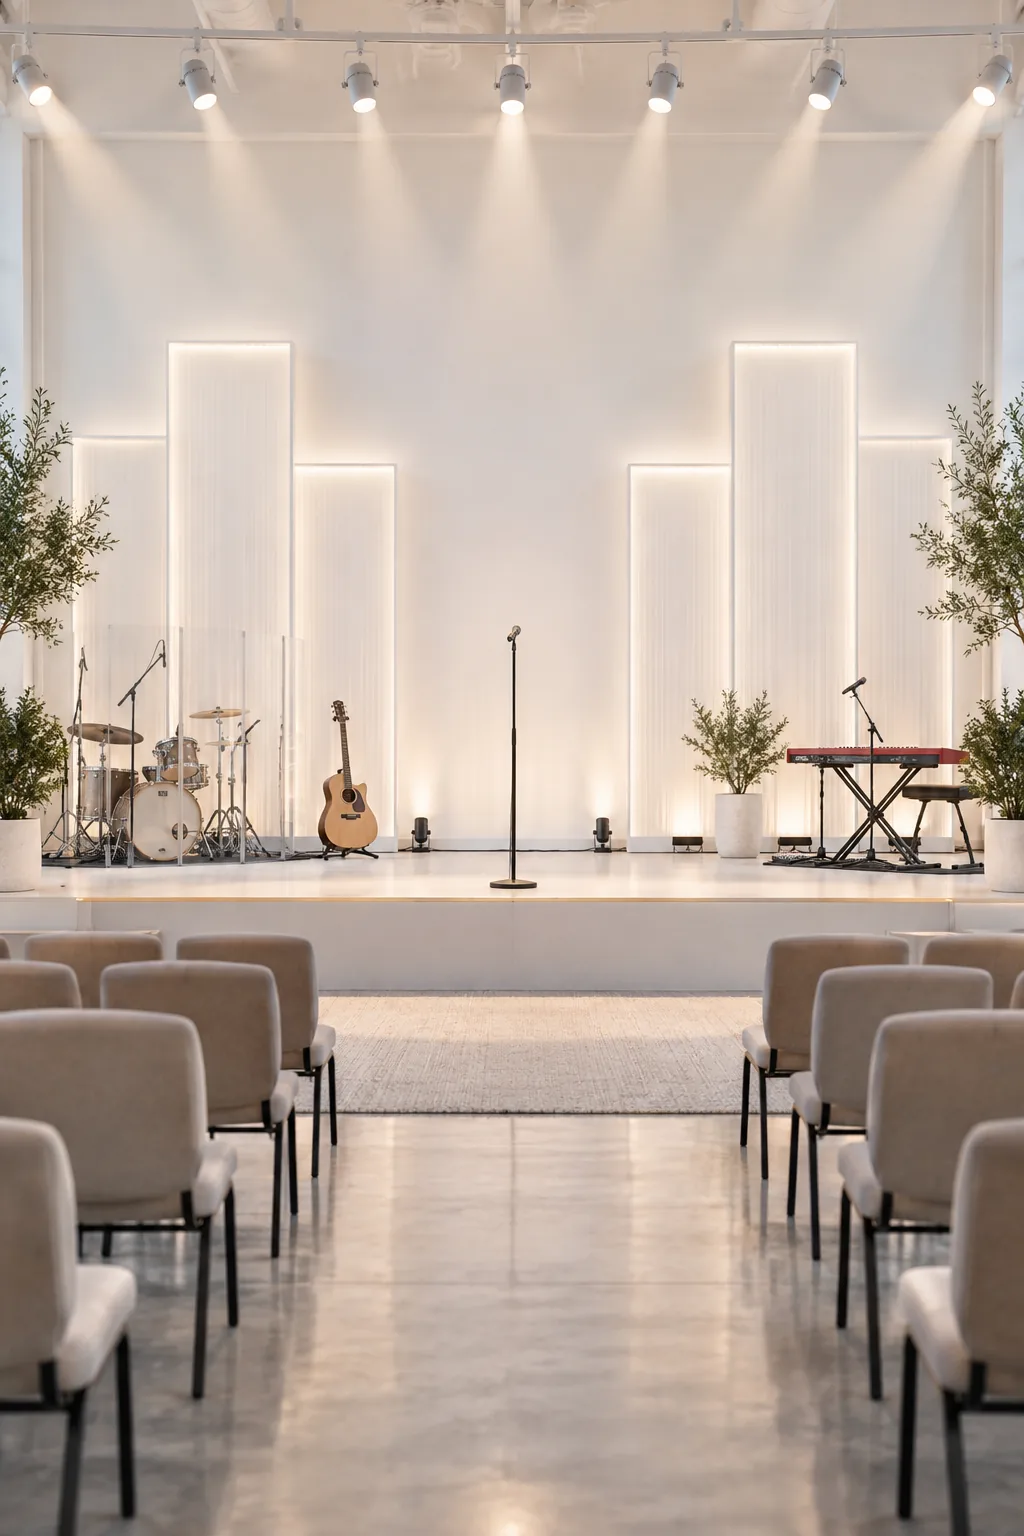
Minimalist White Worship: A seamless white backdrop flooded with crisp white light offers a clean, distraction-free environment for contemporary services.
Vibrant Gradient Youth: Corrugated metal panels set at sharp angles beautifully catch dual-color gradient lighting for a highly dynamic visual impact.