
How to Tile Around a Bathtub: The Complete Step-by-Step Guide
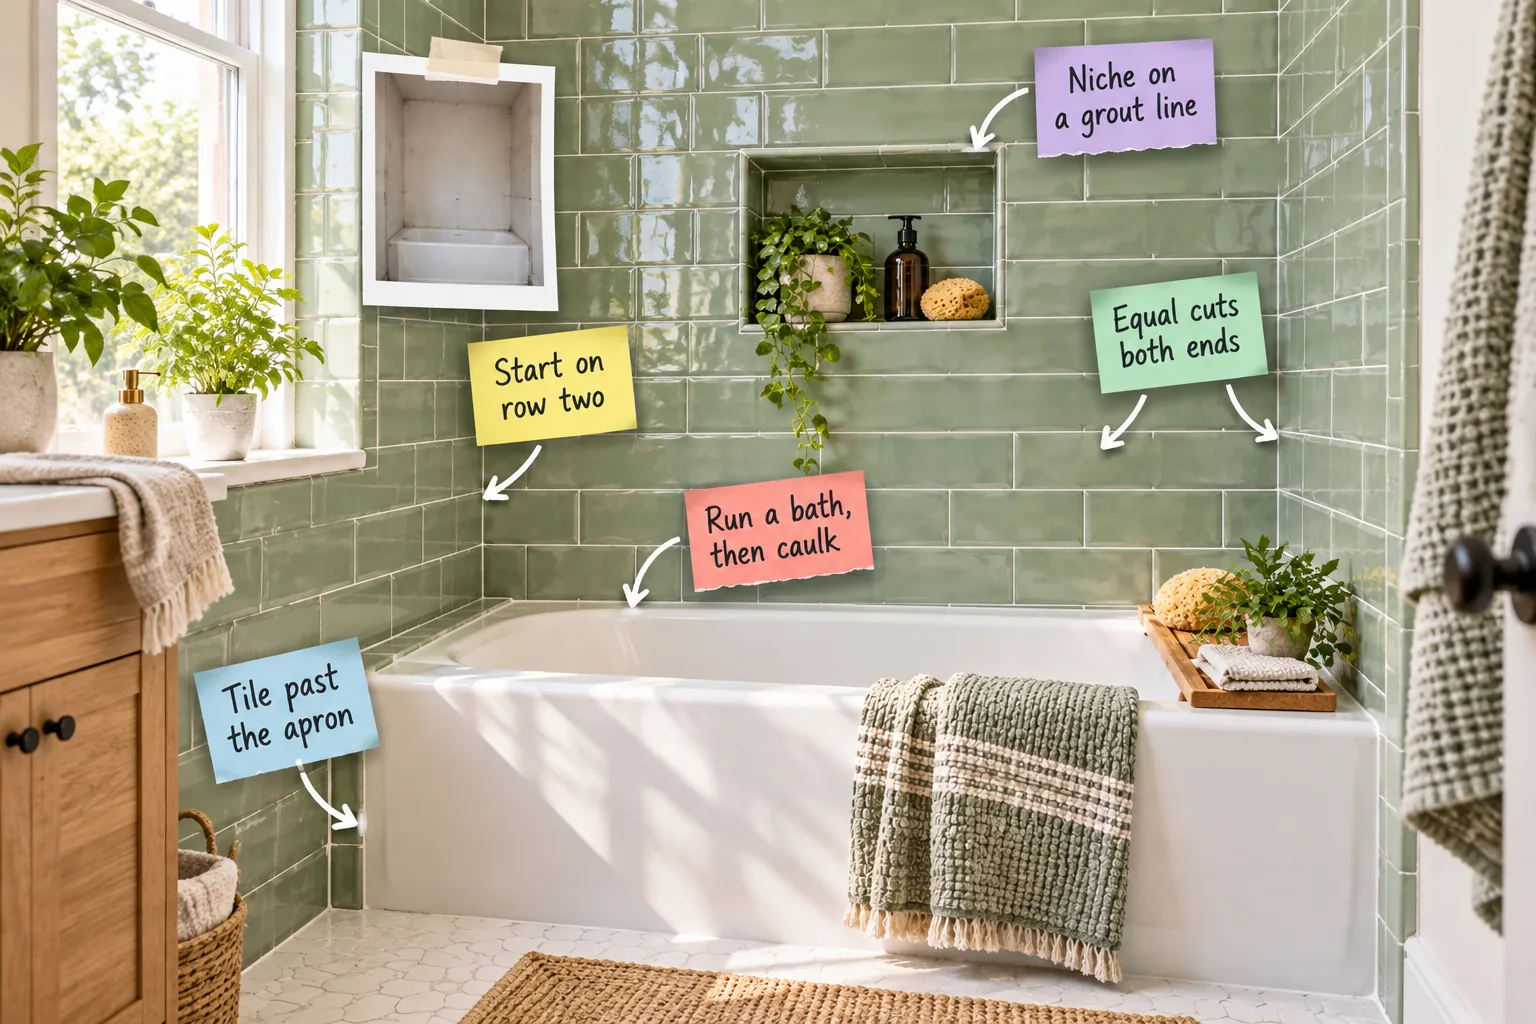
You will be able to map out a perfectly symmetrical layout and waterproof the final joints by grabbing our printable Tub Surround Tiling Sheet. This fill-in measurement guide includes the complete order-of-work step sequence to transform a bare alcove into a finished spa wall.
Map the Wall with the Tiling Layout Sheet
Before mixing a single batch of thinset, you need a bulletproof plan that dictates exactly where every tile lands across the back and side walls. Using a fill-in layout measurement sheet ensures your grout lines stay perfectly level and your corner cuts remain visually balanced.
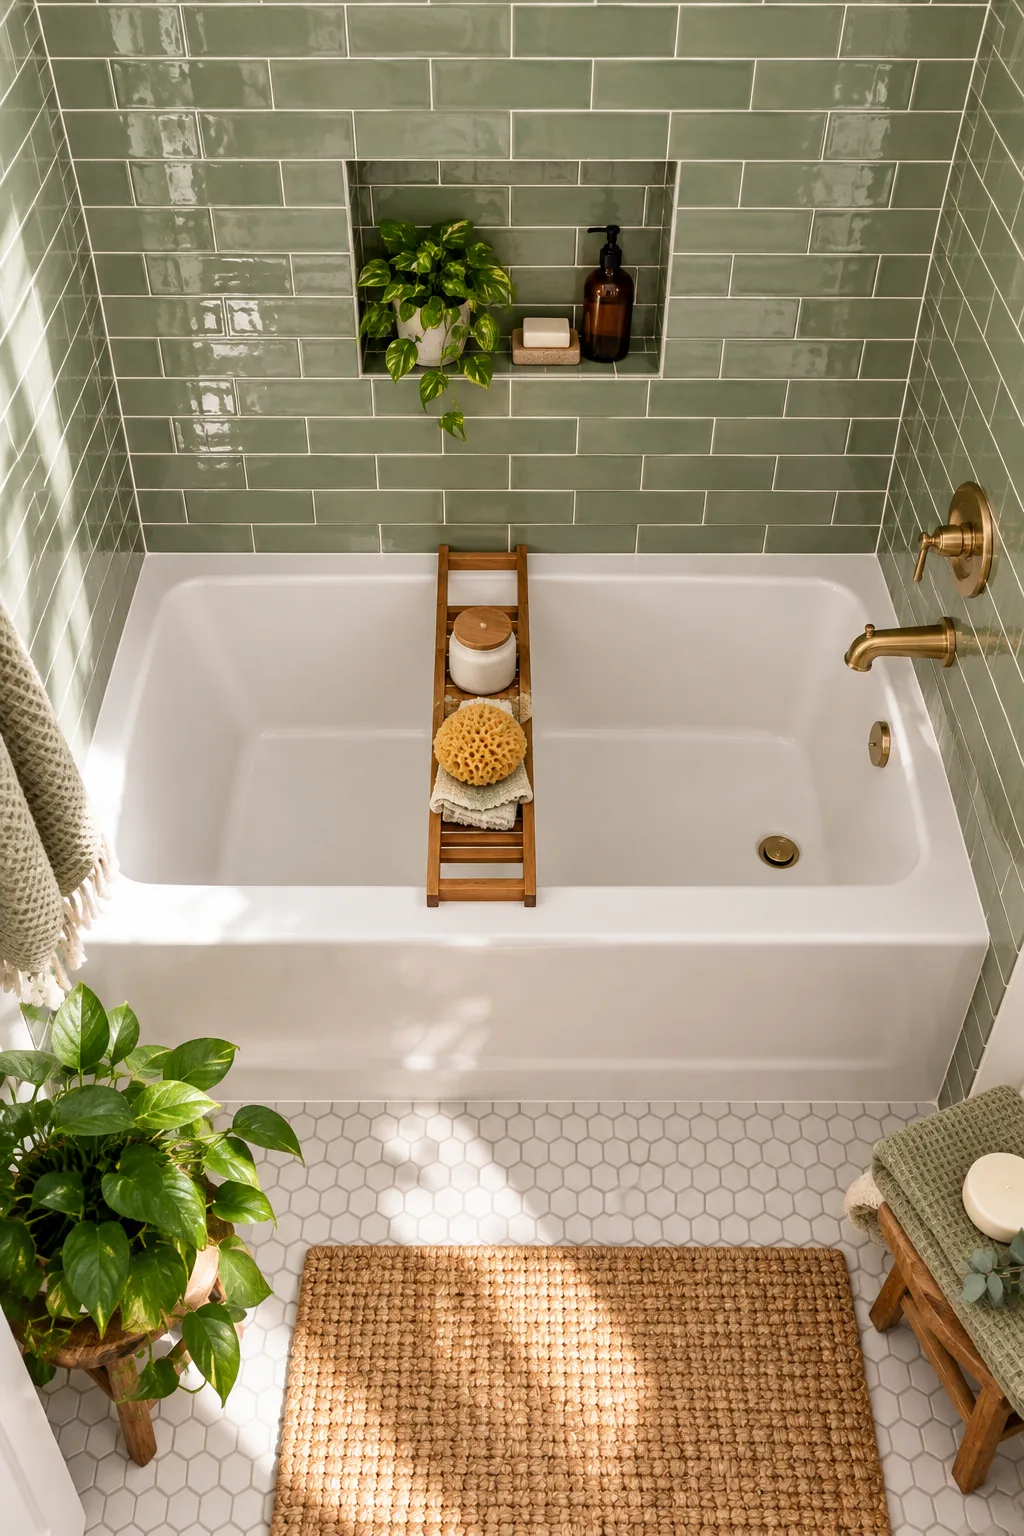
Grab the printed two-page guide to record your specific ledger height, back-wall centerlines, and the exact niche placement based on your unique dimensions. Rather than relying on standard tub measurements, physically measure your space to establish the critical layout lines for a flawless installation.
- Measure the back wall width: Find the exact distance between the two side walls at the bottom, middle, and top to locate the true center point.
- Calculate the vertical courses: Mark your tile heights on a story pole to determine where the grout lines will intersect your planned shower niche.
- Locate the lowest deck point: Use a long level across the bathtub rim to identify the lowest corner, establishing your starting height for the ledger board.
- Plan the side wall depth: Measure from the back wall to the front edge of the tub apron to calculate how many full tiles will fit.
- Follow the step sequence: Use the included checklist to track your progress from hanging the backer board to smoothing the final bead of silicone.
Center the Back Wall for Equal Corner Cuts
Establishing the back wall centerline is the golden rule of tiling because it guarantees equal cuts at both inside corners. Shifting your layout left or right creates a jagged, asymmetrical grid that immediately draws the eye to the uneven edges, ruining the professional finish.
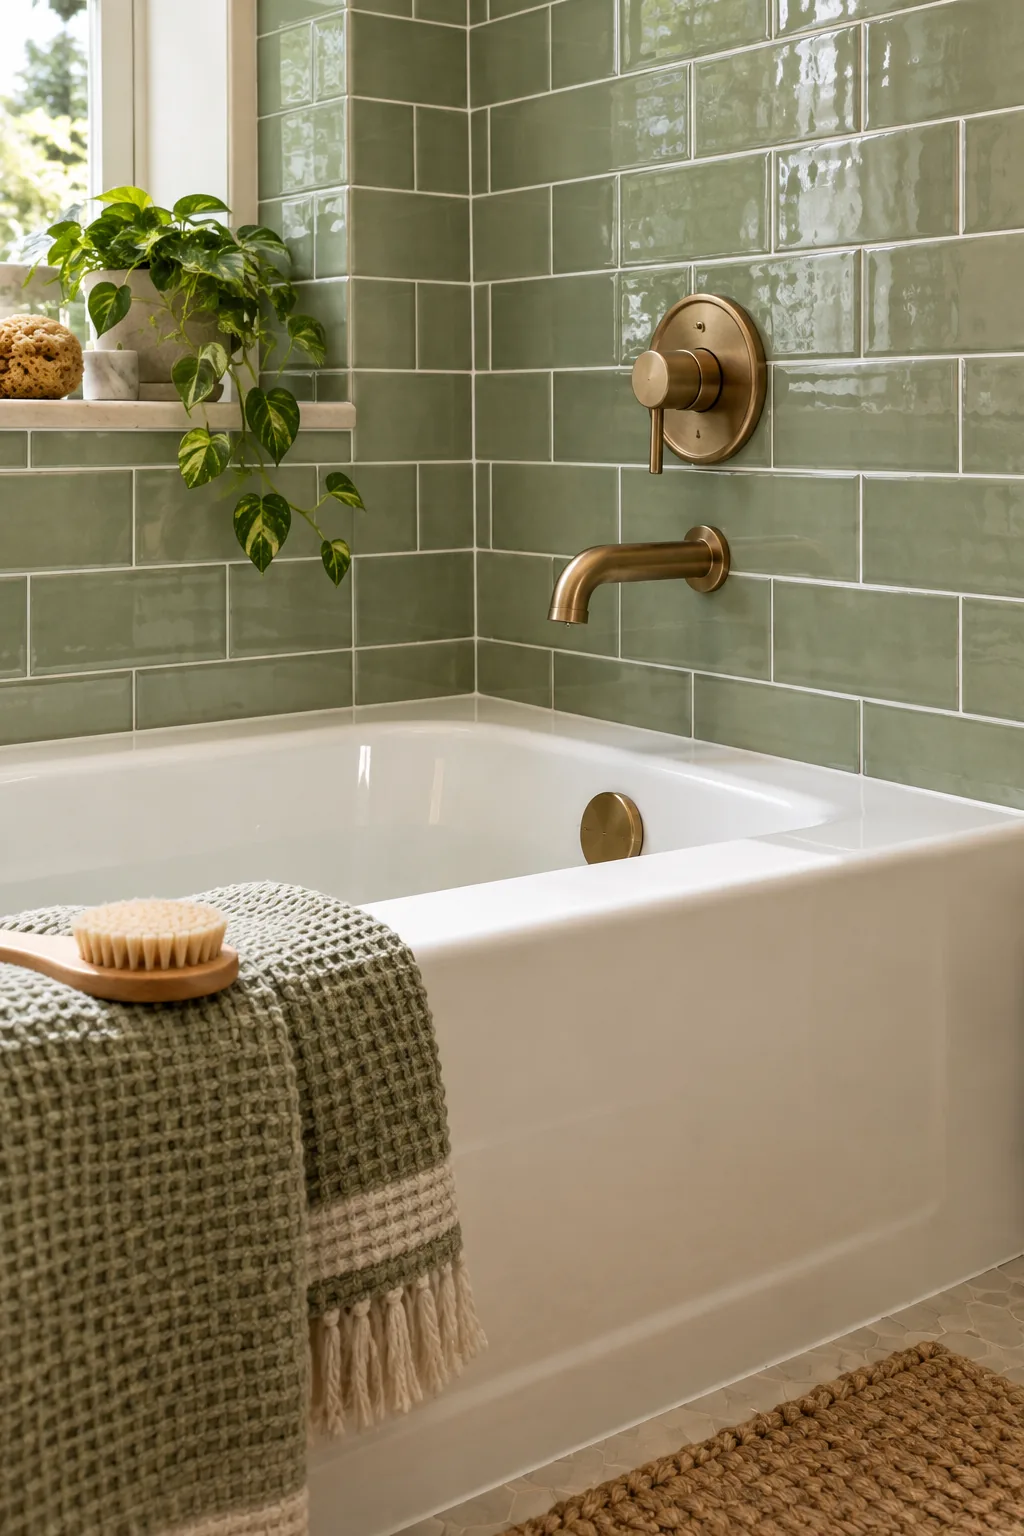
Calculate your layout to leave at least a half-tile width at the corners to prevent awkward, fragile slivers that are difficult to cut and prone to cracking. If your initial centerline leaves a tiny sliver, shift the starting point by half a tile.
| Back Wall Width | Subway Tile Size | Centerline Adjustment | Resulting Corner Cut |
|---|---|---|---|
| 60.0 inches | 3 by 6 inches | Use true center mark | 3.0 inches (Half tile) |
| 59.5 inches | 3 by 6 inches | Shift 1.5 inches left | 3.5 inches at corners |
| 59.0 inches | 3 by 6 inches | Shift 1.5 inches right | 4.0 inches at corners |
| 61.0 inches | 3 by 6 inches | Shift 1.5 inches left | 4.5 inches at corners |
| 61.5 inches | 3 by 6 inches | Shift 1.5 inches right | 5.0 inches at corners |
| 62.0 inches | 3 by 6 inches | Use true center mark | 5.5 inches at corners |
Support the Wall by Starting on Row Two
When I tiled my guest bathroom, I wrongly assumed the brand-new tub was perfectly flat, which caused my entire wall grid to slope noticeably. Find the lowest deck point, measure up one full tile height plus two 1/8-inch grout joints, and strike a level line.
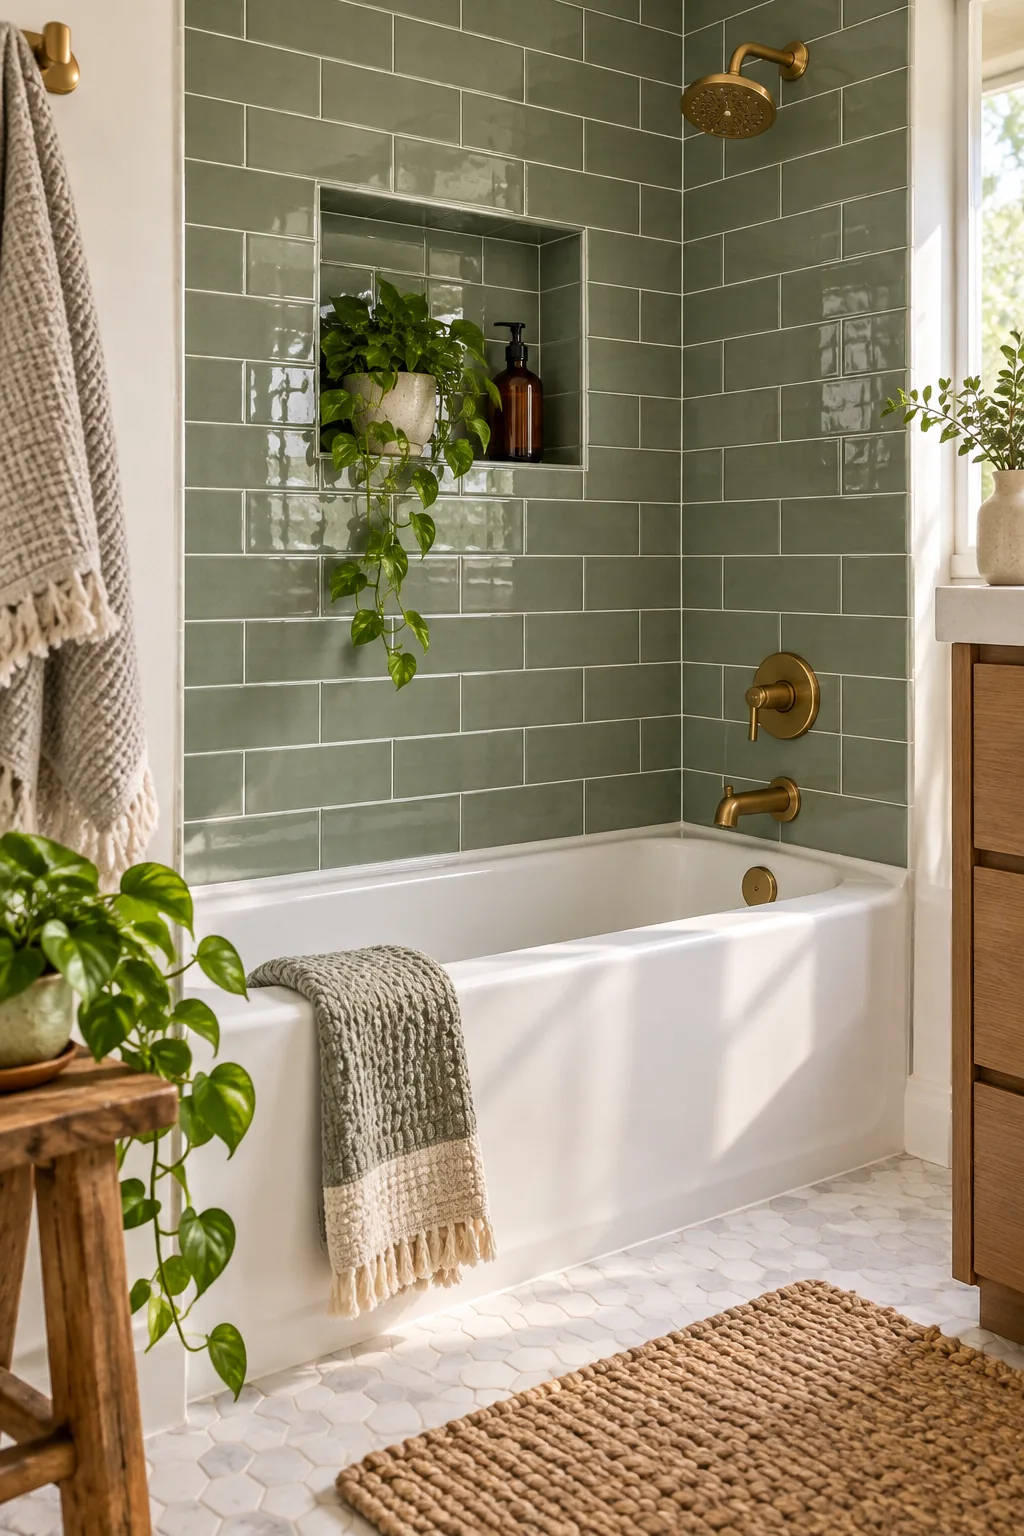
Even brand-new bathtubs settle slightly out of level, making the tub deck an unreliable foundation for your heavy tile grid. Fastening a straight ledger board at your calculated line provides a secure, level base to start on row two while the fresh thinset cures.
Align the Recessed Niche on a Grout Line
I spent hours adjusting my master bath framing to ensure the top edge of my recessed shower niche sat exactly on a horizontal grout line. Calculating vertical tile heights during the backer board phase prevents you from notching awkward L-shaped tiles around the box.
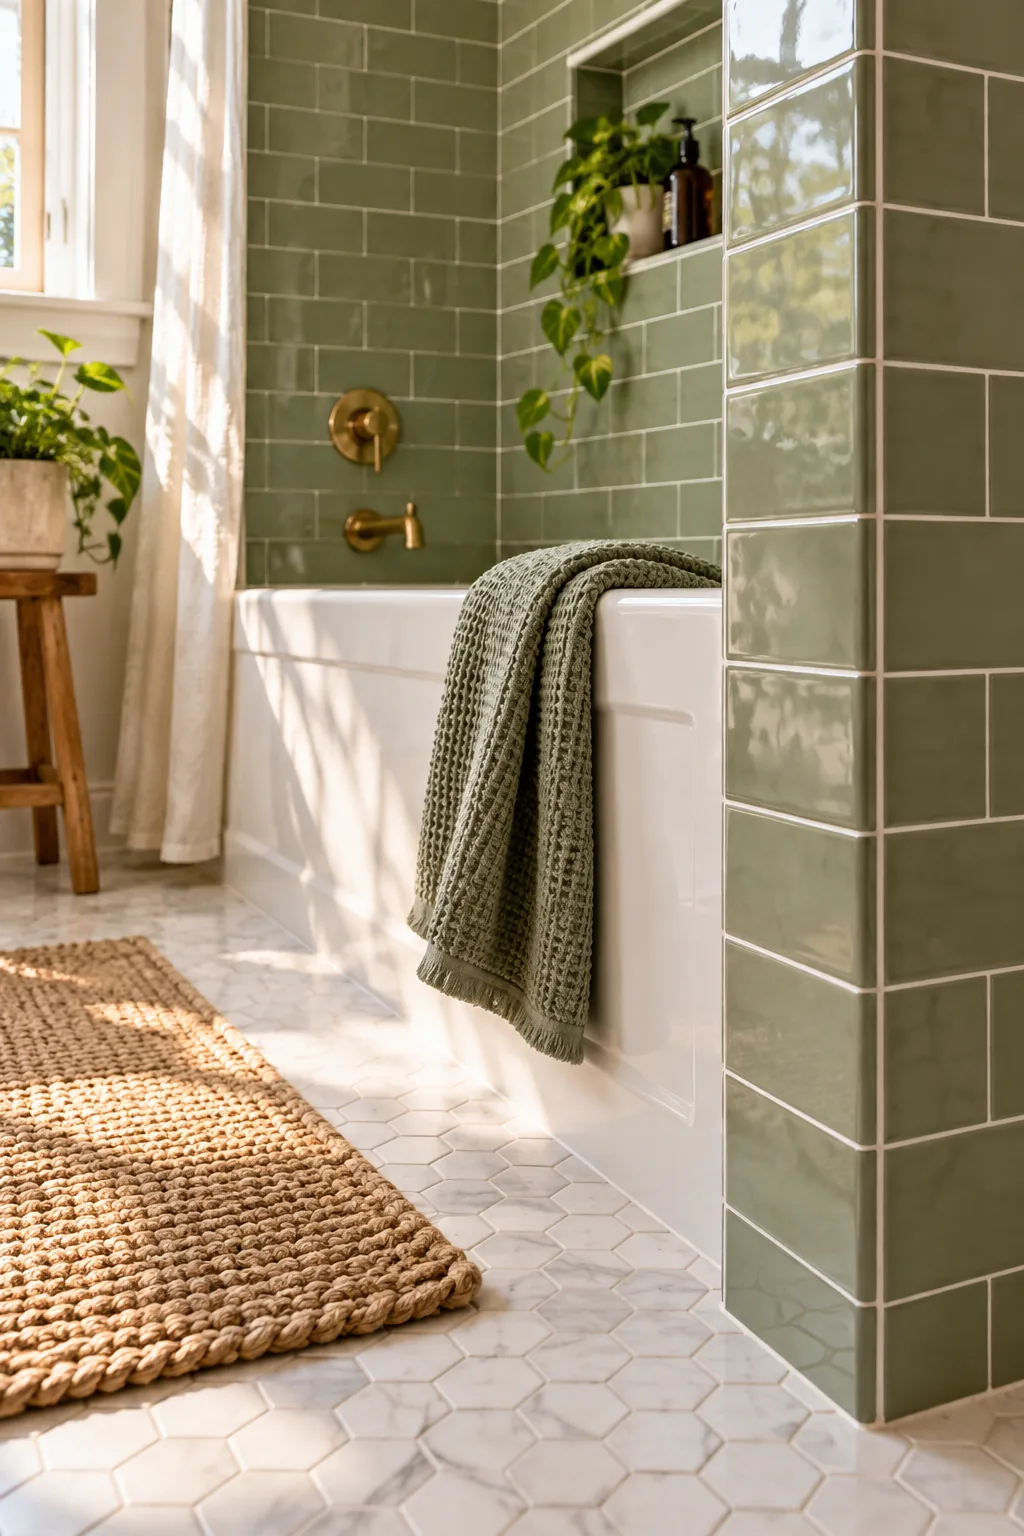
Frame the wall cavity so the finished dimensions of the waterproofed niche align perfectly with your planned tile courses. Adjusting the horizontal studs before installing the cement board guarantees the niche on a grout line blends seamlessly into the surrounding classic brick-bond pattern.
Extend the Tile Past the Tub Apron
Continuing the side wall tile past the front edge of the tub to meet the floor creates a substantial, built-in look that elevates the bathroom. This detail visually anchors the tub alcove while providing a durable, water-resistant surface next to the bathing area.
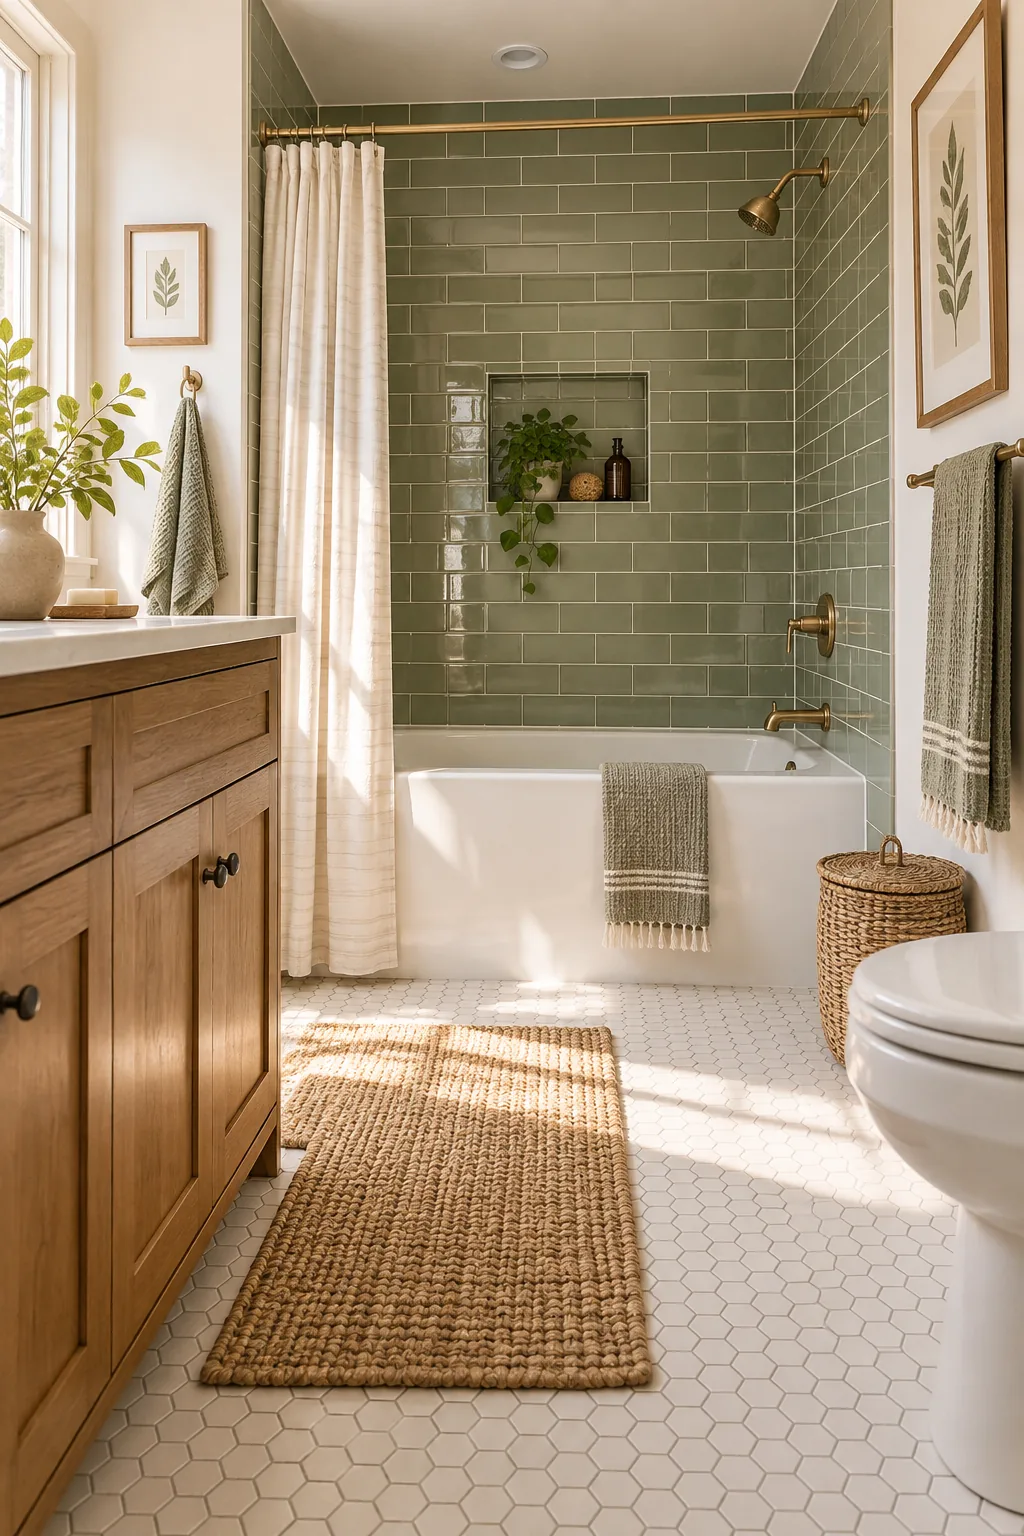
You should deliberately tile past the apron to protect the vulnerable drywall from splashes that inevitably escape the shower curtain. Dropping this tile course all the way down to the baseboard line shields the wall from daily moisture and accidental puddles.
Finish the Exposed Edges with Bullnose Tile
Capping the raw, unglazed edges of your installation with a matching ceramic bullnose tile provides a soft, traditional transition to the painted drywall. This rounded trim piece physically protects the exposed tile body from chipping while framing the alcove with a polished, intentional border.
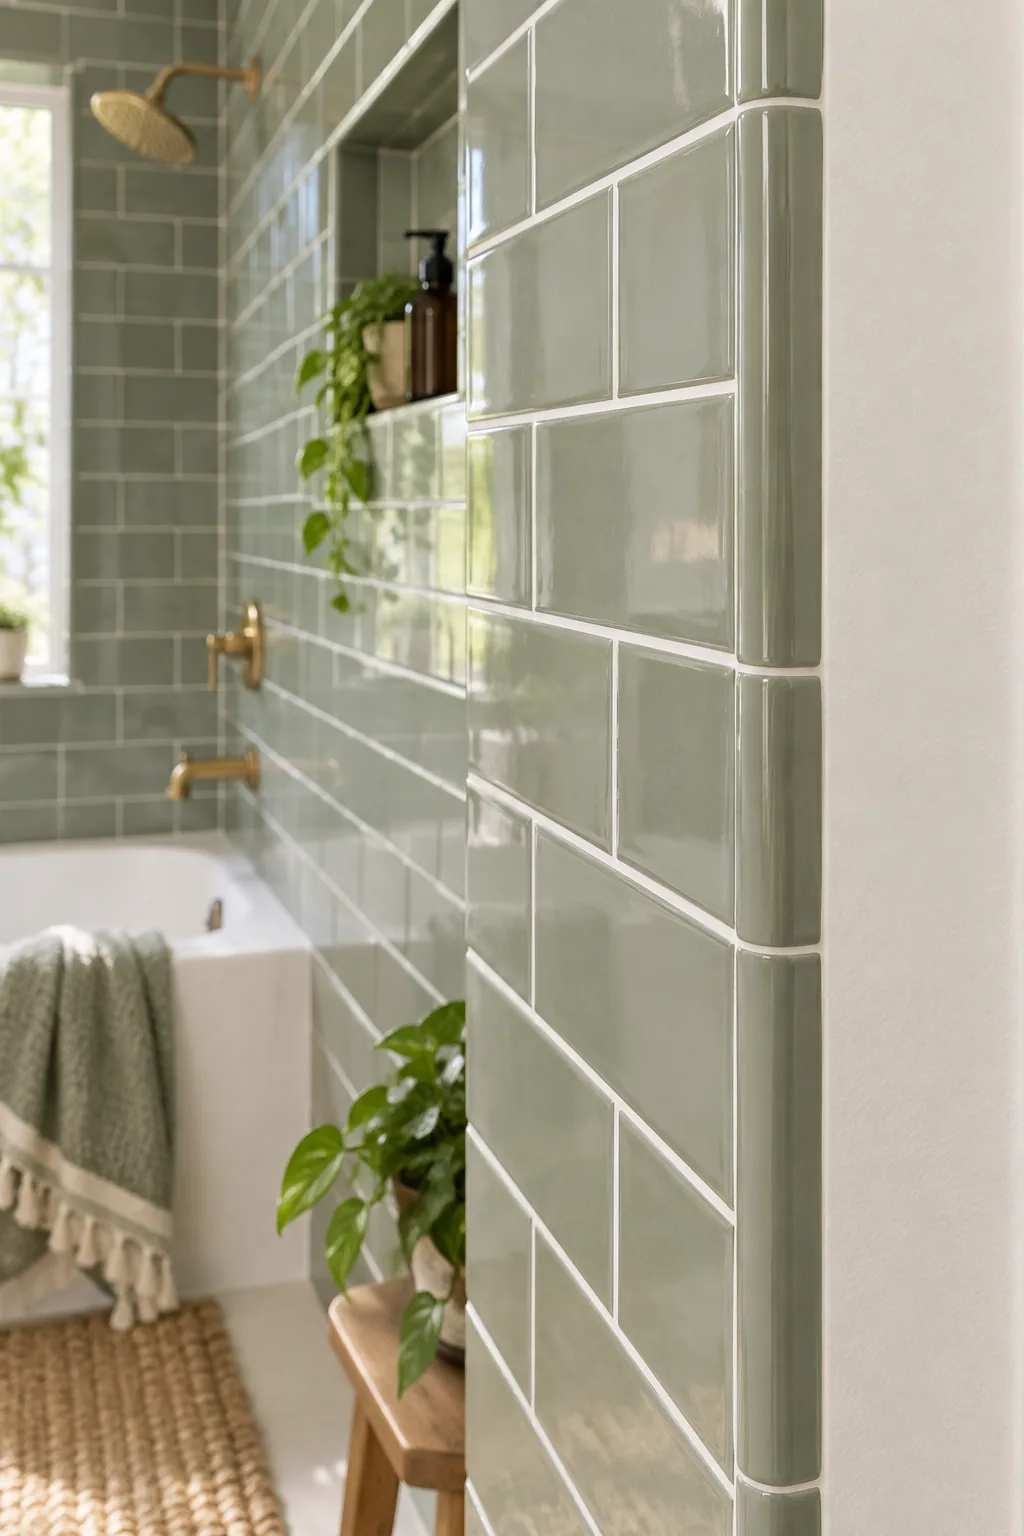
Calculate the linear footage of all exposed outside corners, including the side walls and the inner borders of the recessed niche, to determine your trim order. Purchasing ten percent extra bullnose ensures you have identical dye lots to replace pieces broken during cutting.
Lock in the Grid with High-Contrast Grout
Selecting a bright white grout highlights the classic brick-bond pattern of the sage subway tile, turning structural joints into a bold design feature. If using standard cementitious grout, apply a penetrating sealer immediately after the 72-hour curing window to lock out bathroom moisture.
Before mixing your grout, the wall must be completely prepped so the compound cures evenly and bonds directly to the tile edges. Skipping this meticulous joint preparation leads to discolored patches, weak spots, and a messy final finish that is impossible to correct later.
More Bathtub Tile Ideas to Inspire Your Remodel
Explore how different tile shapes, colors, and layouts can completely change the mood of your bathing alcove.
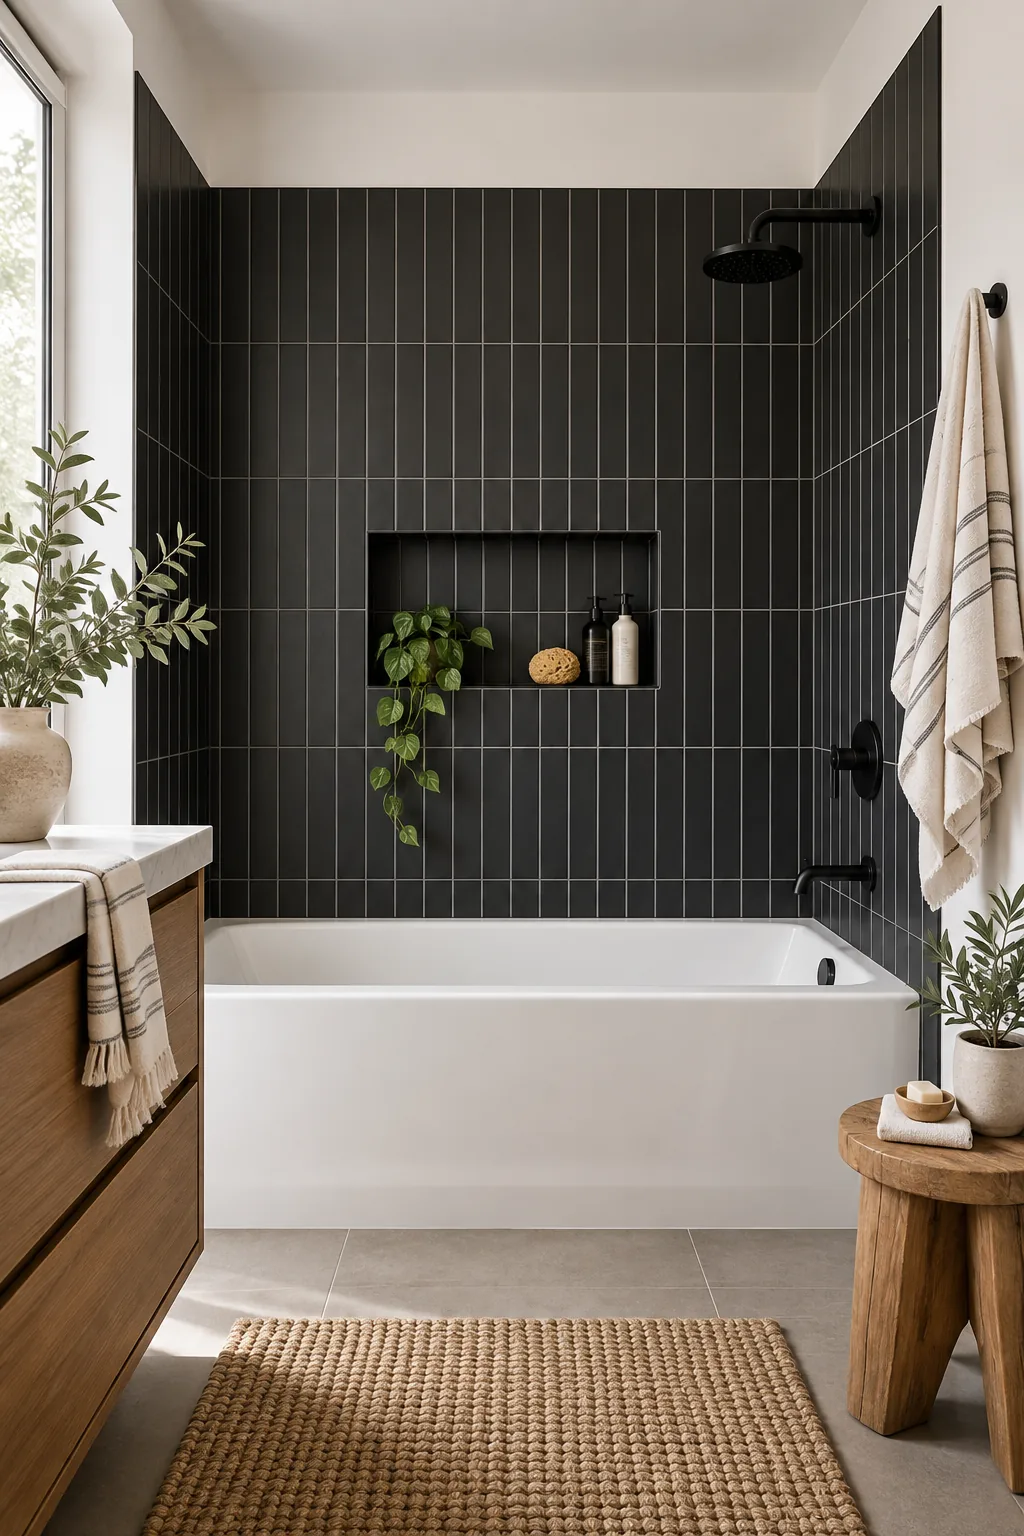
Modern Matte Black Vertical Stack: A vertical straight stack draws the eye upward, making standard ceiling heights feel soaring and architectural.
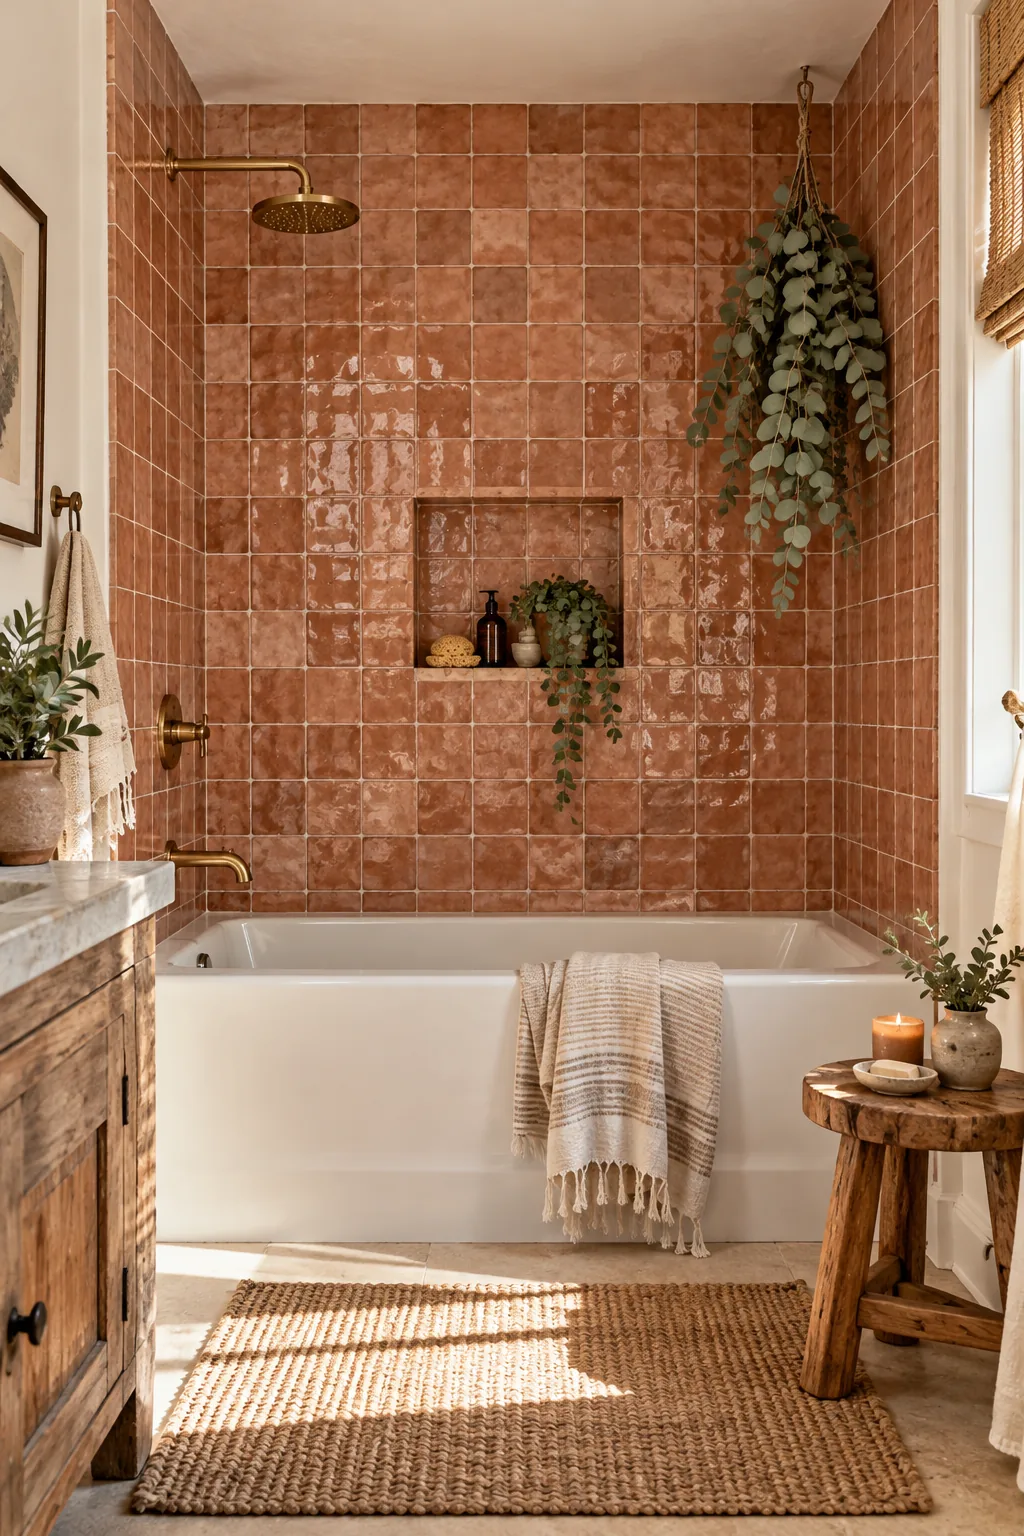
Warm Terracotta Bohemian Zellige: Handmade zellige tiles offer natural color variation and uneven edges that bring incredible warmth to a space.
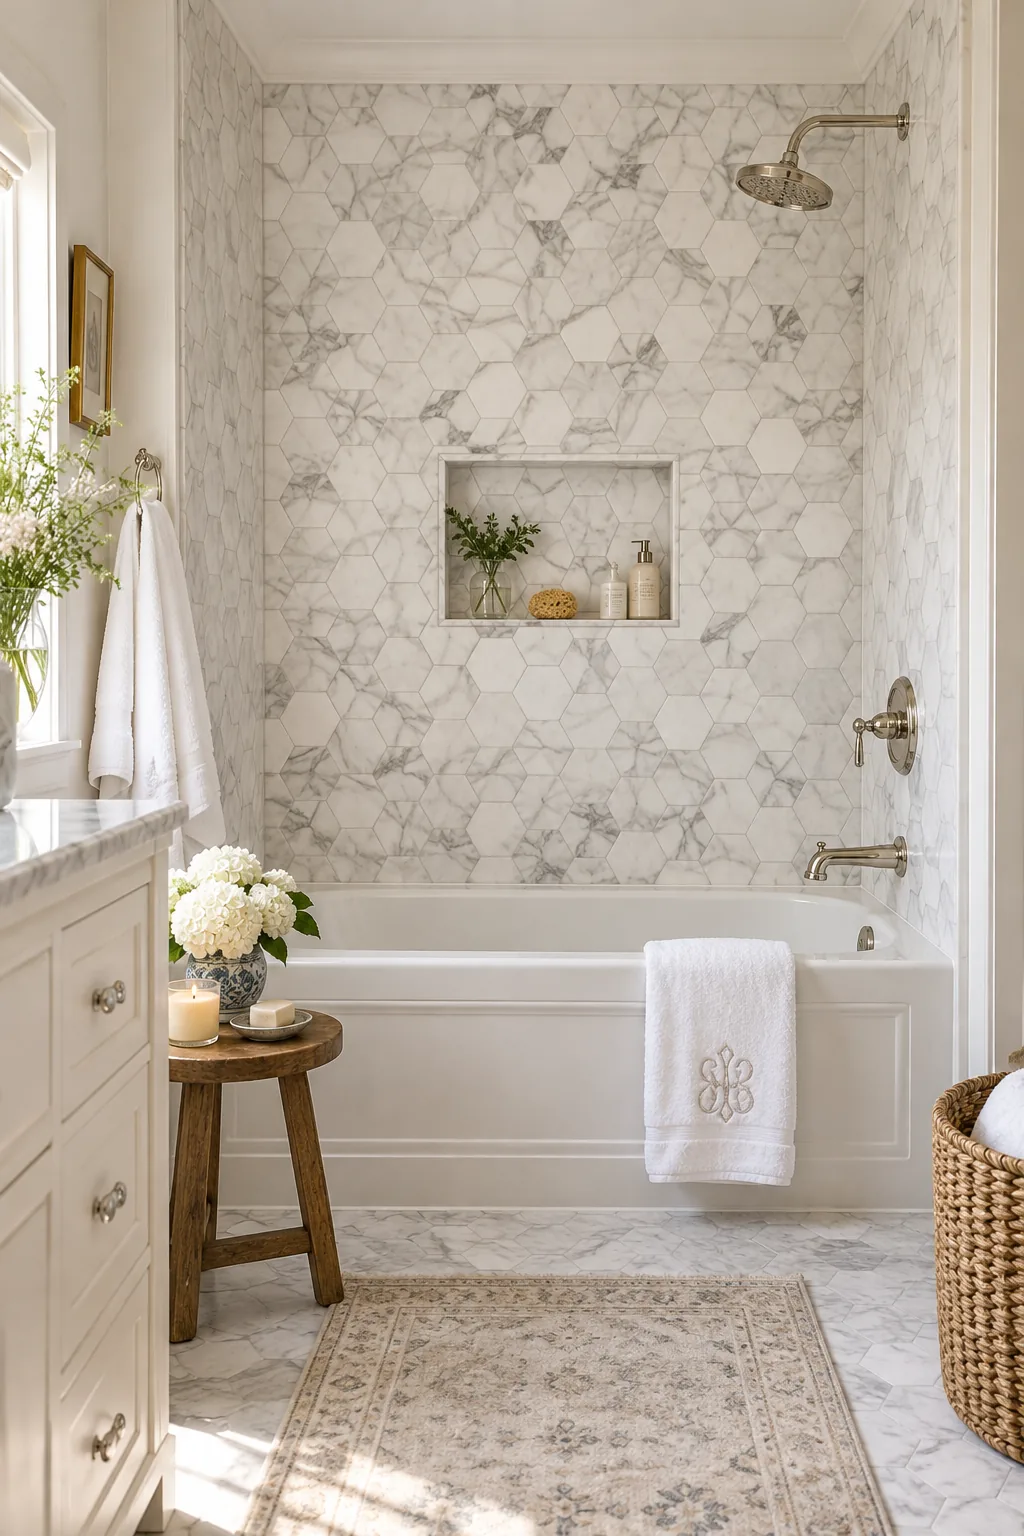
Classic White Marble Hexagon: Marble mosaics elevate a standard alcove tub into a luxurious, timeless feature that pairs perfectly with polished nickel.
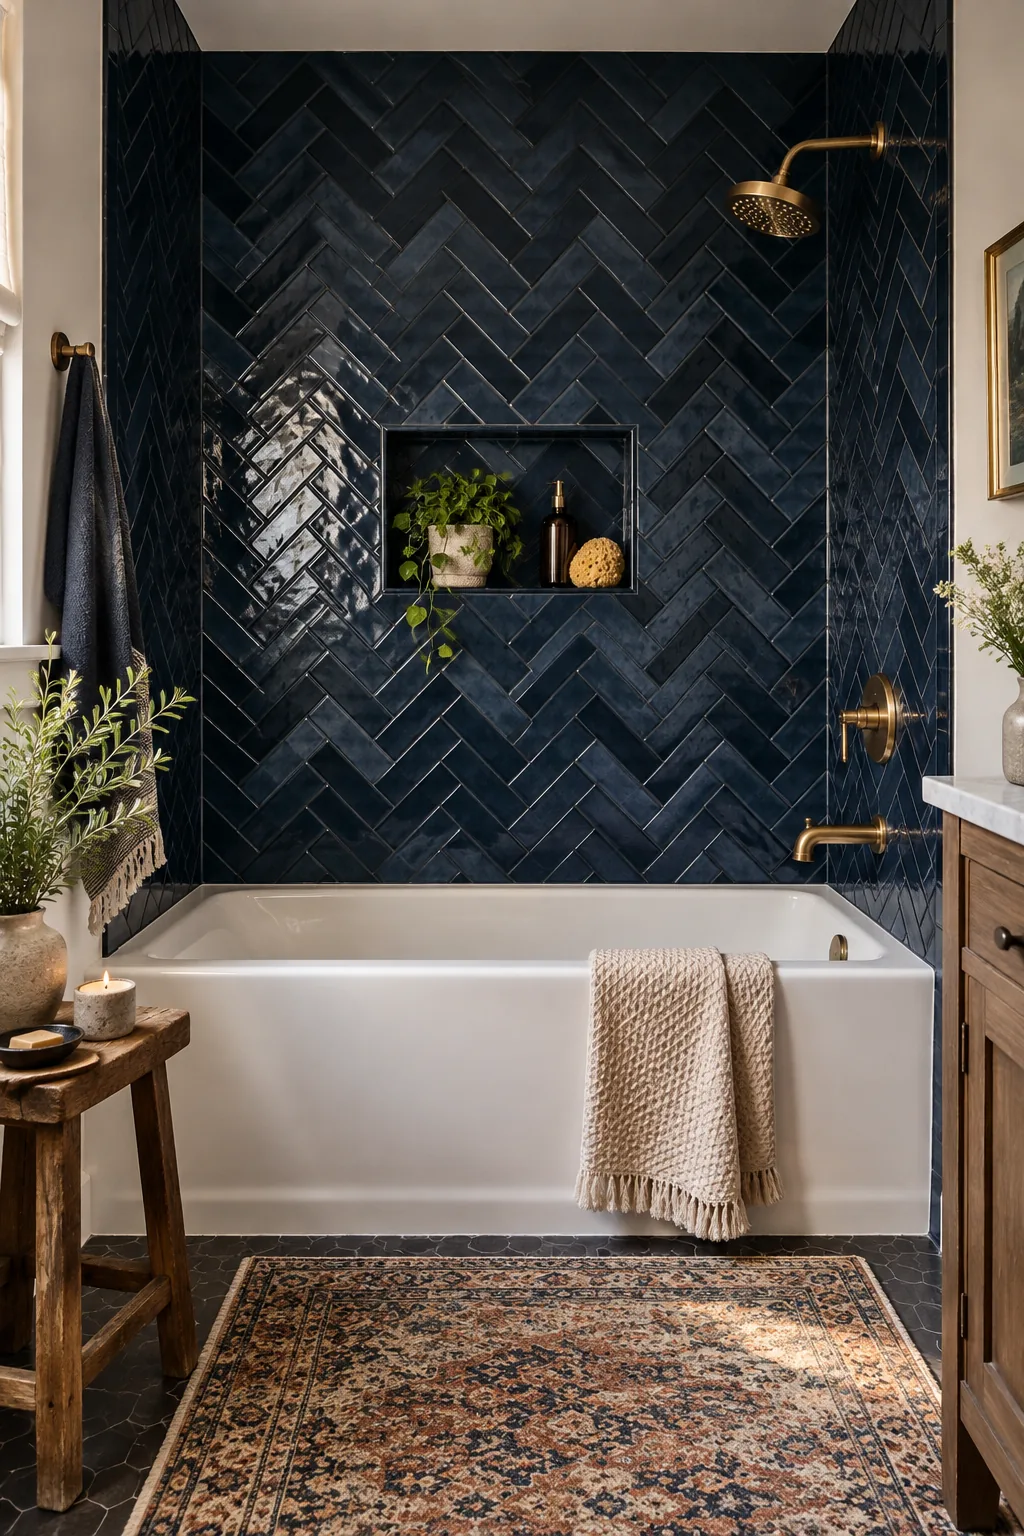
Moody Navy Blue Herringbone: A herringbone layout turns inexpensive ceramic tile into a high-end focal point, especially when paired with dark grout.
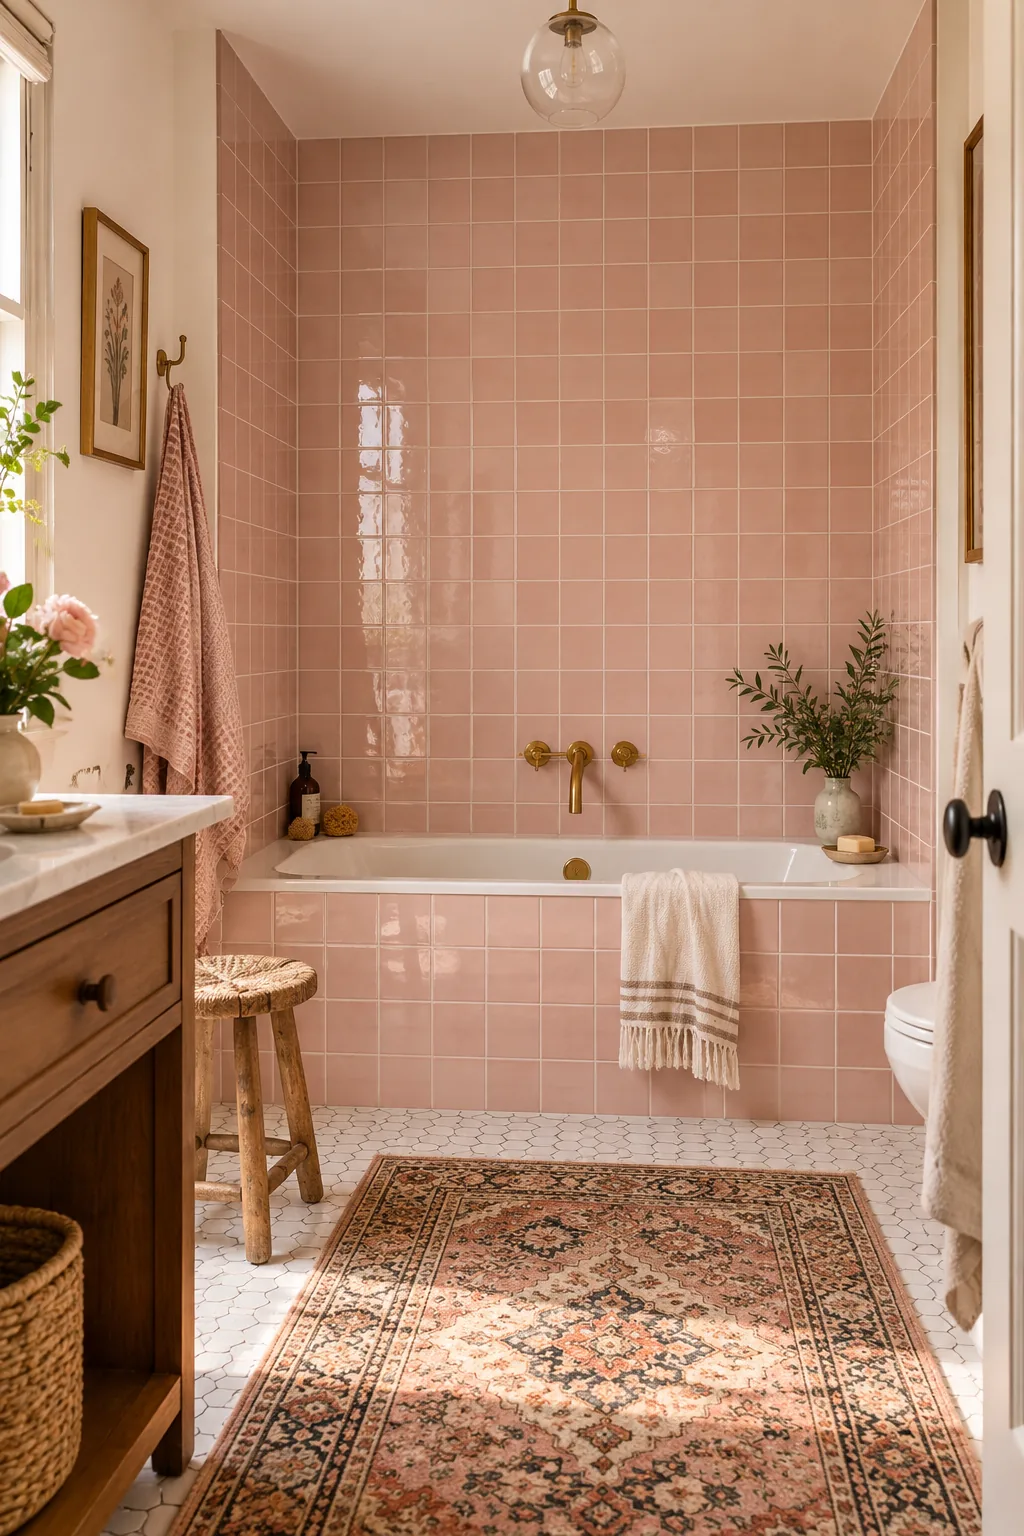
Retro Pink Square Grid: Embrace vintage charm by using simple four-by-four square tiles in a soft pastel hue for a cheerful, retro vibe.
Weigh the Tub Before the Final Caulk Line
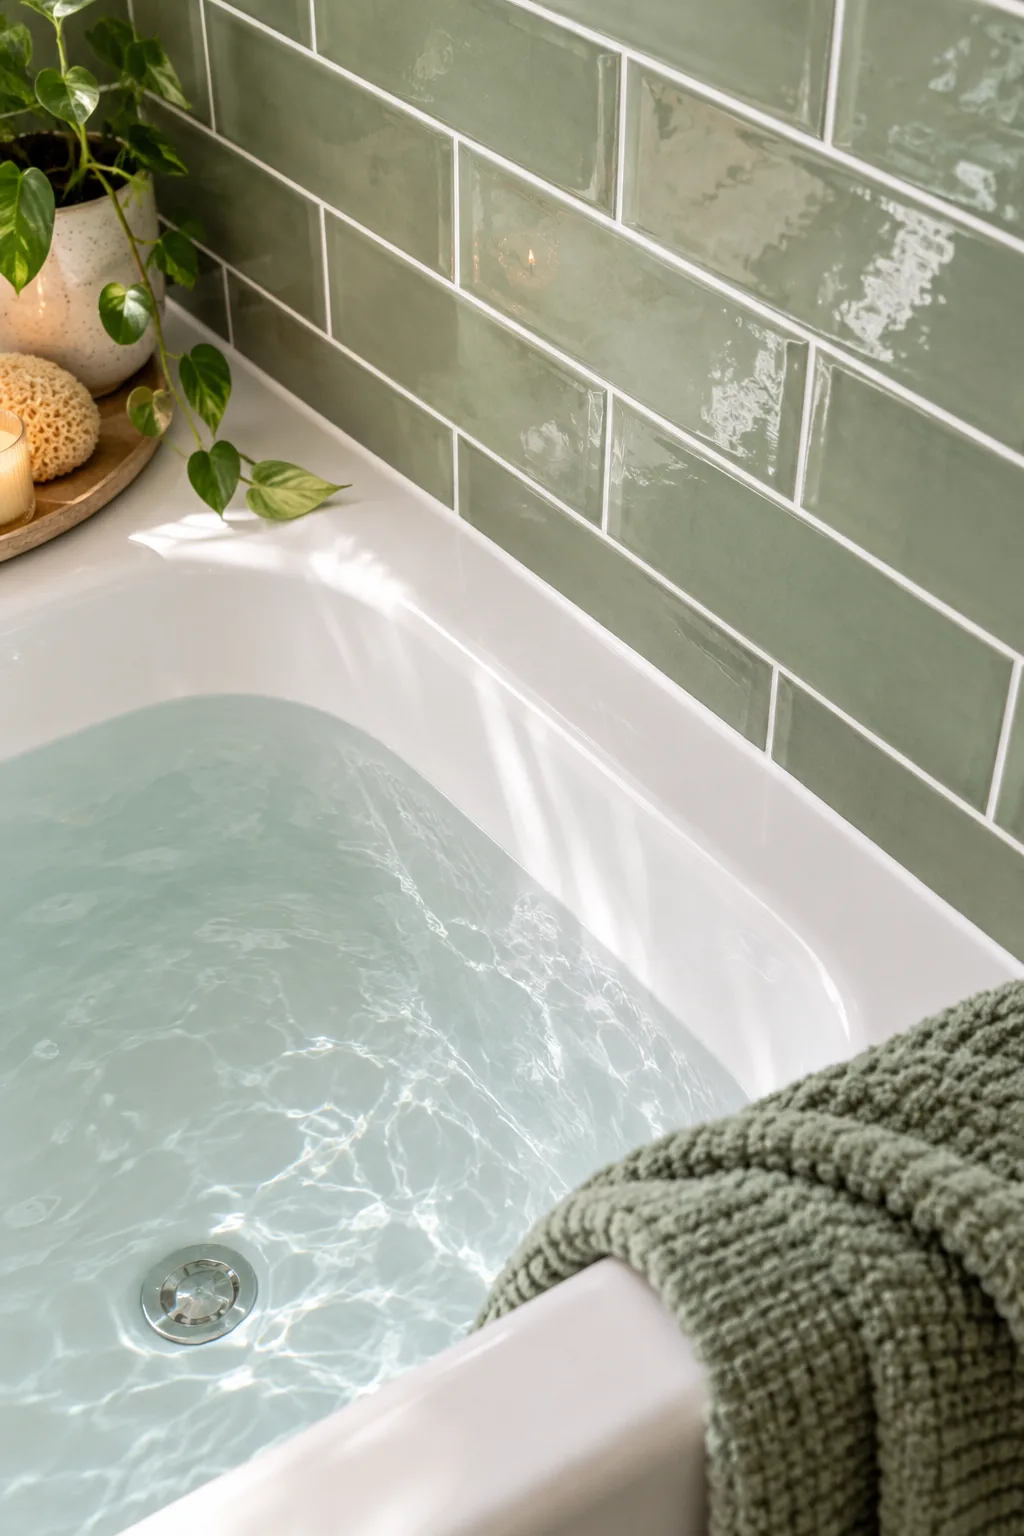
I once caulked an empty tub, only to watch the pristine seal tear completely away from the wall the very first time I stepped in to shower. You must physically weigh down the fiberglass or acrylic basin with water before sealing the change-of-plane joint.
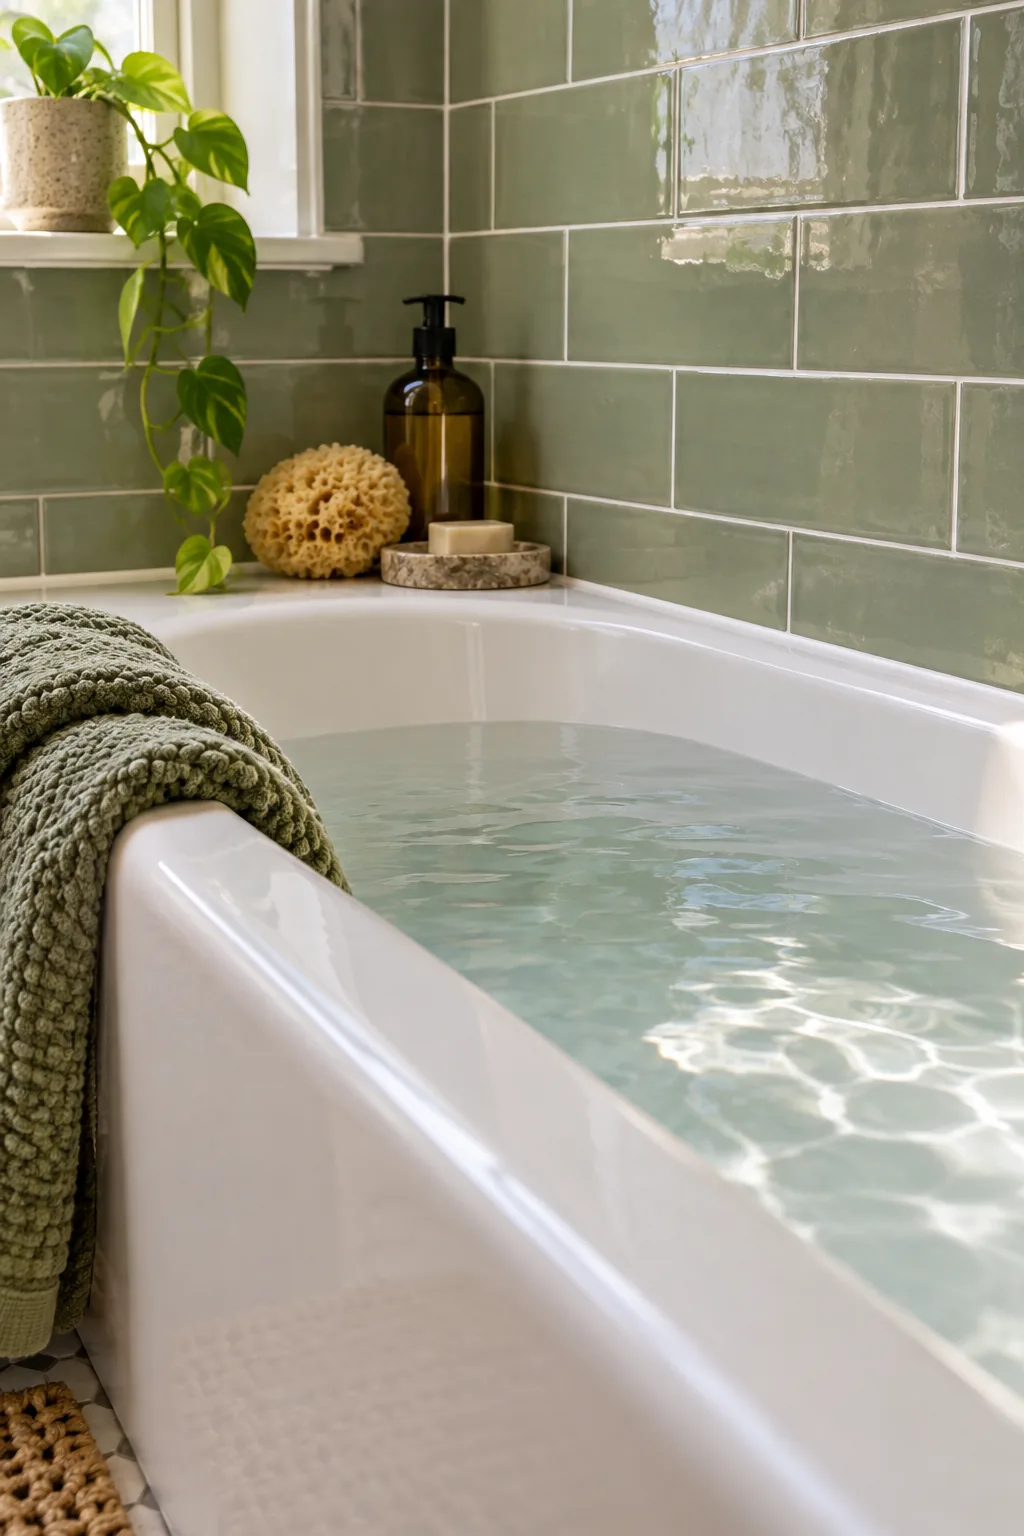
Always run a bath, then caulk the fresh glossy bead along the joint between the tub rim and the custom-cut bottom tile row. Leaving water in the tub while the 100% silicone caulk cures ensures the flexible seal stretches perfectly when empty.