Backyard Grape Trellis Build and Year-by-Year Pruning Guide
You are about to build a sturdy backyard grape trellis and train a heavy-producing bilateral cordon with the exact printable build sheet and pruning schedule you clicked for. I laid out the post spacing, H-brace cut list, and year-by-year training timeline so you can confidently grow dessert grapes right at home.
Planning Your Backyard Vineyard Layout
Grapevines demand full sun and excellent airflow to thrive, so always orient your trellis rows from north to south if your yard permits. This specific alignment guarantees that both sides of the canopy receive equal sunlight exposure as the sun tracks across the sky.
Testing Your Soil Drainage
Grapevines absolutely despise wet feet, so perform a simple percolation test before committing to a row location. Dig a hole 12 inches deep, fill it with water, and ensure it drains completely within an hour to guarantee proper root aeration.
Marking the Post Hole Locations
Measure out your row and mark the end posts first, ensuring you have enough clearance for your lawnmower to pass around the outside edges. Space your intermediate line posts strictly at 20-foot intervals to provide adequate support for the heavy fruit load.
Anchoring with H-Brace End Posts
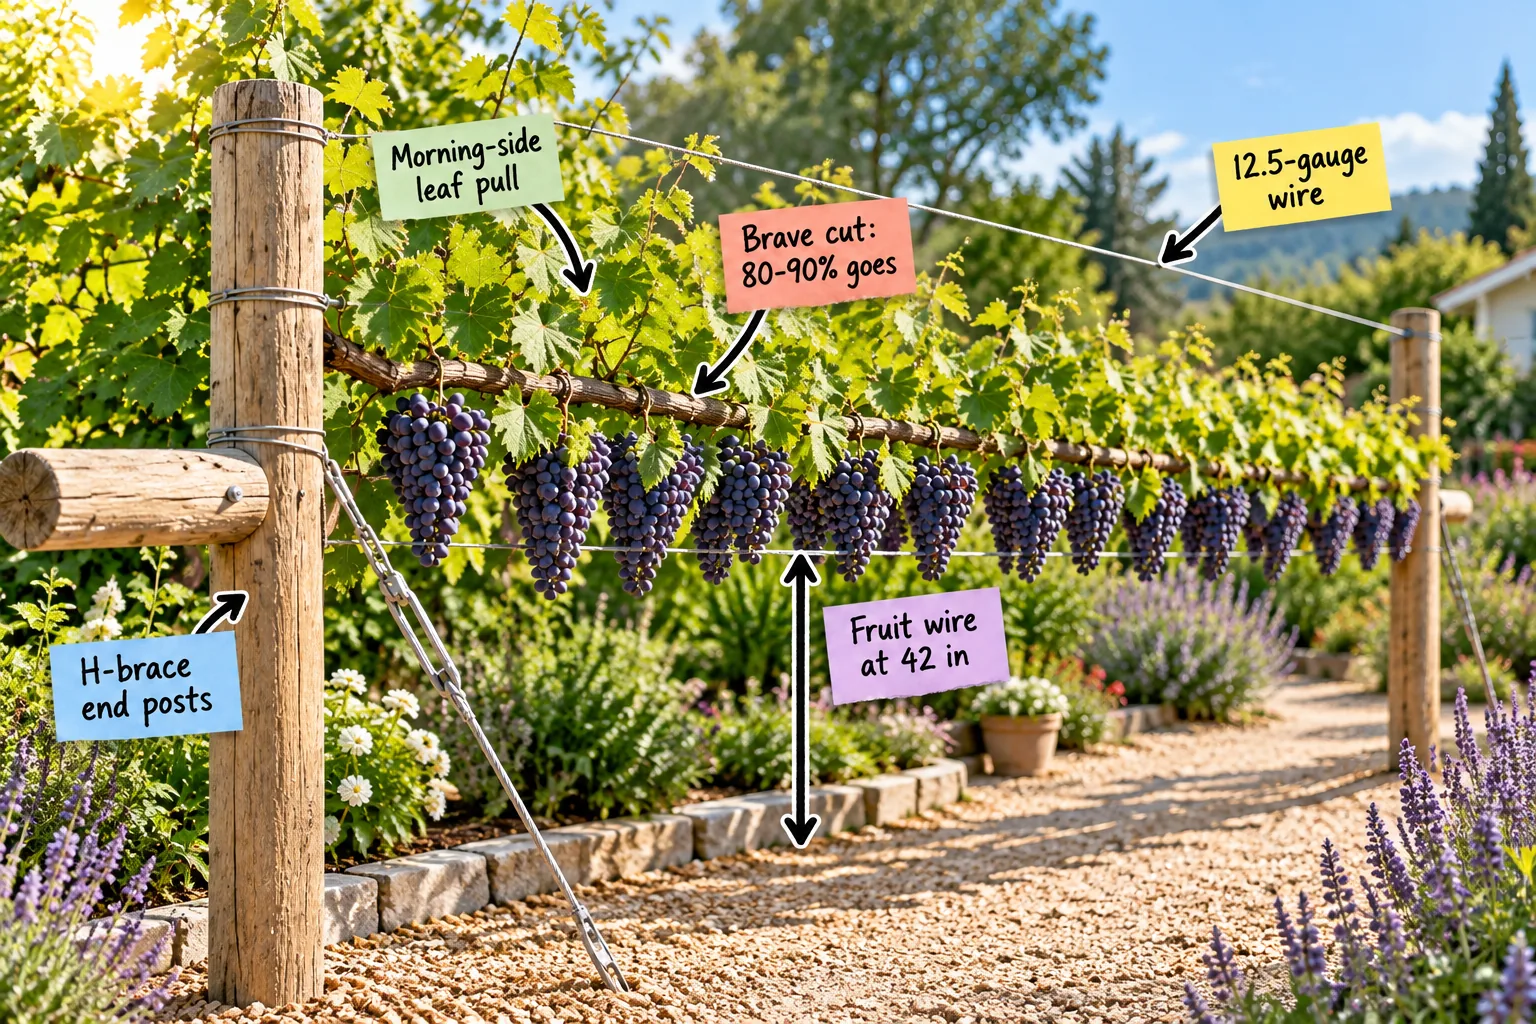
Mature grape vines act like massive green sails in the wind, so your H-brace end posts must handle incredible pulling force. I always use 4×4 or larger pressure-treated timber set at least 3 feet deep in concrete to counteract that immense tension.
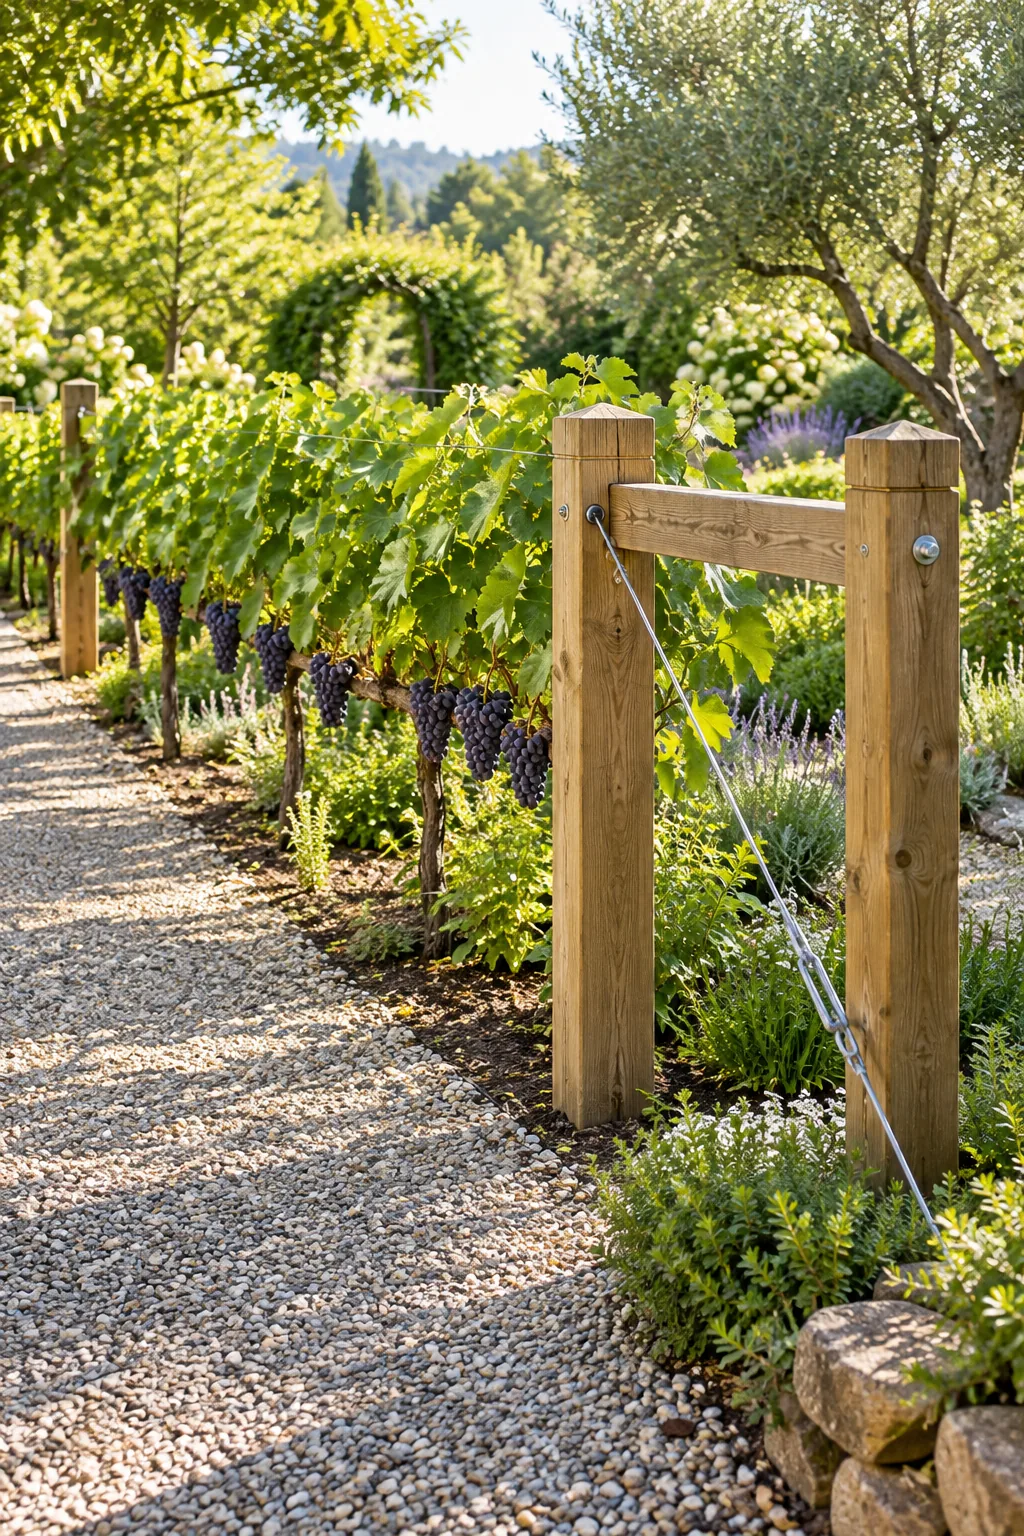
A trellis is only as strong as its ends, and skipping structural steps here guarantees sagging wires later.
Mixing and Pouring the Concrete Footings
Pour fast-setting concrete into the holes around your end posts, leaving the top few inches empty to backfill with native soil. Plumb each post perfectly with a level before the concrete cures, as crooked end posts will throw off your entire wire tensioning system.
Assembling the Horizontal Brace Rail
Cut a 4×4 timber to exactly 48 inches to serve as the horizontal brace rail between your two end posts. Secure this rail using heavy-duty galvanized lag screws placed exactly 36 inches above the ground to create a rigid, unyielding H-shaped anchor.
Choosing the Right End Post Hardware
Always invest in heavy-duty galvanized or stainless steel hardware for your end post assemblies to prevent rust deterioration. Standard decking screws will quickly snap under the immense pressure of a fully loaded, mature grape canopy swaying in high winds.
Stringing 12.5-Gauge High-Tensile Wire
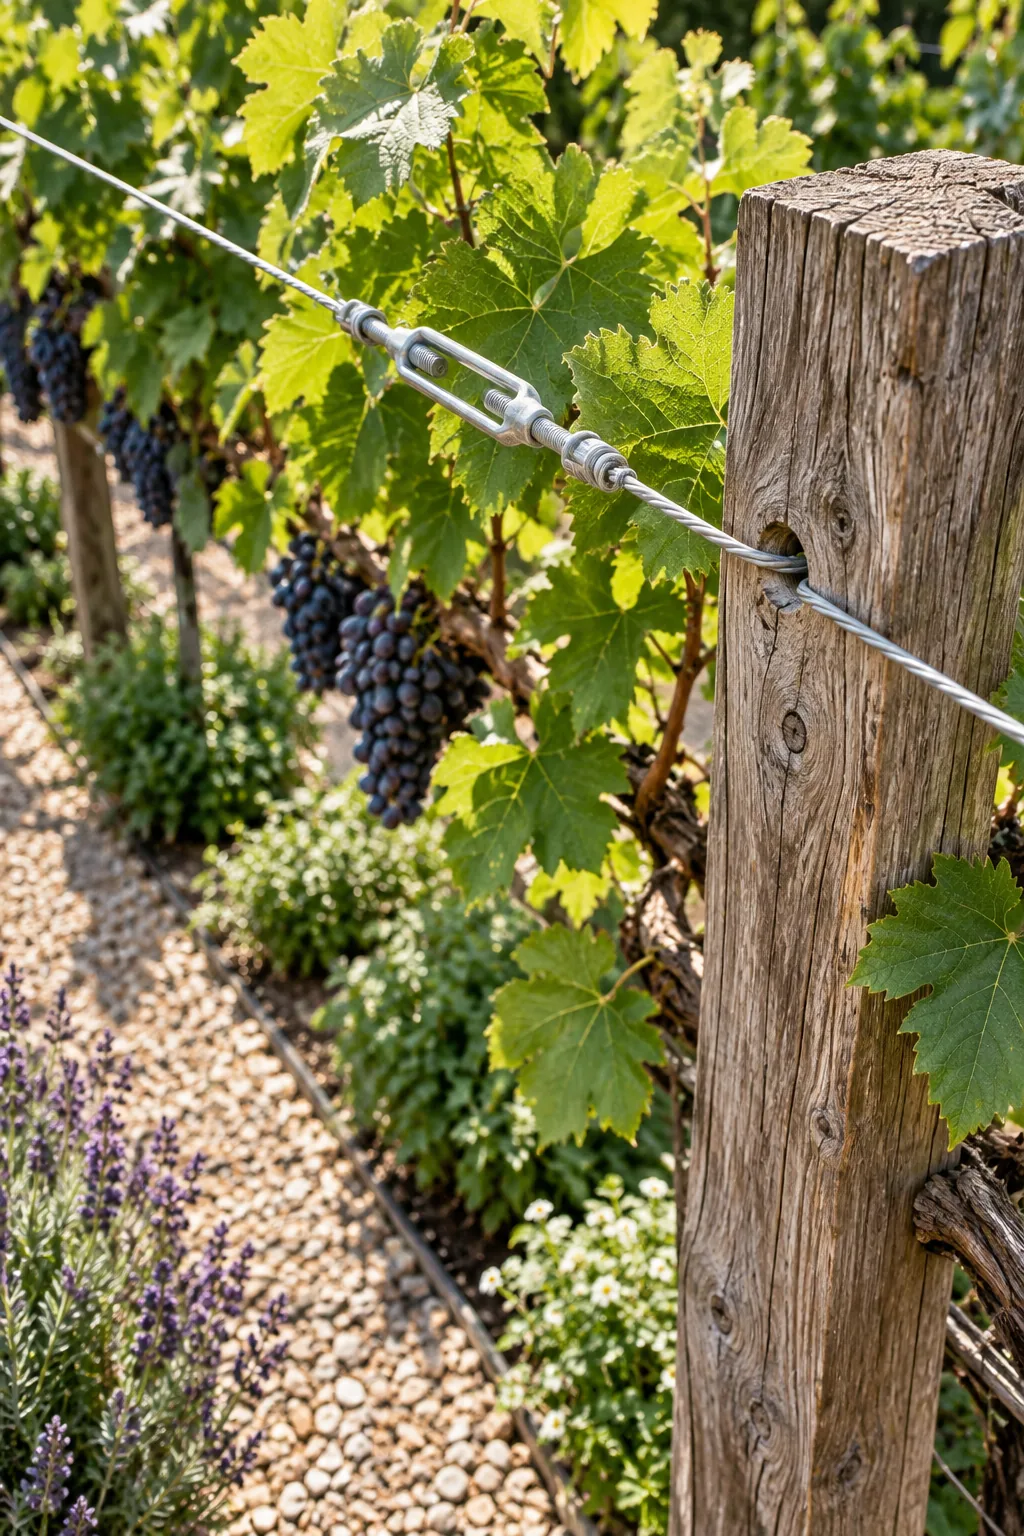
Standard fencing wire stretches under the weight of a late-summer fruit load, which is why we strictly use 12.5-gauge high-tensile wire for the main horizontal runs. This rigid steel support keeps your heavily loaded cordon perfectly straight without mid-season sagging.
Using In-Line Wire Strainers
To maintain perfect tension year after year, install an in-line ratcheting wire strainer on every single horizontal run. These simple mechanical tensioners allow you to quickly click the wire tight every spring before the heavy sap flow begins.
| Wire Position | Gauge Required | Tension Level | Primary Function |
|---|---|---|---|
| Fruit Wire | 12.5 High-Tensile | Very High | Supports woody cordon |
| Lower Catch | 14.0 Standard | Medium | Organizes spring shoots |
| Upper Catch | 14.0 Standard | Medium | Prevents summer collapse |
Setting the Fruit Wire at 42 Inches
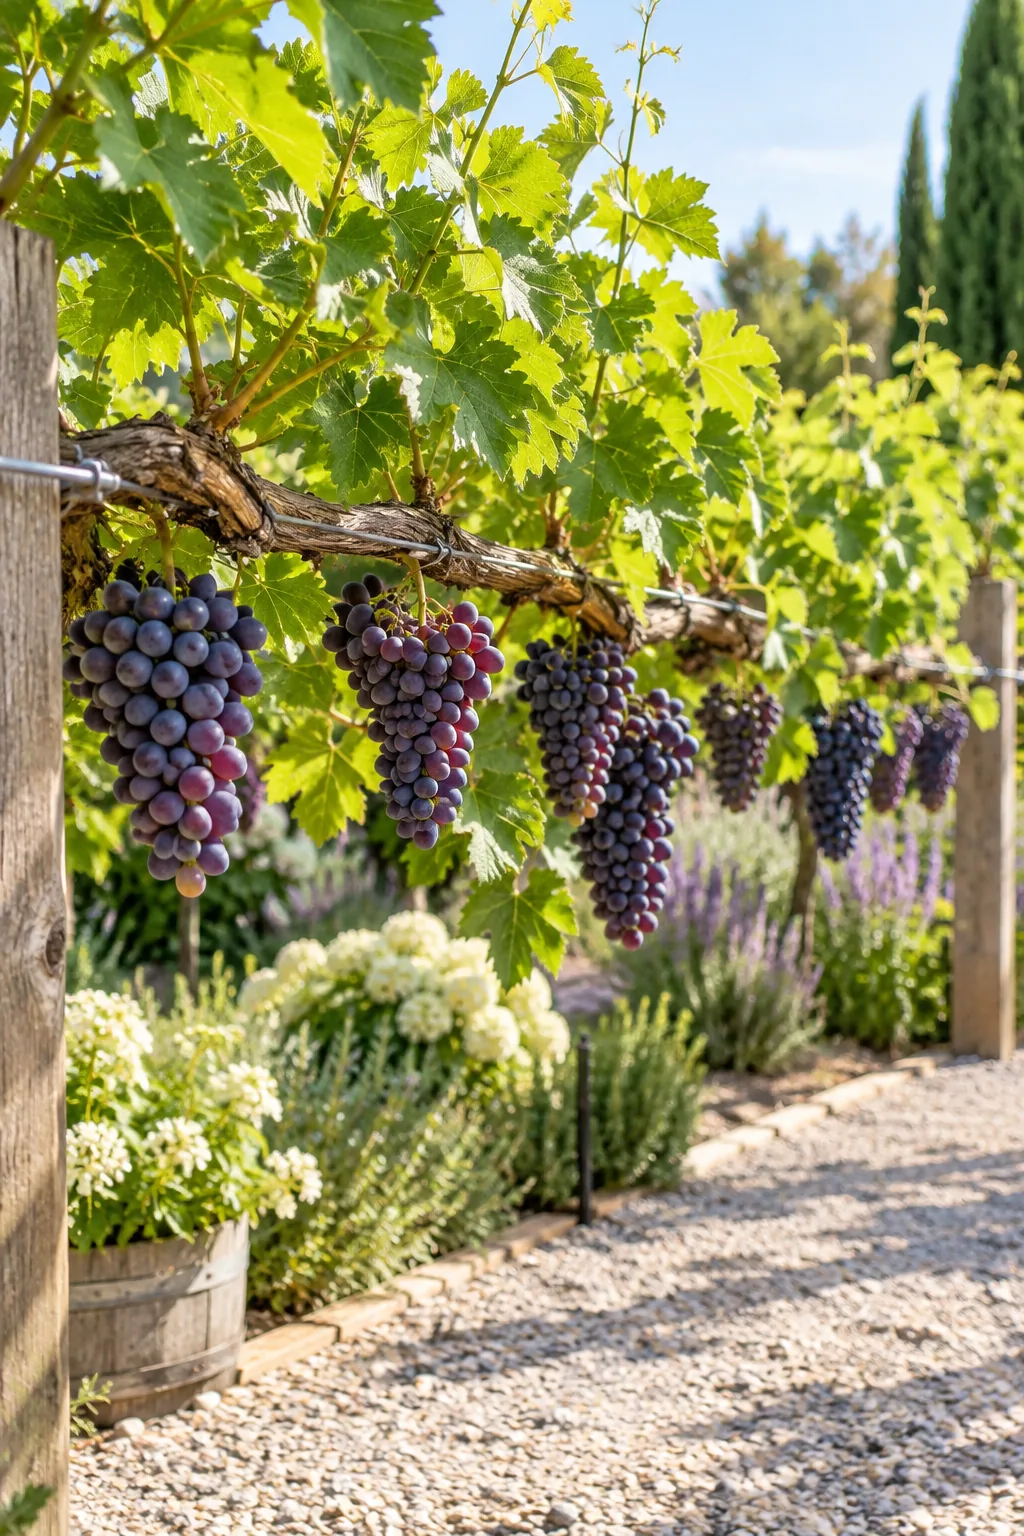
When I built my first trellis in Austin, setting the fruit wire at 42 in saved my back during harvest and kept soil-borne diseases from splashing onto the clusters. This specific height establishes a perfectly ergonomic fruiting zone right at waist level.
Installing the Upper Catch Wires
Run two additional tiers of lighter 14-gauge wire above your main fruit line to act as a supportive framework for the upward-growing green shoots. Space these catch wires evenly to ensure the massive summer canopy remains upright and fully exposed to the sun.
Securing the Catch Wires with Staples
Fasten your upper catch wires to the intermediate wooden line posts using heavy barbed fencing staples. Drive the staples in loosely so the wire can slide freely during seasonal temperature expansions, which prevents the steel from snapping in winter.
Your Trellis Build and Pruning Sheet
Grab your complete two-page printable guide right here to get your H-brace timber cut list, post spacing guidelines, and a year-by-year training schedule. Print this out and keep it in your garden shed to track your progress from initial planting to the first full harvest.
- Download the build sheet: Save the PDF to your device or print it directly for the lumber yard.
- Cut and assemble: Follow the exact H-brace cut list and post spacing diagrams to build the frame.
- Track your pruning: Pin the year-by-year schedule to your shed wall for quick winter reference.
Selecting Healthy Bare-Root Vines
Order dormant bare-root vines from a reputable nursery for early spring planting, ensuring you choose a dessert variety suited to your specific hardiness zone. Soak the roots in a bucket of clean water for exactly two hours before planting to rehydrate the tissues.
Digging the Planting Trenches
Dig a wide, shallow planting hole directly under the fruit wire, spreading the roots out horizontally rather than cramming them downward. Plant the vine at the exact same depth it grew in the nursery, keeping the graft union well above the soil line.
Watering the Newly Planted Vines
Provide your newly planted bare-root vines with a deep, slow soaking once a week during their first crucial summer. Consistent moisture establishes a robust root system, but always let the top two inches of soil dry out completely between waterings.
Training the Bilateral Cordon Arm
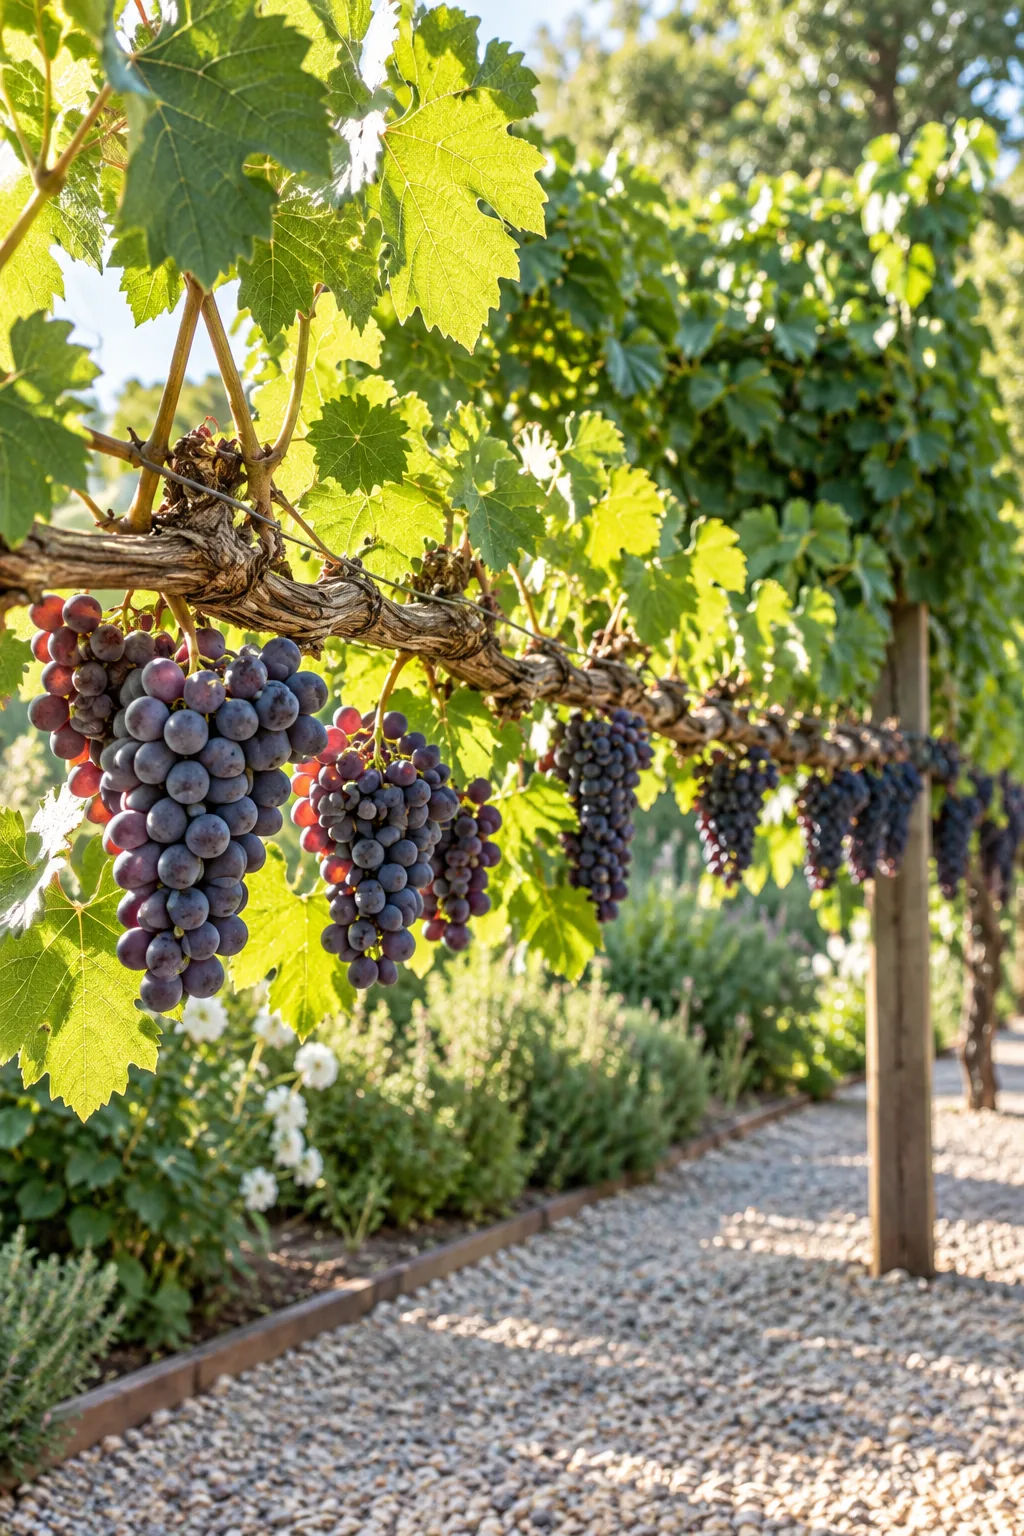
I spent my vine’s first two years simply tying the young green trunk straight up to that 42-inch wire before letting it branch out. Once it reached the wire, I split the growth into two permanent horizontal arms to distribute the plant’s energy evenly.
Tying the Young Shoots Gently
Use flexible green tie tape to secure the young shoots to the wire, leaving a small loop of slack to accommodate future trunk thickening. Never use rigid zip ties or tight string, as these will quickly girdle and kill the rapidly expanding vine.
Rubbing Off Unwanted Lower Buds
During the early spring push, aggressively rub off any green buds that emerge on the lower trunk below the main fruiting wire. Channeling all the plant’s energy strictly into the upper canopy ensures your permanent cordon develops thick, vigorous wood.
The Morning-Side Leaf Pull
The morning-side leaf pull is a simple trick where you remove a few leaves immediately around the grape bunches strictly on the east-facing side. This exposes the fruit to early sun to dry overnight dew, while leaving the west-side canopy intact to prevent harsh afternoon sunburn.
Preserving the Afternoon Shade Canopy
Leaving the foliage thick on the western side of the trellis acts as a natural umbrella against the intense late-day heat. Grapes baked in direct afternoon sun will quickly shrivel into raisins on the vine and develop bitter, off-putting flavors.
Managing the Summer Canopy
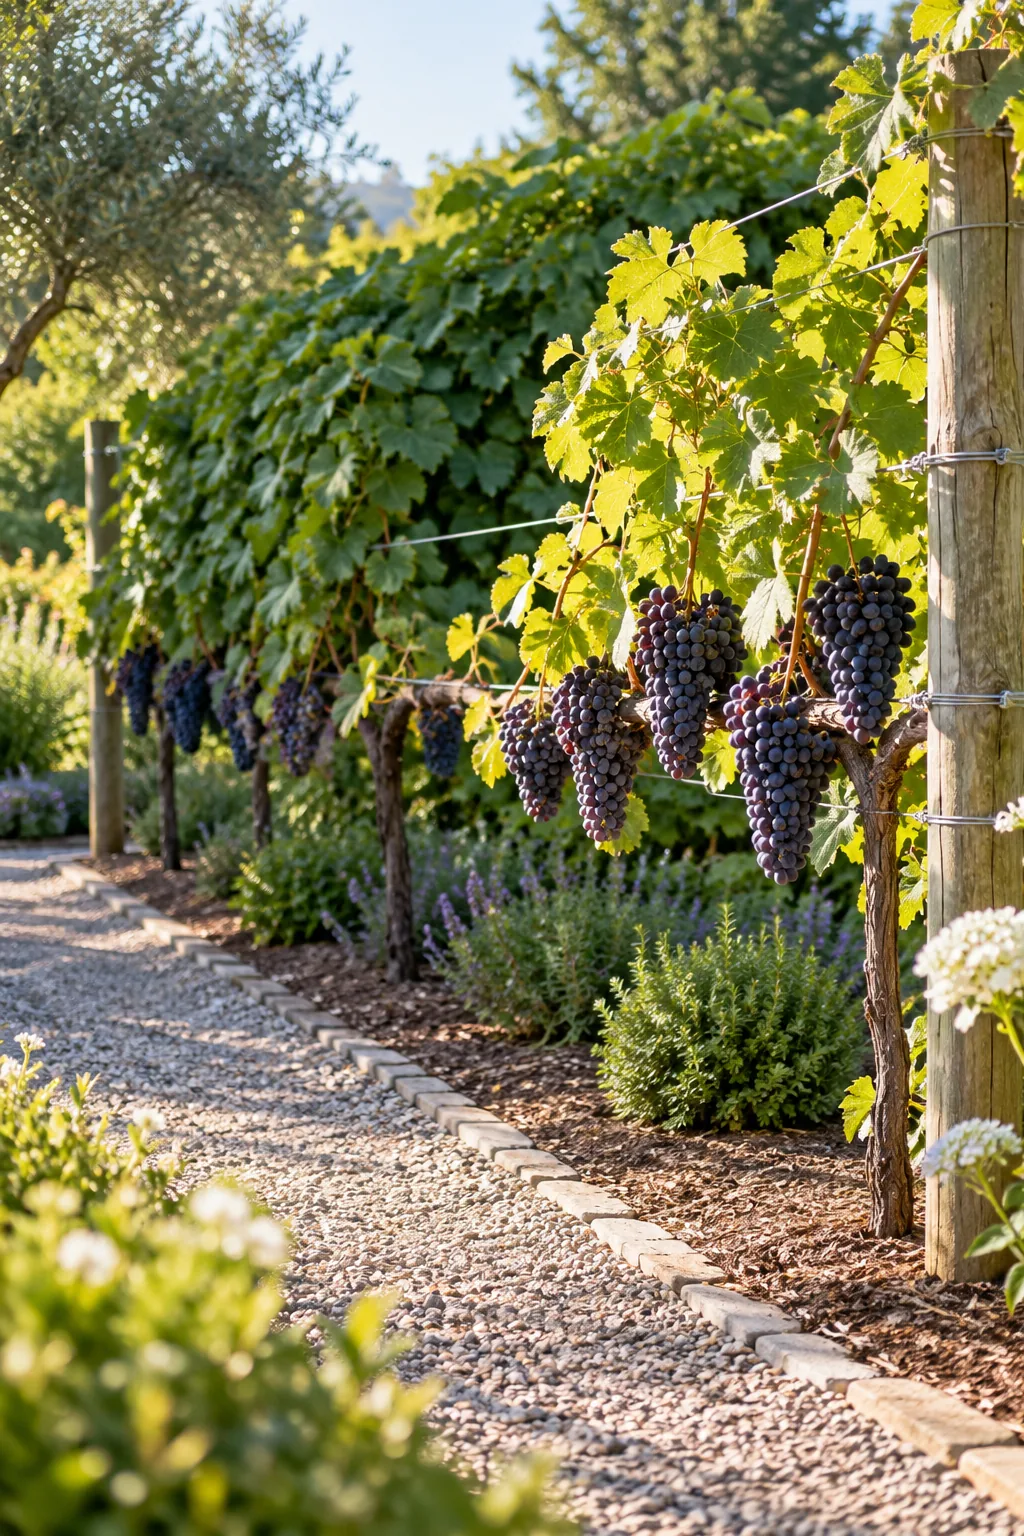
In my own backyard, stringing those lighter catch wires at 12-inch intervals completely stopped my unruly vines from collapsing over the fruit zone. These upper tiers catch the vertical green shoots as they climb, keeping the entire summer canopy organized and breathable.
Hedging the Top Growth in Late Summer
When the vertical shoots extend more than a foot above your highest catch wire, use sharp shears to hedge them straight across. Trimming this excessive top growth forces the vine to redirect its sugars downward into ripening the clusters rather than pushing more leaves.
Preparing for Dormant Winter Pruning
Wait until the leaves have completely fallen and the vine enters deep dormancy before you even think about picking up your pruning loppers. Pruning too early in the autumn leaves fresh wounds vulnerable to freeze damage and disrupts the plant’s carbohydrate storage.
Identifying the Best Fruiting Spurs
Scan your horizontal cordon arm and select pencil-thick shoots spaced roughly a hand’s width apart to become next year’s fruiting spurs. These moderately vigorous canes are the most productive, while overly thick bull wood or spindly twigs will yield poorly.
The Brave Cut: Removing 80 to 90 Percent
Making the brave cut where 80–90% goes means leaving only those few evenly spaced fruiting spurs along your cordon arm. This aggressive wood removal is the direct secret to producing large, uncrowded, high-quality bunches next summer.
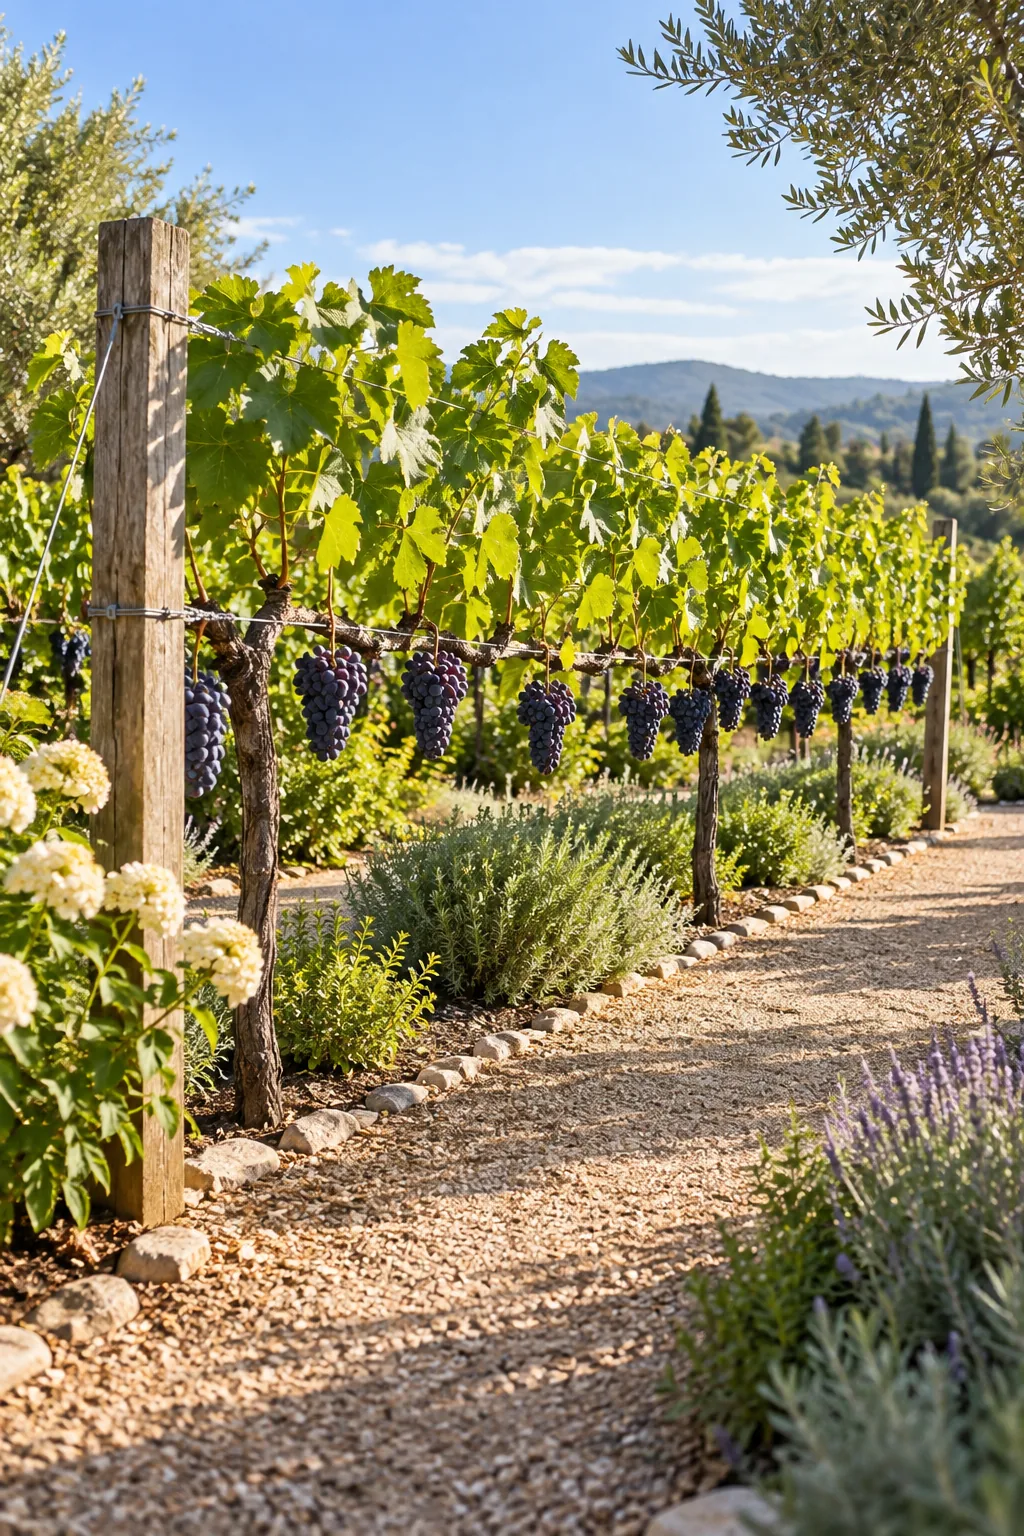
Standing before a massive, overgrown vine with loppers in hand can feel intimidating, but severe pruning is the secret to a productive harvest.
Trellis Styles for Every Garden
Choose a material and styling approach that blends your new vineyard seamlessly into your existing landscape.
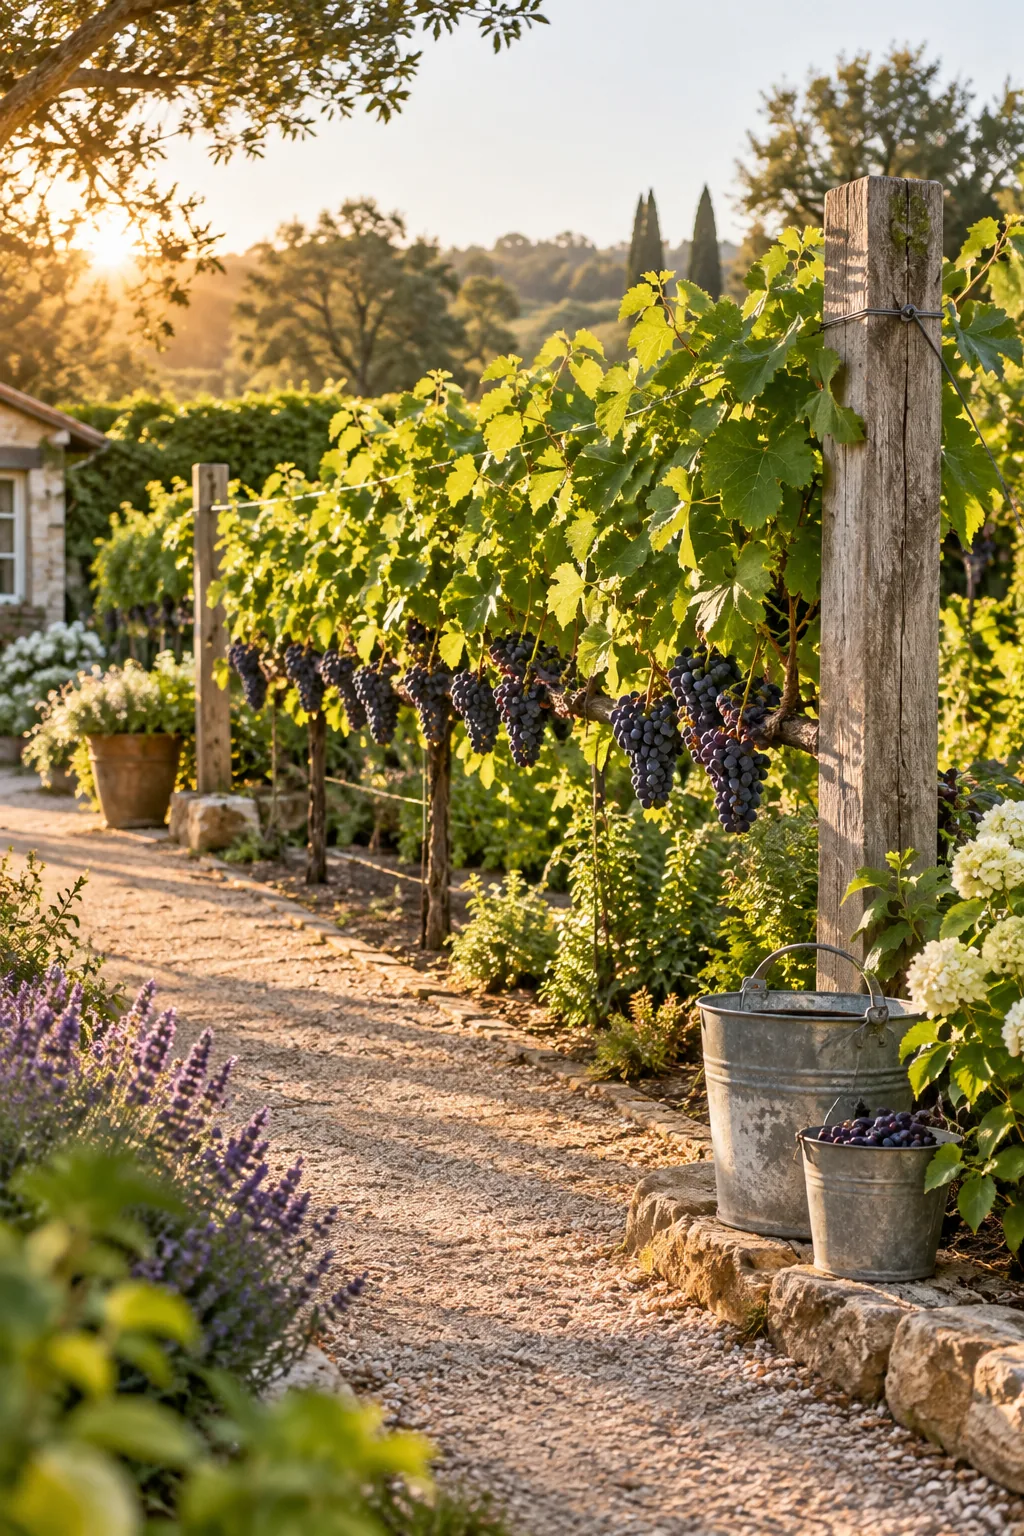
Rustic farmhouse cedar trellis: Weathered cedar posts and a crushed granite path give this trellis a timeless, agricultural feel that blends perfectly into a relaxed country garden.
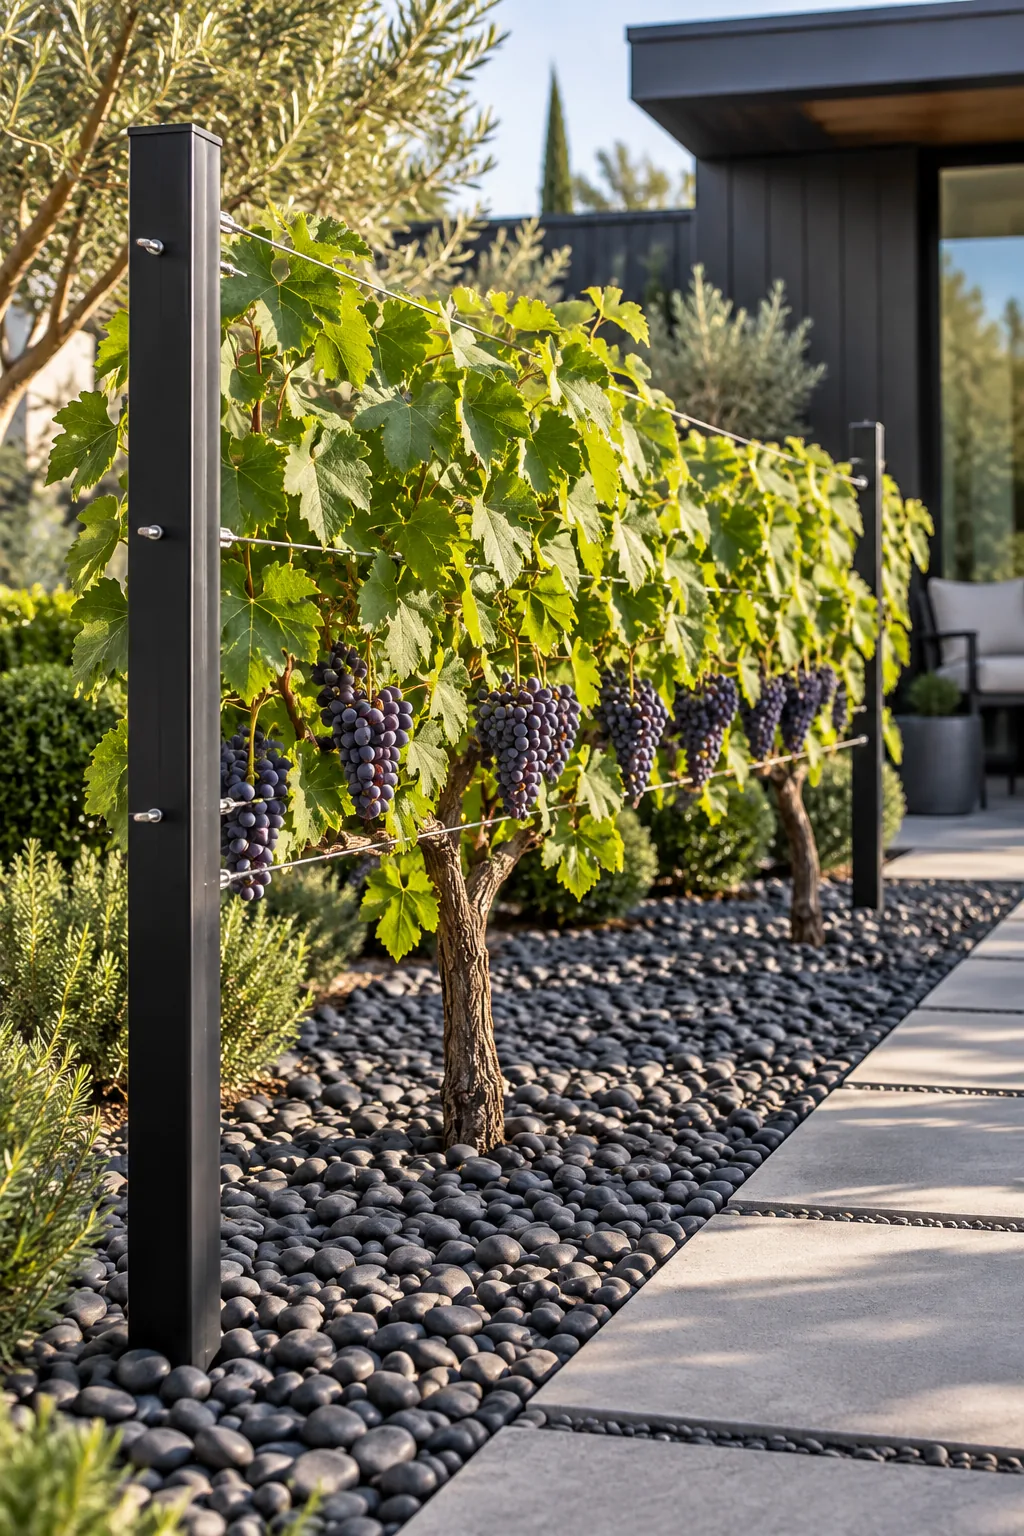
Modern minimalist steel trellis: Swap traditional wood for sleek black steel posts and dark river rock to create a crisp, architectural vineyard that suits contemporary outdoor spaces.
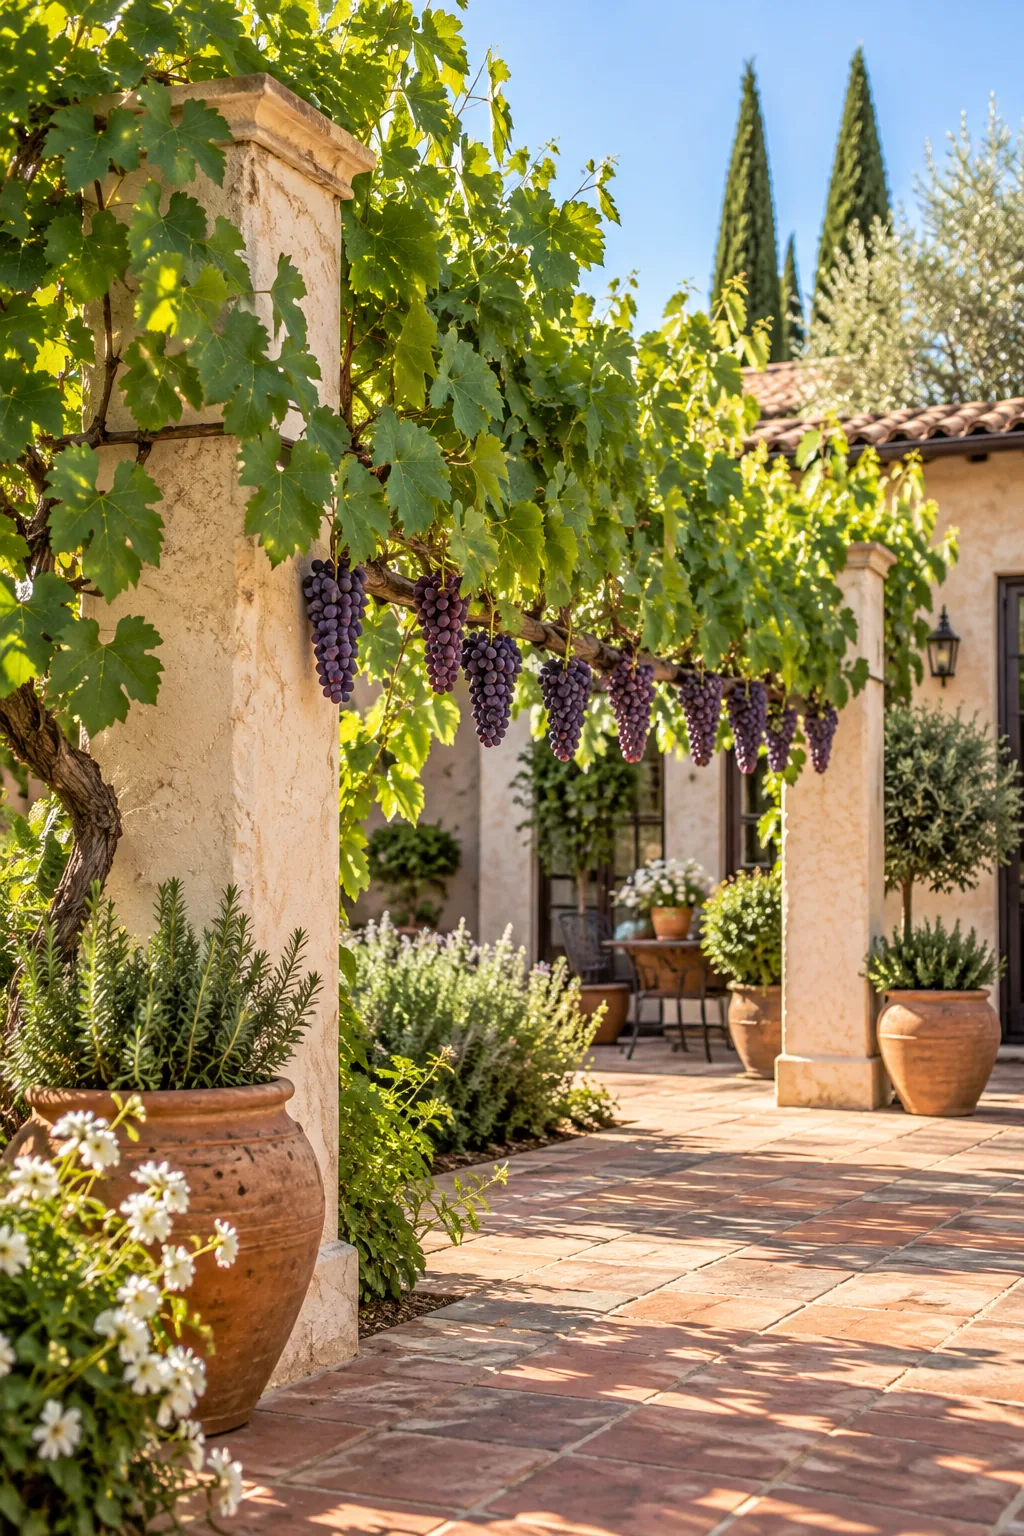
Mediterranean stucco pillar trellis: Using warm stucco pillars instead of timber posts transforms a standard wire trellis into an elegant Mediterranean courtyard feature.
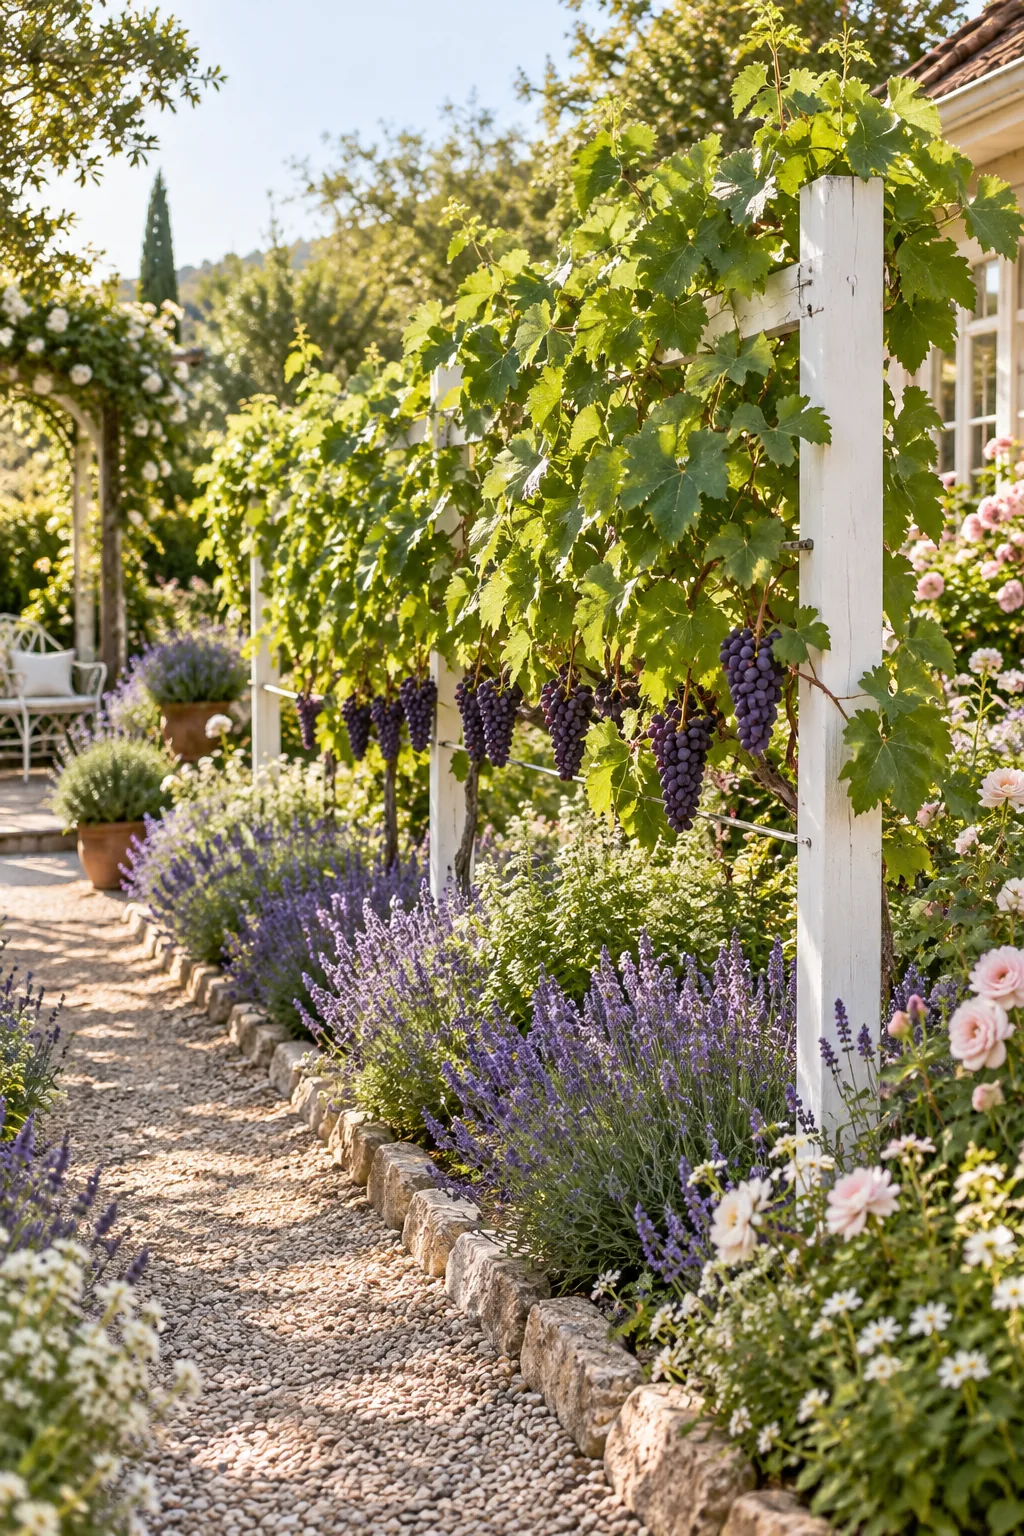
Cottage garden painted trellis: Painted white timber posts surrounded by blooming lavender soften the structural look of the trellis, making it a romantic addition to a cottage garden.