Low-Maintenance Perennial Garden: A 3-Summer Lawn-to-Lush Plan
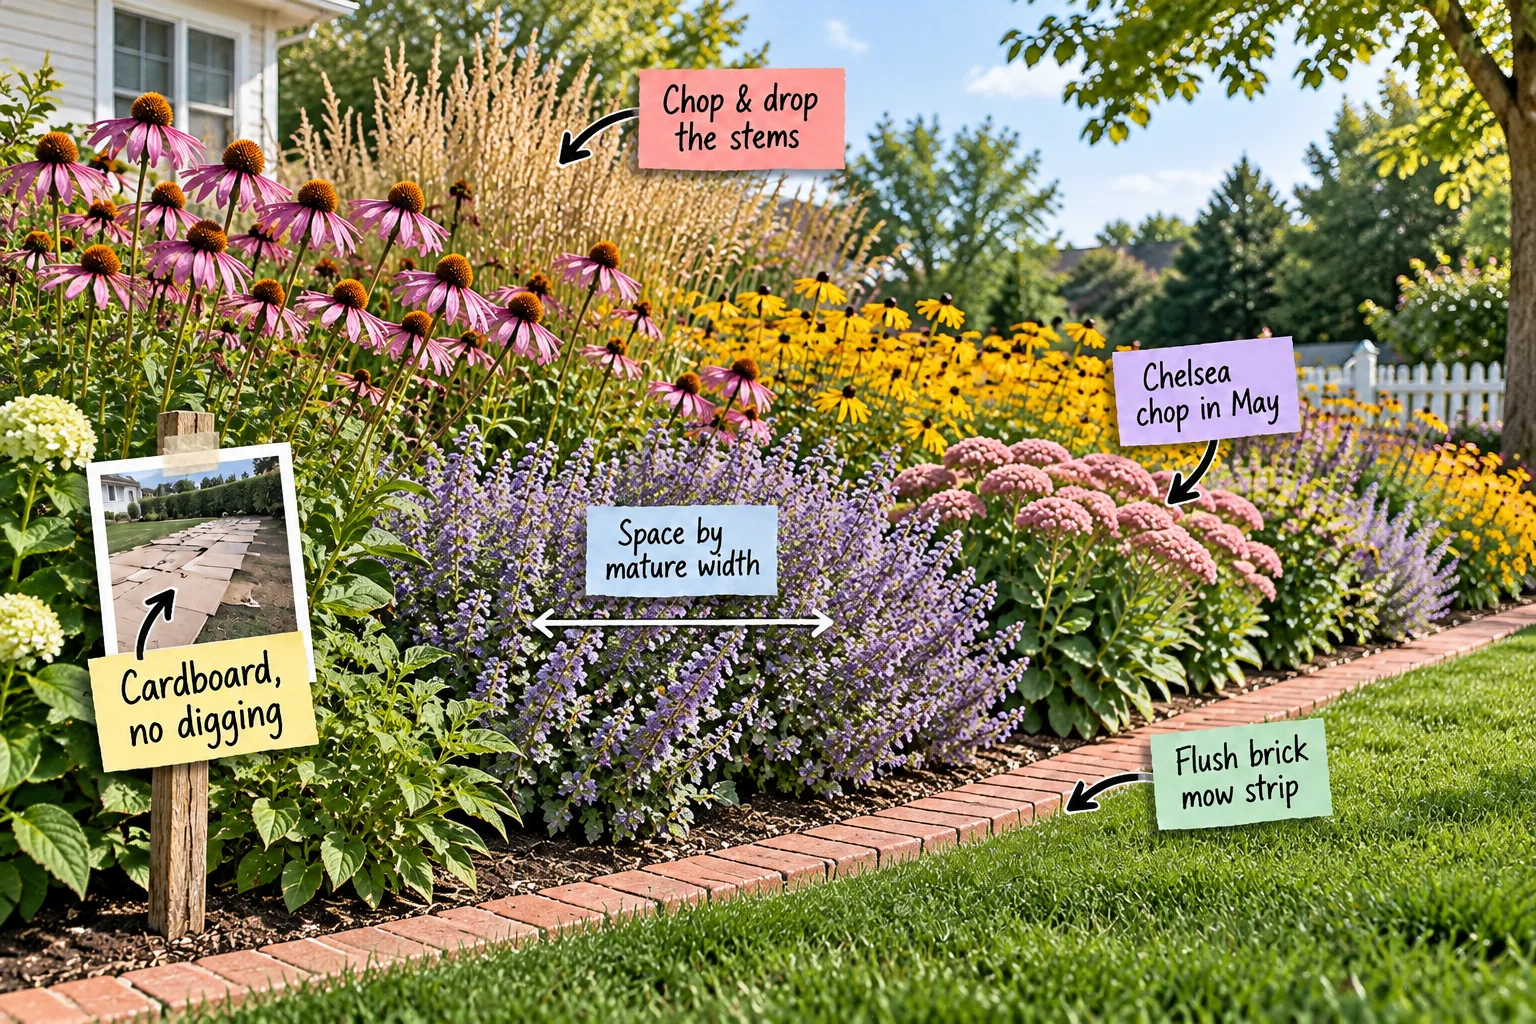
Turn your bare grass into a lush, low-maintenance perennial garden by grabbing our printable month-by-month Lawn-to-Border 3-Summer Calendar. You will be able to follow a precise schedule to build, plant, and maintain a thriving border without digging or weekly trimming.
Smothering the Lawn with Cardboard
The easiest way to start your new garden is by laying overlapping cardboard directly over the grass to kill the turf without breaking the soil structure. I actually used old moving boxes to smother a 30-foot strip in my own Austin front yard.
While sheet mulching is straightforward, preparing your materials correctly prevents synthetic debris from lingering in your newly built soil.
Overlapping the Edges Securely
To completely block sunlight and prevent stubborn grass runners from escaping, ensure every single piece of cardboard overlaps its neighbor by at least 6 inches. Weigh the pieces down with a few heavy stones immediately so the wind does not undo your careful placement.
Sourcing the Right Compost
Once your cardboard is perfectly flat and secured, you need to cover it with a thick, heavy layer of organic matter to start the decomposition process. Spread exactly 3 inches of quality compost evenly over the entire cardboard surface.
| Material | Depth | Primary Purpose |
|---|---|---|
| Flattened Cardboard | 1 layer | Blocks sunlight to kill lawn grass |
| Quality Compost | 3 inches | Weighs down cardboard and feeds soil |
| Hardwood Mulch | 2 inches | Retains moisture during the first year |
Installing a Flush Brick Mowing Edge
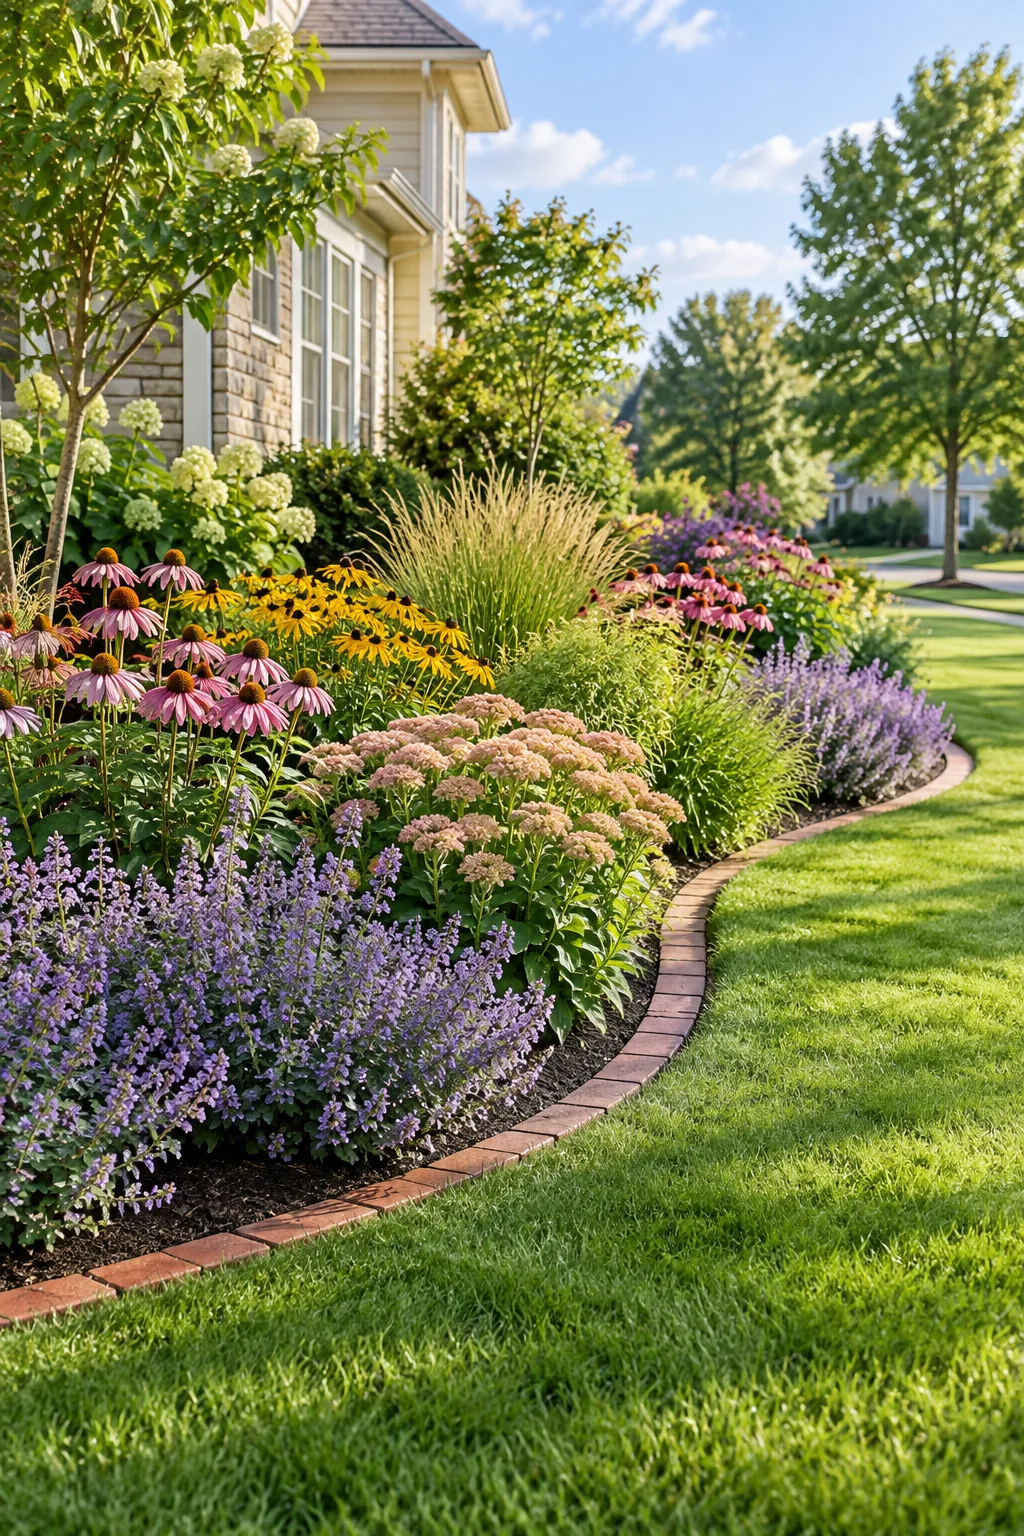
Setting a flush brick mow strip level with the turf keeps the grass out of the beds and makes weekly maintenance incredibly simple. Dig a shallow trench along the border’s front curve so the masonry sits perfectly flush with the soil line.
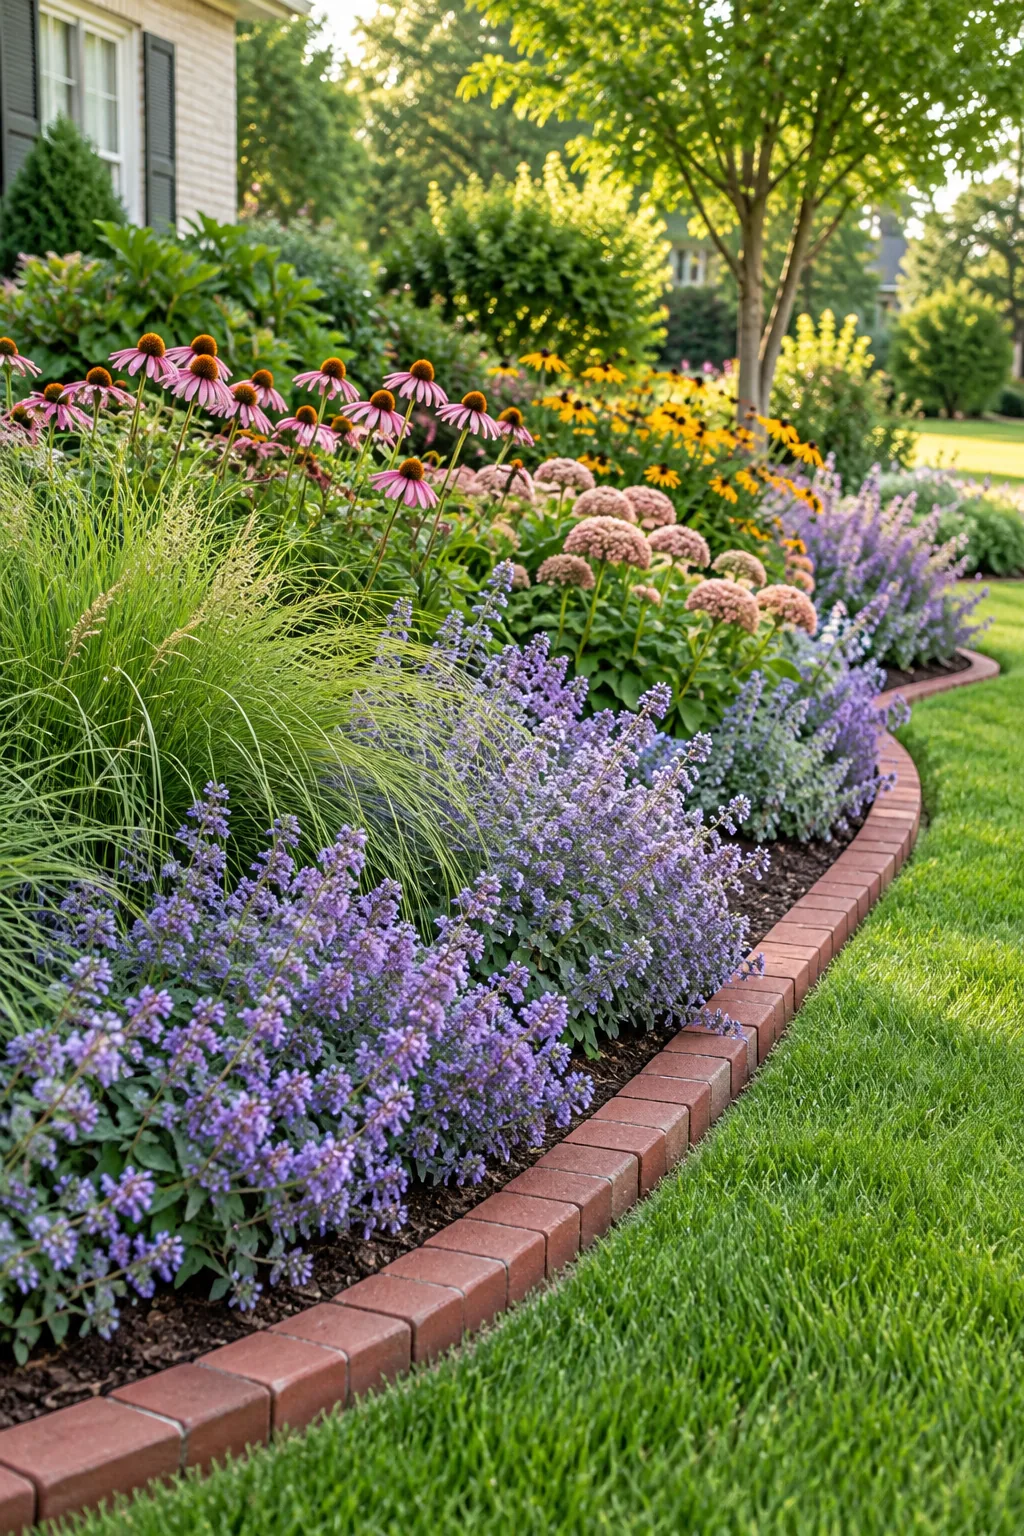
A flush border eliminates string trimming entirely because your mower wheel rolls right over the solid bricks without dropping into the soil.
- Dig a trench exactly the depth of your chosen edging brick.
- Tamp the loose soil firmly at the base of the trench.
- Lay the bricks end-to-end, checking level with the adjacent lawn.
Choosing the Right Edge Dimensions
A standard brick laid lengthwise creates a 4-inch wide barrier, which is just wide enough to fully support the wheel of a standard push mower. This precise width prevents the spinning mower blade from dipping down and scalping the adjacent garden soil.
Leveling the Trench for Stability
Taking the time to pack the dirt beneath the bricks prevents them from sinking unevenly after the first heavy rainstorm. Use a rubber mallet to tap each brick firmly into place, checking with a short level to ensure a perfectly smooth rolling surface.
Spacing Plants by Mature Width
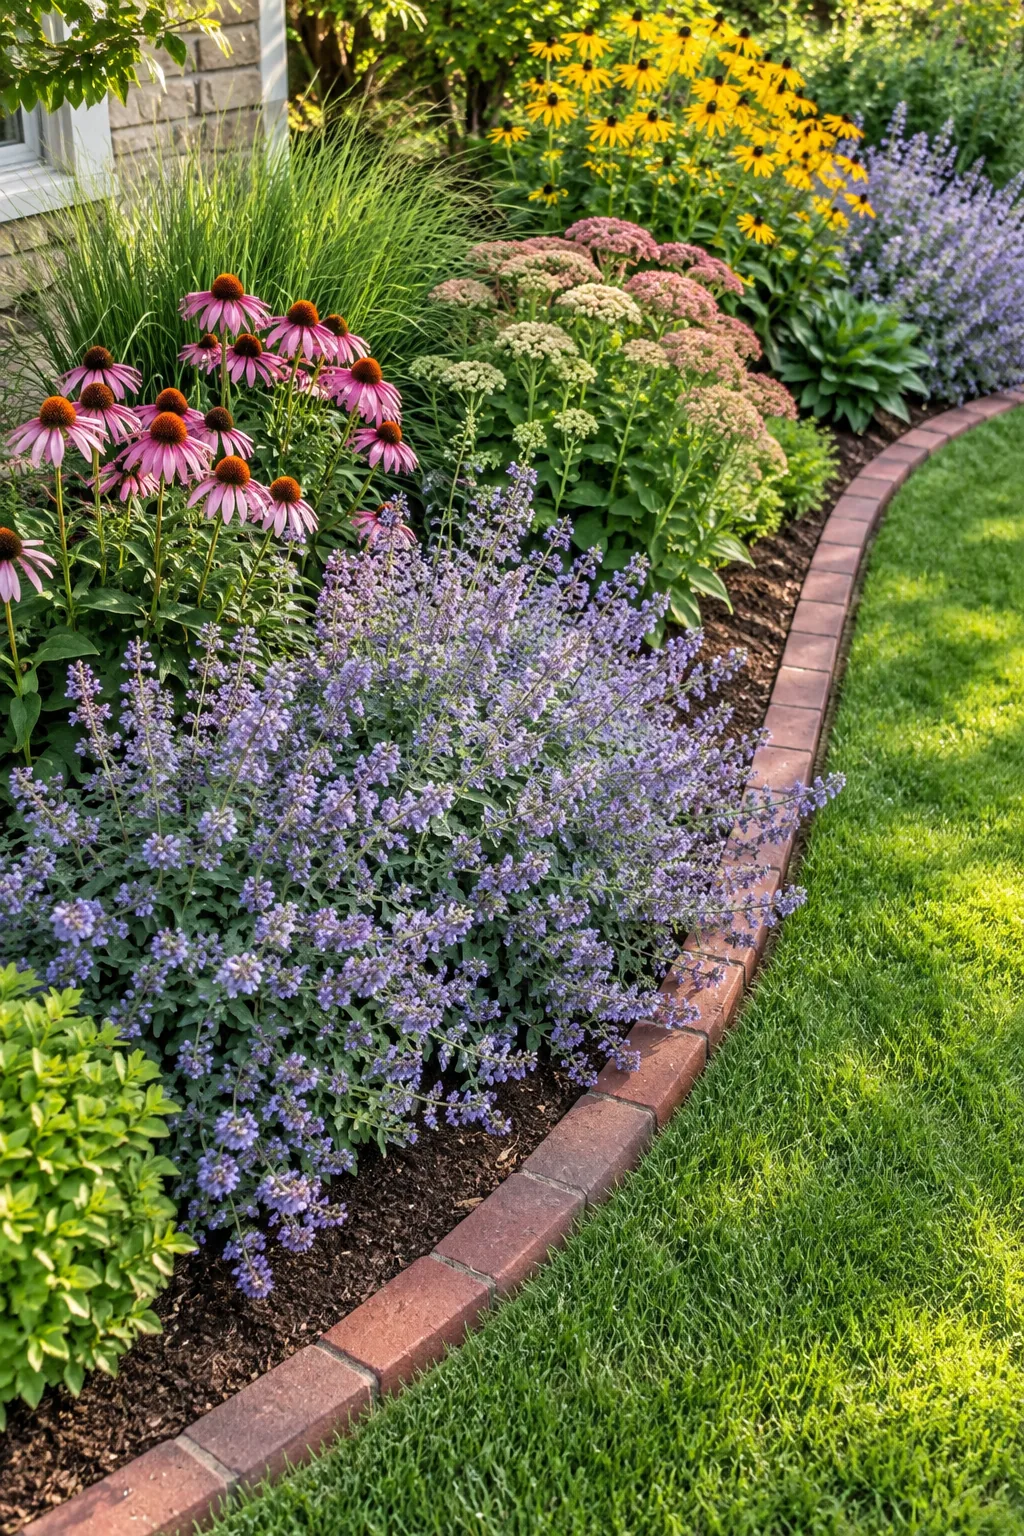
When laying out your drifts, always space by mature width rather than how the tiny plants look in their temporary nursery pots. If a catmint grows 24 inches wide, space the centers of each plant exactly 24 inches apart.
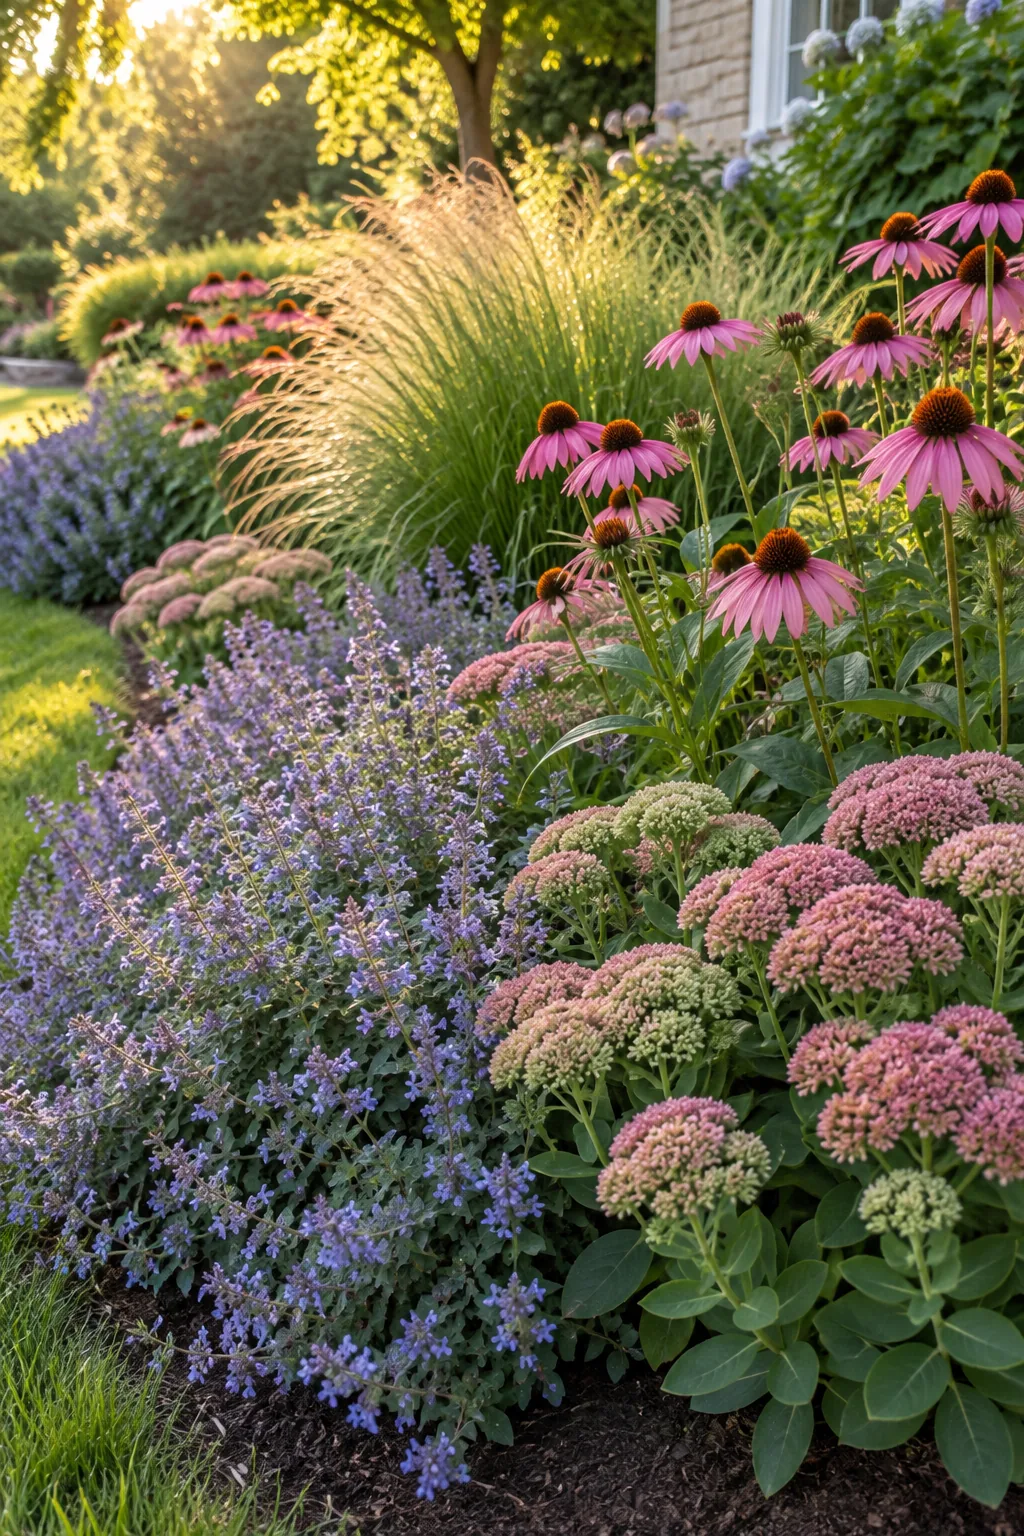
This strict spacing looks incredibly sparse in year one, but it guarantees proper airflow and prevents devastating fungal disease by year three.
- Check the plant tag for the estimated 3-year mature spread.
- Measure from the center stem of one plant to the next.
- Resist the urge to buy extra plants to fill the temporary gaps.
Creating Drifts and Groupings
Planting in sweeping odd-numbered groups creates a cohesive, naturalistic meadow feel rather than a chaotic polka-dot effect across the border. Grouping three or five identical perennials together builds striking blocks of color that naturally draw the eye down the garden path.
Planting Through the Cardboard
To install your new perennials, pull back the compost, cut an X through the softening cardboard layer, and dig right into the native soil below. Tuck the root ball in, fold the cardboard flaps back around the base, and push the compost back into place.
Selecting Drought-Tolerant Varieties
Choosing native prairie plants like purple coneflower and prairie dropseed guarantees your new border will survive intense summer heat. These resilient species evolved to handle long dry spells, meaning you can eventually stop supplemental watering entirely by year three.
The First Summer: Establishing Roots
Your primary job during the first growing season is providing 1 inch of water weekly to encourage deep, drought-resilient root systems. The new perennials must push their roots through the compost and down into the decomposing cardboard layer to survive.
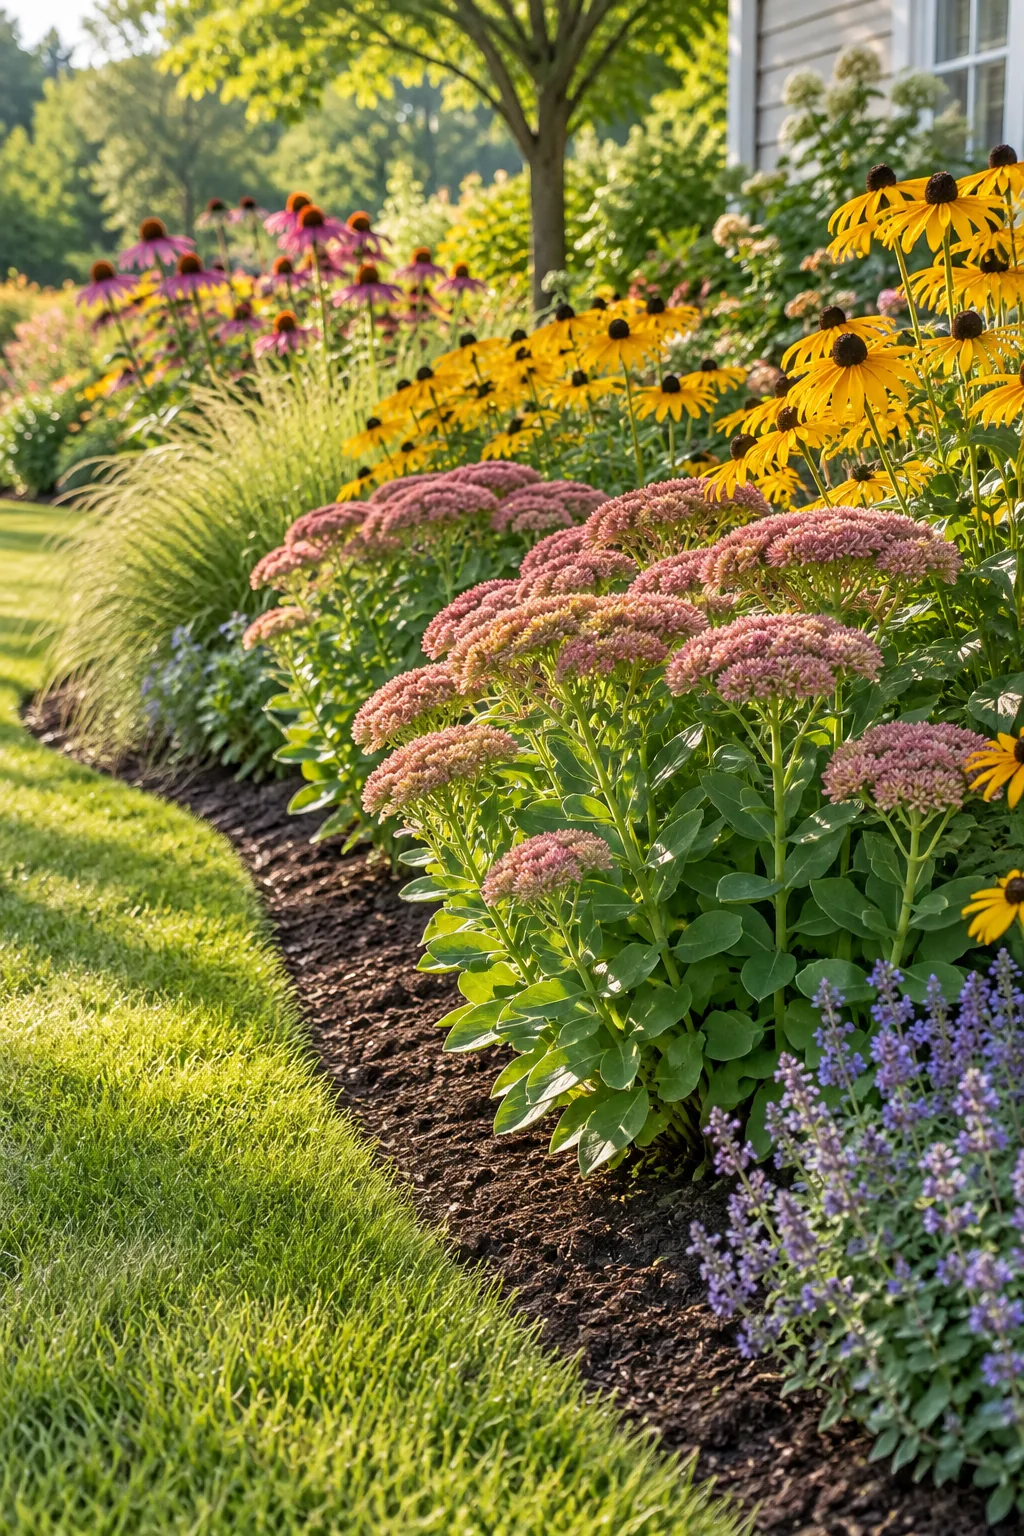
Consistent moisture helps the cardboard break down faster, allowing the earthworms to till the organic matter directly into your native soil.
Watering Deeply During Droughts
If you experience a prolonged heatwave during the first summer, place a soaker hose directly at the base of your new plants. Delivering water slowly at the soil level prevents wasteful evaporation and keeps the decomposing cardboard layer adequately moist.
Managing Weeds in Year One
Because the plant canopy has not yet closed, opportunistic weeds will try to claim the bare soil between your newly installed perennials. Walk the border once a week and pull any small weeds by hand before their taproots penetrate the cardboard layer.
Monitoring for Common Pests
While native perennials are incredibly tough, stressed plants in their first year can occasionally attract aphids on their tender new growth. Spraying the affected stems with a strong blast from your garden hose easily knocks the pests away without requiring harsh chemicals.
Avoiding Synthetic Fertilizers
Skip all synthetic fertilizers during this critical establishment phase, as excess nitrogen promotes weak, floppy top growth instead of strong structural roots. The thick compost layer provides all the slow-release nutrients your native and adapted perennials need to thrive.
The Chelsea Chop in Late May
Performing the Chelsea chop in May involves cutting back late-summer bloomers like sedum and black-eyed Susan by exactly one-third of their height. This traditional pruning technique significantly delays flowering and forces the plant to create a much sturdier base.
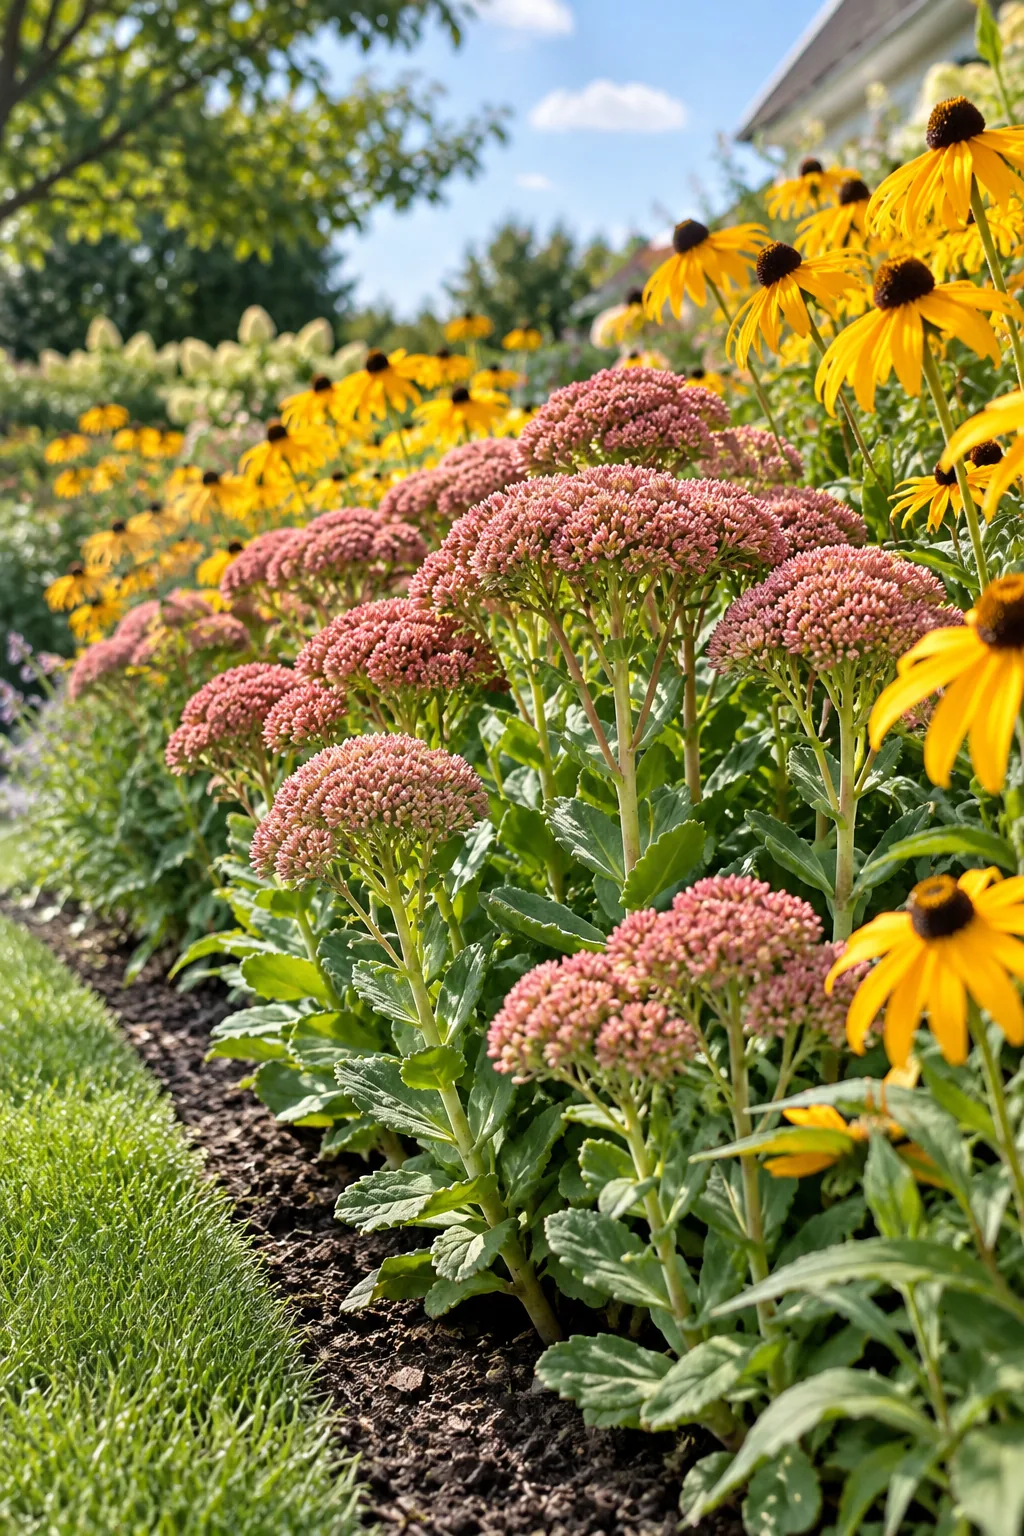
Shorter, heavily branched stems will not flop over under the weight of heavy summer rain, keeping your front border looking intentionally tidy.
Identifying Which Stems to Cut
Only apply the Chelsea chop to late-season bloomers that naturally grow tall and leggy by mid-summer. Never chop early spring bloomers or plants that produce a single central flower spike, as you will permanently remove their only blooms for the entire year.
Dividing Perennials in Year Two
By the second autumn, some fast-growing perennials may outgrow their allotted space and require division to maintain their overall vigor. Dig up the entire clump, slice it cleanly in half with a sharp spade, and replant the fresh divisions to expand your garden.
Winter Interest and Wildlife Value
Leaving the garden standing through the winter months provides vital visual structure when the rest of the yard looks completely barren. The sturdy coneflower seed heads offer a highly reliable food source for overwintering goldfinches when other food becomes scarce.
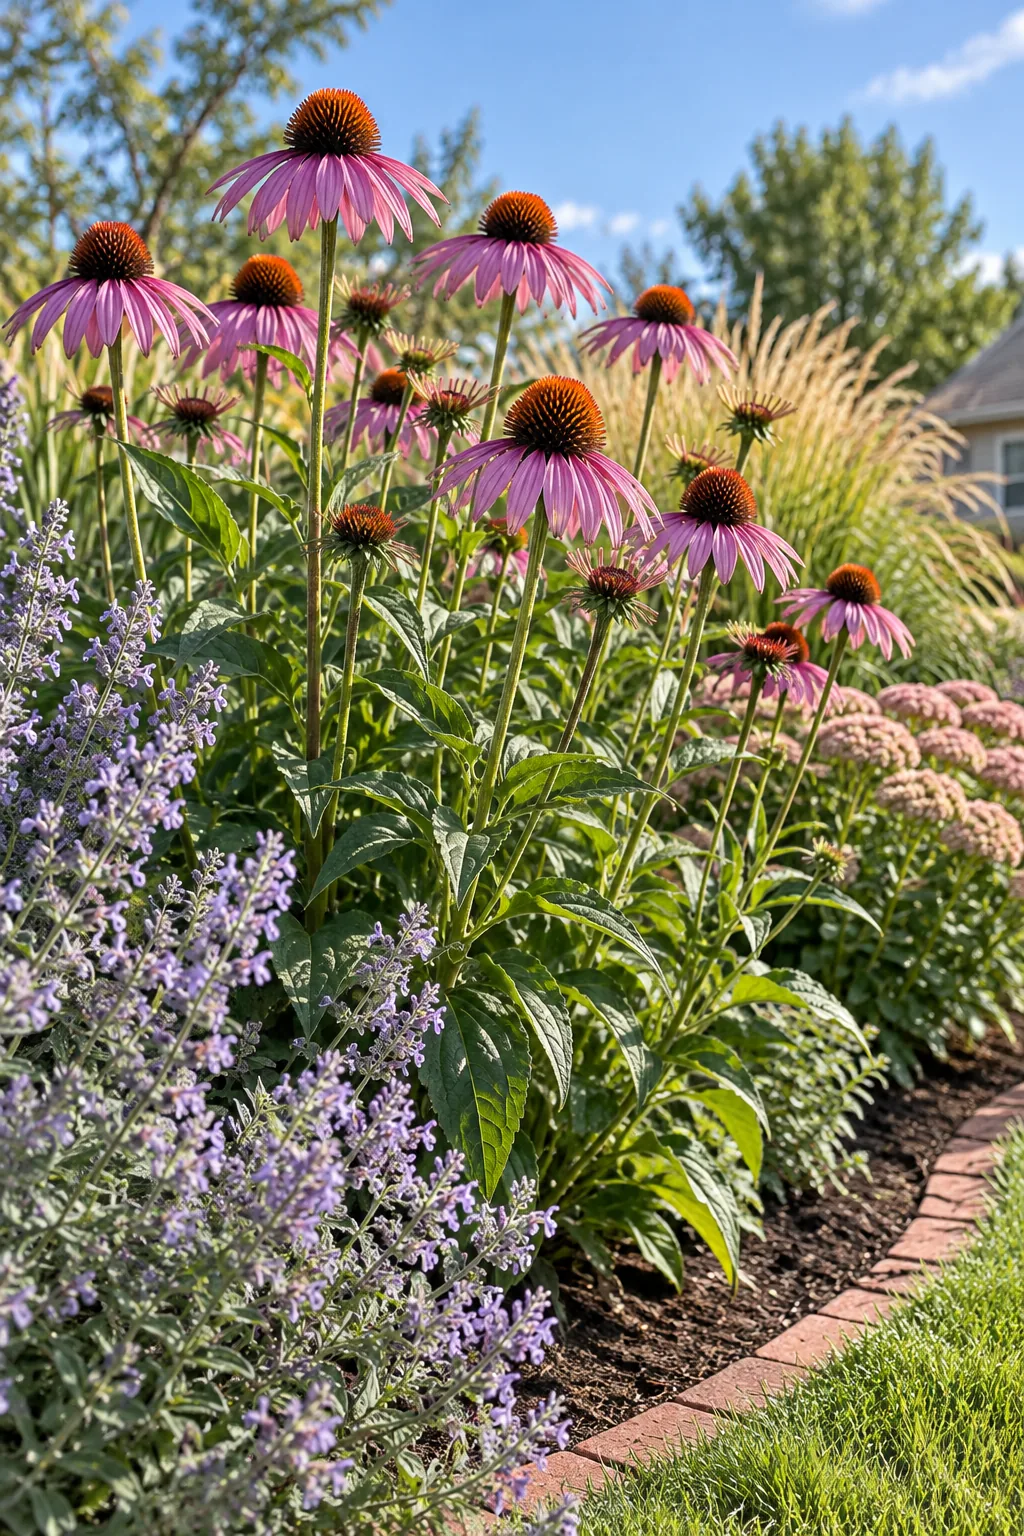
The hollow standing stems of prairie dropseed also provide crucial nesting habitat for native solitary bees trying to survive the freezing temperatures.
Supporting Native Pollinators
A low-maintenance border naturally supports local ecosystems by offering uninterrupted shelter from the first hard frost until the early spring thaw. Delaying your cleanup ensures these beneficial insects emerge safely before you accidentally destroy their protective winter homes.
Leaving Seed Heads for Songbirds
Resist the urge to deadhead your black-eyed Susans and coneflowers as autumn approaches, allowing the central cones to fully mature and harden. These nutrient-dense seeds are far more valuable to local bird populations than any store-bought feeder you could hang in the yard.
Chop and Drop Spring Cleanup
In late winter, cut all dead plant material down to exactly 2 inches above the crown to make way for new growth. Instead of bagging the yard waste, chop & drop the stems directly onto the soil surface.
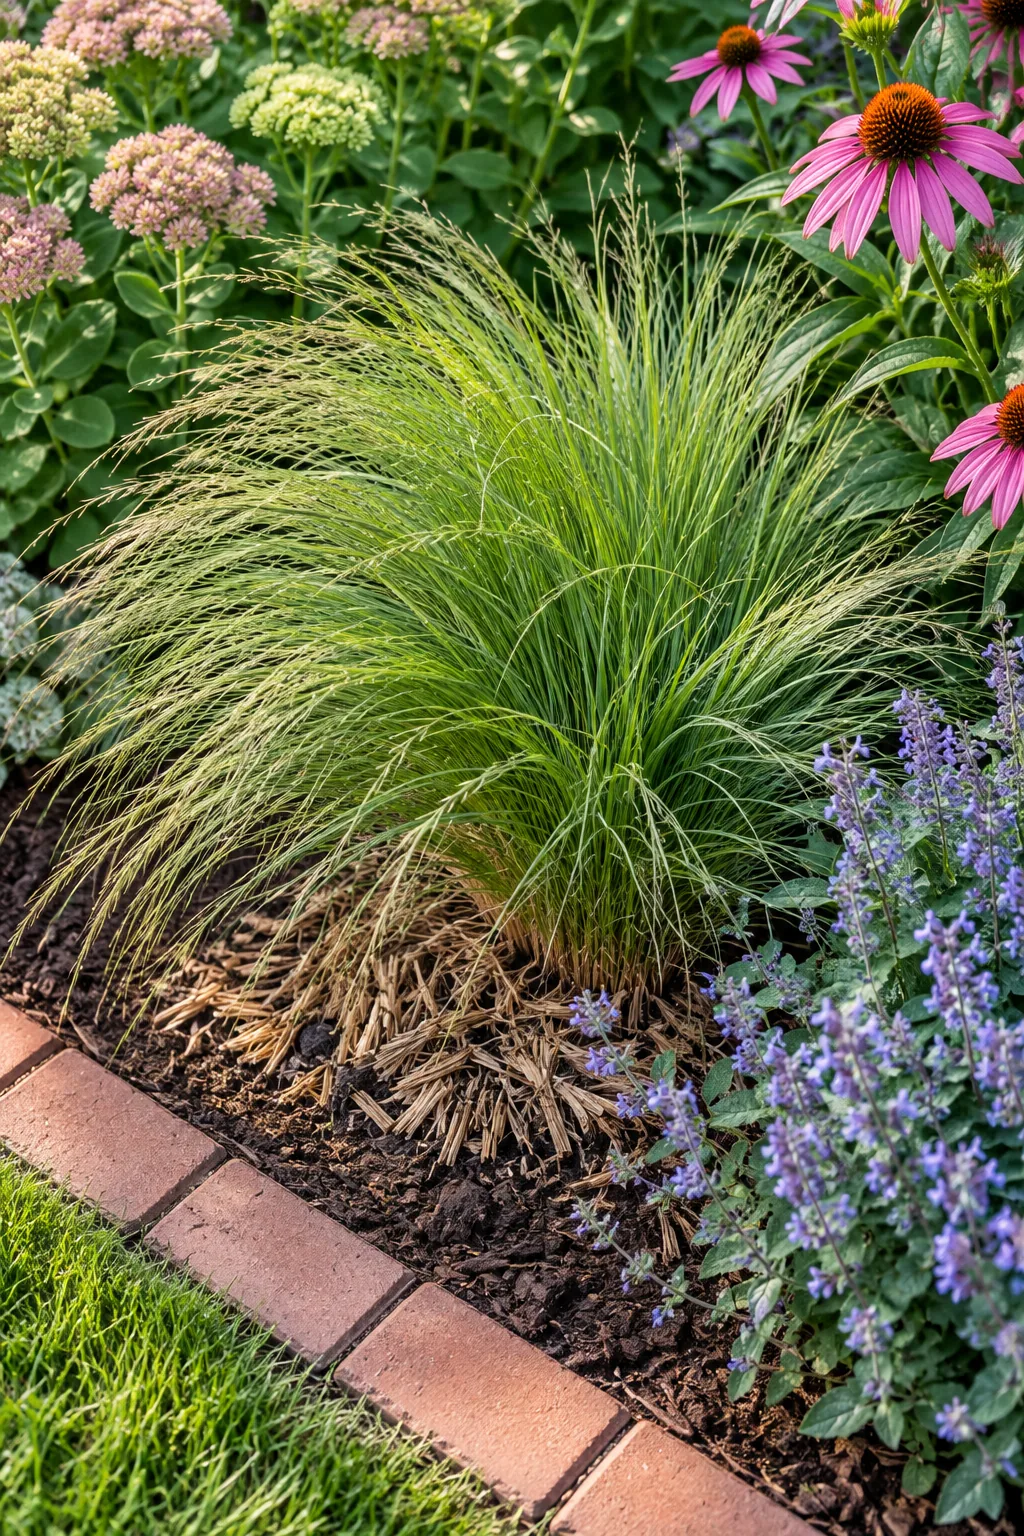
Cutting the debris allows it to fall neatly between the emerging shoots, acting as a natural, nutrient-rich mulch that suppresses early weeds.
Sizing the Chopped Debris
Use sharp bypass pruners to snip the long stems into manageable 6-inch pieces so they lay flat against the earth. Leaving the pieces too long creates a messy, tangled appearance, while shorter pieces quickly break down into rich organic humus.
Your 3-Summer Lawn-to-Border Calendar
Our printable month-by-month schedule tracks every exact milestone from laying cardboard in year one to the final mature-width canopy closure. I keep my own printed copy pinned directly to the garage wall so I never second-guess my seasonal maintenance timing.
The printable calendar breaks down your tasks by season, ensuring you only do what is absolutely necessary for each stage of growth.
3 Distinct Perennial Border Styles
Once you understand the 3-summer method, you can adapt the plant choices to fit any aesthetic.
Cottage Garden Pastels: Soft pink phlox and white daisies create a romantic, informal cottage feel.
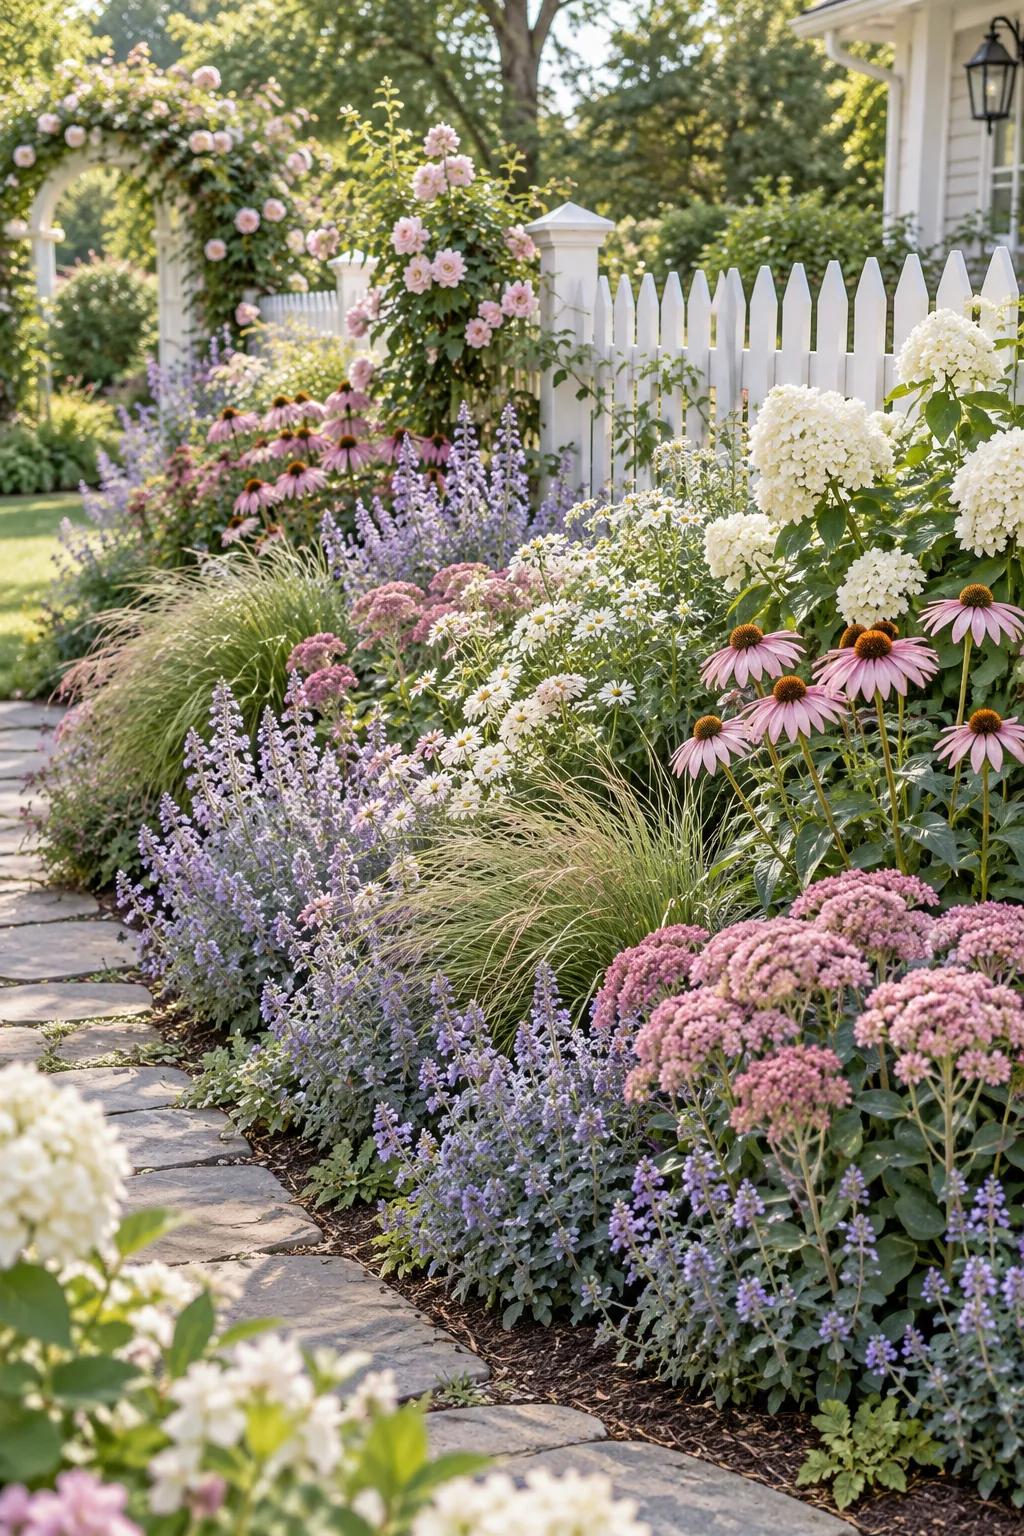
Modern Prairie Style: Mass plantings of ornamental grasses provide striking architectural movement in a minimalist space.

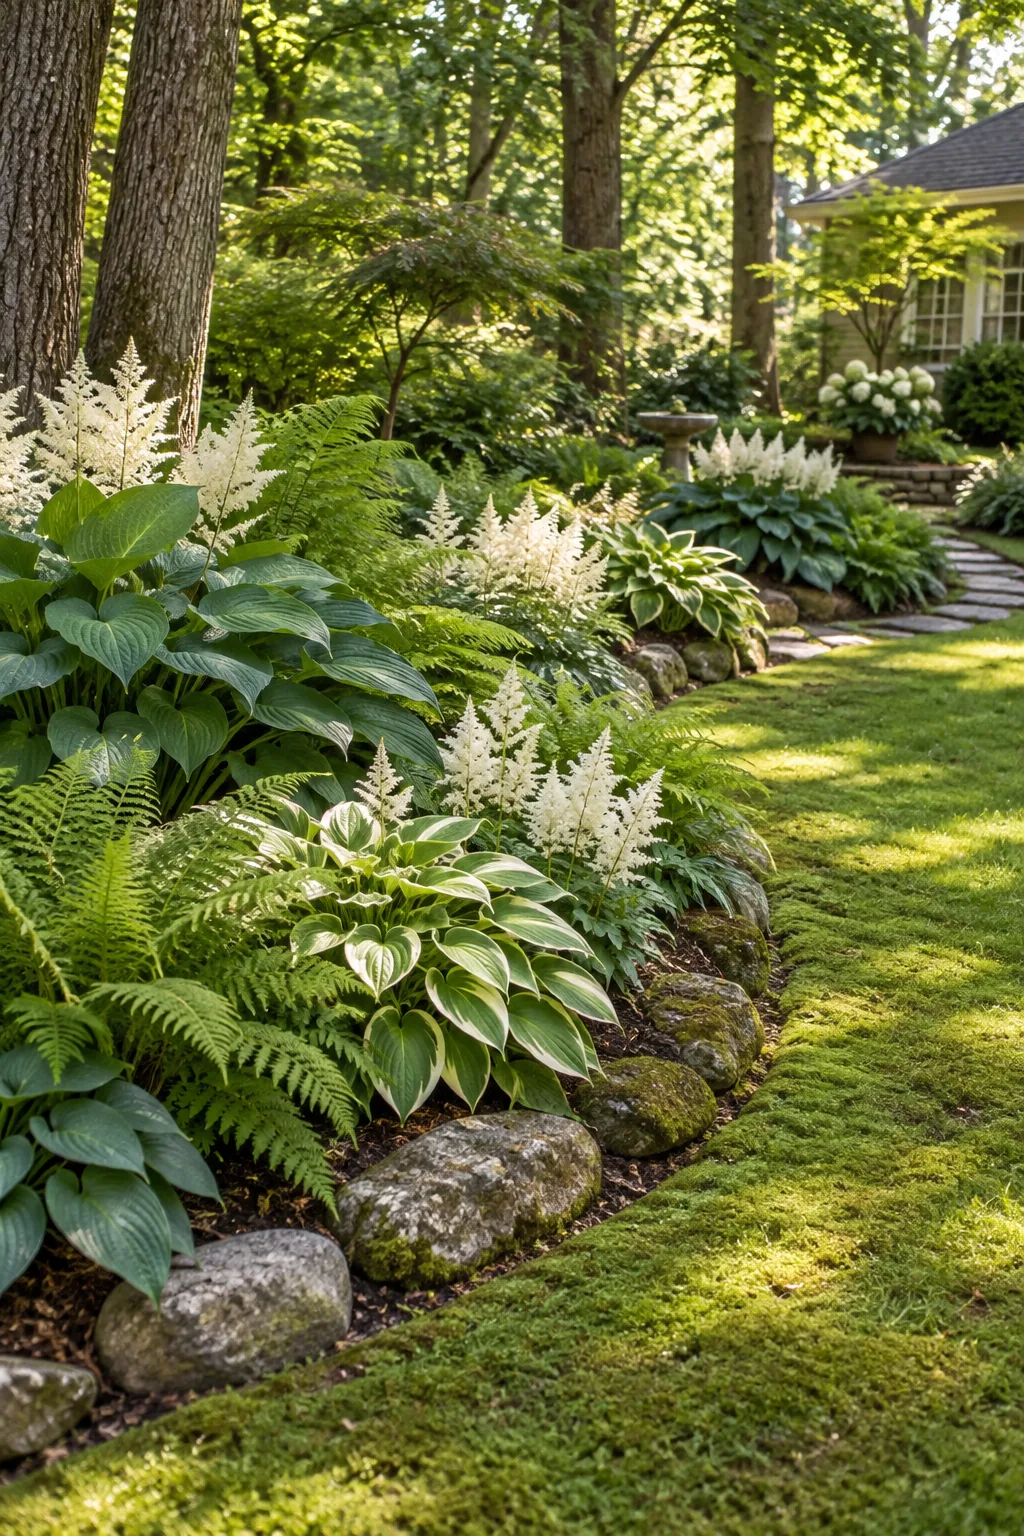
Woodland Edge Shade: Rely on the varied textures of hostas and ferns to brighten up deep shade.