The Outdoor Kitchen Bar Build Sheet & Steel Frame Specs
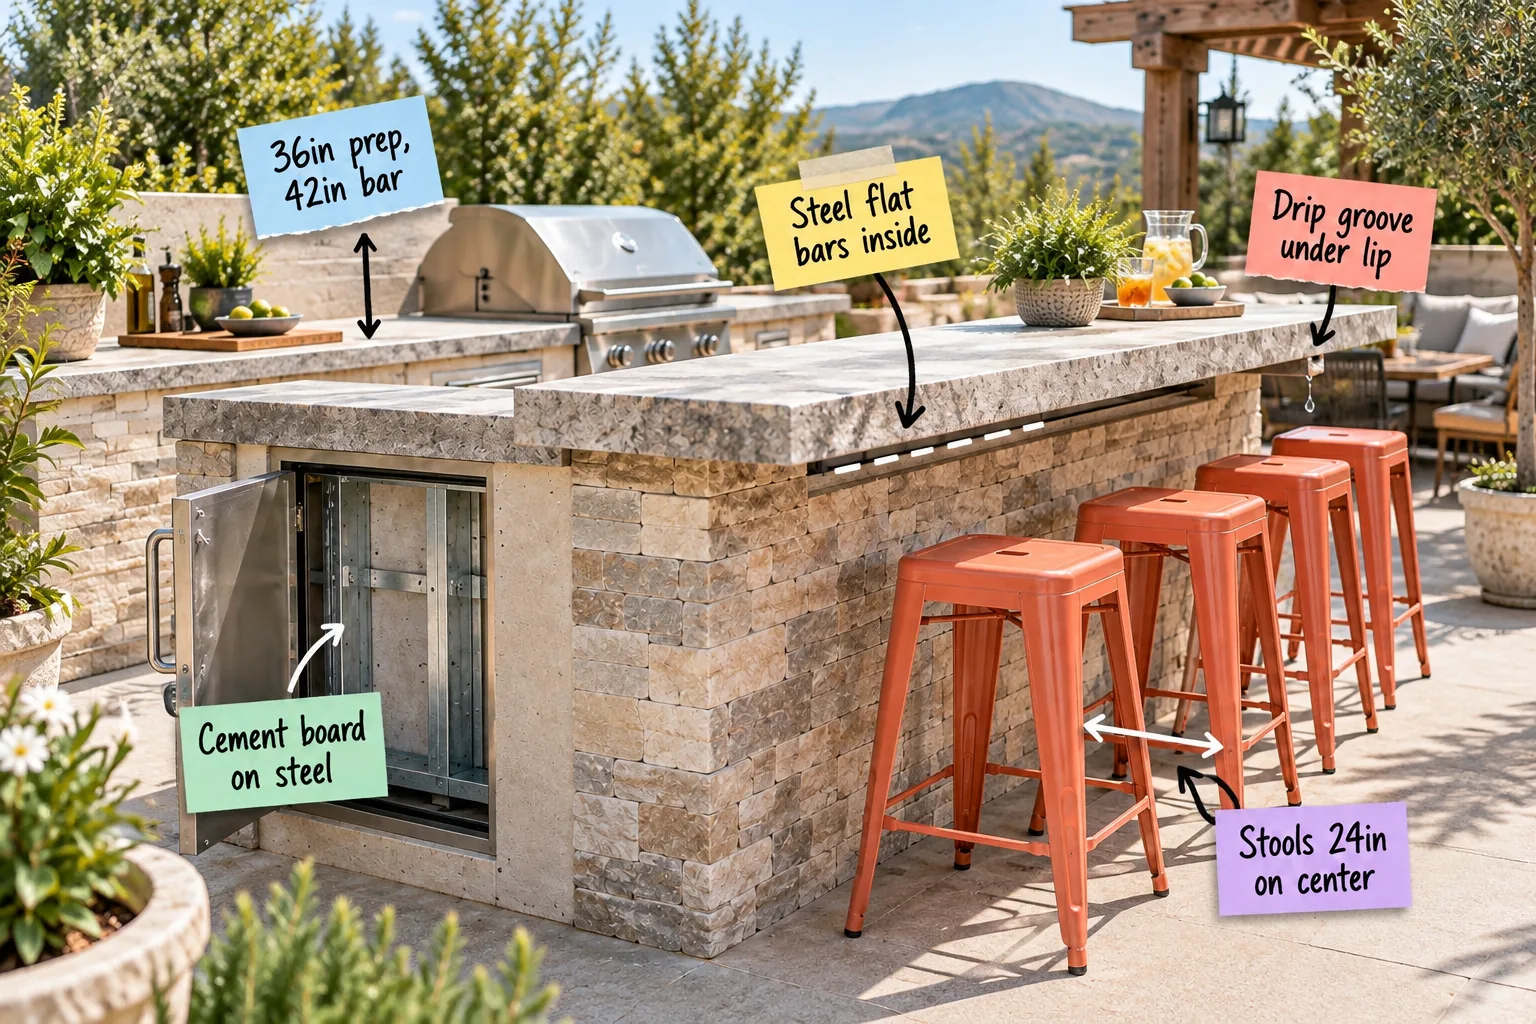
Building a durable two-level outdoor kitchen means getting the hidden structural details exactly right, from the metal frame up to the heavy stone overhang. You will be able to print The Outdoor Kitchen Bar Build Sheet to lock in every crucial measurement, frame spec, and clearance for your patio island.
Planning the Split-Level Counter Heights
A well-designed island starts with a 36-inch prep counter on the grill side and a raised 42-inch bar for seating. I built my own patio island with this exact six-inch step, and it completely changed how we entertain.
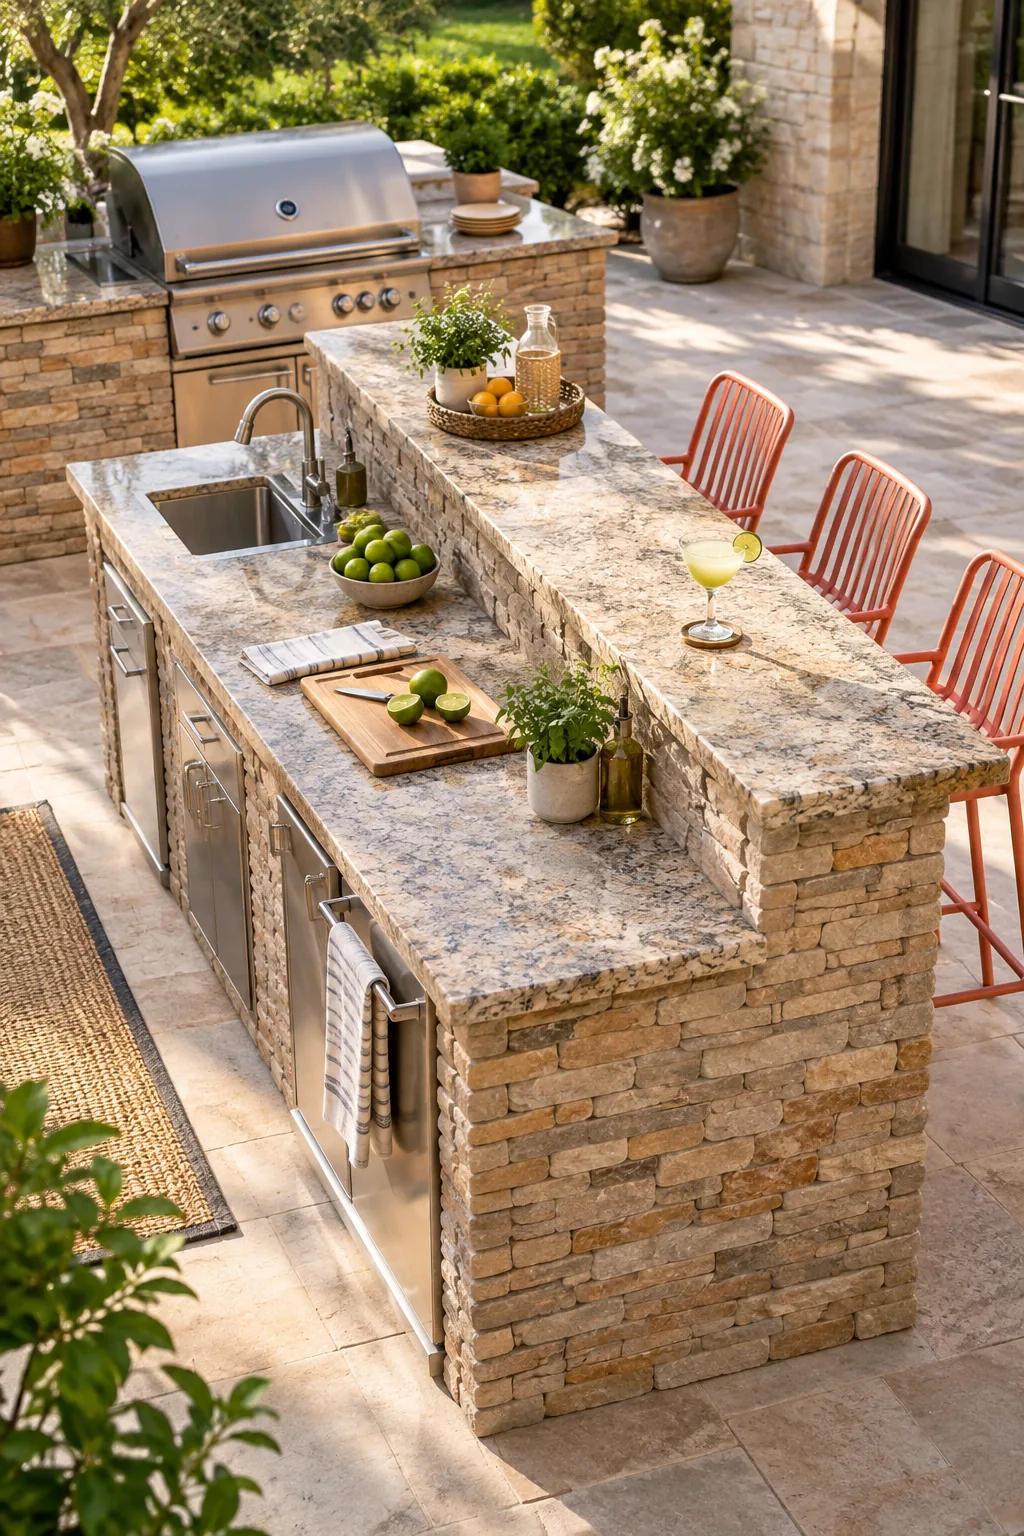
This simple split-level design effectively hides messy cooking clutter, dirty tongs, and raw ingredients from your seated guests while you manage the grill. It keeps the dining zone feeling clean and relaxed, even when the cooking zone is chaotic.
Positioning the Built-In Grill
Center your heavy stainless steel built-in grill on the lower tier, leaving at least 12 inches of heat-resistant counter space on either side. This gives you plenty of safe, accessible room for resting hot tools and staging heavy serving platters.
Pouring a Solid Concrete Footing
Before assembling any metal framing, you must pour a perfectly level concrete footing to support the immense finished weight of the masonry and stone counters. A shifting foundation will quickly crack your expensive stone ledge.
- Dig a perimeter trench six inches deep along the exact footprint of your planned island.
- Compact a thick layer of crushed drainage gravel into the base of the trench.
- Pour high-strength concrete over the gravel and screed the surface perfectly level.
Building a Weatherproof Island Frame
Skip the traditional lumber and build your structure using galvanized steel studs to permanently prevent rot, warping, and insect damage outdoors. This rigid metal skeleton is the secret to an island that survives decades of harsh weather.
Even with the right metal framing materials, a few structural oversights during assembly can easily compromise the island’s longevity. These hidden mistakes will eventually warp the frame and ruin your expensive stone finish.
Spacing the Metal Studs for Rigidity
Frame your vertical metal studs exactly 16 inches on center to provide adequate, unyielding backing for the heavy cement board and decorative stone veneer. Proper spacing prevents the walls from bowing under pressure.
| Framing Component | Required Spacing | Fastener Type |
|---|---|---|
| Vertical Wall Studs | 16 inches on center | #8 self-tapping screws |
| Horizontal Base Tracks | Continuous perimeter | Concrete wedge anchors |
| Corner Reinforcements | Every 90-degree turn | Steel corner gussets |
Adding Cement Board on Steel
Once the skeleton is plumb, wrap the entire structure in half-inch cement board to create a rock-solid, moisture-proof backing. This layer of cement board on steel provides the perfect textured substrate for heavy masonry.
- Cut the dense boards with a carbide-tipped scoring tool to significantly reduce hazardous airborne dust.
- Stagger all vertical seams so they never align directly over a single metal stud.
- Drive specialized cement board screws completely flush with the surface to avoid bumps under the stone.
Taping and Mudding the Cement Board Seams
A strong metal frame still flexes slightly with extreme temperature changes, so you must reinforce every joint. Embed alkali-resistant mesh tape into exterior thinset mortar across all seams to create a unified, crack-resistant shell.
Supporting the Stone Overhang
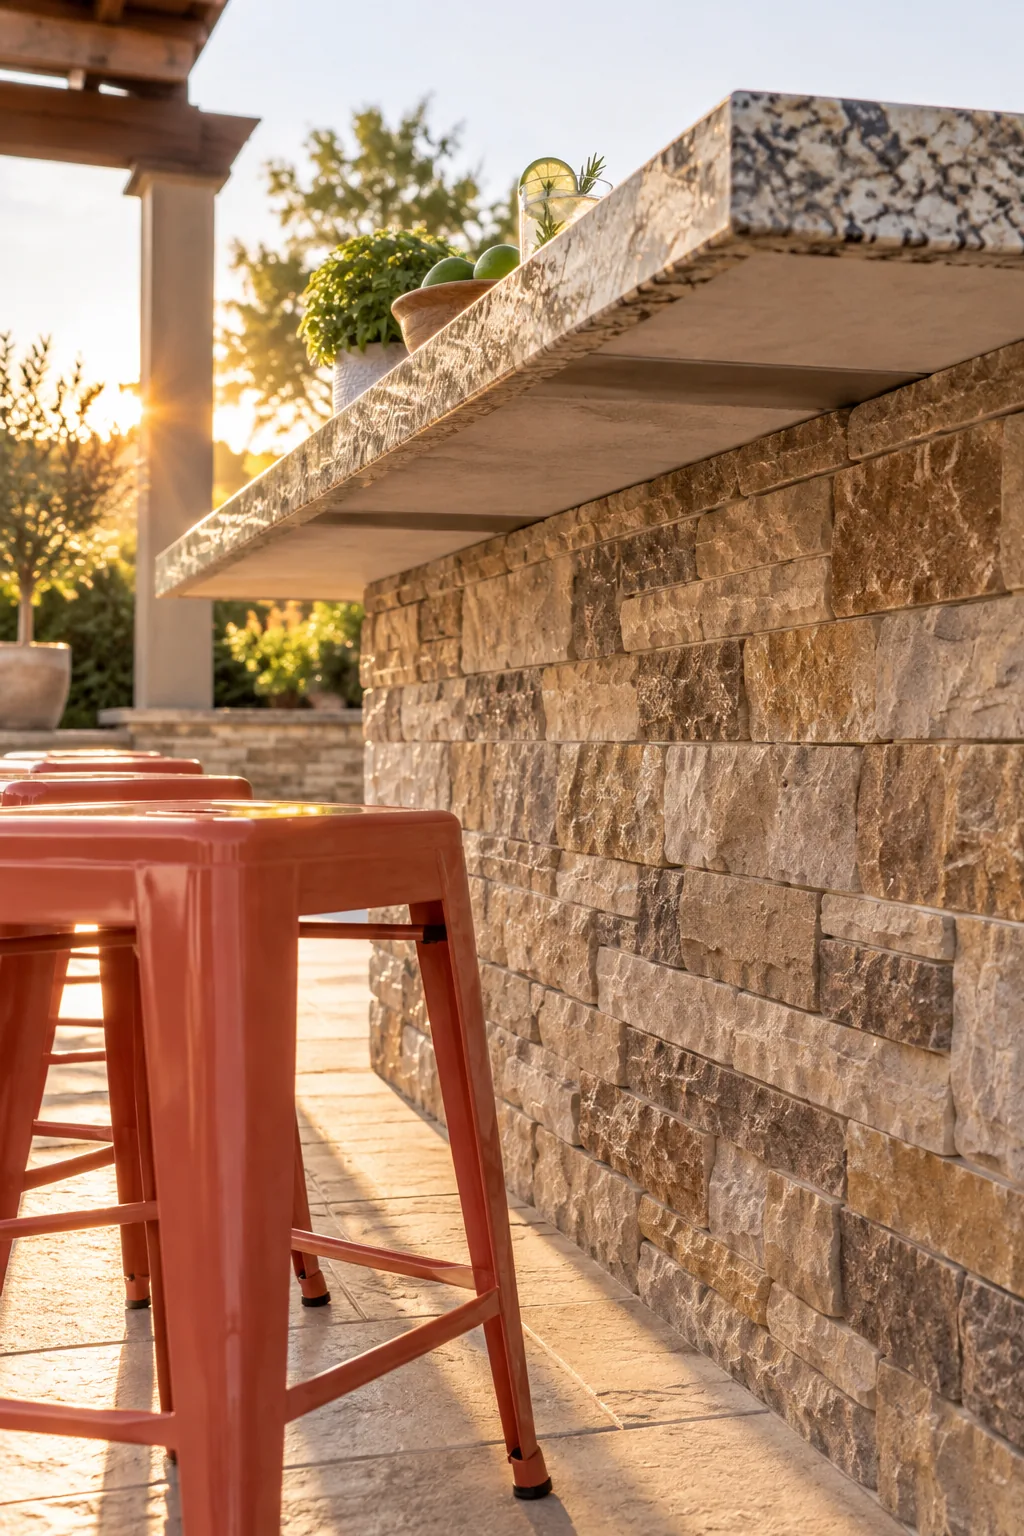
To safely float a deep bar top, you must install heavy-duty steel flat bars inside the upper frame. These hidden supports slide under the 42-inch ledge and tie directly into the island’s structural top track.
Choosing the Right Steel Flat Bar Thickness
Standard hardware store brackets will dangerously flex under the weight of a solid stone slab. You must source 1/2-inch thick structural steel plates to guarantee the overhang remains perfectly rigid when guests lean on it.
Securing the Steel Spine to the Frame
Bolt each steel flat bar securely to the galvanized metal framing using heavy-duty countersunk machine screws. Countersinking the fastener heads ensures the heavy stone countertop sits perfectly flush without rocking on exposed metal bumps.
Sizing Cook-Side Access Doors
The concealed steel flat bars support the heavy stone ledge invisibly from above, completely eliminating the need for bulky, knee-knocking corbels. This clean floating design keeps the lower cabinet area totally unobstructed.
With the upper overhang fully supported, you can safely measure the cutouts for your stainless access doors in the cement board. Standardizing these cutouts guarantees easy future access to your hidden plumbing and gas lines.
Applying the Stone Veneer Base
Once the framing and steel supports are locked in, trowel a thick scratch coat of polymer-modified mortar over the cement board. Rake deep horizontal grooves into the wet mortar to mechanically grip your decorative stone veneer.
Cutting a Protective Drip Groove
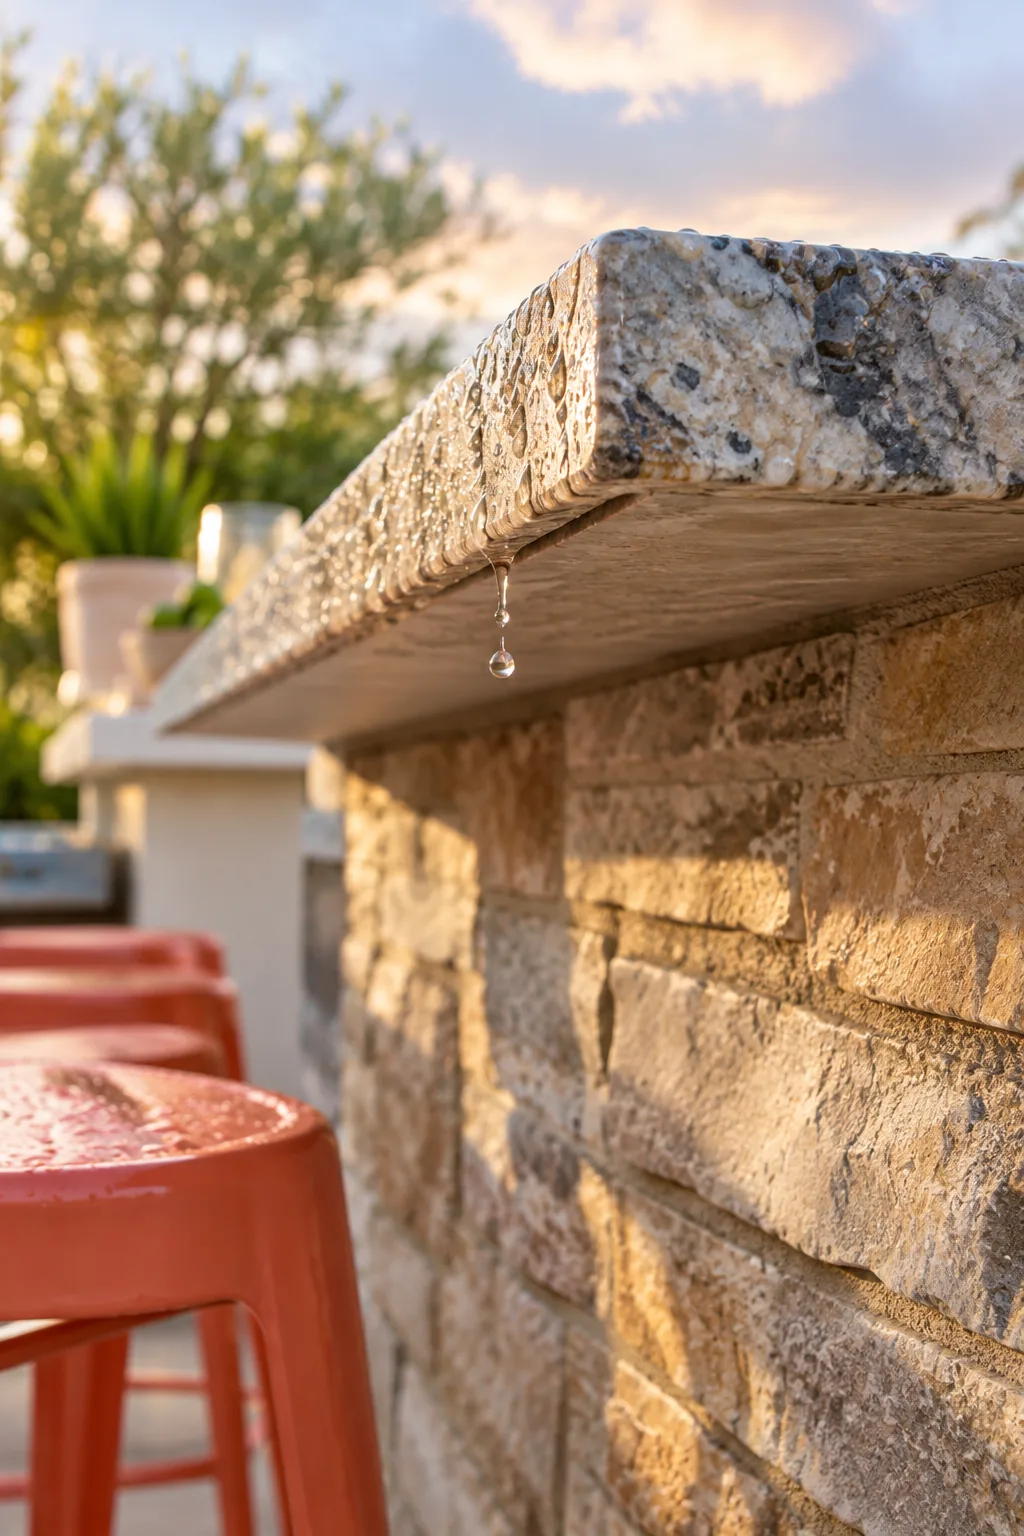
I always ask my stone fabricator to cut a thin drip groove under the lip of the bar, just behind the front edge. When I forgot this on my first outdoor kitchen, water wicked straight into the cabinets and ruined the interior finish.
This simple, hidden masonry detail forces rainwater to gather and drop cleanly to the patio. It entirely prevents dirty runoff from running down and permanently staining the beautiful stucco or stone face below.
Sealing the Underside of the Stone
Even with a functional drip edge, you should apply a high-quality penetrating stone sealer to the unpolished underside of the overhang. This invisible barrier blocks ambient humidity and morning dew from slowly degrading the stone.
Hiding Outlets Under the Lip
While mapping out the electrical boxes, remember the golden seating rule: place your stools 24in on center. This specific spacing guarantees every guest has plenty of elbow room to eat and drink comfortably.
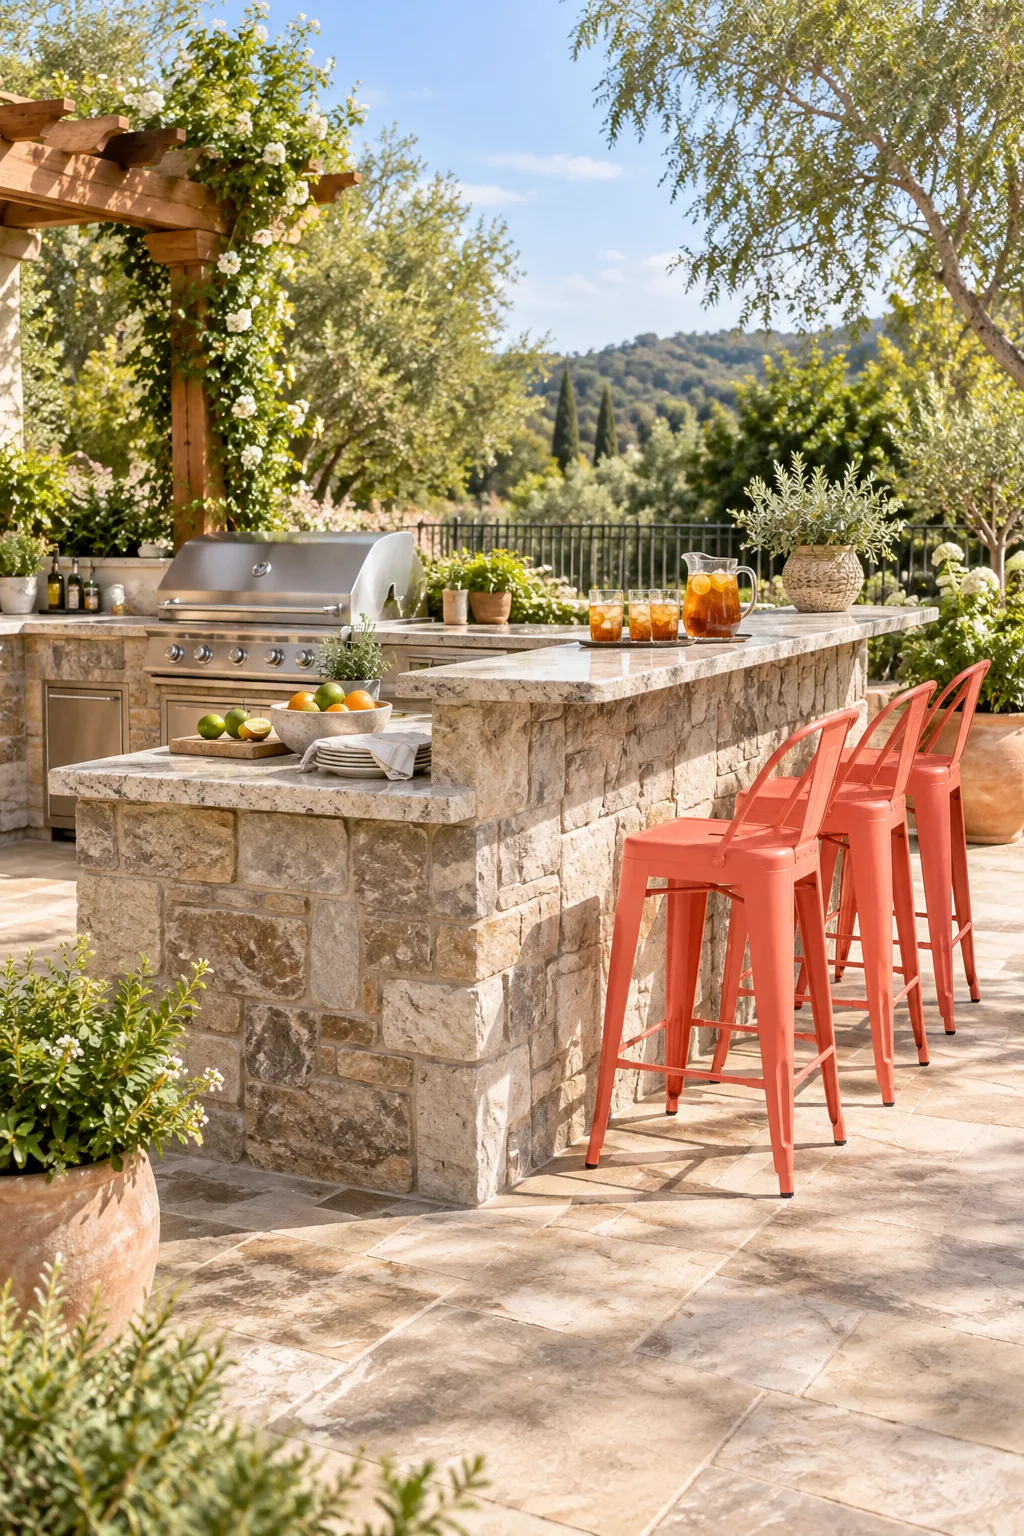
With the seating zones clearly marked, you can position outdoor-rated electrical outlets tucked high under the bar overhang. This placement keeps them out of direct weather while remaining perfectly accessible for blenders or phone chargers.
Calculating Bar Stool Clearances
Beyond the lateral spacing, you must account for the depth of the overhang so your guests do not bash their knees. When we hosted our first barbecue, I quickly realized how crucial that extra legroom really is for taller friends.
Choosing Weather-Resistant Metal Stools
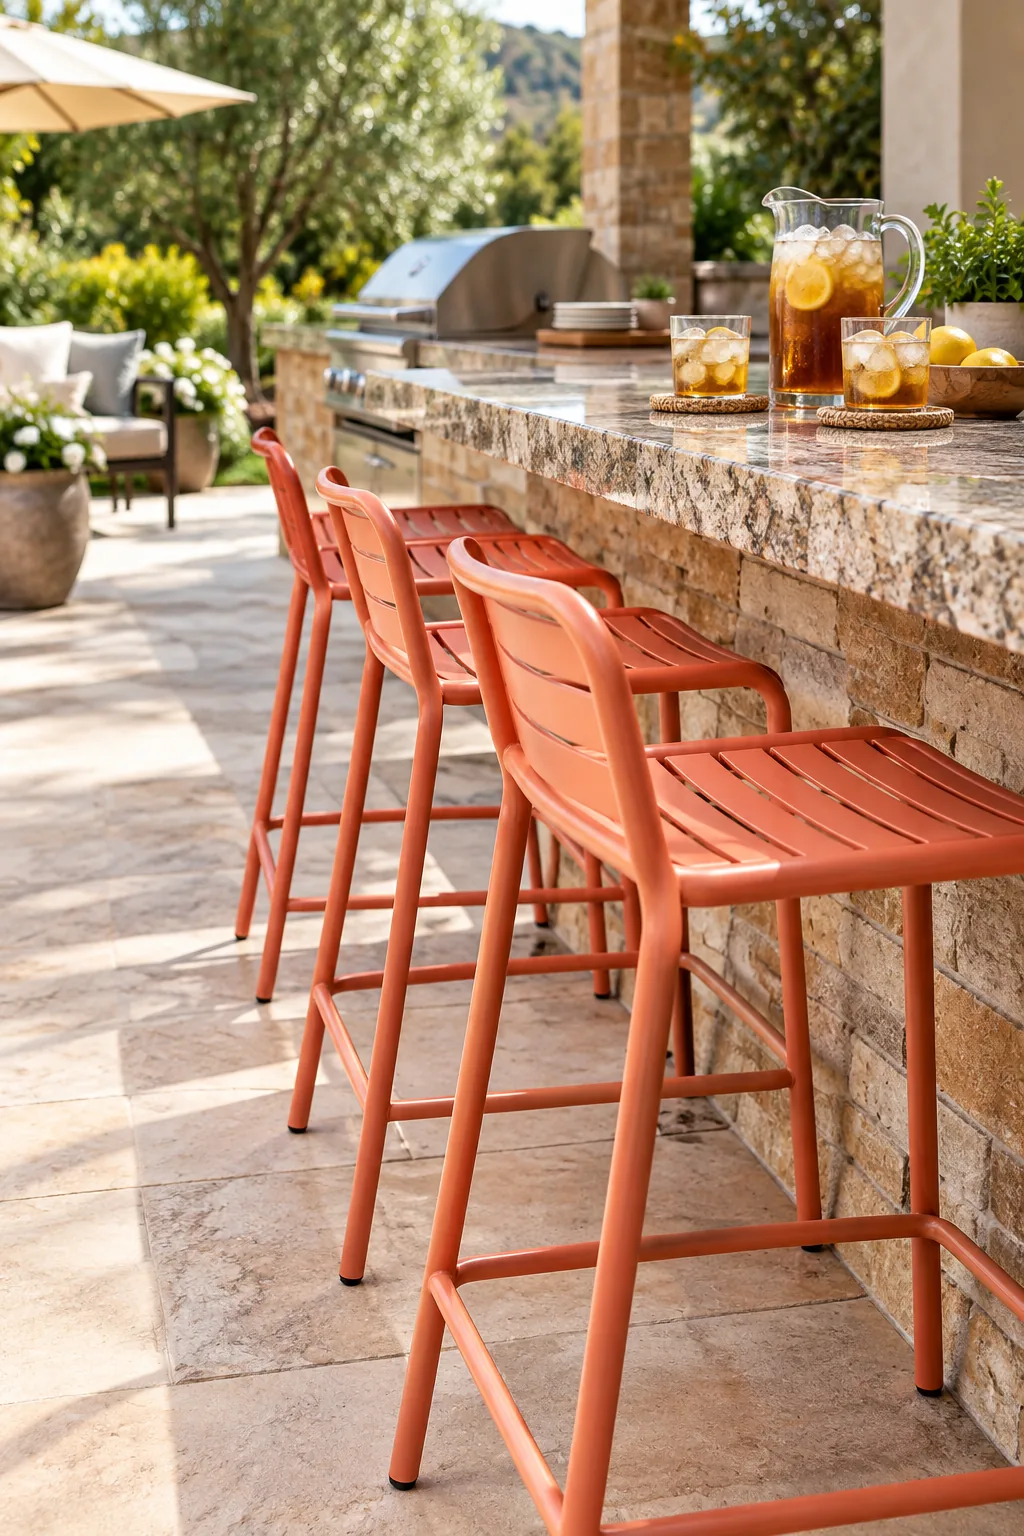
Select backless, weather-resistant metal stools that can slide completely under the deep stone ledge when not in use. Tucking the seating away protects the chairs from heavy rain and harsh summer sun while keeping the patio clear.
Download the Outdoor Bar Build Sheet
Before you cut a single steel stud, ensure you have all your split-level heights, ledge overhang depths, and access-door cutout sizes finalized. A solid plan prevents expensive rework once the heavy stone arrives.
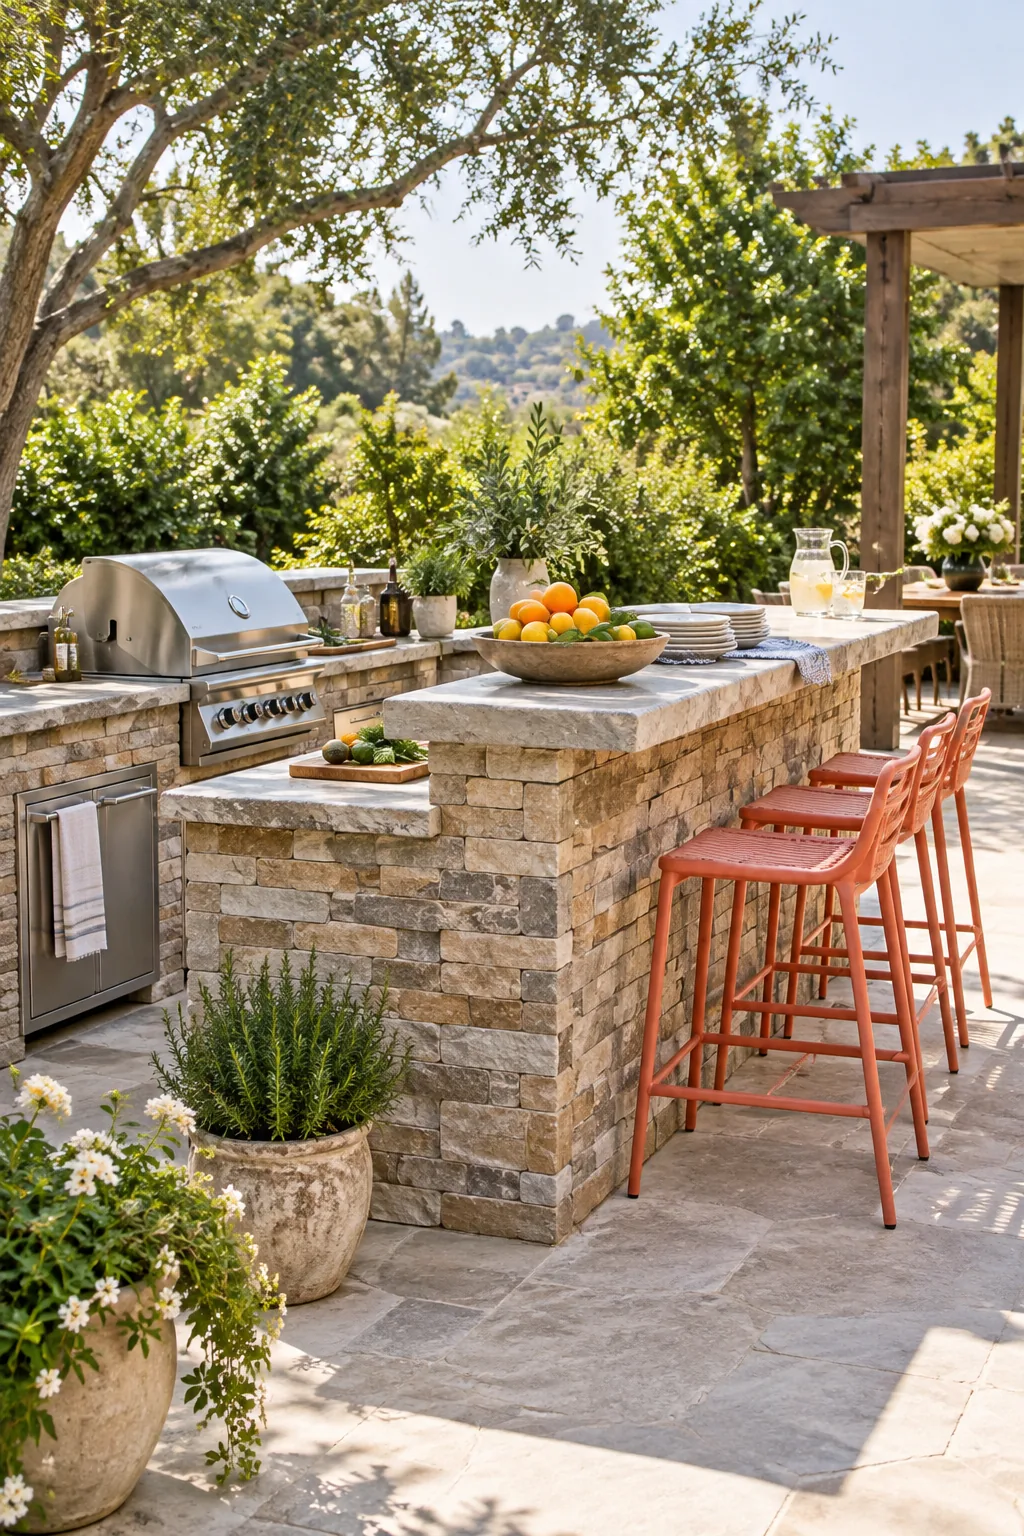
Grab The Outdoor Kitchen Bar Build Sheet to print the complete two-page measurement guide, including the flat-bar specs and stool spacing, so you can build your patio island with total confidence.
5 Ways to Style Your Outdoor Kitchen Bar
Explore these distinct material palettes to find the perfect finish for your patio.
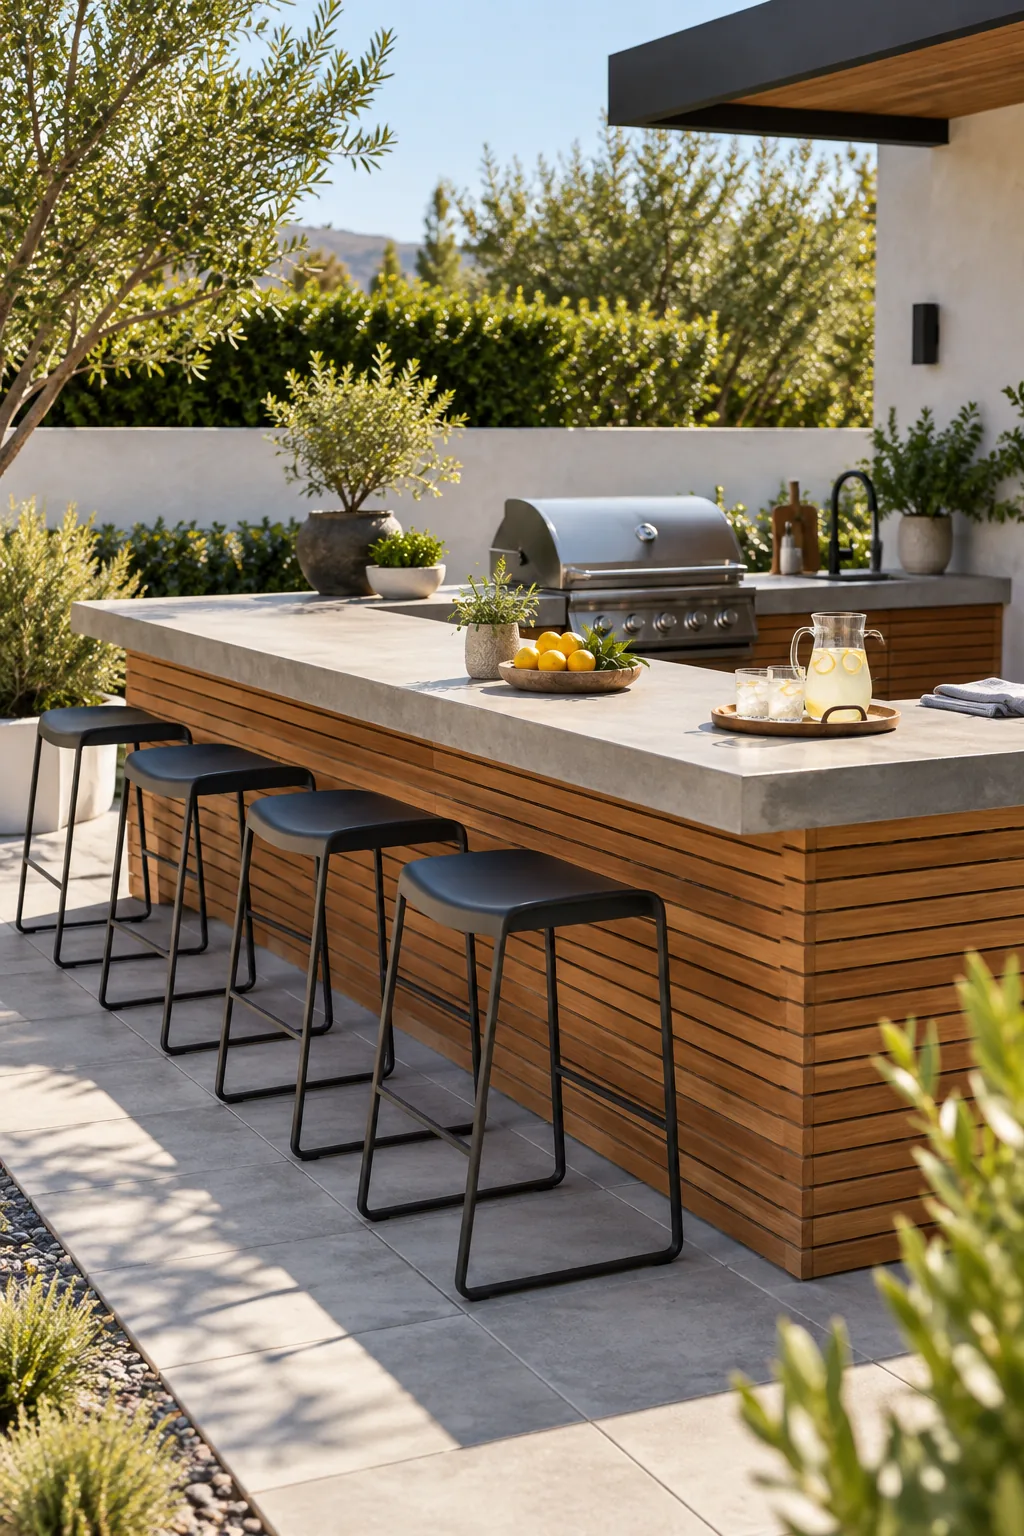
Modern Concrete and Teak: Warm teak slats soften the industrial edge of a poured concrete counter, creating a sleek mid-century modern vibe.
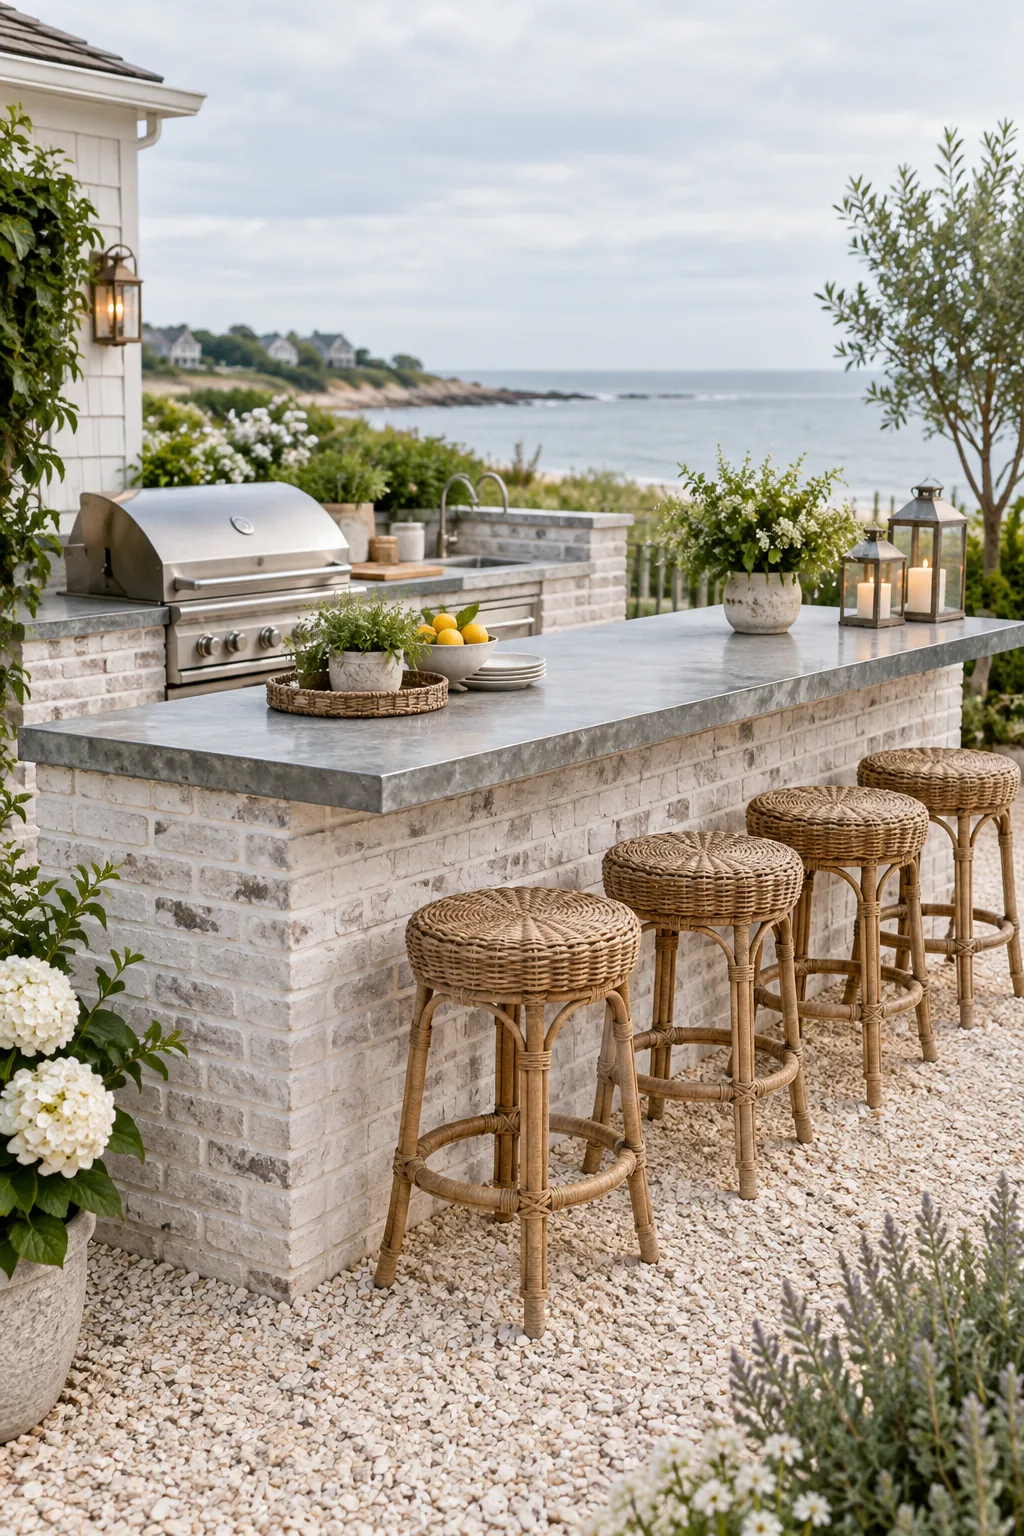
Whitewashed Brick and Zinc: A weathered zinc countertop develops a beautiful patina over time that pairs perfectly with casual woven rattan seating.
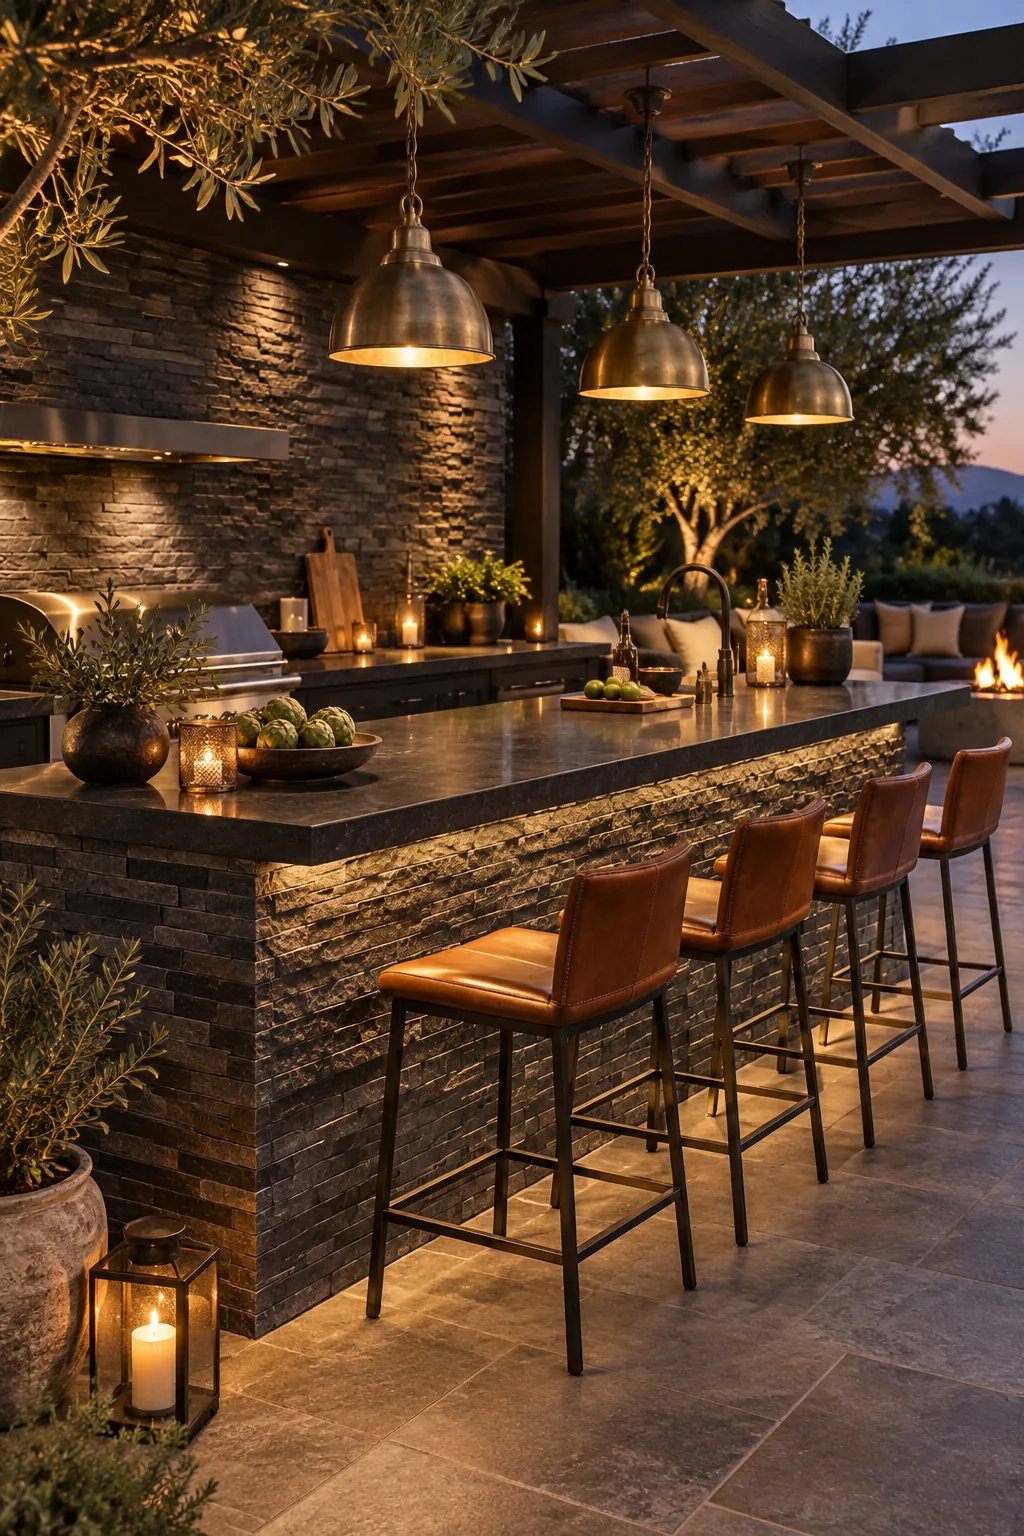
Dark Slate and Brass: Deep charcoal stone and honed black granite create a sophisticated evening entertaining space highlighted by warm brass accents.
Mediterranean Stucco and Tile: Vibrant hand-painted tiles provide a durable, wipe-clean bar surface that brings instant Mediterranean charm to a simple stucco base.

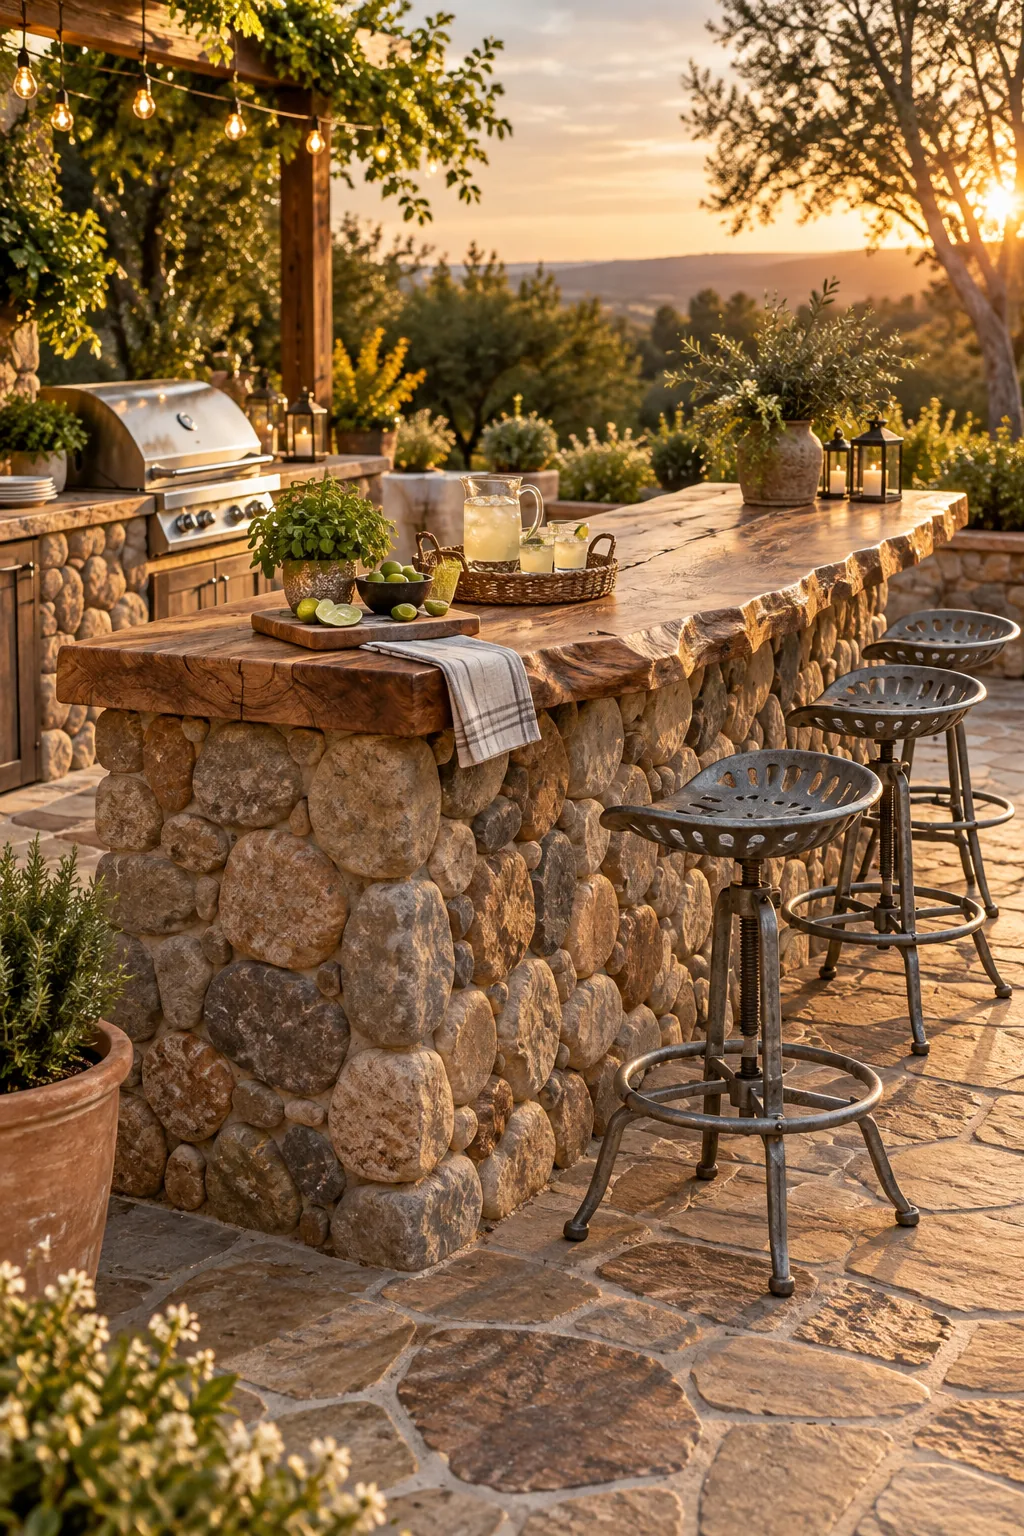
Rustic Rock and Live-Edge: A thick live-edge wooden slab sealed for the outdoors adds incredible organic warmth to a heavy river rock foundation.