
Cute Drawings Aesthetic: Step-by-Step Doodle Reference Sheet
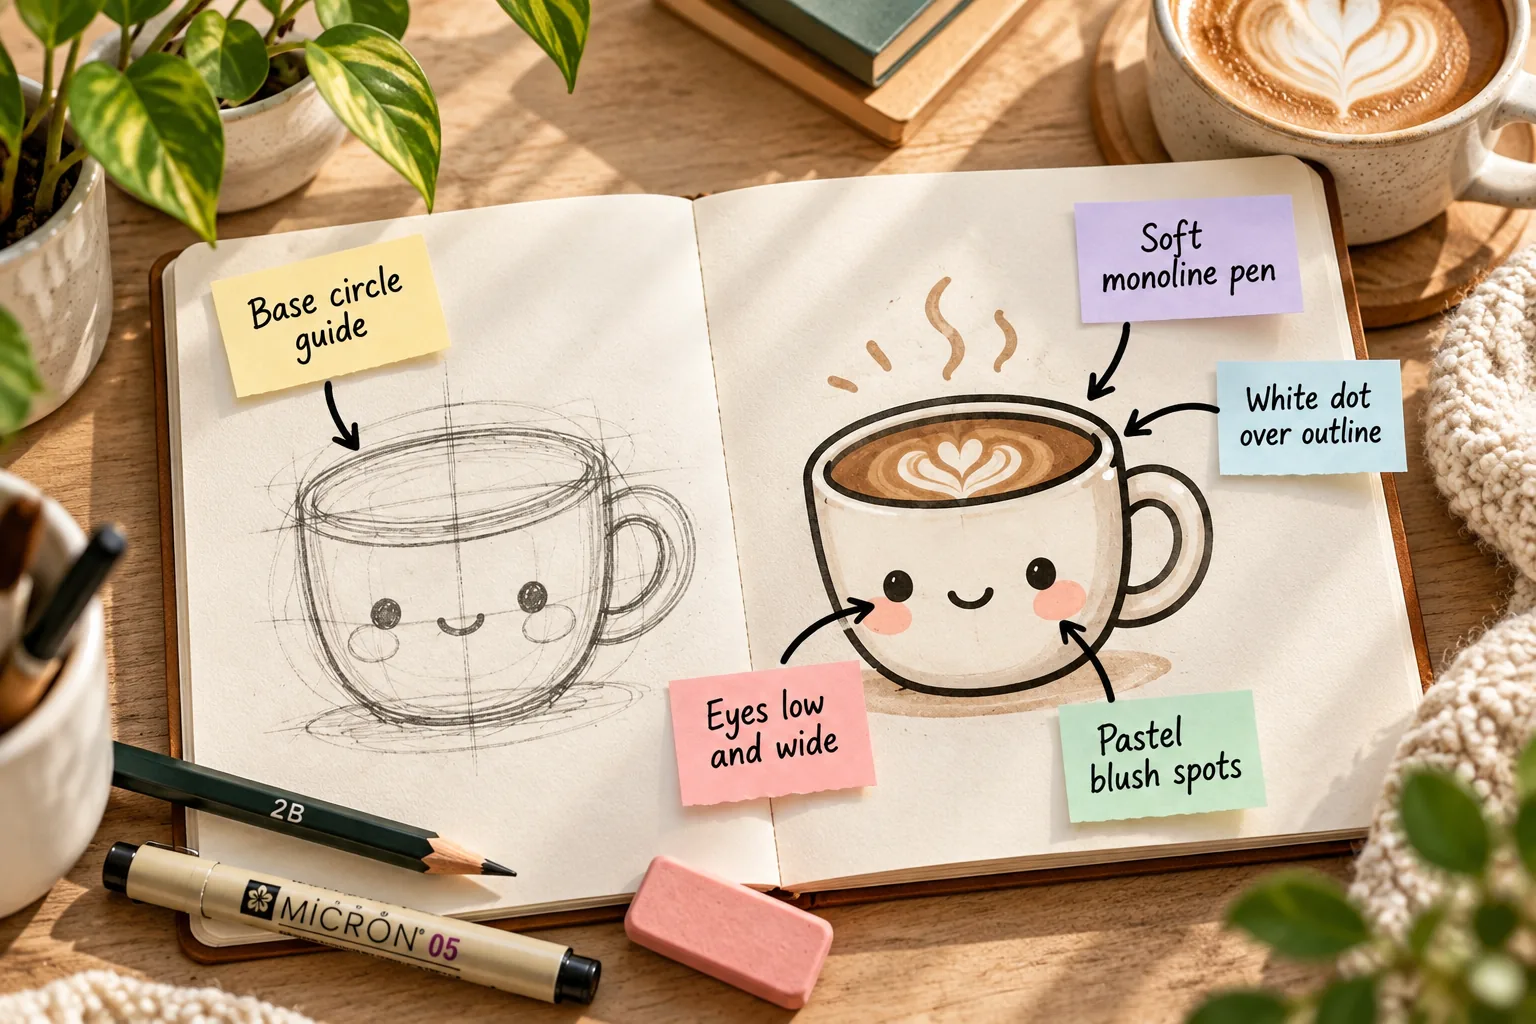
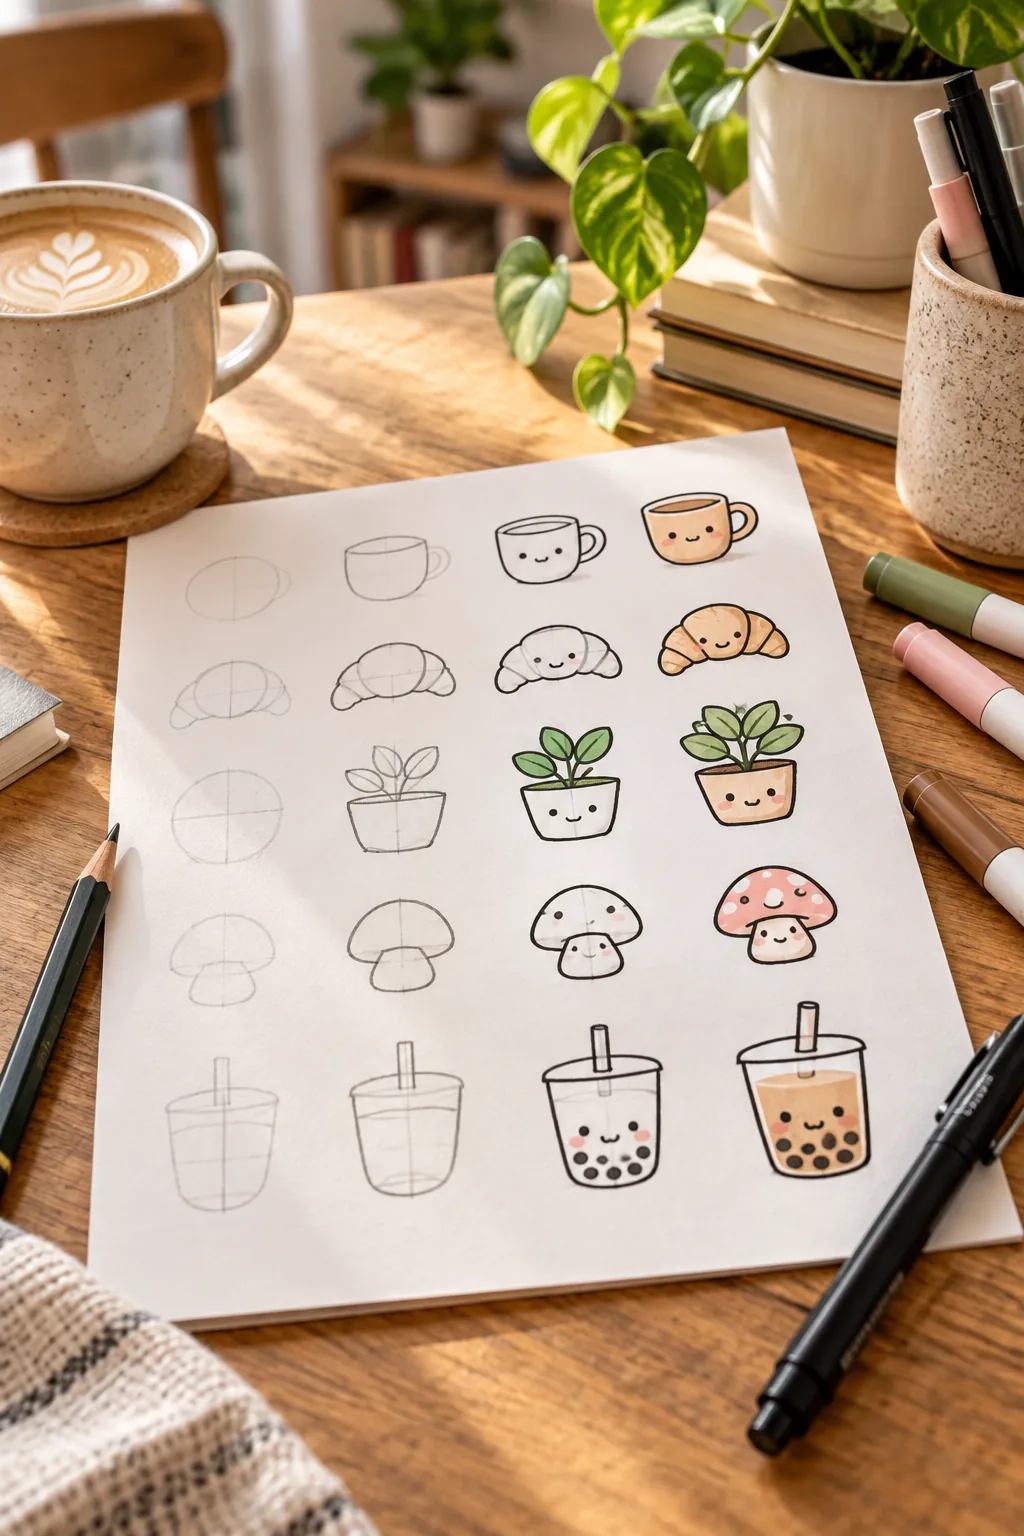
Transform basic shapes into adorable artwork with a simple layer-by-layer process that ends with our printable step-by-step doodle reference sheet. You will be able to draw aesthetic, cozy doodles to fill your sketchbook pages effortlessly.
Building the Foundation with Base Circle Guides
Every cute drawing begins with a light 2B pencil base circle guide to establish the overall volume before adding details like handles or leaves. Keep your pencil pressure under 20 percent so the graphite erases effortlessly once the ink dries.
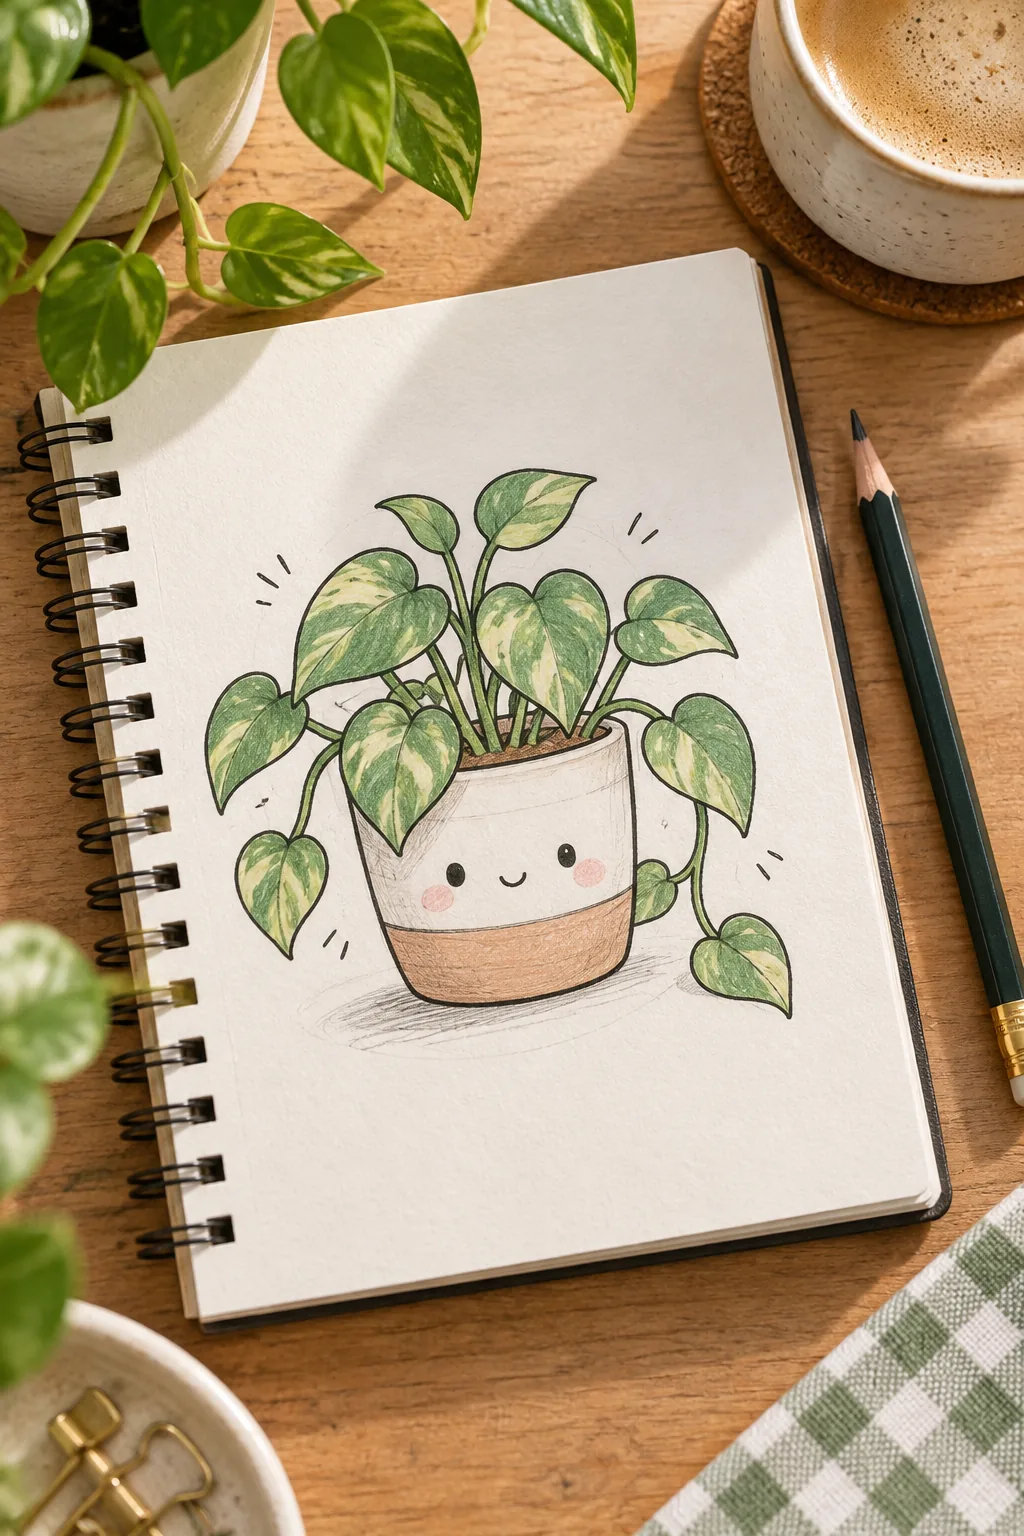
Starting with these simple geometric forms ensures your final object feels grounded and symmetrical. I always map out my entire sketchbook page with these faint circles before committing to any permanent lines.
Sizing Your Doodles for Page Layouts
Keeping your initial shapes relatively small prevents the page from feeling cluttered. Aim for each base circle to be about two inches wide, which leaves plenty of breathing room for text or additional small decorative elements around the main subject.
Understanding Proportions for Cute Shapes
The aesthetic style relies heavily on exaggerated, stubby proportions rather than realistic scaling. If you are drawing a coffee cup, make it slightly wider than it is tall to instantly give it a charming, approachable personality.
Sketching Secondary Details Lightly
Once the main body is established, lightly block in secondary features like mug handles, plant leaves, or bakery crusts. Attach these smaller elements directly to the base circle, ensuring they follow the same rounded, soft geometry as the primary shape.
Tracing with a Soft Monoline Pen
Transition from your pencil sketch to a permanent outline using a 0.5mm soft monoline pen for confident, single-stroke lines. I used to sketch broken, hairy lines on my workshop name tags, but switching to a single smooth stroke changed everything.
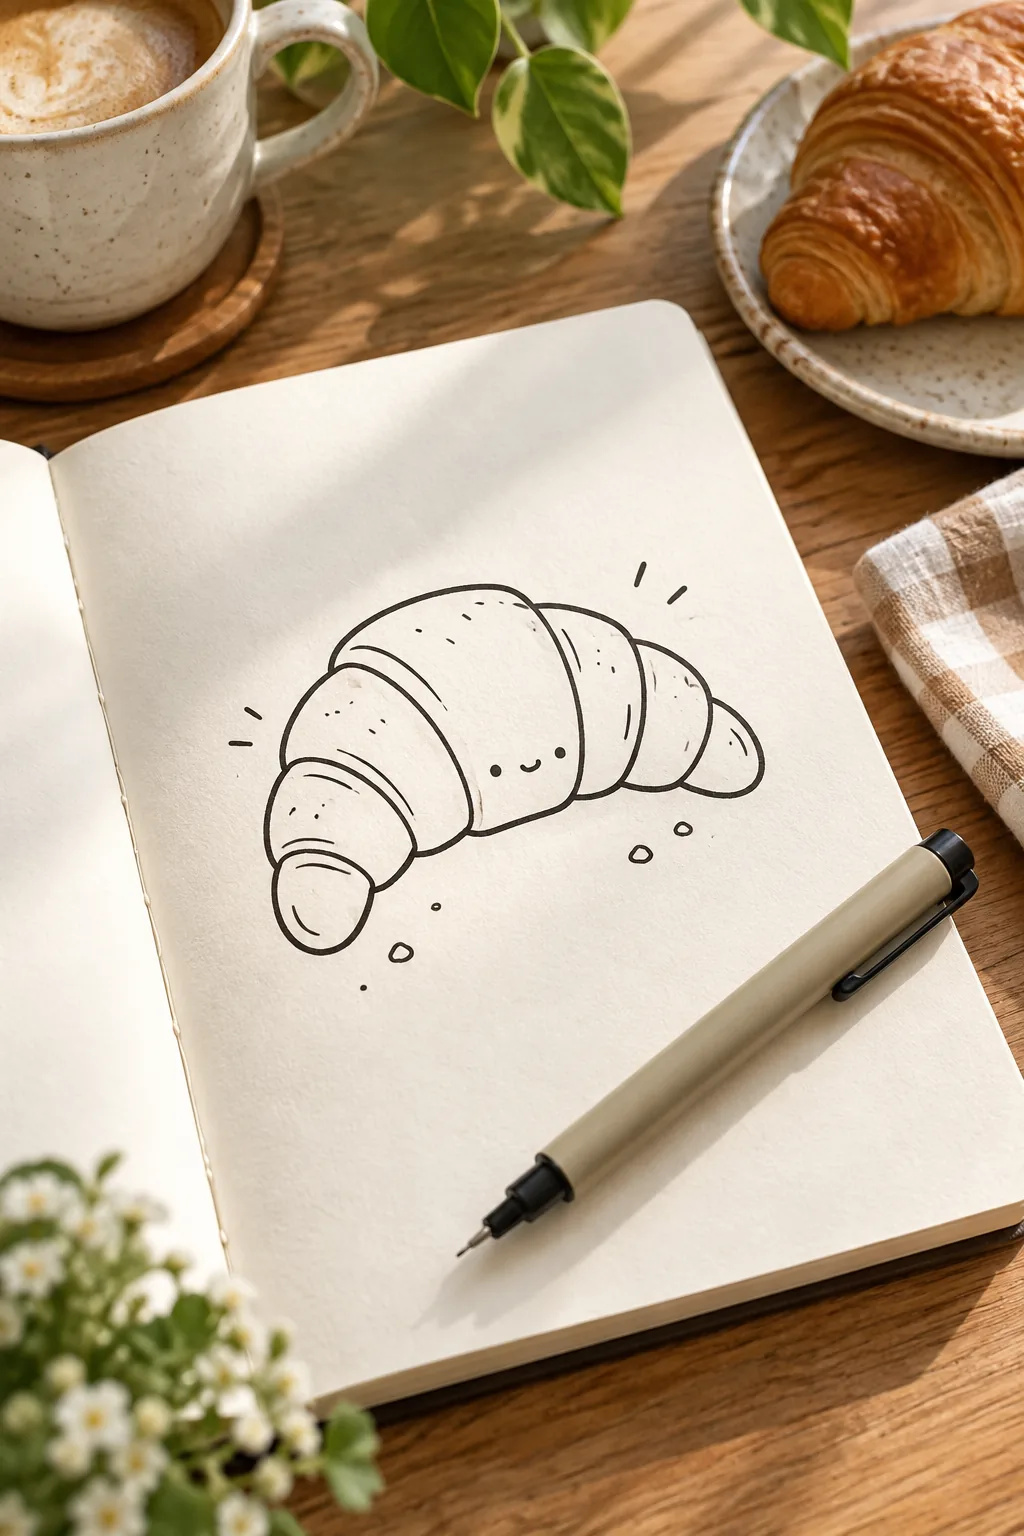
This consistent ink application creates the clean, sticker-like aesthetic that defines modern kawaii art. Avoid lifting your pen in the middle of a curve to maintain that seamless, professional finish across the entire doodle.
Achieving the Perfect Line Weight
Using a pen that is too thin makes the drawing look fragile, while an overly thick marker swallows the delicate facial features. A 0.5mm tip strikes the ideal balance, providing enough presence to stand out without overpowering the interior details.
Testing Your Pens Before Inking
Always keep a scrap sheet of matching paper beside your main sketchbook to test your fineliner’s ink flow. Drawing a quick figure-eight ensures the monoline tip is fully saturated, preventing those dreaded dry skips in the middle of a crucial curve.
Allowing Ink to Dry Completely
Patience is crucial before you bring an eraser to your freshly inked page. Wait at least two full minutes to ensure the pigment sets completely, which prevents disastrous smudging that can ruin an otherwise perfect doodle.
Placing the Face: Eyes Low and Wide
The secret to the kawaii aesthetic lies in the facial proportions, specifically keeping the eyes low and wide. Place simple dot eyes on the lower third of your shape, spacing them widely apart for an instantly innocent look.
Adding Warmth with Pastel Blush Spots
Bring your character to life by ensuring you place those simple dot eyes on the lower third of the shape, spaced widely apart. Whenever I draw recipe cards for my kitchen, lowering these features makes the food look exceptionally cozy.
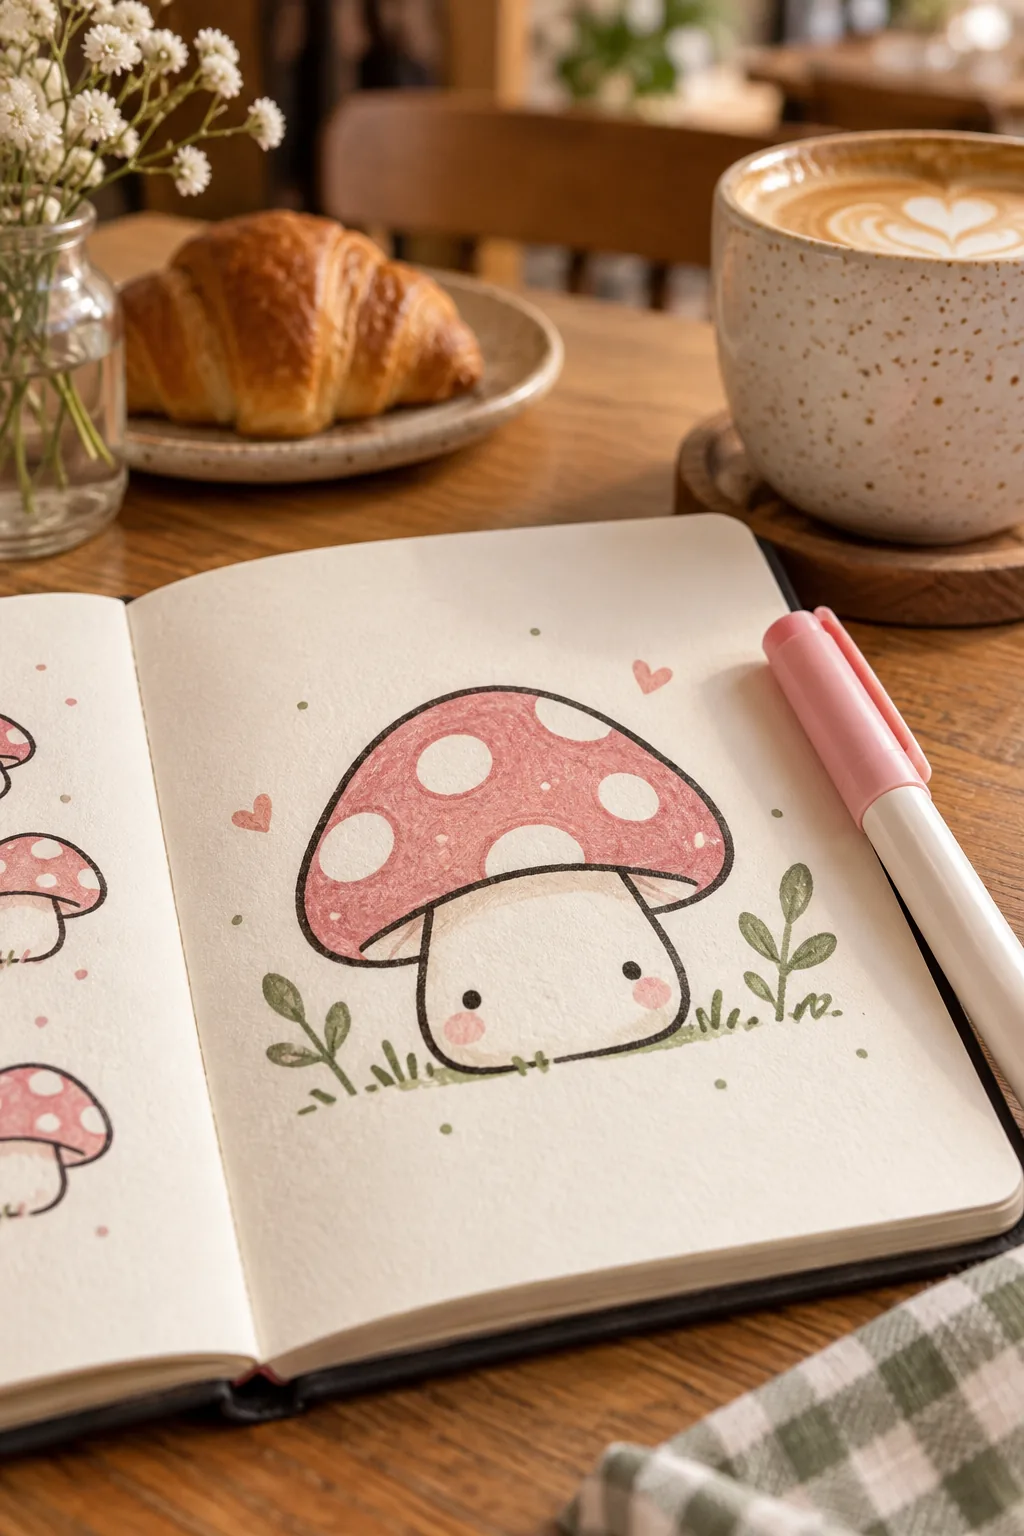
Once those wide-set eyes are anchored, add pastel blush spots just below and slightly outside them to enhance the innocent look. It shifts the center of gravity downward, making the object appear delightfully round and squishy.
Selecting the Right Pastel Shades
Stick to muted, low-contrast colors like pale peach, baby pink, or soft lavender for the cheeks. Bright, highly saturated neon markers will clash with the gentle ink lines and disrupt the calming, cozy atmosphere of the sketch.
Creating Simple Expressions
Keep the mouth small and centered directly between the eyes, resting just slightly below them. A tiny, shallow curve or a simple little triangle is all you need to convey happiness without cluttering the compact facial area.
The Magic Touch: White Dots Over the Outline
Before applying any highlights, ensure you have added soft pink ovals just below and slightly outside the eyes for that essential warmth. This muted base layer provides the perfect contrasting background for your glossy gel pen details.
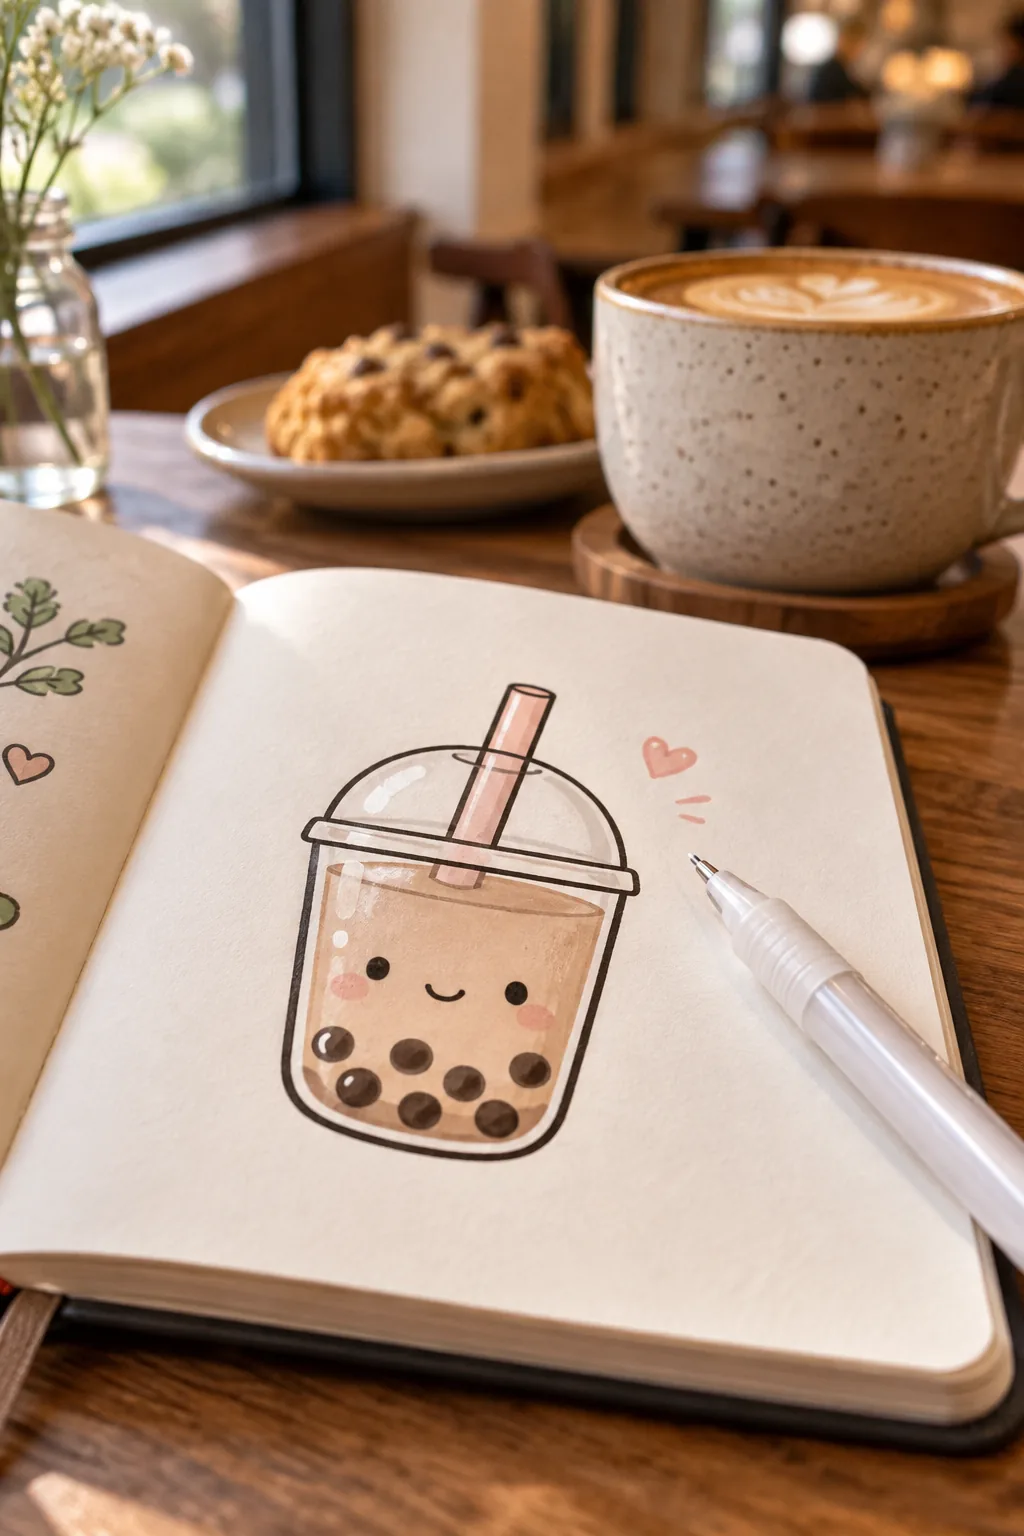
Finish the drawing by using a size 10 white gel pen for small highlight dots. Place a white dot over the outline so it directly overlaps the black ink for a glossy, dimensional finish.
Highlighting Curves and Object Edges
Beyond the cheeks, you can add slightly longer white swooshes along the top right edge of your main object. Keep these secondary highlights minimal and consistent in their light source direction to maintain a cohesive look across the page.
| Material Type | Highlight Shape | Placement Focus |
|---|---|---|
| Ceramic Mug | Long curved swoosh | Top right rim |
| Bakery Item | Small scattered dots | Upper crust edge |
| Plant Leaf | Short diagonal dash | Center vein area |
| Glass Boba Cup | Two parallel lines | Middle right side |
Storing Your Gel Pens Correctly
Always store your size 10 white gel pen horizontally in your pencil case rather than upright in a cup. Keeping the barrel flat ensures the opaque white ink flows smoothly to the rollerball tip the second you start highlighting.
Essential Supplies for Aesthetic Doodling
You do not need an expensive art studio to create beautiful sketches, but having the right basic tools makes the process much smoother. Gather these specific items in this exact order to achieve the clean lines that define this style.
- 2B pencil: Essential for establishing your erasable, light base volume.
- 0.5mm black fineliner: Provides the consistent line weight for permanent tracing.
- Size 10 white gel pen: Adds the final opaque, glossy highlight dots.
Choosing the Right Sketchbook Paper
To prevent your fineliner from bleeding or feathering, opt for a sketchbook with smooth, heavyweight paper around 120gsm or higher. Textured watercolor paper will break up your monoline strokes, ruining that crisp, digital-sticker effect you are trying to achieve.
Common Aesthetic Drawing Mistakes
Even with the right supplies, applying your gel pen incorrectly can ruin the effect, so always ensure you are using a white gel pen to add highlight dots directly over the black ink line.
I once ruined a whole page of garden doodles by rushing the facial proportions, so check your technique against these frequent errors if your drawings feel chaotic.
Picking the Perfect Eraser
A standard pink pencil eraser can leave harsh streaks and tear the delicate surface of your sketchbook page. Always use a soft, white vinyl eraser or a kneaded rubber eraser to lift your graphite base layer without disturbing the paper texture.
Embracing Asymmetrical Charm
Do not stress if your base circle guide is slightly lopsided or if one eye sits a millimeter higher than the other. These tiny organic imperfections give your doodles handmade character and prevent them from looking like sterile, machine-printed vector graphics.
Warming Up Your Hand Before Sketching
Before you attempt a final piece, spend two minutes drawing continuous, overlapping circles on a scrap piece of paper. This simple physical warm-up loosens your wrist and guarantees that your base guides will look round, smooth, and confident.
Practicing Daily for Muscle Memory
Drawing smooth, confident circles and sweeping curves takes physical practice to build steady muscle memory. Dedicate just five minutes a day to filling a scrap page with basic shapes to loosen up your wrist before starting a final piece.
Organizing a Full Sketchbook Page
Instead of drawing one single object in the center of your page, cluster three to five small doodles together in a loose, triangular arrangement. This composition feels natural and gives you the opportunity to mix different shapes and sizes harmoniously.
Sharing Your Aesthetic Doodles
Once you finish a cozy cafe scene, photograph it in natural, indirect sunlight to capture the glossy dimension of the white ink highlights. Soft morning light brings out the subtle pastel tones and makes the black linework look exceptionally crisp.
Aesthetic Doodle Styles to Try
Explore these distinct color palettes and themes to find the perfect look for your next sketchbook page.
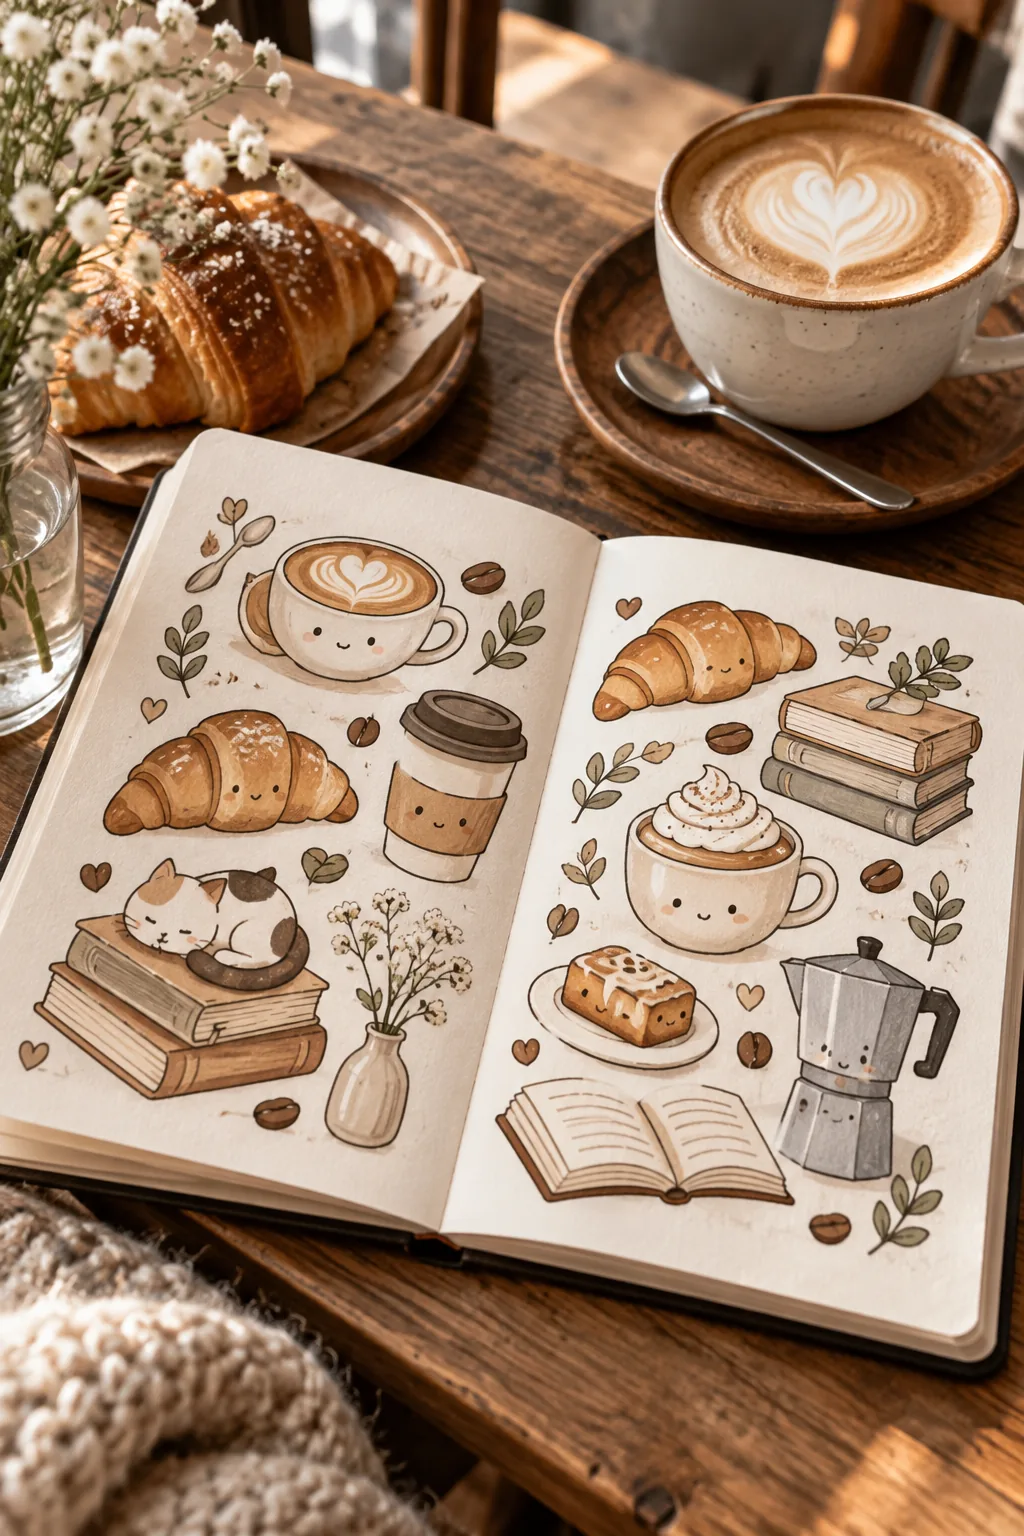
Cozy cafe doodle style: Warm browns and soft creams create an inviting coffee shop vibe perfect for decorating bullet journals.
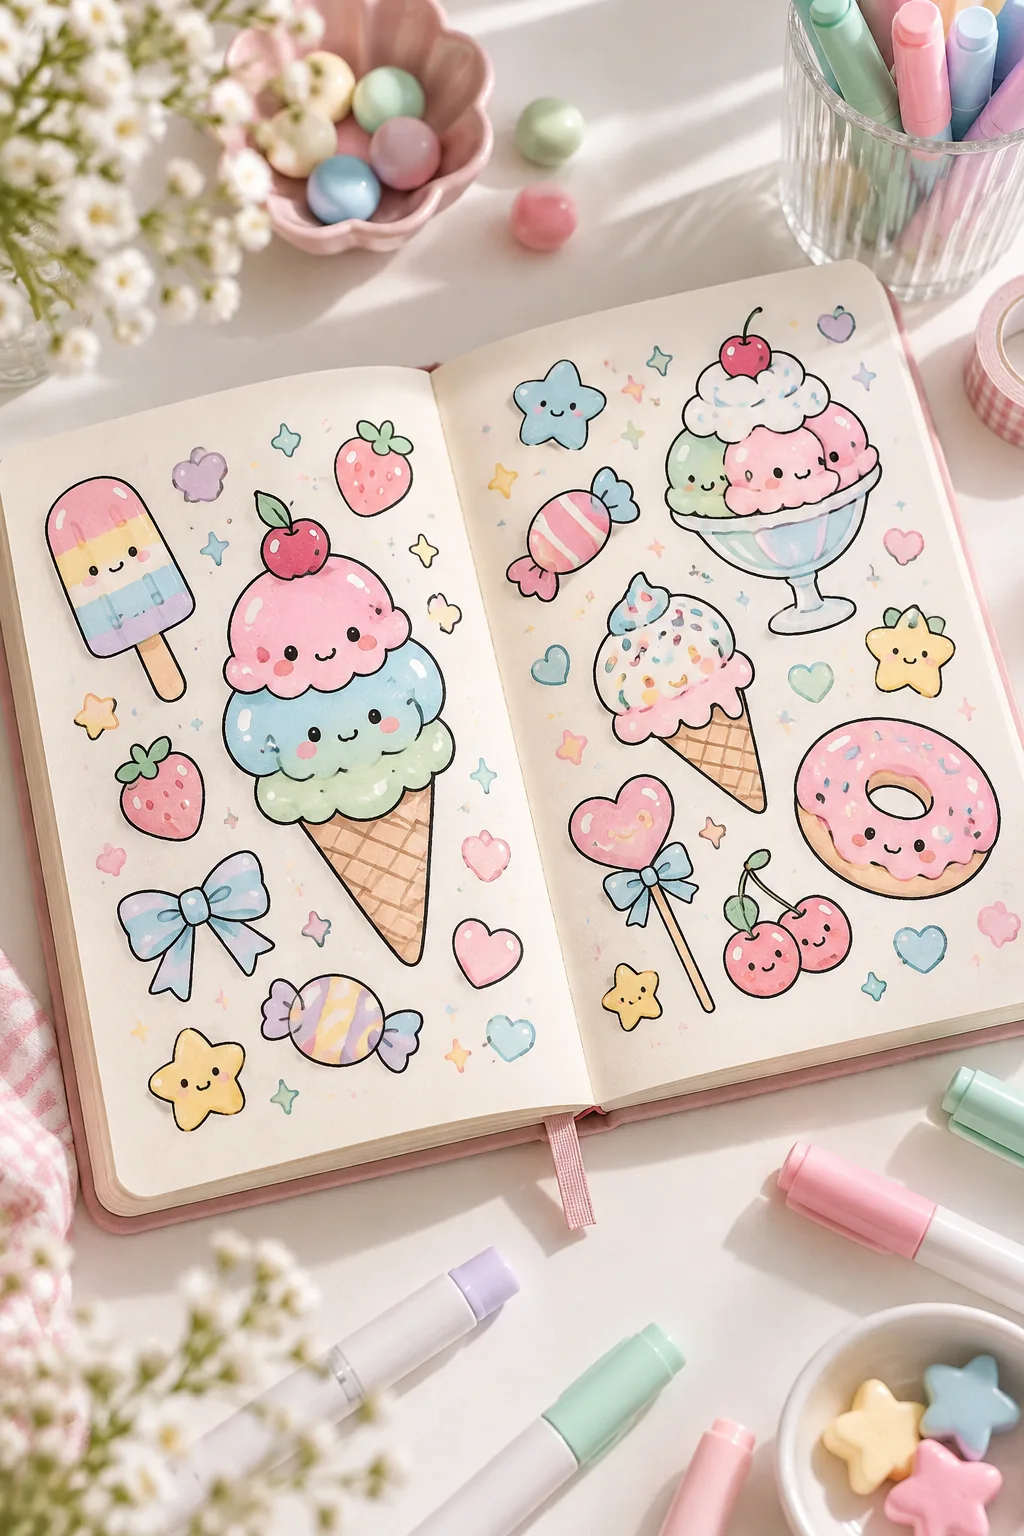
Pastel kawaii sweet treats: Vibrant pastel pinks and mint greens bring a cheerful, energetic mood to dessert illustrations.
Earthy botanical plant doodles: Muted sage greens and ochre yellows offer a calming, nature-inspired look for floral sketches.
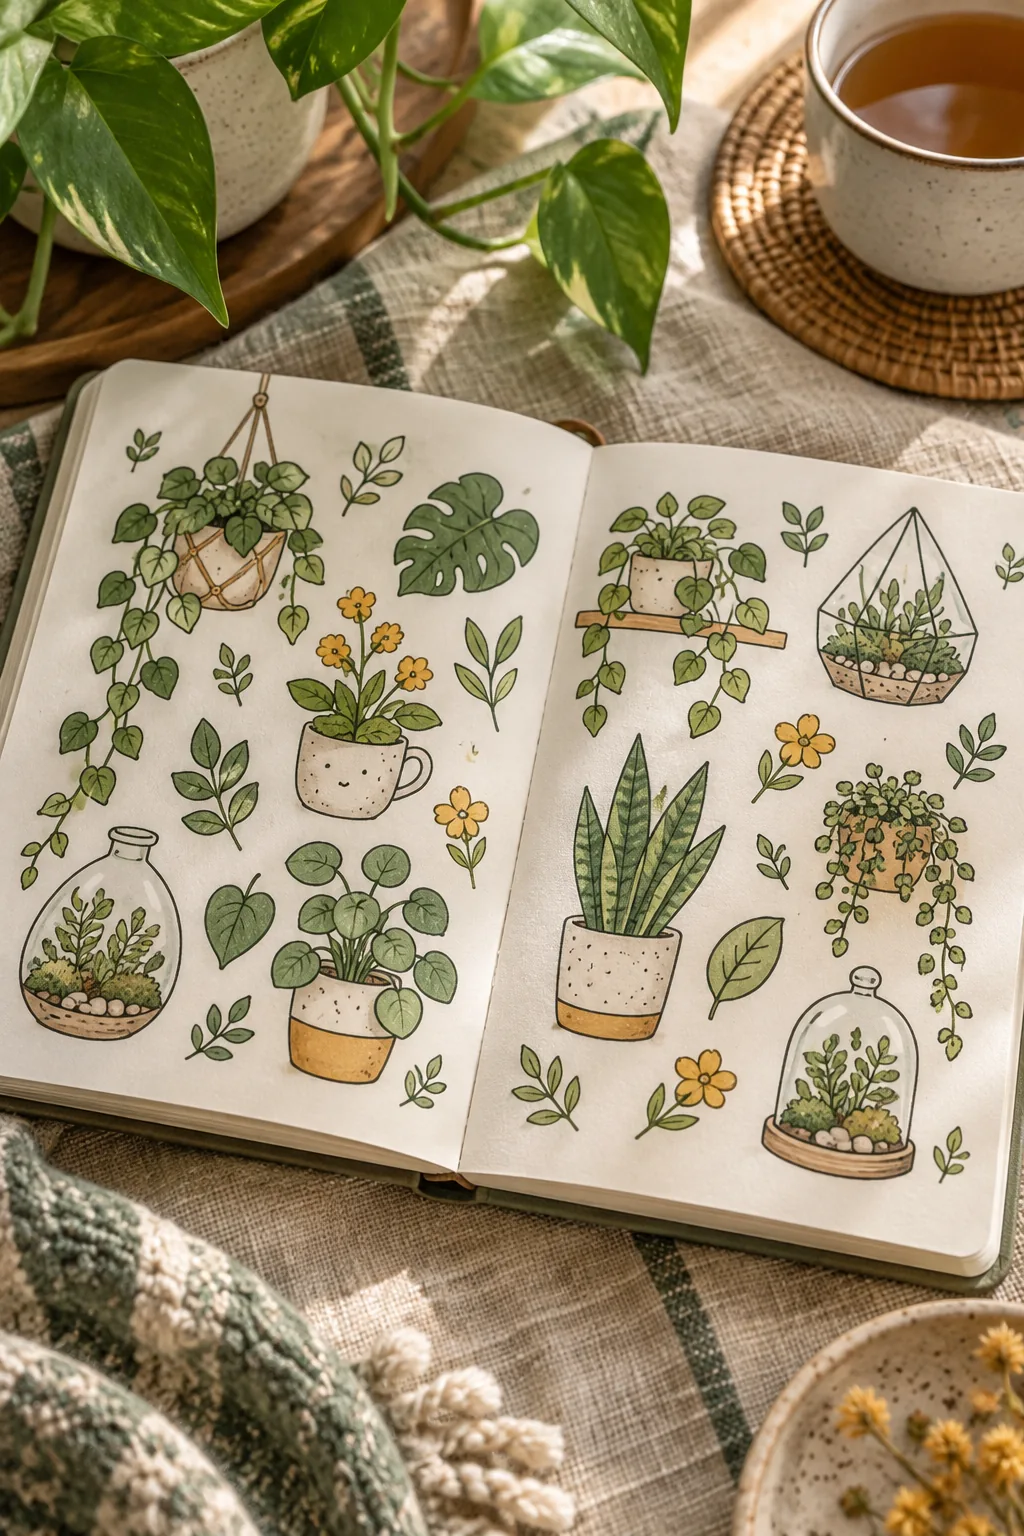
Magical night sky aesthetic: Deep indigo and lavender tones paired with bright white highlights create a dreamy, celestial atmosphere.

Download Your Step-by-Step Doodle Reference Sheet
Put these techniques into practice with our printable doodle reference sheet, which includes 10 different cozy cafe shapes broken down into four easy steps.
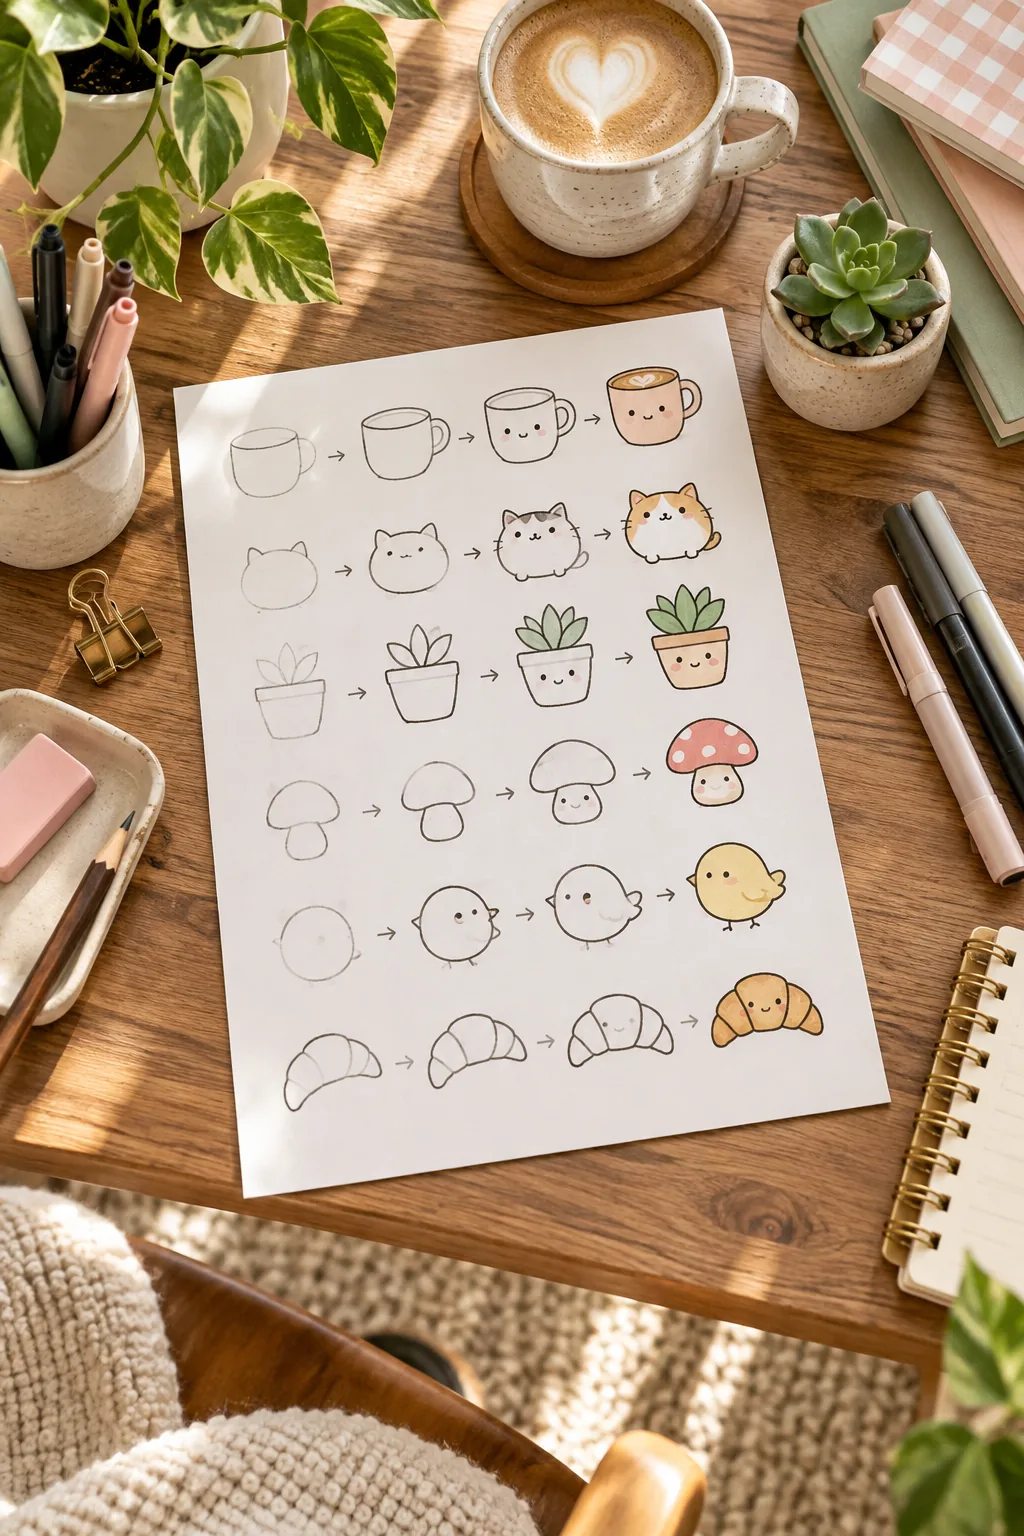
This visual guide is formatted to print perfectly on standard A4 or Letter paper. Keep it tucked inside your sketchbook cover for quick inspiration whenever you sit down with your favorite pens.