Modern Hallway Hidden Storage: Framing and Planning Guide
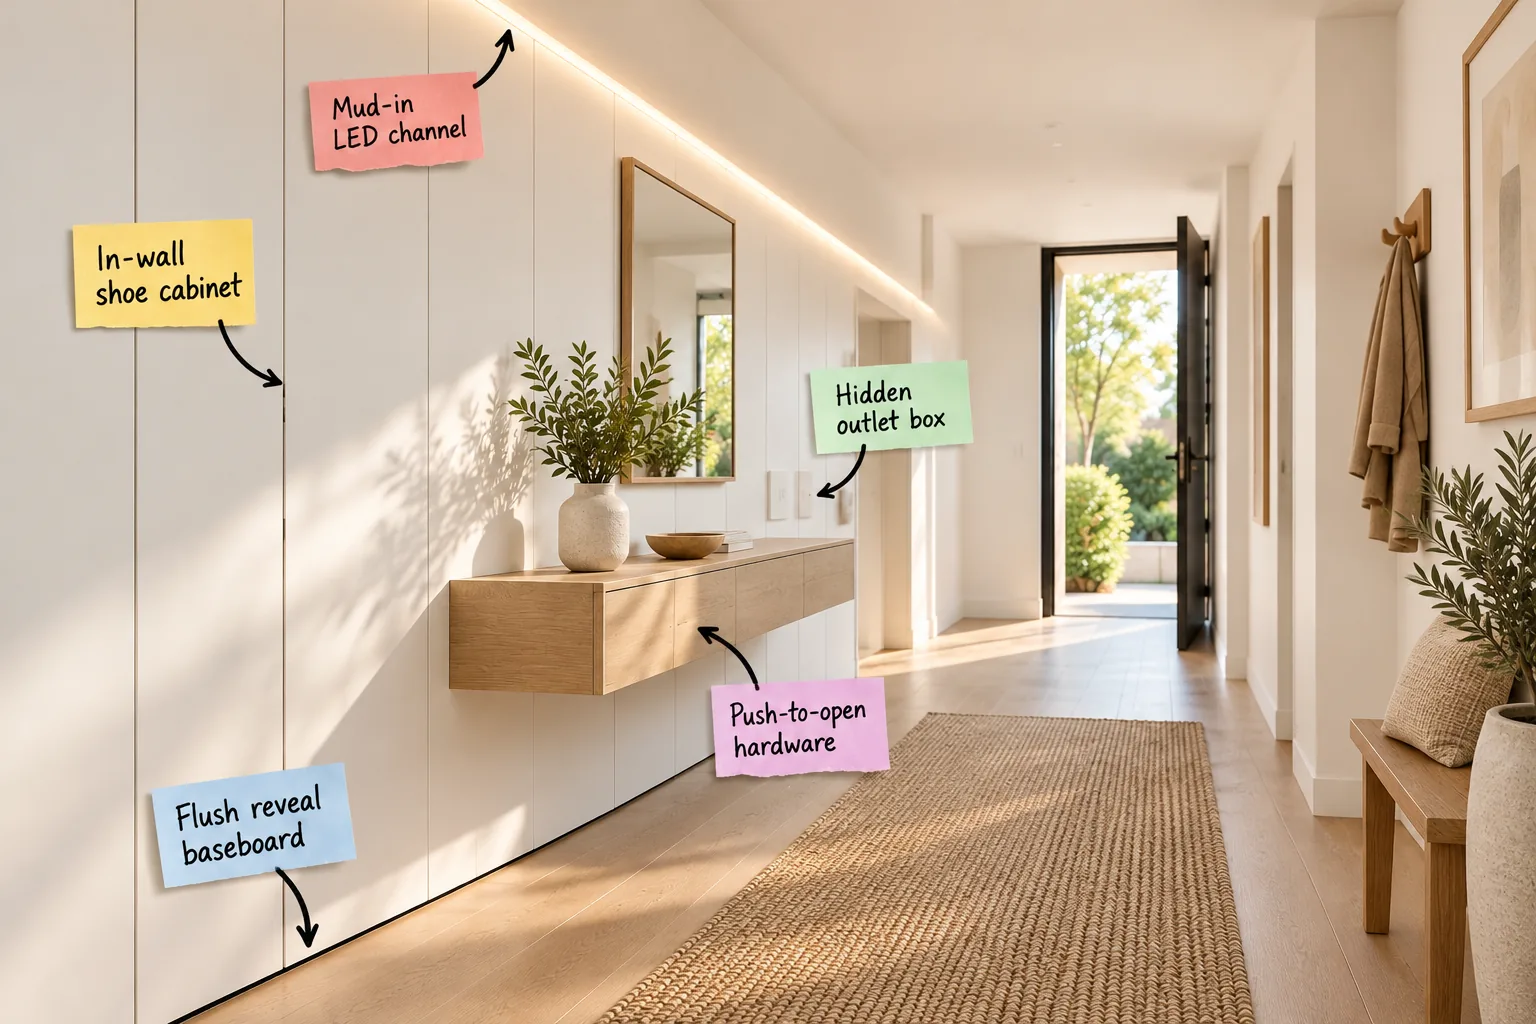
You can build a completely flush, clutter-free entryway by handing your contractor this hidden storage planning guide with exact framing measurements. We will cover the architectural details needed to seamlessly embed your lighting, shoe cabinets, and baseboards directly into the walls.
Ceiling Framing Requirements
Before addressing the walls, your contractor must prepare the ceiling joists to accept recessed lighting channels. I always ensure the framing allows for unobstructed runs along the corridor, verifying that no plumbing lines or HVAC ducts block the intended path of your ambient lighting features.
Mud-In LED Channels for Ambient Light
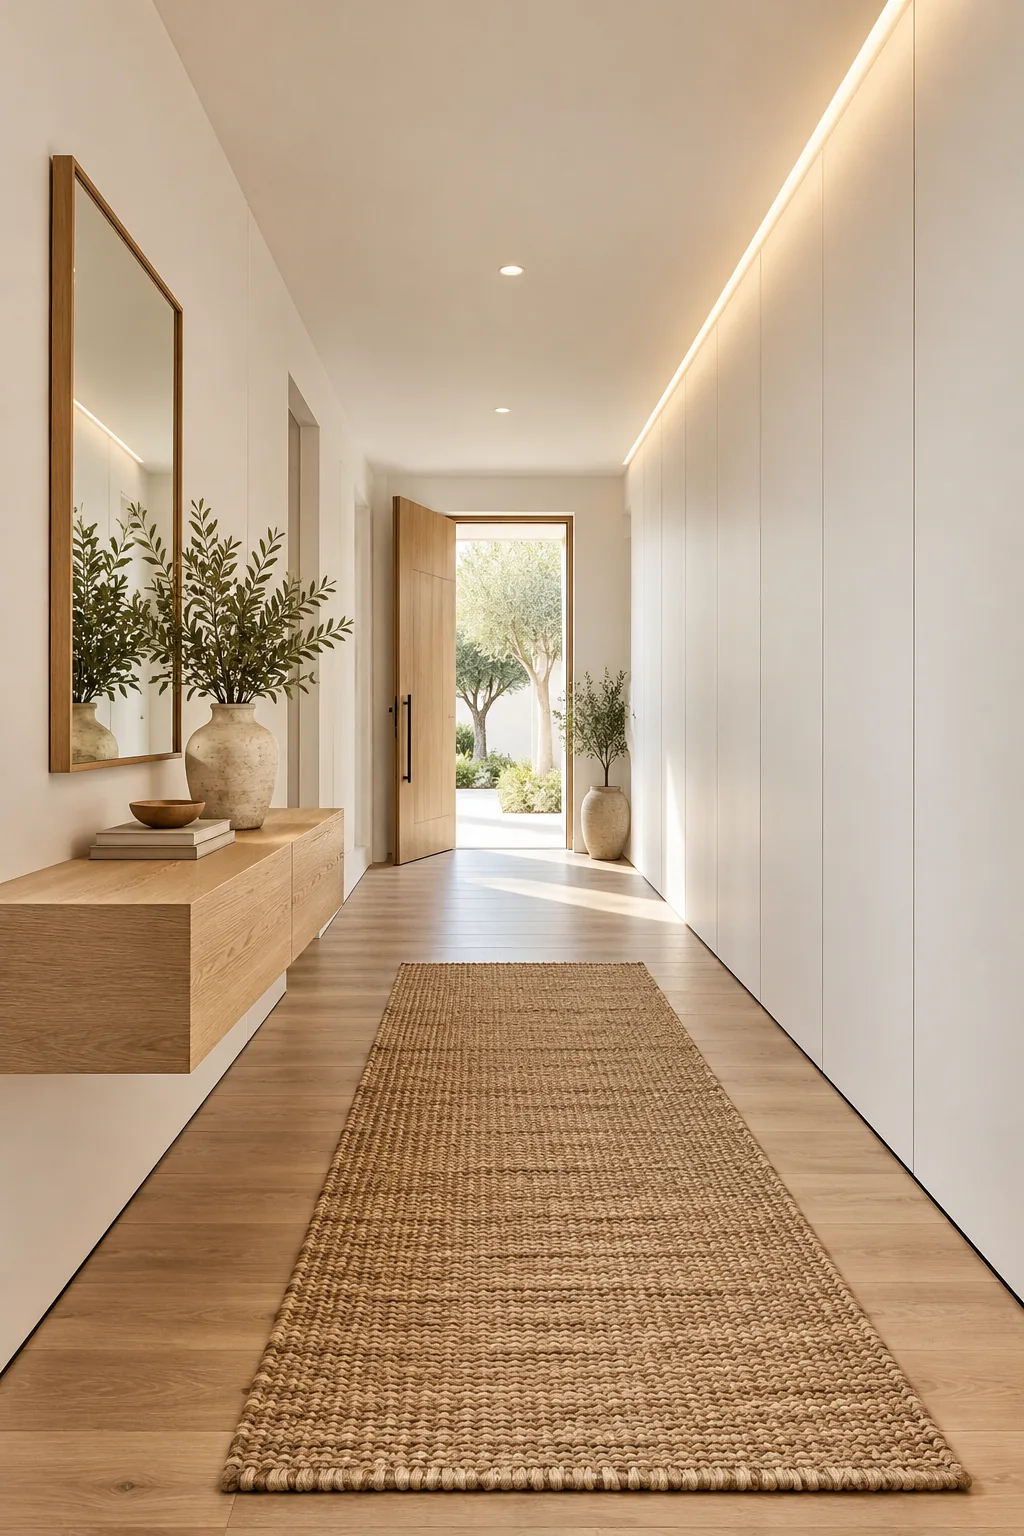
Moving top to bottom, mud-in drywall channels create a trimless, architectural glow along your ceiling line. The aluminum extrusions are screwed directly to the studs before the drywall is taped, allowing the plasterers to feather the joint compound perfectly into the fixture’s metal flange.
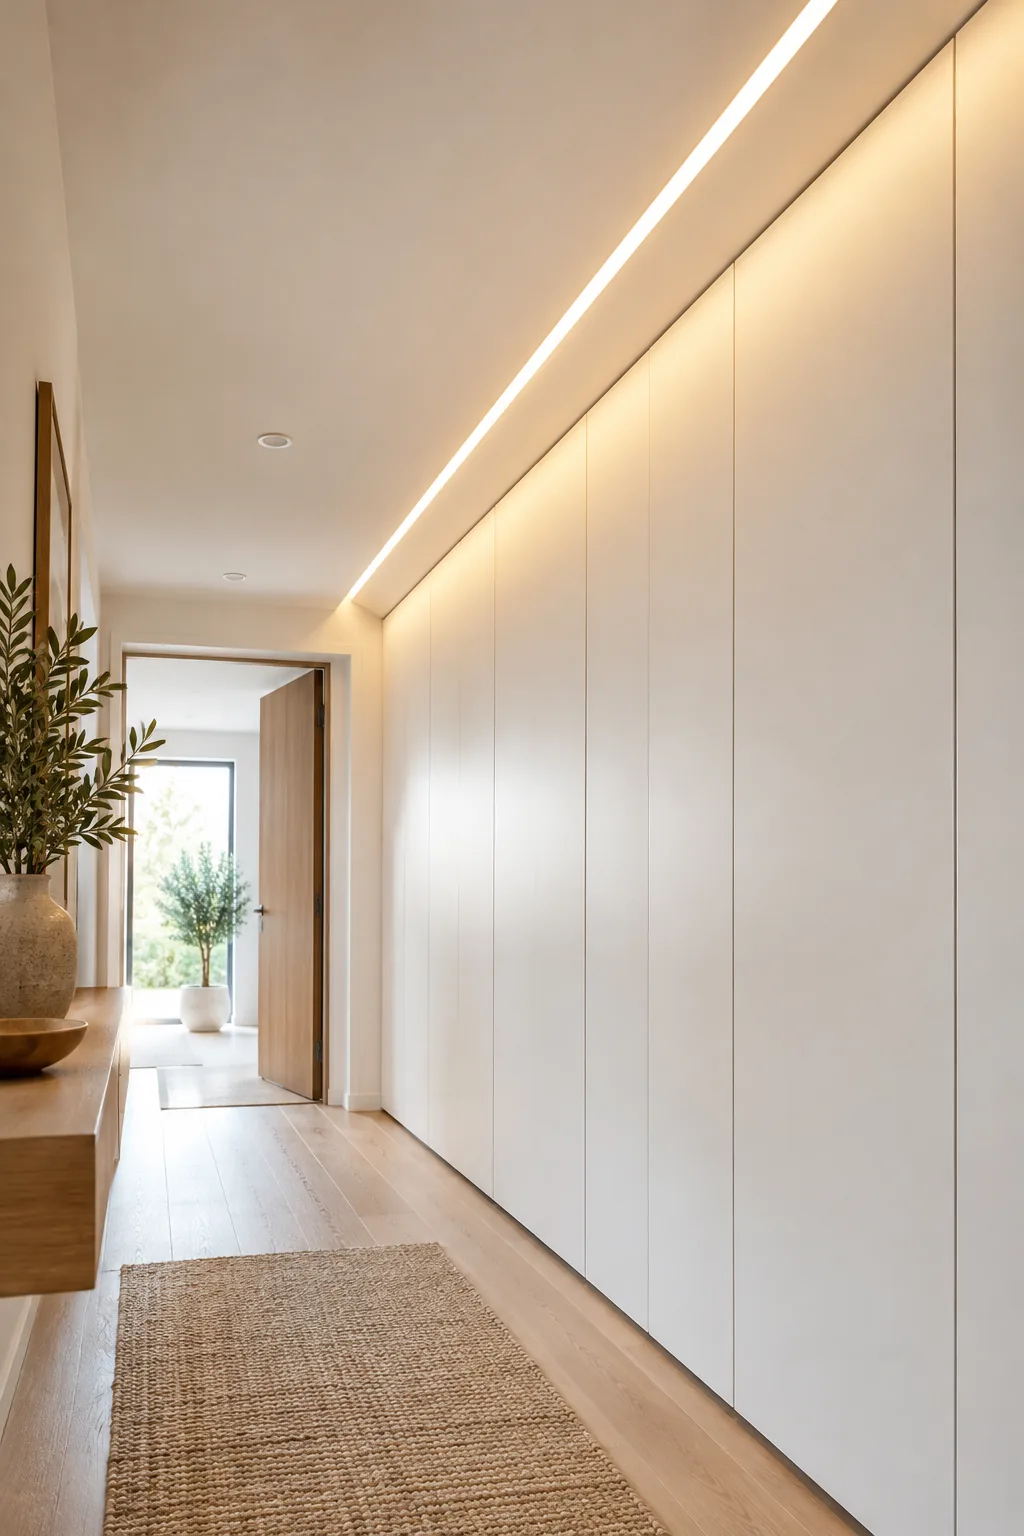
You will need a standard 5/8-inch drywall depth to house these aluminum extrusions completely flush with the ceiling surface. If your ceiling utilizes thinner half-inch drywall, the channels will protrude, destroying the seamless aesthetic we are trying to achieve.
Assessing Wall Cavity Depth
Moving down to the walls, you must assess the available depth within your framing cavities before ordering any concealed cabinetry. Most modern interior walls utilize two-by-four studs, which dictate exactly how much volume you can carve out for drop-zone organization without altering the structural footprint.
The In-Wall Shoe Cabinet System
In my own Denver mudroom, sinking the shoe cabinet behind flush wall paneling finally eliminated our daily hallway tripping hazards. By utilizing the empty void between the vertical studs, you gain highly accessible daily storage that remains completely invisible when the touch-latch doors are closed.
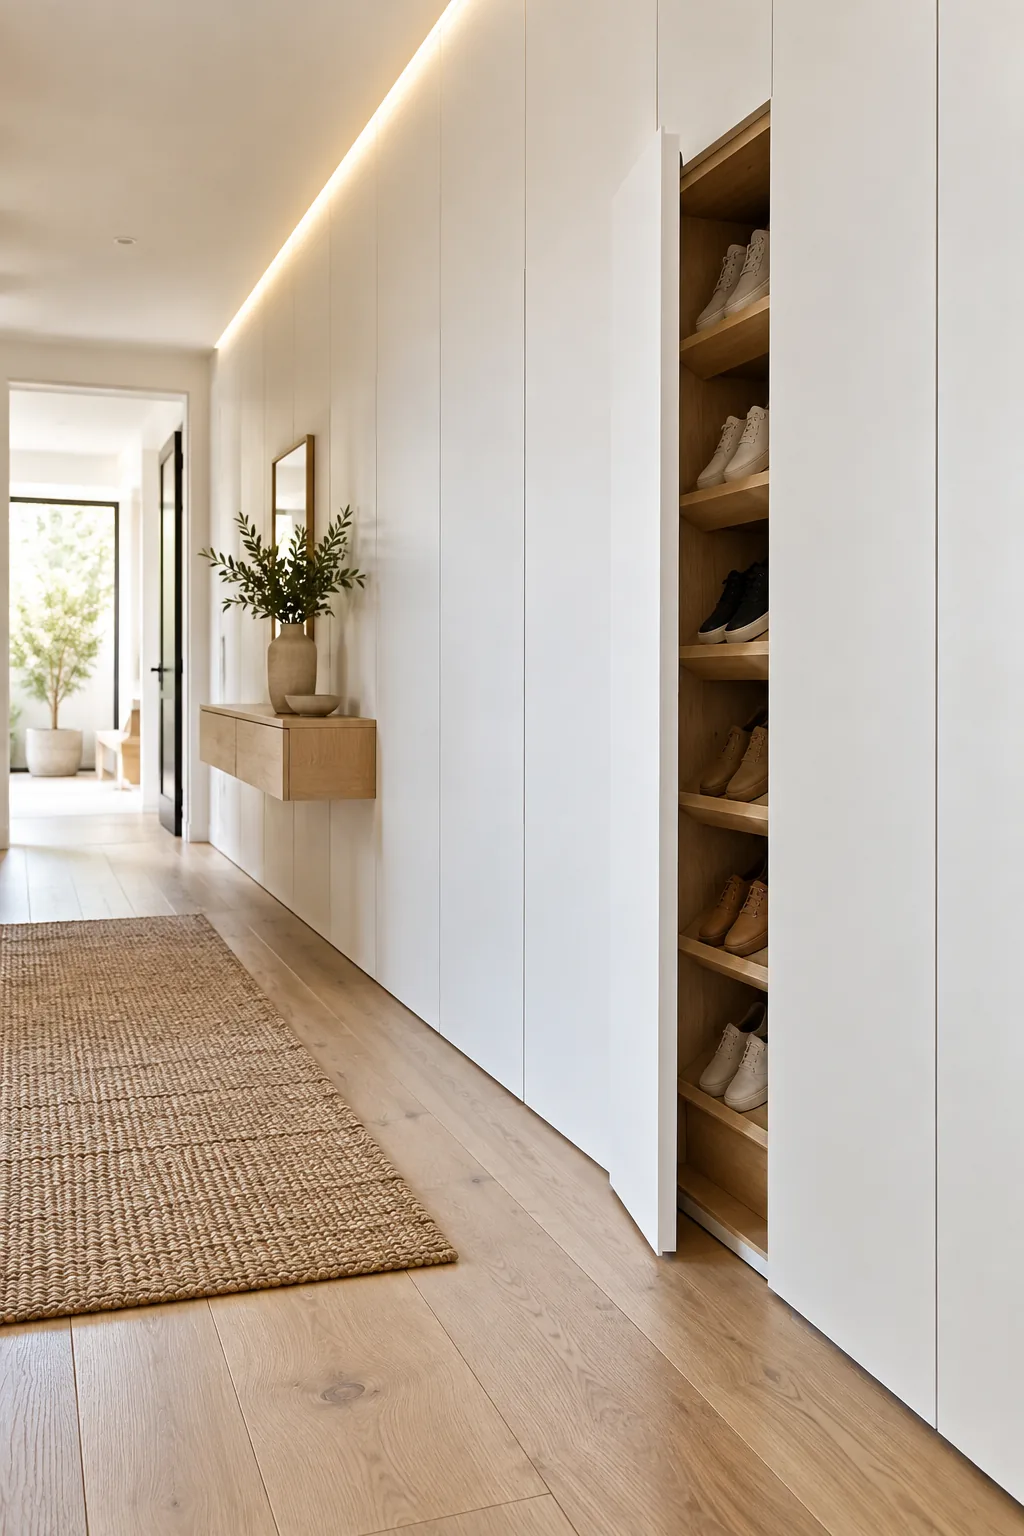
Standard framing yields about 3.5 inches of usable depth, which perfectly accommodates angled shoe shelves without stealing a single inch of floor space. The steep pitch of the inserts allows standard adult footwear to nest securely inside this surprisingly shallow architectural pocket.
Hidden Storage Framing and Measurements
Coordinating these recessed utilities requires handing your trades precise rough opening depths during the initial framing phase. When the carpenters know exactly what hardware is coming, they can adjust stud spacing and blocking to accommodate the specific dimensions of your integrated features.
| Hidden Element | Required Framing Depth | Hardware Spec |
|---|---|---|
| Shoe Cabinet | 3.5 inches | Angled shelf inserts |
| LED Channel | 5/8 inch | Aluminum extrusion |
| Flush Baseboard | 1/2 inch | Z-shadow bead |
Before the first sheet of drywall goes up, run through this critical framing checklist to ensure your hidden elements will fit flawlessly. Catching a misplaced stud now costs nothing, but fixing it after the plaster dries will derail your entire renovation budget.
Getting these dimensions right ensures your drywallers and carpenters work toward the same seamless finish. The success of a minimalist hallway relies entirely on this invisible structural skeleton being perfectly plumb, level, and tailored to your specific storage inserts.
Always double-check that your rough openings account for the final thickness of your chosen wall paneling. If you plan to install custom millwork over the drywall, the cabinet boxes must be pushed forward by that exact measurement to remain perfectly flush.
Seamless Drywall Finishing
Once the framing is approved, the drywall installation requires a Level 5 finish to support the minimalist aesthetic. This premium technique involves skimming the entire wall surface with a thin layer of joint compound, ensuring that light grazing the flush panels reveals absolutely no texture variations.
Camouflaging the Outlet Box
In my own entryway, swapping standard plates for flush-mount electrical receptacles instantly elevated the space. We eliminated the visual clutter of bulky plastic covers, allowing the eye to travel smoothly across the continuous wall plane without any jarring utilitarian interruptions.
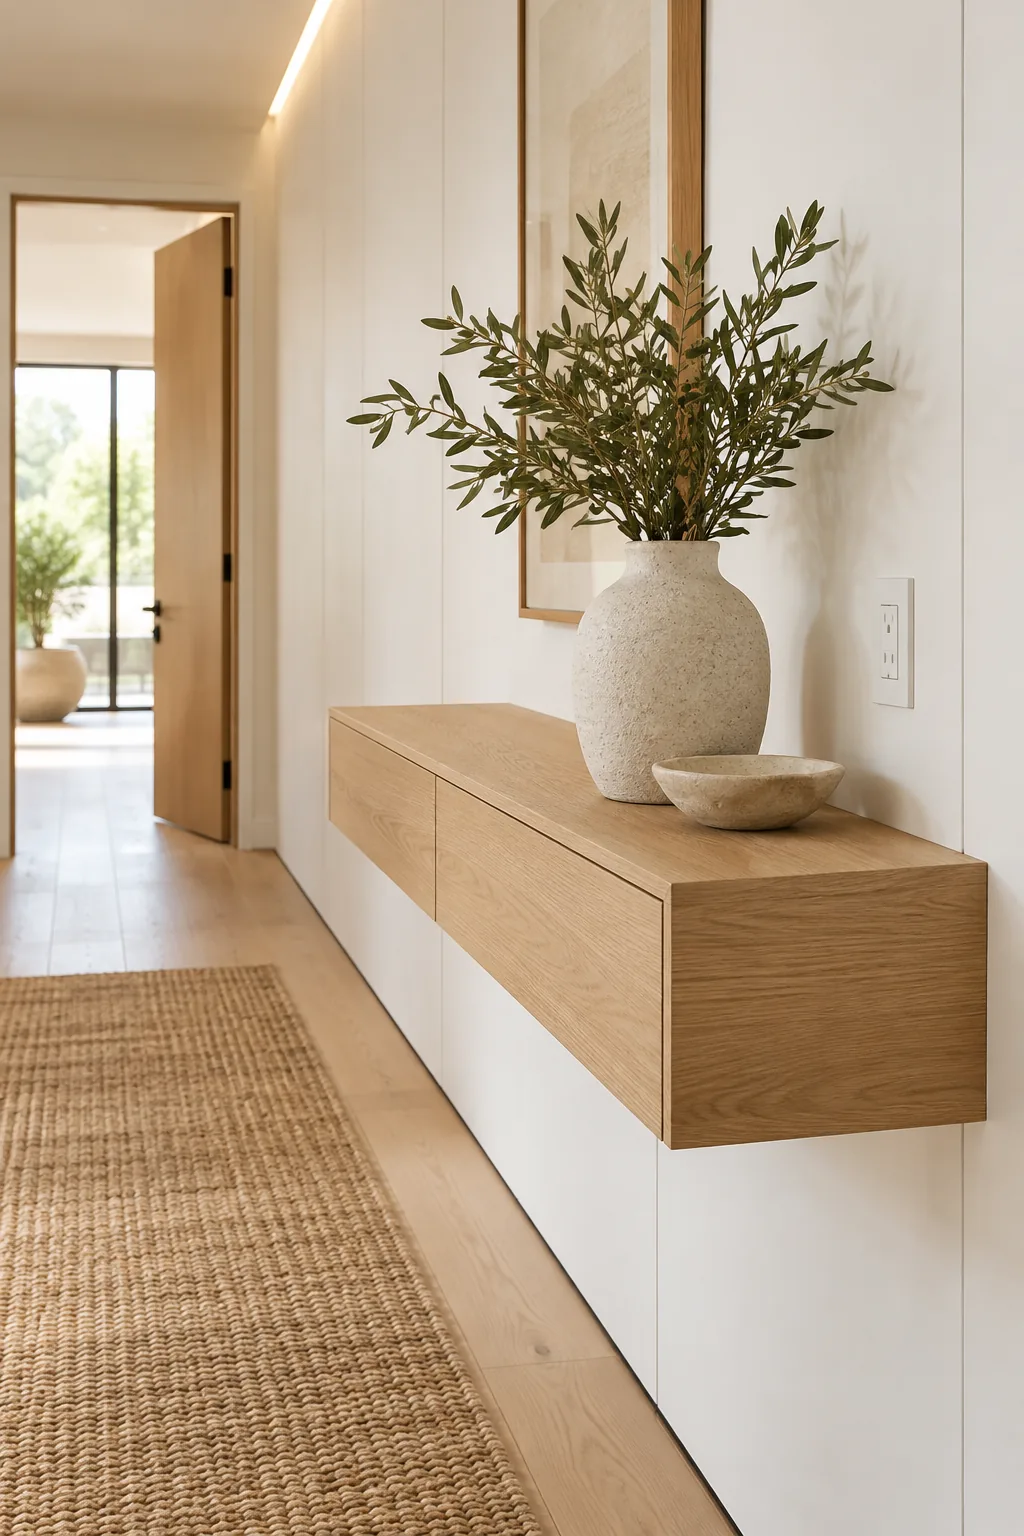
These specialized boxes are mudded directly into the drywall and painted to match the surrounding paneling exactly. The receptacle itself sits perfectly flush with the wall surface, accessed only by a subtle, paintable faceplate that blends into the background architecture.
Installing In-Wall Blocking
You cannot hang heavy cantilevered furniture on standard drywall anchors without risking catastrophic failure. Your framing crew must install solid wood backing between the studs at the exact mounting height, creating an unbreakable structural anchor for your hidden hardware.
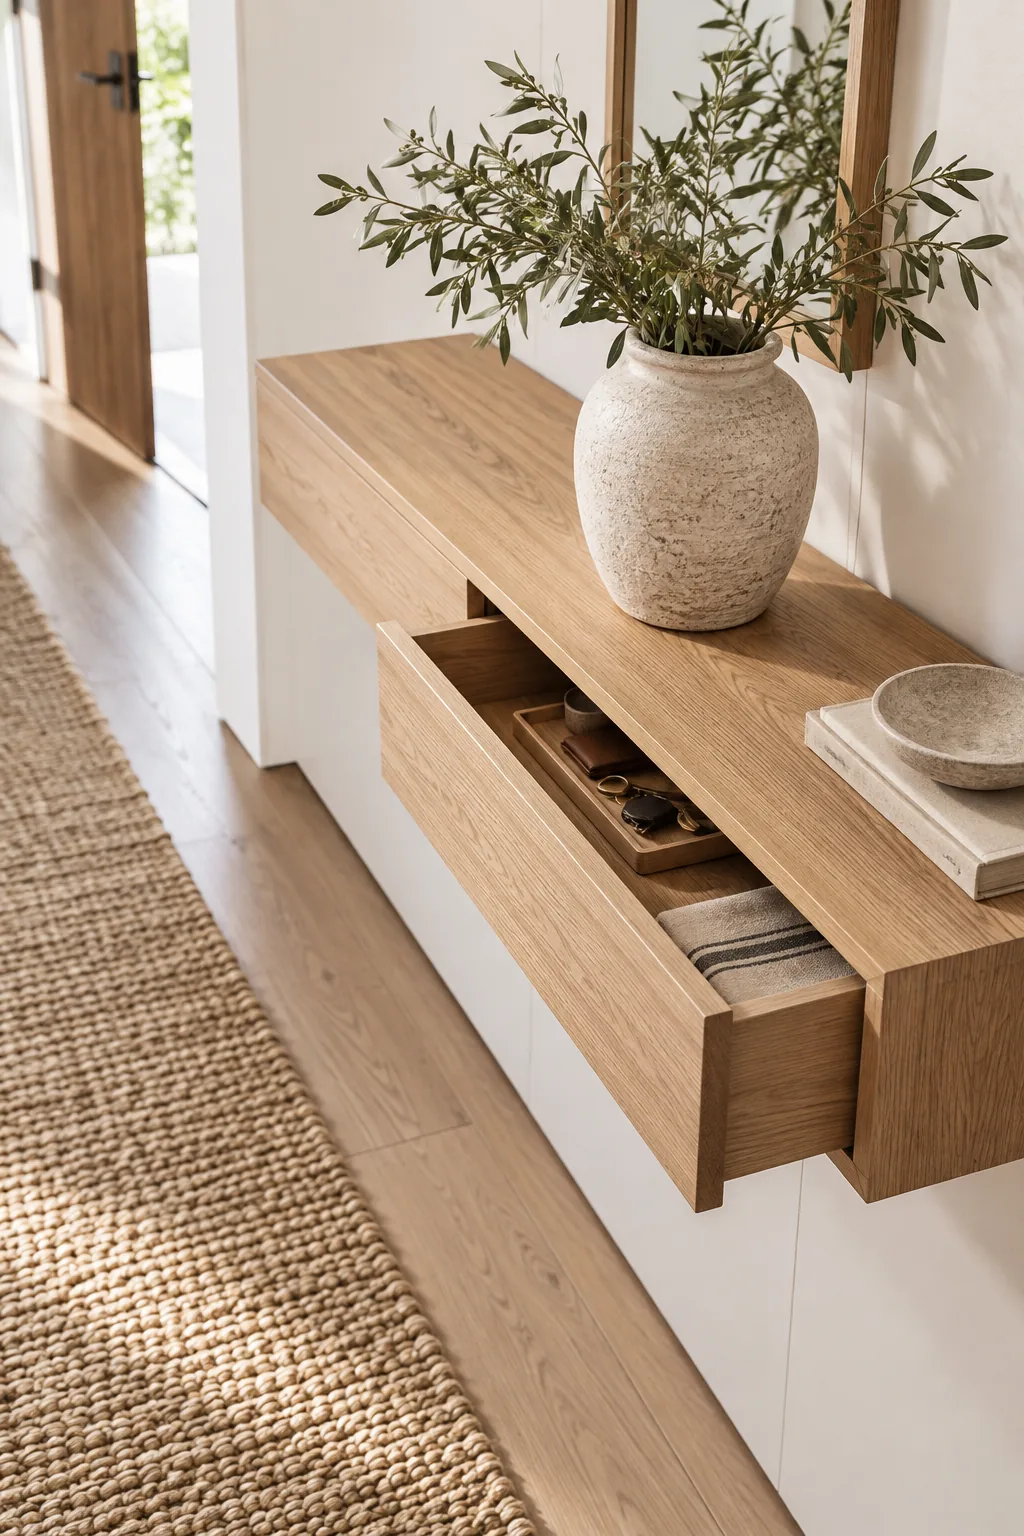
Mounting the Floating Console
Supporting a cantilevered oak console requires a sequence of heavy-duty structural preparations behind the drywall. Executing these steps correctly ensures your drop zone feels as solid as a built-in cabinet while maintaining its airy, floating aesthetic.
- Install solid wood blocking between the studs.
- Mount heavy-duty hidden steel brackets to the blocking.
- Slide the routed oak console onto the steel posts.
Completing this blocking during the framing phase ensures the brackets can support over 100 pounds of weight without sagging. The steel posts slide directly into cavities routed into the back of the wood, rendering the entire mounting system completely invisible.
This invisible support system keeps the floor entirely clear, reinforcing the floating architectural illusion. Sweeping and vacuuming become effortless when there are no furniture legs to navigate around, making this design as practical as it is beautiful.
Push-To-Open Drawer Hardware
Touch-release drawer slides eliminate the need for pulls or knobs, keeping the console face entirely flat. A simple press activates a mechanical spring, pushing the drawer out just enough for you to grab the edge and open it fully.
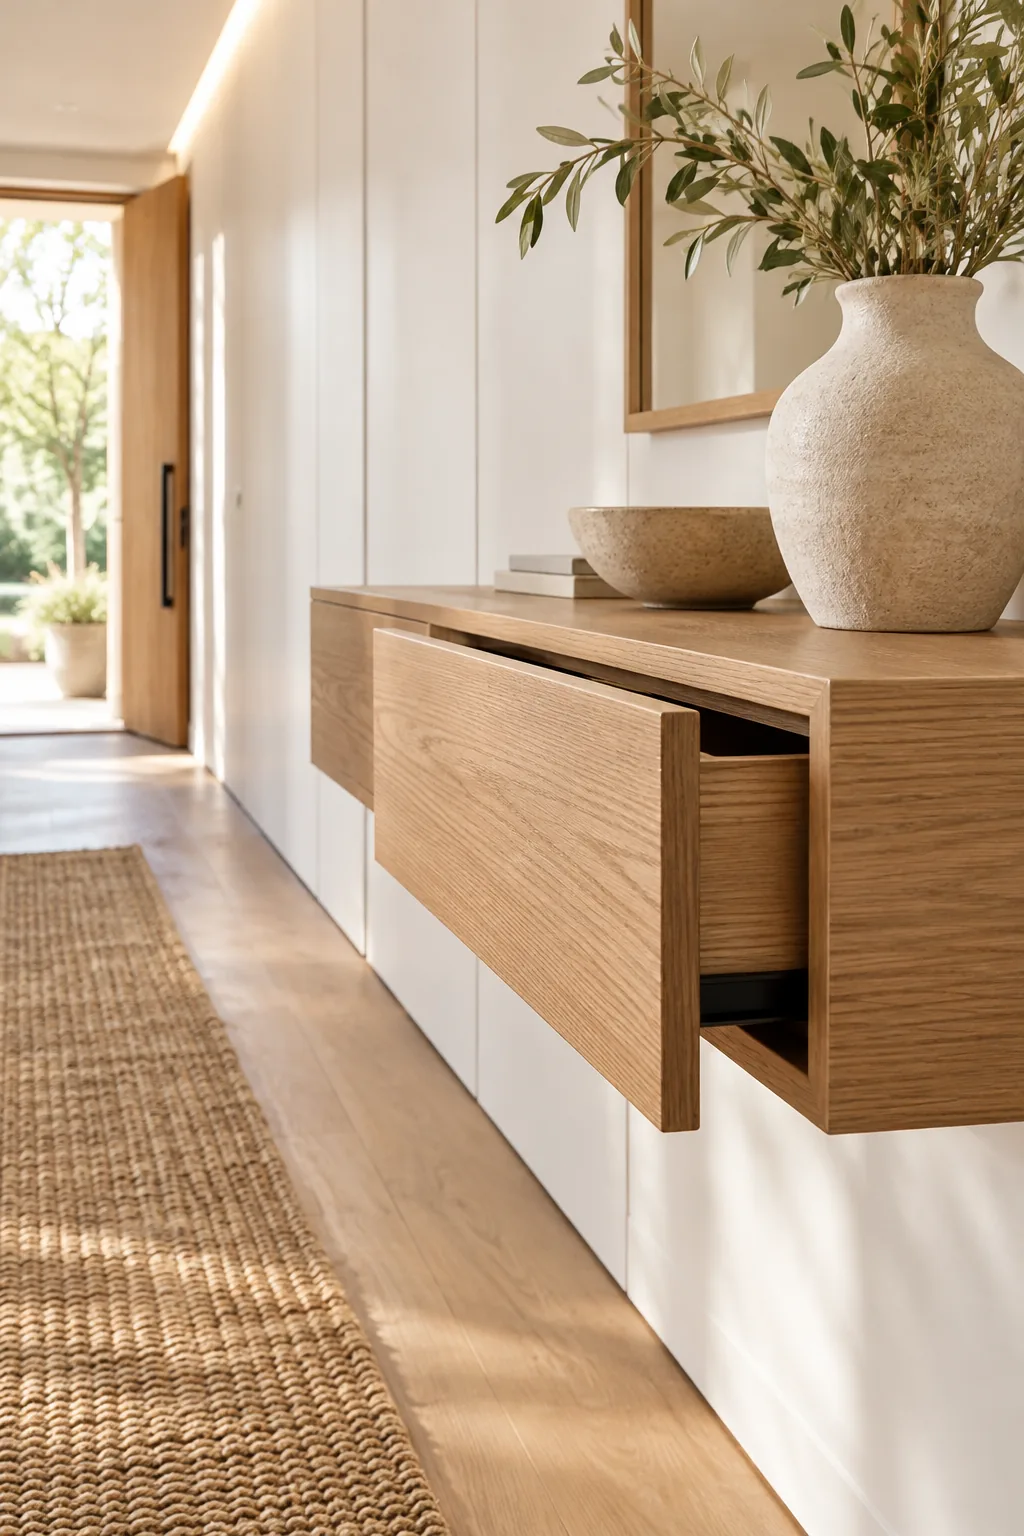
To keep the console looking like a solid block of wood while remaining highly functional, hardware selection is everything. Flimsy latches will fail under the weight of heavy keys and mail, ruining the seamless alignment of your drawer fronts.
Investing in premium mechanical slides guarantees that the wood grain pattern remains the focal point of your entryway. The uninterrupted surface highlights the natural beauty of the white oak, proving that utility does not have to compromise your design vision.
Subfloor Leveling Protocols
Before any flooring or baseboard work begins, your subfloor must be poured or sanded to absolute perfection. A flush baseboard reveal leaves zero room for error; any dips or crowns in the floor will make the architectural shadow gap look sloppy and uneven.
Designing the Flush Reveal Baseboard
After struggling with dust-catching trim on early projects, I now rely on a crisp architectural shadow gap where the wall meets the floor. This modern detail visually disconnects the vertical plane from the horizontal plane, making the walls appear to float.
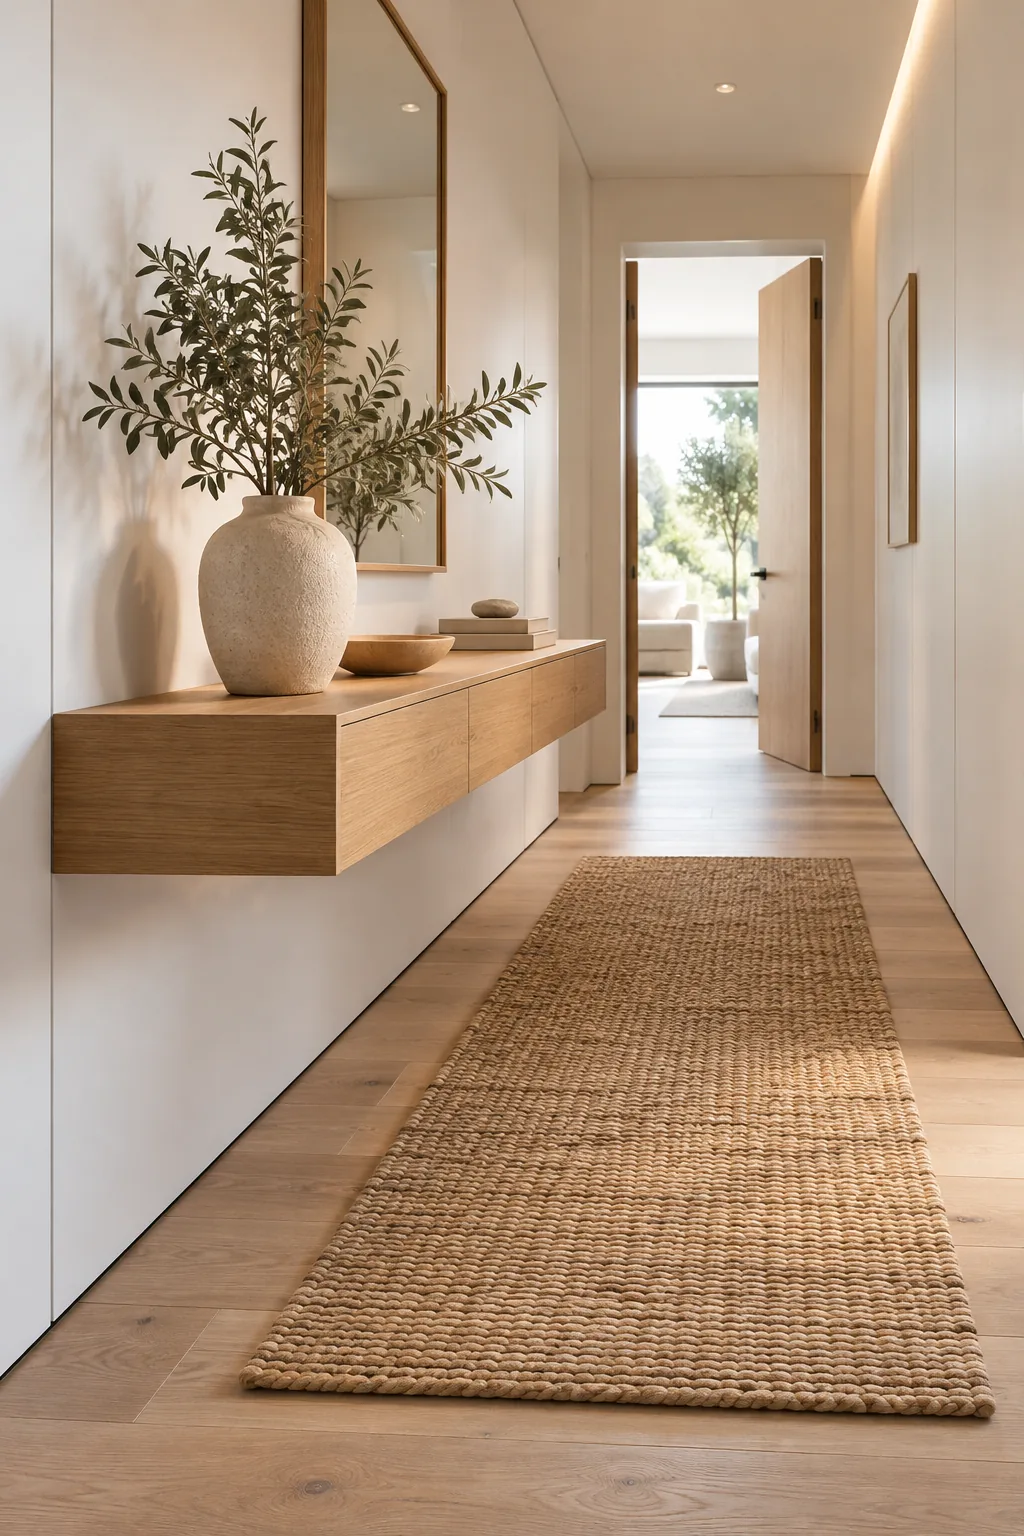
Achieving that pristine floating wall effect requires precise sequencing between your drywall and flooring installers. The traditional order of operations must be altered to ensure the metal bead aligns perfectly with the finished height of your oak planks.
When executed properly, this detail eliminates the need for caulking and prevents furniture from being pushed awkwardly against protruding trim. It is a demanding technique, but the resulting clean lines define the caliber of a truly custom modern home.
Selecting Architectural Paint
To maximize the impact of your flush details, choose a flat or matte paint finish for the walls and ceiling. High-gloss finishes reflect too much light, highlighting minor surface imperfections and distracting from the precise geometry of your shadow gaps and recessed channels.
Styling the Minimalist Entryway
In my recent Denver builds, I always bring in organic textures to keep the minimalist entryway feeling warm and welcoming. While the architecture is intentionally strict and geometric, the decor must invite you in and soften the overall atmosphere.
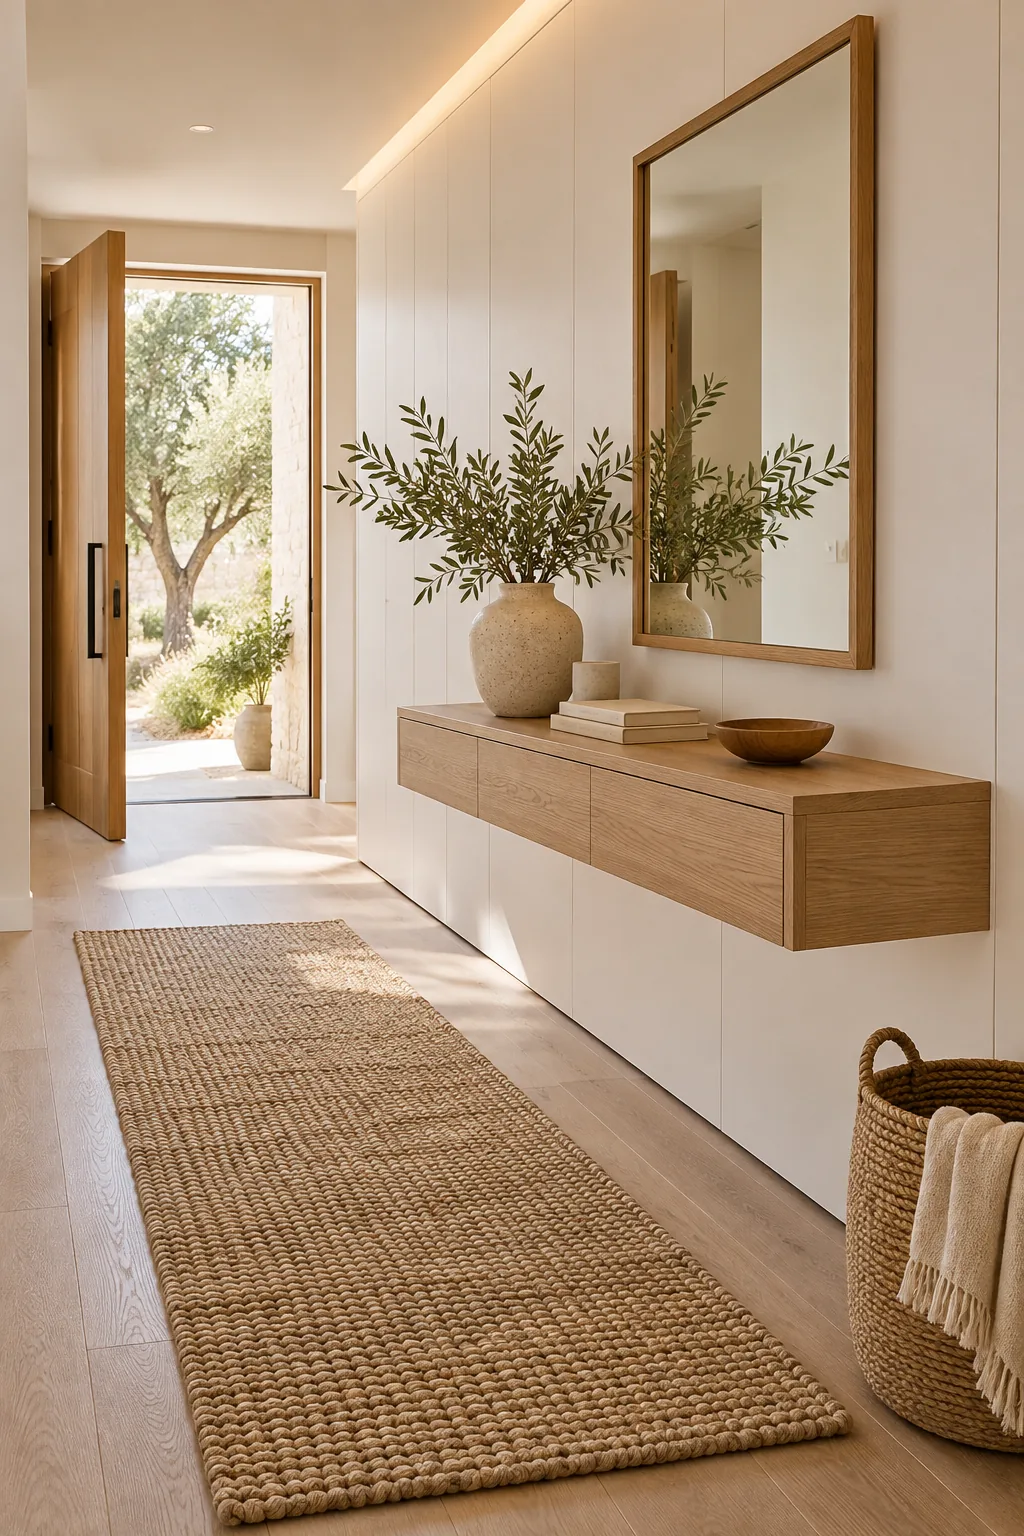
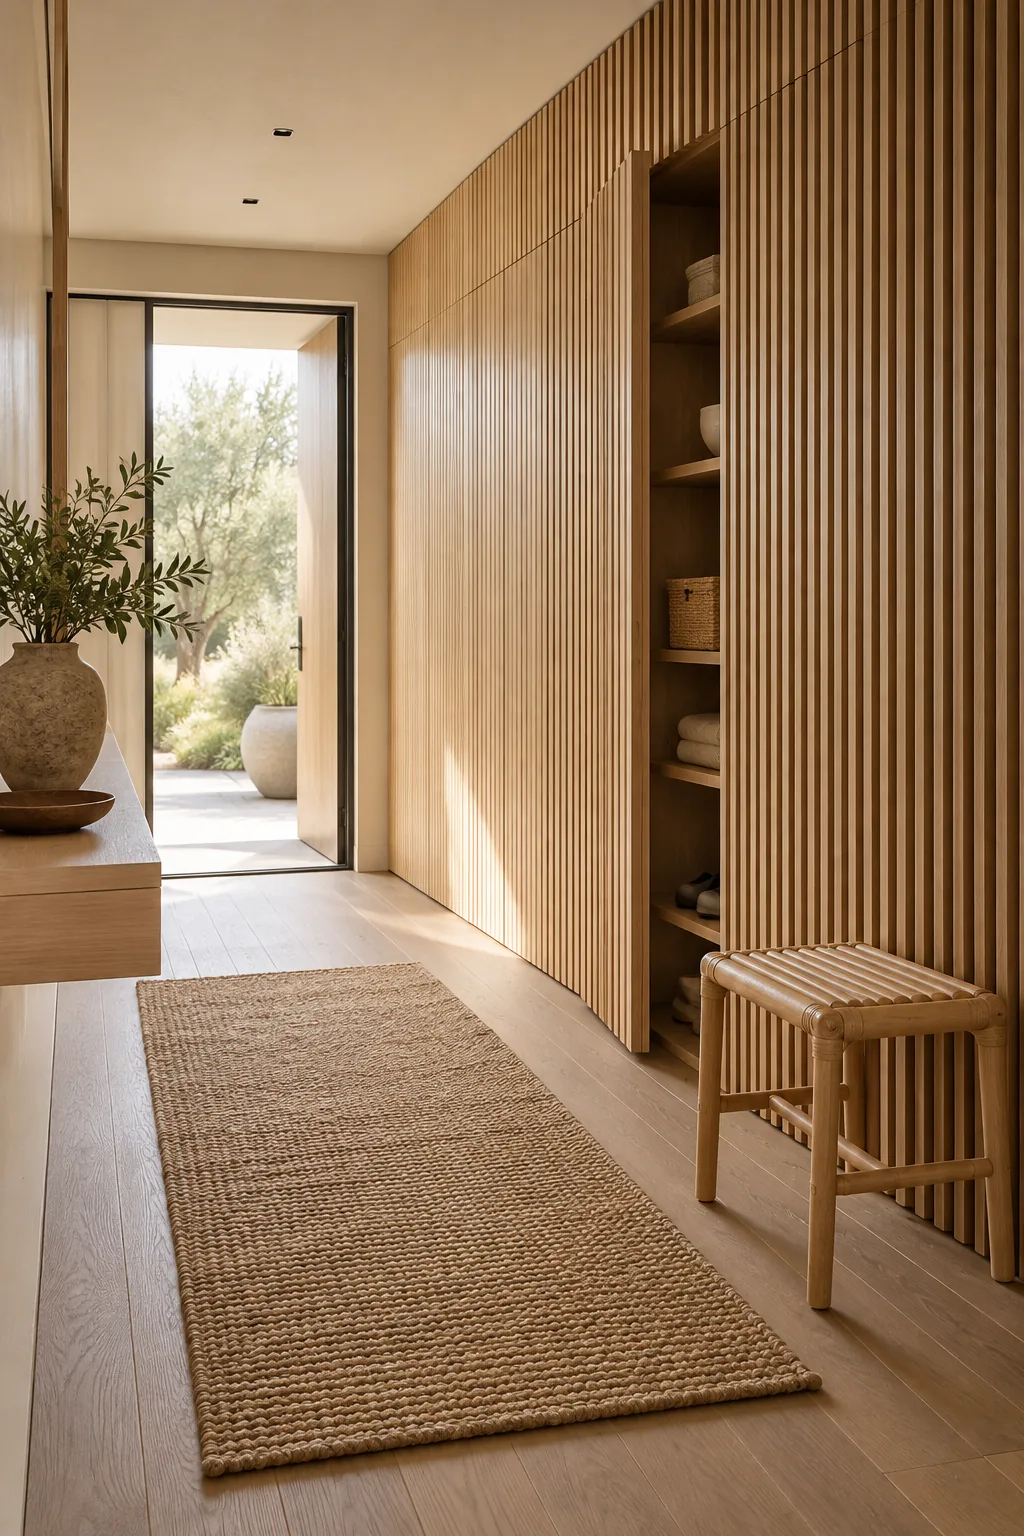
A woven jute runner and a textured ceramic vase add necessary warmth without cluttering your carefully planned functional zones. By restricting your accessories to natural materials, you honor the clean lines of the space while ensuring it still feels like a home.
4 Ways to Style a Flush Modern Hallway
Explore how different materials and color palettes can completely change the mood of a hidden-utility entryway.
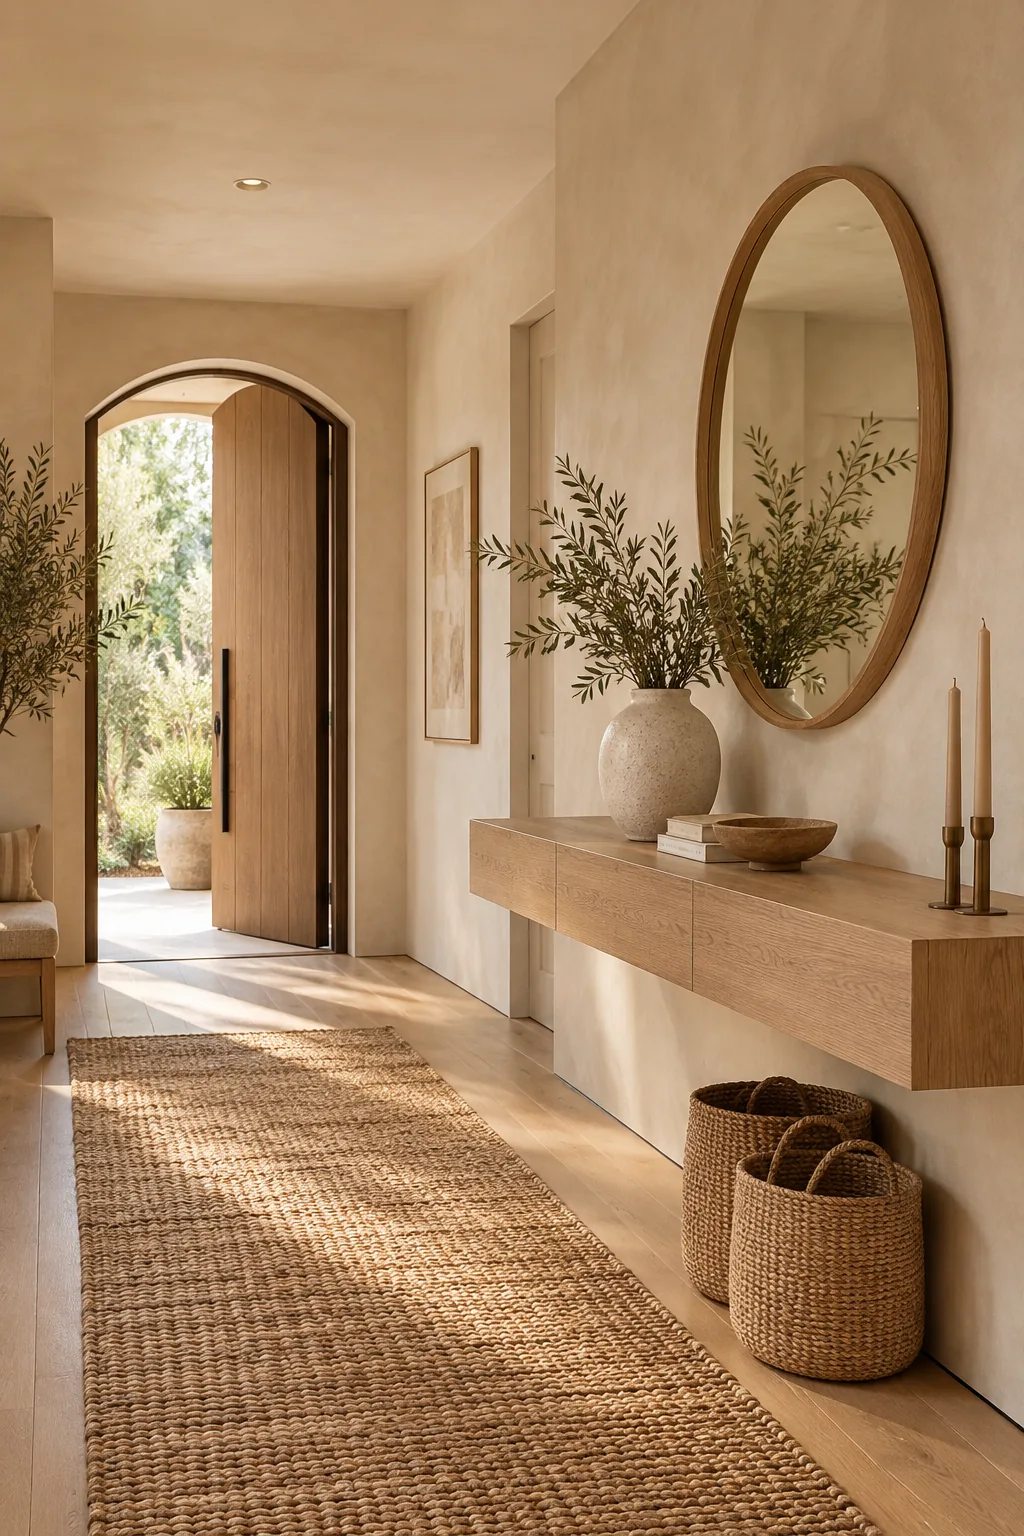
Warm Minimalist Plaster Entryway: Soft Roman clay walls pair with white oak floors for an earthy foundation. Copy this look by matching your flush outlet covers to the exact plaster tint.
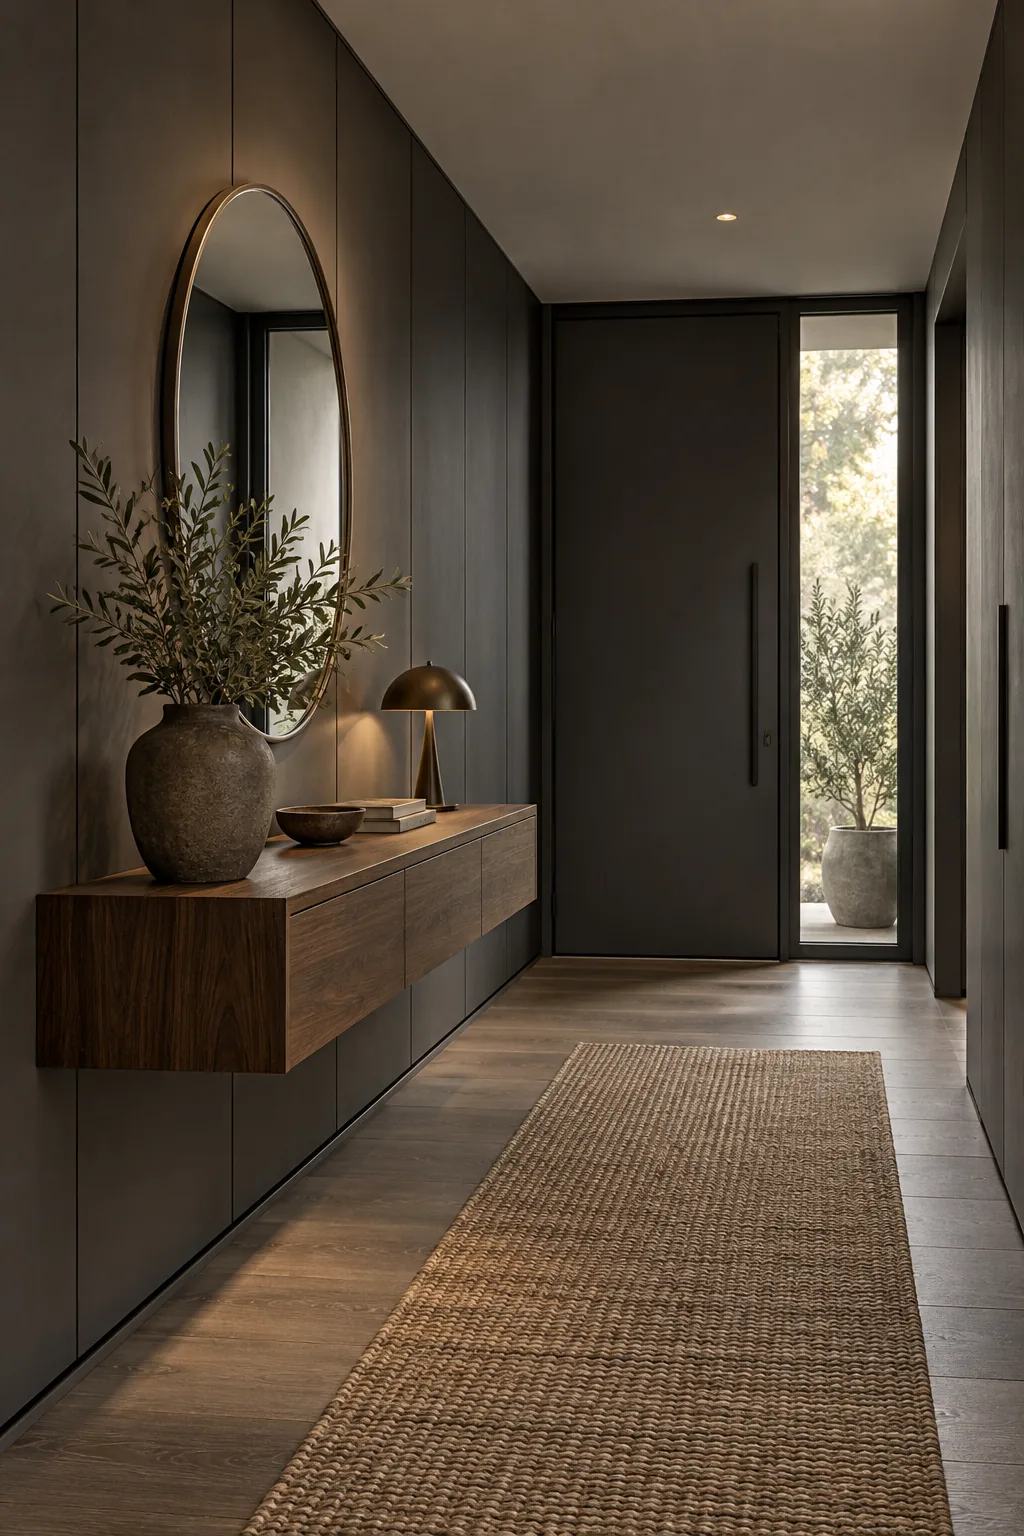
Moody Charcoal and Walnut: Dark painted paneling hides seams flawlessly while rich walnut adds depth. Use matte black shadow beads at the floor to enhance the dramatic, shadowy aesthetic.
Japandi Slatted Ash Wood: Vertical ash slats camouflage cabinet doors within a continuous textured plane. Introduce a minimalist bamboo stool to reinforce the calm, natural material palette.
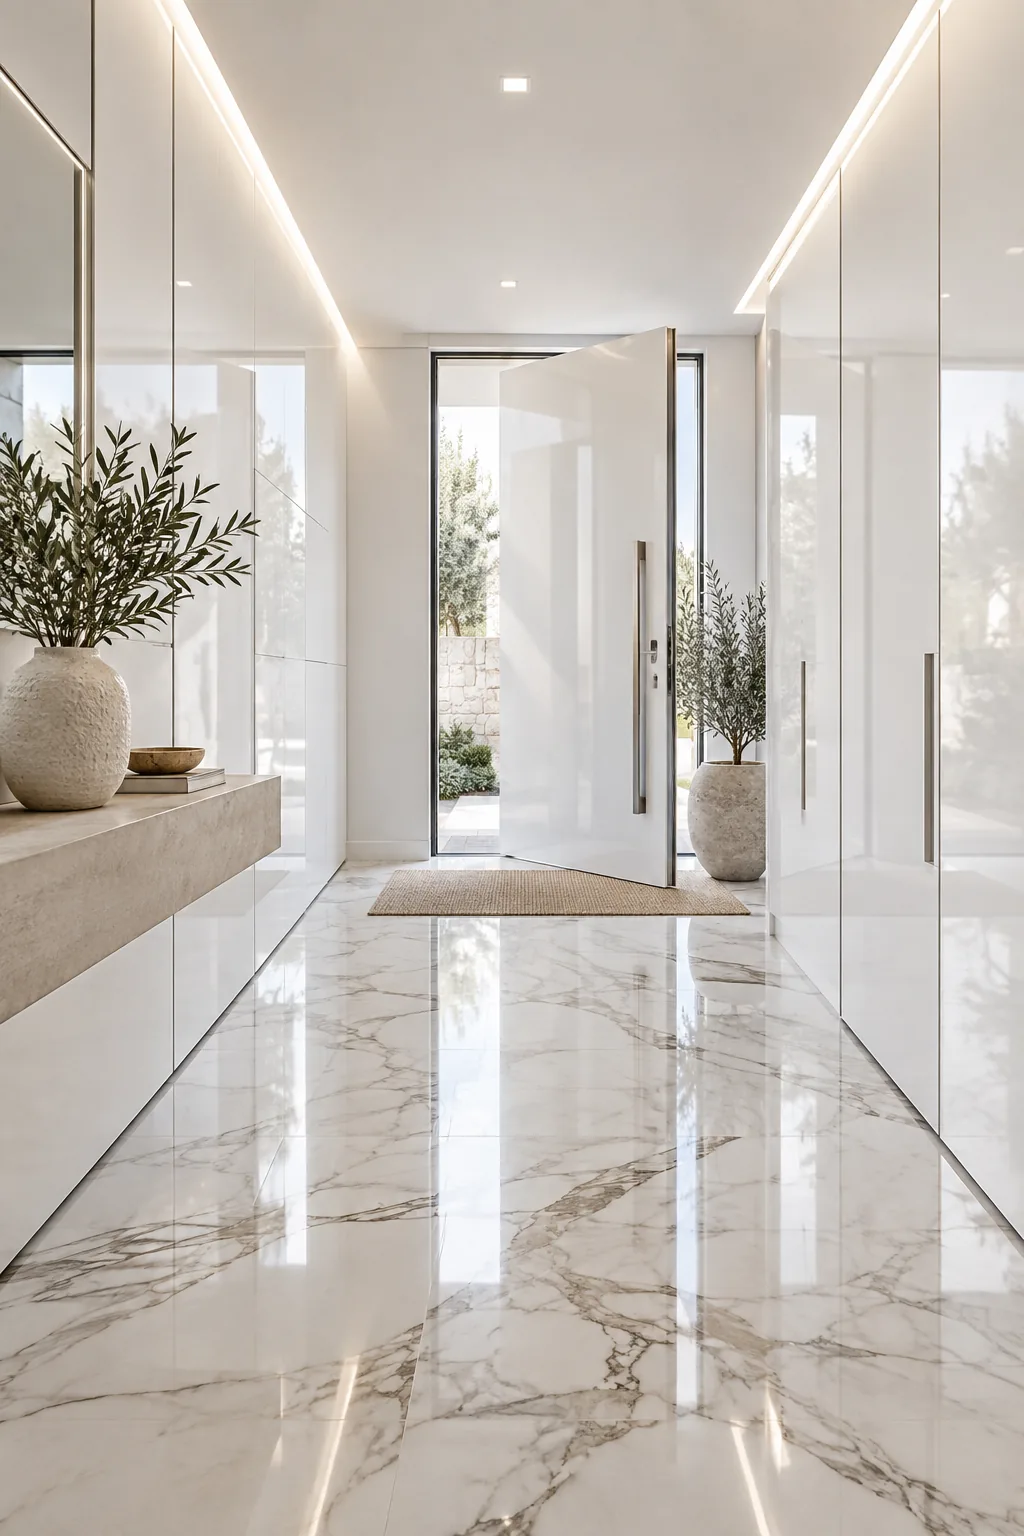
Crisp White and Marble: High-gloss white flat-panel doors contrast sharply with heavily veined marble floors. Install a cool-toned LED channel to emphasize the clinical, ultra-modern architectural lines.