Home Bourbon Room Setup: Mash-Bill Shelving & Clear Ice Plan
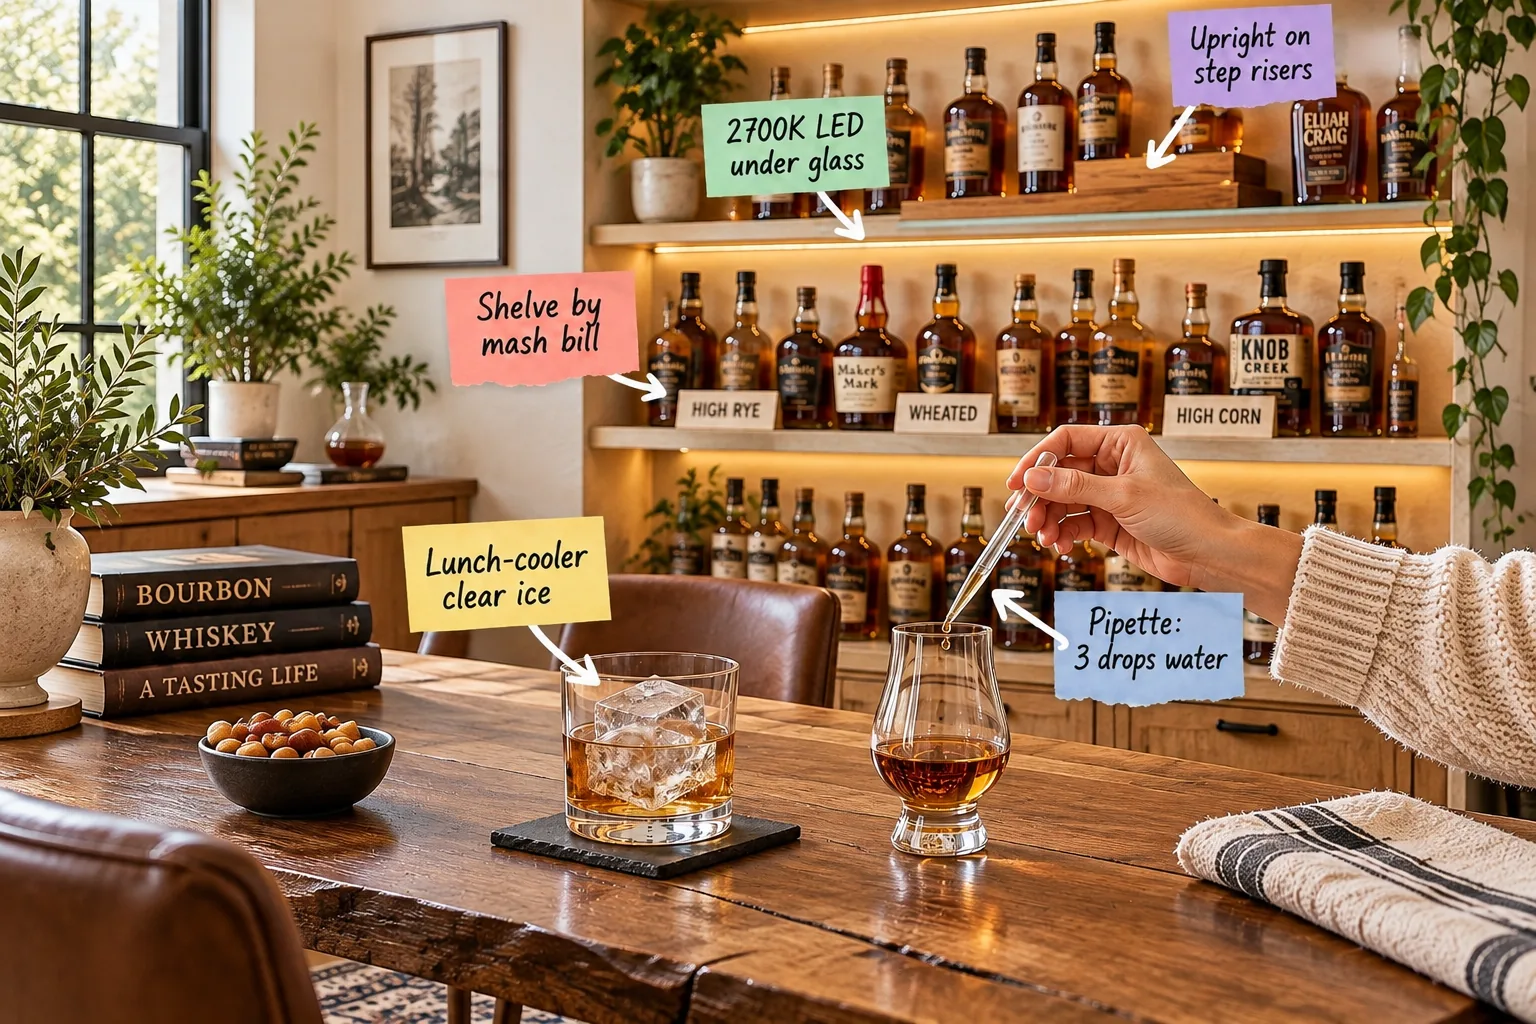
You can organize your collection like a professional tasting bar and pour the perfect dram using our printable 2-page Bourbon Room Setup Sheet. Grab this guide to map your bottles by mash bill, build stepped risers, and make glass-clear cooler ice.
Building Depth with Stepped Risers
Displaying a growing collection requires smart vertical spacing so back rows remain totally visible and easily accessible. Use the specific riser heights and shelf depths from the setup sheet to accommodate standard bottles in a highly efficient two-deep arrangement.
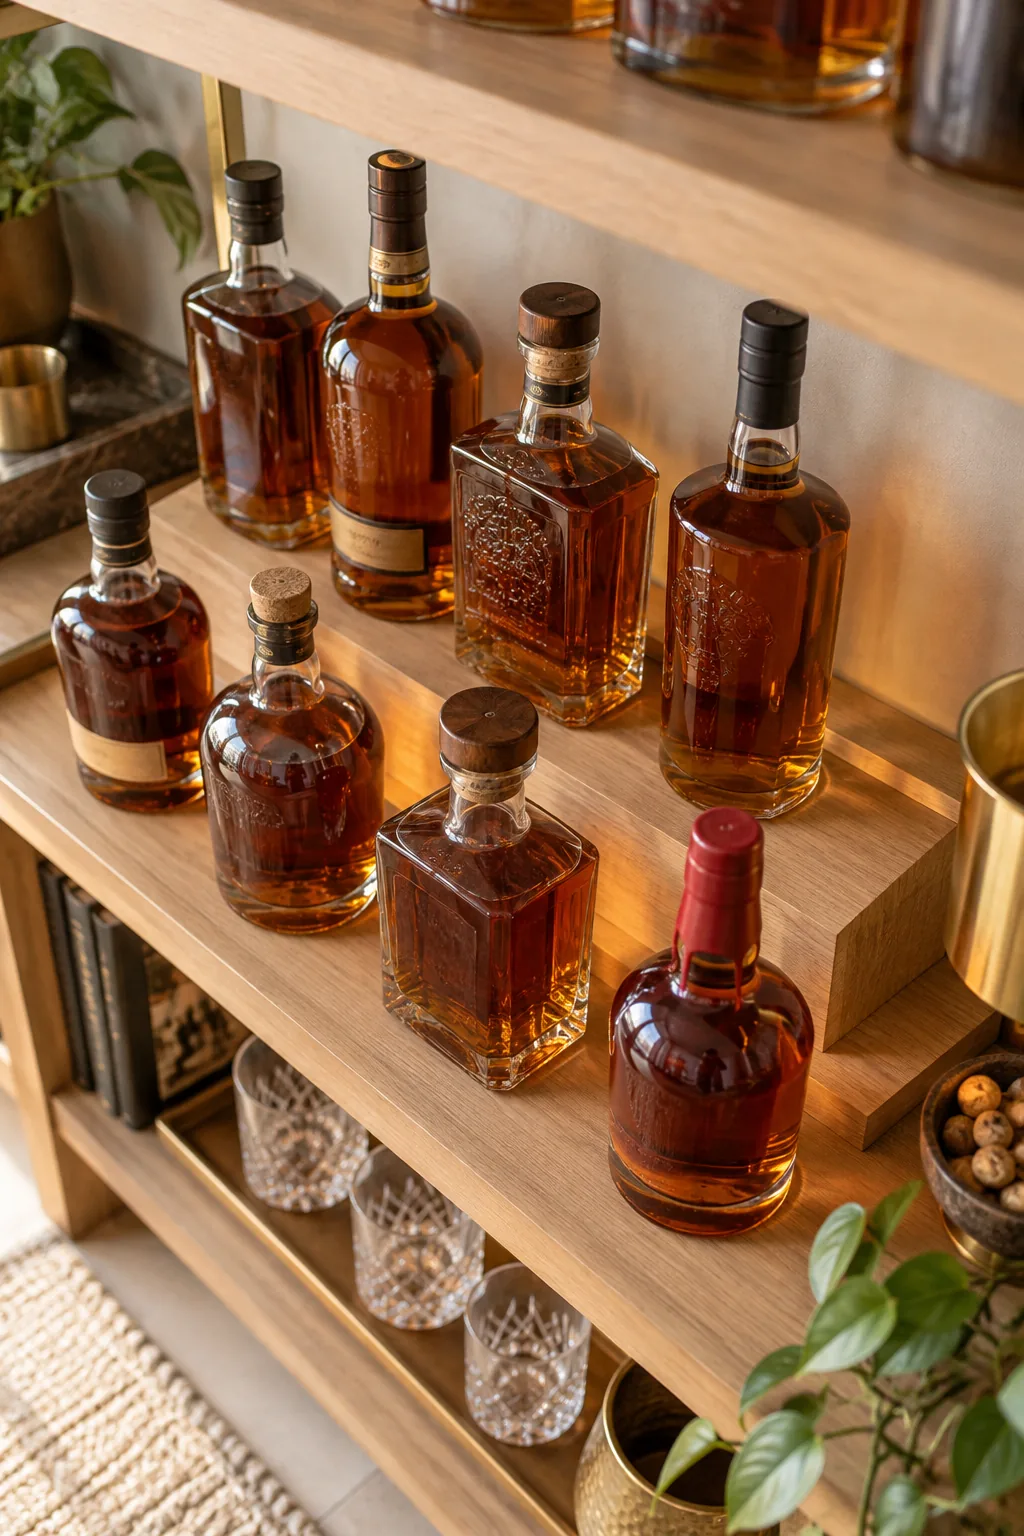
Building a four-inch step riser ensures the labels in the back row clear the shoulders of the bottles sitting in front. This staggered height maximizes your visual inventory and makes retrieving a specific bottle entirely effortless without knocking over the front row.
Planning Shelf Dimensions
Proper spacing prevents a cluttered appearance while maximizing your available wall space for heavier bottles. Measure your cabinet interior carefully, as standard whiskey bottles require specific minimum clearances to slide out without striking the shelf directly above them.
| Bottle Type | Average Height | Minimum Shelf Spacing |
|---|---|---|
| Standard Tall | 12 inches | 14 inches |
| Squat/Wide | 9 inches | 11 inches |
| Barrel Proof | 11 inches | 13 inches |
Maintaining these exact vertical clearances ensures you can comfortably lift a bottle over the front lip of the stepped wooden riser. Always measure your tallest intended bottle before permanently mounting any fixed brackets to the wall studs.
Backlighting with Warm LEDs
Proper illumination turns a basic storage shelf into a brilliant focal point by making the amber liquid glow beautifully. Install the specified 2700K LED strips directly under frosted glass shelves to avoid casting harsh, sterile shadows across the room.
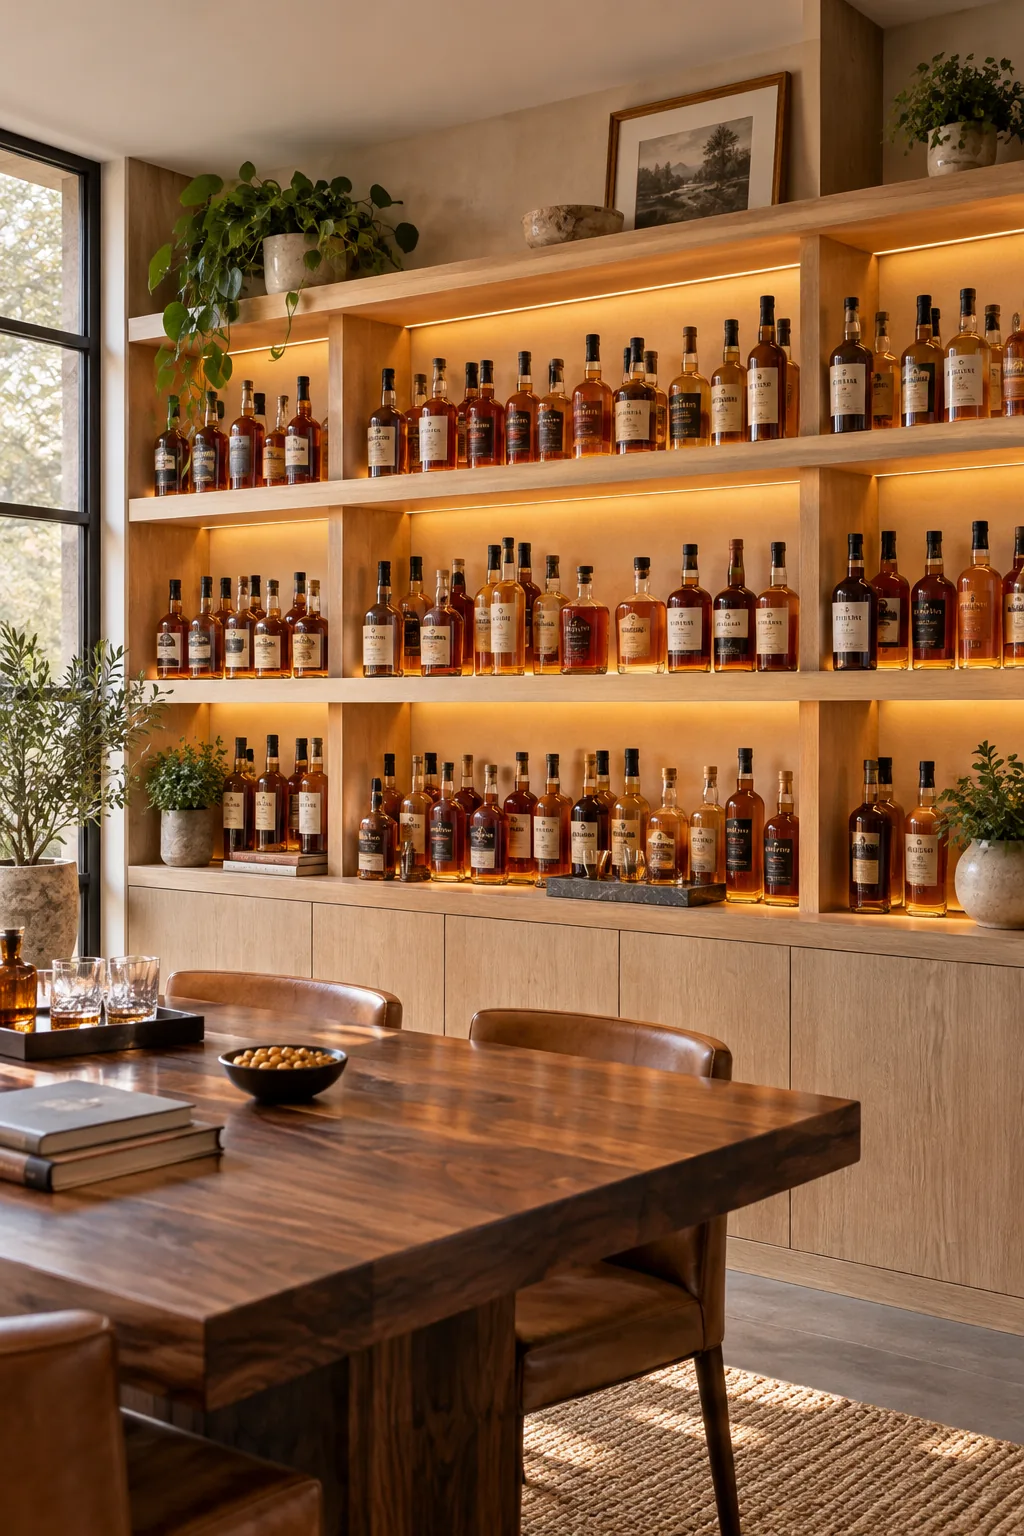
The frosted glass diffuses the intense diodes into a soft, even wash of light that highlights the rich caramel colors. This specific color temperature mimics natural candlelight, establishing a relaxed and inviting mood for evening tasting sessions.
Managing Cable Routing
Visible wires quickly ruin the sophisticated aesthetic of your illuminated display shelves. Plan your cable routing during the initial build phase by drilling discreet channels through the back corners of the wooden supports before installing the glass.
Running the low-voltage wires behind a false back or down a grooved channel keeps the focus entirely on the whiskey. Secure all loose cables with adhesive clips to ensure they never snag when you move bottles around.
Categorizing by Mash Bill
Group your collection by underlying grain recipes rather than brand names to make selecting a pour highly intuitive. In my own Denver home, creating dedicated sections for wheated, traditional, high-rye, and barrel-proof bourbons completely changed how guests explore whiskey.
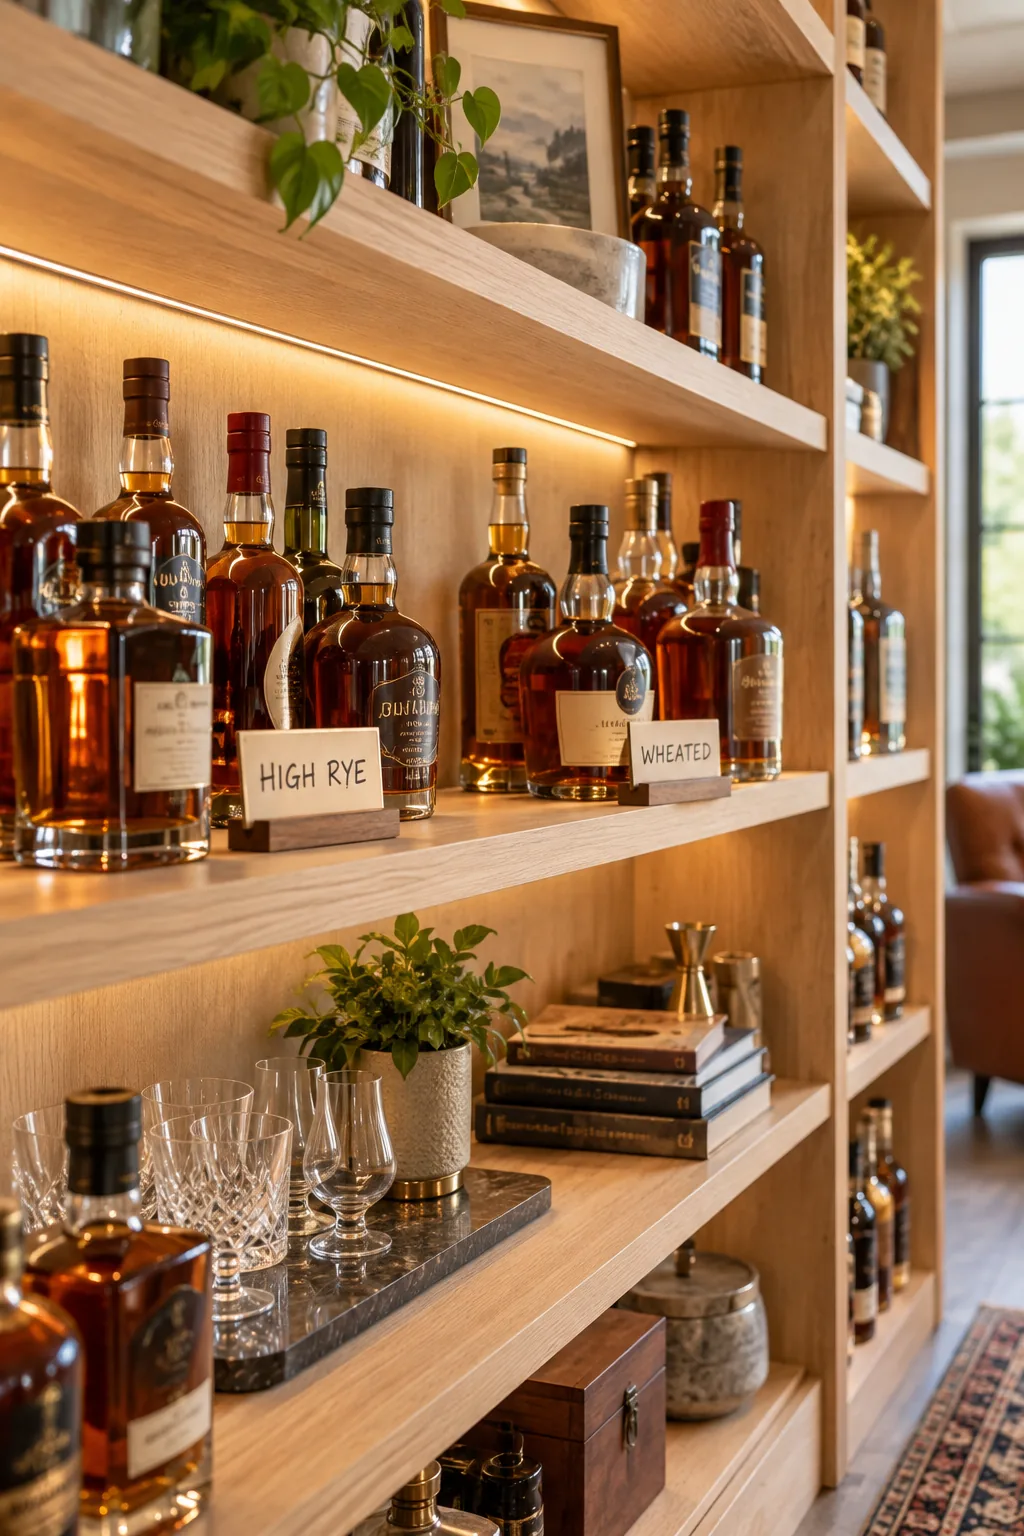
Using small handwritten tags to divide these distinct flavor profiles turns a simple drink into an engaging educational experience. This logical flow helps anyone identify their preferred style without needing to memorize the specific output of every distillery.
Understanding High-Rye Profiles
Bourbons utilizing a larger percentage of rye grain in their recipe deliver signature baking spice and subtle pepper notes. Placing these spicier bottles in their own distinct zone allows tasters to intentionally compare similar flavor structures during a dedicated flight.
The Bourbon Room Setup Sheet
Download the printable 2-page Bourbon Room Setup Sheet to execute this exact layout perfectly, including the complete mash-bill shelf map. It also contains the exact riser dimensions, the LED spec, and the hour-by-hour clear ice timeline.
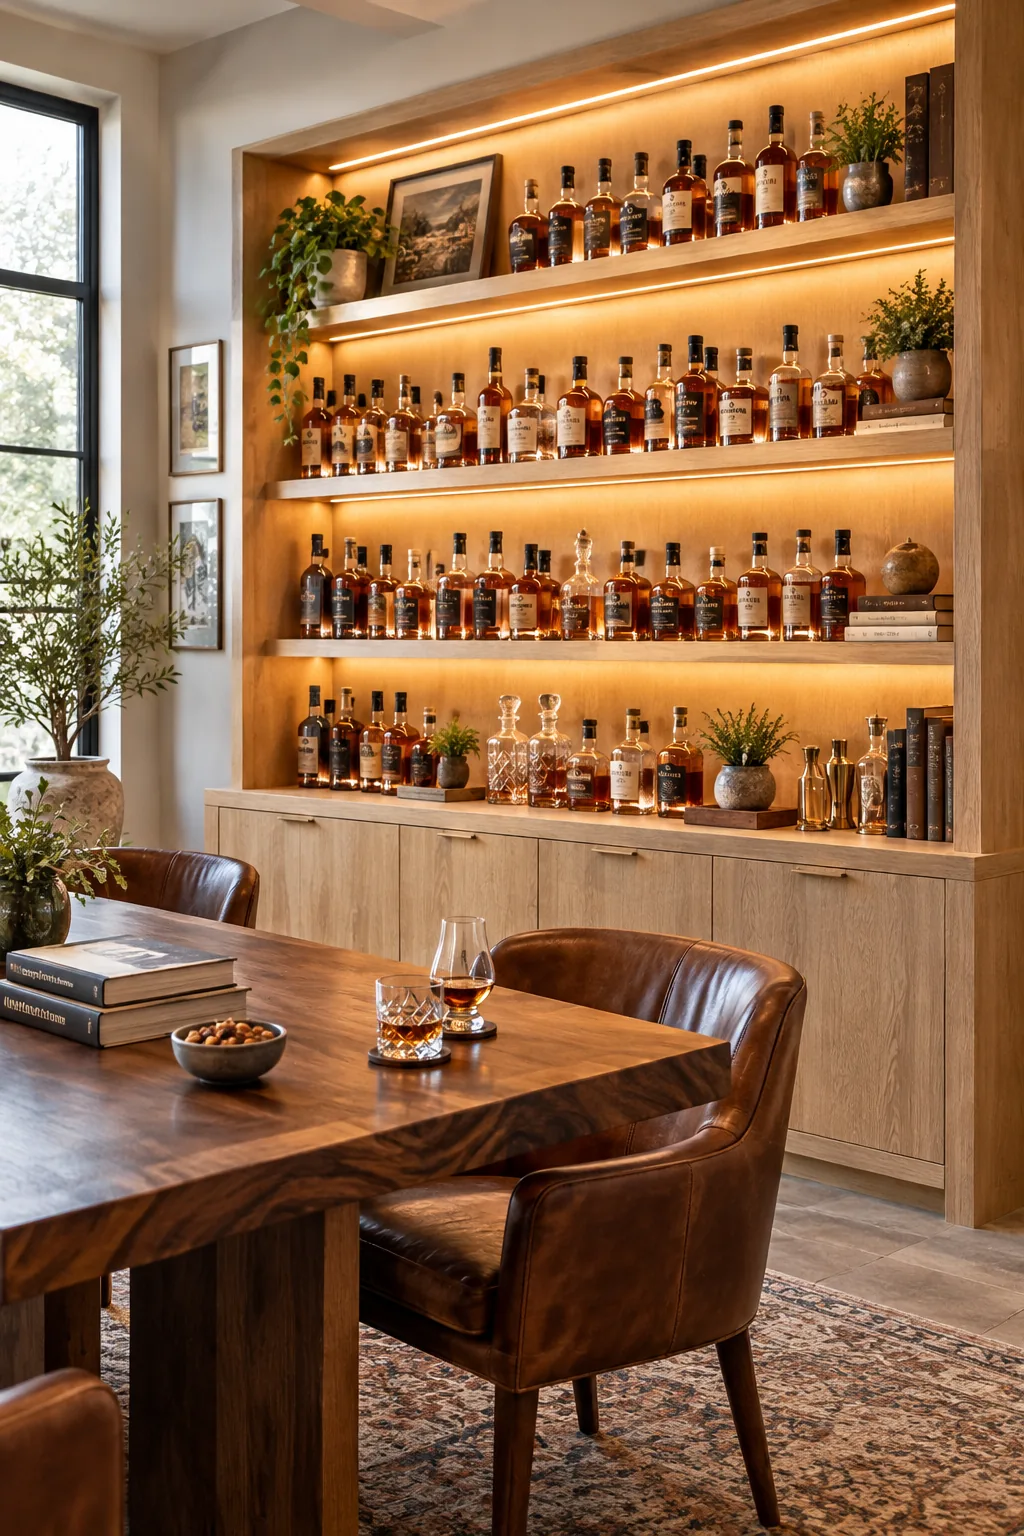
Having these standardized measurements on hand removes the guesswork from building your display and ensures a professional final result. Keep the printed guide nearby as you begin organizing the bottles into their respective flavor categories.
Gathering Your Setup Materials
Before you start emptying your current liquor cabinet onto the floor, take time to gather your materials and review the reference guide. Preparing your space in advance makes the installation process smooth, clean, and highly efficient.
Completing these foundational steps ensures you will not have to pause your project to run to the hardware store. A well-prepared workspace is the secret to finishing the entire room upgrade in a single weekend.
Designing the Tasting Zone
Anchor the room with a dedicated walnut tasting table to encourage lingering rather than just grabbing a quick drink. I always keep a bowl of mixed nuts on my table, as the healthy fats perfectly reset the palate between pours.
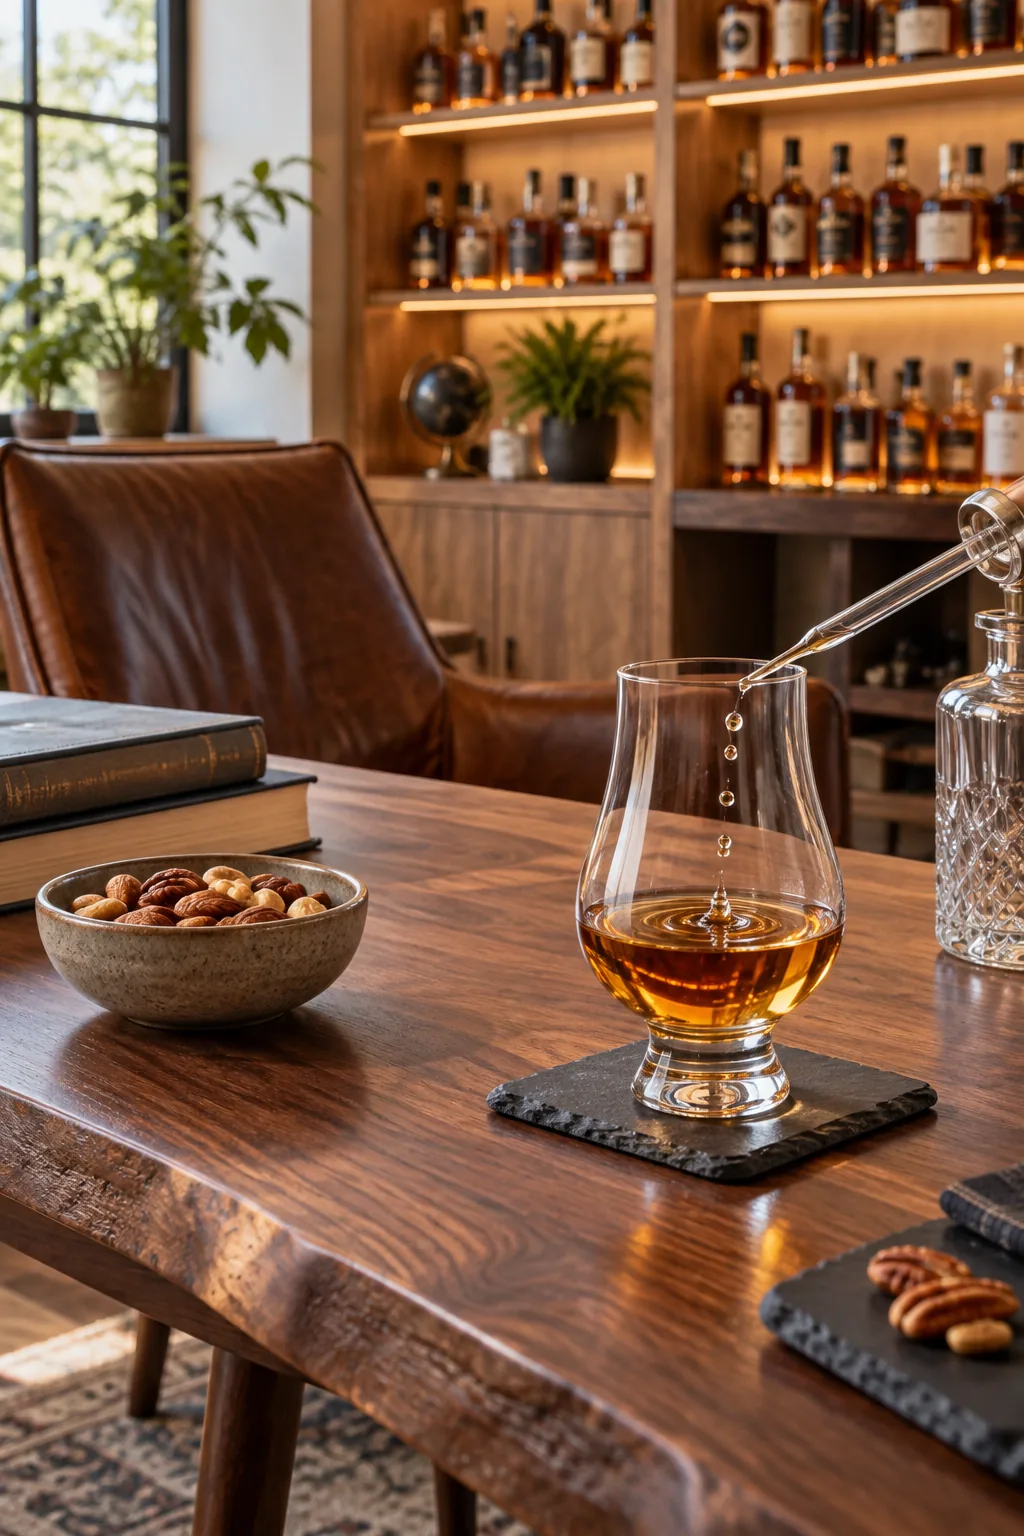
Keep essential accessories, reference books, and simple palate-cleansing snacks within easy reach of the comfortable seating area. A thoughtfully appointed zone transforms a simple storage space into a true destination for enjoying rare spirits.
Selecting the Proper Glassware
Matching the glass shape to the specific whiskey style dramatically improves the nosing and tasting experience. Keep a curated selection of vessels on hand to accommodate both analytical neat pours and relaxed, chilled drinks.
- Choose a tulip glass to concentrate delicate aromas
- Select a heavy-bottomed rocks glass for large ice blocks
- Keep a Glencairn nearby for high-proof analytical tastings
Storing these glasses directly on the tasting table or an adjacent tray invites guests to handle them and select their favorite. Clean, polished glassware is essential for accurately evaluating the color and legs of a premium bourbon.
Opening the Proof with Water
High-proof and barrel-strength whiskeys often benefit from slight dilution to release tightly bound aromatic compounds. Use a glass pipette to add exactly three drops of water to a neat pour resting in a tulip glass.
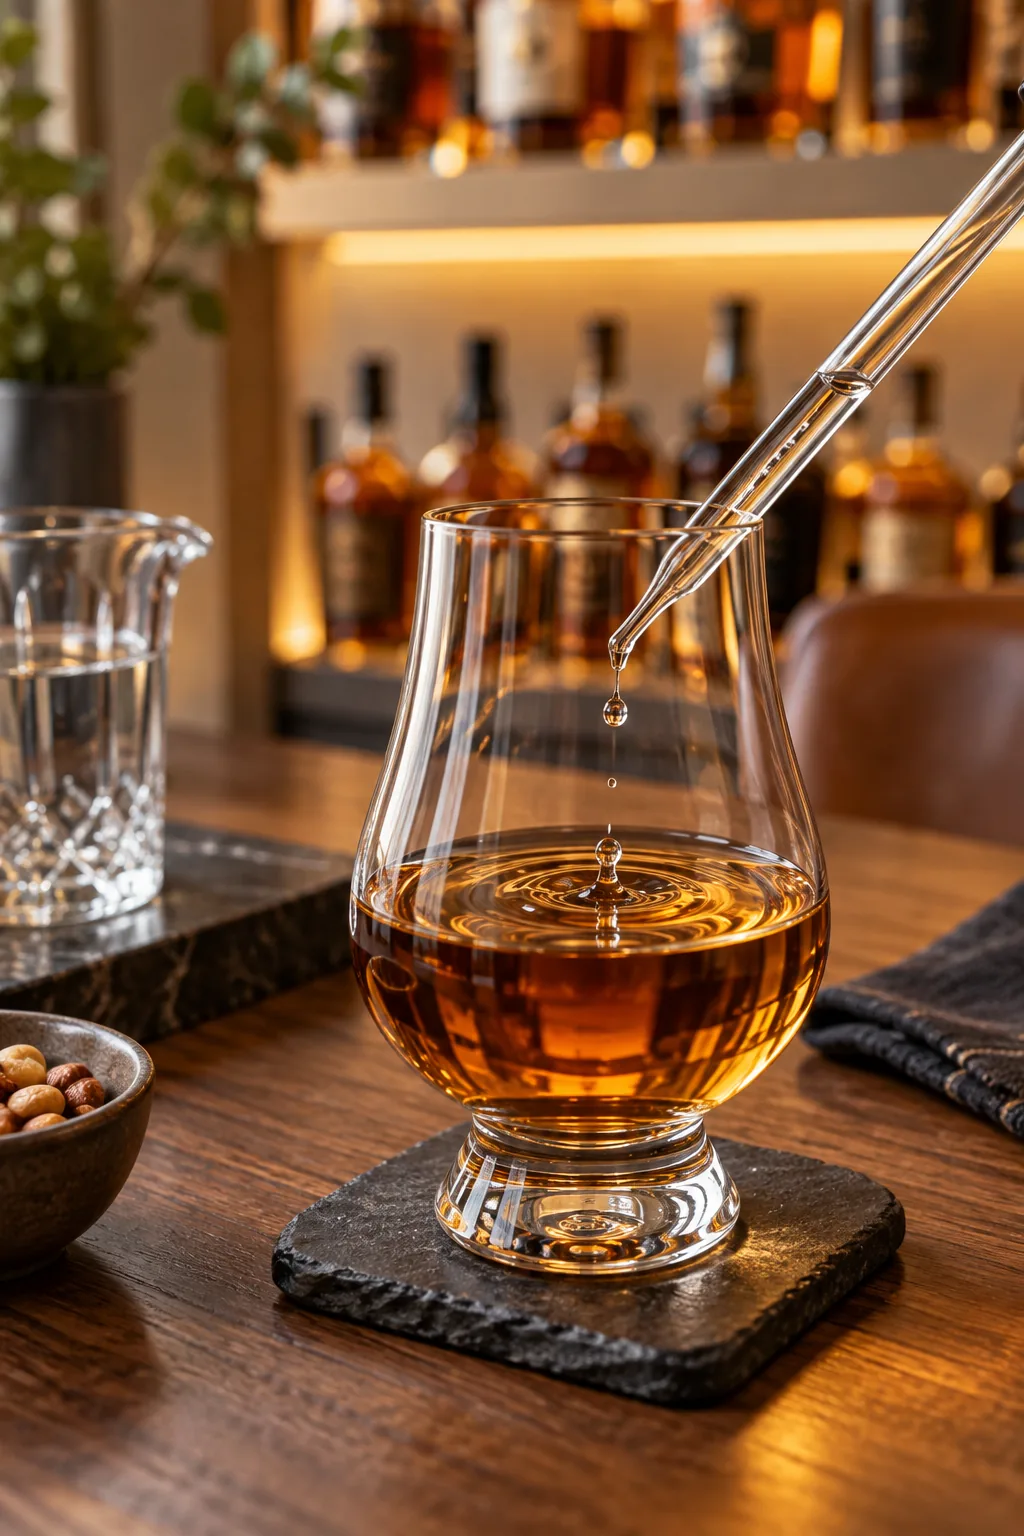
This precise addition immediately alters the spirit’s robust core character. You will notice new floral and sweet vanilla notes rising from the glass as the water gently interacts with the alcohol.
Allowing the Spirit to Rest
After adding water or pouring a particularly high-proof expression, let the glass sit untouched for five to ten minutes. This brief resting period allows volatile ethanol vapors to dissipate, revealing the nuanced caramel and oak flavors hidden underneath.
Making Lunch-Cooler Clear Ice
Standard ice molds trap air and freeze cloudy, creating brittle ice that melts far too quickly in the glass. I switched to the lunch-cooler method years ago because directional freezing produces large, perfectly clear blocks.
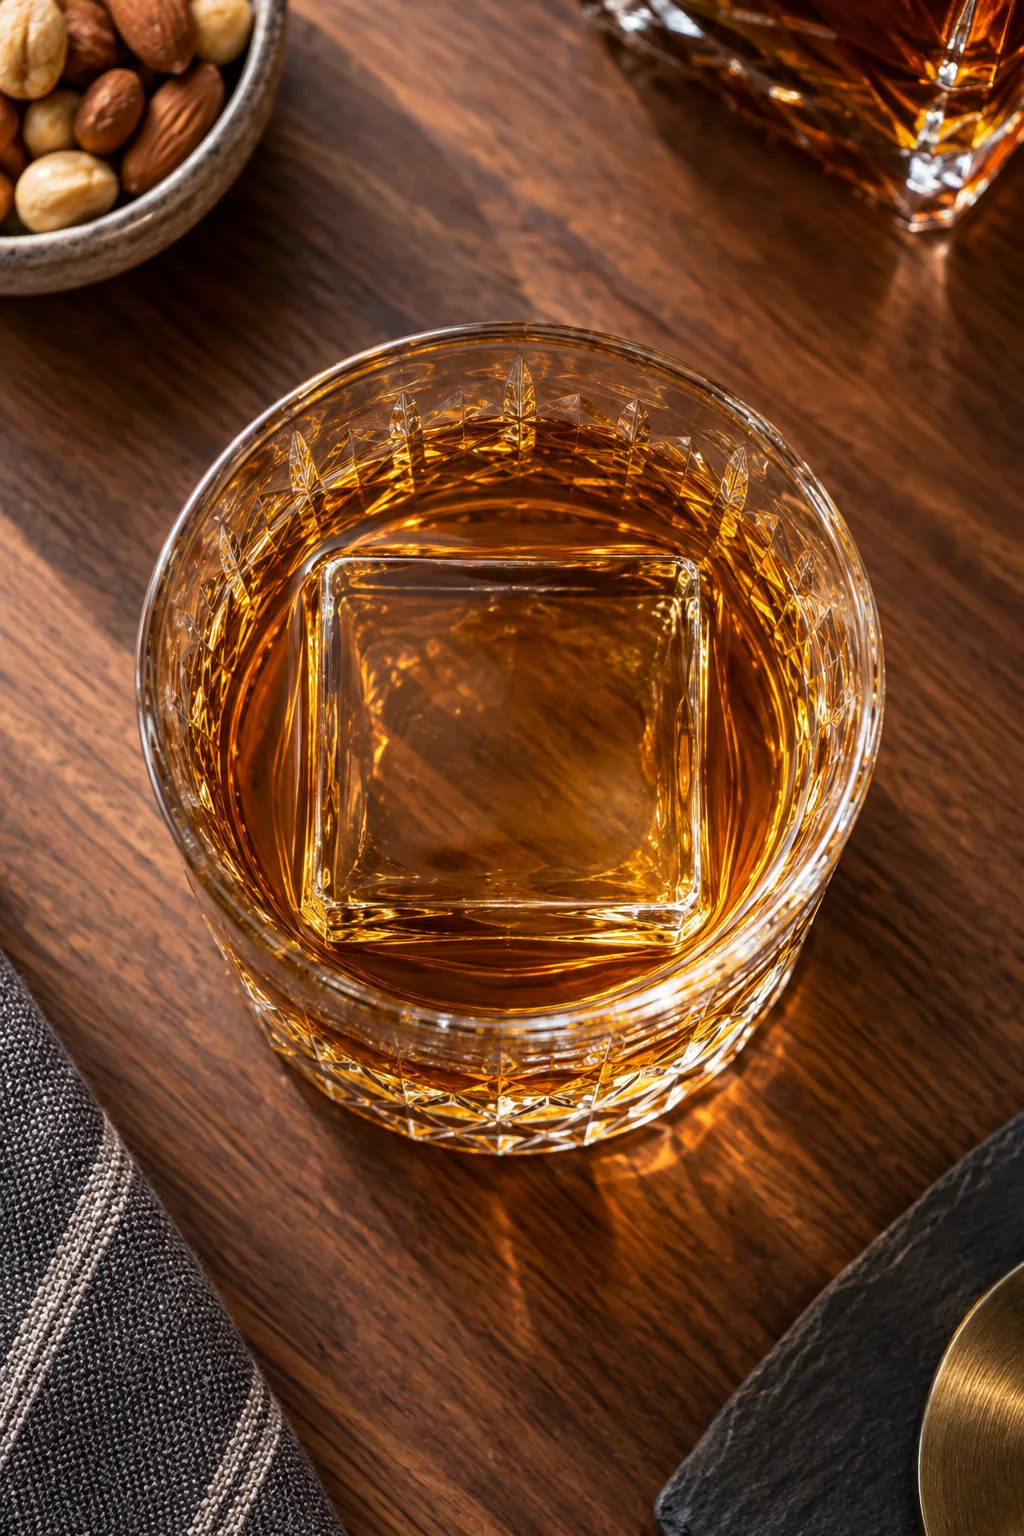
These dense, transparent cubes chill your drink effectively without causing the rapid dilution that ruins a premium pour. Insulating the sides and bottom of the cooler forces the water to freeze slowly from the top down.
Avoiding Freezing Errors
Achieving glass-clear ice at home is entirely possible using basic equipment, but many beginners fall for ineffective shortcuts. Understanding the physics of directional freezing helps you avoid common pitfalls that result in cloudy, cracked cubes.
Pulling the cooler from the freezer before the bottom layer freezes solid ensures the trapped impurities remain suspended in liquid. This liquid layer is then easily drained away, leaving only the pristine, perfectly clear ice block above it.
Managing Temperature and Humidity
Protect your investment by keeping the room at a stable, cool temperature year-round. Direct sunlight and extreme heat fluctuations can degrade the delicate flavor compounds in premium bourbon, so install blackout shades if your tasting space features large windows.
Rotating Your Collection
Once a bottle is opened and the fill level drops below halfway, increased oxidation begins to alter the whiskey’s original profile. Move these half-empty bottles to the front of your stepped risers to ensure they are consumed before the flavors flatten.
Serving the Final Pour
The ultimate goal of the room is enjoying the whiskey exactly how you personally prefer it. Offer a choice between a concentrated neat pour in a specialized tasting glass or a chilled, slowly evolving dram over a single large rock.
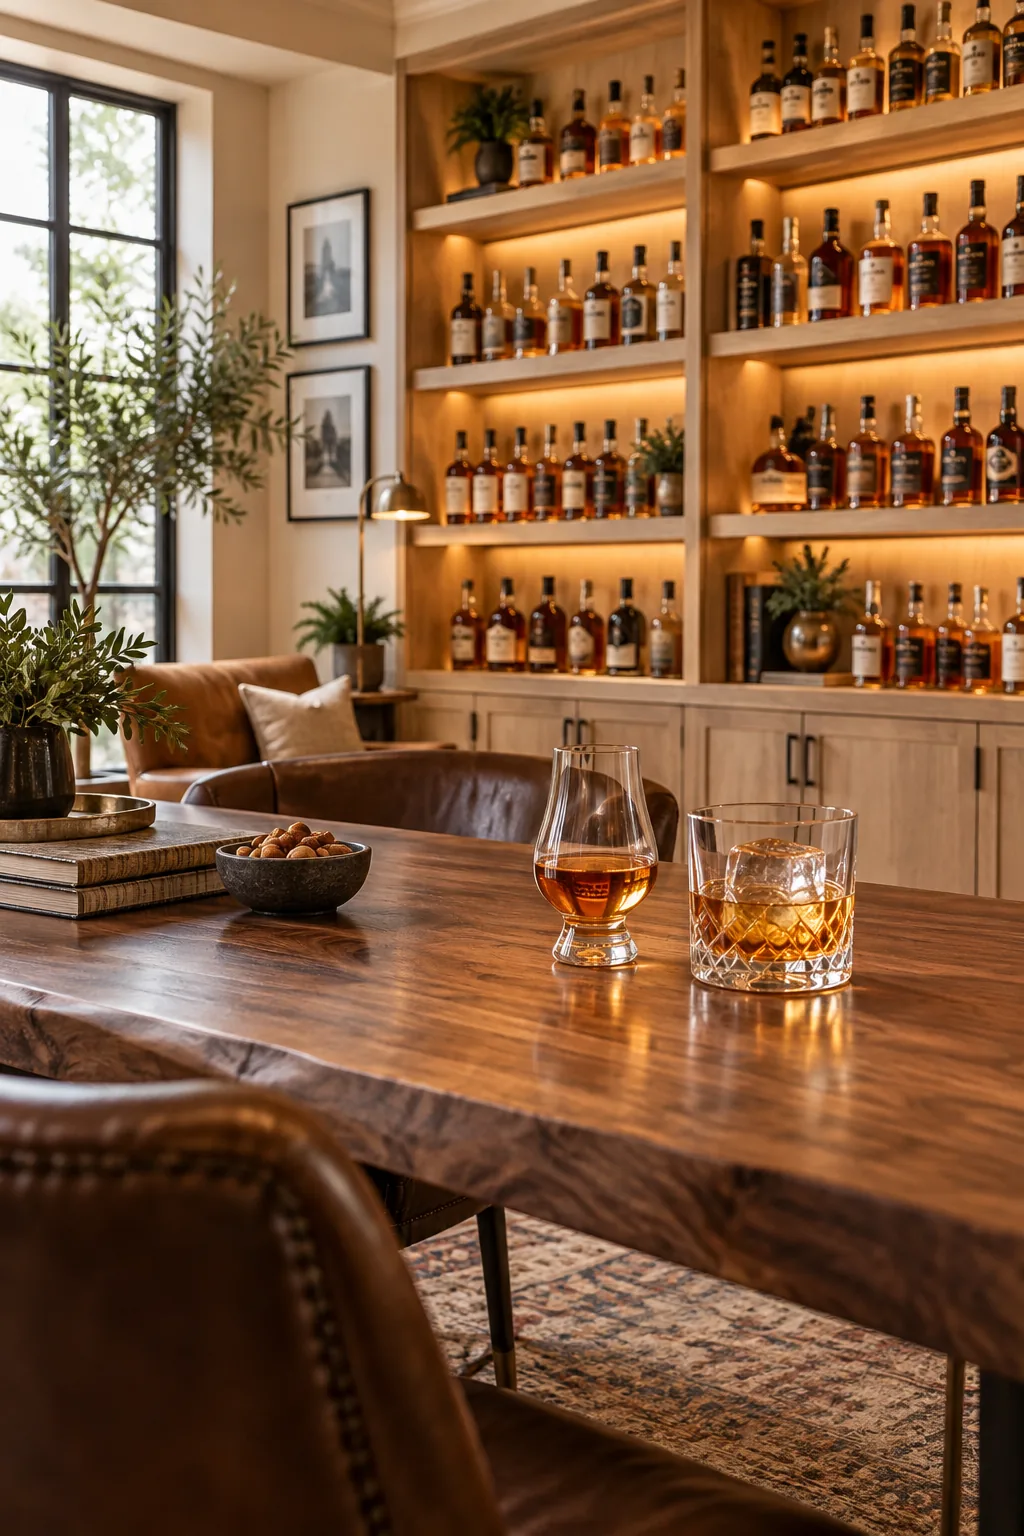
Providing these options ensures that whether you are sipping a delicate wheater or a robust barrel-proof bourbon, the presentation matches the profile. Your dedicated home tasting space is now fully equipped and ready to pour.
More Tasting Room Styles
Explore these different aesthetic approaches to see which atmosphere fits your home.
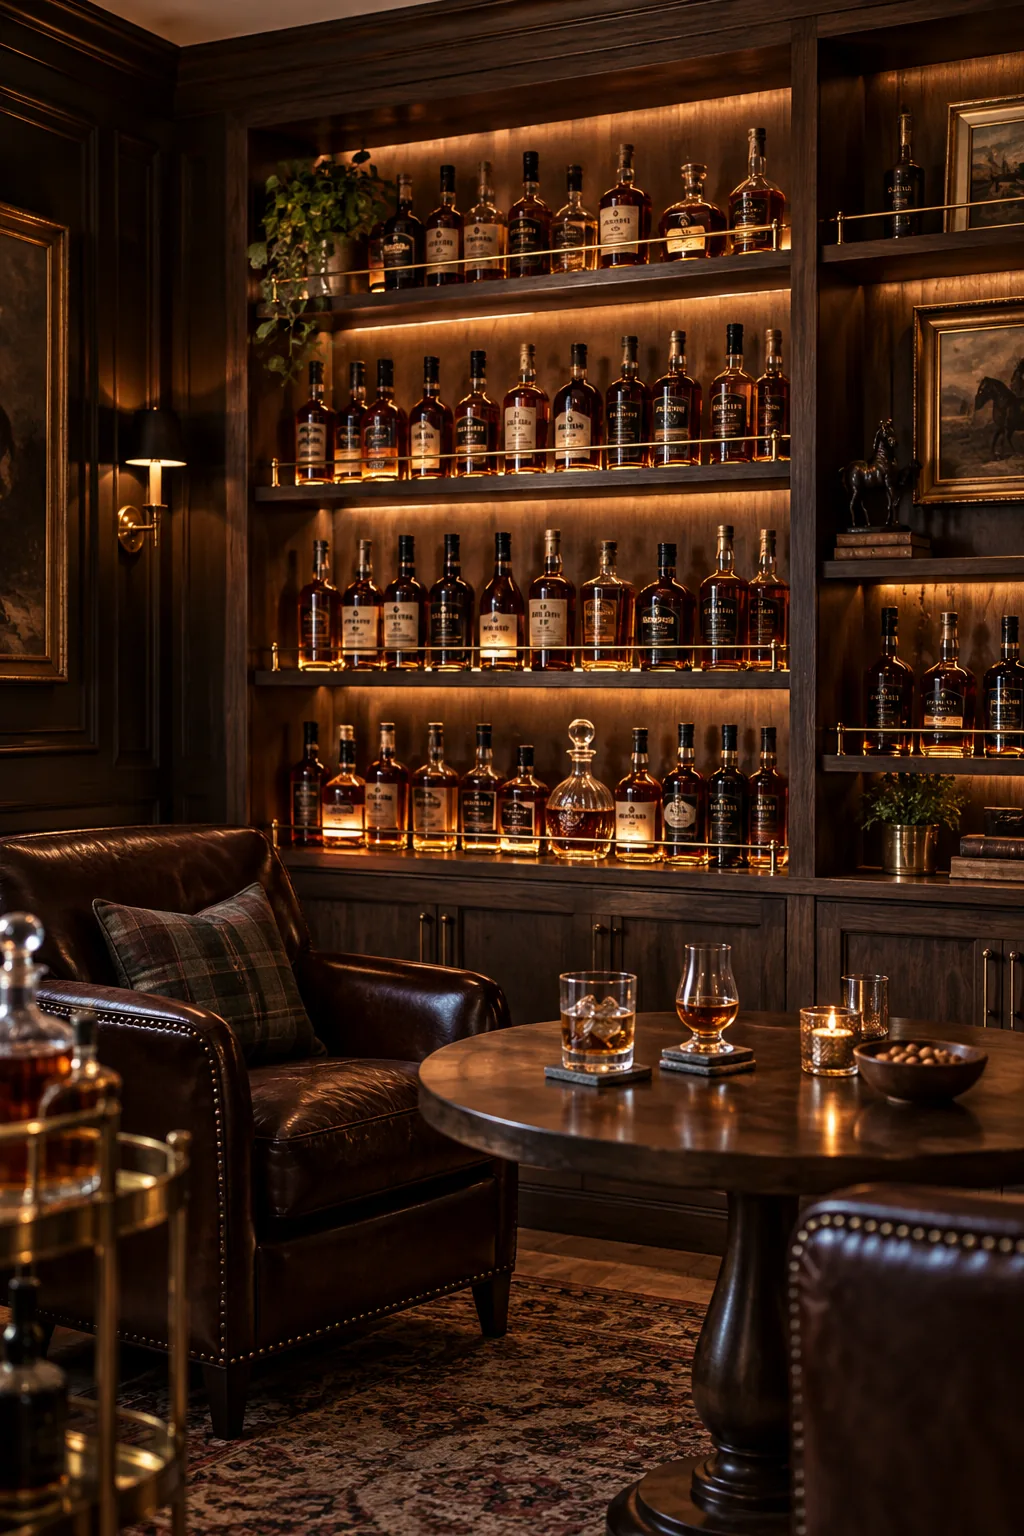
Moody Brass and Dark Walnut: This speakeasy-inspired look uses rich dark walnut and unlacquered brass rails to create an intimate, late-night tasting atmosphere.
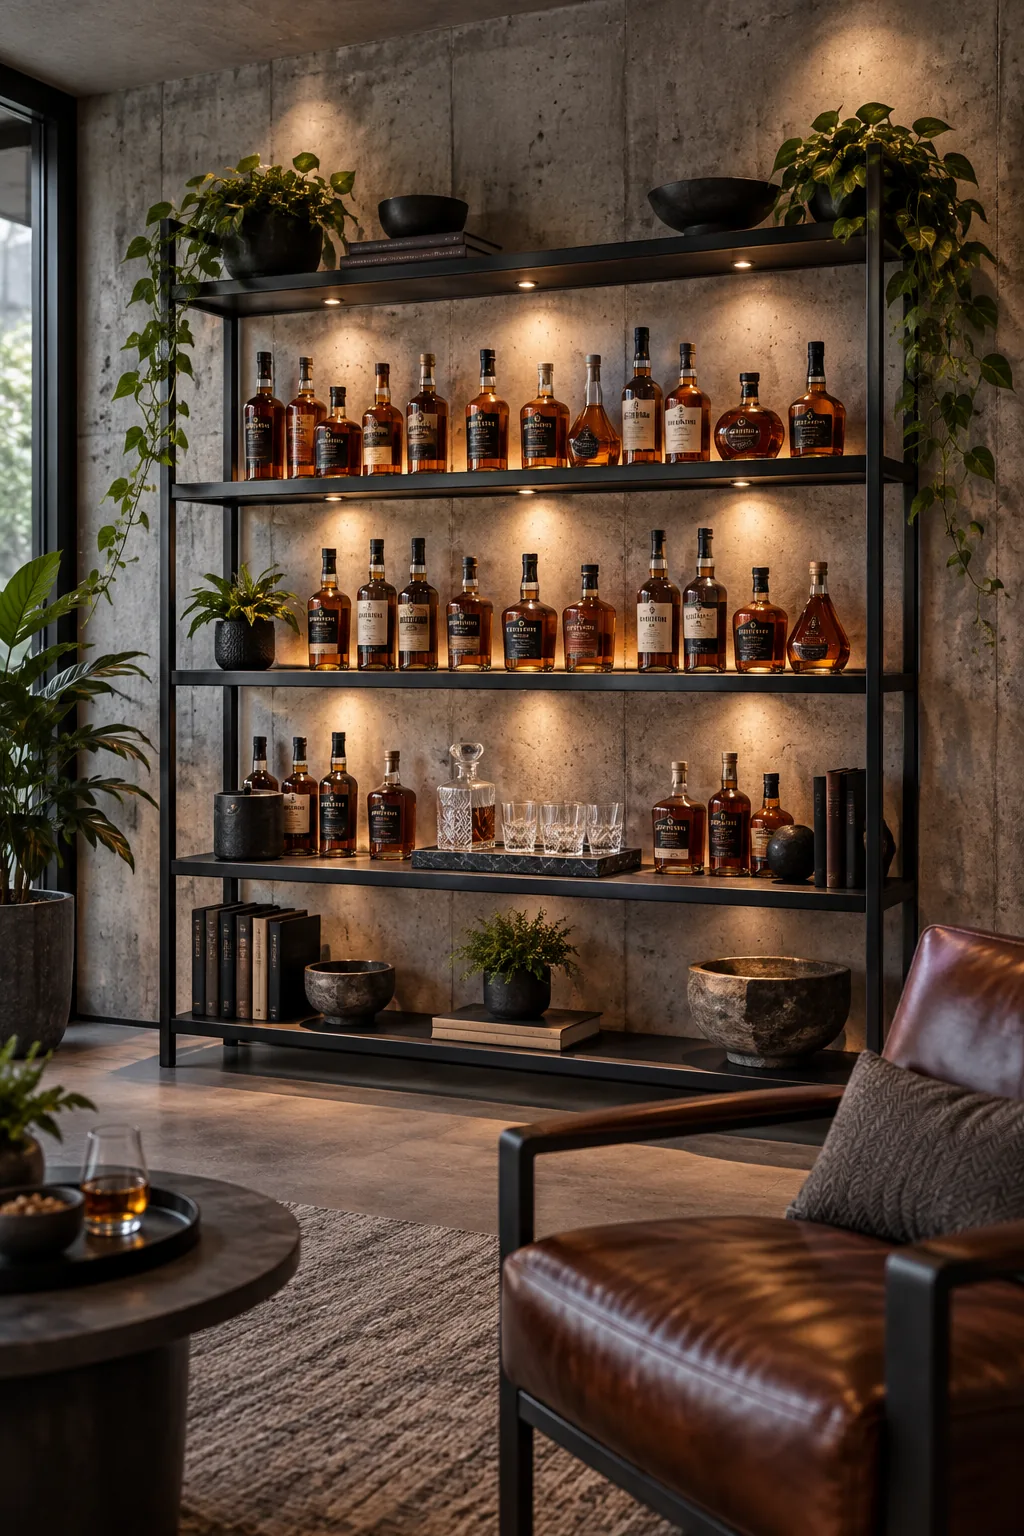
Minimalist Matte Black and Concrete: A highly contemporary approach that strips away traditional wood in favor of matte black metal shelving against an industrial concrete backdrop.
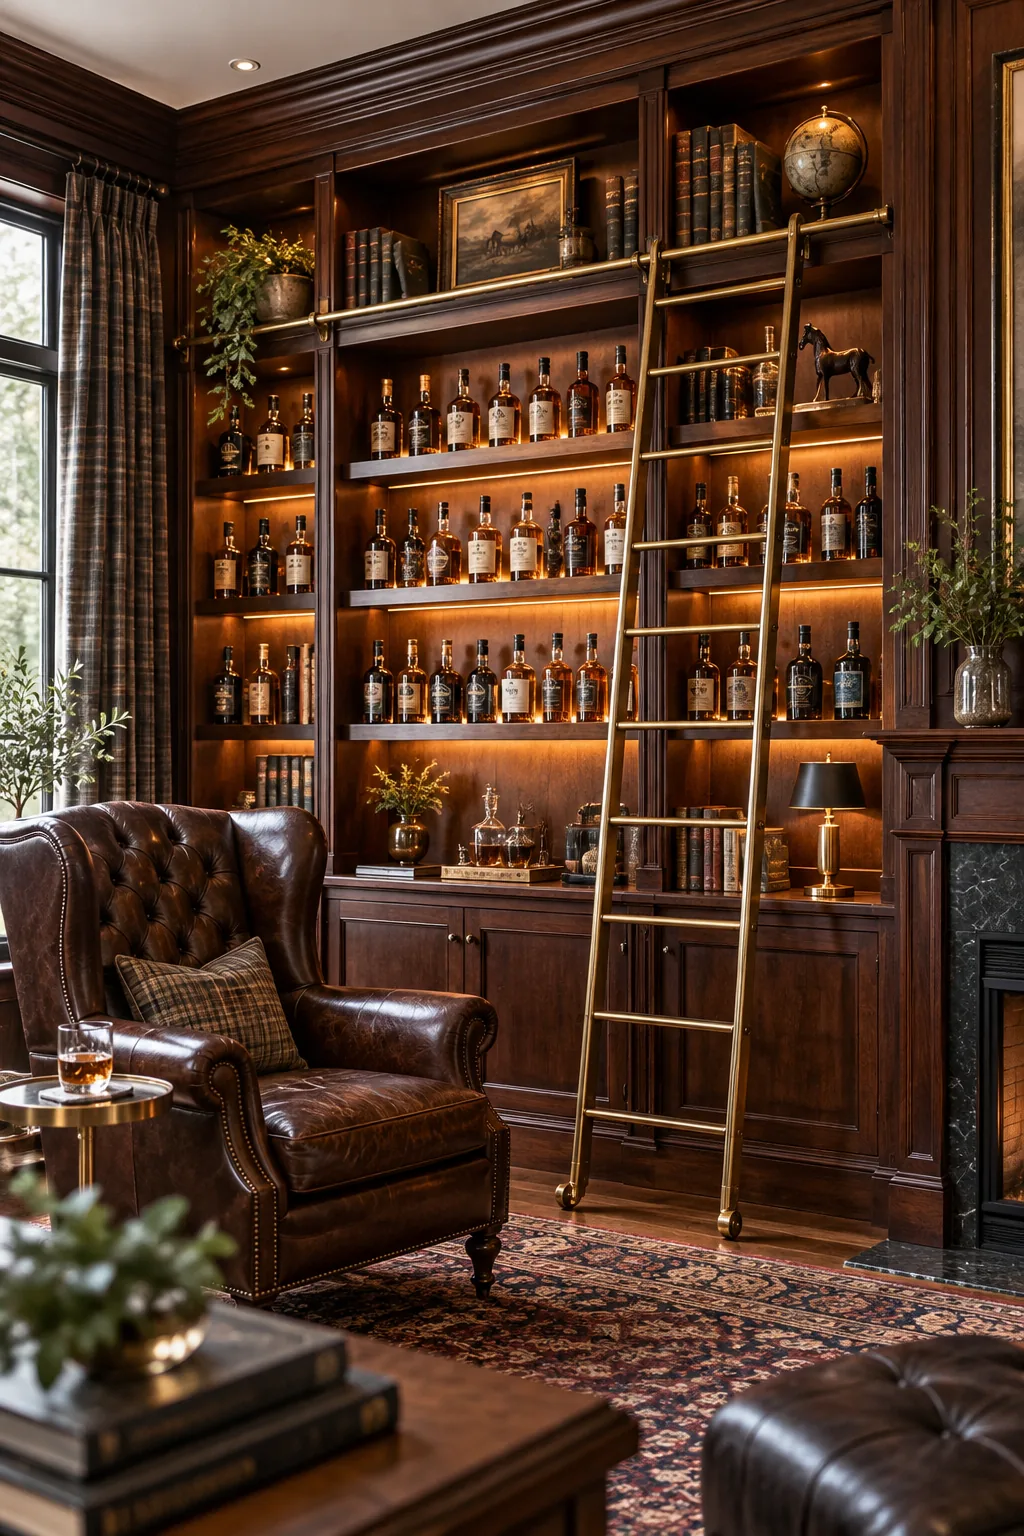
Classic Mahogany Library Built-Ins: Channel a traditional study by integrating your bourbon collection into floor-to-ceiling mahogany library shelves complete with a rolling ladder.