Wedding Table Layout Secrets & Spacing Cheat Sheet
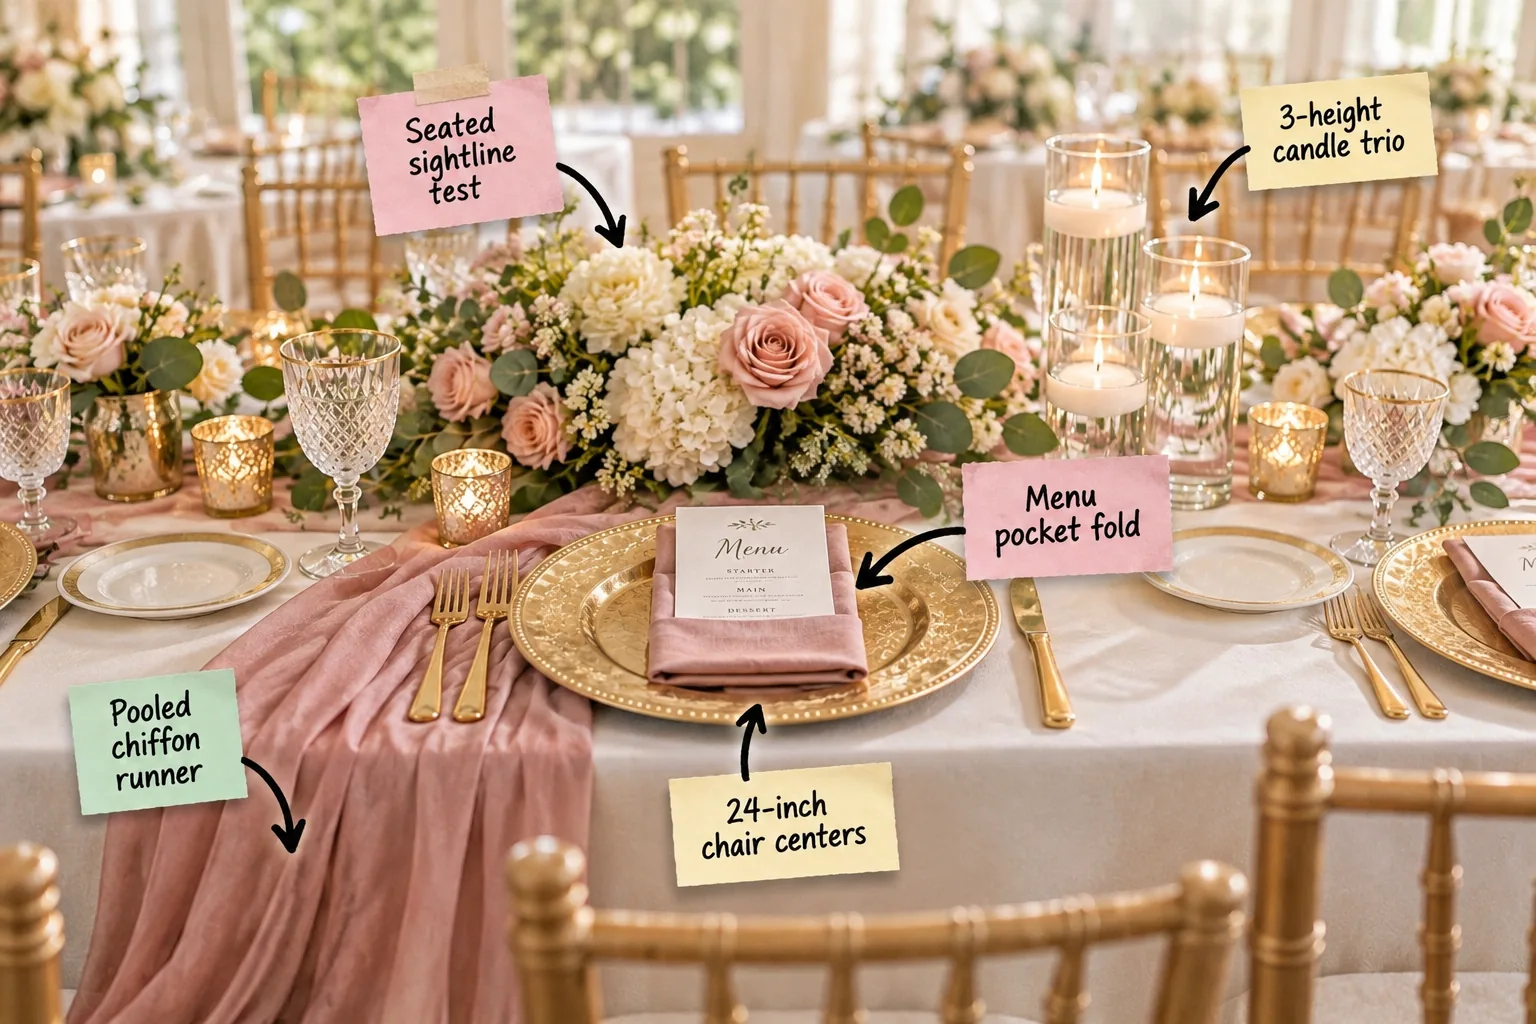
You will be able to confidently calculate your decor quantities and arrange a flawlessly spaced, professional-looking wedding table with this printable tablescape spacing and quantity cheat sheet. Master the planner’s layout for a flawless reception by building the tablescape from the foundational seating to the final place setting details.
Setting the 24-Inch Chair Centers
Start your layout by establishing the seating foundation and allocating exactly 24 inches from center to center for each chair. This specific spacing gives every guest comfortable elbow room for dining and conversing.
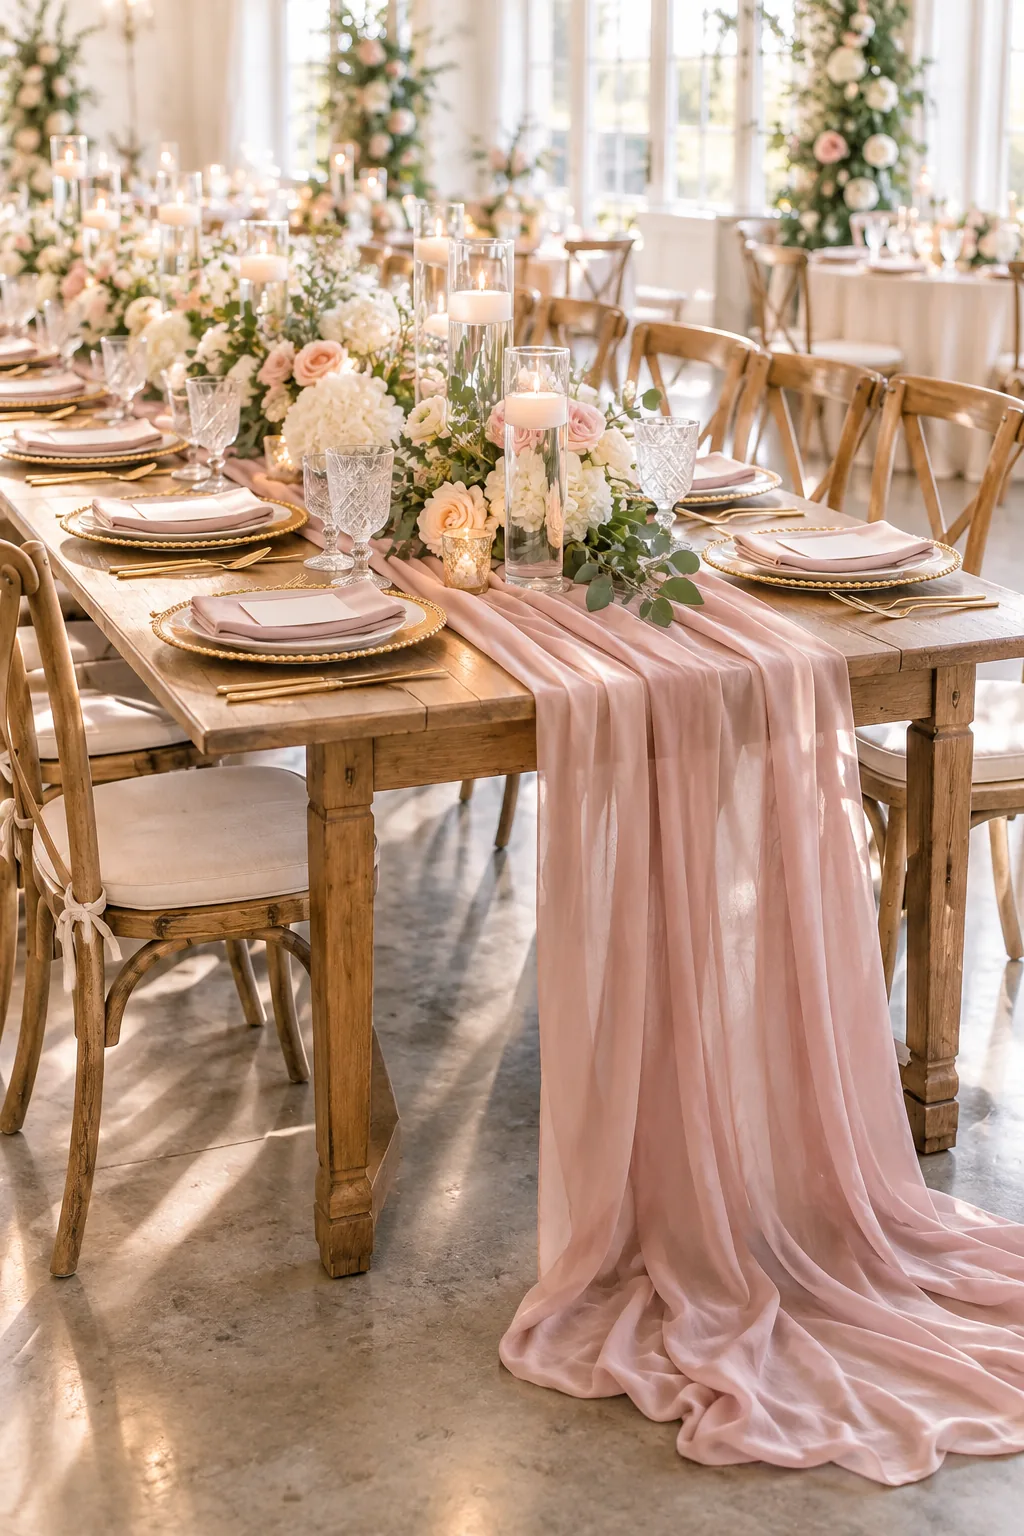
This precise measurement also guarantees that standard charger plates will sit beautifully along the table edge without overlapping or looking crowded.
Your Tablescape Spacing Cheat Sheet
Use this printable cheat sheet to calculate your rental quantities and spacing requirements. In my own Boston apartment, I always sketch out dinner party dimensions beforehand so I never over-order materials or crowd the table.
| Decor Element | Quantity Rule | Ideal Spacing |
|---|---|---|
| Low Centerpiece | 1 per 6-8 feet | Under 14 inches tall |
| Place Setting | 1 per guest | 24-inch chair centers |
| Candle Trio | 3 clusters per floral | Staggered heights |
Before finalizing your rental orders, run through these essential calculations to ensure you have enough materials for a seamless setup.
When calculating your fabric rentals, plan for 12 to 18 inches of extra length on each end so the chiffon runner cascades gracefully off the table.
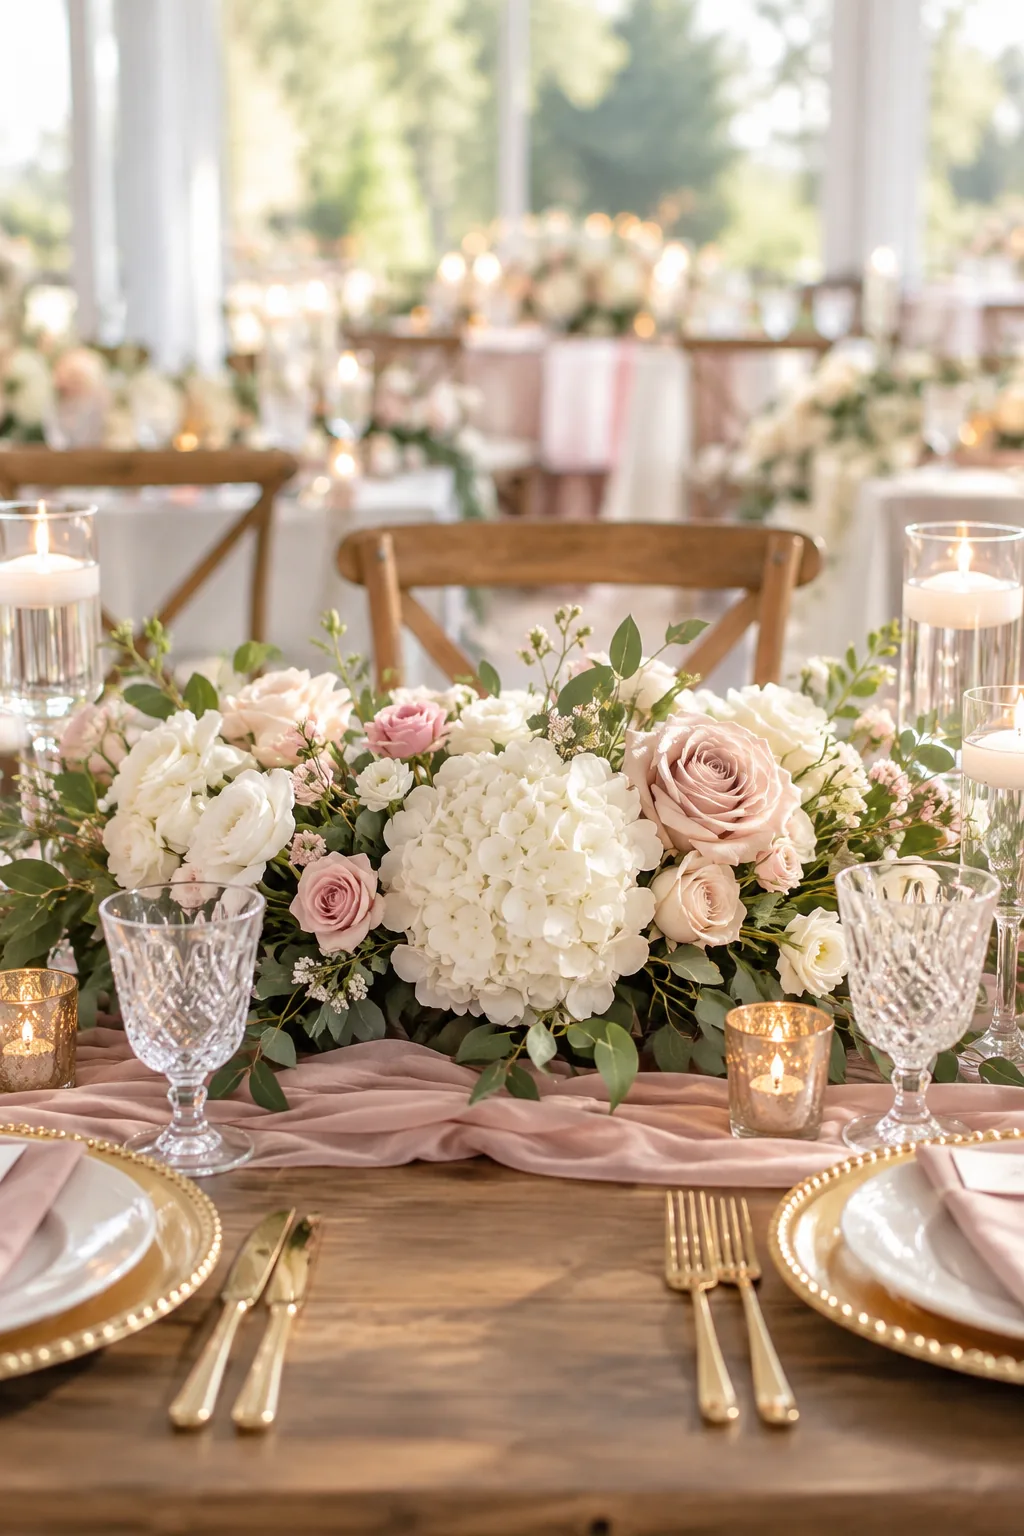
This extra yardage ensures the material pools elegantly on the floor rather than hovering awkwardly above it.
Styling the Pooled Chiffon Runner
Lay the dusty rose chiffon runner down the center of the table, allowing it to gather softly. For a recent brownstone dinner, I let the runner puddle on the floor, which instantly softened the hard wooden table edges.
- Lay the dusty rose fabric flat down the center line.
- Gather the material loosely every two feet for texture.
- Let the remaining fabric drop naturally off the ends.
Once your runner is styled, place your low floral arrangements on top, keeping them strictly under 14 inches tall.
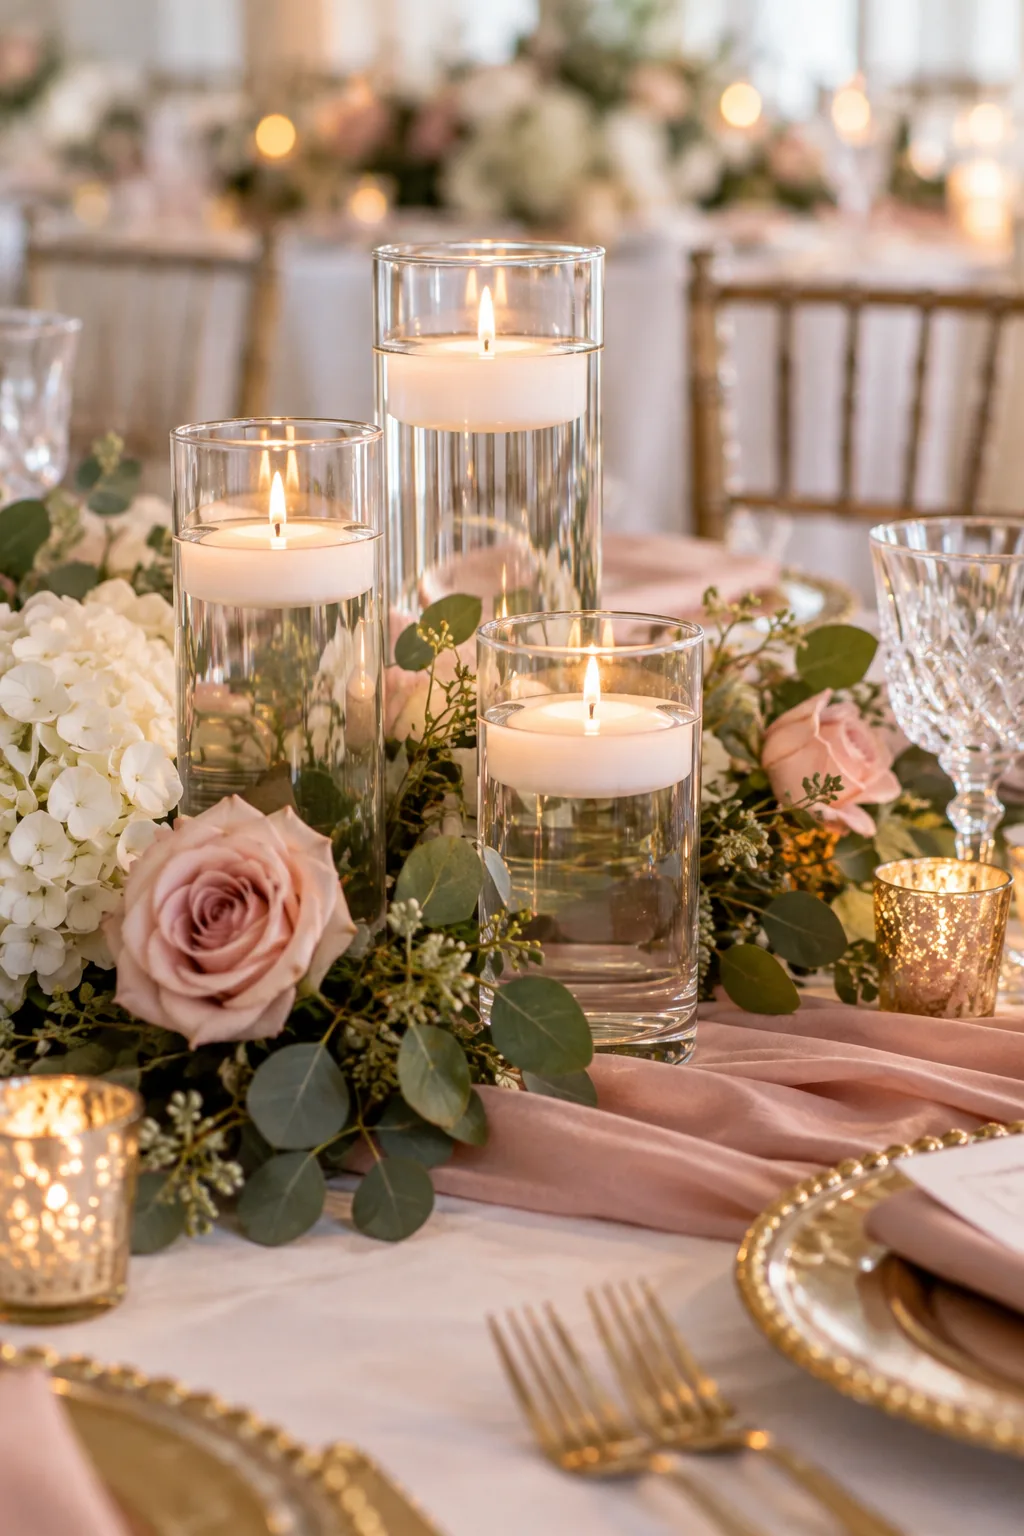
Measuring from the tabletop to the highest bloom guarantees that the view across the table remains completely unobstructed for guests.
The Seated Sightline Test for Florals
Centerpieces must never block conversation across the table, so you need to physically verify the heights by sitting down during your mockup. This seated sightline test ensures your beautiful florals enhance the space without building a wall between guests.
Arranging the 3-Height Candle Trio
Cluster floating candles in groups of three using varying glass cylinder heights, typically 6, 8, and 10 inches. Grouping them tightly creates a unified, intentional design rather than a scattered look.
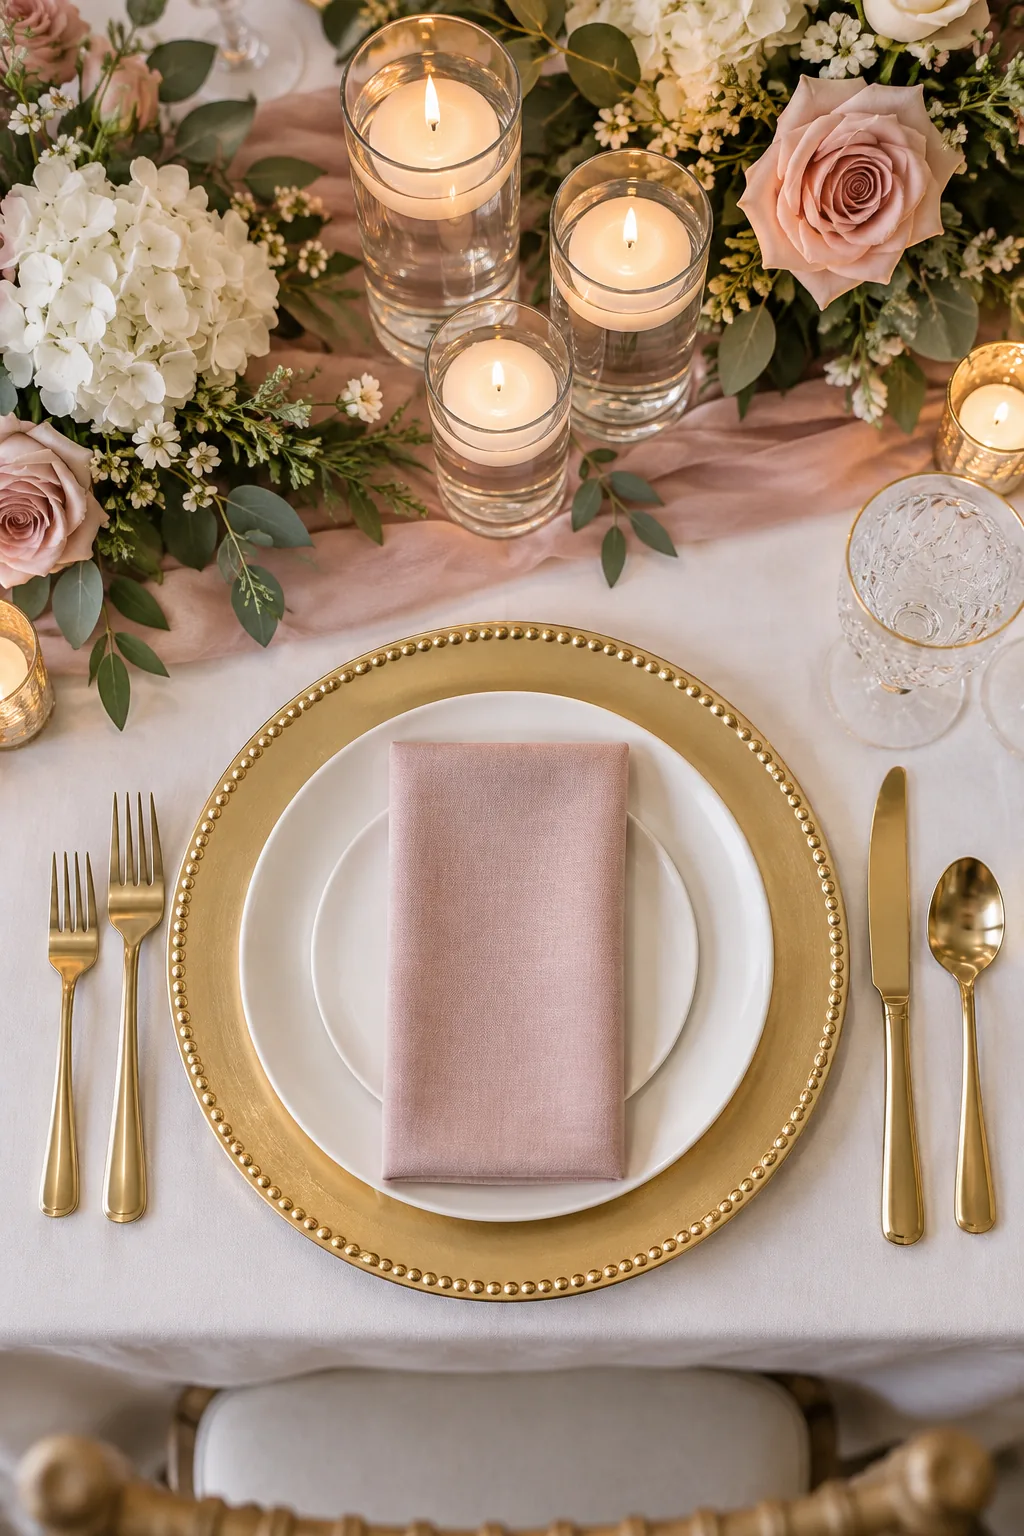
This staggered approach fills the vertical negative space between the low florals and the tall sightlines, creating a rich, layered glow without cluttering the table surface.
Anchoring with Chargers and Flatware
Position the gold beaded charger exactly one inch from the edge of the table to anchor the place setting. Use your thumb knuckle as a quick measuring guide for consistency.
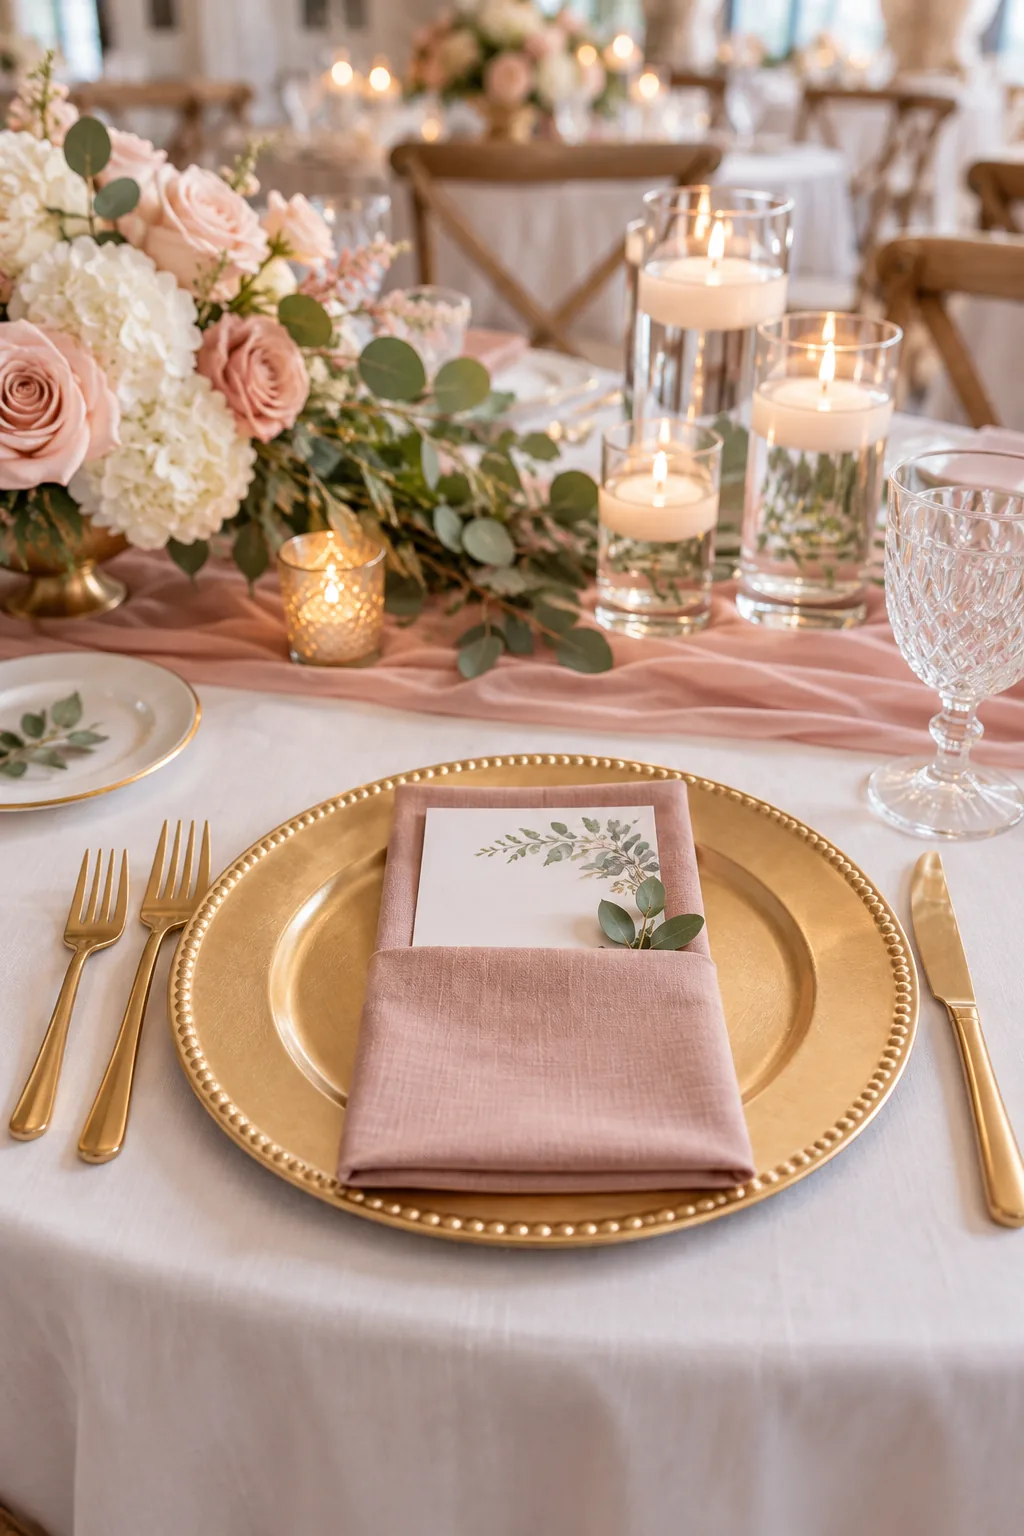
Align the base of all flatware with the bottom of the charger, ensuring the gold tones reflect the warm candlelight and create a crisp, uniform line down the aisle.
Folding the Menu Pocket Napkin
Fold the dusty rose linen napkin into a neat rectangular pocket to sit squarely in the center of the charger. I use this exact pocket fold for my holiday dinners because it securely holds the printed menu card.
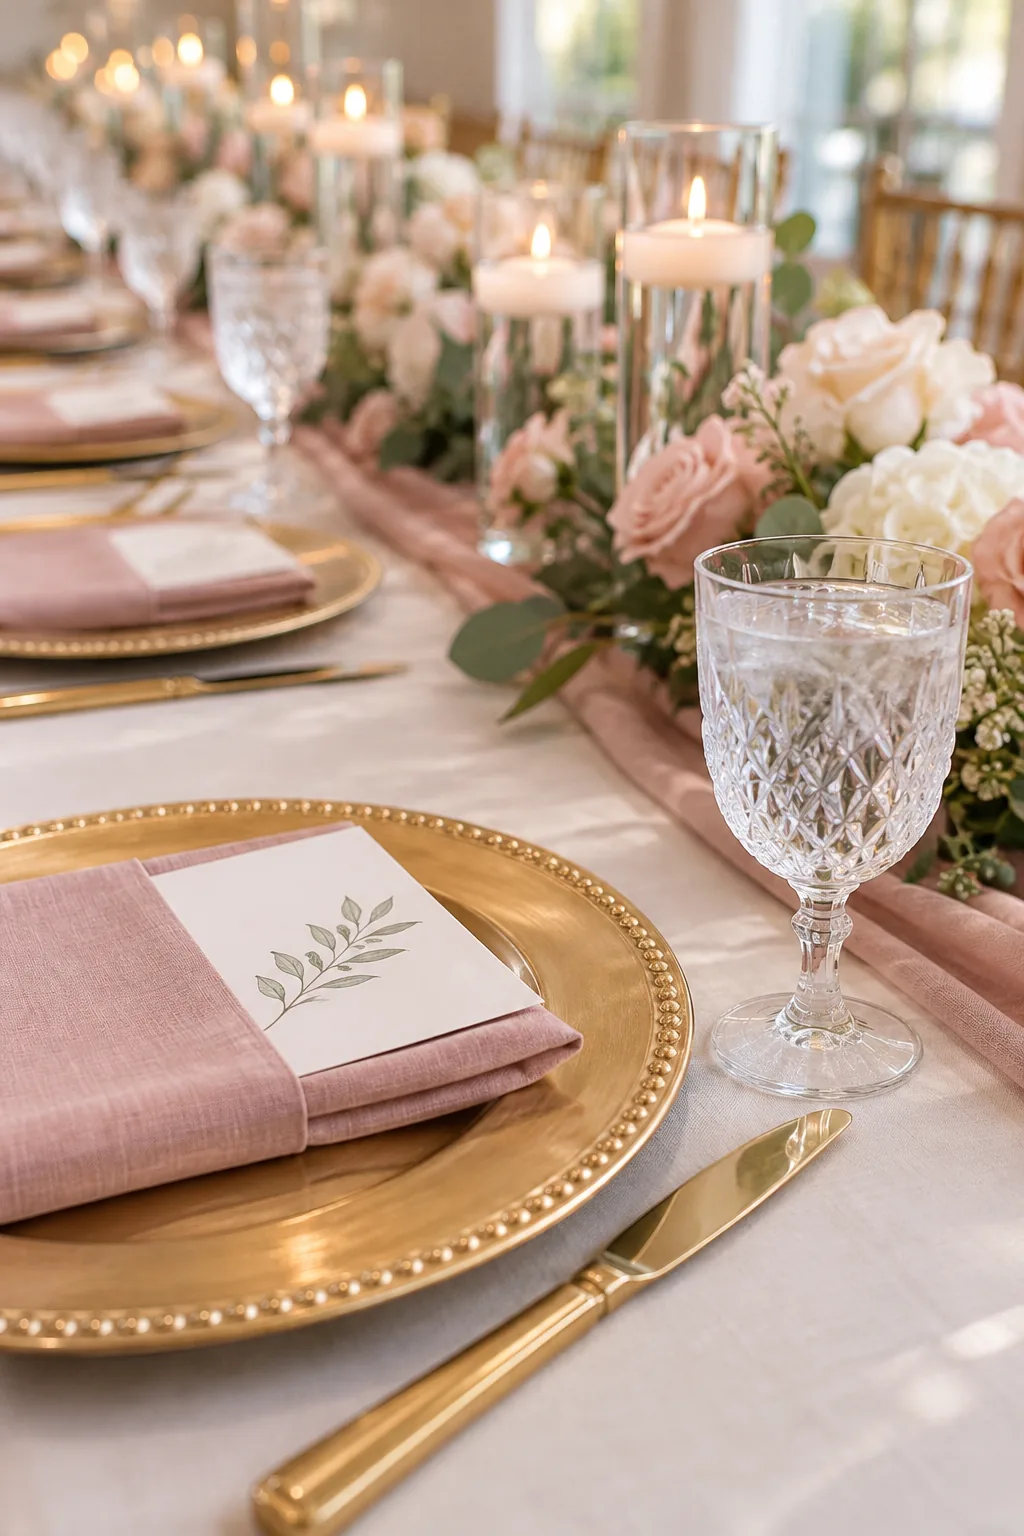
This tailored technique adds a structured vertical element that contrasts beautifully with the soft, flowing runner beneath the centerpieces.
Placing the Glassware for Polish
Finish the layout by placing the crystal water goblet directly above the dinner knife. This standard placement anchors the drinkware zone and guides the rest of your glass positioning.
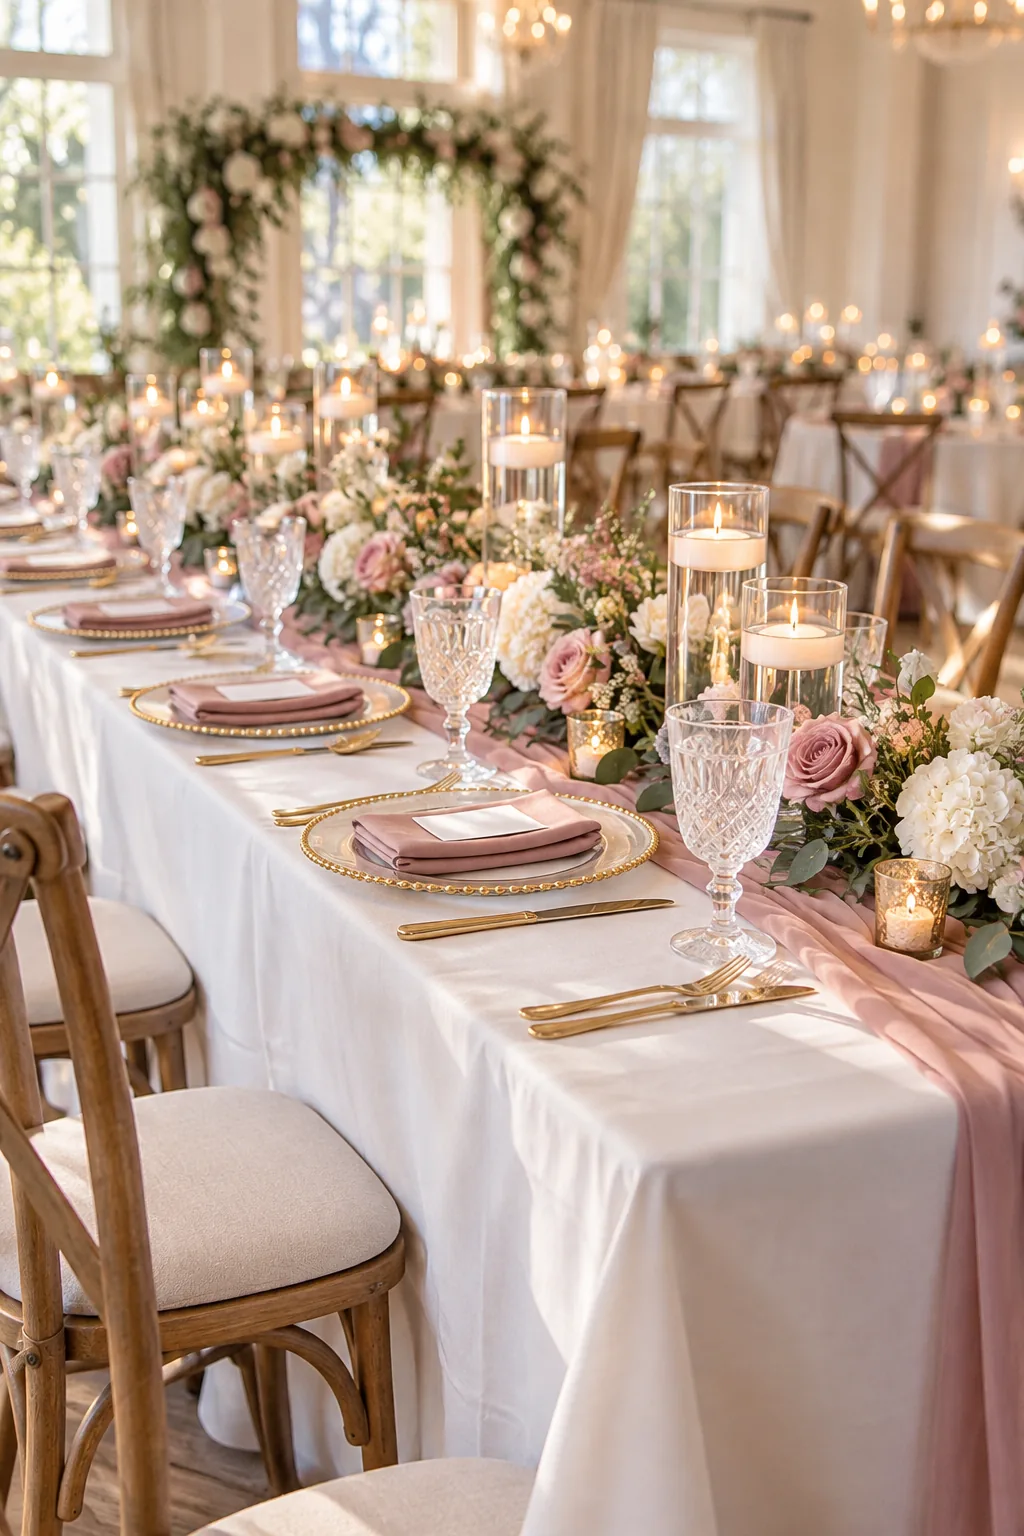
Keep the glassware tightly grouped on the right side of the setting to maximize space for the floral arrangements and ensure guests can comfortably reach their drinks.
3 more wedding table looks to inspire your reception
Explore these distinct tablescape styles to find the perfect atmosphere for your big day.
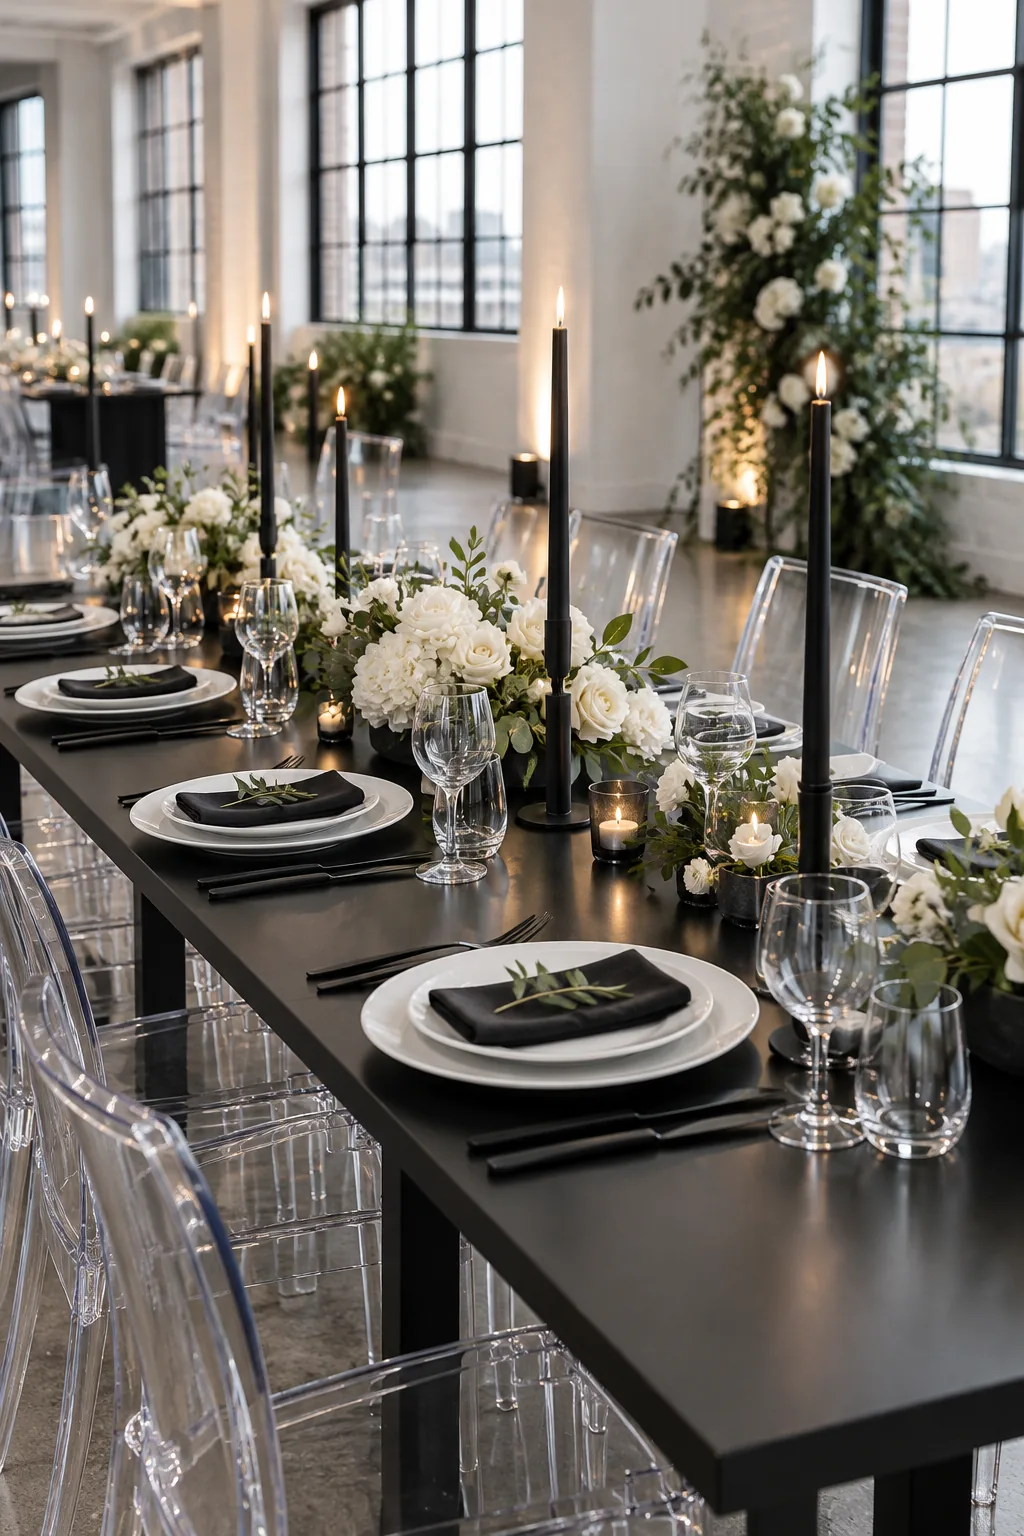
Minimalist modern monochrome style: Embrace high contrast with matte black flatware and sleek acrylic details for a sophisticated, contemporary loft reception.
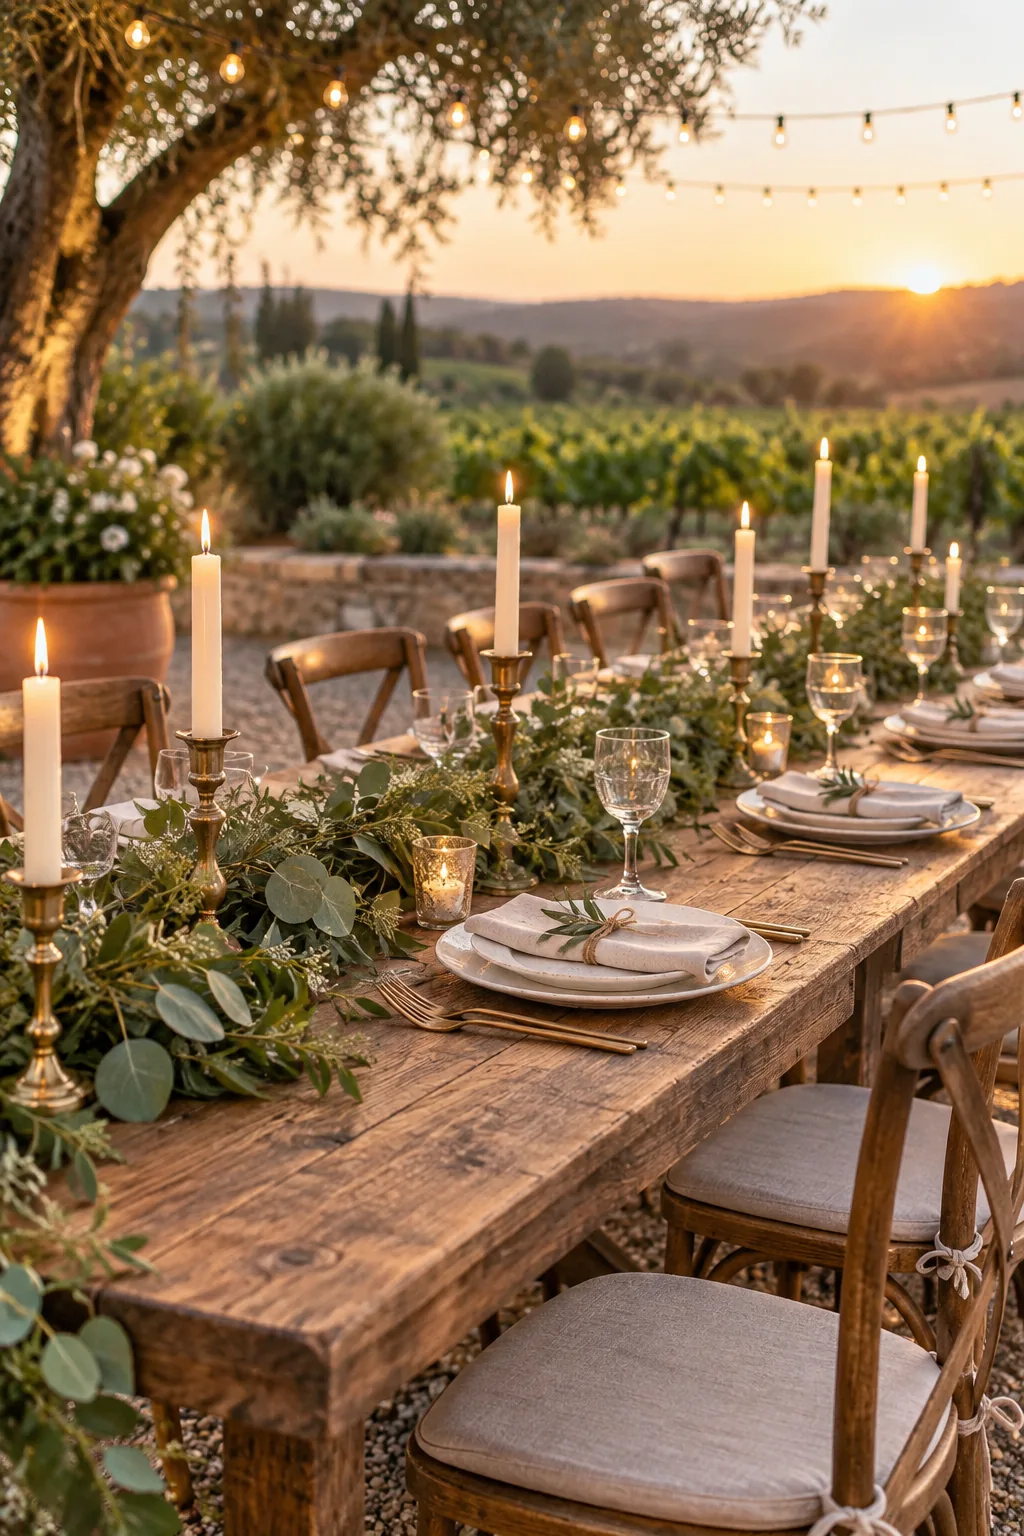
Rustic vineyard farm table: Skip the tablecloth and let a bare wooden farm table shine beneath a lush, trailing eucalyptus garland.
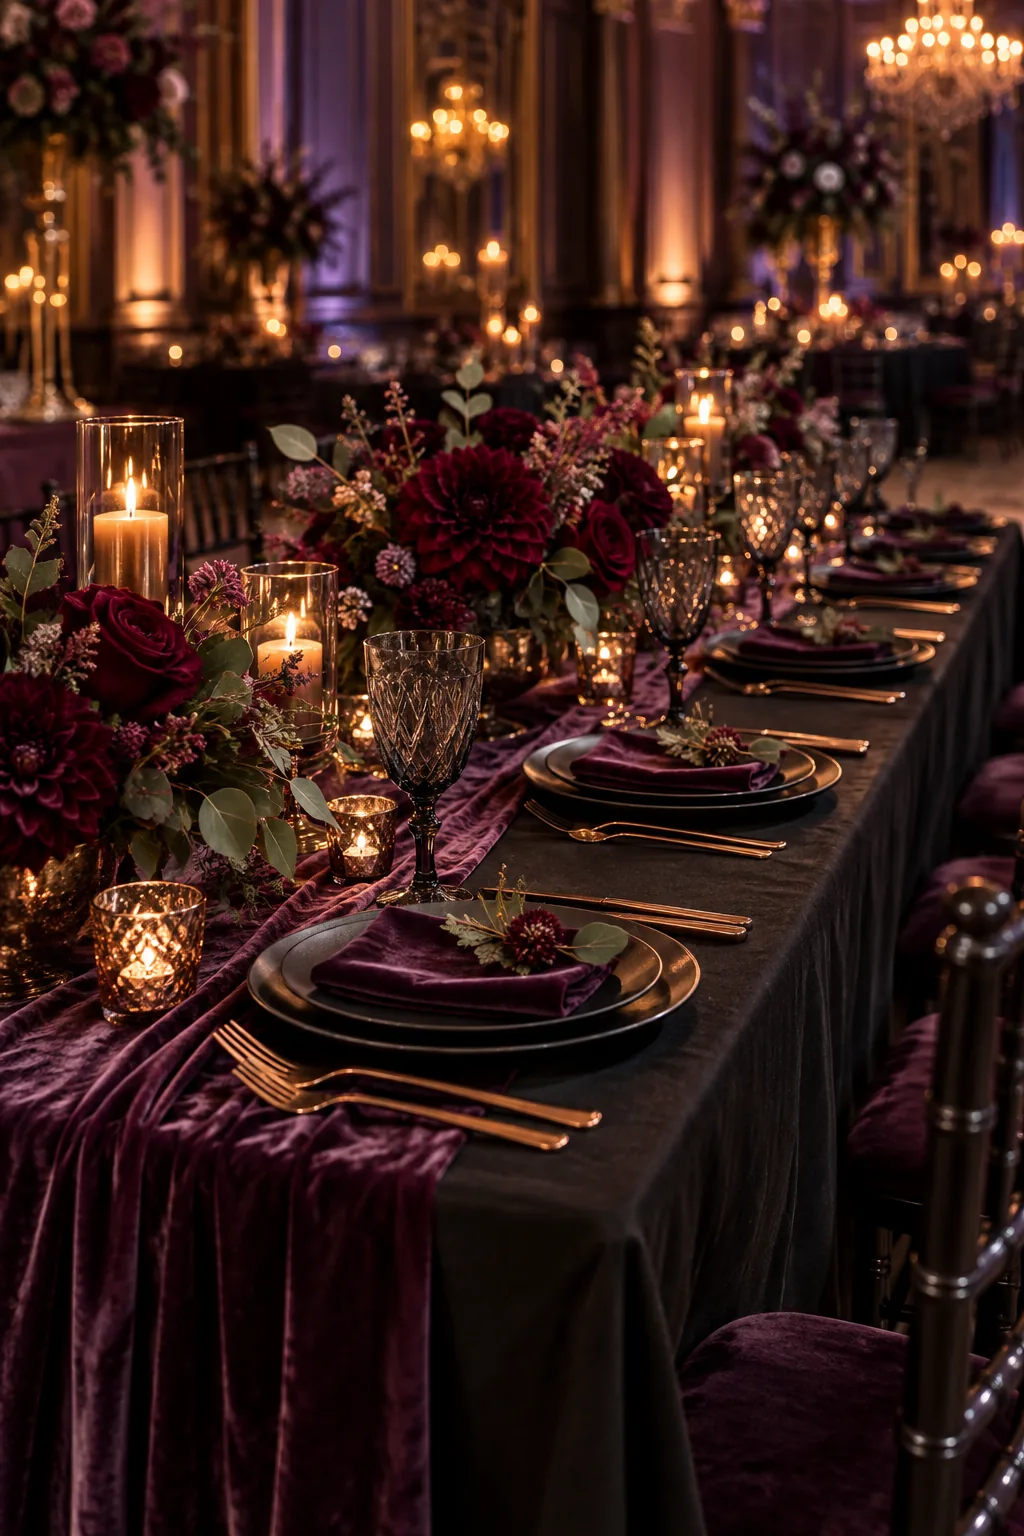
Moody jewel tone elegance: Layer rich textures like a plum velvet runner and smoked glass to create a dramatic, intimate ballroom atmosphere.