Small Backyard Waterfall: Pondless Pump & Liner Sizing
Build a stunning small backyard waterfall without a stagnant pond using our free pondless pump and liner sizing sheet to calculate your exact gravel and water needs. You will be able to determine your precise pump size, liner dimensions, and gravel volume to construct a low-maintenance feature that sounds beautiful.
Why Gravel Beats a Traditional Pond
A pondless system offers incredible safety and low maintenance for small yards because the water disappears instantly into a bed of cobbles. When I built my first gravel waterfall, I was amazed at how much easier it was to maintain without a standing pool.
This continuous drainage entirely eliminates algae blooms, mosquito breeding, and the need for complex biological filtration. Skipping the open water keeps the feature safe for toddlers and pets while significantly reducing your weekend maintenance chores.
Eliminating Algae and Mosquito Risks
Because the water never pools above the surface, mosquitoes cannot find stagnant areas to lay their eggs. The dark, underground reservoir also blocks the sunlight required for algae growth, keeping your water crystal clear with zero chemical treatments throughout the entire summer season.
Selecting the Right Location
Choose a spot with a natural slope facing your main seating area to maximize the visual impact and acoustic benefits. Ensure the location sits away from large deciduous trees to prevent autumn leaves from constantly clogging the gravel basin and straining the pump motor.
Sizing the Hidden Gravel Basin
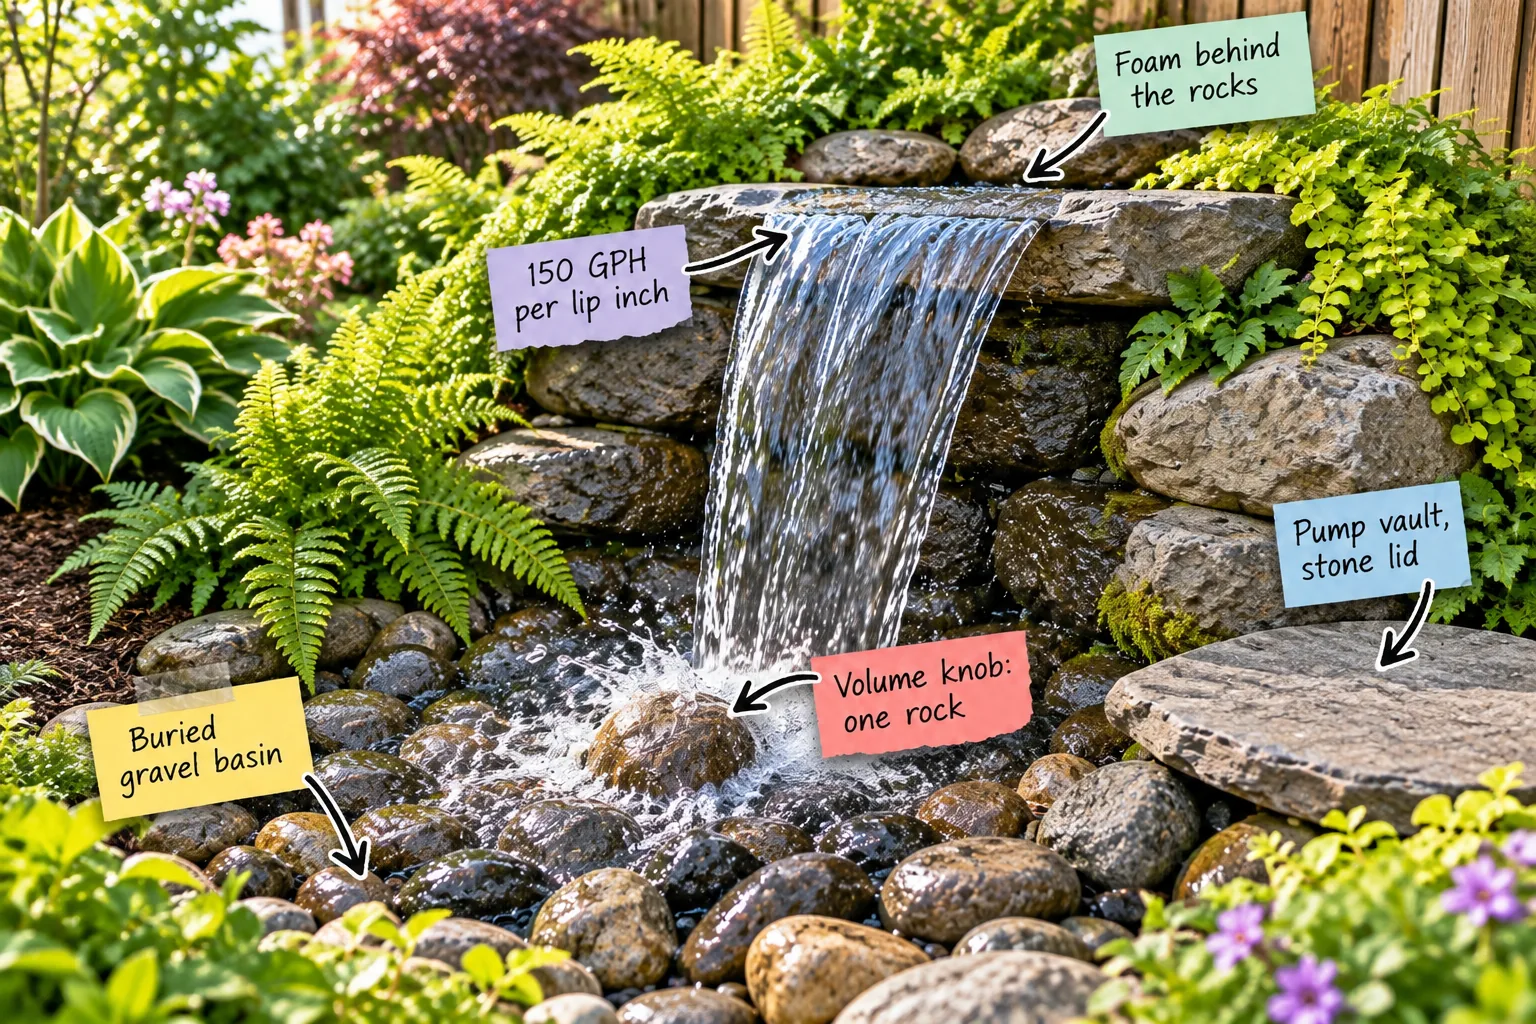
The buried gravel basin holds your entire water supply underground and must be sized correctly to prevent the pump from running dry. The crucial measurement rule dictates that your hidden reservoir must hold at least 2.5 times the total volume of water actively flowing.
Calculating this capacity ensures the water sheet disappears between the stones flawlessly without draining the hidden reserve. A properly sized basin provides enough buffer to handle splashing and evaporation during hot summer weeks.
Choosing the Best River Cobbles
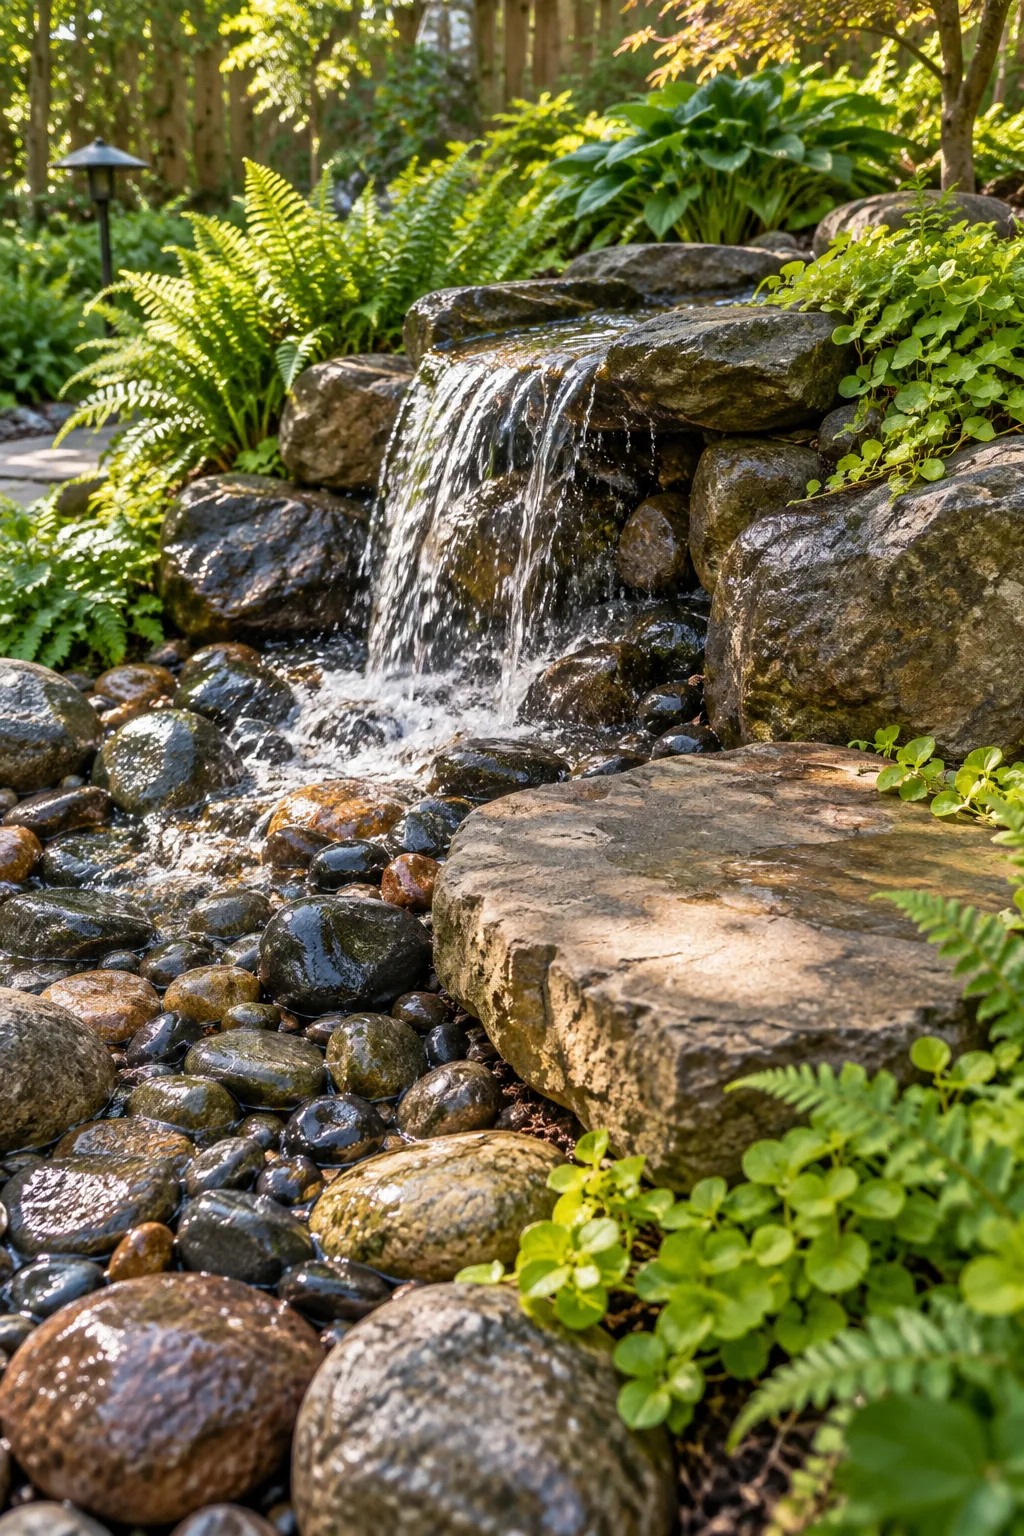
Select smooth, rounded river cobbles ranging from two to four inches in diameter for the main landing zone. These heavy stones stay firmly in place under the falling water while providing large enough gaps for the water to drain instantly into the hidden reservoir below.
Concealing the Pump Vault
Placing a slotted pump vault in the basin before backfilling with gravel protects your equipment from being crushed by the heavy stones. The sturdy vertical tube houses the motor while letting water flow freely through the side grates.
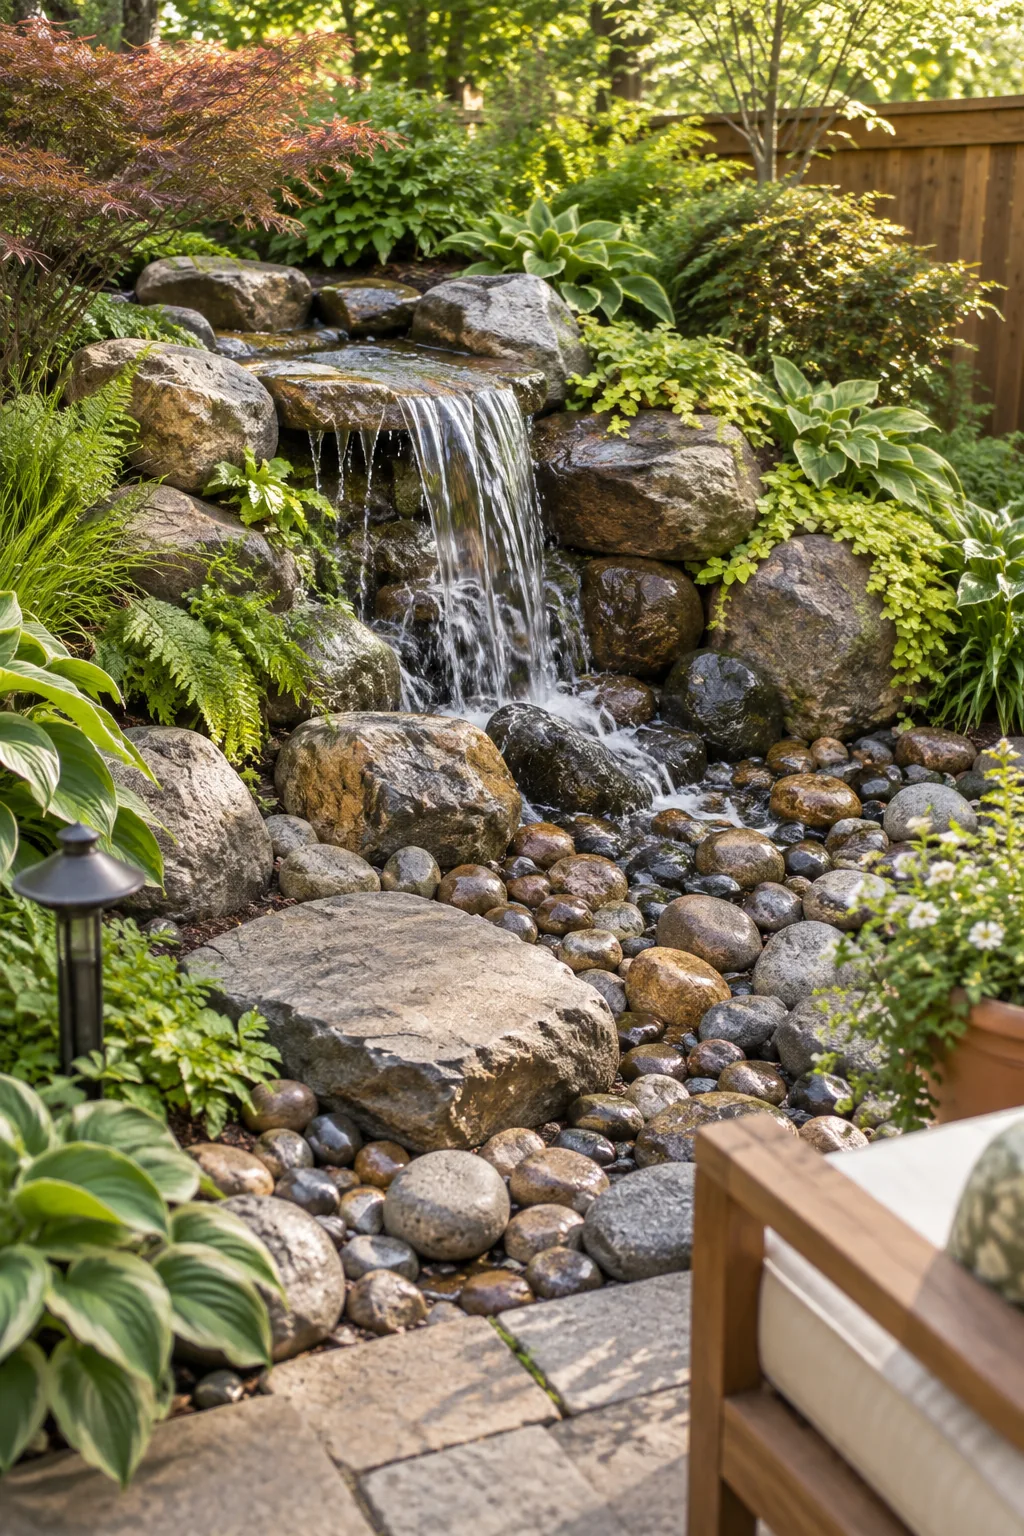
Covering the sturdy vault lid with a flat, natural stepping stone provides an invisible but instant access point. This pump vault, stone lid placement allows you to reach the equipment easily for winterizing or routine maintenance.
Routing the Flexible PVC Tubing
Run your flexible PVC tubing in a shallow trench alongside the waterfall rather than directly underneath the heavy boulders. This strategic routing prevents the pipe from being crushed over time and makes it much easier to replace if a leak ever develops down the road.
Calculating the Ideal Flow Rate
Achieving a glassy, continuous sheet of water requires precise math based on the front edge of your spill stone. In my own garden, applying the rule of 150 GPH per lip inch transformed a weak trickle into a stunning, robust cascade.
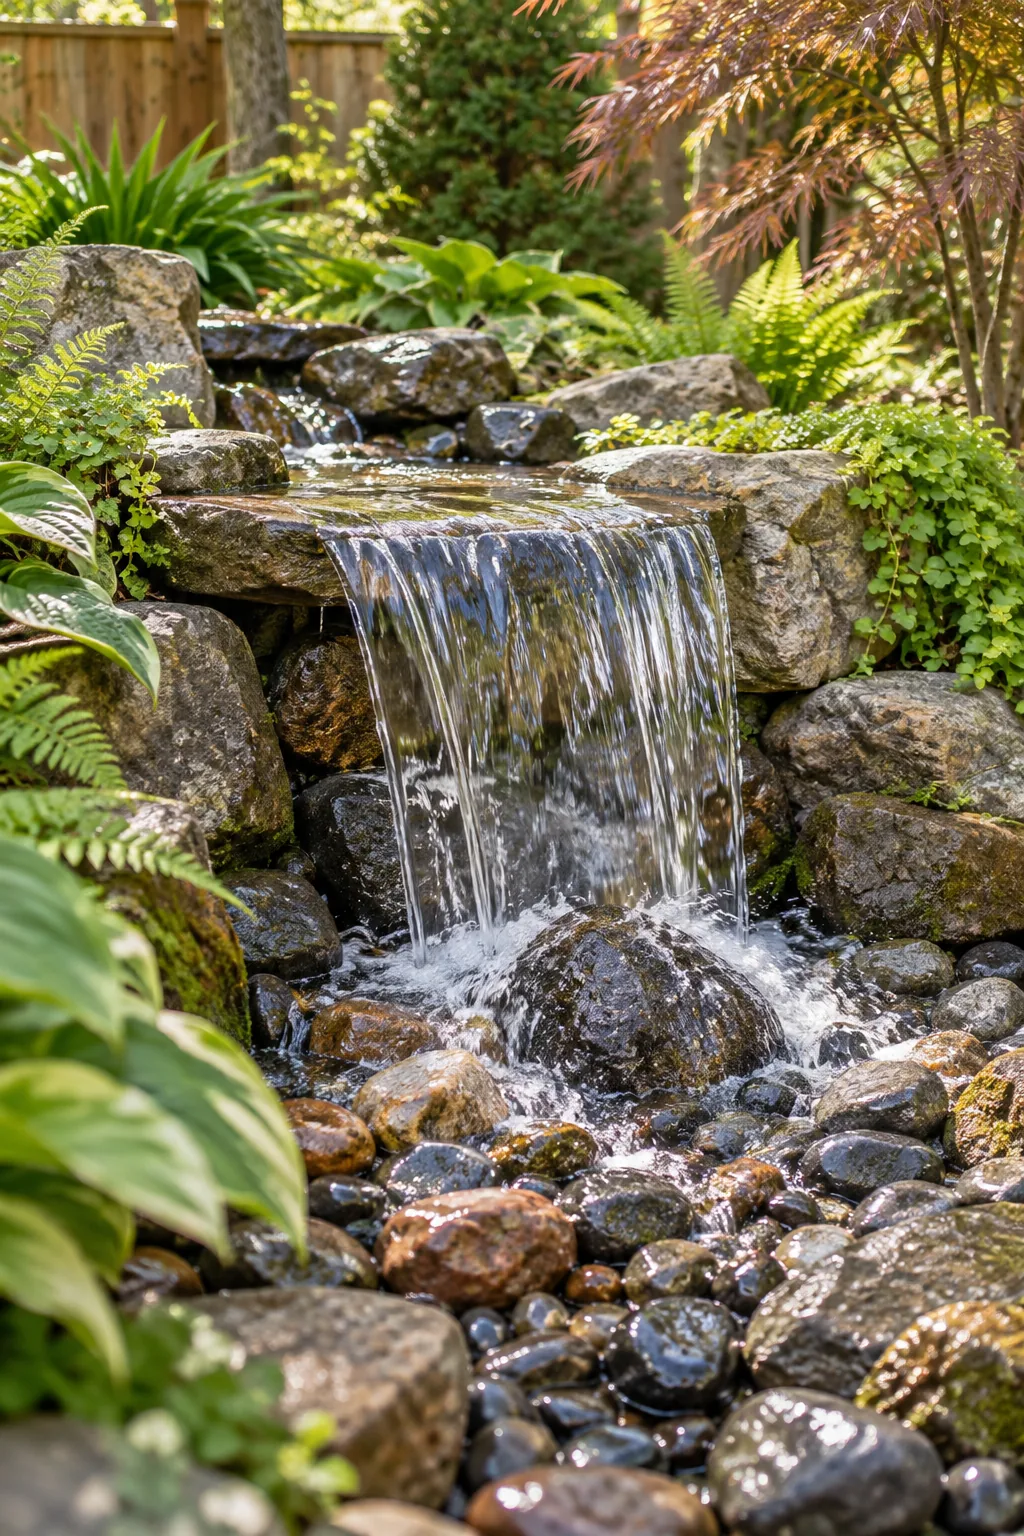
Multiply the spillway width in inches by 150 GPH to find your baseline pump capacity for a smooth flow. A twelve-inch spillway requires an absolute minimum baseline of 1,800 gallons per hour to maintain that unbroken surface tension.
Adjusting for Vertical Head Height
Every foot of vertical lift between the pump and the spillway reduces the actual flow rate delivered to the top. Always check the manufacturer’s head-height performance curve and size up your pump to ensure it delivers the target GPH at your specific landscape elevation.
Your Pondless Pump & Liner Sizing Sheet
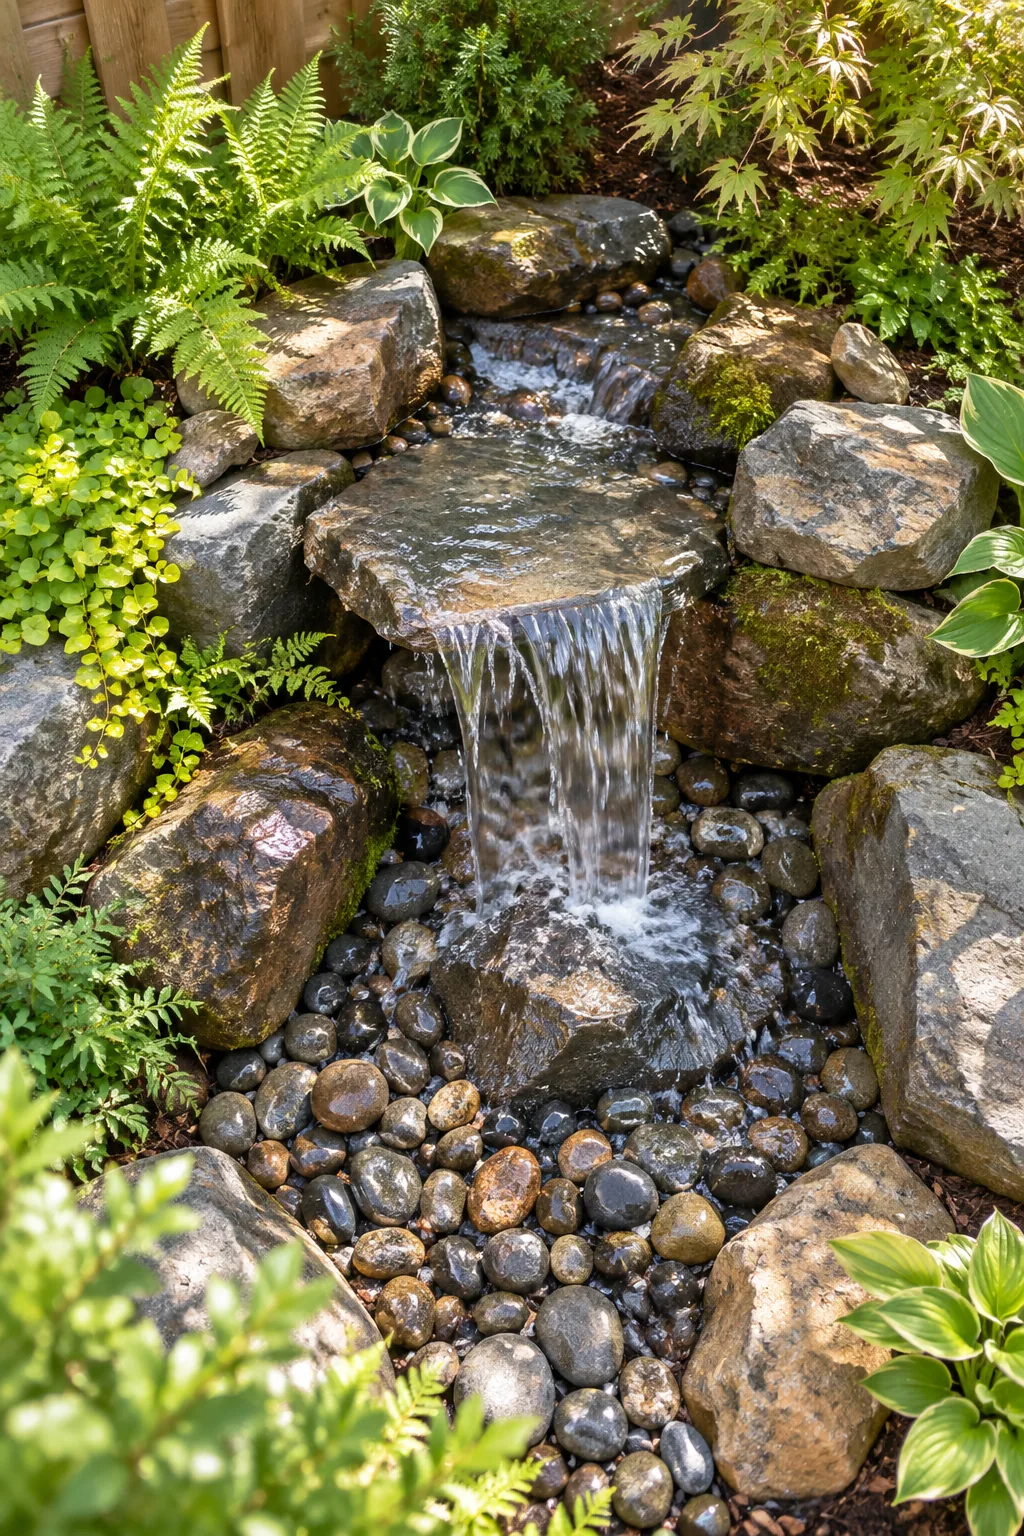
Here is the complete pondless pump and liner sizing sheet you need to calculate your exact gravel and water needs. Print this sizing sheet to match your pump capacity to your spillway width and determine your required reservoir depth.
| Spillway Width | Min. Pump GPH | Reservoir Depth | Gravel Volume |
|---|---|---|---|
| 10 inches | 1,500 GPH | 12 inches | 3 cubic ft |
| 16 inches | 2,400 GPH | 16 inches | 5 cubic ft |
| 24 inches | 3,600 GPH | 20 inches | 8 cubic ft |
| 32 inches | 4,800 GPH | 24 inches | 12 cubic ft |
| Liner Length | Drop + 4 ft | Liner Width | Width + 4 ft |
Using these precise calculations ensures your hidden reservoir holds enough water to keep the perfectly proportioned water flow running without drawing the pump dry. Measure your liner dimensions generously to allow for folding and securing the edges.
Before you print the sheet and order your materials, verify these three site conditions to ensure your chosen location can safely support the electrical and physical footprint.
Excavating and Sloping the Trench
Dig your waterfall path with a slight terraced step for each rock drop rather than a continuous smooth ramp. Carving horizontal shelves into the soil provides a stable, flat foundation for your heavy boulders and prevents them from sliding downward over time during heavy rains.
Installing the Heavy-Duty Underlayment
Protecting your rubber liner from sharp roots and rocks requires a thick geotextile underlayment. Gather these essential foundation materials in this order before unrolling the main waterproof sheet to ensure a puncture-free installation.
- Heavy-duty non-woven geotextile fabric
- 45-mil EPDM rubber pond liner
- Smooth sand for leveling the bottom
Overlap the underlayment seams by at least six inches to ensure the jagged soil beneath cannot puncture the watertight membrane. Smooth the sand layer completely flat before dropping the fabric into the excavated basin to prevent any dangerous air pockets.
Directing Water with Expanding Foam
Specialized black waterfall foam prevents water from getting lost in the dark seam between the two upper stacked stones. Applying this foam behind the rocks forces every drop of water directly over the front lip.
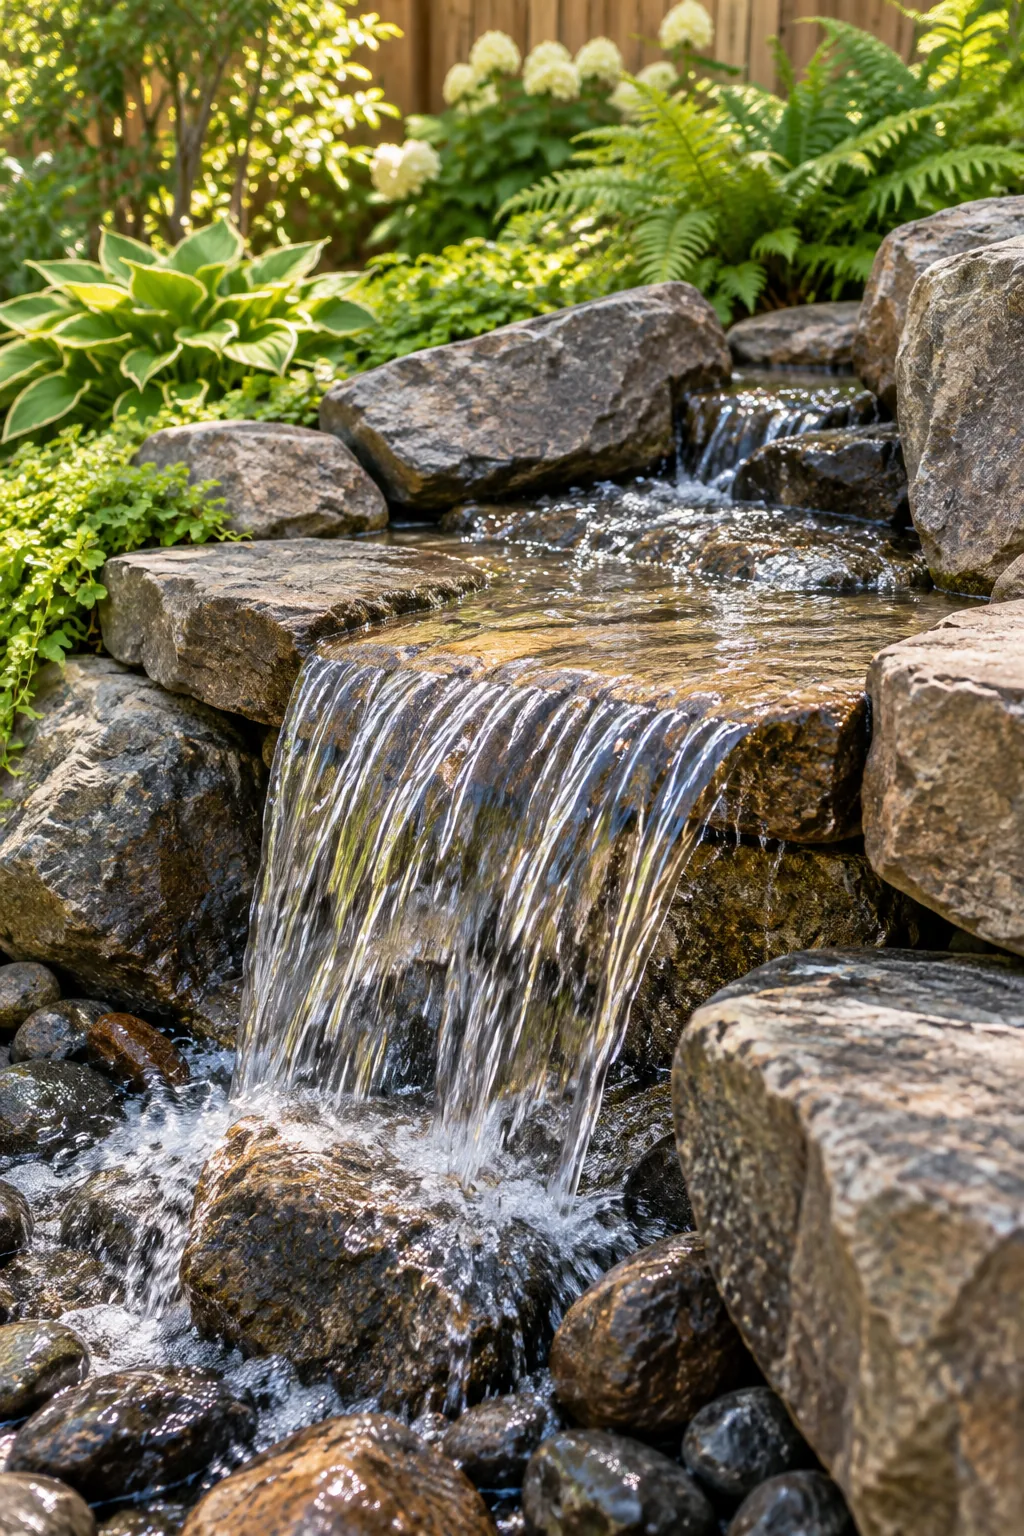
Even a perfectly sized pump will look like a trickle if water escapes backward. Avoid these common sealing errors that compromise the flow and degrade the materials.
Stacking Rocks for a Natural Look
Frame your waterfall by placing the largest, most rugged boulders on the outside edges to act as visual anchors. Set the flat spillway stones slightly recessed between these framing rocks to channel the water toward the center and prevent unwanted side leaks into the soil.
Tuning the Sound with a Splash Rock
You can create a natural volume knob: one rock by placing a single fist-sized stone directly under the falling sheet. Moving or turning this specific rock alters the splash pattern, acting as an acoustic volume control for your backyard.
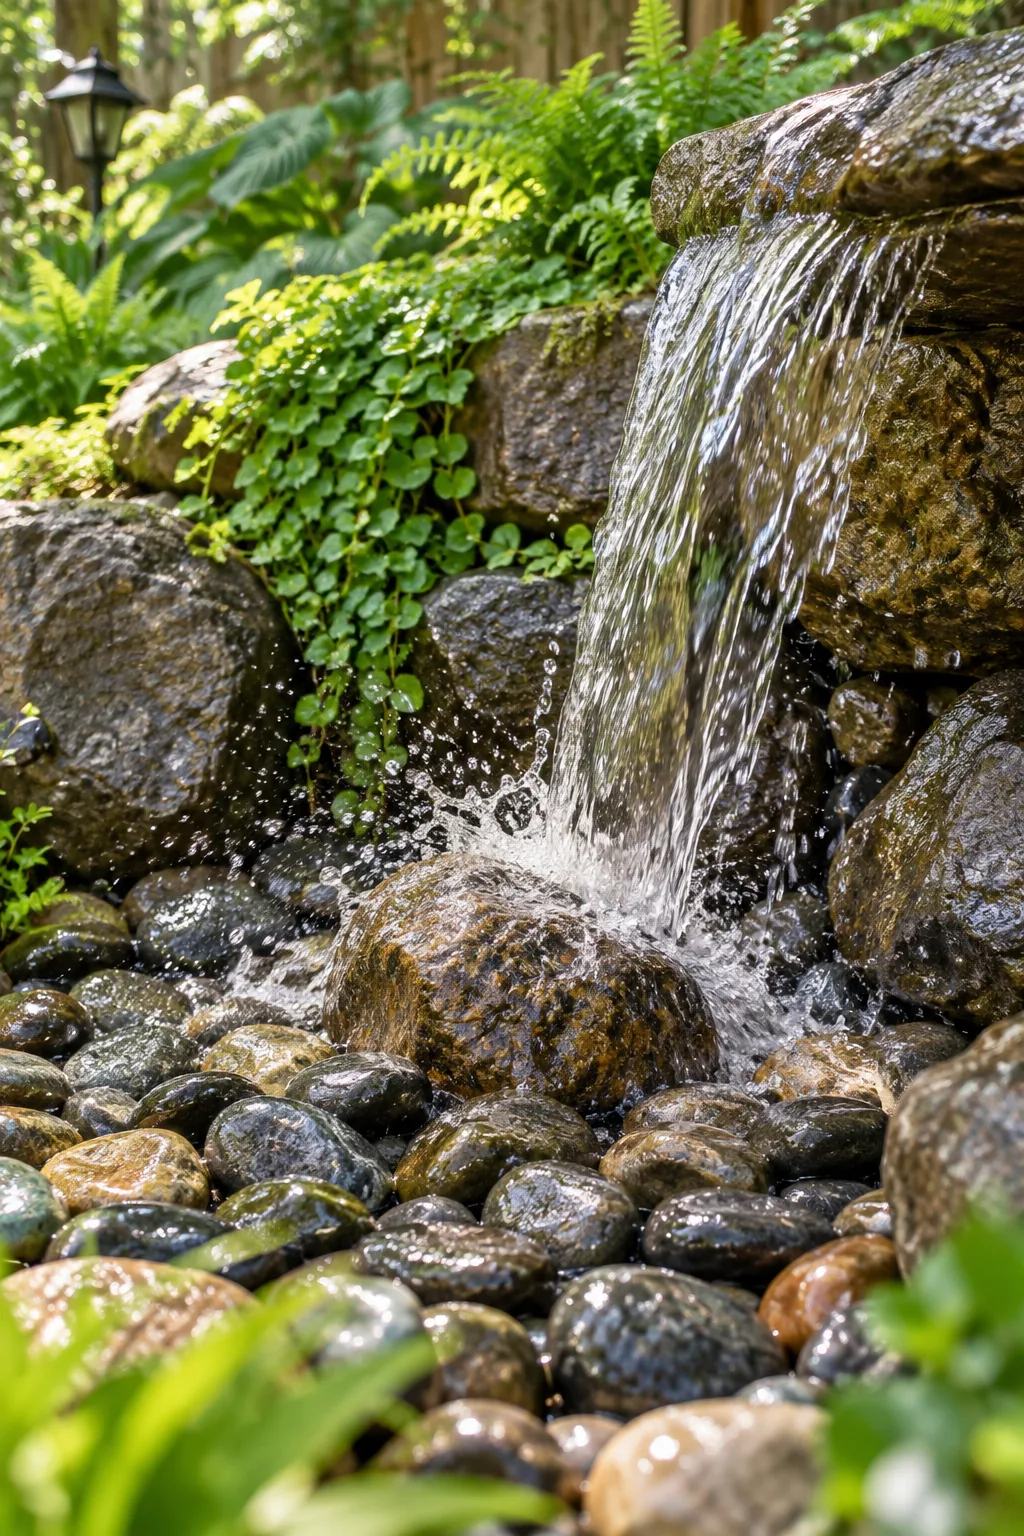
Pushing the rock directly into the heaviest flow creates a louder, more energetic babble that easily drowns out street traffic. Pulling it slightly forward softens the impact into a gentle, relaxing trickle perfect for quiet evenings.
Controlling Splash to Minimize Water Loss
Keep all splashing water strictly inside the liner boundary to prevent the hidden reservoir from slowly draining away into the surrounding soil. Adjust your splash rock and side framing stones until the bouncing droplets land cleanly back on the wet cobbles without escaping the perimeter.
Selecting Marginal Plants for Moisture
Choose hardy marginal plants that thrive in constantly damp soil but do not need to be fully submerged. Hostas, Japanese sweet flag, and dwarf papyrus add incredible texture when planted just outside the liner edge where the soil stays naturally cool and perfectly hydrated.
Hiding the Exposed Liner Edges
Fold the excess rubber liner vertically behind the highest row of marginal rocks to create a secure, leak-proof rim. Cover this vertical fold completely with a thick layer of natural mulch or gravel so the black rubber disappears entirely into the landscape, maintaining the illusion.
Lighting the Waterfall for Nighttime Appeal
Install submersible warm-white LED spotlights directly inside the gravel basin, pointing upward at the falling water sheet. Illuminating the moving water from below creates dancing shadows on the surrounding foliage and turns the feature into a stunning nighttime focal point for your outdoor living space.
Integrating the Edges with Greenery
Finish the feature by tucking moisture-loving plants like ferns and creeping Jenny between the dry marginal rocks. I love using creeping Jenny because it cascades beautifully over the hard stone and softens the entire structure.
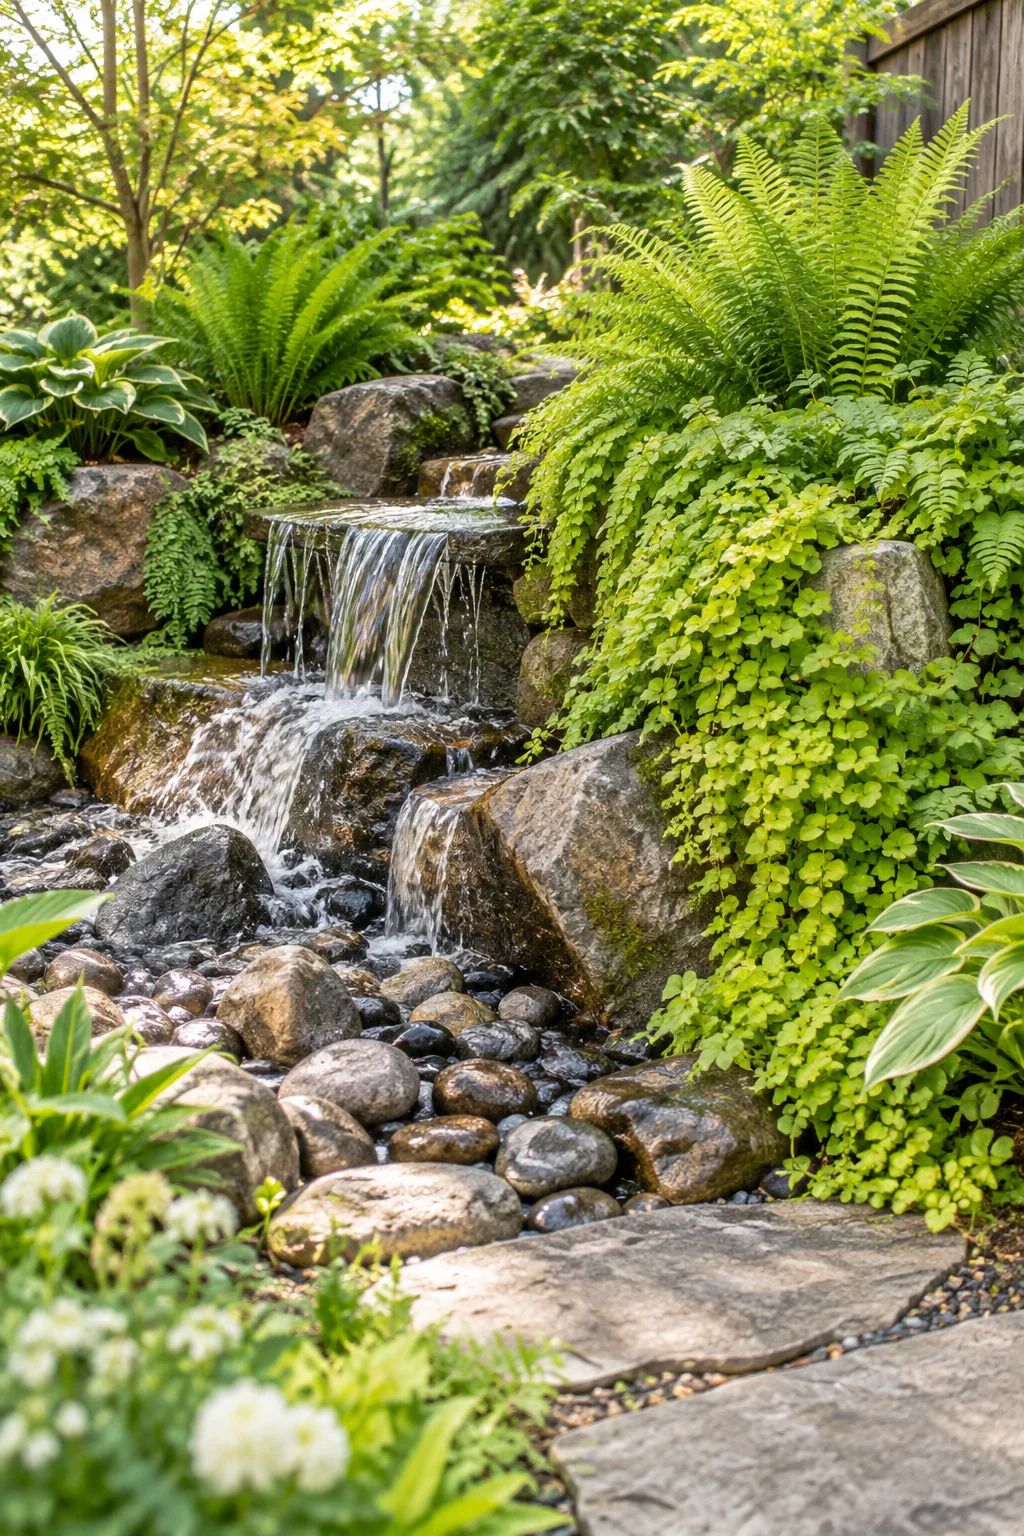
This lush growth hides any remaining exposed liner edges completely and grounds the stone structure naturally into the landscape. Prune the overhanging foliage occasionally to ensure leaves do not divert the water flow outside the basin.
4 Pondless Waterfall Styles
Find the perfect stone palette to match your backyard's aesthetic.
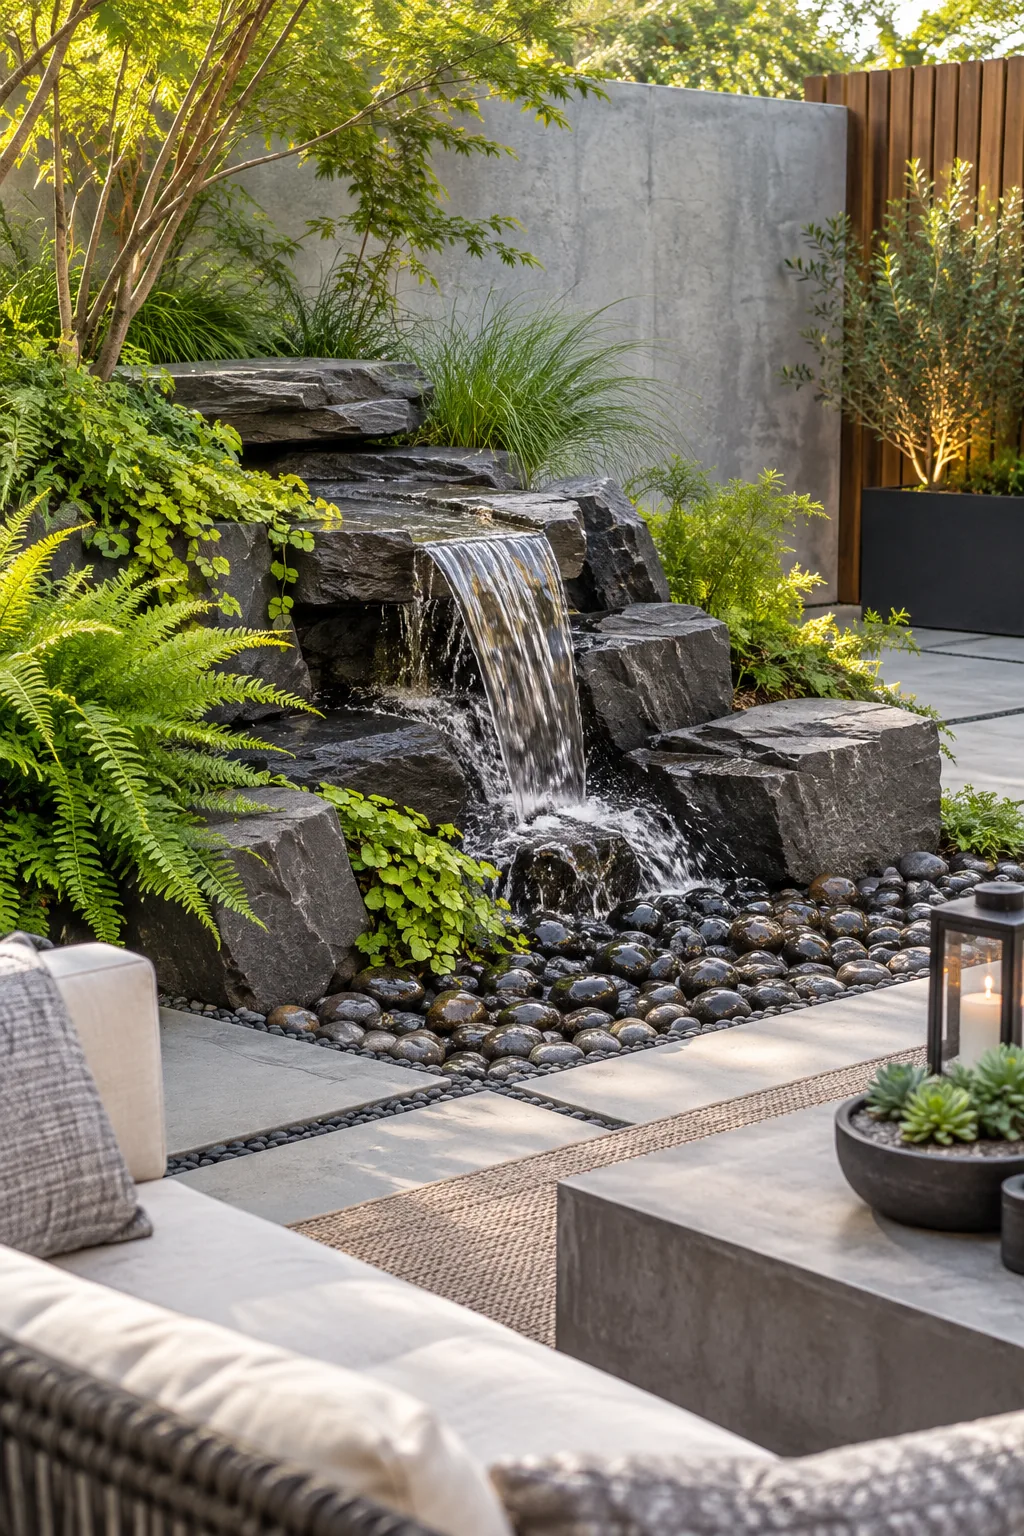
Modern Dark Slate Courtyard: Sleek architectural lines and dark grey slate slabs give this waterfall a distinctly modern edge.
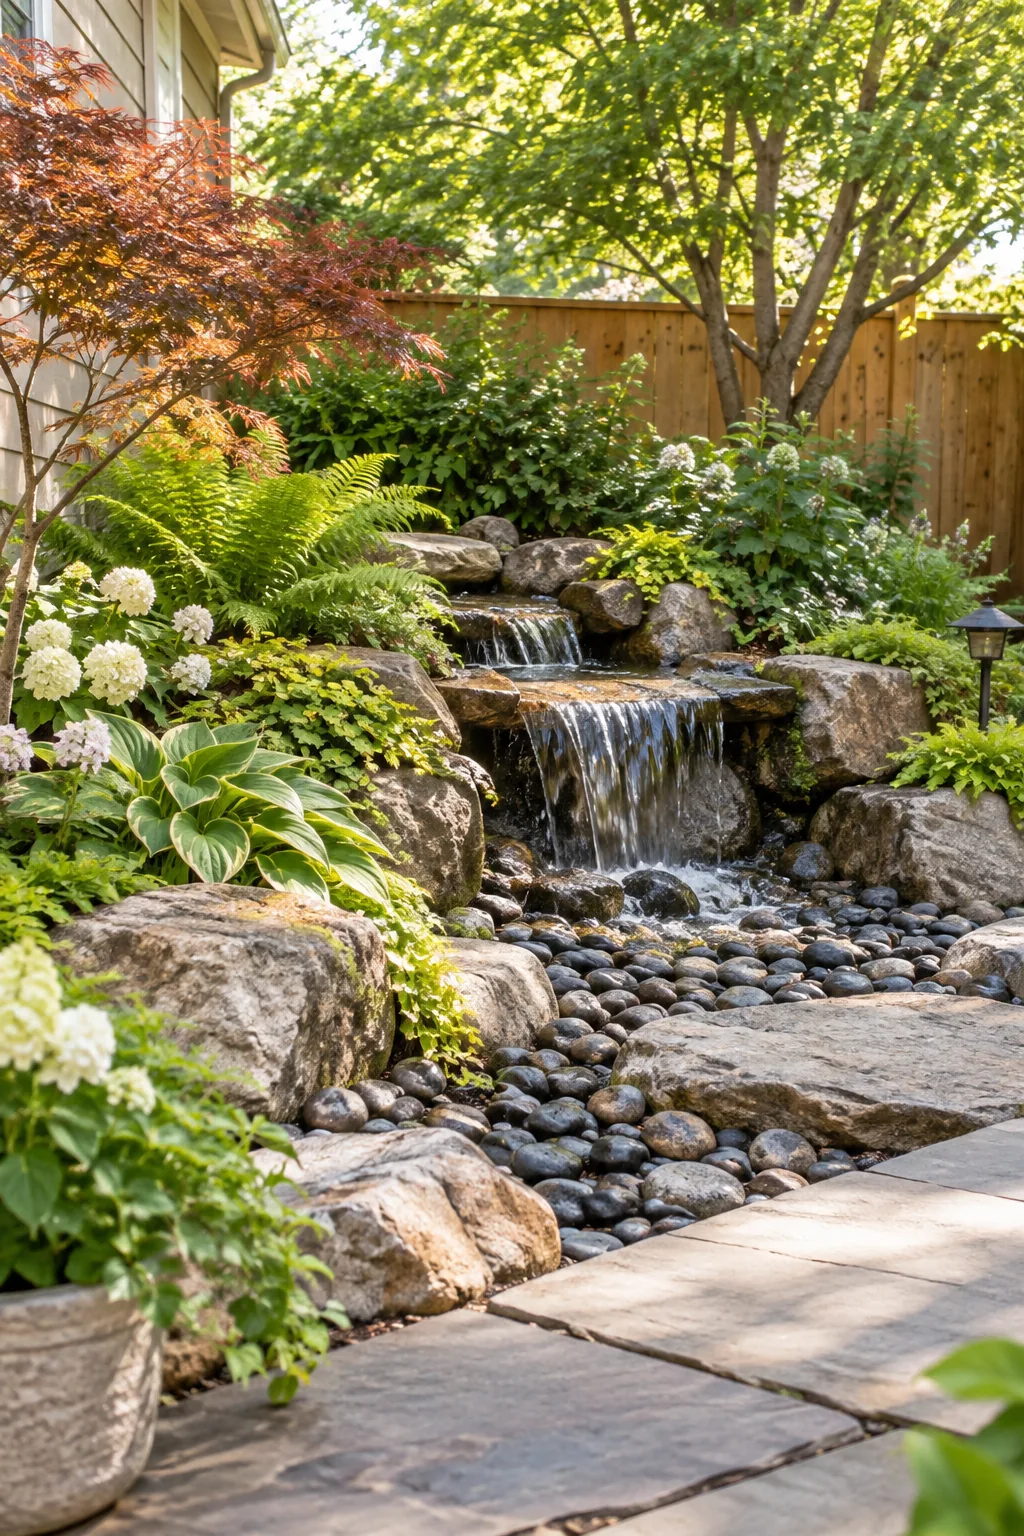
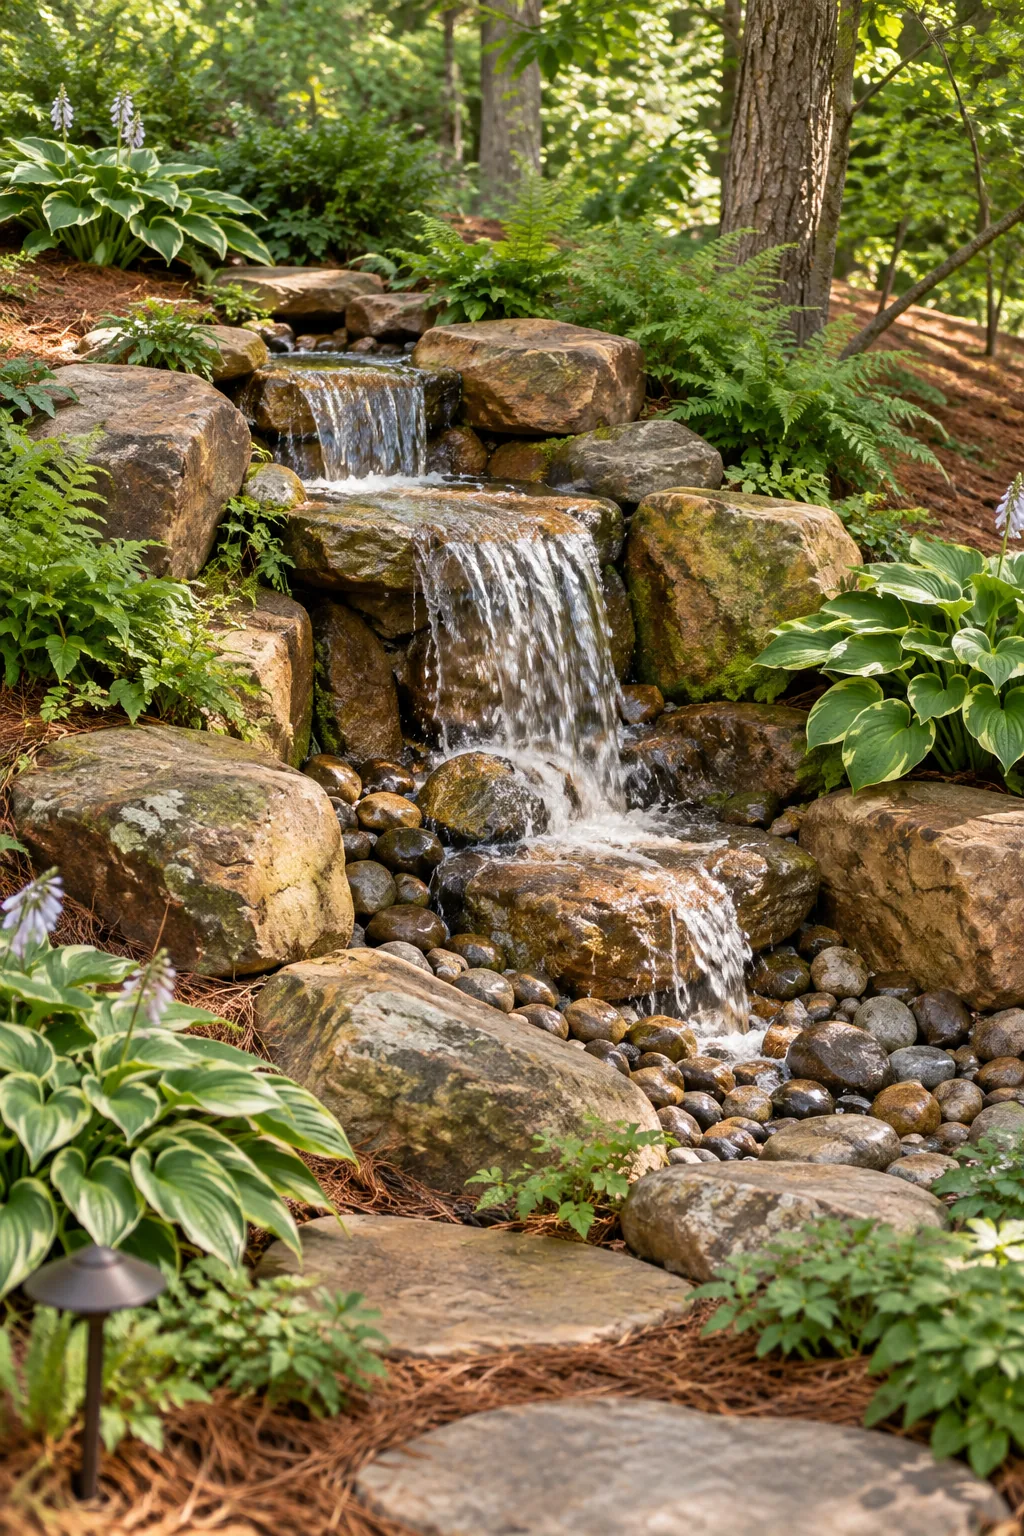
Rustic Warm Sandstone Woodland: Warm brown sandstone boulders blend perfectly into a shaded woodland garden surrounded by lush hostas.
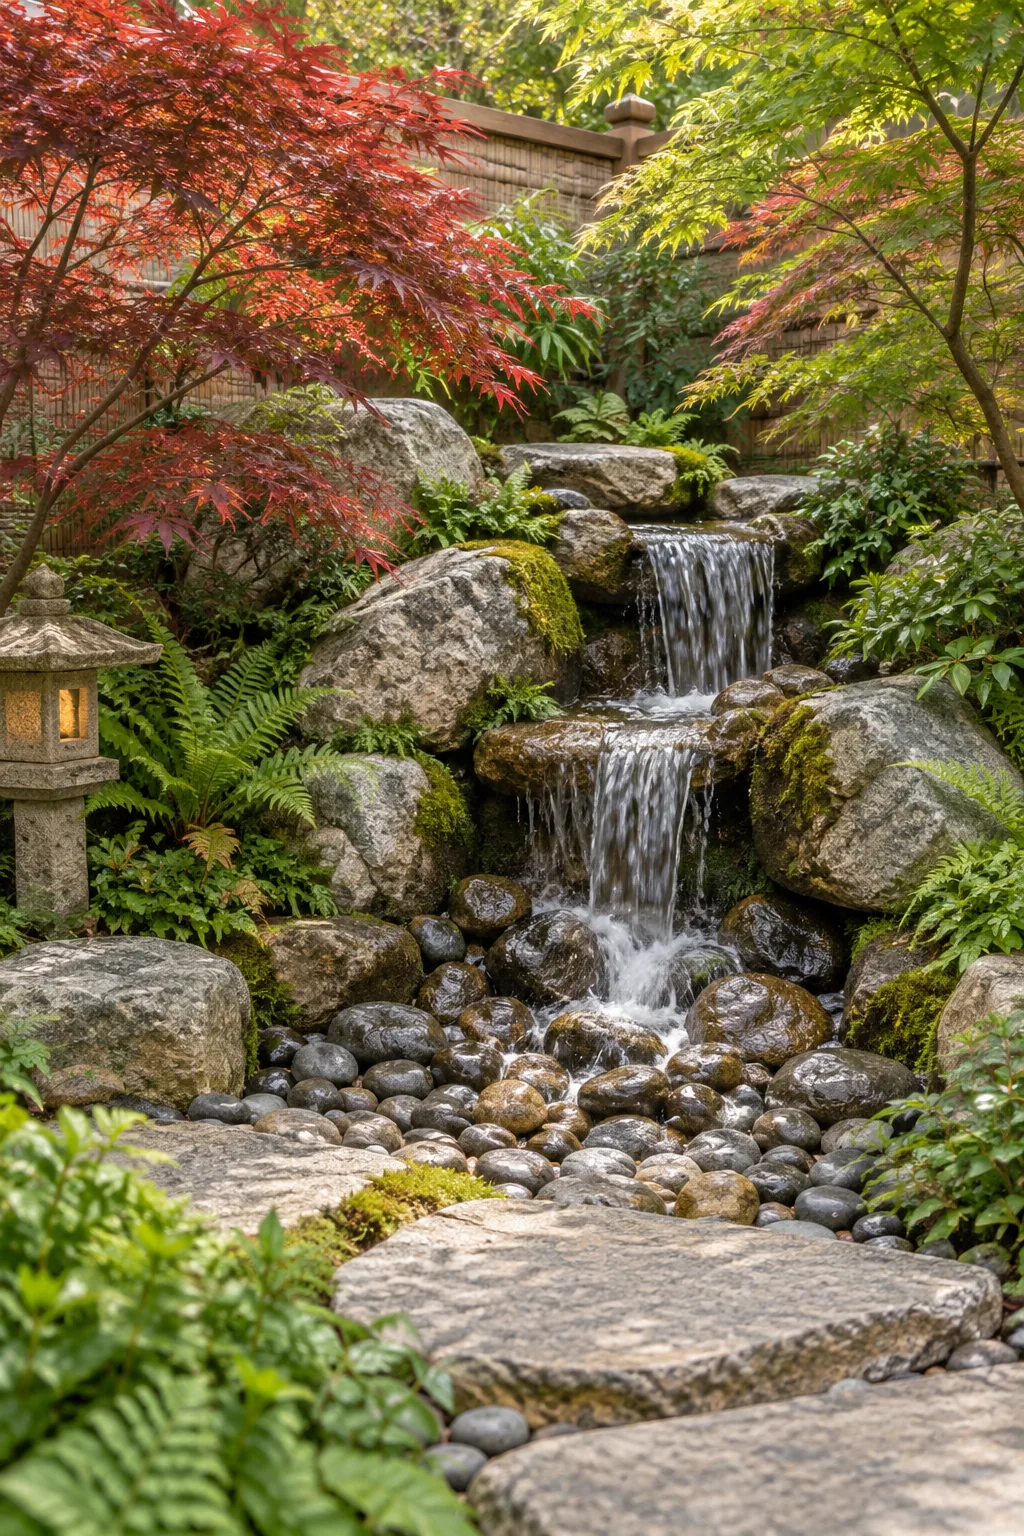
Zen Weathered Granite Garden: Weathered granite and mossy edges create a tranquil, Japanese-inspired corner perfect for quiet meditation.
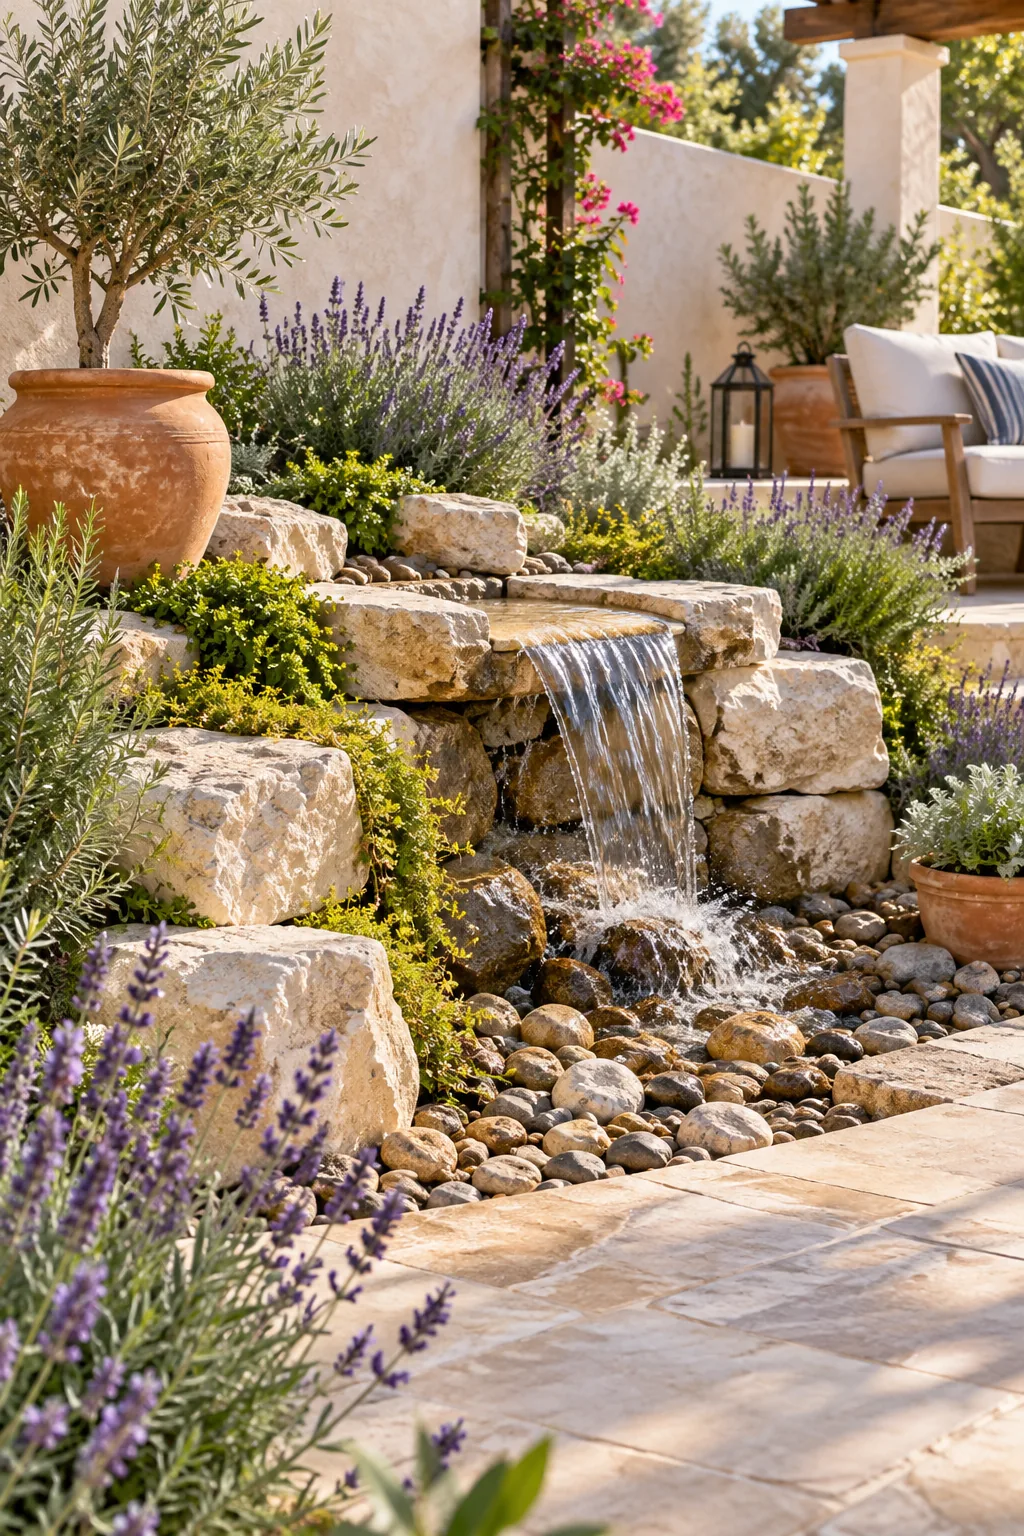
Bright Mediterranean Limestone Patio: Cream limestone blocks and surrounding lavender bring a bright, sunny Mediterranean feel to the patio.