
Kitchen Renovation Guide: From Cramped to Custom in 8 Weeks
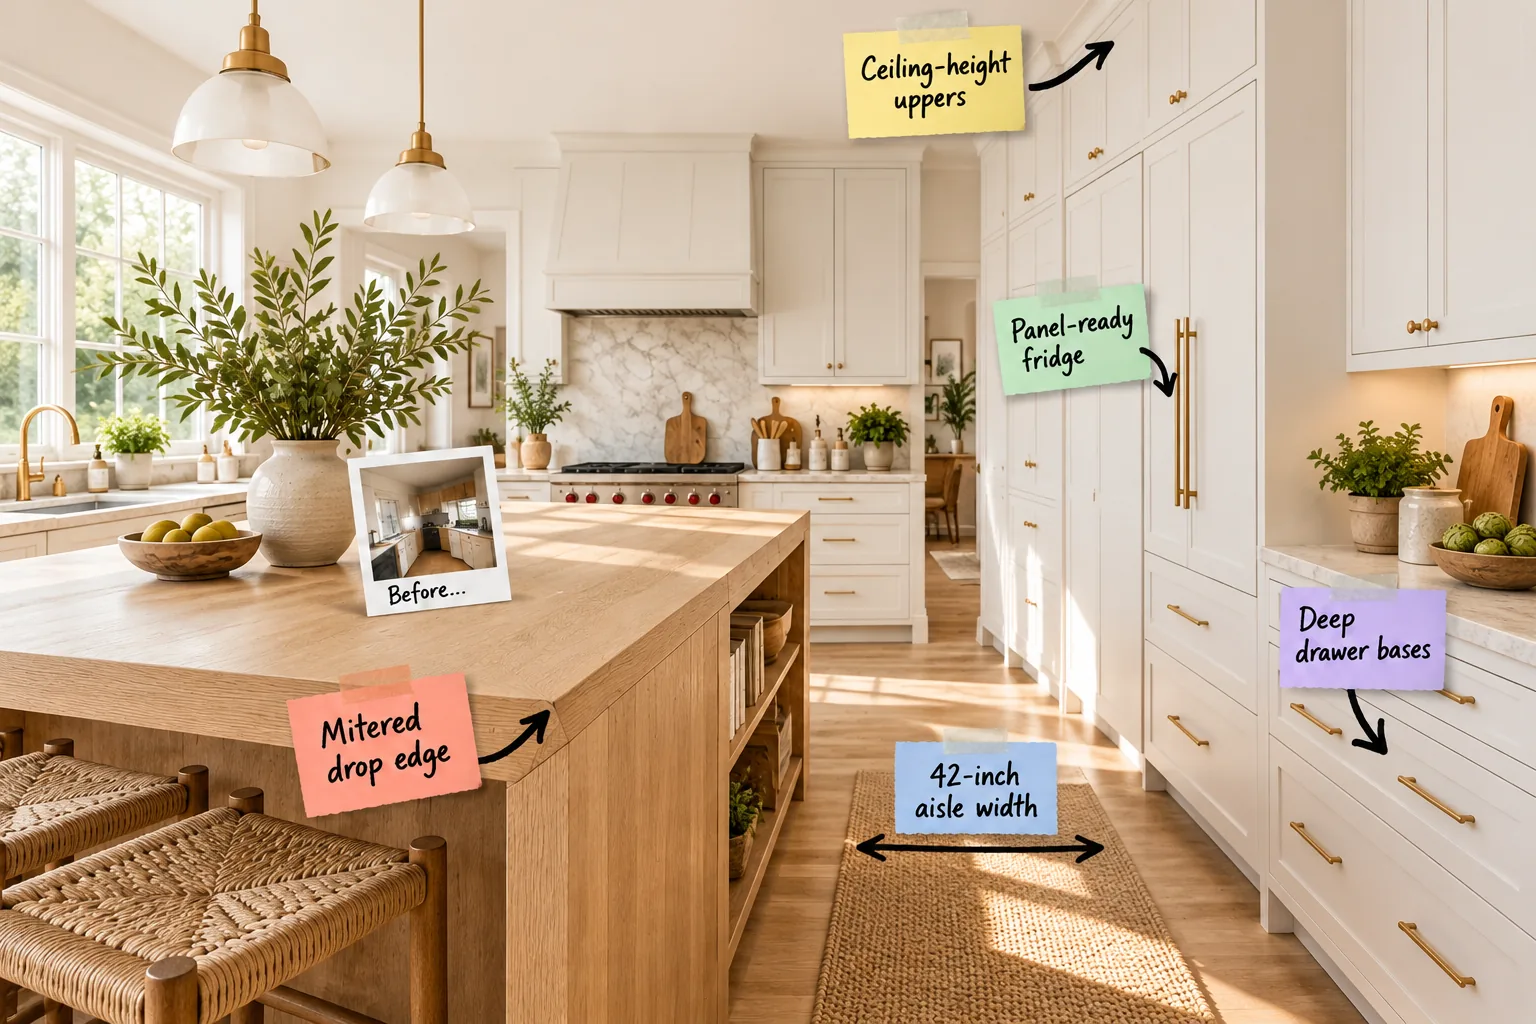
Planning a kitchen renovation can feel overwhelming, but you can confidently transform your tight layout into a bright, custom space using this exact 8-week renovation timeline and sequence checklist. I will walk you through the foundational clearances and finishing details you need to plan your upgrades and sequence the entire project.
Nailing the Clearances for a Better Flow
Establishing comfortable walking paths is the most critical foundation of your layout, ensuring you can move freely without bumping into open dishwashers or guests.
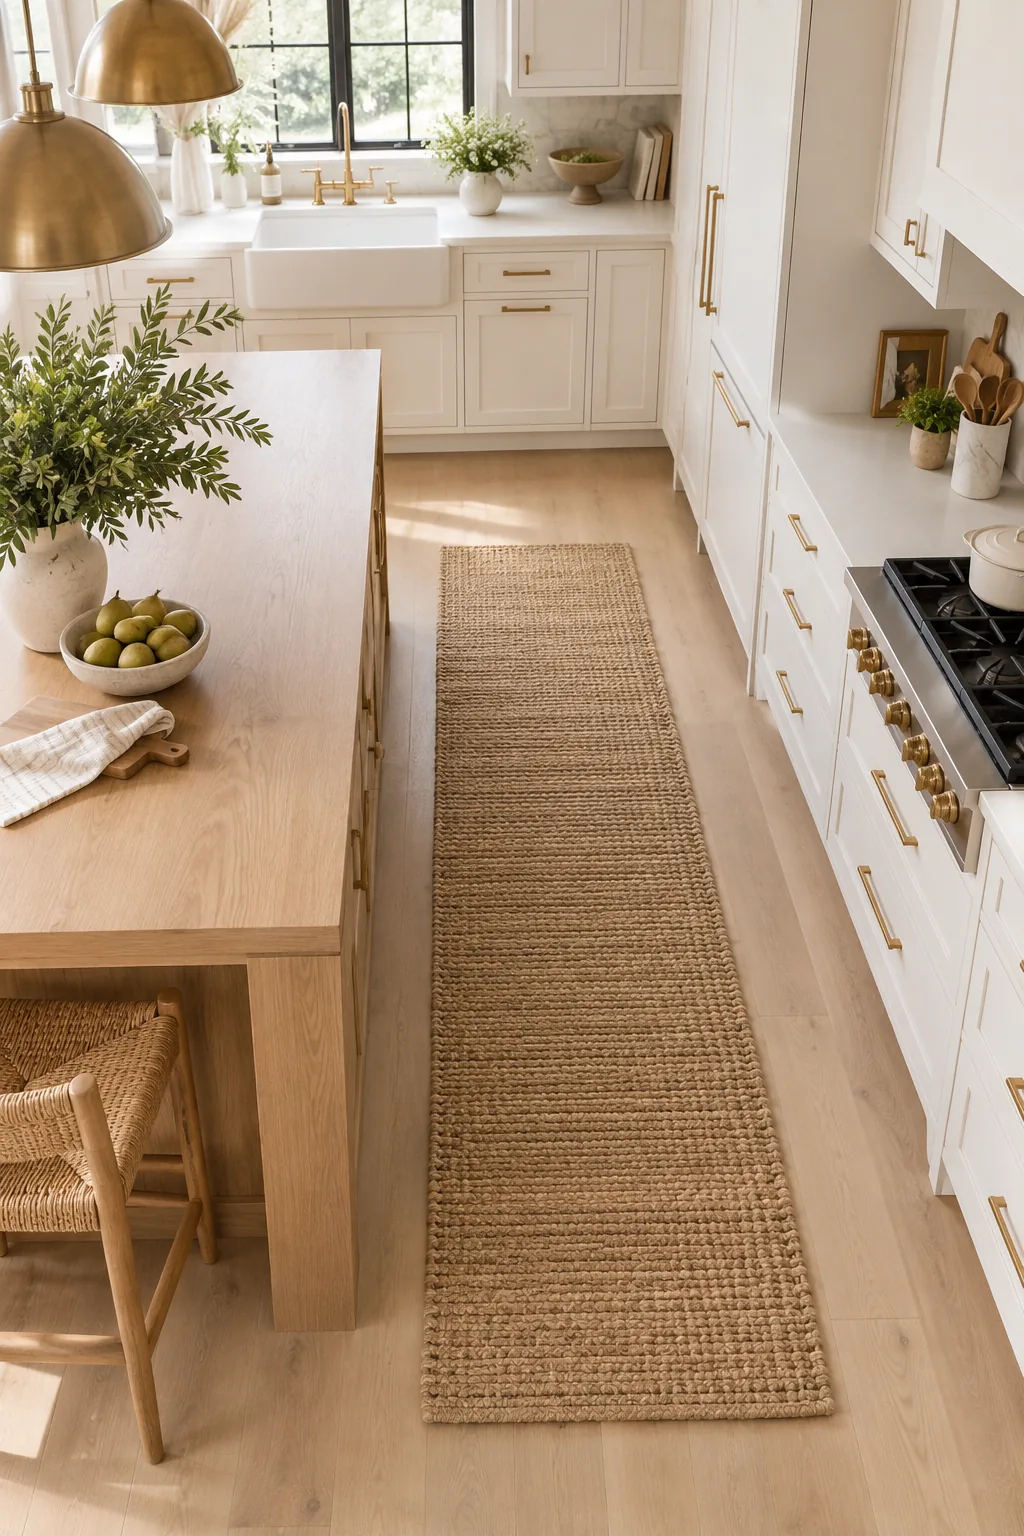
A 42-inch aisle width between the island and perimeter cabinets is the ideal minimum for a single-cook kitchen, allowing appliance doors to open fully. If two people cook simultaneously, increase this measurement to 48 inches to prevent traffic jams.
Selecting a Durable Hardwood Floor
Before installing new cabinetry, you must establish a continuous, level flooring surface that can withstand heavy daily traffic and inevitable spills. Upgrading to a durable engineered hardwood protects your foundation from moisture while bringing natural warmth into a clinical, appliance-heavy space.
Swapping Doors for Deep Drawer Bases
Standard lower cabinets with doors force you to crouch and dig for items hidden in the dark recesses of your kitchen.
- Deep drawer bases: Bring heavy pots and plate stacks directly to you with a single pull.
- Interior depth: Specify a minimum of 10 inches to accommodate your largest stock pots.
- Hardware rating: Choose heavy-duty glides rated for at least 90 pounds to prevent sagging.
Upgrading to these wide, accessible pull-outs maximizes every inch of your lower perimeter storage and saves your knees during meal prep.
Upgrading to Solid Plywood Cabinet Boxes
While drawer fronts define the aesthetic, the underlying cabinet box determines how long your renovation will actually survive daily wear and tear. Specifying half-inch plywood boxes rather than standard particleboard ensures your hinges stay securely anchored over the decades.
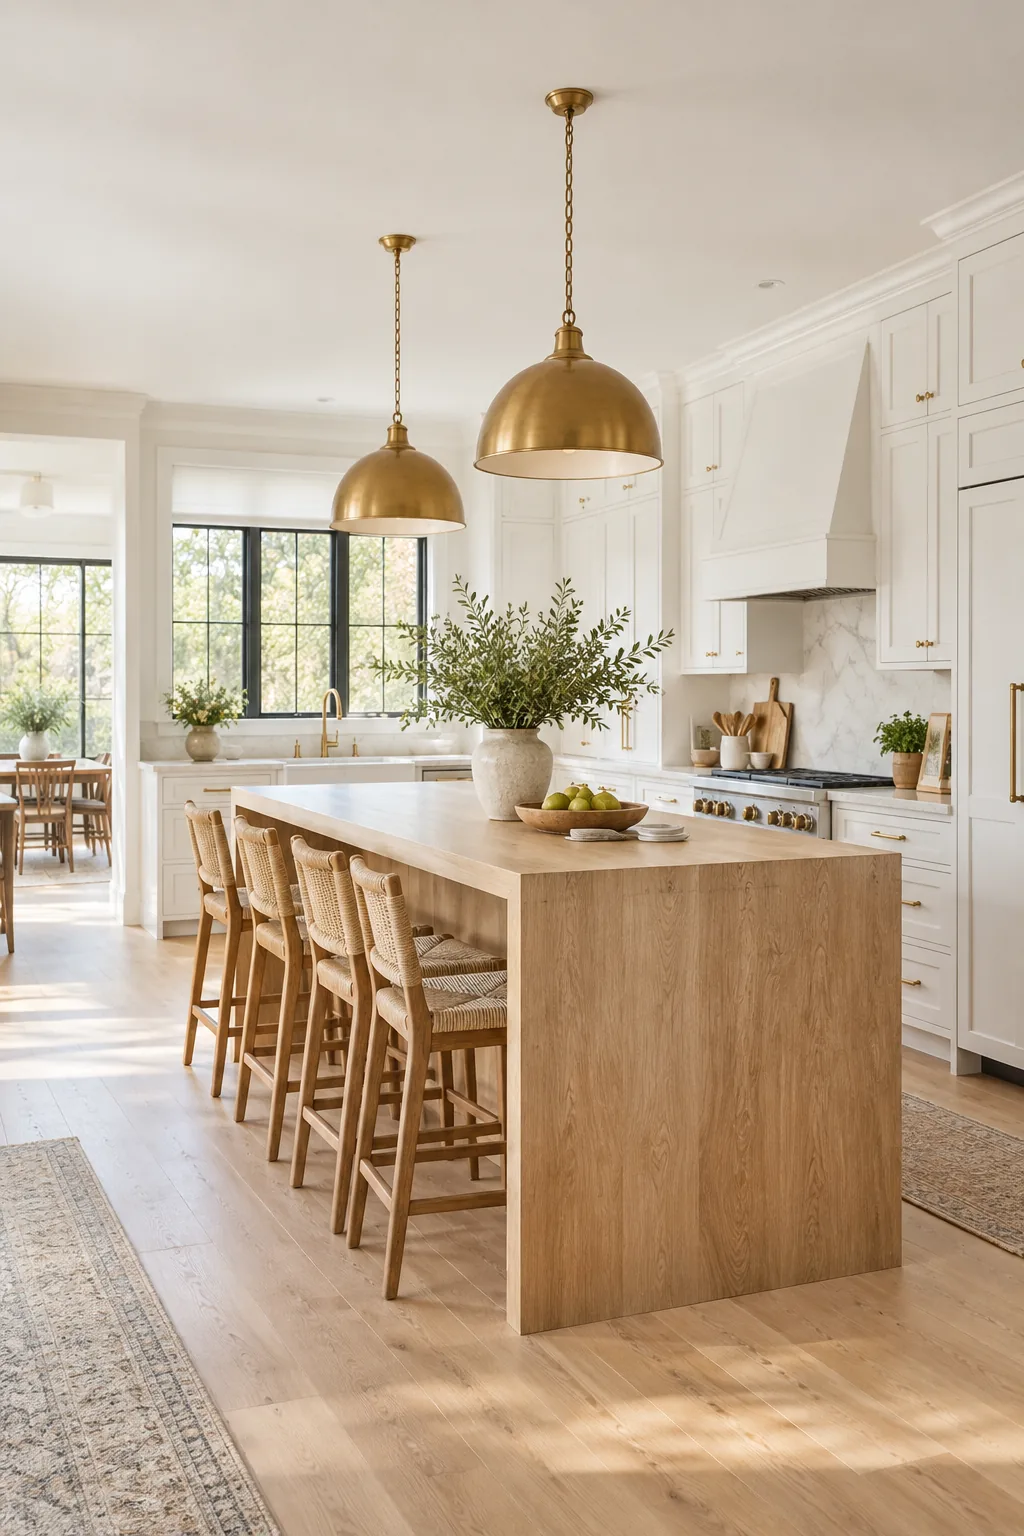
Anchoring the Room with a Mitered Drop Edge
You can give a standard island a substantial, custom feel by upgrading the countertop profile to something much thicker than a standard slab.
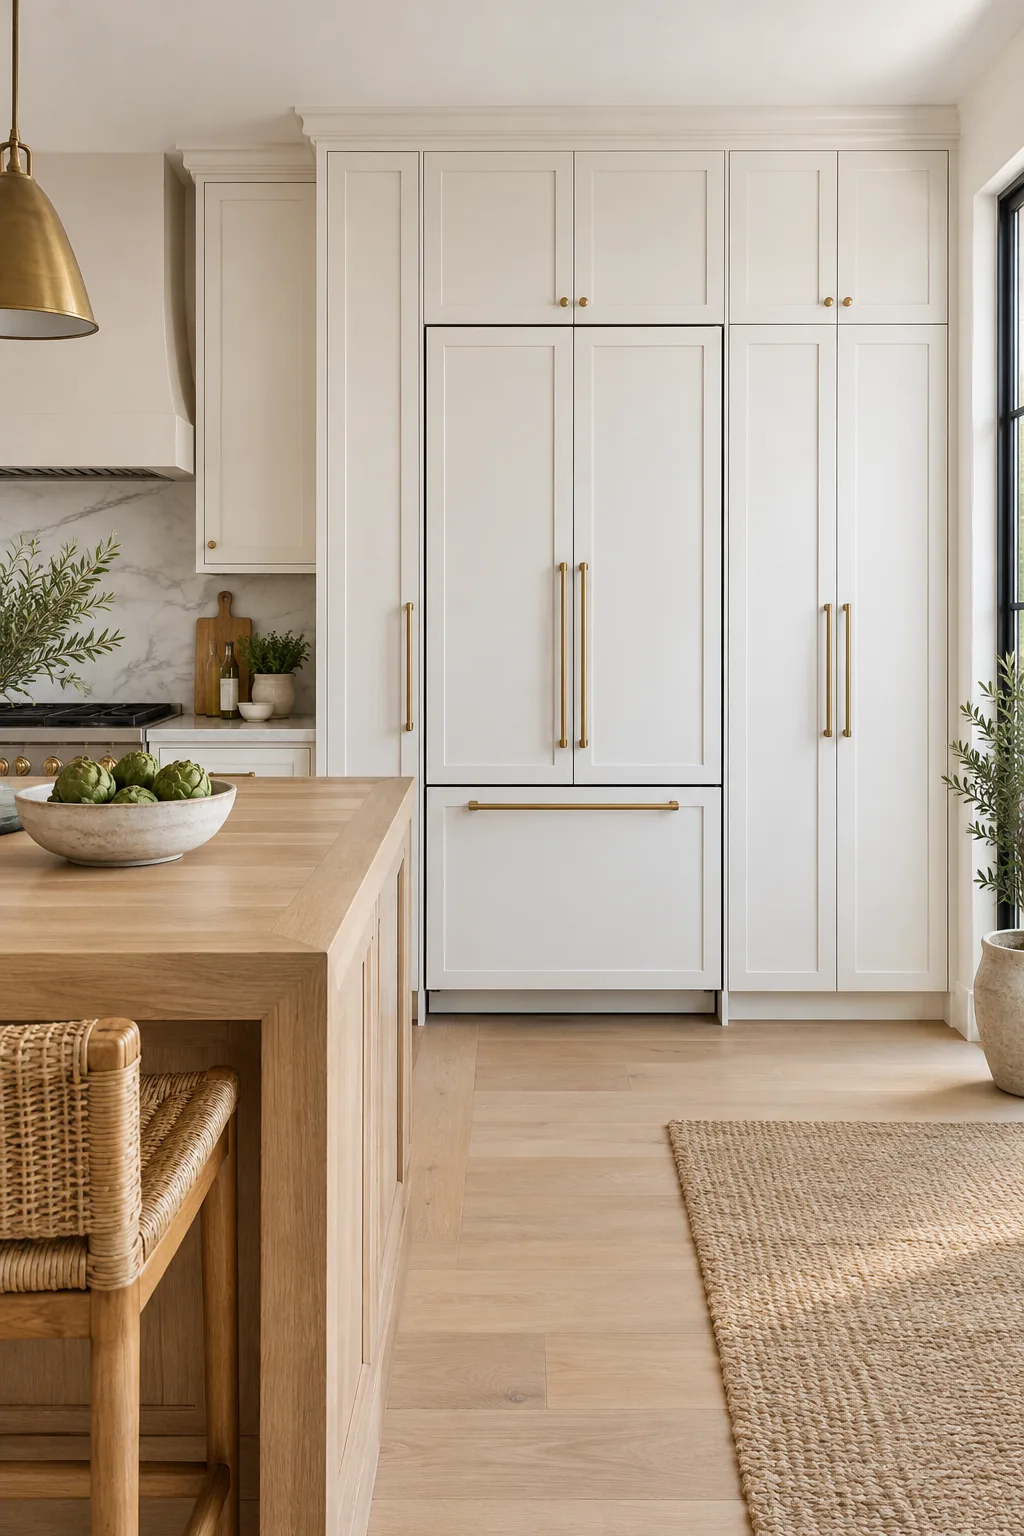
A mitered drop edge joins two pieces of material at a 45-degree angle, creating the illusion of a solid 2-inch or 3-inch thick surface. This technique adds massive visual weight without overloading the cabinetry below with unnecessary stone.
Choosing the Right Island Seating Height
A thick island countertop requires precise seating to remain comfortable and visually balanced within the room. Always leave exactly 12 inches of knee clearance beneath your overhang and select 24-inch counter stools rather than 30-inch bar stools for a standard 36-inch high island.
Hiding Bulk with a Panel-Ready Fridge
Large stainless steel appliances can visually chop up a small kitchen and ruin your carefully planned sightlines.
| Appliance Type | Integration Method | Visual Impact |
|---|---|---|
| Refrigerator | Panel-ready custom door | Creates a continuous pantry wall |
| Dishwasher | Matching cabinet front | Hides utility zones from view |
| Microwave | Under-counter drawer | Keeps counters completely clear |
A panel-ready fridge accepts a custom cabinet door on its front, allowing it to blend seamlessly. This continuous line of cabinetry makes the entire room feel significantly larger and more intentional.
Designing a Seamless Pantry Wall
Surrounding your integrated refrigerator with matching tall pantry cabinets creates a monolithic storage block that anchors the room. Grouping all your tall vertical elements on a single wall keeps your primary prep zones feeling entirely open, airy, and free of visual clutter.
Extending Uppers to the Ceiling
Eliminate the awkward, dust-catching gap above standard cabinets by running your ceiling-height uppers all the way up to the drywall.
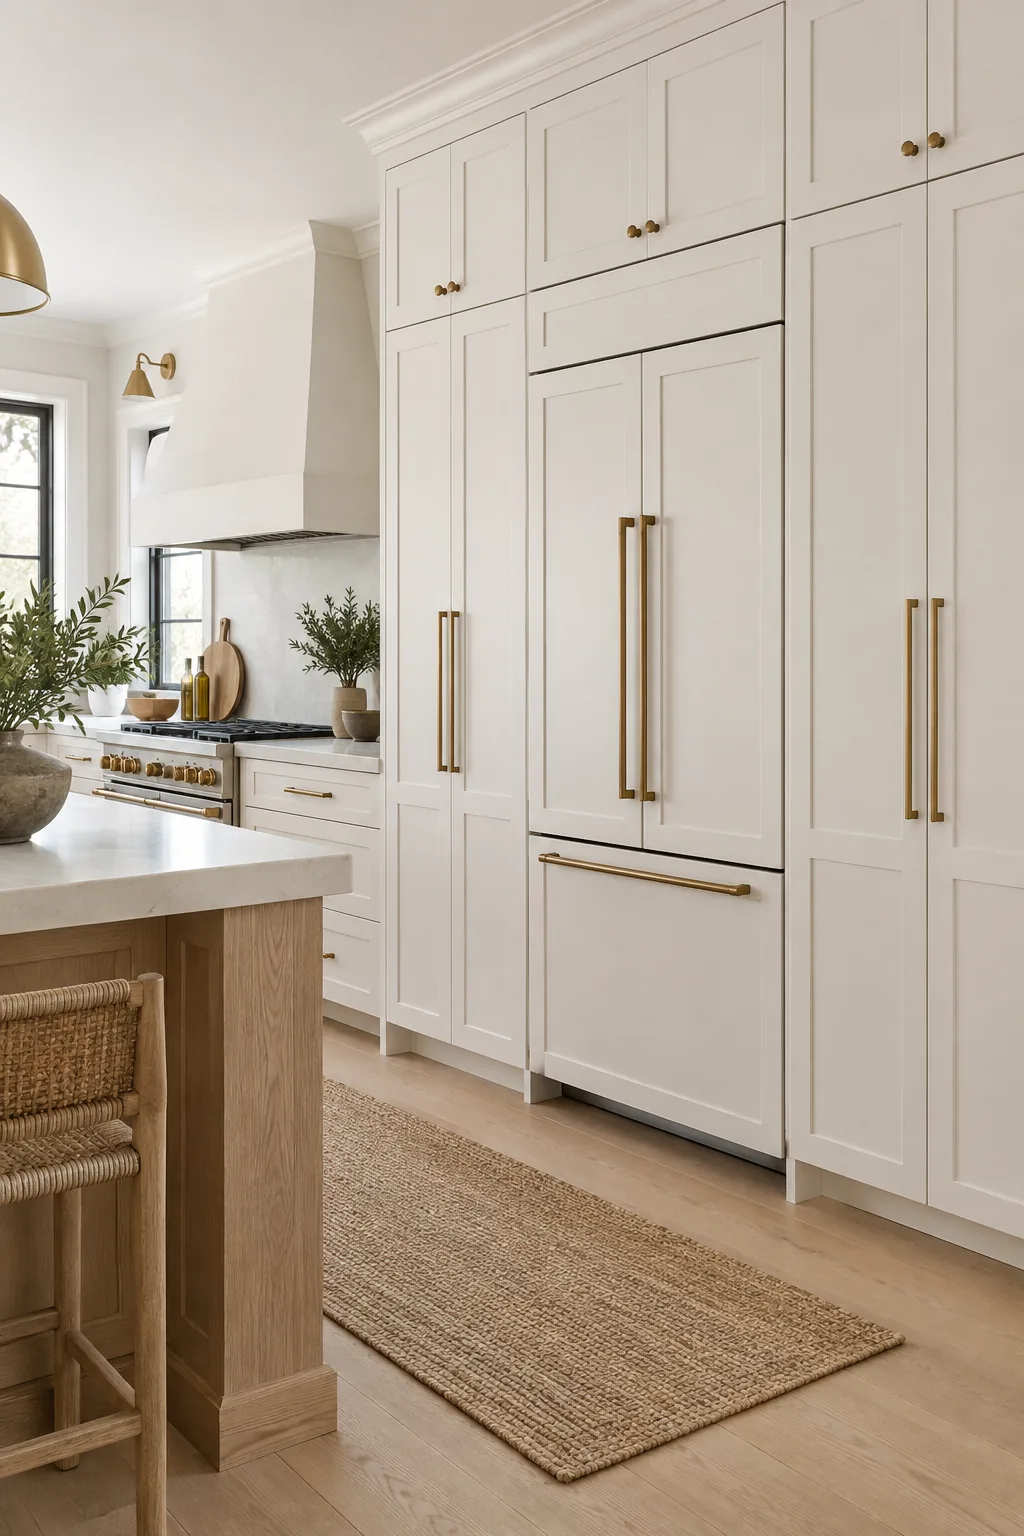
Taking cabinets to the ceiling looks seamless, but older homes often hide structural quirks that require careful planning.
Integrating a High-Powered Range Hood
A beautiful kitchen quickly loses its appeal if cooking odors and grease linger on your new custom cabinetry. Size your range hood to be exactly 6 inches wider than your cooktop, providing a crucial capture area that prevents smoke from escaping into your living space.
Layering Task and Ambient Lighting
Custom cabinetry needs proper illumination to shine, which means balancing overhead fixtures with targeted task lighting to eliminate shadows on your primary prep zones.
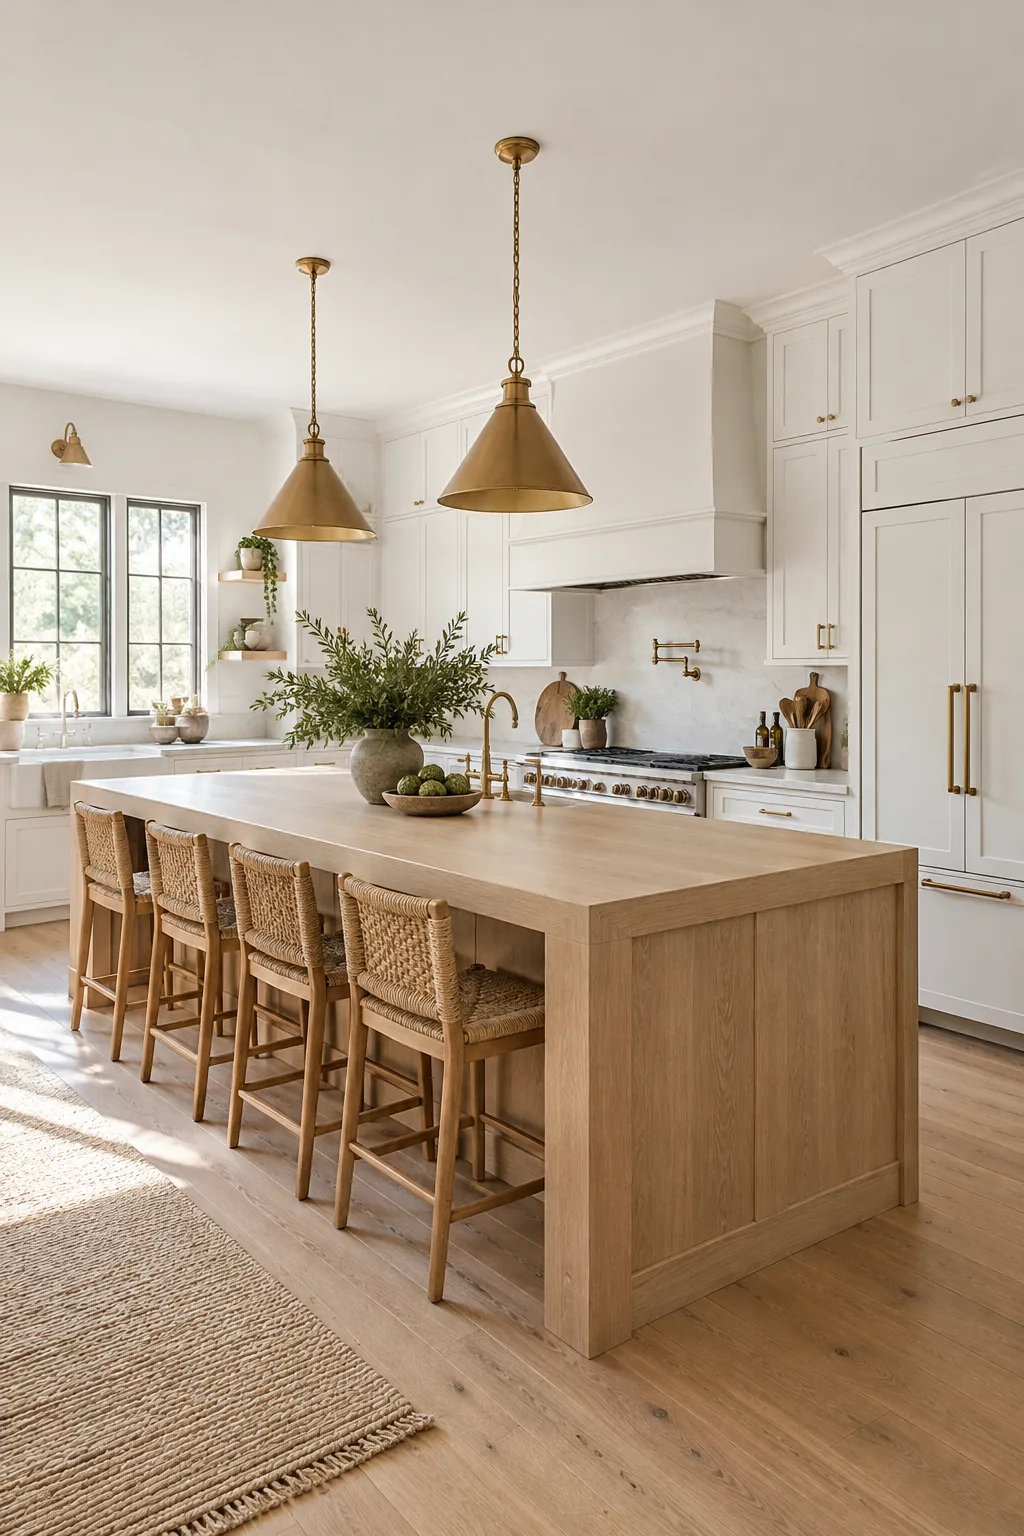
Hang pendant lights 30 to 36 inches above the island countertop to provide warm ambient light without obstructing your sightlines. In my own Denver home, dropping the pendants to exactly 34 inches created the perfect glow without blocking my view into the adjacent dining room.
Selecting Timeless Hardware Finishes
Cabinet hardware acts as the jewelry of your kitchen, tying your lighting fixtures and plumbing components together. Mixing unlacquered brass pulls with polished nickel faucets creates a layered, collected aesthetic that feels far more custom than a single matching finish across the entire room.
Planning Your Outlet Placement
Nothing ruins a beautifully tiled backsplash faster than a chaotic cluster of white plastic electrical outlets. Tuck your required receptacles neatly under the upper cabinets or insist on a horizontal placement close to the counter to keep your expensive tile work completely uninterrupted.
Specifying the Correct Sink Clearances
Your primary cleanup zone requires generous breathing room to function efficiently during a busy dinner party. Always leave a minimum of 24 inches of uninterrupted counter space on one side of the sink and at least 18 inches on the other for stacking dirty dishes.
Working Within Your Original Footprint
You do not always need a costly addition to escape a cramped layout; simply reorienting the island can completely change the room’s function. In a recent project, removing a single non-load-bearing wall opened up the entire traffic flow without moving any exterior boundaries.
Organizing the Final Plumbing Trim-Out
The plumbing trim-out is the exciting moment when your shiny new faucet and garbage disposal are finally connected to the rough pipes. Ensure your countertops are fully sealed and cured for at least 24 hours before the plumber arrives to tighten down heavy brass fixtures.
Three Ways to Style a Custom Kitchen
Explore how different material palettes can completely change the mood of a highly functional layout.
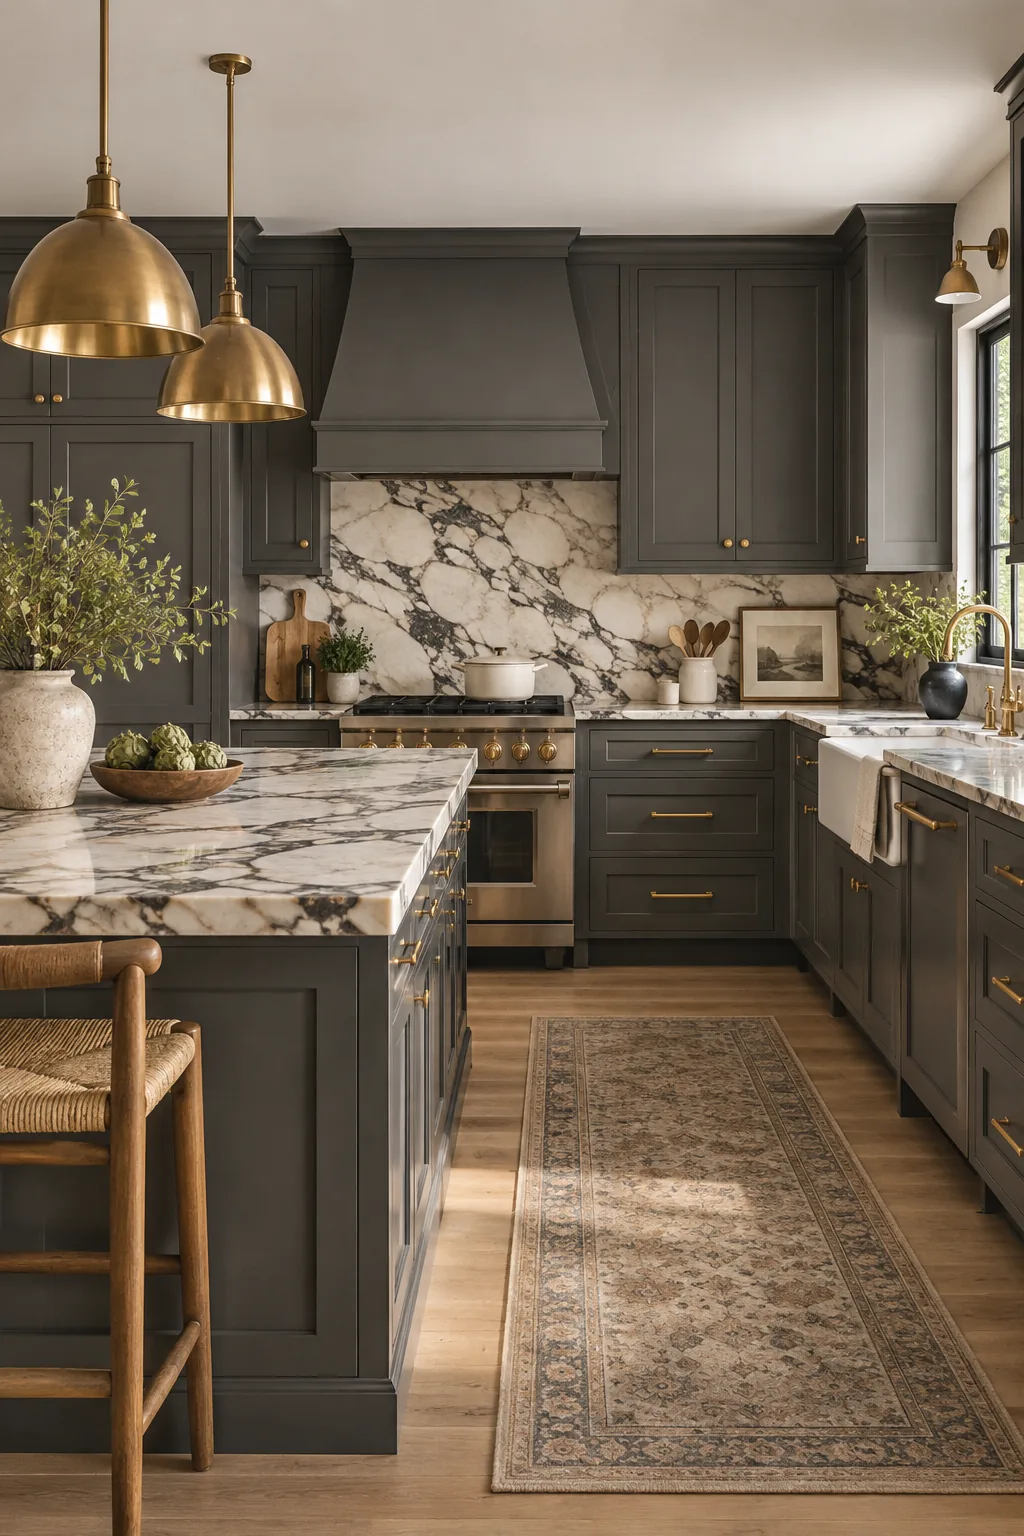
Moody Slate and Brass: Dark grey cabinetry paired with unlacquered brass hardware delivers a sophisticated, moody atmosphere. Copy this look by matching your faucet finish to your cabinet pulls.
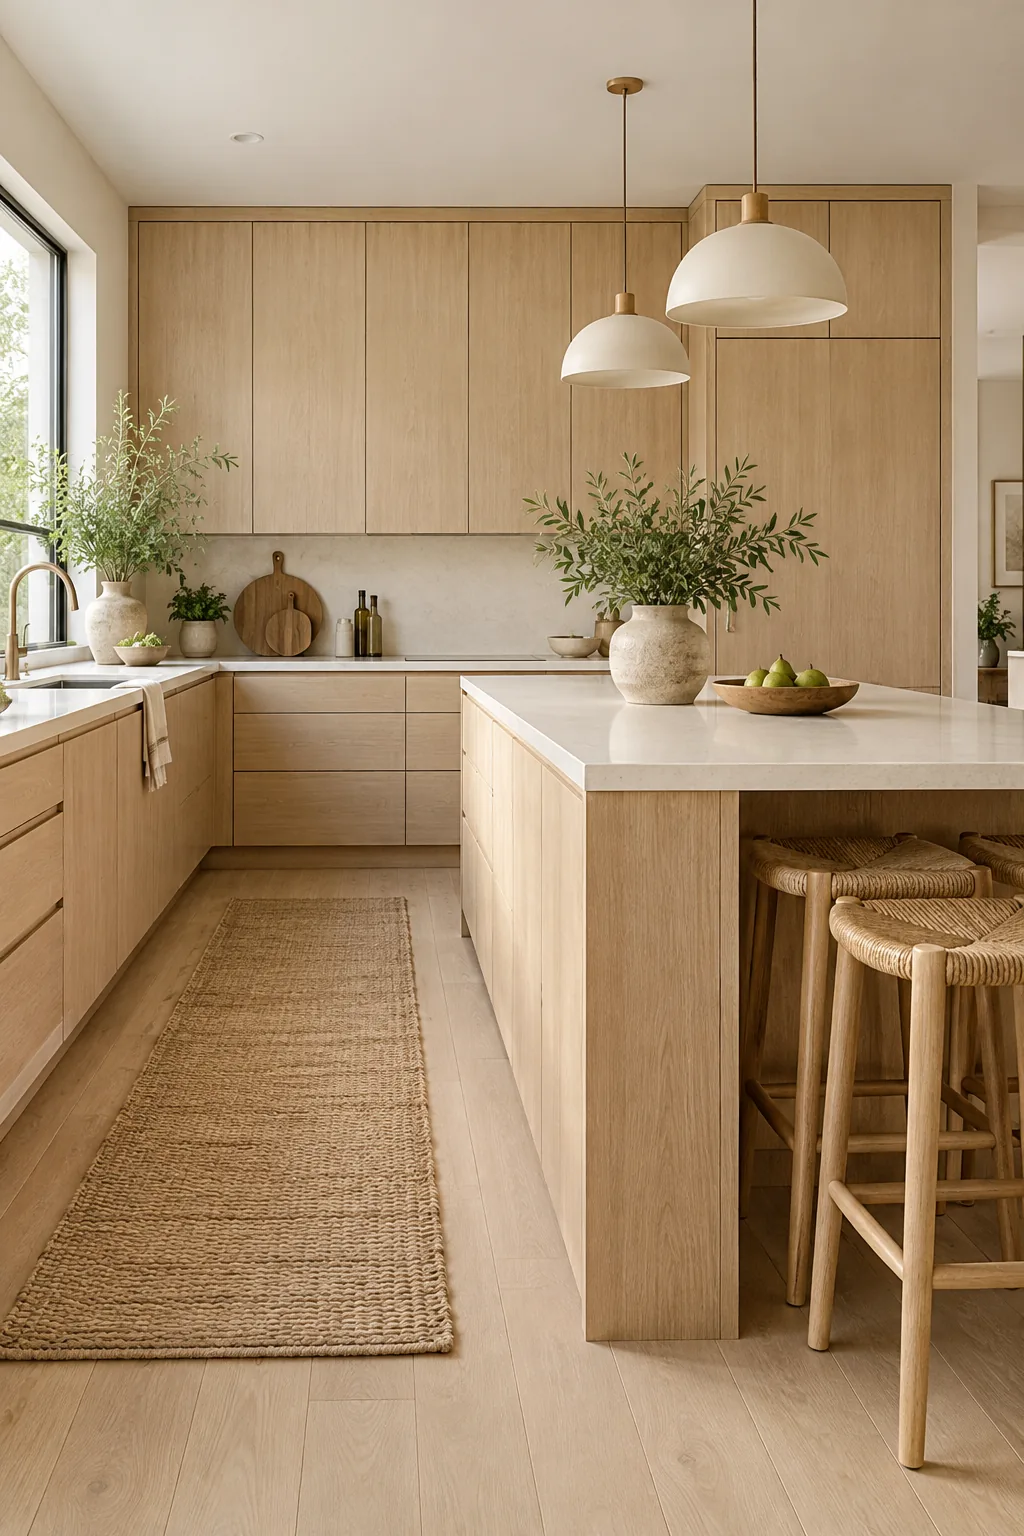
Warm Scandi Ash Wood: Flat-panel ash wood cabinets and matte white counters create a serene, minimalist environment. Adopt this style by choosing integrated finger pulls instead of exterior hardware.
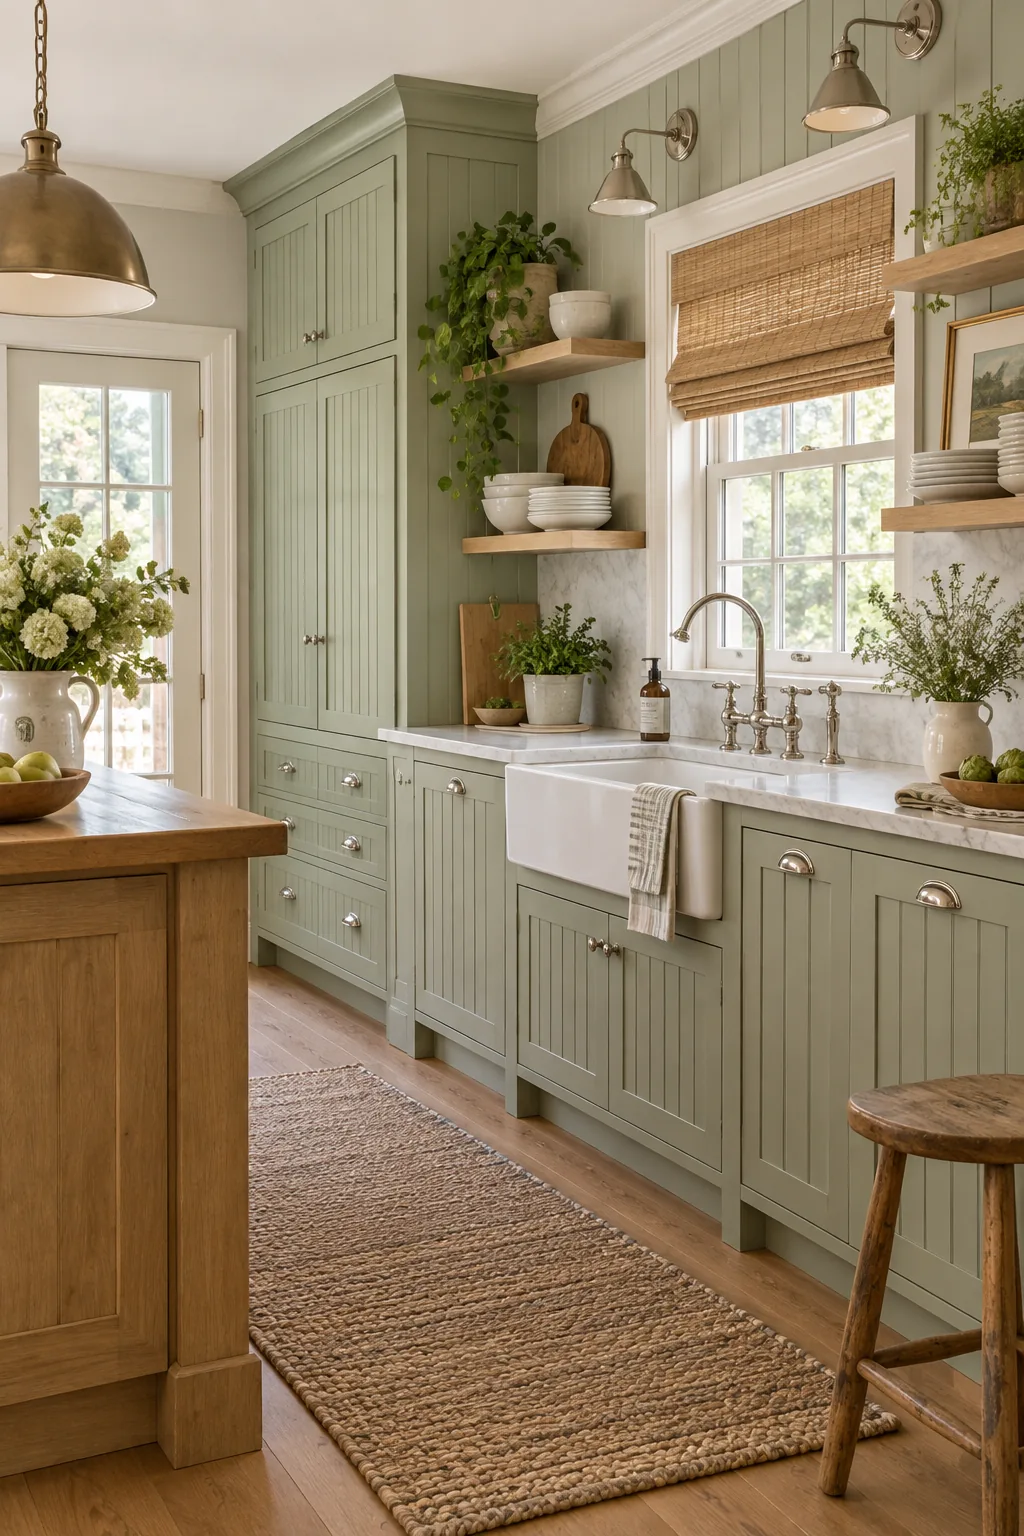
Classic Sage Green Cottage: Soft sage green beadboard and polished nickel fixtures bring timeless charm to a historic home. Recreate this warmth by adding a traditional bridge faucet to your sink.
Your 8-Week Renovation Sequence Checklist
A standard gut renovation takes about 8 weeks when sequenced correctly, starting with demolition and rough-in plumbing during the first two weeks.
Before the 8-week clock officially starts, ensure your site is completely ready for the construction crew.