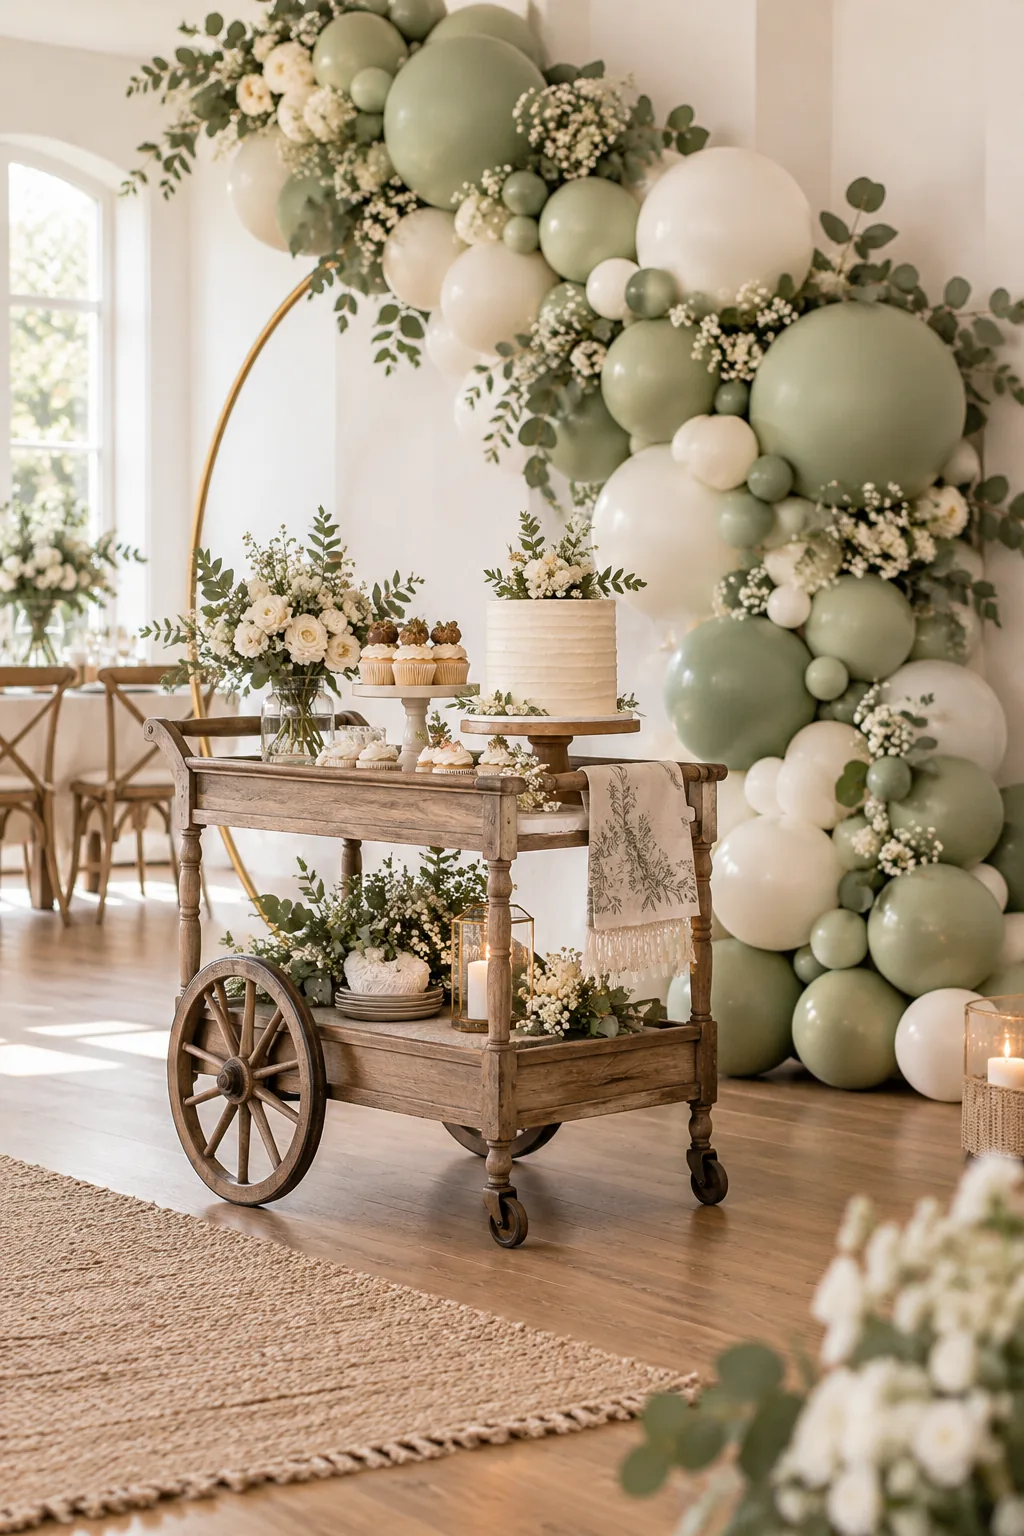
Pro Baby Shower Balloon Garland: Quantity Chart & Setup Guide
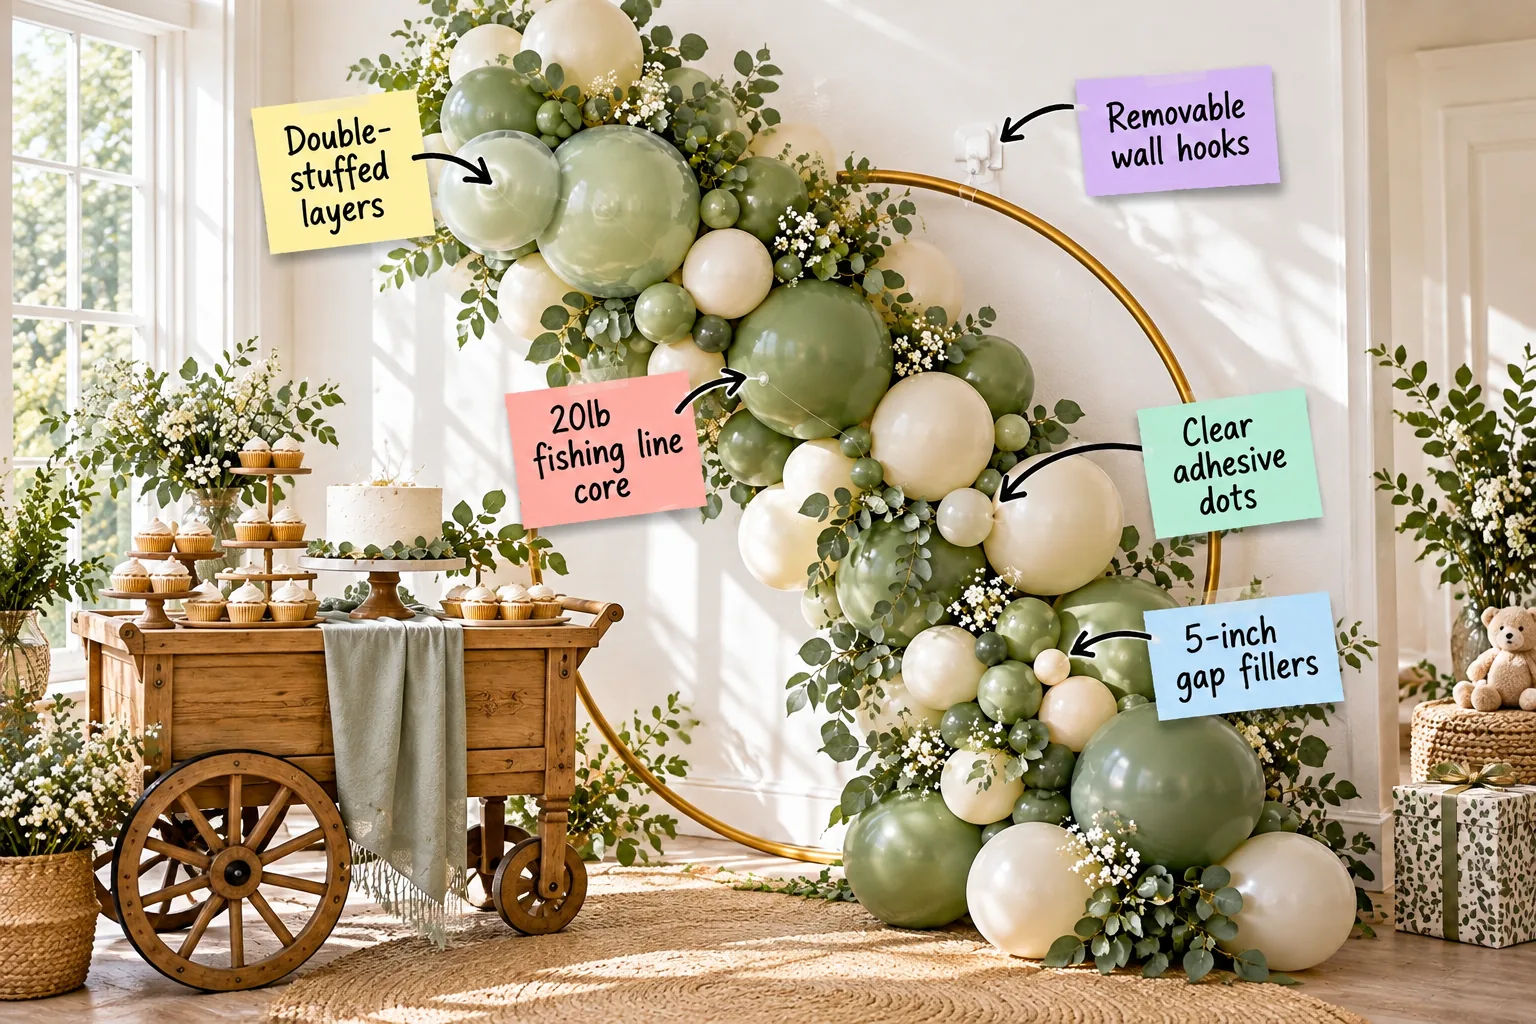
You can finally stop guessing how many packs to buy with this printable balloon quantity and sizing chart. Grab the exact counts to calculate and assemble a lush, gap-free party backdrop that rivals any professional event setup.
Planning the Garland Scale and Placement
Start by measuring your event space to determine the required garland length for a sweeping, asymmetrical design. I recently styled a baby shower in a historic Boston venue, and planning a 10 to 12-foot total length was crucial to cascade gracefully from the hoop down to the floor.
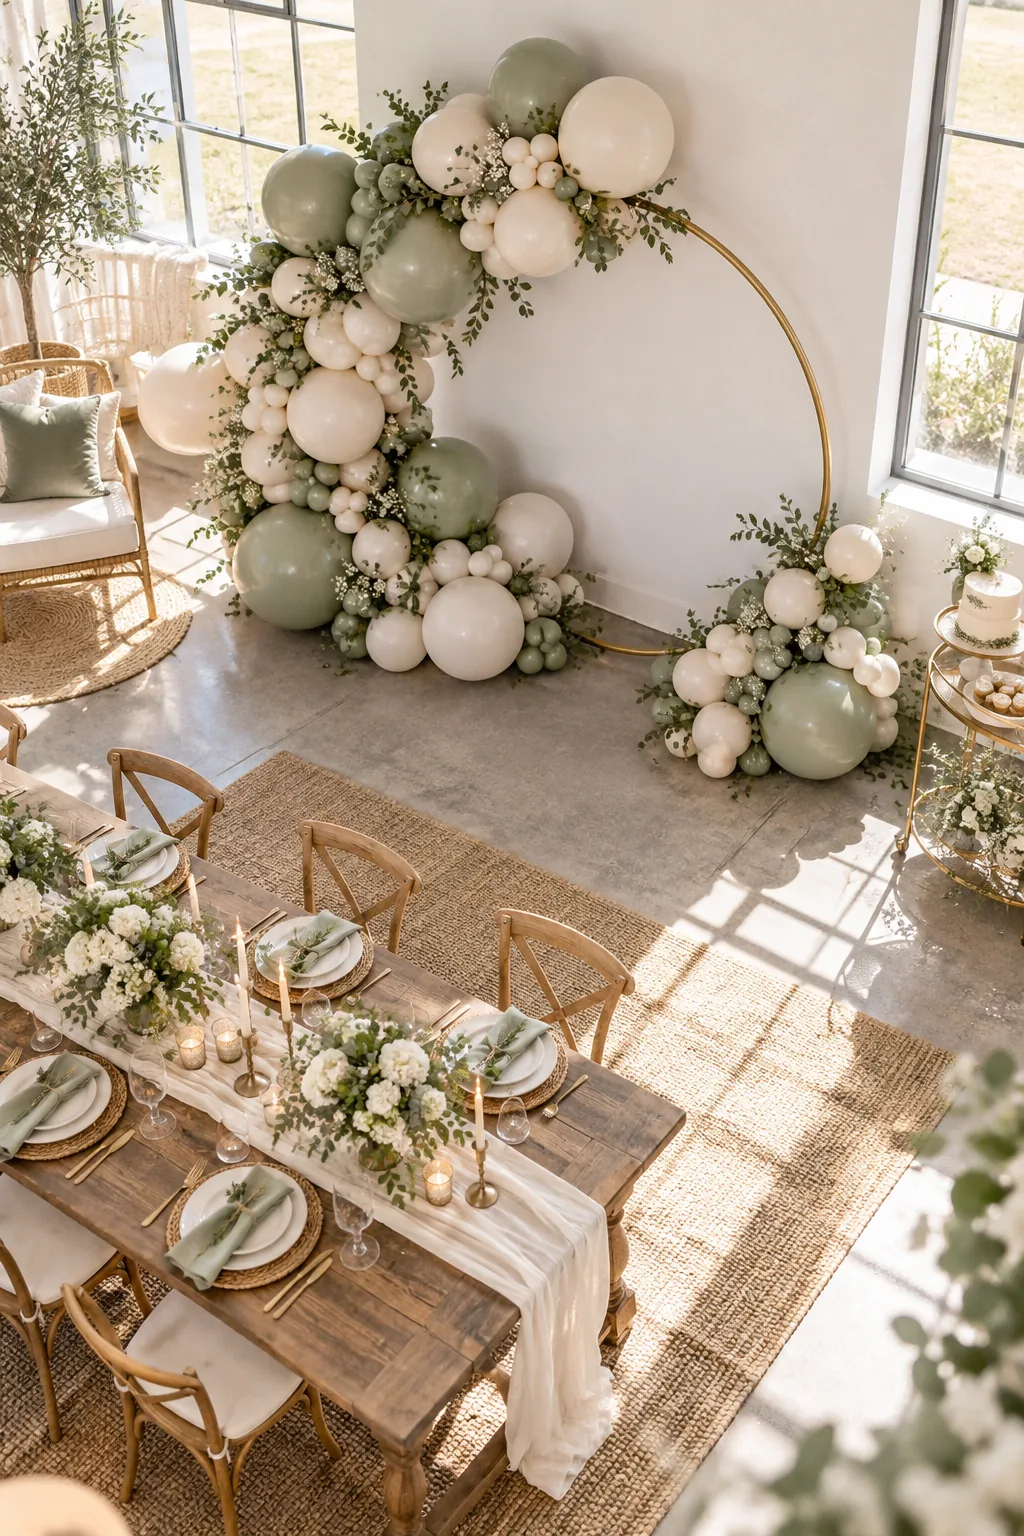
Visualizing the final shape early ensures you do not waste budget on unnecessary supplies. An organic cascade requires room to breathe, so always leave at least two feet of clearance between the garland tail and high-traffic walkways.
Evaluating the Room Lighting and Backdrop Location
Position your primary arrangement opposite a natural light source to prevent harsh shadows on the latex. Direct sunlight can cause darker colors to oxidize and turn cloudy, so I always recommend setting up the main focal point along a shaded interior wall.
Balloon Quantity and Sizing Chart
Use this sizing chart to order the correct mix of balloons for your desired length, weighting the counts heavily toward 11-inch and 5-inch sizes for dynamic texture. I used to overbuy constantly before standardizing this exact formula for a typical organic garland.
| Garland Length | 5-inch Fillers | 11-inch Base | 18-inch Accents |
|---|---|---|---|
| 6 feet | 30 | 40 | 3 |
| 8 feet | 40 | 55 | 4 |
| 10 feet | 50 | 70 | 5 |
| 12 feet | 60 | 85 | 6 |
Before you check out with your custom balloon colors, make sure your toolkit is ready for the build.
Selecting High-Quality Latex Brands
Investing in professional-grade latex prevents unexpected popping and ensures the colors remain vibrant throughout the baby shower. Avoid metallic finishes for outdoor events, as they absorb heat rapidly, and purchase from dedicated party suppliers rather than big-box craft aisles for consistent dye lots.
Creating Custom Colors with Double-Stuffed Layers
Achieve that muted, high-end sage green by using double-stuffed layers to create a custom chalky finish that standard party store colors cannot match. Simply slip a dark or opaque balloon inside a lighter, slightly sheer outer balloon before inflating them together with your manual hand pump.
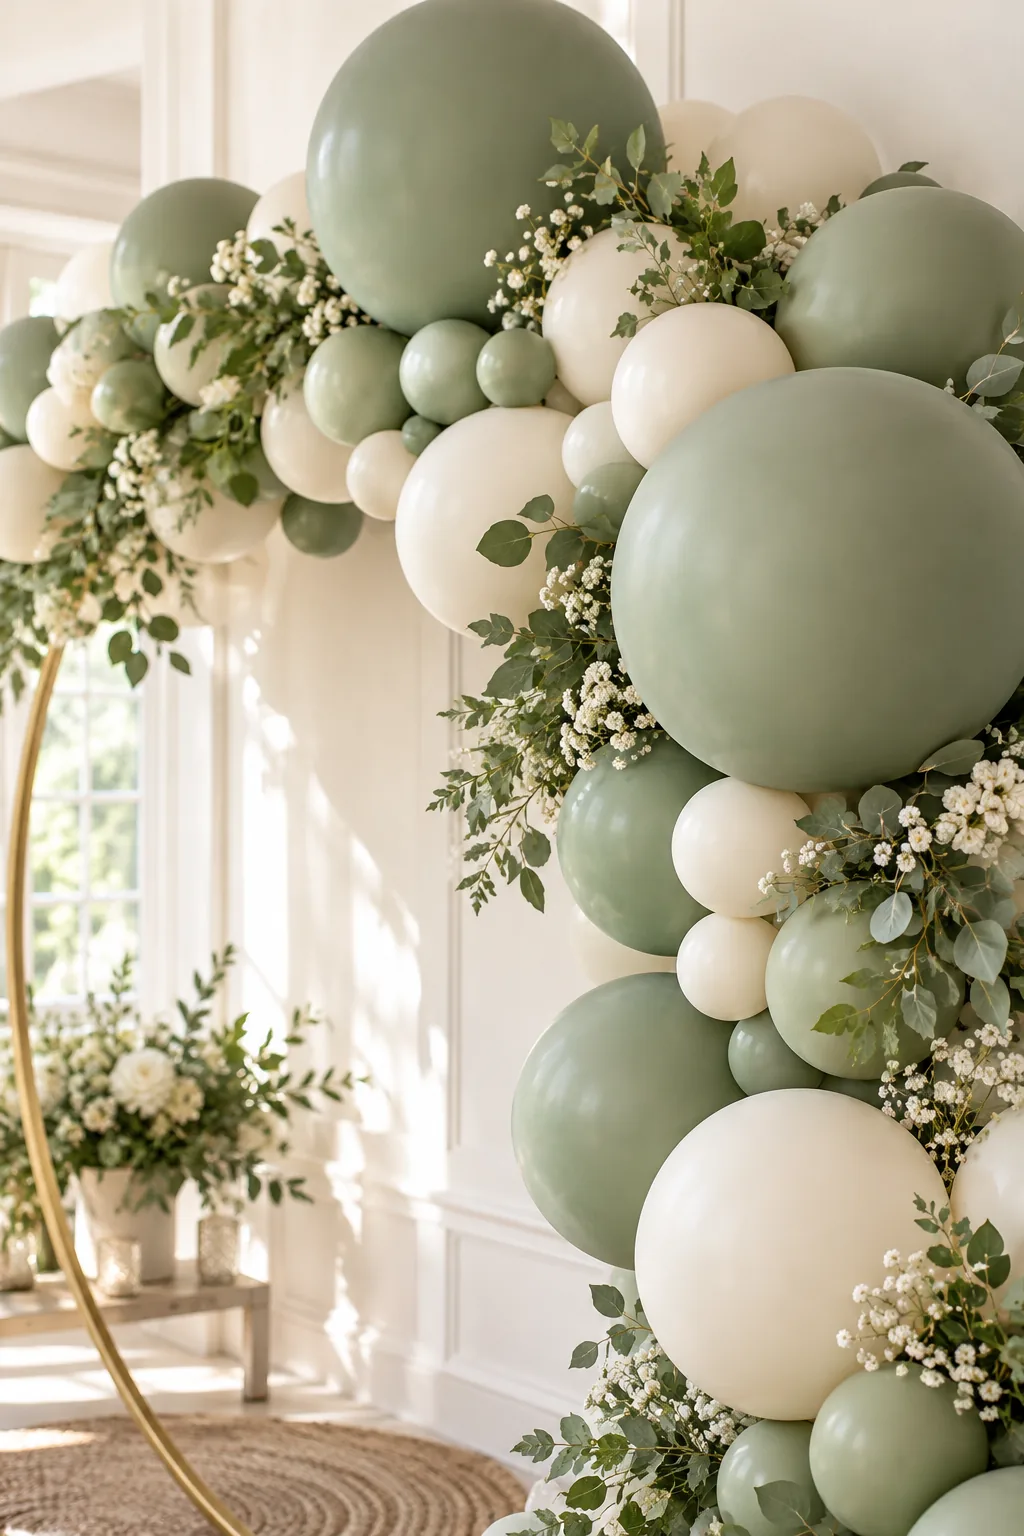
Tying off double-stuffed layers requires extra grip strength because the combined necks are significantly thicker. Always pull the inner neck slightly past the outer one, tying only the inner layer to save your fingers from painful friction.
Organizing Your Inflation Station
Set up a dedicated inflation zone on a soft rug or drop cloth to protect the delicate latex from microscopic floor debris. Inflate all your 11-inch and 18-inch base balloons first, sorting them by color into large plastic bags to streamline the assembly process.
Stringing the Base on a 20lb Fishing Line Core
Ditch the stiff plastic decorating strips and build the main spine using a 20lb fishing line core. Tie your inflated 11-inch and 18-inch balloons into pairs, then twist those pairs directly into the taut line to create a flexible, tightly packed base that holds its shape.
Testing the Garland Flexibility and Shape
Once the primary spine is strung, gently bend the arrangement to ensure the pairs can rotate without popping. A properly constructed core should feel dense but pliable, allowing you to sculpt the sweeping curves required for an asymmetrical hoop installation.
Pre-Treating the Wall for Adhesive Anchors
Wipe down the intended mounting surface with rubbing alcohol to remove any residual dust or oils before applying adhesive hardware. Skipping this invisible prep step is the leading cause of structural failure in heavy, large-scale event decorations.
Anchoring the Garland with Removable Wall Hooks
Support the heavy structure safely by attaching removable wall hooks rated for at least 3 pounds to your desired anchor points. I once had a heavy installation peel off my living room wall mid-party, so I always tie small loops of fishing line around the core to slip securely over these hooks.
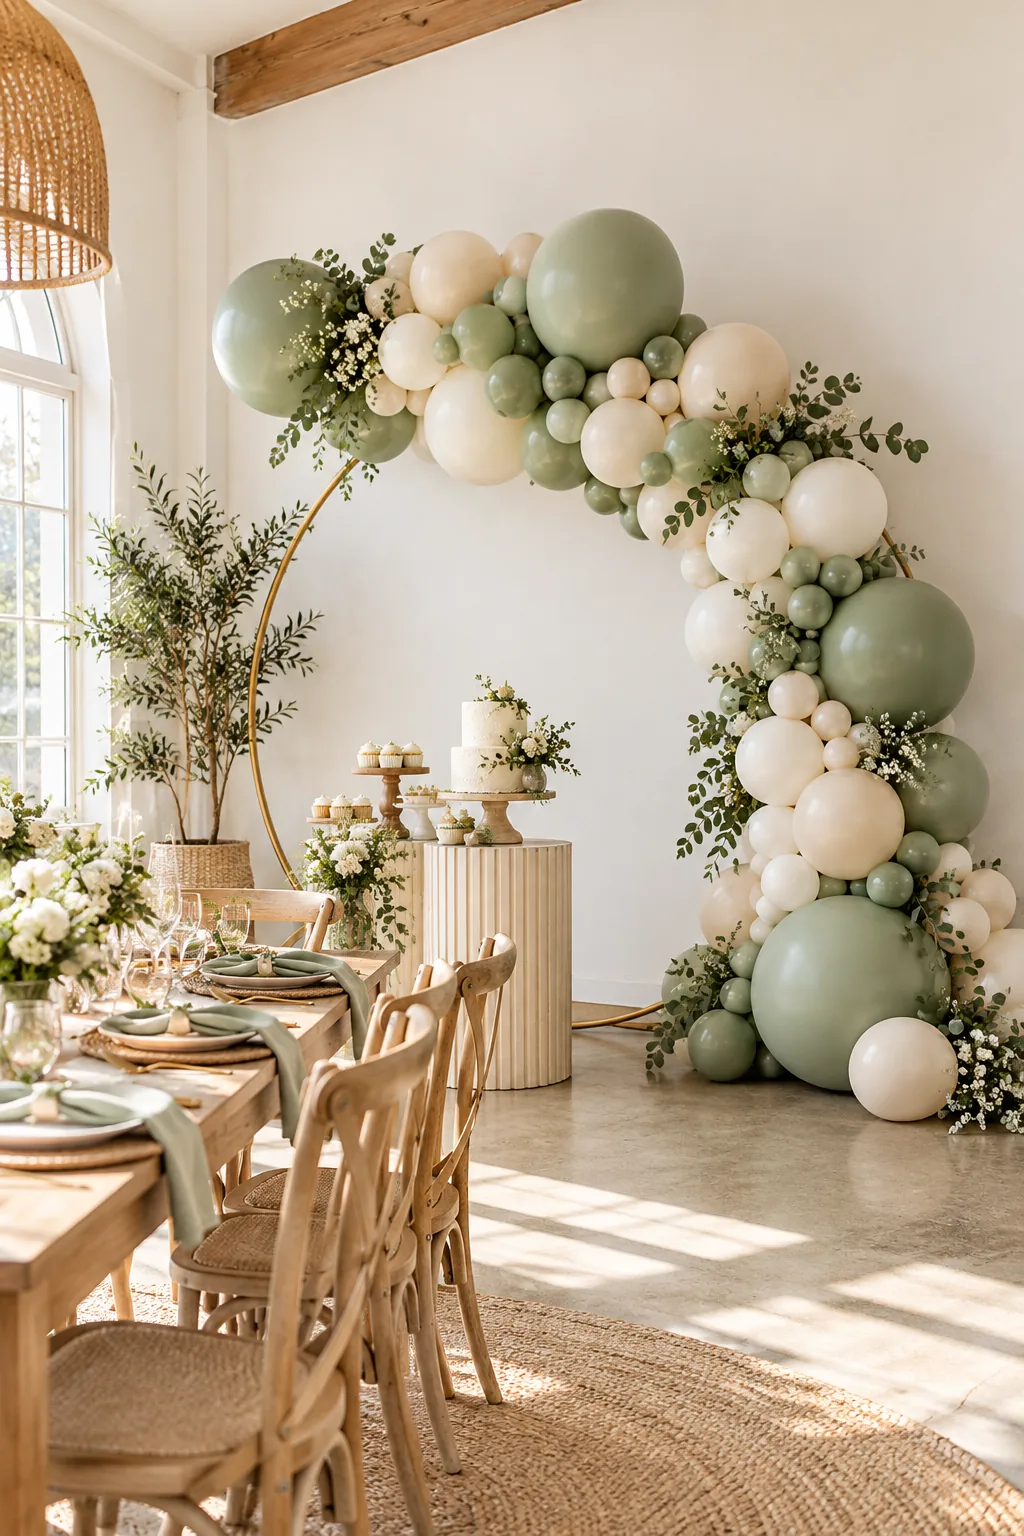
Even the most beautiful balloon arrangement will fall flat if the anchoring system fails mid-party.
Mapping the Structural Anchor Points
Place your highest anchor point first to establish the peak of the cascade, then plot the subsequent hooks along the natural curve of your hoop or wall. Securing the top first allows gravity to pull the remaining pairs into a smooth, organic drape.
Hiding the Mechanics with Strategic Twists
Rotate the large 18-inch accent balloons toward the front of the display to conceal the fishing line loops and wall hooks. Pushing the larger shapes outward naturally forces the smaller base pairs backward, creating a seamless facade facing the guests.
Adding Volume with 5-Inch Gap Fillers
Once the main spine is hung, disguise the mechanics and build organic volume using 5-inch gap fillers. I always tie these tiny balloons into clusters of three or four and nestle them tightly into the crevices to eliminate any visible holes.
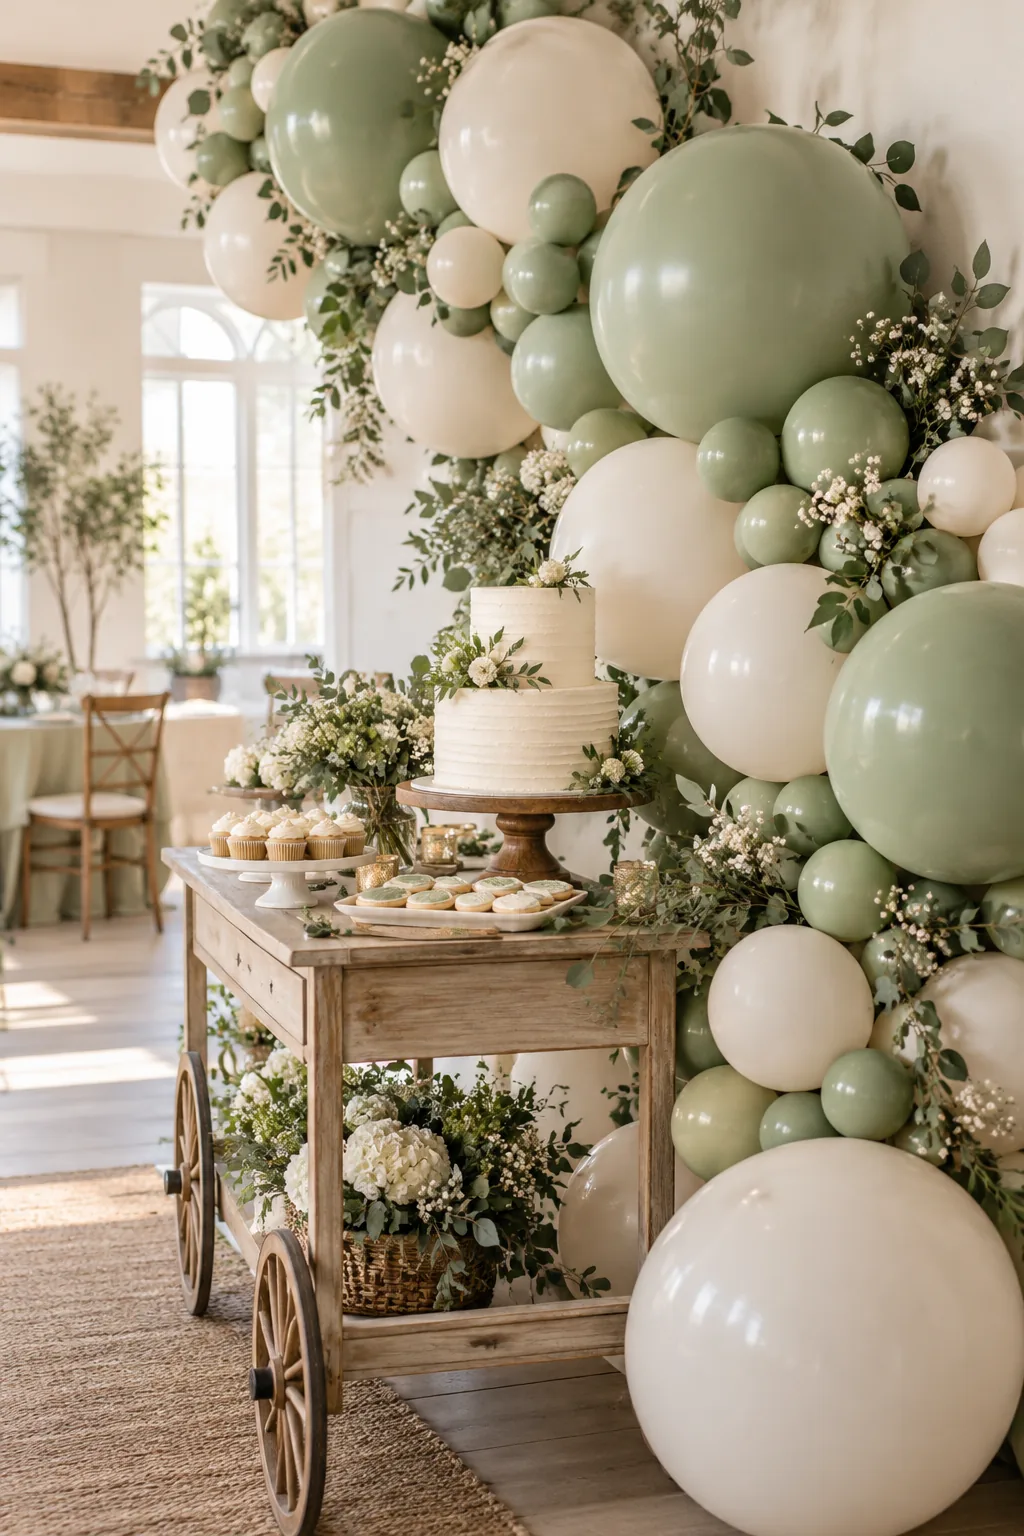
Distribute the filler clusters unevenly to mimic natural bubbles, avoiding a rigid, polka-dot pattern. Concentrating these tiny accents near the sweeping curves draws the eye along the intended architectural line of the backdrop.
Securing Minis with Clear Adhesive Dots
Keep those small filler clusters firmly in place using clear adhesive dots for an invisible bond. Press the sticky dot directly onto the hidden contact point between the tiny balloon and the large base balloon, holding them together for a few seconds.
- Peel the protective backing off the dot while it remains attached to the roll.
- Press the exposed adhesive directly onto the hidden side of the 5-inch balloon.
- Push the cluster firmly into the base arrangement and hold for five seconds.
Avoid touching the adhesive with your fingers, as the natural oils will immediately degrade the stickiness and cause the fillers to drop off during the shower.
Incorporating Delicate Floral Accents
Weave sprigs of dried baby’s breath or fresh eucalyptus between the latex layers to soften the transition from the balloon wall to the surrounding decor. Tucking lightweight stems directly into the tightest crevices requires no extra adhesive and adds beautiful botanical texture.
More Baby Shower Garland Ideas
Explore these different color palettes and styling approaches to find the perfect match for your celebration.
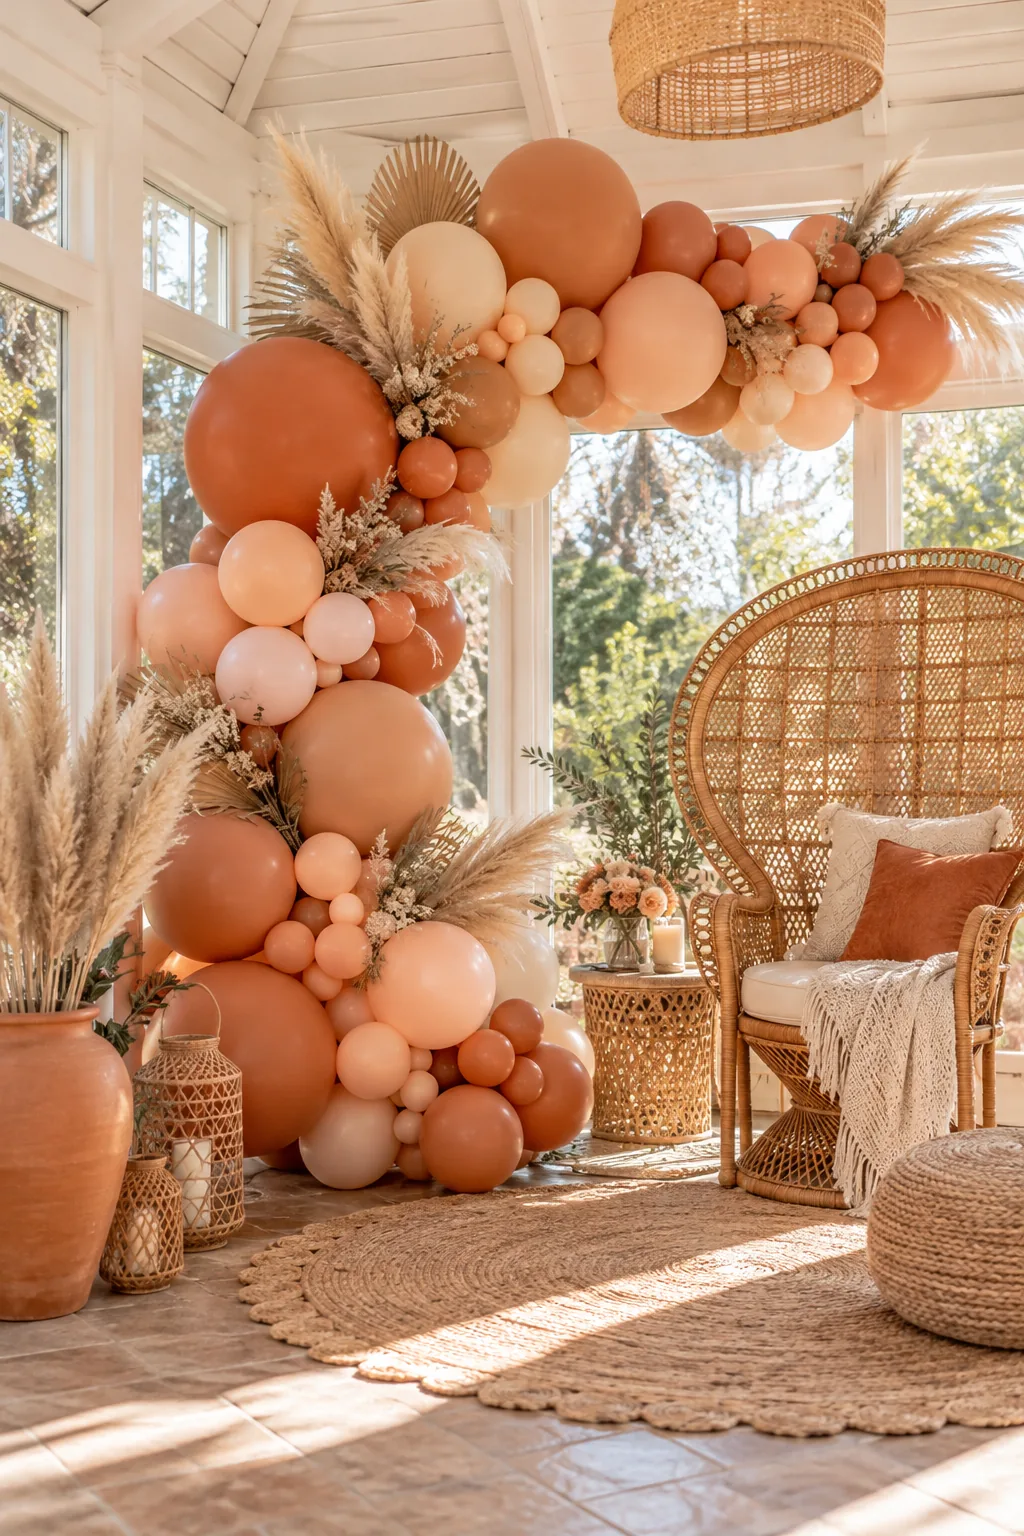
Bohemian Terracotta and Peach: Warm earth tones create a relaxed bohemian vibe that pairs perfectly with dried pampas grass.
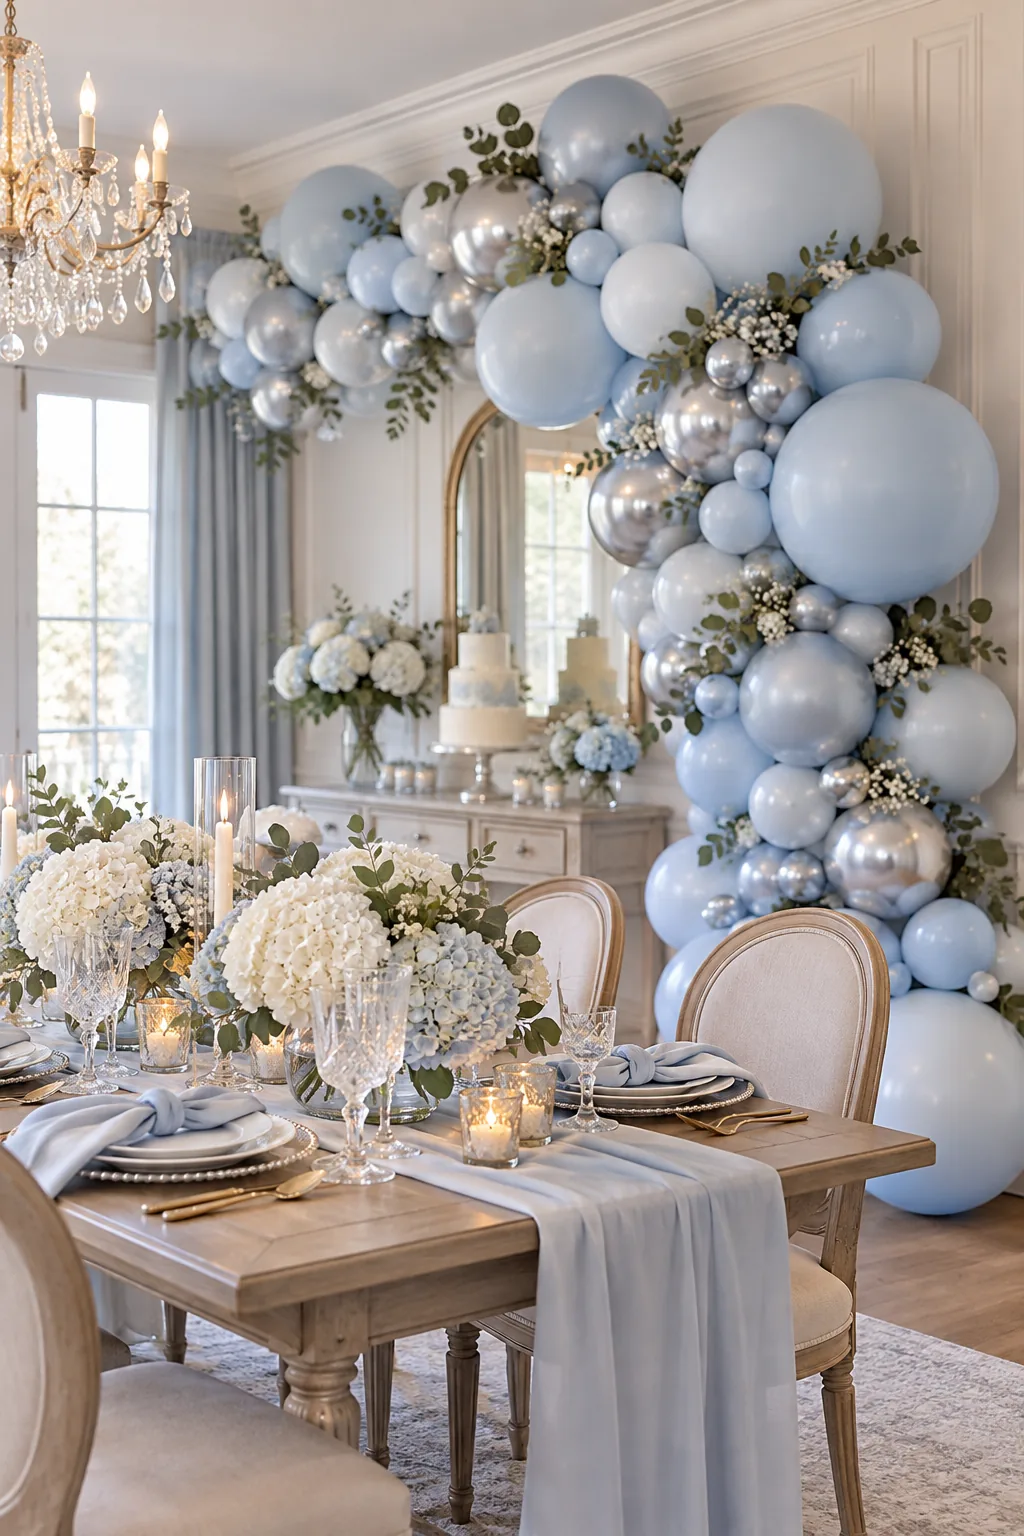
Classic Pastel Blue Elegance: Soft blues and metallic silver accents bring a timeless, formal elegance to a traditional dining space.
Moody Plum and Gold: Deep jewel tones offer a sophisticated, moody atmosphere ideal for an elegant evening celebration.

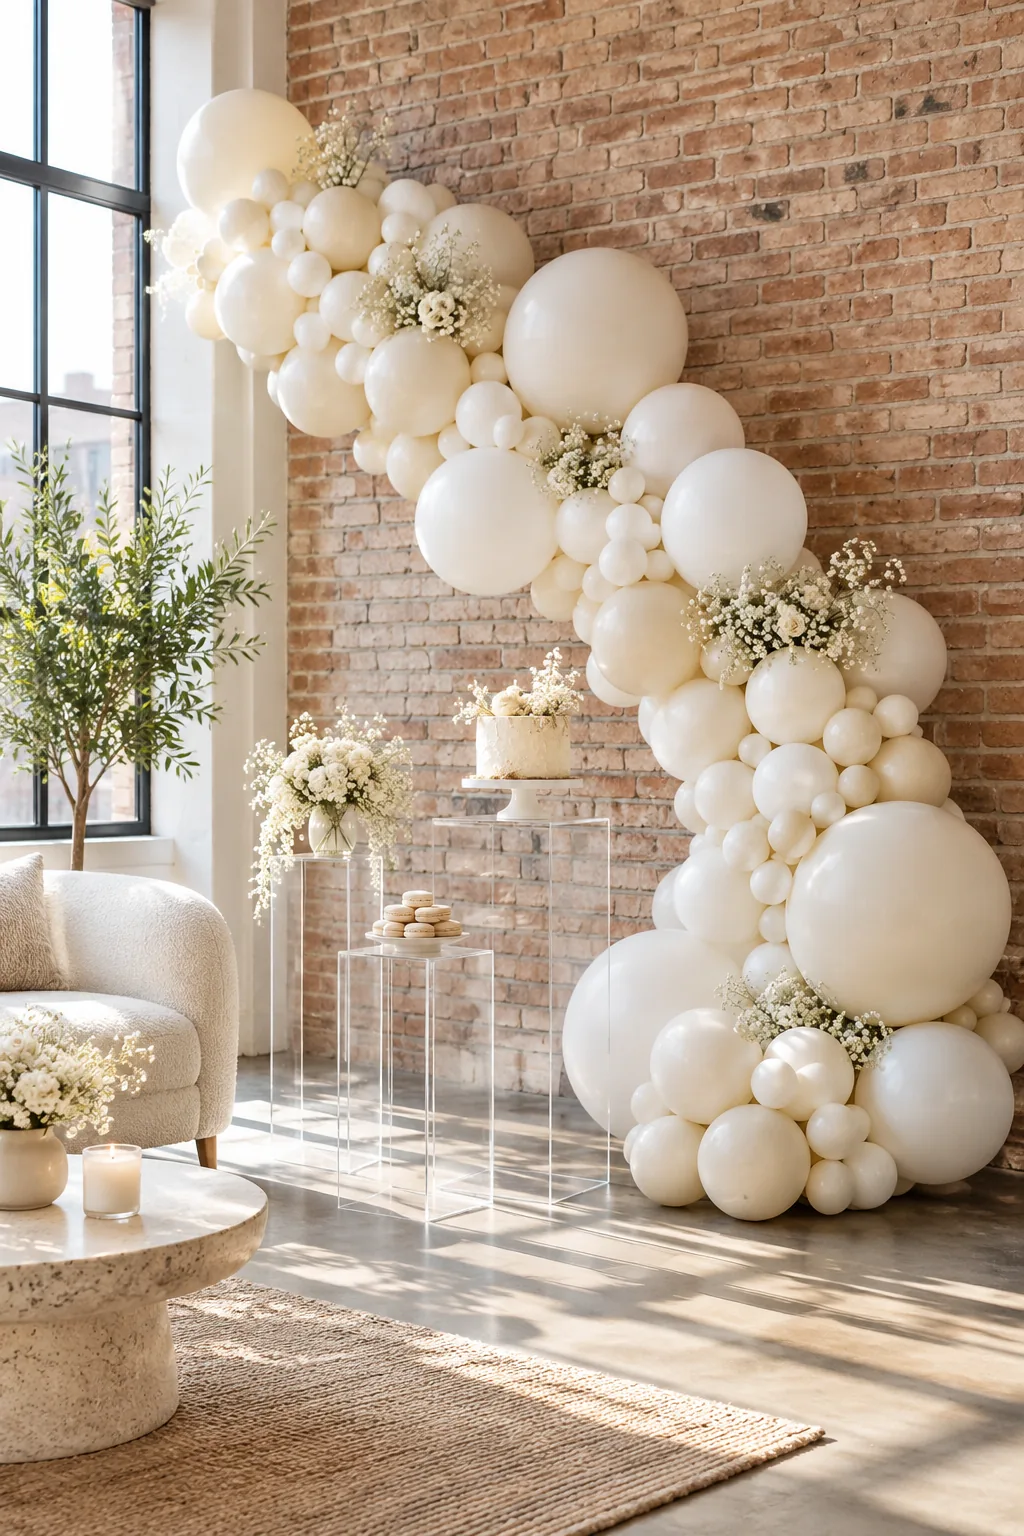
Minimalist Monochromatic White: An all-white palette feels incredibly modern and fresh when set against industrial architectural details.
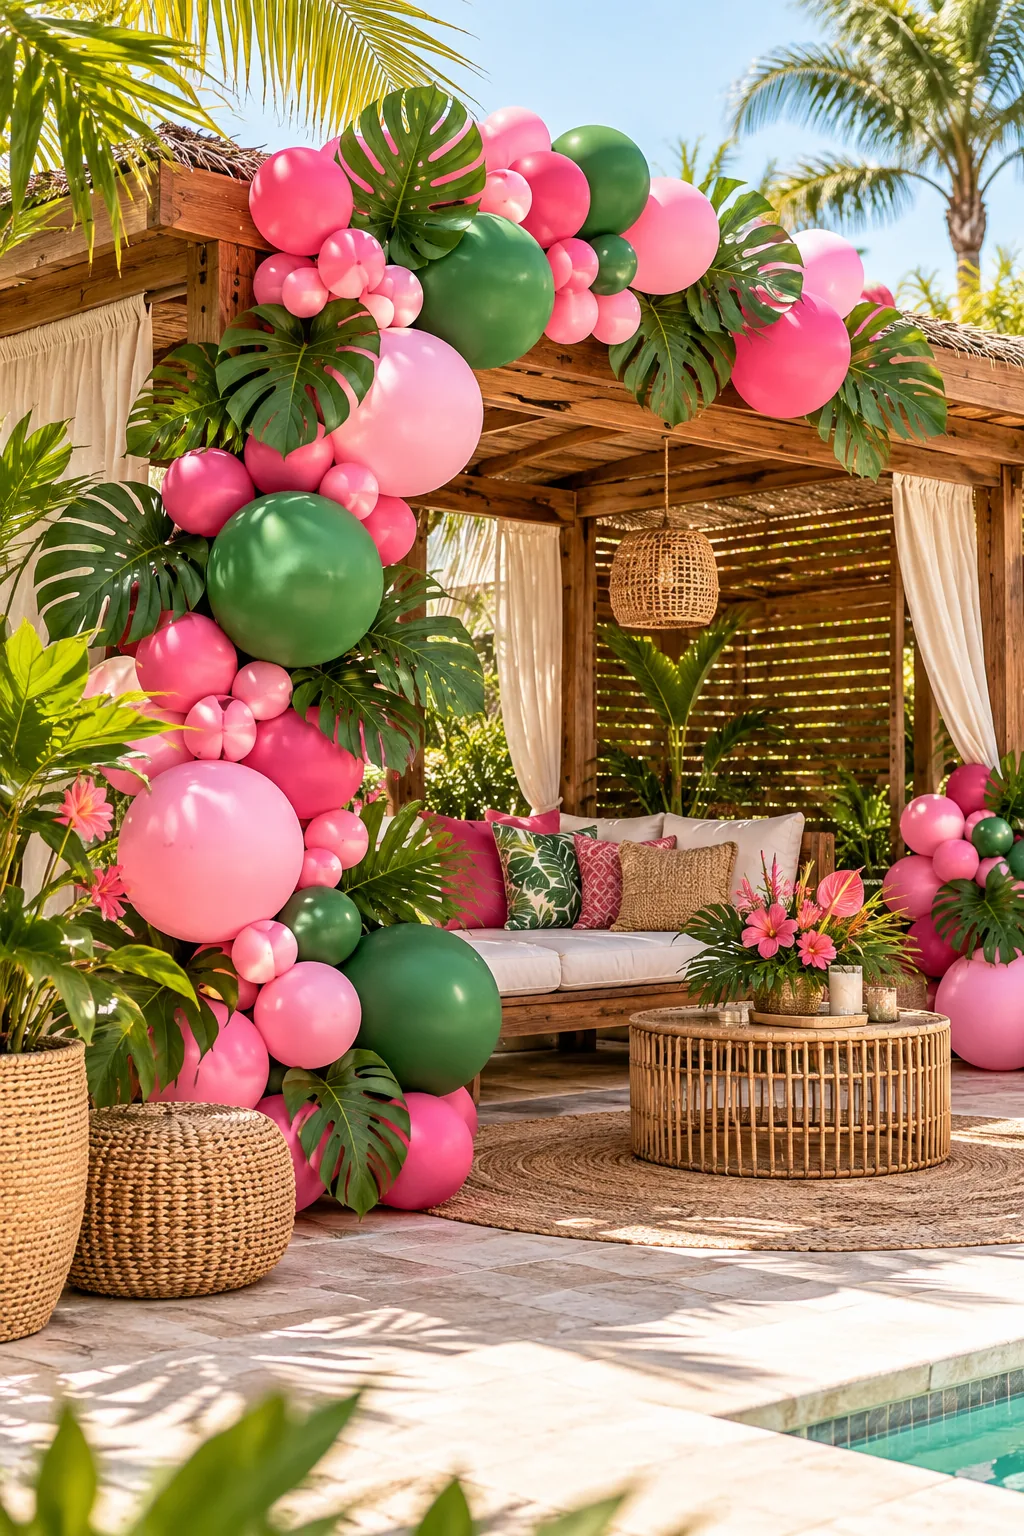
Tropical Pink and Green: Vibrant pinks mixed with fresh palm greens bring lively, energetic color to an outdoor patio party.
Styling the Dessert Cart Scene
Finish the setup by layering the space in front of the garland with a wooden dessert cart positioned slightly offset to create visual depth. Dress the cart with a draped linen runner, a simple buttercream cake, and delicate baby’s breath to tie the whole aesthetic together.