
How to Build an Electric Fireplace Nook in One Saturday
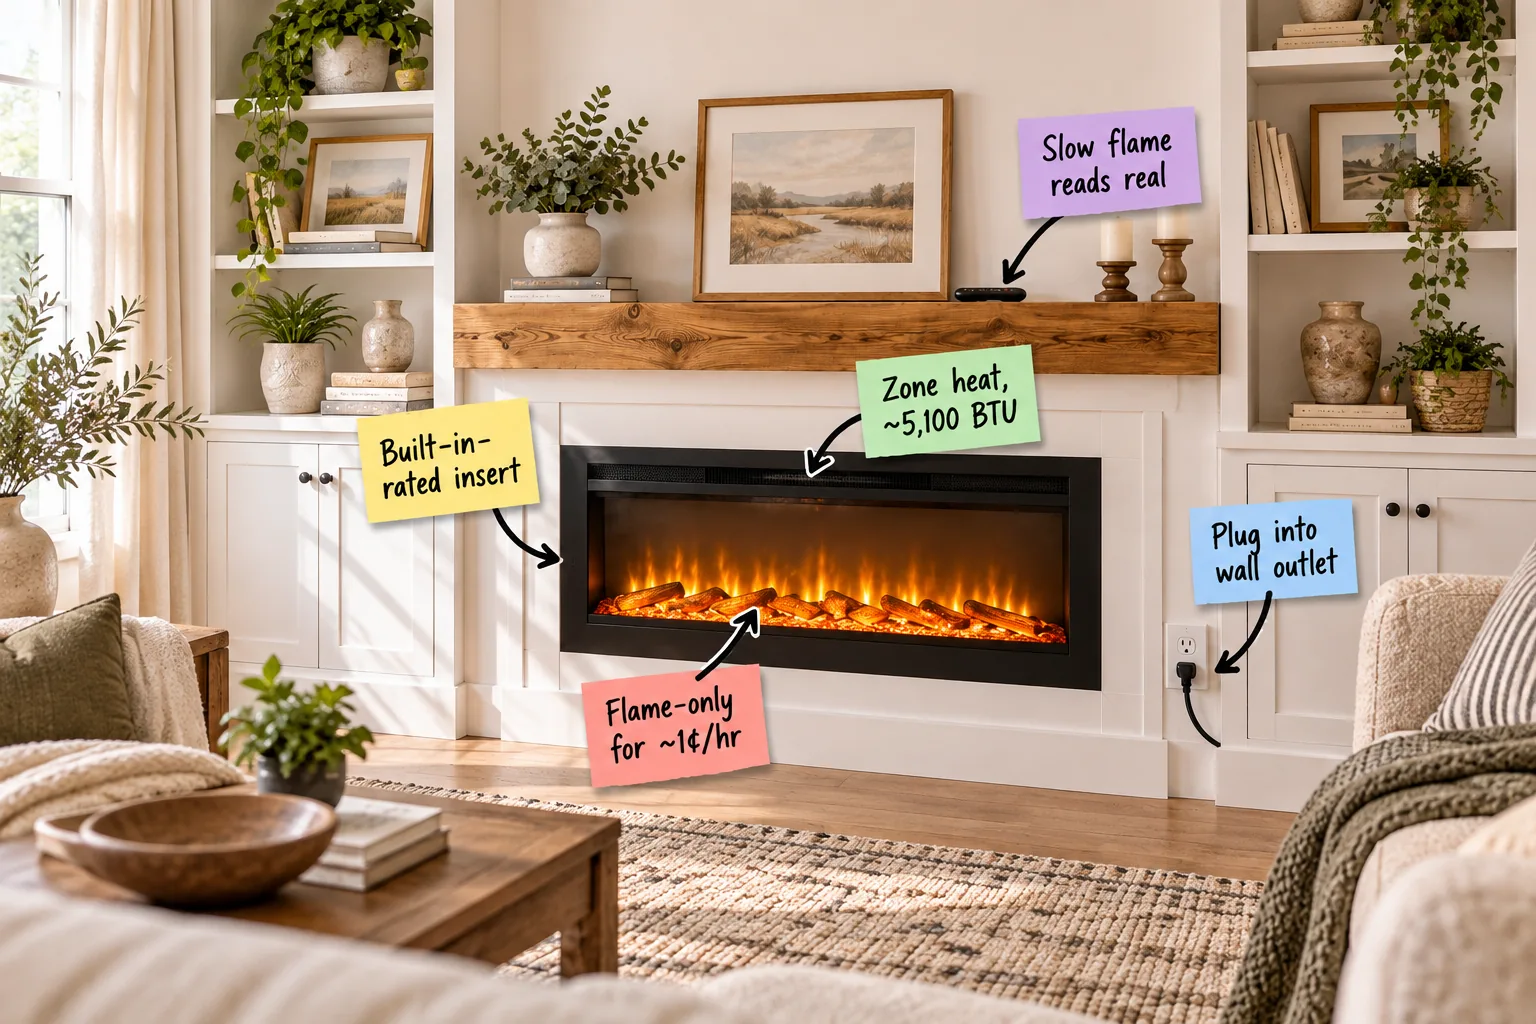
You will be able to measure, cut, and assemble a custom mantel box between two flat-pack bookcases to house a plug-in electric fireplace insert, completely transforming your space. Grab our one-Saturday build checklist with cut lists, outlet specs, and realistic flame settings to confidently tackle this weekend living room upgrade.
Siting the Fireplace Near Wall Power
When I first planned my living room layout, I realized that positioning the right-side bookcase to leave an existing 120V electrical outlet accessible saved me a massive electrician bill. Plan your wall layout around this power source, because standard plug-in inserts require a dedicated 15-amp circuit.
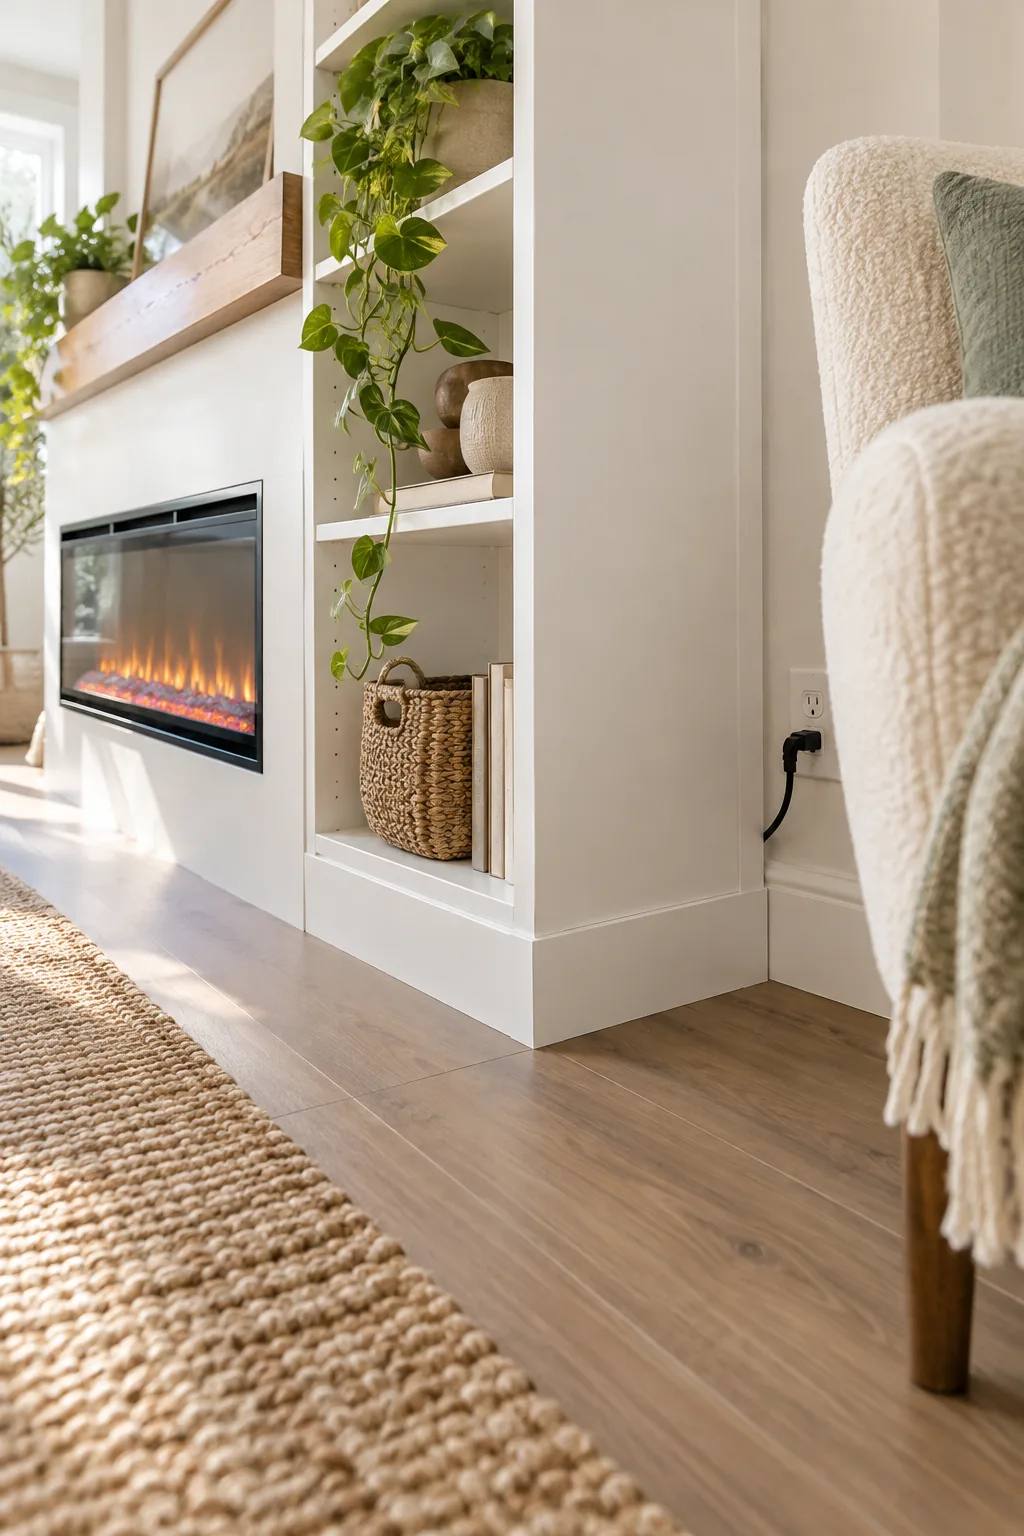
Keep the cord accessible behind a strategically placed accent chair, ensuring you can easily unplug the unit for seasonal maintenance or cleaning. Powering a heating appliance requires strict adherence to basic electrical safety guidelines to prevent tripped breakers or hidden residential fire hazards.
Anchoring the Flanking Bookcases
Use two standard 30-inch flat-pack bookcases as the structural anchors for the entire fireplace build. Securing them directly to the wall studs establishes perfectly plumb boundaries, ensuring the center void where the fireplace will sit remains completely square and ready for the framing lumber.
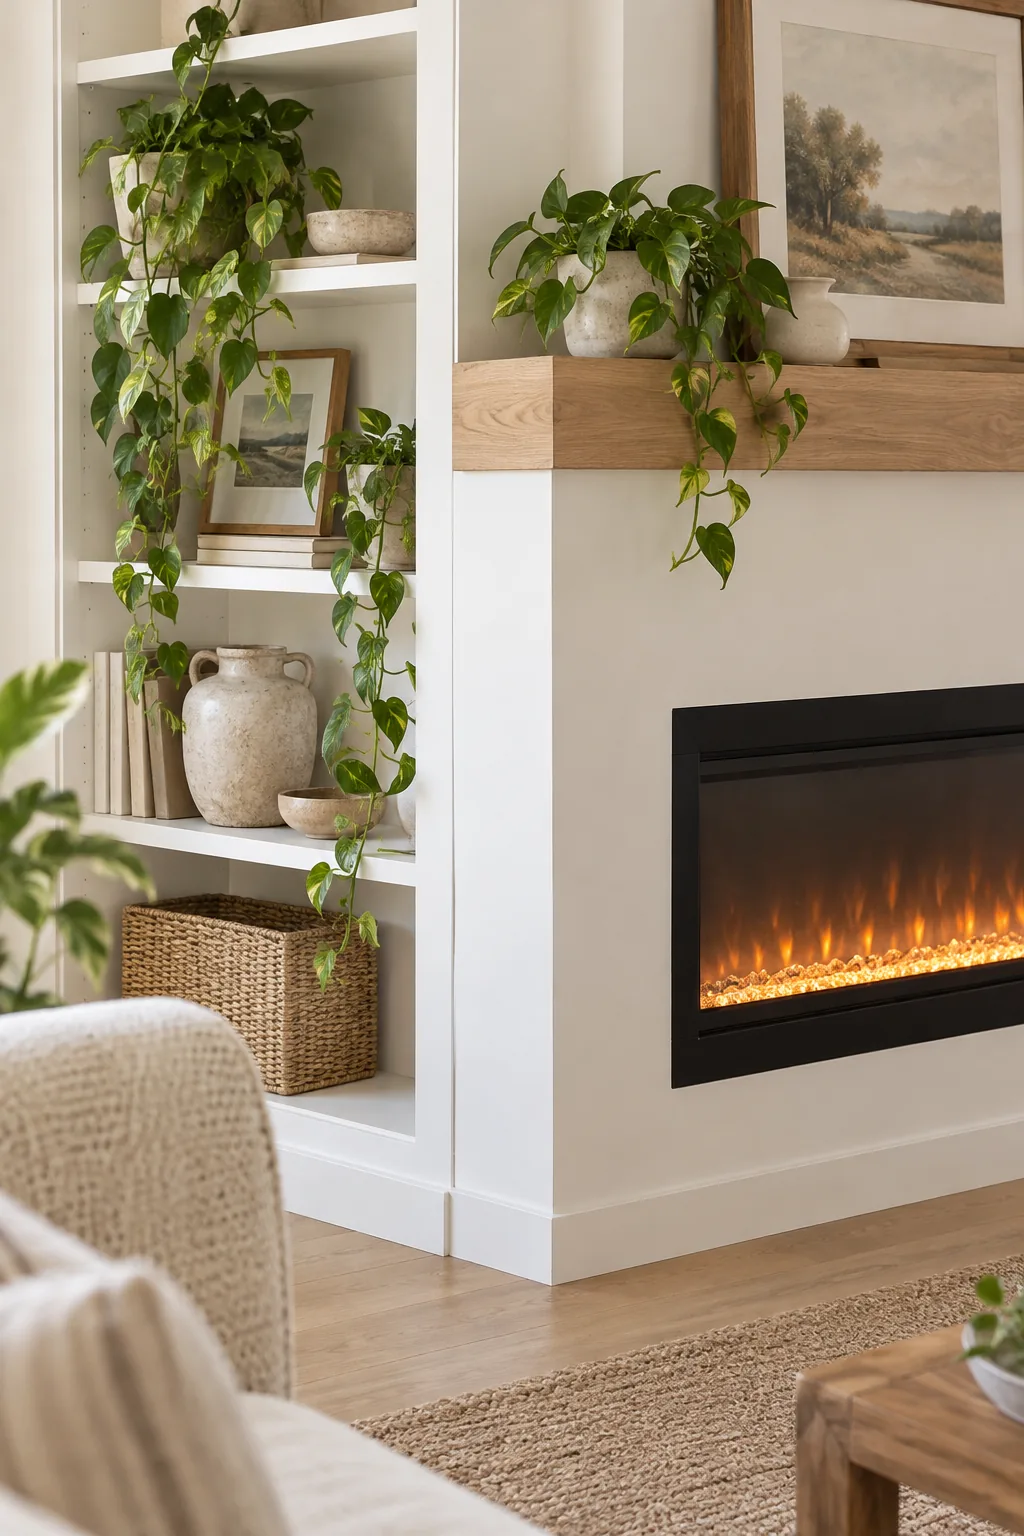
Pre-made shelving saves hours of custom carpentry work and provides a beautiful built-in look when trimmed out with baseboards. Driving three-inch construction screws through the upper cabinet rail into your wall studs guarantees the entire assembly will never shift, lean, or slowly pull away.
Sizing for a Built-In-Rated Insert
I learned the hard way on a previous build that you must select a linear insert explicitly rated for built-in installation. These front-venting units allow combustible MDF trim to sit flush against the metal casing without overheating, creating a truly seamless, custom-built appearance.
Checking the manufacturer documentation ensures your chosen model is safely certified for zero-clearance installations inside standard wooden wall framing. This critical rating means the internal heat shields are robust enough to protect your surrounding woodwork from long-term damage or dangerous temperature buildup over time.
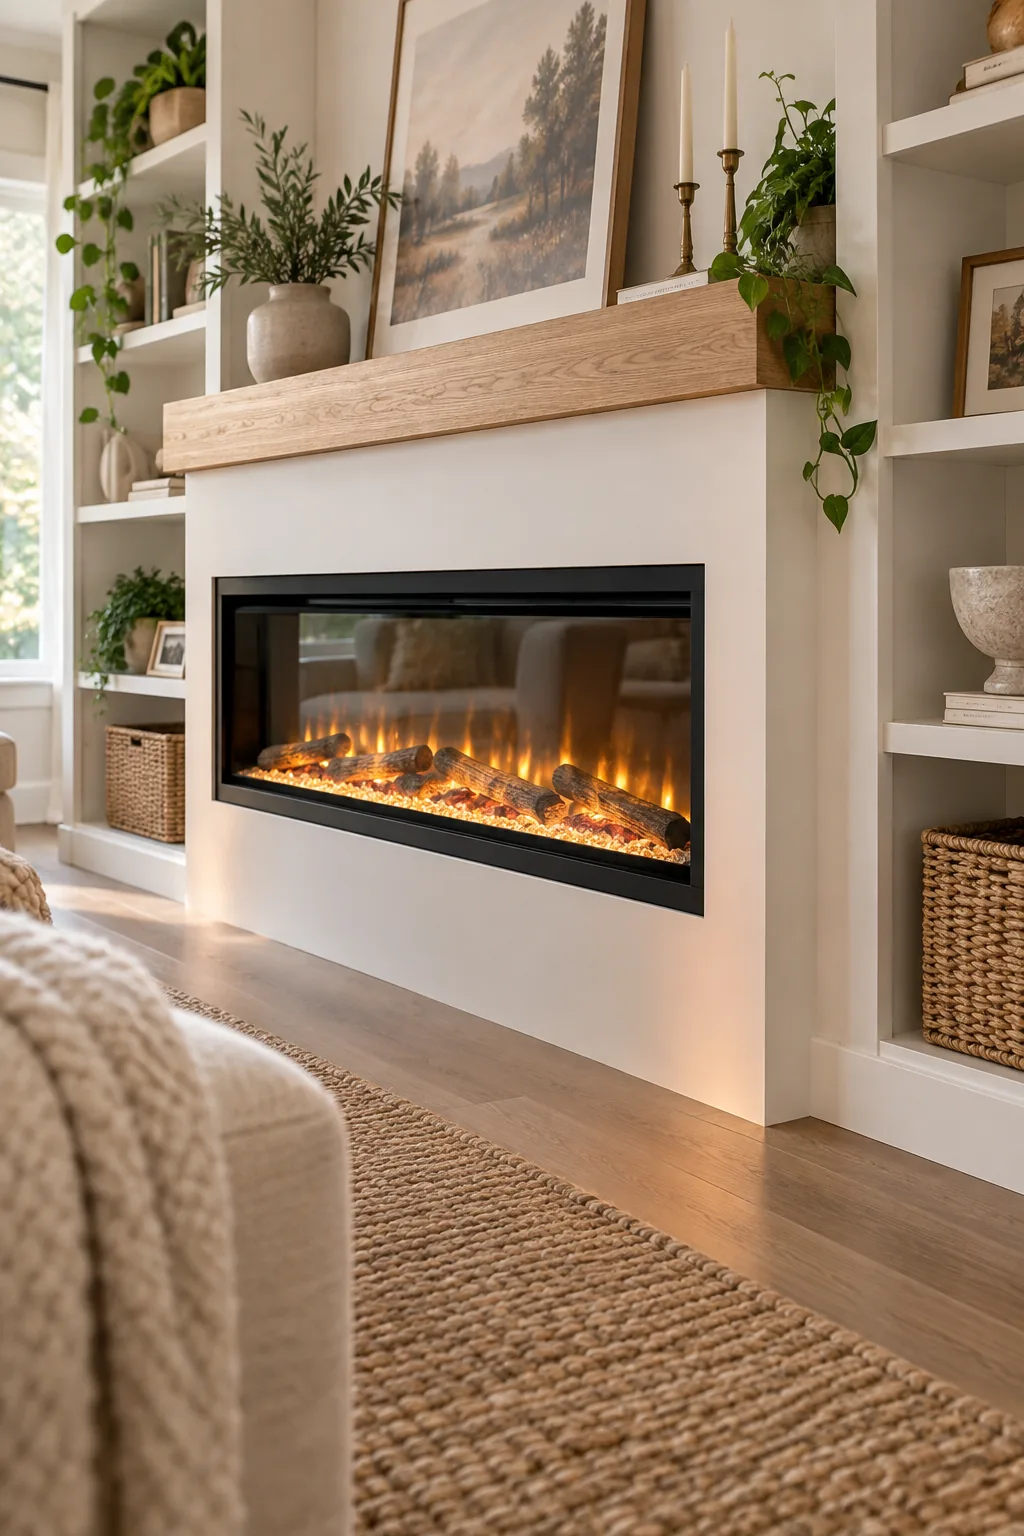
Front-venting units allow combustible wood trim right to the edge, completely hiding the unsightly metal mounting flanges from view. Applying a bead of paintable caulk between the MDF and the black metal frame creates an incredibly professional transition that looks permanently installed.
Framing the Center Fireplace Box
Construct a simple 2×4 lumber frame spanning the exact gap between your anchored bookcases, creating a sturdy structural skeleton. You will face this rough framing with smooth, paint-grade MDF to perfectly match the flanking cabinet material and hide the internal supports.
- Measure the exact distance between the inner walls of both anchored bookcases at the floor and ceiling to account for any unlevel surfaces.
- Cut your 2×4 base plates and top plates to this precise width, ensuring a snug friction fit before driving any screws.
- Install vertical framing studs every sixteen inches along the plates to adequately support the heavy MDF facing and the solid oak mantel.
- Frame the specific rectangular rough opening required for your insert model, double-checking the exact dimensions listed in the manufacturer’s installation manual.
- Add horizontal blocking directly behind the top edge where the mantel will eventually attach, giving your finish nails solid wood to bite into.
- Drill a small, one-inch hole through the lower right framing stud to easily pass the power cord through to the adjacent wall outlet.
Leave a precise rough opening according to the insert manual, which typically requires a 1/4-inch clearance on all sides for sliding the unit in. This tiny gap ensures the metal housing can expand slightly when the internal heating element runs at full capacity.
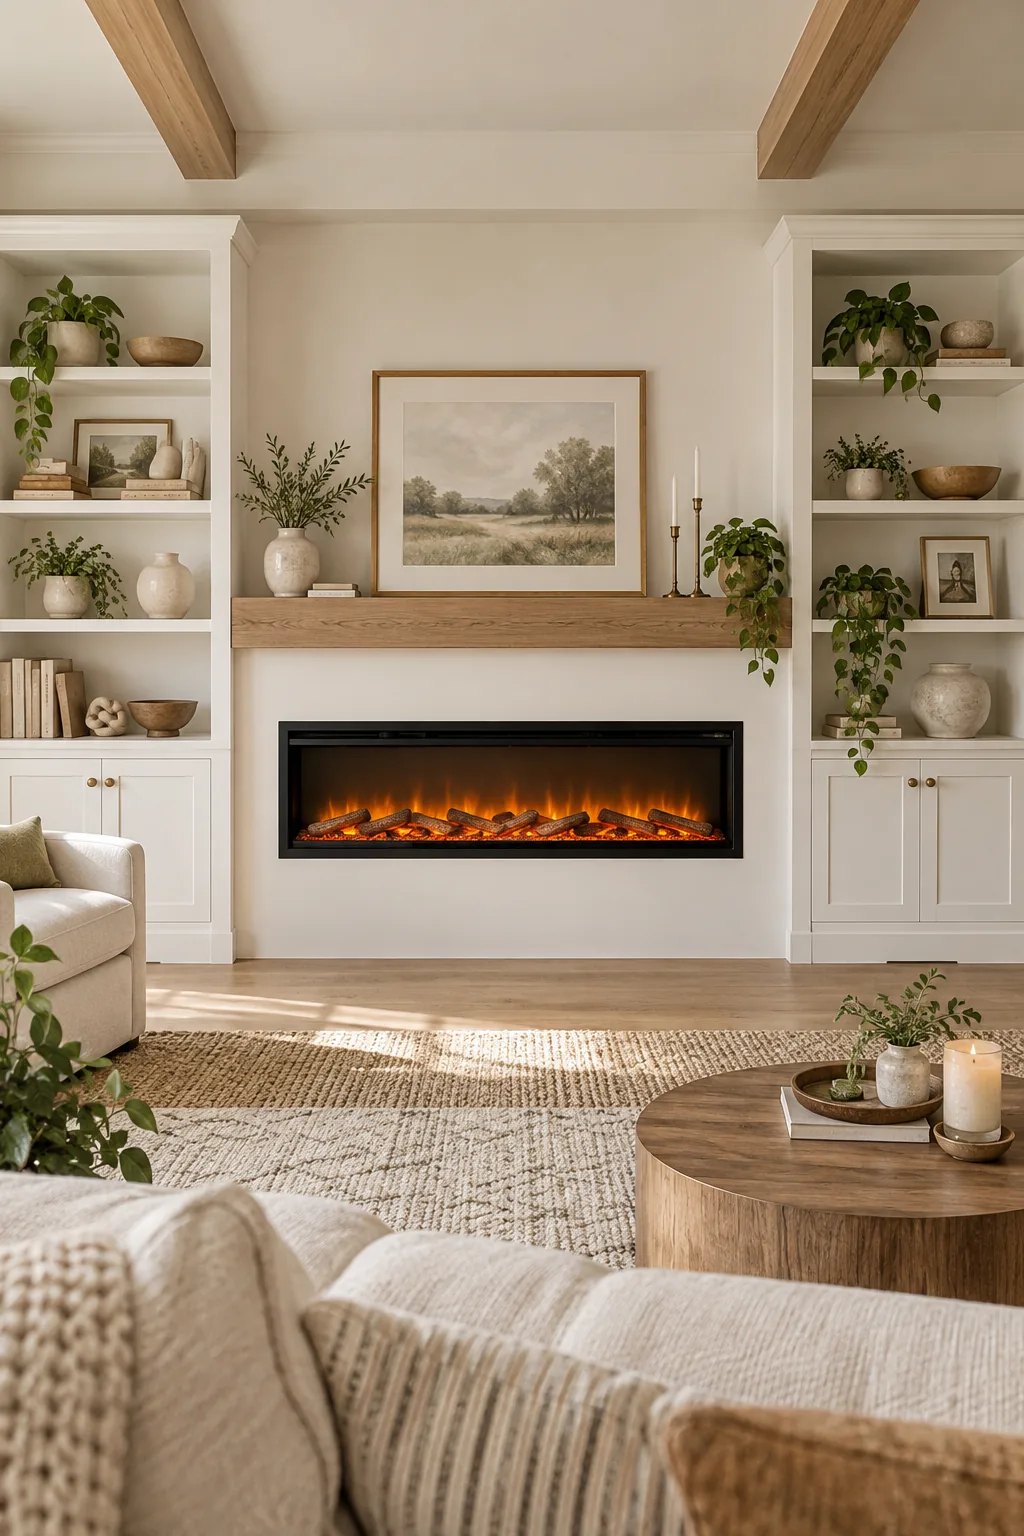
MDF facing paints smoothly for a seamless built-in finish that mimics expensive custom cabinetry without the premium price tag. Countersink all your trim screws and fill the holes with wood putty before sanding everything perfectly flat for the final coats of durable enamel paint.
Maximizing Zone Heat Efficiency
During our rare Austin winter freezes, this slim vent strip along the top edge pushes out approximately 5,100 BTUs of zone heating. This is enough to comfortably warm a 400-square-foot living area without forcing you to turn up the whole-house thermostat and waste expensive energy.
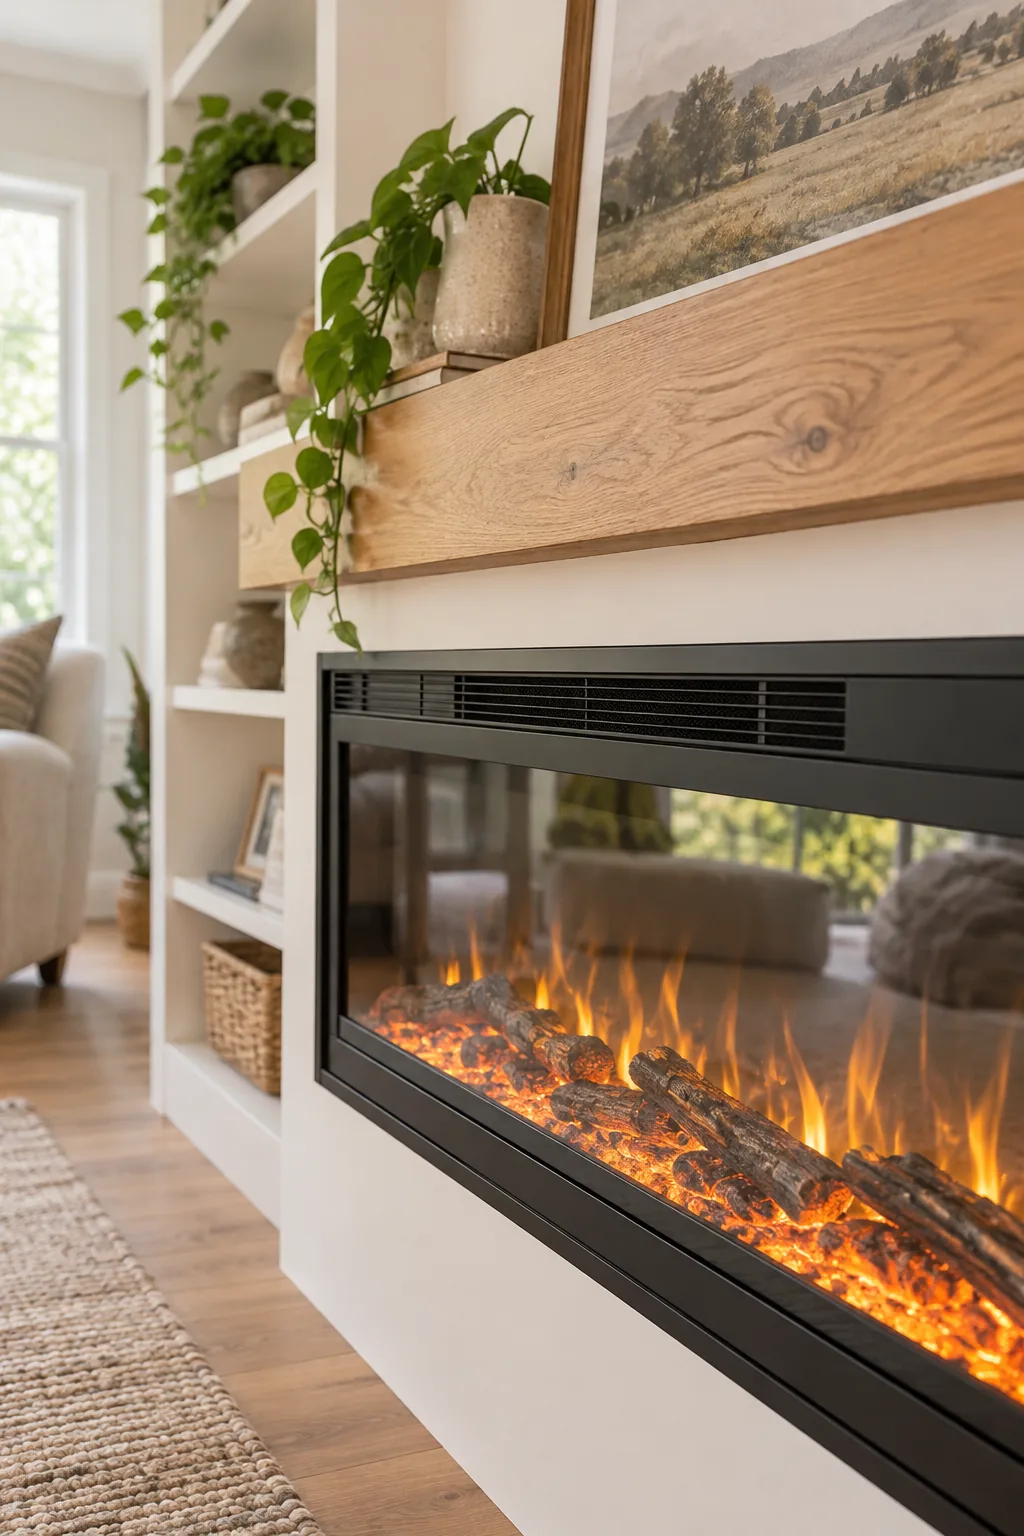
Supplemental heating warms the living area without running the furnace, keeping your winter energy bills surprisingly low while you relax. The built-in blower fan distributes this warm air gently into the room rather than letting it rise straight up into the bottom of the mantel.
Securing the Oak Mantel Plank
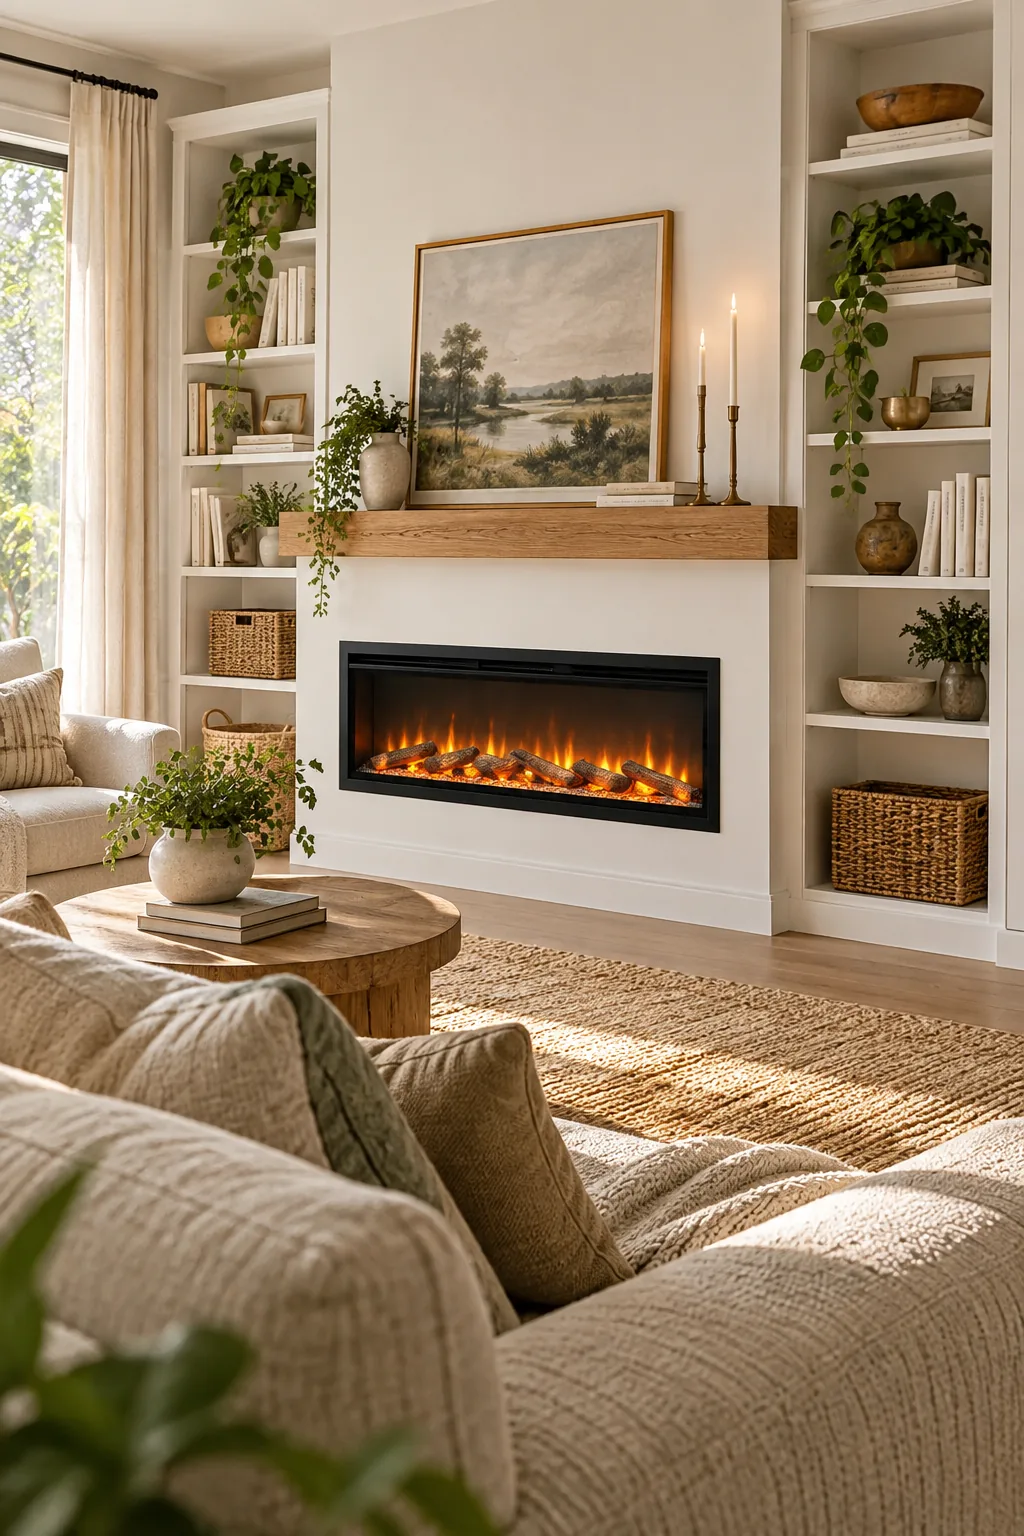
Cap the MDF center box with a solid oak plank to add natural warmth and a durable styling surface for your favorite art. Overhanging the plank by exactly 1 inch on the front and sides creates a traditional mantel profile that ties everything together.
| Mantel Dimension | Measurement Rule | Design Purpose | Safety Note |
|---|---|---|---|
| Overall Depth | Box depth plus 1 inch | Creates a traditional front overhang | Keeps heat from trapping underneath |
| Overall Width | Box width plus 2 inches | Allows a 1-inch overhang on both sides | Bridges the gap between bookcases |
| Wood Thickness | 1.5 to 2 inches minimum | Provides visual weight and proportion | Prevents warping from temperature changes |
| Vertical Clearance | Minimum 8 inches above vent | Allows proper airflow into the room | Protects wood from continuous heat exposure |
| Fastening Method | Construction adhesive and nails | Secures board without visible top screws | Prevents shifting if bumped |
| Finish Type | Clear matte polyurethane | Protects wood from moisture and dust | Maintains natural raw oak appearance |
Applying a clear matte polyurethane finish protects the raw oak from moisture while preserving its natural, light-toned beauty for years. Use heavy-duty construction adhesive and finish nails to secure the board directly to the top plate of your perfectly leveled MDF center box.
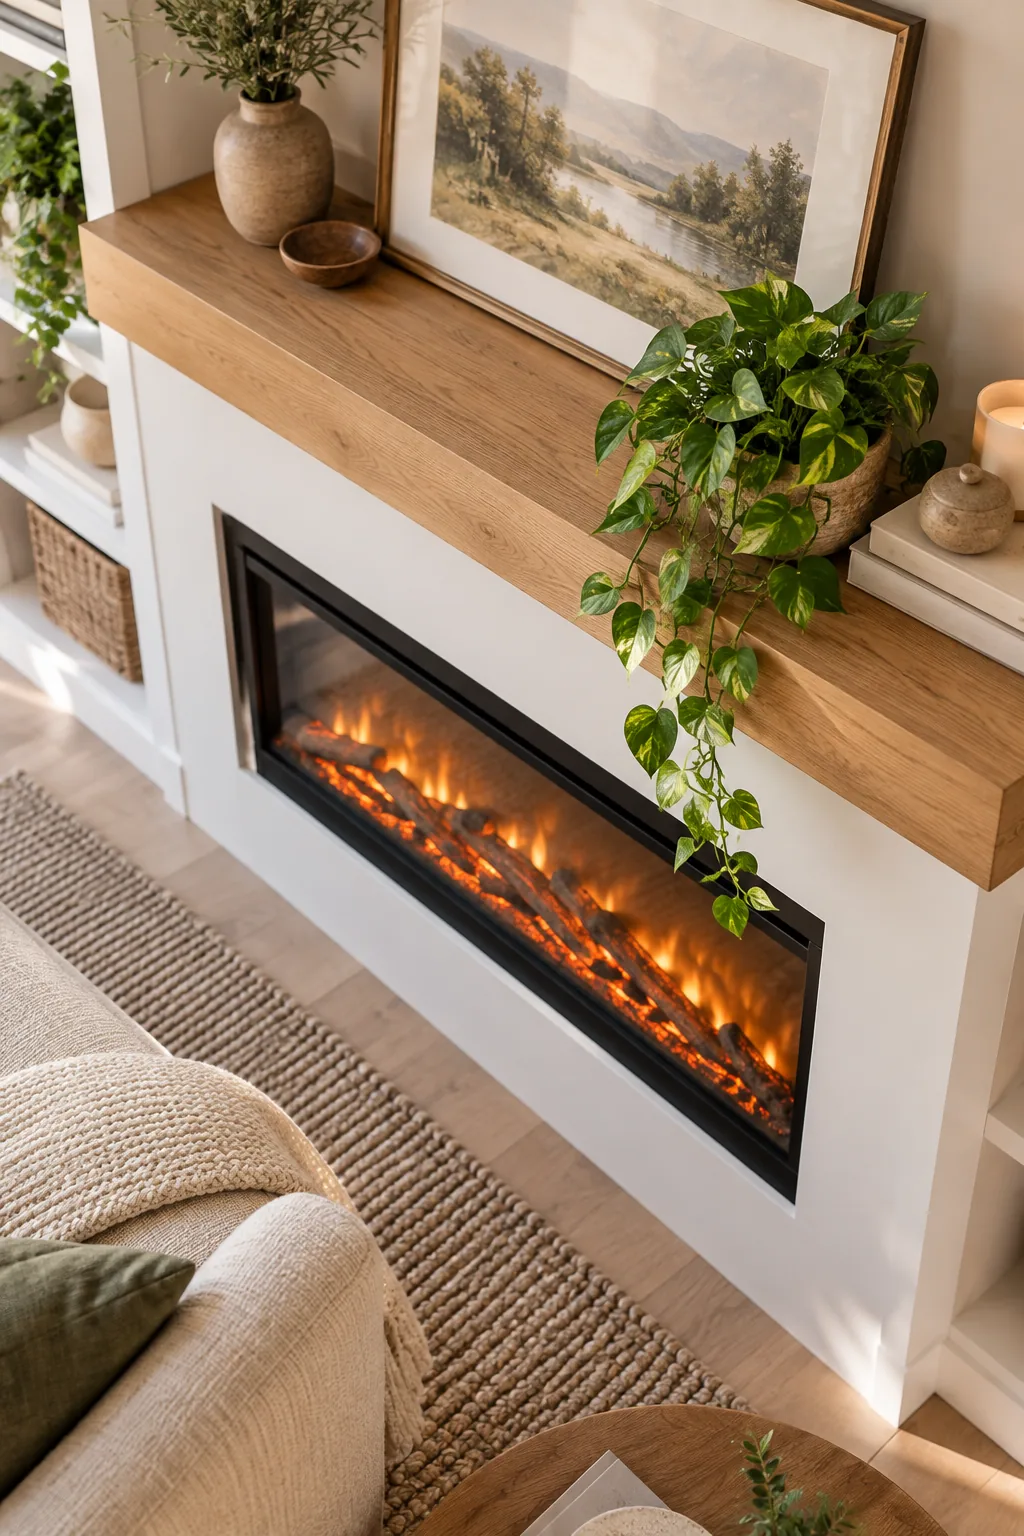
A solid wood top grounds the white cabinetry with warmth and provides a dedicated zone for rotating seasonal decor. Tying the bookcases together with this continuous horizontal line makes the entire three-piece assembly look like one cohesive, intentionally designed architectural feature in your home.
Setting a Realistic Flame Effect
My favorite trick for making this affordable unit look high-end is using the remote to select a slow, amber-only flame speed. This specific setting mimics the lazy, mesmerizing flicker of a real wood fire rather than a frantic, obviously artificial LED loop.
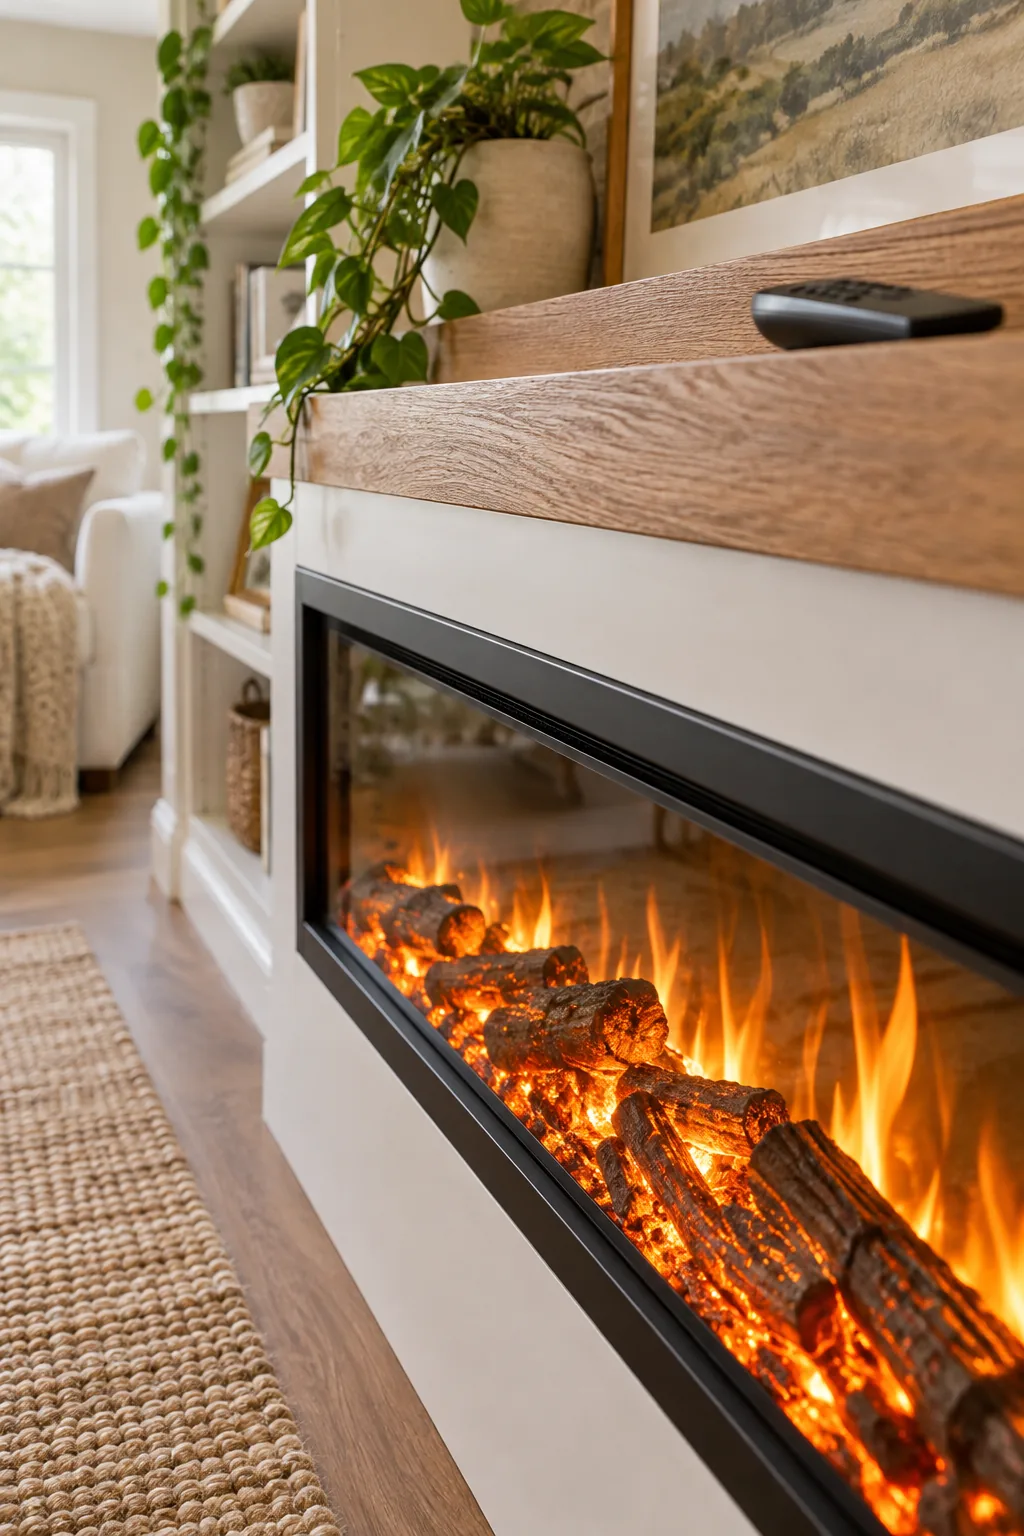
Lowering the flicker speed immediately upgrades the visual authenticity, often fooling guests into thinking you installed a traditional gas unit. Running this visual effect without engaging the heater draws minimal wattage, costing only about 1¢ per hour to operate beautifully year-round.
5 Ways to Style an Electric Fireplace Nook
Discover how different materials and paint colors can completely change the mood of a built-in electric insert.
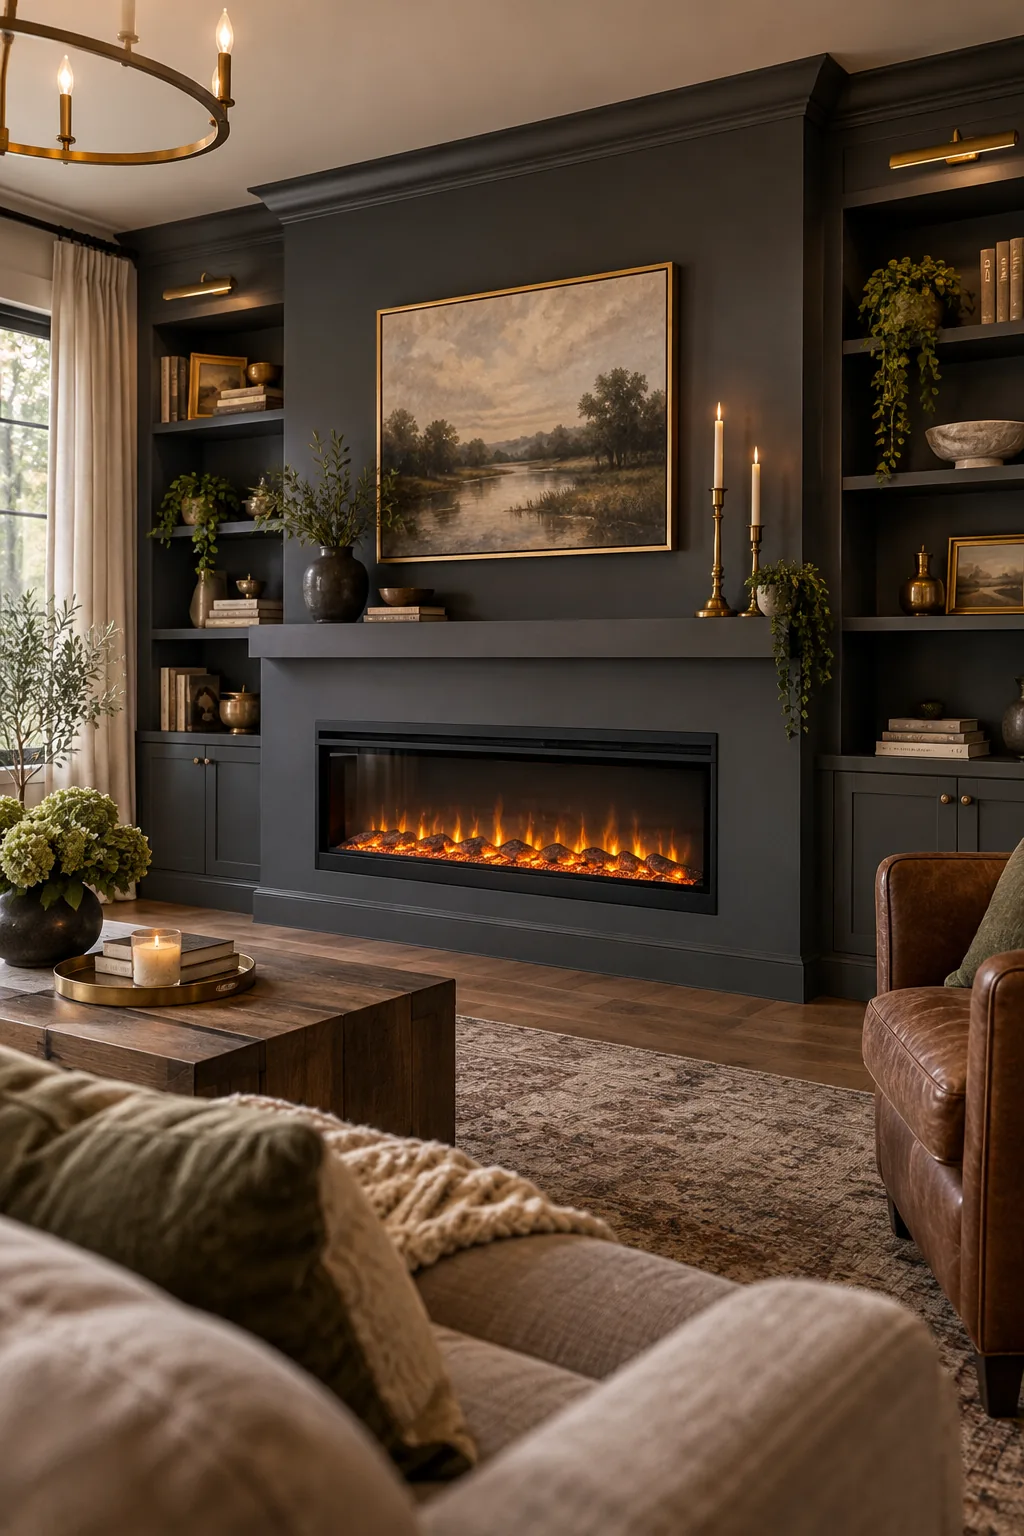
Moody Charcoal and Brass: Drench the entire wall in a deep charcoal gray to make the black insert blend seamlessly into the architecture.
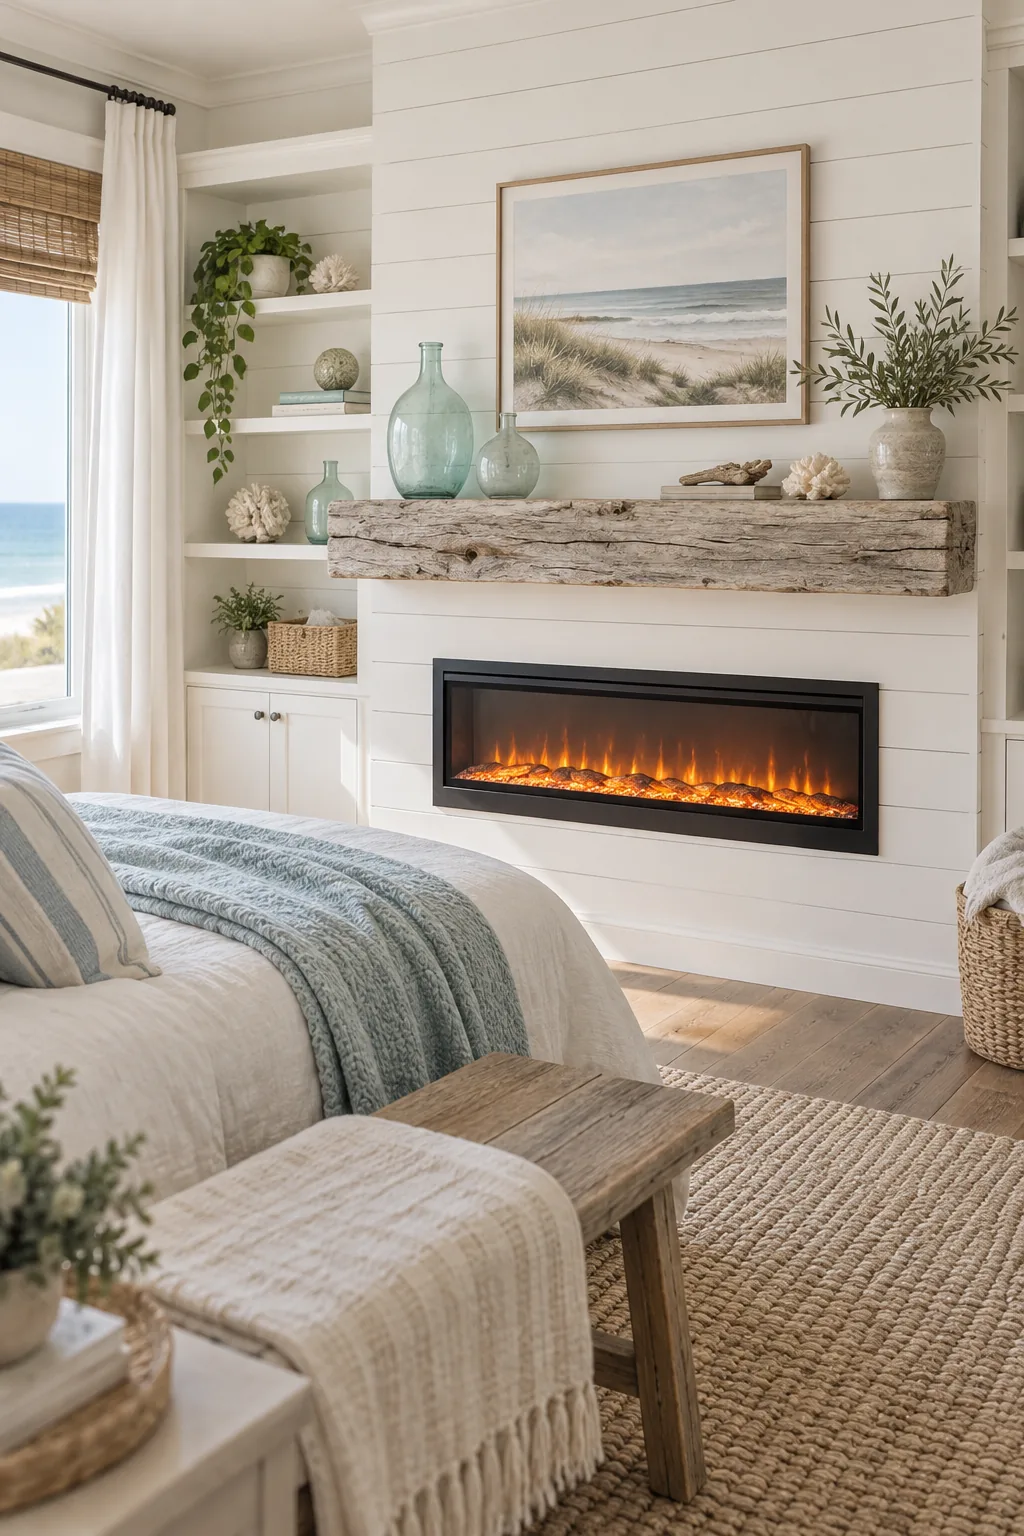
Coastal Whitewashed Shiplap: Wrap the center bump-out in vertical whitewashed shiplap to bring relaxed, beach-inspired texture to a bedroom.
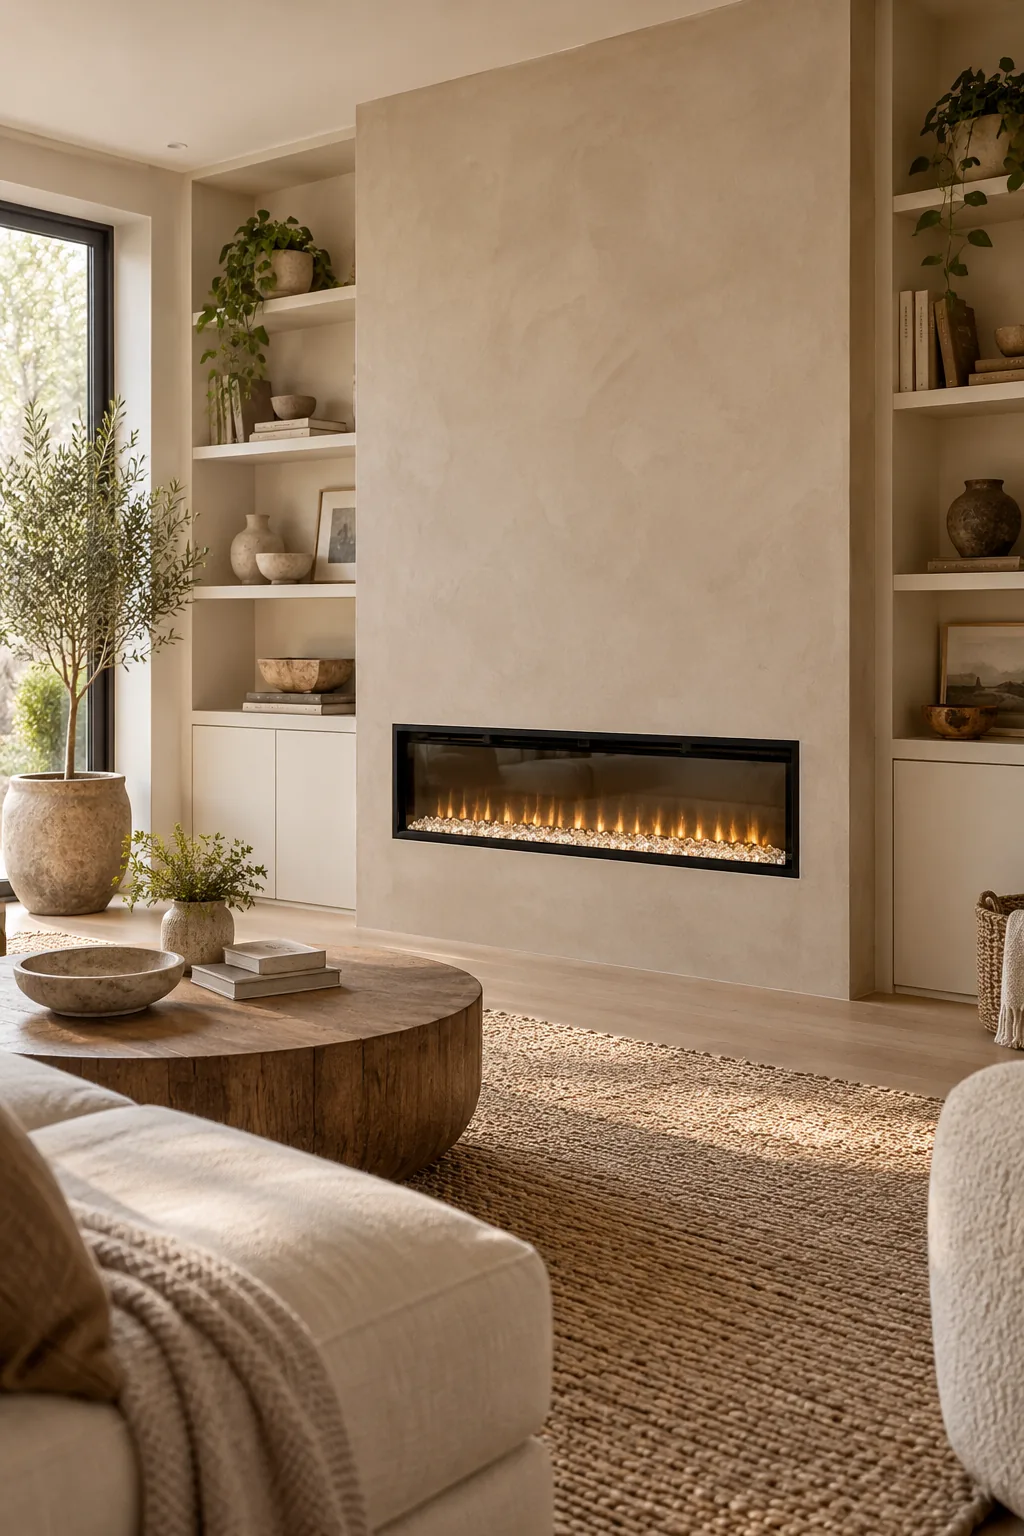
Minimalist Roman Clay: Skip the mantel entirely and finish the box in a textured Roman clay for a sleek, contemporary aesthetic.
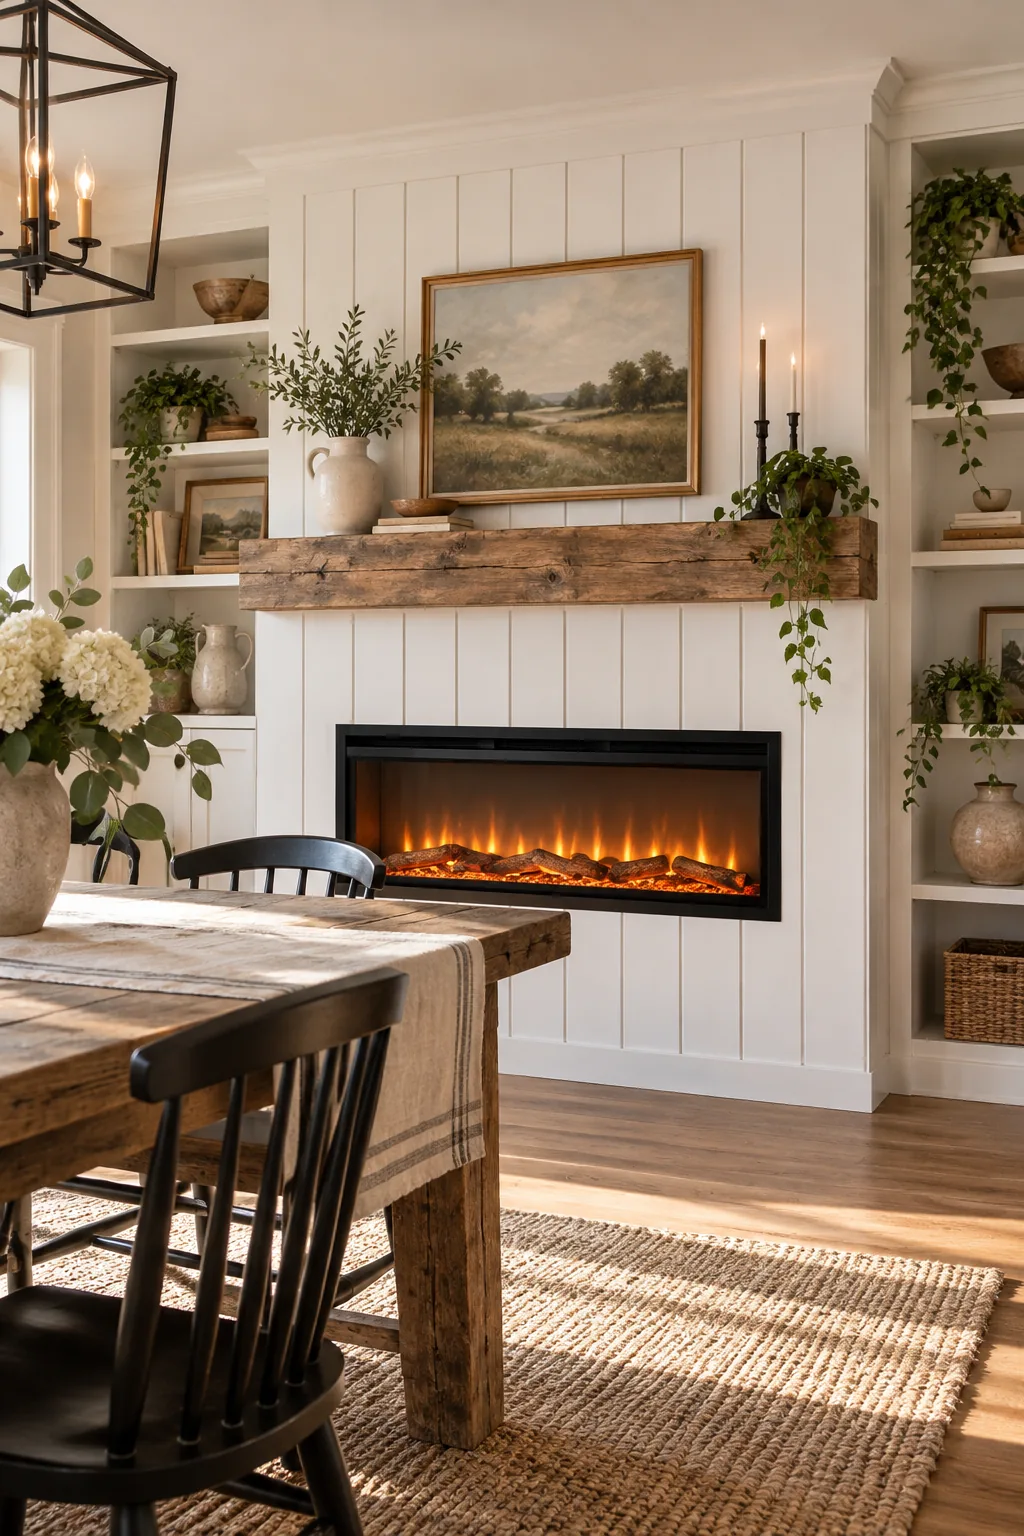
Farmhouse Board-and-Batten: Add architectural interest to a plain dining room wall by facing the fireplace box with classic board-and-batten trim.
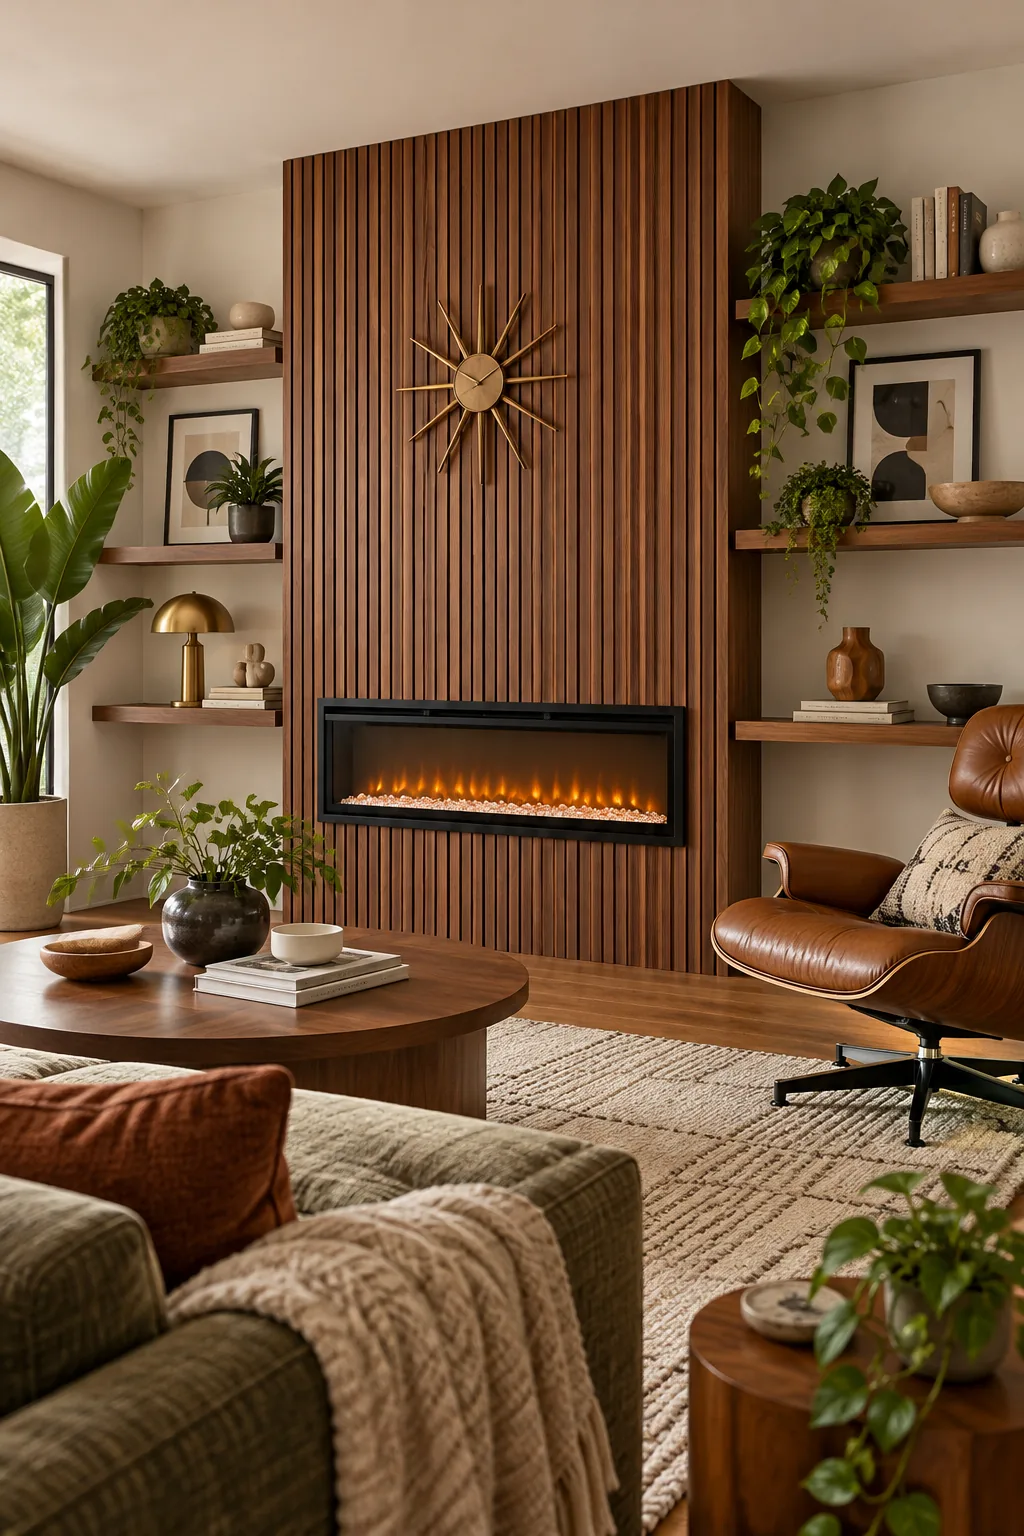
Mid-Century Walnut Slats: Clad the center surround in vertical walnut tambor to introduce rich, mid-century warmth and striking vertical lines.
The One-Saturday Mantel Build Checklist
Gather your measurements, lumber, and finishing materials before starting to ensure the project actually takes just one Saturday to complete. Having the exact cut list for the 2×4 framing and the MDF facing dimensions ready keeps your momentum going from morning until evening.
Complete the framing and trim in a single weekend afternoon by prepping your cuts and electrical specifications in advance. Before making your first cut, review these essential measurements to ensure your insert fits perfectly, operates safely, and looks completely built-in.