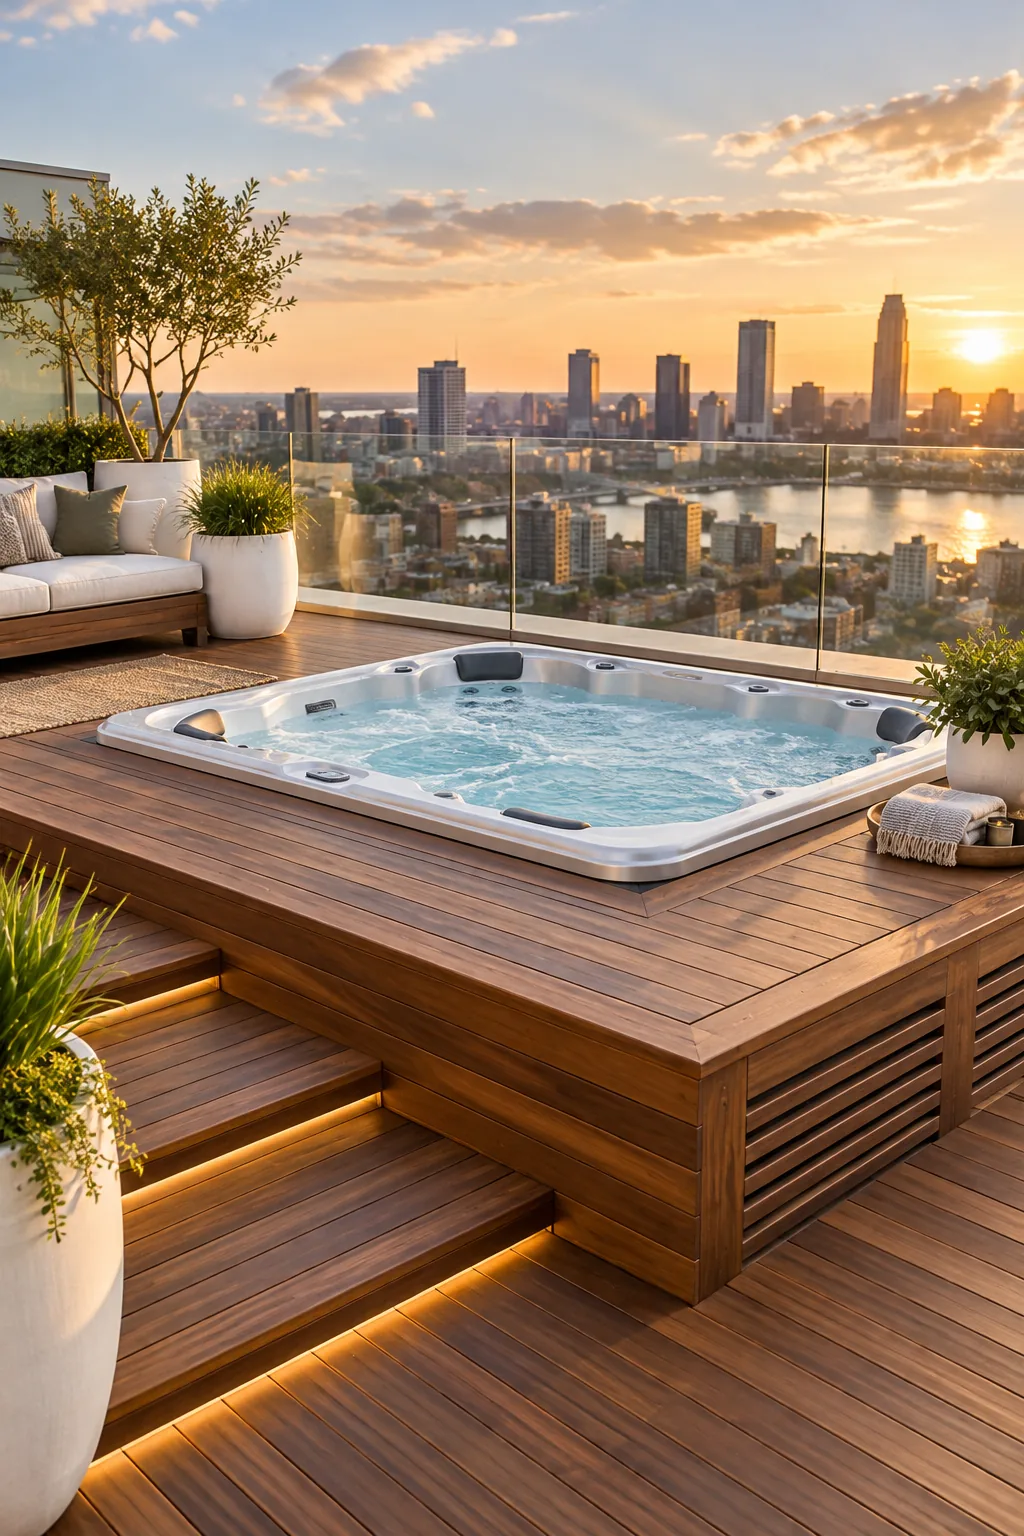
Half-Sunken Hot Tub Deck Plans: The Framing Clearance Sheet
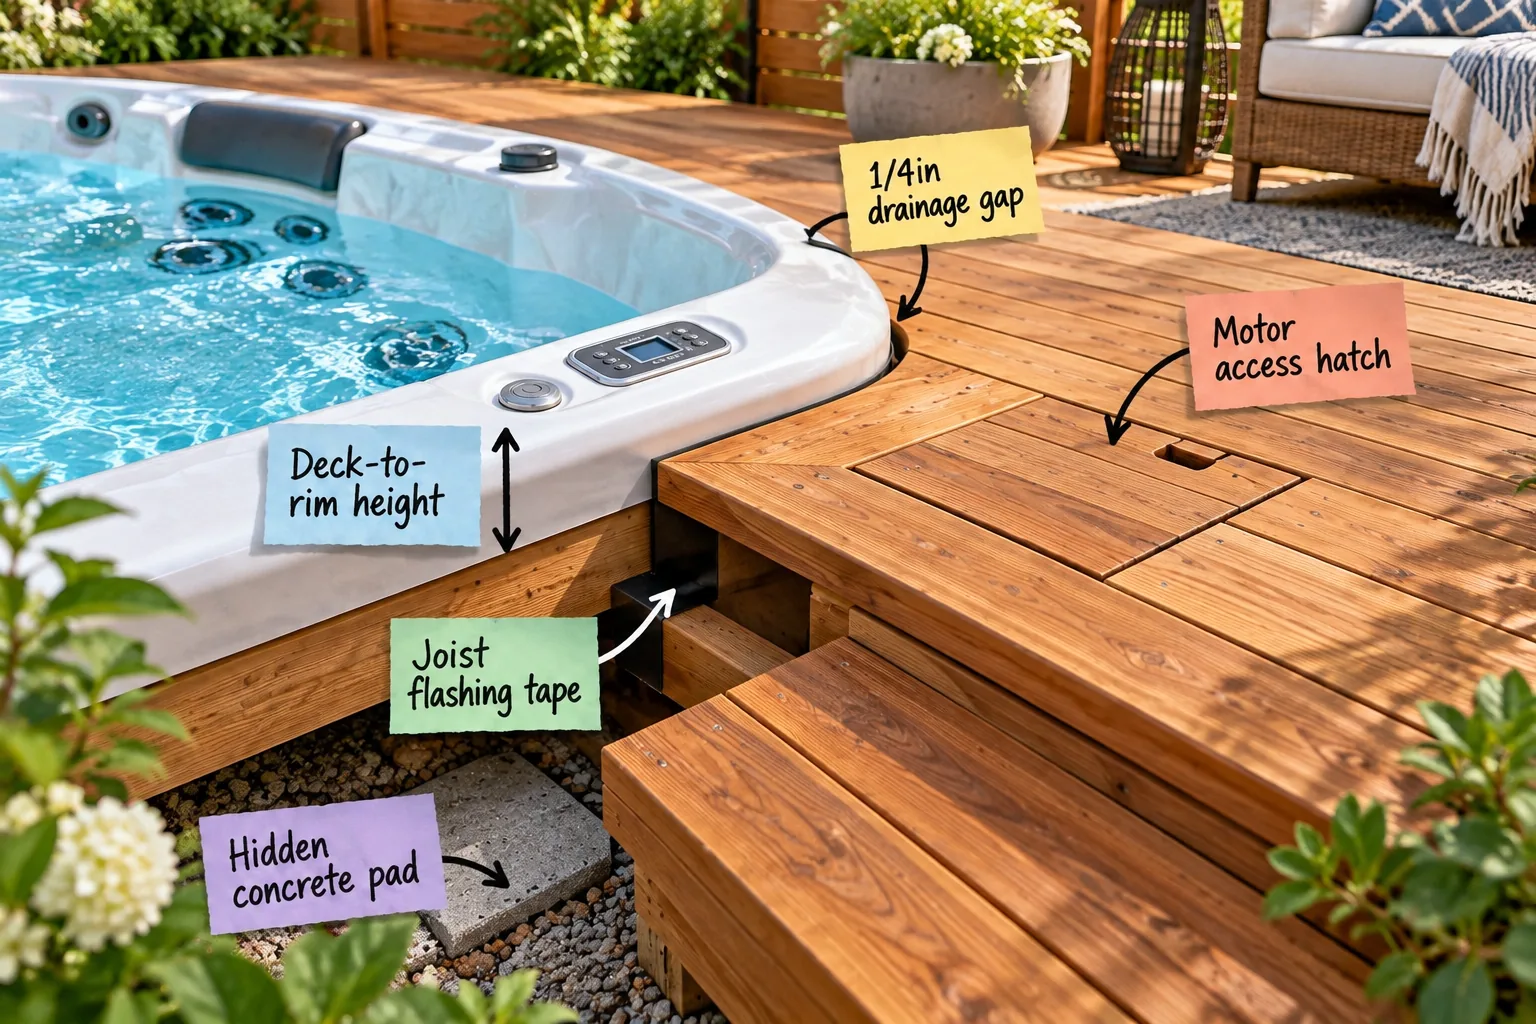
You can finally map out your exact foundation, frame the surrounding joists, and build a seamless access hatch using our complete framing and clearance measurement sheet. Download the guide today to plan your half-sunken hot tub deck with absolute structural precision.
Grab Your Framing Clearance Sheet
Start by downloading the framing clearance sheet to map out your exact footprint. When I built my own backyard oasis in Austin, having these standard 16-inch on-center joist spacing measurements saved me from costly structural mistakes.
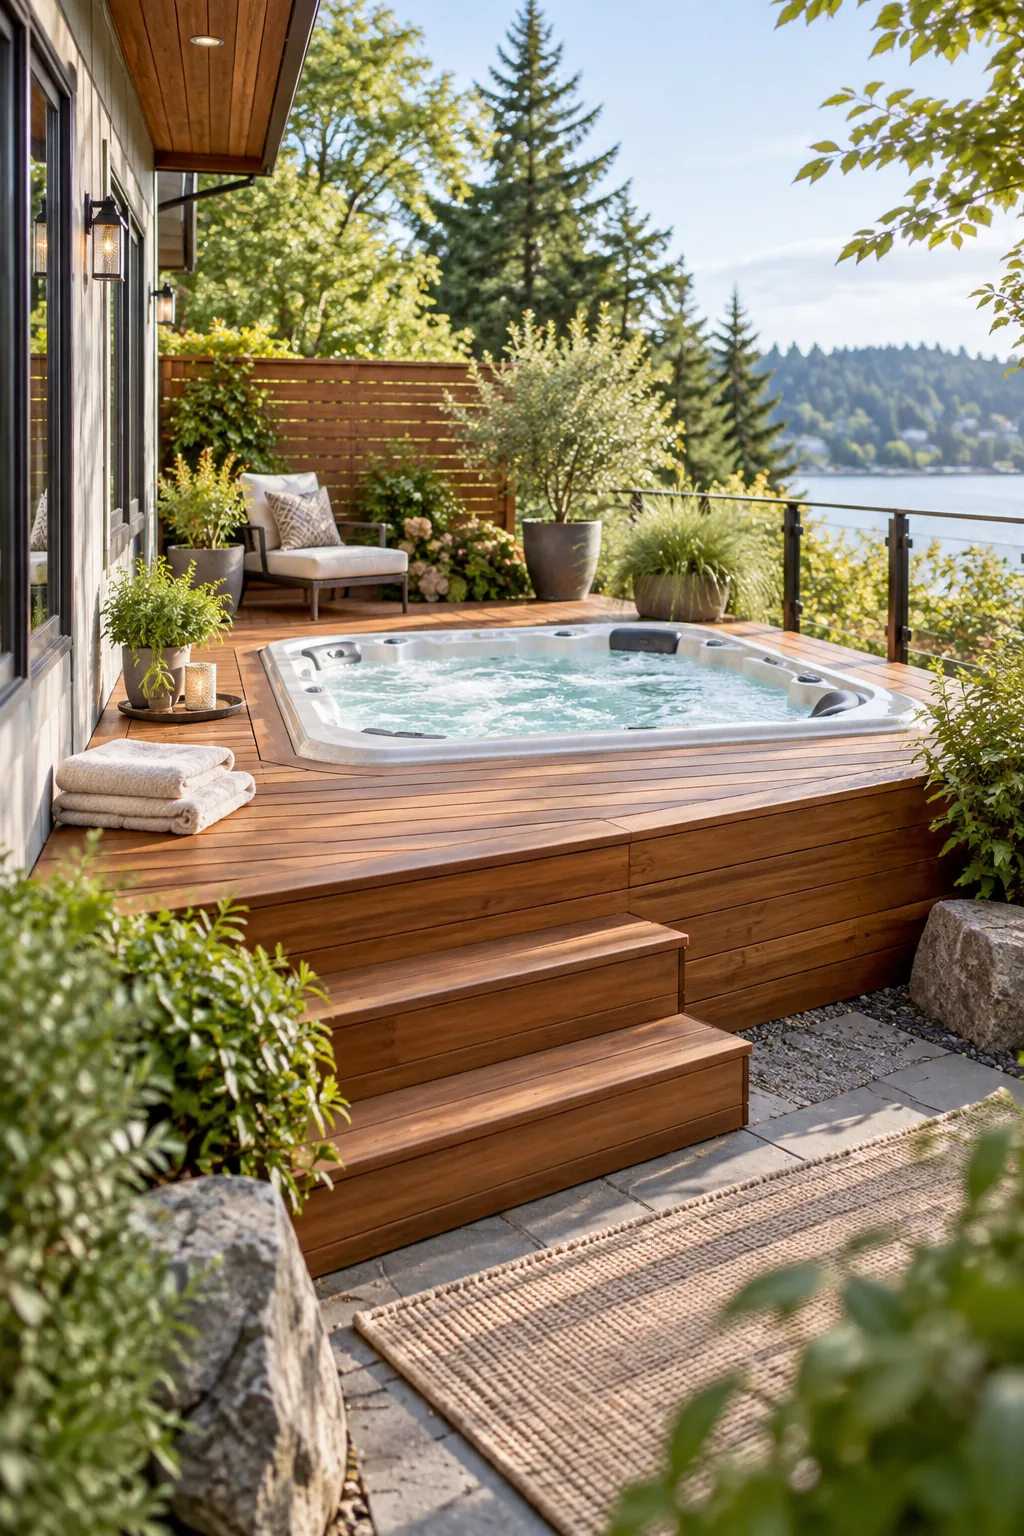
Before you mark your first post hole, verify these critical site conditions against your clearance sheet so your foundation aligns perfectly with local codes.
Mapping the Structural Footprint
A successful half-sunken spa requires two completely independent support systems that never touch. Use these standard baseline measurements from your sheet to separate the heavy water load from your pedestrian deck framing.
| Structure | Load Requirement | Minimum Spacing |
|---|---|---|
| Concrete Pad | 100+ lbs per sq ft | Zero (Independent) |
| Deck Joists | 50 lbs per sq ft | 16 inches on-center |
| Access Hatch | Pedestrian weight | 24-inch square |
Always mark the concrete pad footprint first, allowing an extra six inches of working room on all sides of the acrylic shell.
Marking the Excavation Zone
Drive wooden stakes at the four corners of your planned foundation and pull a high-visibility masonry string line tight between them. Measure diagonally across the layout to ensure your excavation zone is perfectly square before breaking ground.
Trenching for the Electrical Conduit
Hot tubs require hardwired electrical connections protected by a dedicated GFCI breaker. Dig an 18-inch deep trench from your house panel to the spa pad to bury the rigid PVC conduit safely below the frost line.
Pouring the Hidden Concrete Pad
A hot tub cannot sit on standard deck framing; it requires an independent foundation to prevent catastrophic failure. Pour a level, steel-reinforced hidden concrete pad at least four inches thick to support the immense water weight.
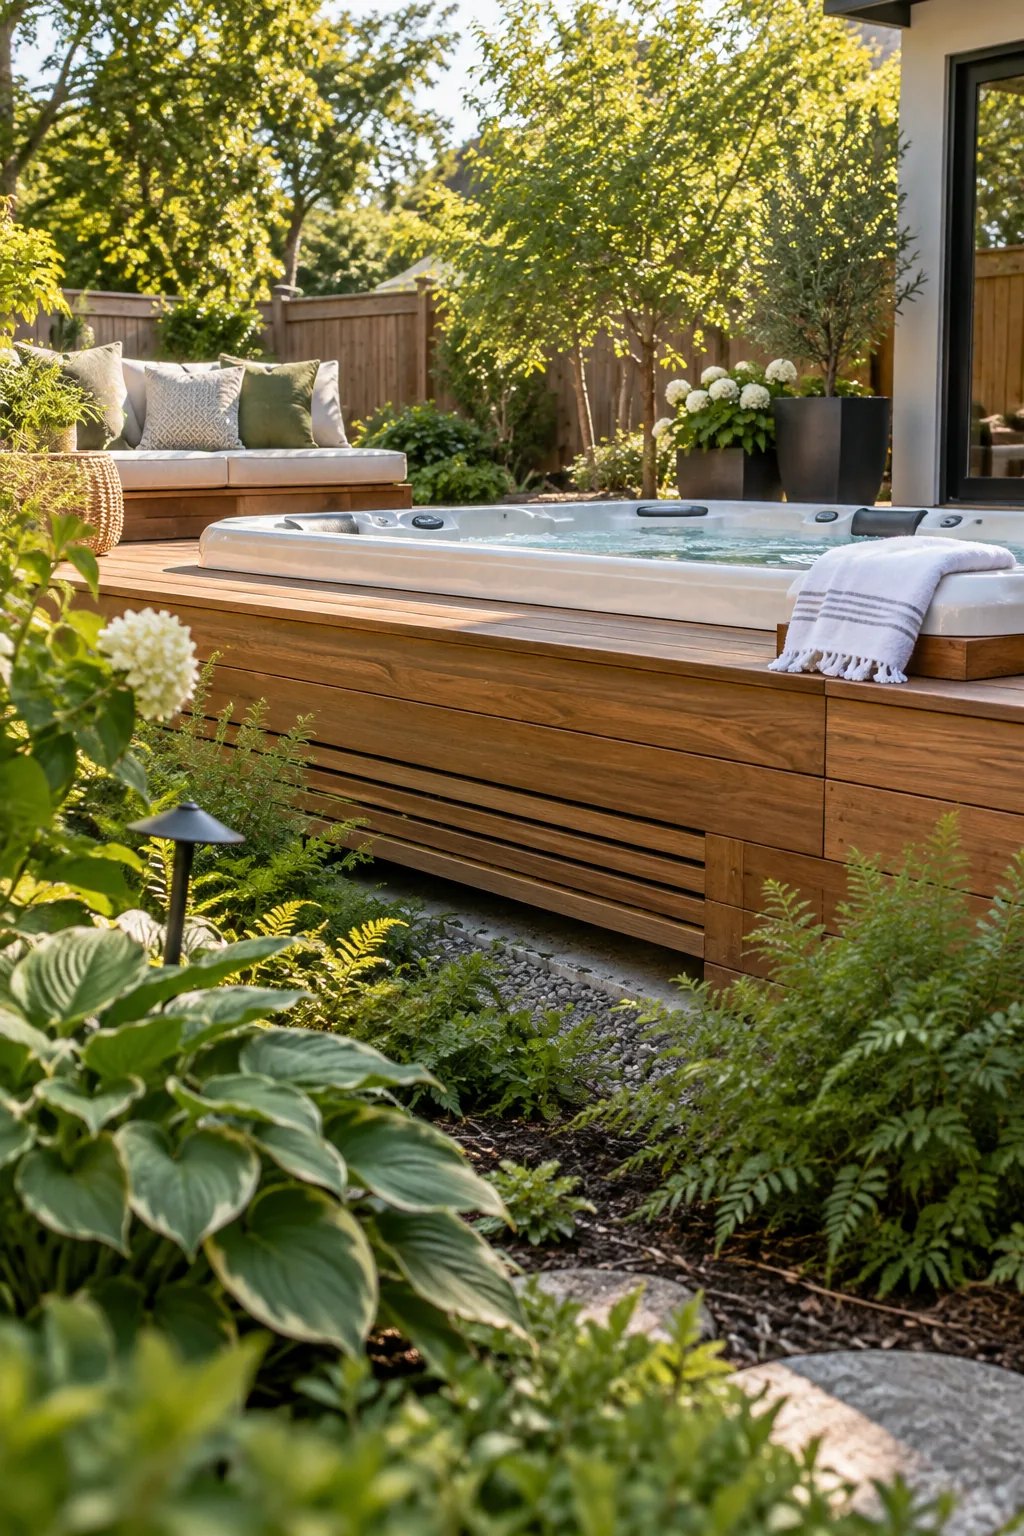
Floating the wooden deck above this solid foundation level implied beneath the deck structure ensures the immense weight of the water never transfers to your timber posts.
Curing the Reinforced Slab
Fresh concrete needs adequate time to reach its full compressive strength before bearing a two-ton load. Cover the wet slab with plastic sheeting and let it cure for at least seven days to prevent structural micro-cracks.
Calculating the Deck-to-Rim Height
Sinking the tub completely makes maintenance nearly impossible and entry incredibly awkward. Frame your deck height to leave 16 to 18 inches of the deck-to-rim height exposed above the finished floor.
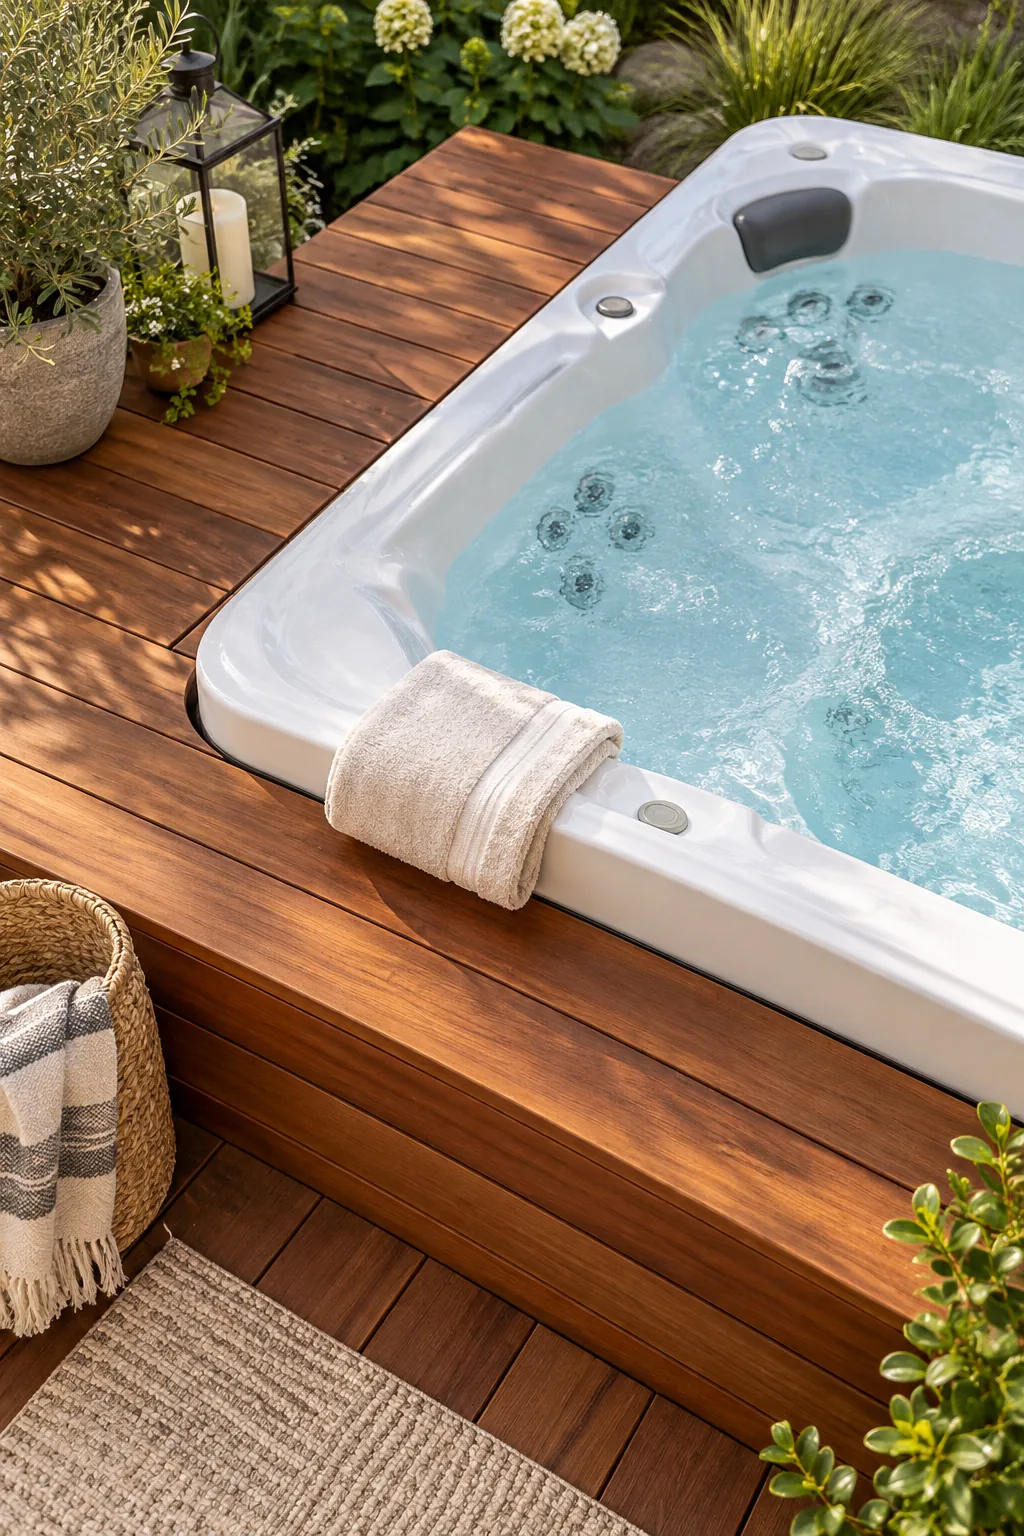
Leaving this exposed top half of the tub cabinet sitting above the deck level creates a natural transfer step that doubles as comfortable, safe perimeter seating for guests.
Laying Out the Perimeter Posts
With the spa pad poured, measure outward to establish your deck’s outer boundary. Mark the support post locations every six feet along the perimeter, keeping them entirely isolated from the concrete slab.
Setting the Support Posts
Dig your post holes below the local frost line and insert tubular concrete forms to protect the timber. Use a post-hole digger to maintain clean, vertical walls that prevent frost heave during freezing weather.
- Drop a six-inch layer of crushed gravel into each hole for drainage.
- Set 6×6 pressure-treated posts perfectly plumb using a post level.
- Fill the forms with fast-setting concrete and slope the tops away from the wood.
Double-check the plumb alignment of every post before the concrete fully sets to ensure your load-bearing beams will sit perfectly level.
Installing the Main Load-Bearing Beams
Notch the tops of your 6×6 posts to create a solid resting ledge for your double 2×8 drop beams. Secure the beams using half-inch galvanized carriage bolts to create a rigid, bounce-free framework.
Framing the Surrounding Joists
Hang your 2×6 pressure-treated joists exactly 16 inches on-center using galvanized joist hangers. Stop the framing short of the spa to leave room for the final decking overhang and the necessary drainage clearances.
Protecting the Substructure with Joist Flashing Tape
The framing directly surrounding the acrylic shell will endure constant splashing and high humidity. Cap the top of every cut joist with waterproof joist flashing tape before installing the deck boards.
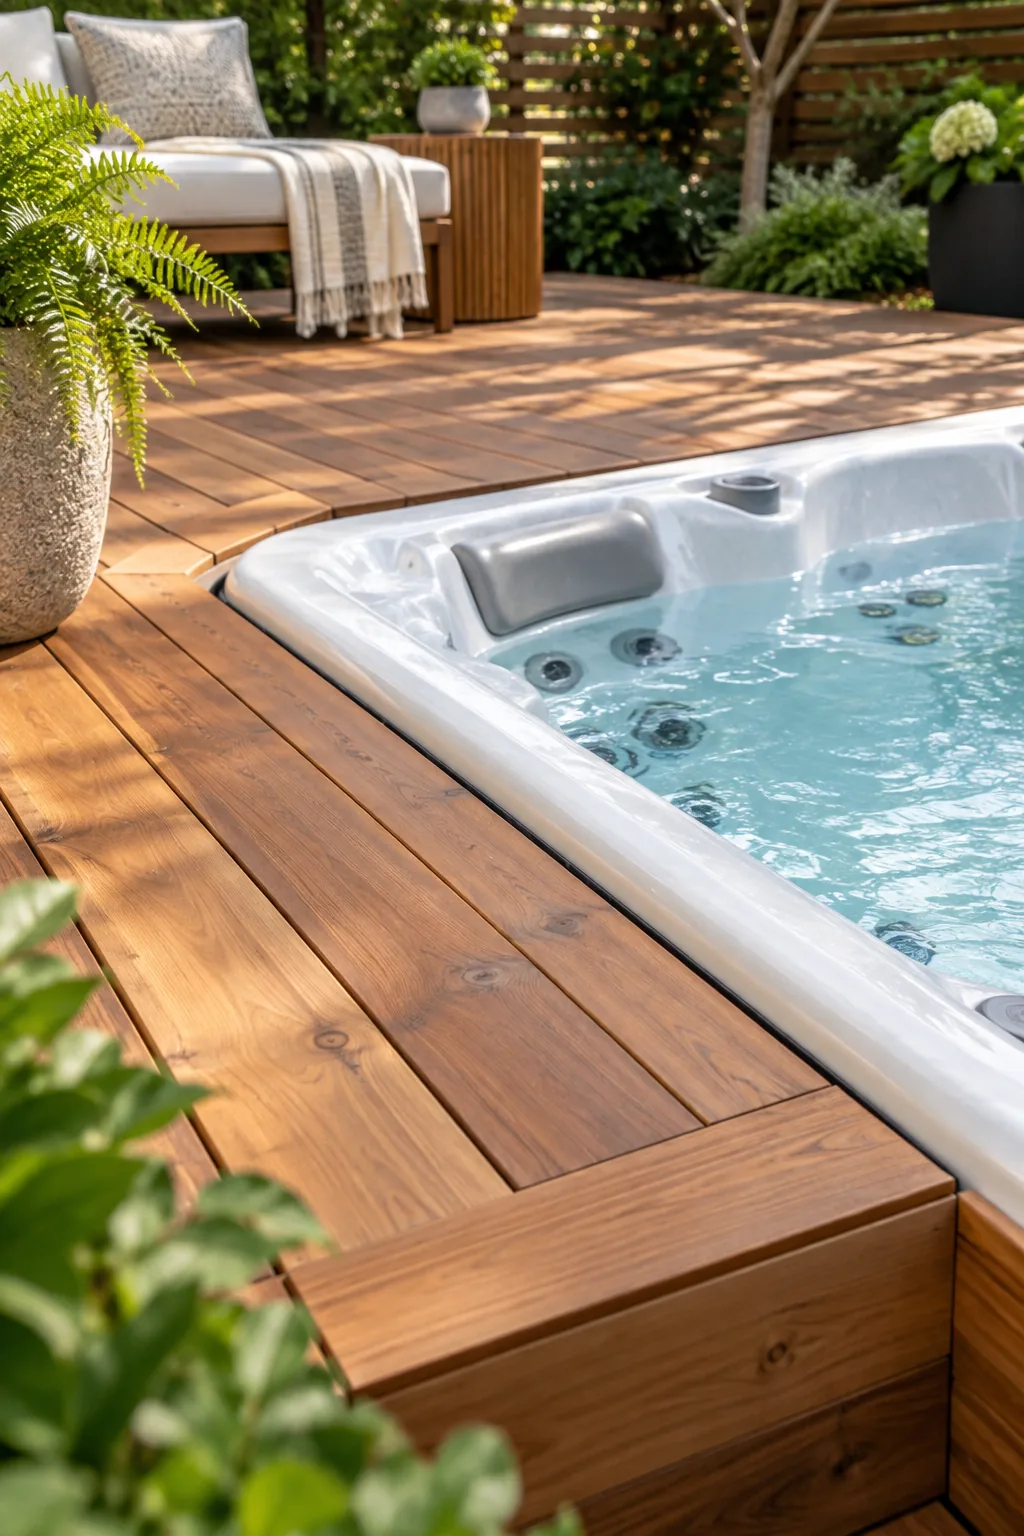
This dark protected seam under the cut deck boards at the tub’s edge seals the vulnerable fastener holes, preventing moisture intrusion and stopping wood rot before it can start.
Positioning the Hot Tub on the Pad
Hire professional movers to safely slide the hot tub onto the cured concrete pad before the deck boards go down. Center the unit perfectly within the framed opening to ensure uniform clearances on all four sides.
Spacing the Quarter-Inch Drainage Gap
Never scribe the cedar boards tight against the spa shell, as friction will cause severe squeaking. Leave an exact 1/4in drainage gap around the entire perimeter to allow splashed water to escape instantly.
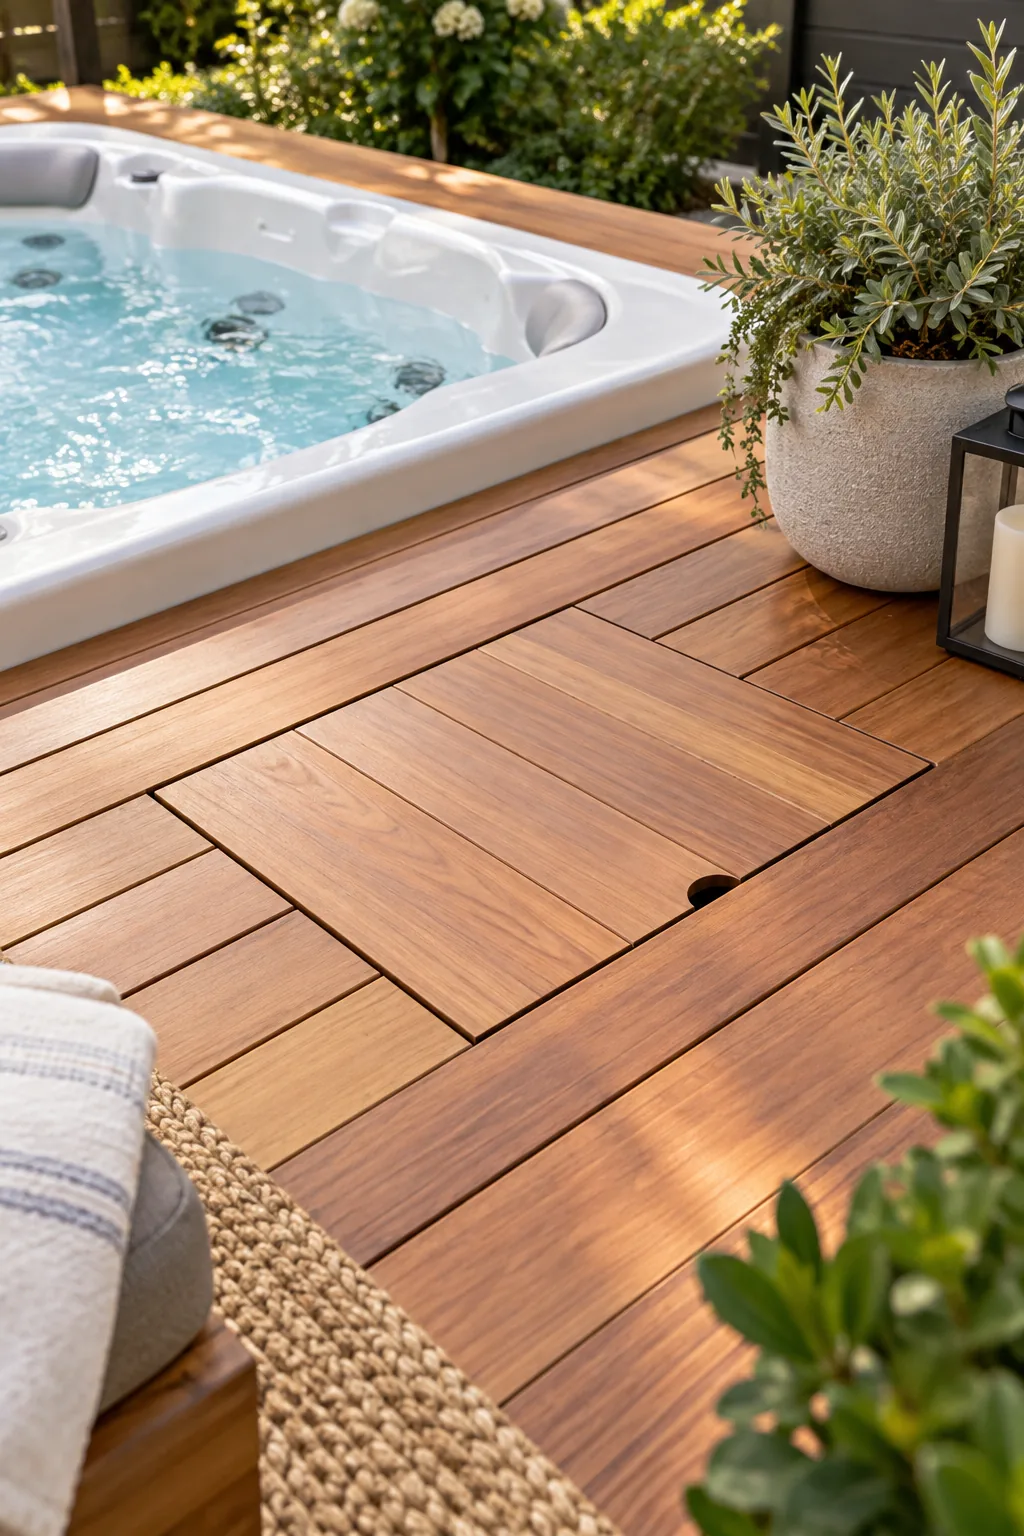
This exact narrow space between the cedar deck board and the acrylic tub shell gives the wood room to expand during heavy rain without putting pressure on the acrylic.
Selecting Premium Cedar Deck Boards
Western Red Cedar offers natural resistance to rot and insects, making it ideal for wet environments. Purchase kiln-dried architectural knotty grade boards and let them acclimate on-site for a week before cutting.
Fastening the Decking with Hidden Clips
Avoid driving screws directly through the face of your premium cedar boards where water can pool. Use a hidden deck fastening system that grips the grooved edges, leaving a pristine, barefoot-friendly surface around the spa.
Disguising the Motor Access Hatch
The equipment panel must remain fully accessible for pump repairs and seasonal winterizing. Frame a dedicated motor access hatch using the same cedar boards, aligning the wood grain perfectly.
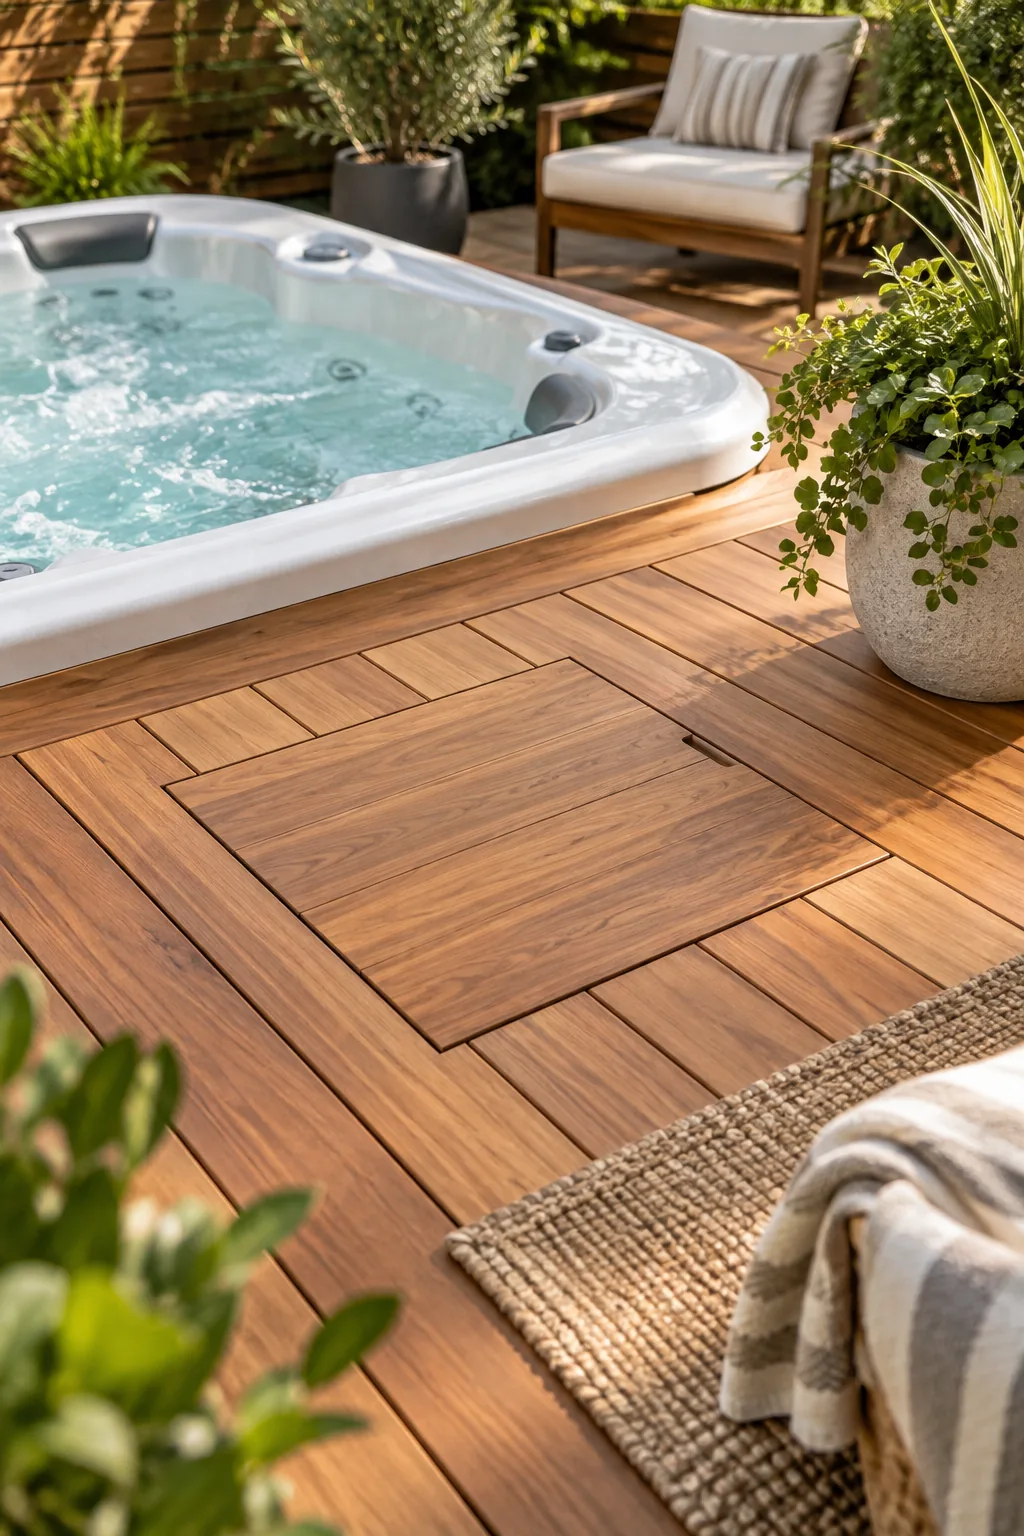
A poorly planned access panel will warp over time and become a dangerous tripping hazard. Avoid these common structural mistakes when framing a subtle, seamless square cut in the deck boards near the tub controls.
Installing Flush Hatch Hardware
Heavy wooden access panels are nearly impossible to lift without proper handles. Mortise a pair of marine-grade stainless steel flush pull rings into the hatch surface so they lay completely flat against the cedar.
Ensuring Proper Under-Deck Ventilation
A half-sunken spa generates significant heat that gets trapped beneath the solid decking. Integrate slatted cedar vents into your exterior skirting to ensure continuous cross-airflow around the heavy equipment.
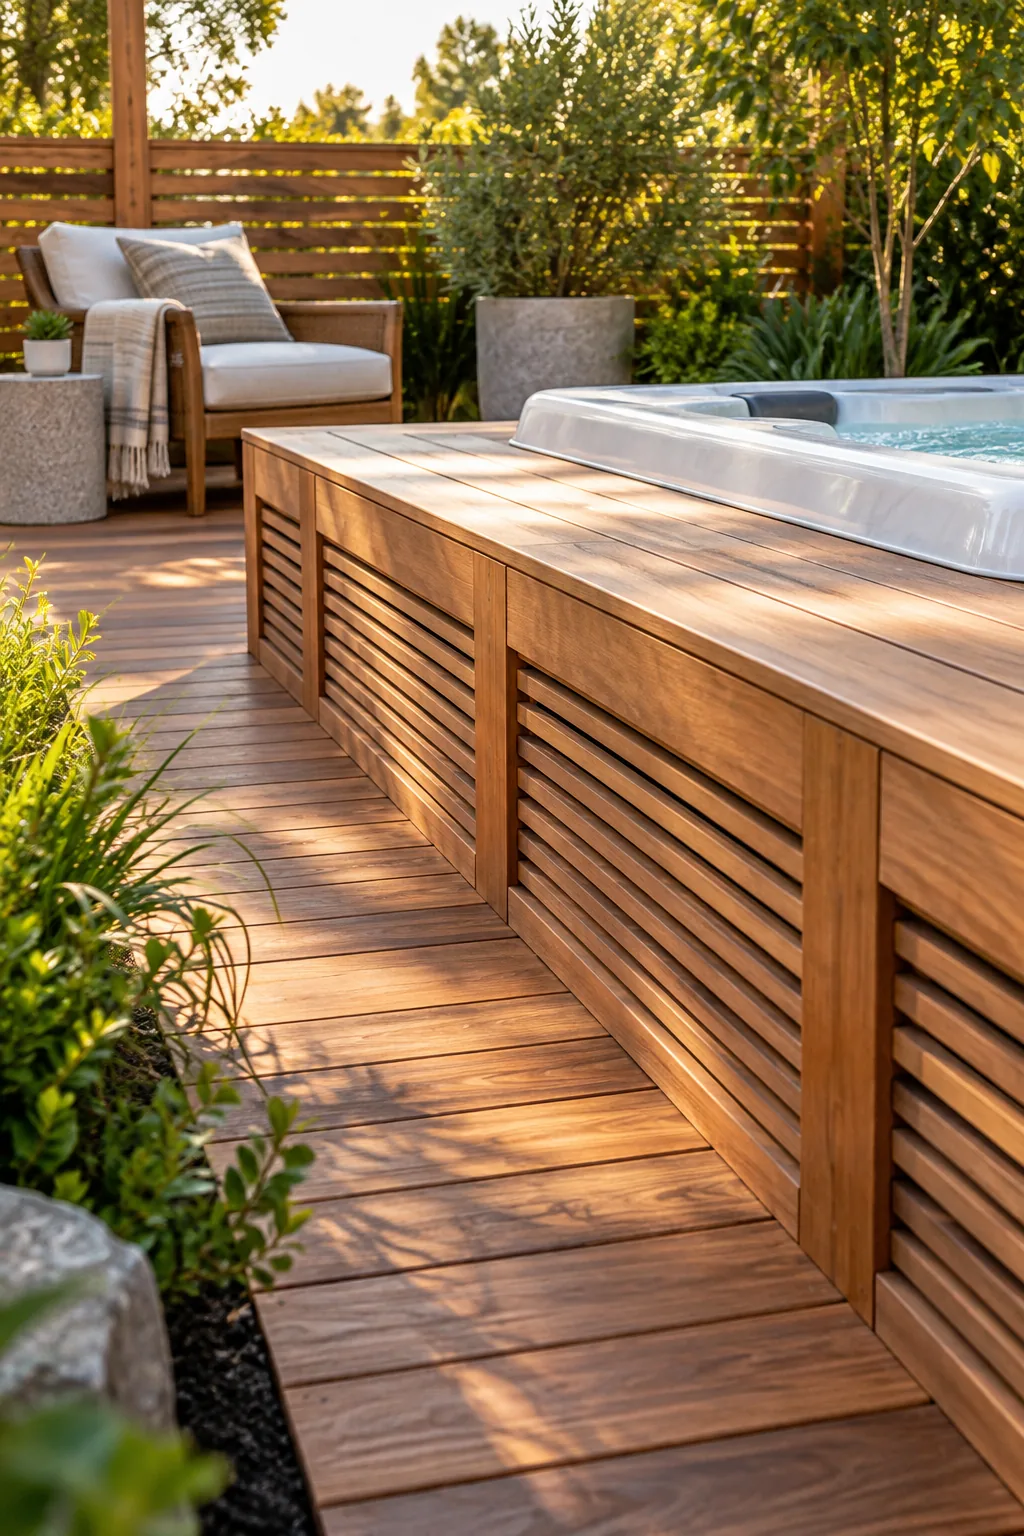
This constant breeze prevents the powerful pumps from overheating and stops dangerous mold growth from taking hold in the damp, shaded substructure.
Sanding the Deck Surface
Even premium cedar requires light finishing to prevent splinters around a barefoot zone. Run a random orbital sander with 80-grit paper over the entire deck, paying special attention to the cut ends near the tub.
Sealing the Cedar for High-Moisture Zones
Chemically treated spa water will quickly bleach and degrade raw wood. When I sealed my Austin deck, applying a high-quality, penetrating UV oil sealer brought out the rich cedar tones beautifully.
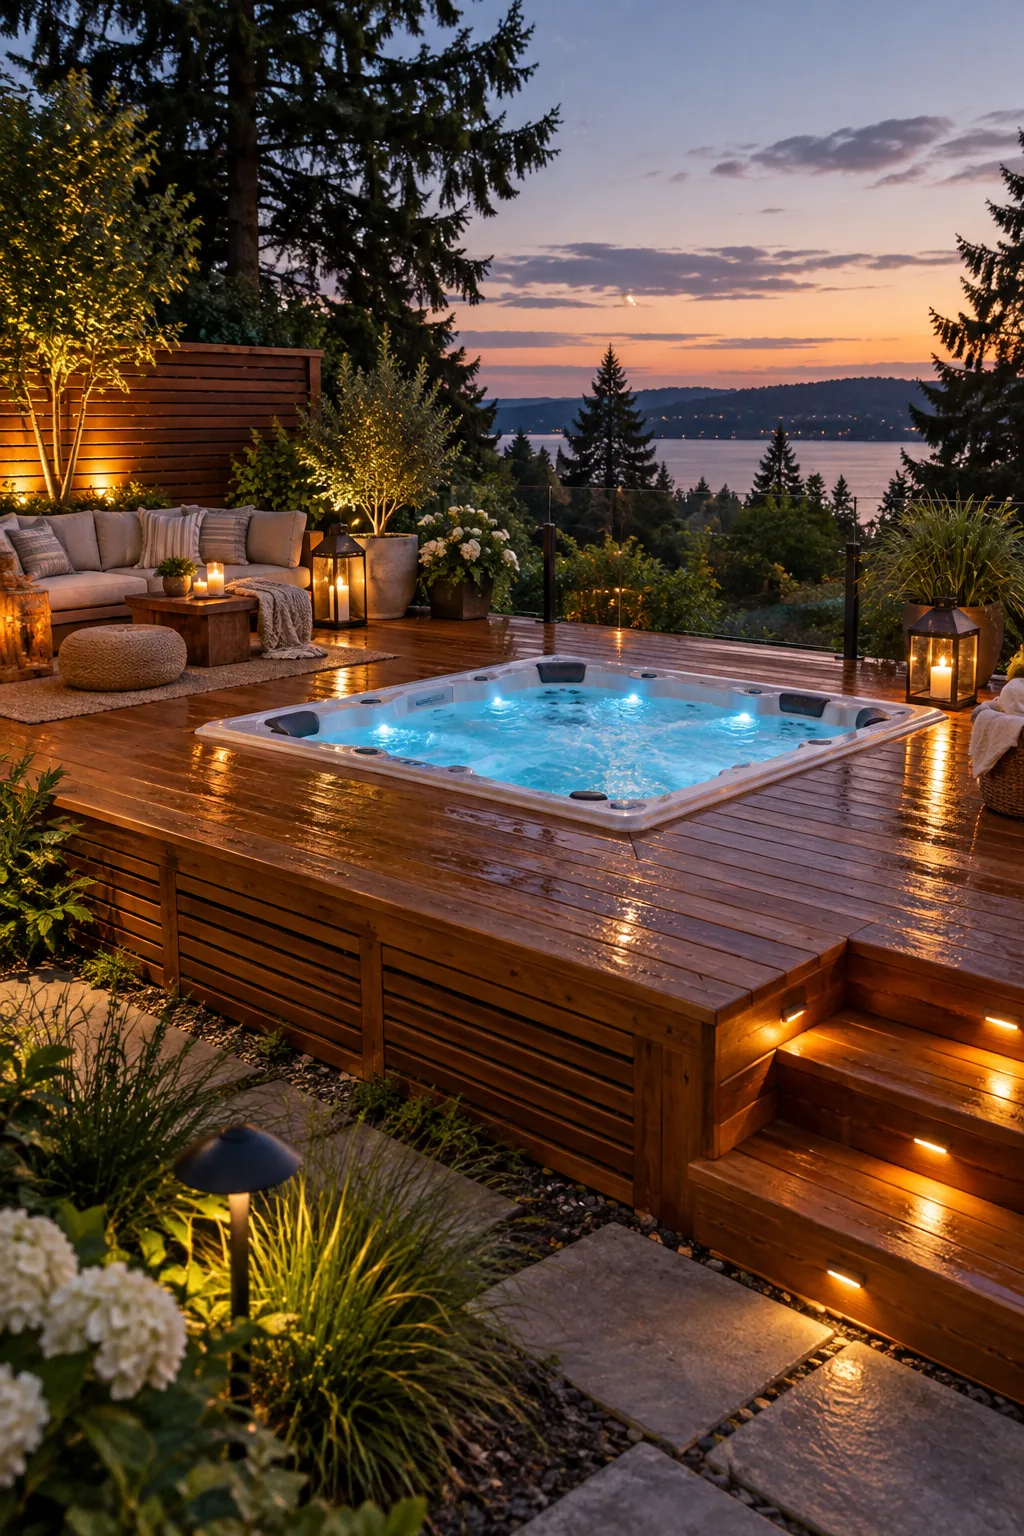
This protective finish repels moisture perfectly, ensuring your half-sunken hot tub deck remains a stunning, rot-free centerpiece for years of backyard relaxation.
Hot Tub Deck Design Ideas
Explore these finished deck styles to find the perfect material and aesthetic for your backyard retreat.
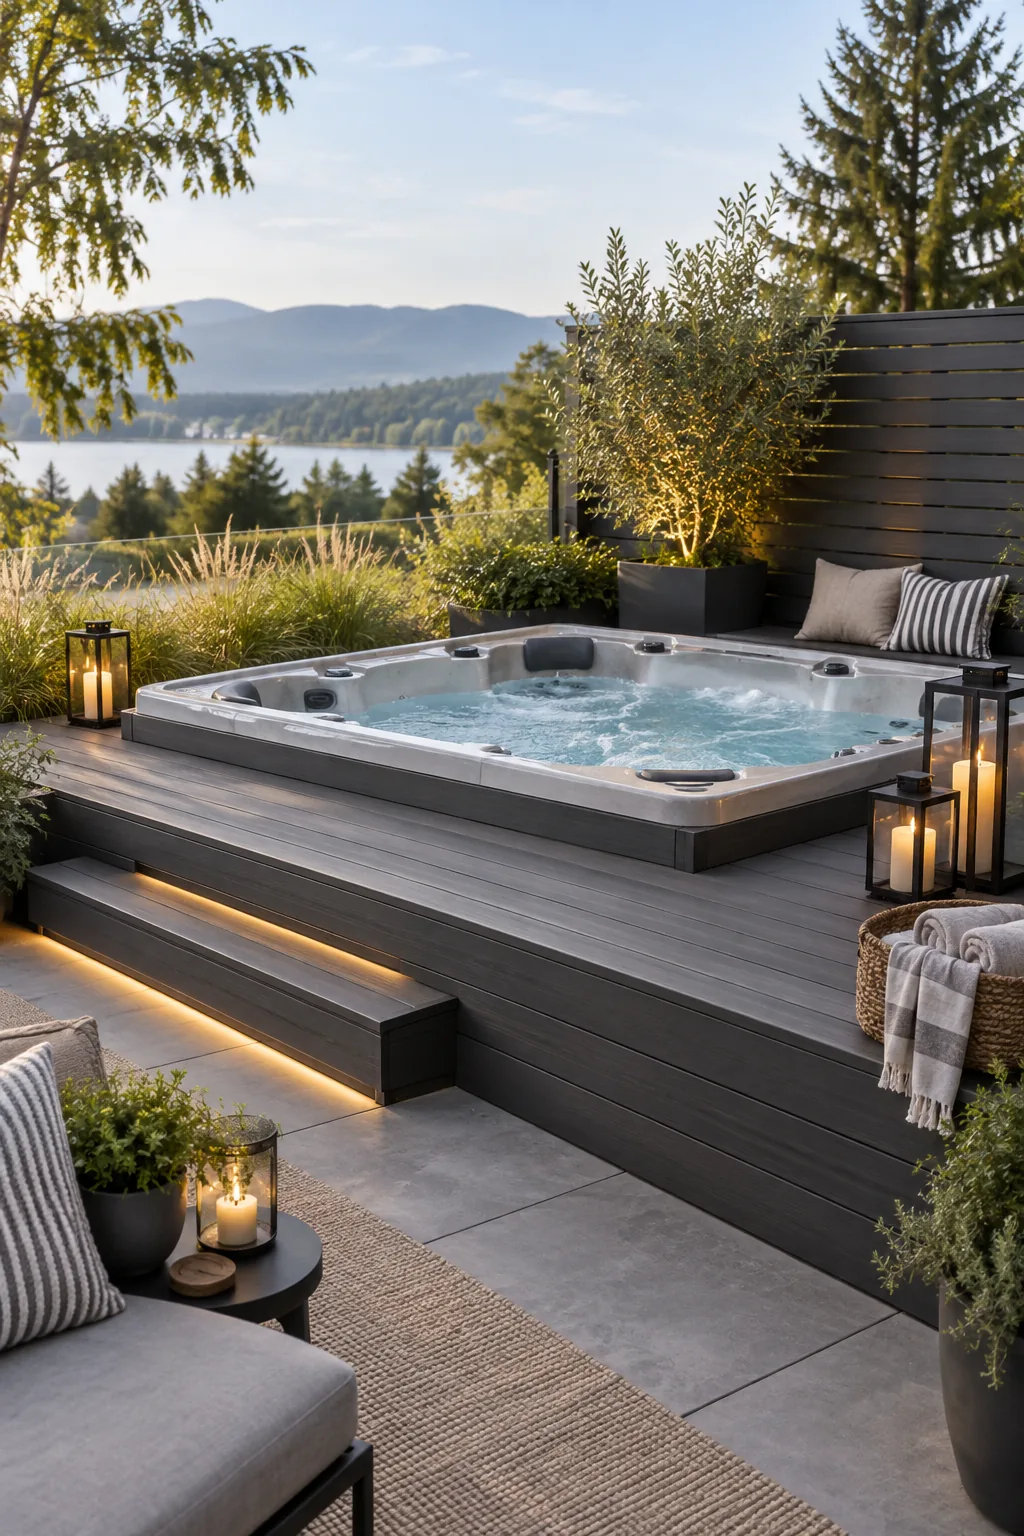
Modern Minimalist Composite Deck: Dark composite boards offer a sleek, maintenance-free contrast against a modern gray spa shell.
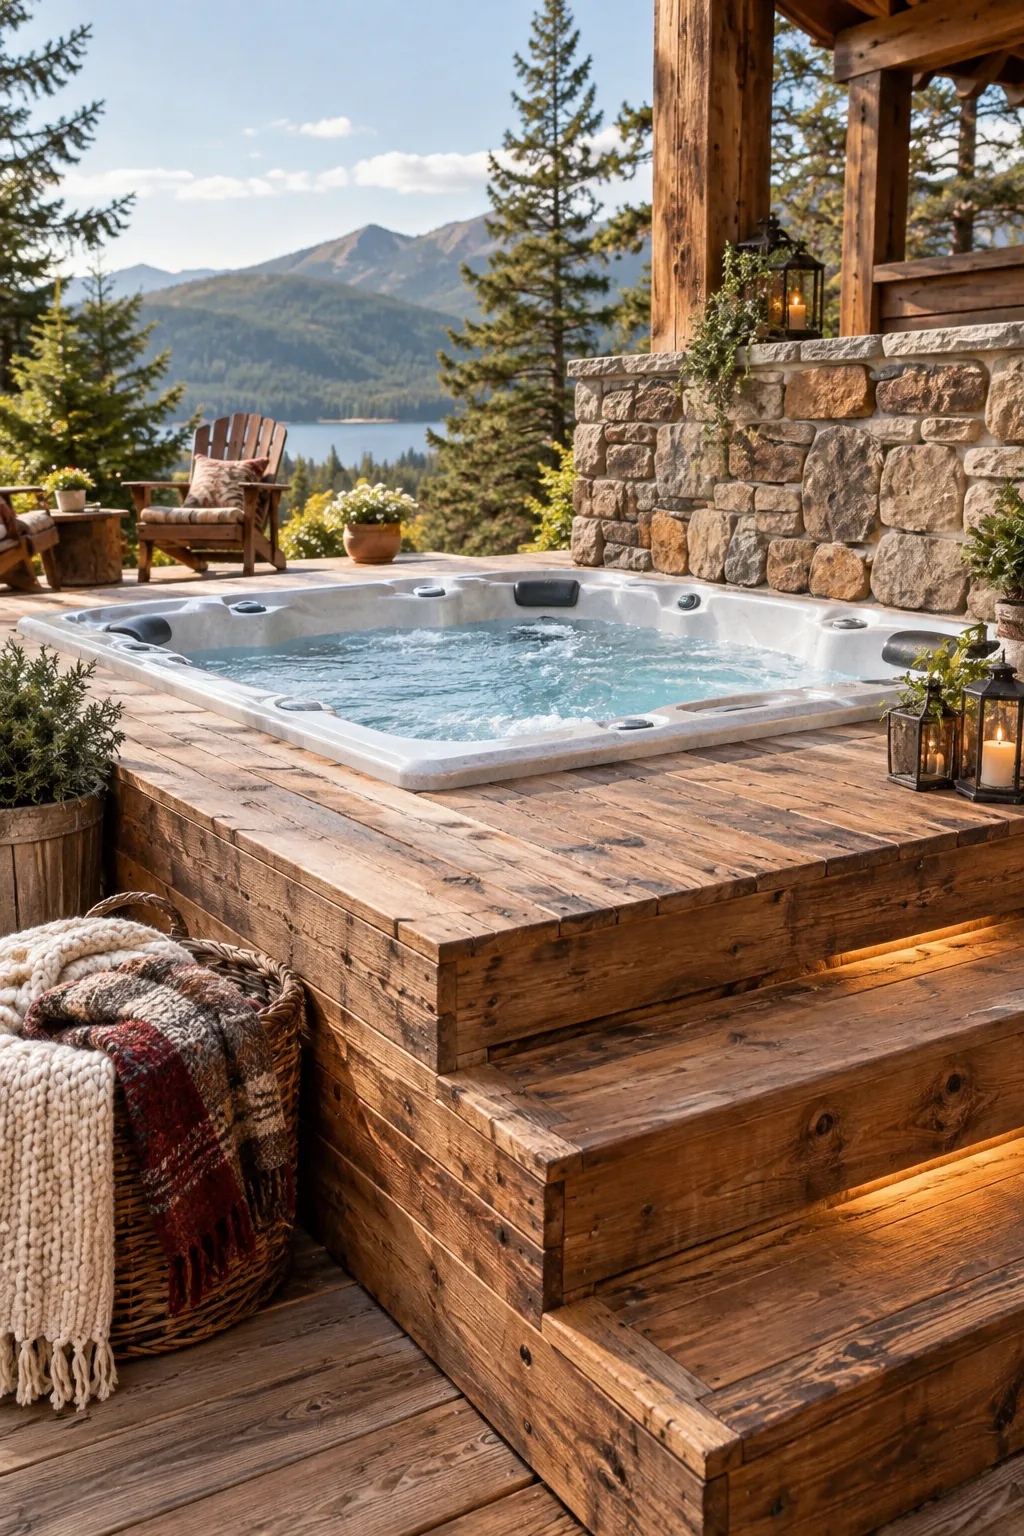
Rustic Cabin Stone Surround: Blend chunky pine timbers with natural stone accents for a cozy, mountain-lodge atmosphere.
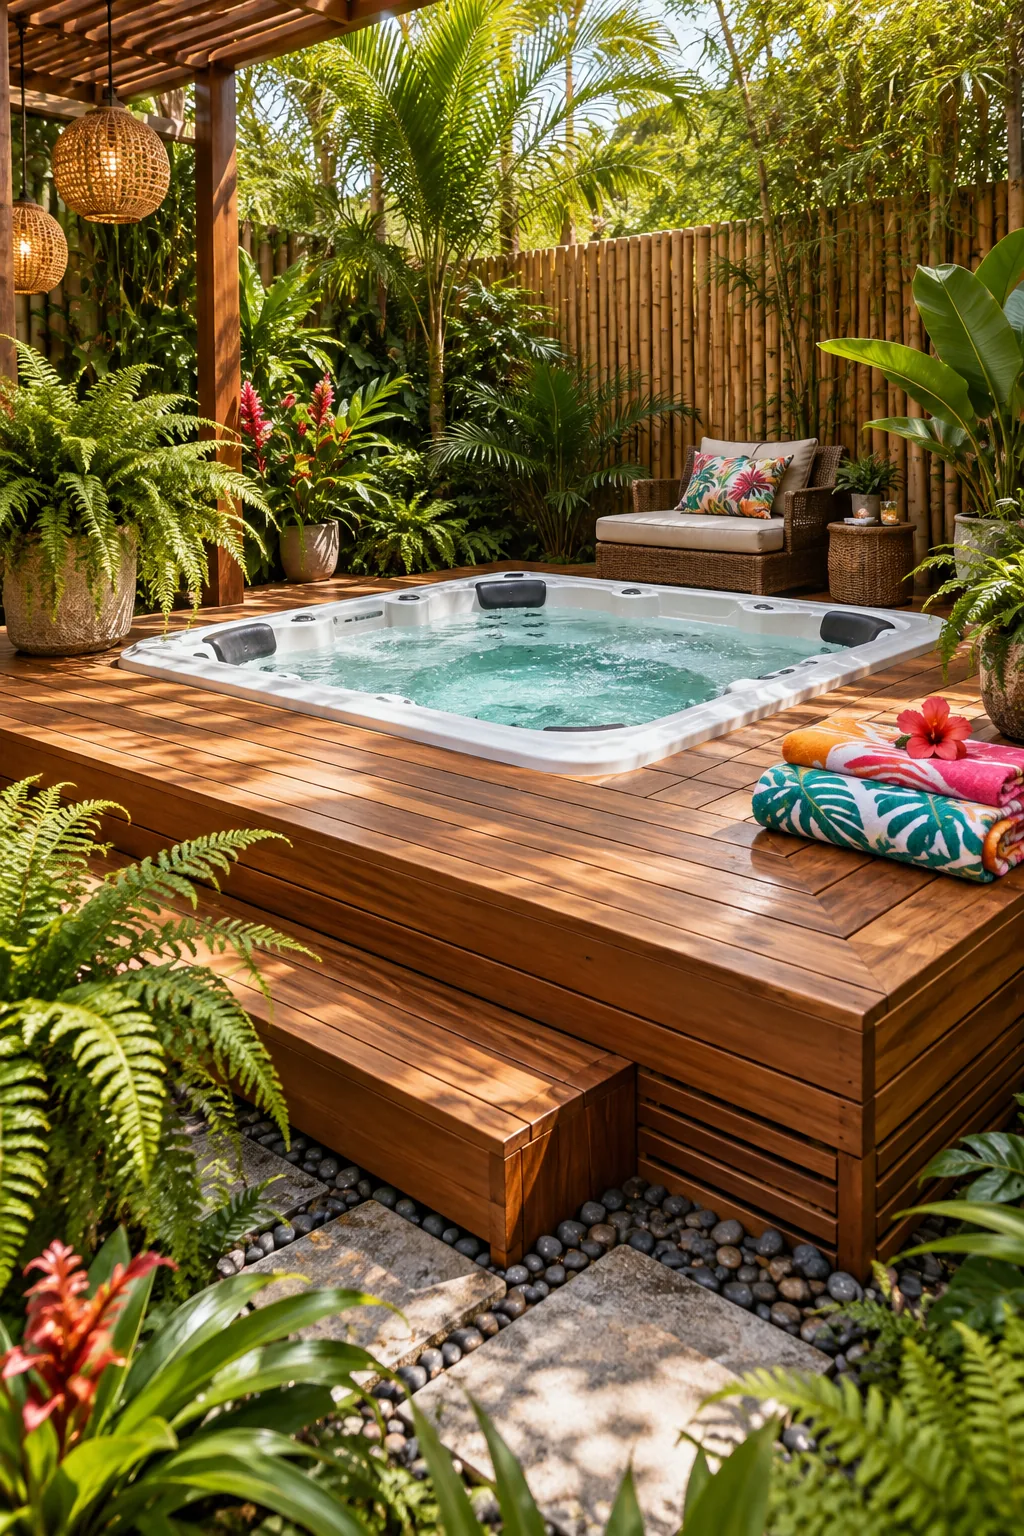
Lush Tropical Teak Oasis: Warm teak decking paired with dense ferns and bamboo screening creates a private jungle escape.
Urban Rooftop Ipe Deck: Dense ipe wood provides unmatched durability while glass railings preserve the sweeping city views.