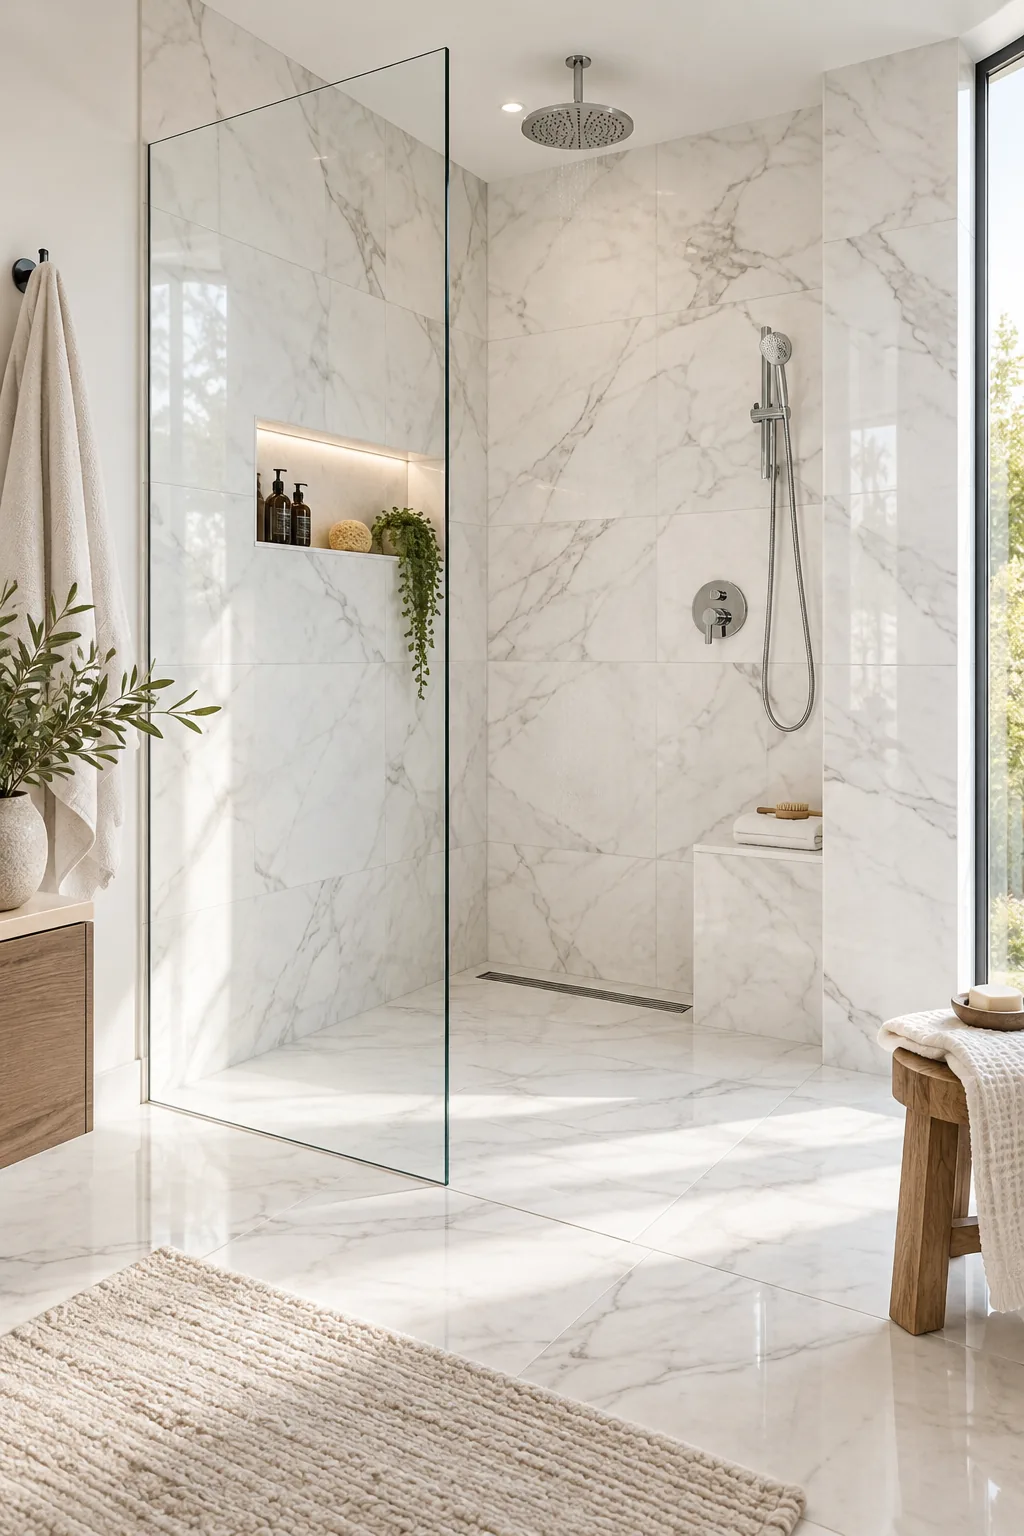
Modern Shower Layout: 5×8 Standard Footprint & Clearances
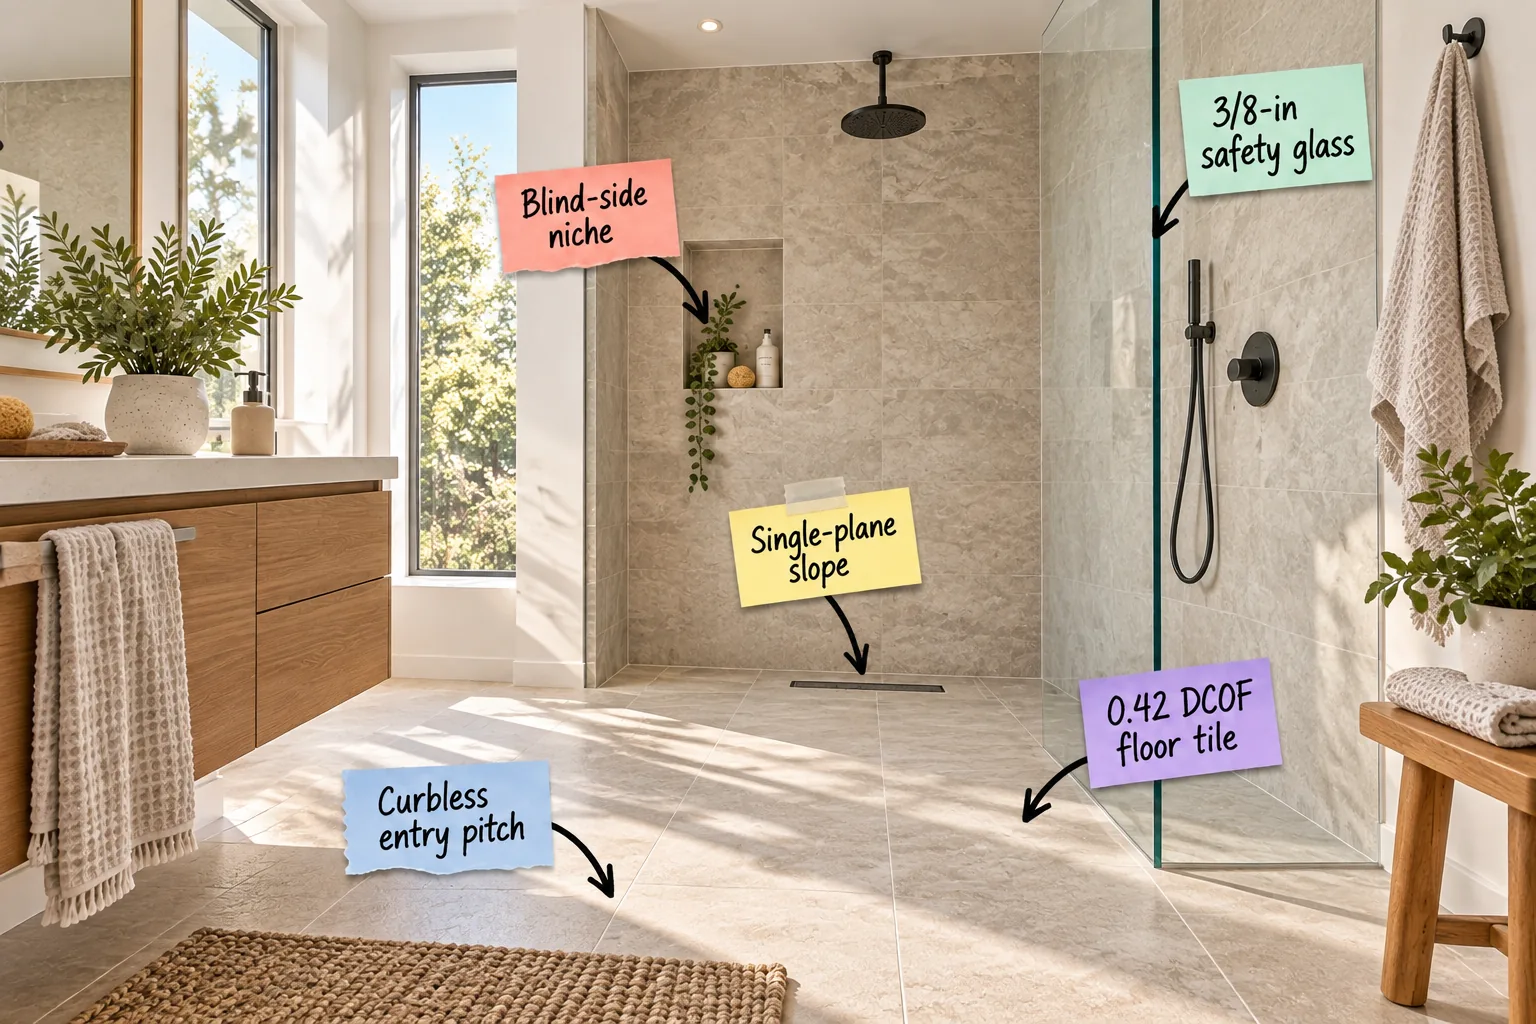
Transforming your standard 5×8 bathroom into a modern oasis is entirely possible when you map out the exact curbless shower dimensions. I created this complete walk-in shower clearance cheat sheet so you can confidently verify your layout and choose the right safety materials before construction begins.
Maximizing the Standard 5×8 Footprint
Removing a traditional alcove tub immediately opens up a standard 5×8 bathroom, creating a generous 30-by-60-inch shower footprint. Extending the visual floor line directly into the wet zone visually doubles the room’s perceived size.
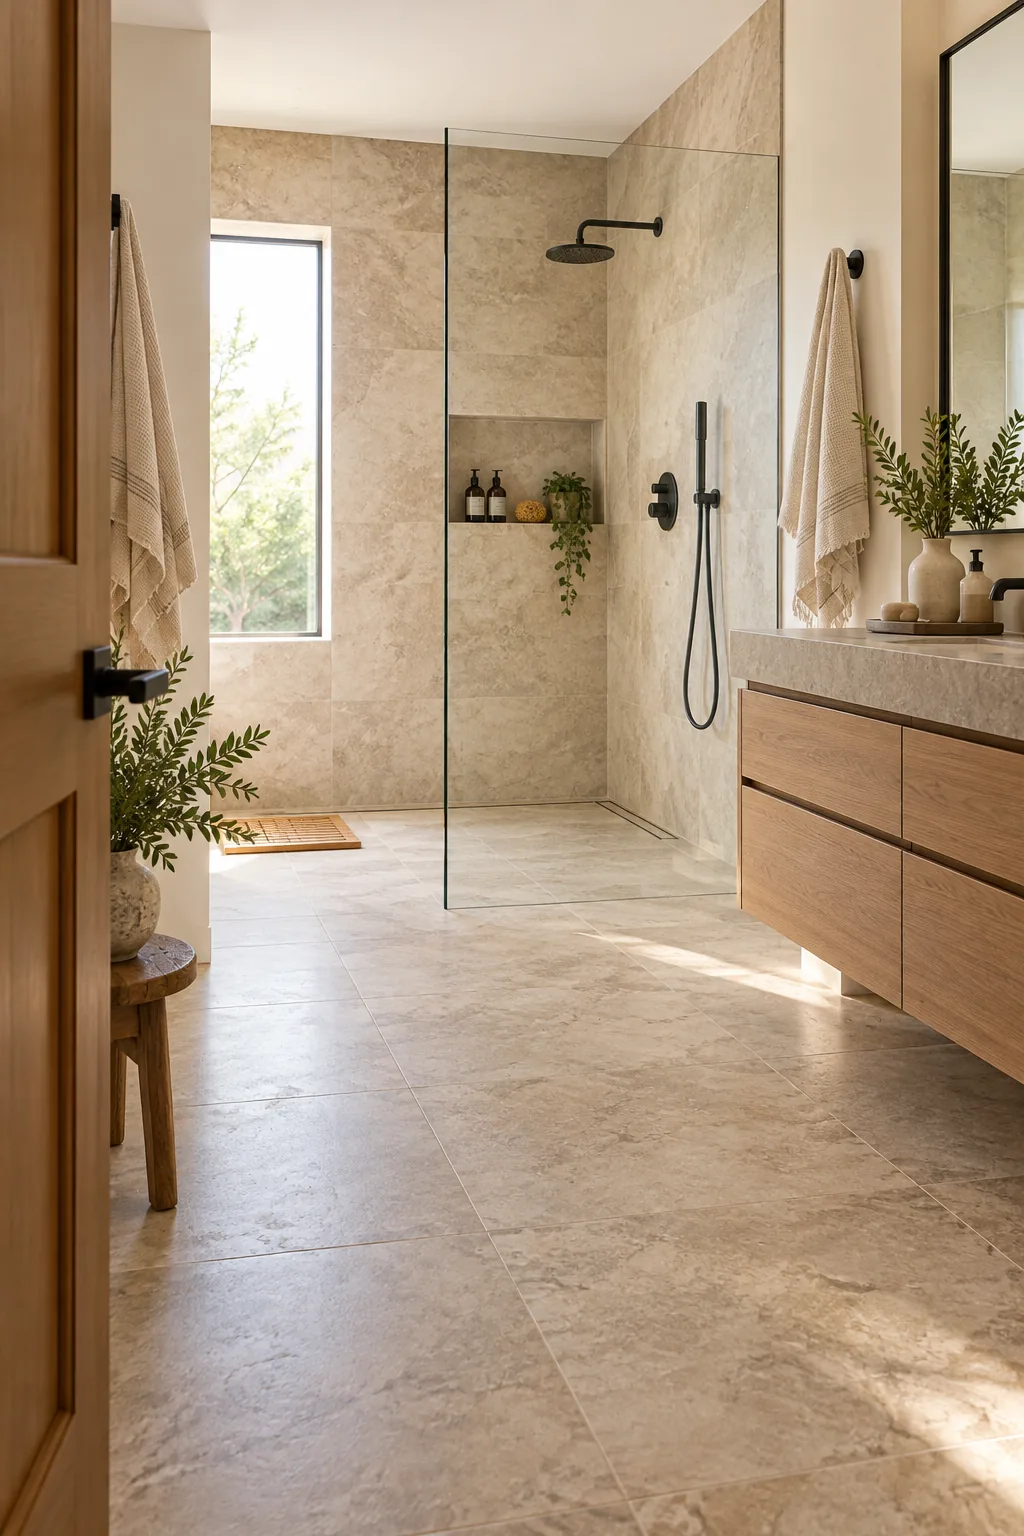
This seamless visual expansion requires careful subfloor planning to maintain a continuous, unbroken sightline. Establishing this unified floor surface creates a calming, balanced foundation that bridges Western functionality with Eastern minimalist principles.
Subfloor Joist Preparation
A flush transition demands structural modifications beneath the subfloor, usually requiring the floor joists to be shaved or lowered by two inches. This critical framing adjustment creates the necessary depth to build up the shower pan without raising the final tile height above the bedroom threshold.
Curbless Entry Pitch
A true curbless entry pitch relies on that lowered subfloor to achieve the mandatory 1/4-inch per foot slope toward the drain. In my own Denver home, dropping the joists was the only way to pitch the floor, and choosing matte finishes that meet the 0.42 DCOF rating ensured this seamless entry remained safe.
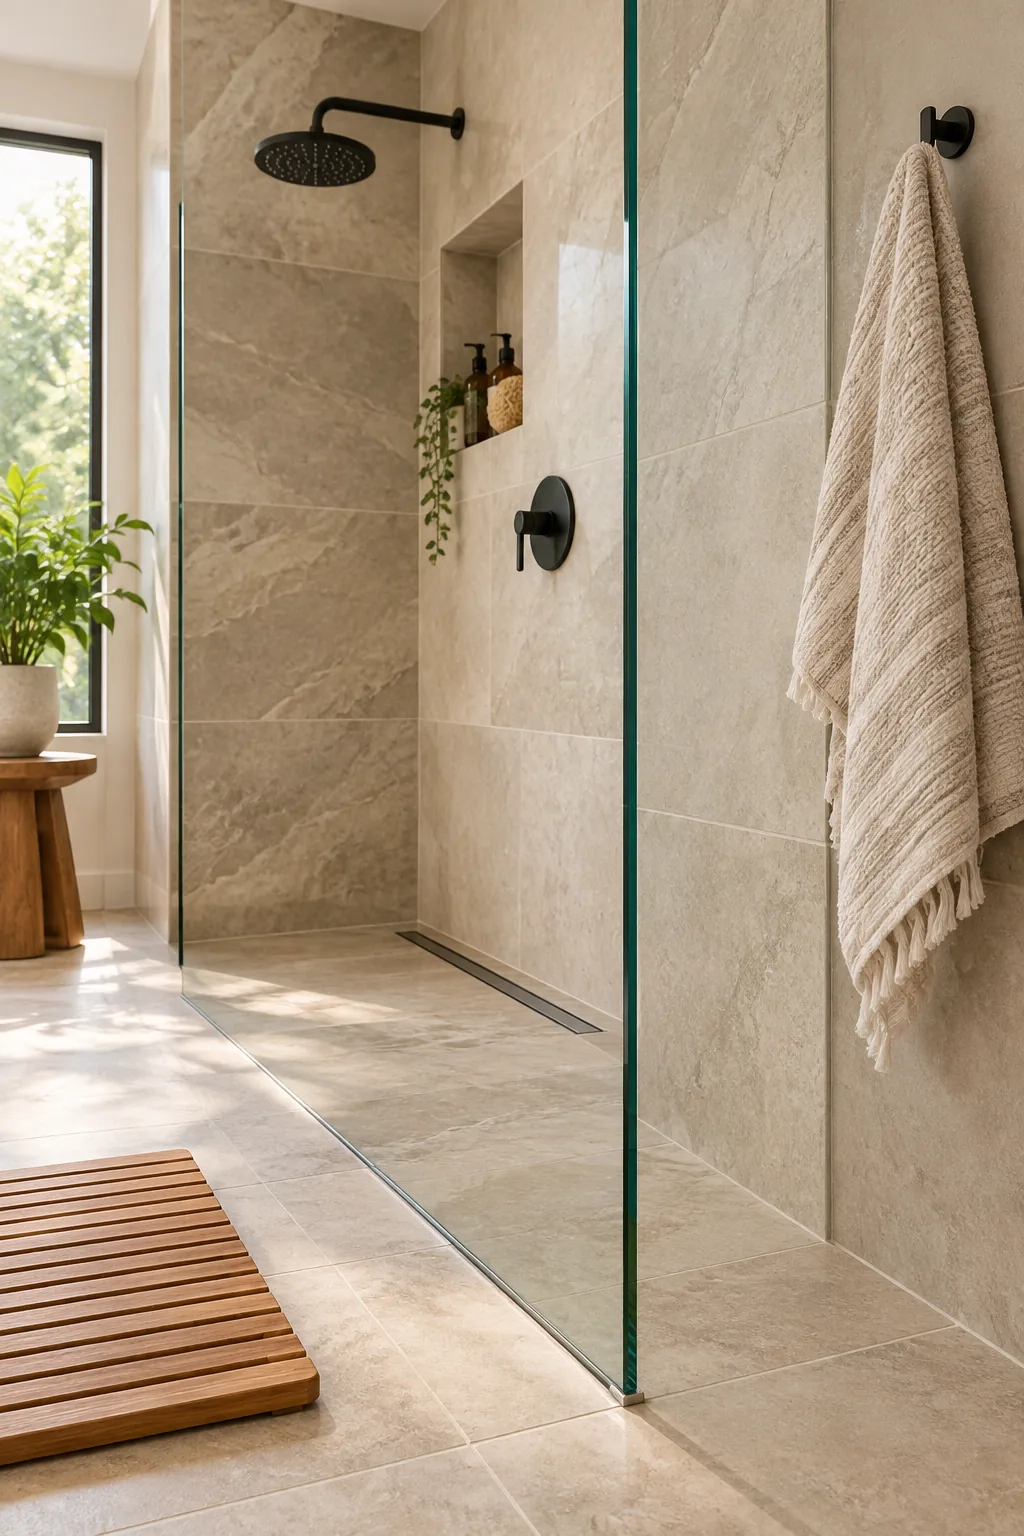
Achieving this perfectly flat transition requires significant structural planning beneath the tile to manage water flow. Avoid these common framing oversights that inevitably lead to water pooling in the main bathroom.
Waterproofing the Wet Zone
Once the slope is structurally framed, applying a continuous sheet membrane over the entire shower footprint guarantees a watertight seal. I always extend this waterproofing layer at least twelve inches past the shower entry to protect the main bathroom subfloor from inevitable splashes and capillary moisture wicking.
Slip-Resistant Floor Tile
Wet zones demand high traction, making a 0.42 DCOF floor tile the non-negotiable industry standard for safety. I specify matte or textured stone finishes over polished tiles to ensure secure footing across the entire shower without sacrificing that elegant, grounded aesthetic.
| Tile Finish | Average DCOF | Wet Zone Safety | Maintenance Level |
|---|---|---|---|
| Polished Marble | 0.30 | Unsafe | High |
| Matte Porcelain | 0.45 | Safe | Low |
| Textured Slate | 0.55 | Very Safe | Medium |
| Tumbled Travertine | 0.50 | Safe | High |
Checking the manufacturer’s dynamic coefficient of friction rating prevents dangerous slips on soapy surfaces. This essential safety metric dictates which beautiful materials actually belong on your shower floor.
Single-Plane Slope and Linear Drain
A single-plane slope directs water to a sleek linear drain, creating a perfectly flat foundation rather than a bowl shape. This level perimeter is crucial because the structural rigidity of 3/8-inch safety glass allows for a completely frameless installation directly on the tile.
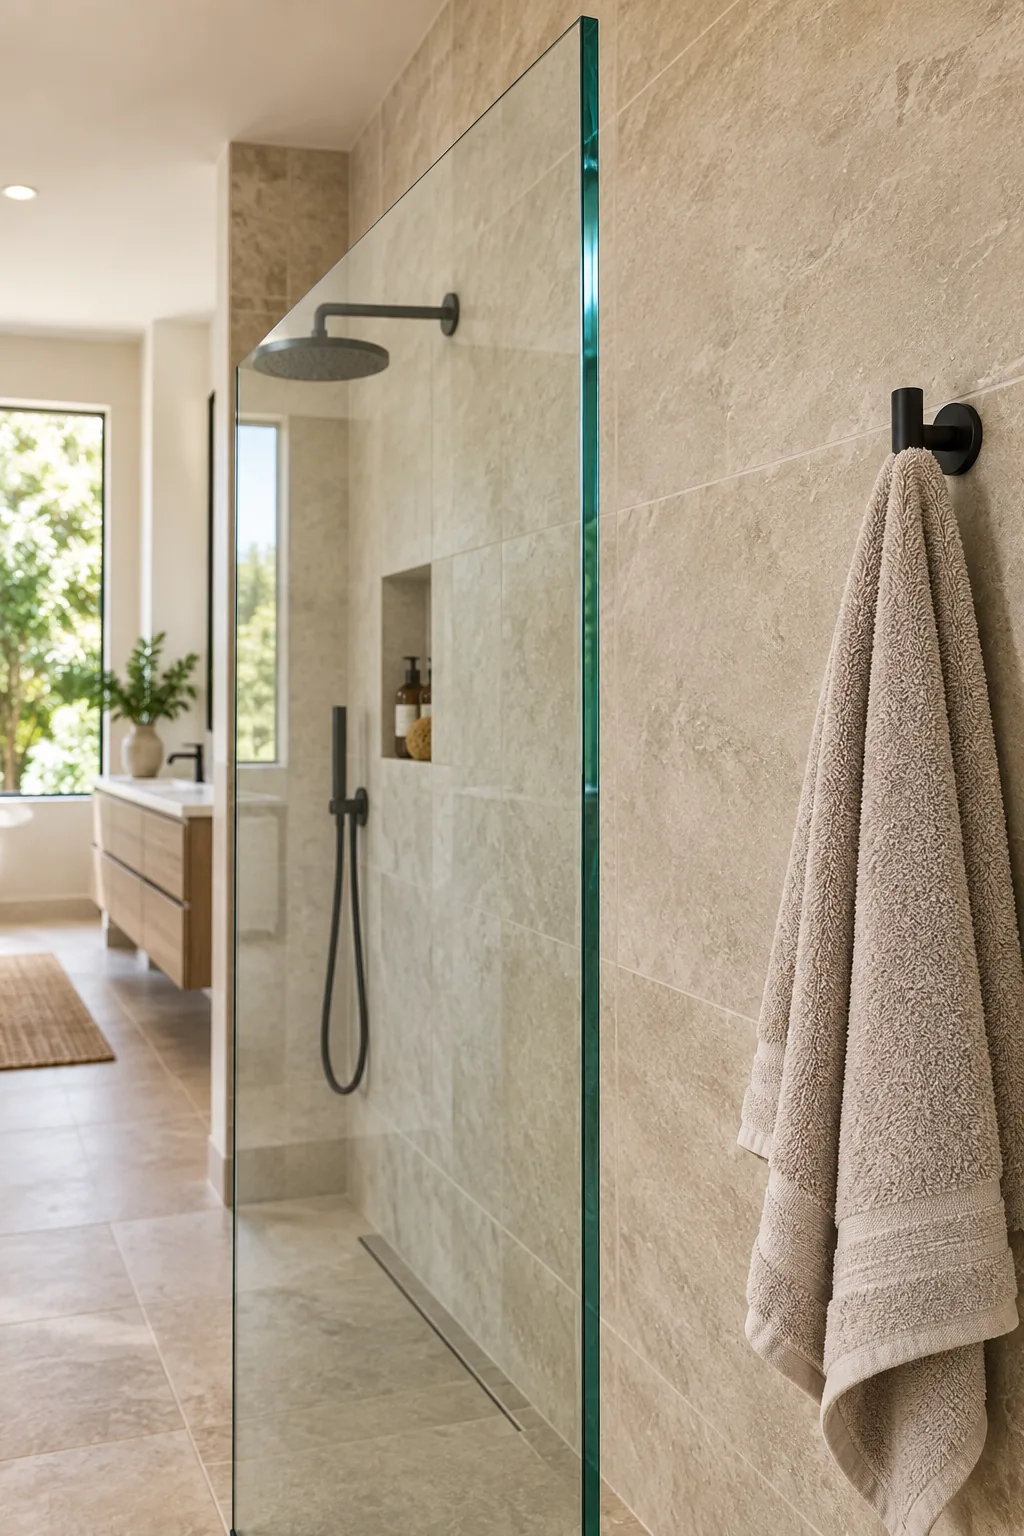
Maintaining a single flat plane keeps the tile layout clean and visually uninterrupted by complex diagonal cuts. This unbroken surface naturally draws the eye upward to appreciate the surrounding glass enclosure and pristine wall tile.
Linear Drain Flow Rates
A standard linear drain must handle at least eight to ten gallons of water per minute to prevent the curbless pan from overflowing. Matching your drain’s capacity to the combined output of your showerhead and body sprays ensures water disappears instantly, keeping the bathroom floor completely dry.
Selecting the Right Grout
Using a high-performance epoxy grout on the shower pan prevents moisture penetration and resists daily chemical wear from shampoos. Unlike traditional cement-based options, epoxy never requires sealing and maintains its exact color profile even under constant water exposure.
Frameless 3/8-in Safety Glass
Specifying 3/8-in safety glass creates an invisible barrier that keeps the room feeling incredibly expansive. I recently used this exact tempered thickness in a tight condo remodel, and because the glass is transparent, placing the storage niche on the return wall hid everyday clutter perfectly.
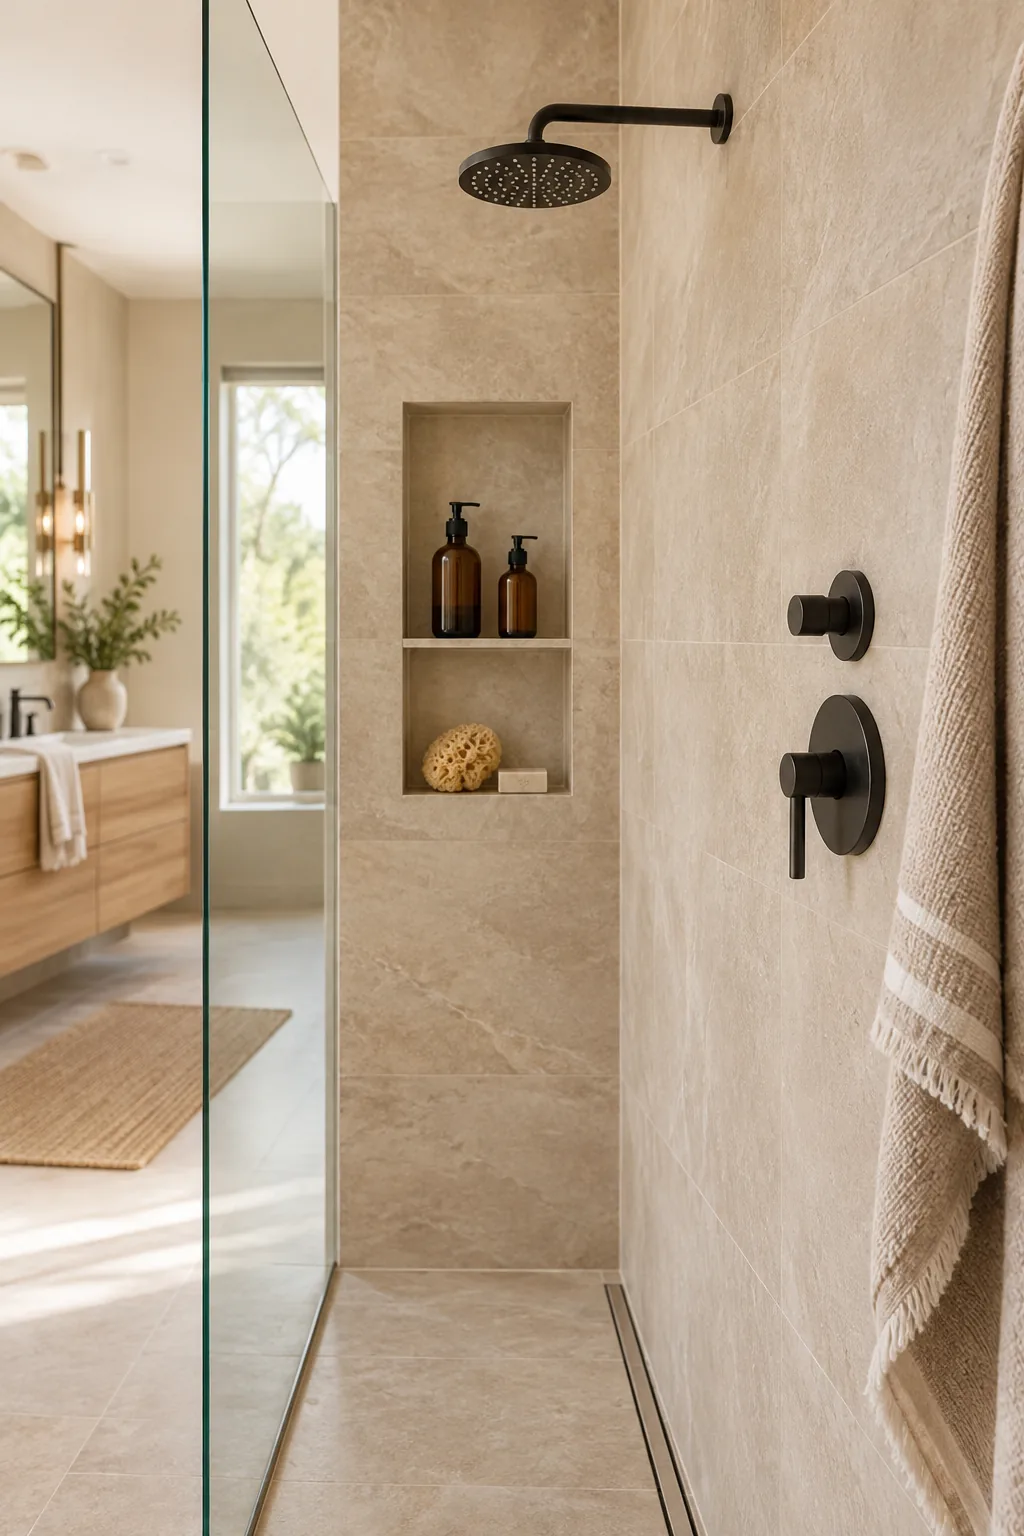
The lack of heavy metal headers highlights clever structural details tucked away inside the shower. This minimalist approach requires precise wall plumbing to ensure the heavy glass panels anchor securely into solid wood blocking.
Glass Hardware Finishes
Selecting solid brass clips and hinges prevents rust and structural degradation in this high-humidity environment. Coordinating these minimal metal glass clips with your shower valve finishes creates a cohesive, intentional design that ties the entire bathroom palette together.
The Blind-Side Niche
Designing a dedicated blind-side niche on the inside return wall maintains a serene, uncluttered sightline. This strategic placement keeps your daily essentials perfectly accessible while hiding colorful shampoo bottles completely out of view from the bathroom doorway.
Wall Tile Alignment
Wrapping the wall tile continuously from the main bathroom directly into the shower enclosure visually erases the boundaries of the wet zone. Aligning the horizontal grout joints across both spaces creates a disciplined, architectural grid that makes standard eight-foot ceilings feel much taller.
Strategic Fixture Placement
Mounting your shower controls thoughtfully changes the entire daily experience and prevents uncomfortable surprises. I learned this early in my career after getting hit by cold sprays, so now positioning the shower valve near the entry is my standard practice.
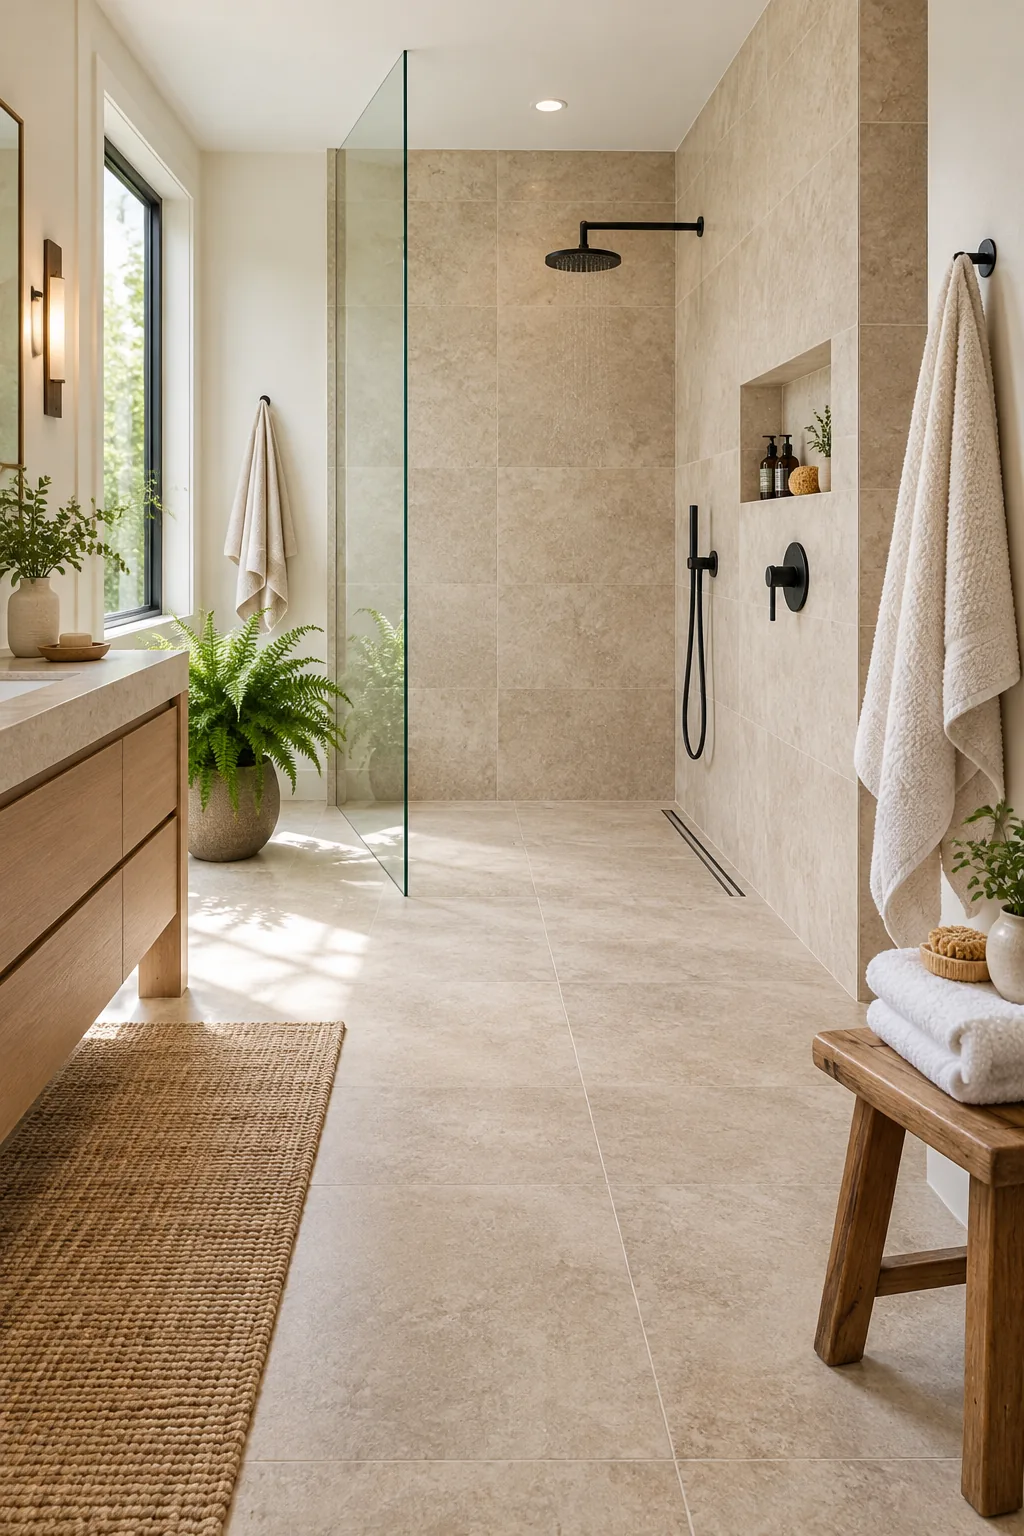
Placing the controls within arm’s reach of the threshold improves daily comfort and long-term accessibility. Once the fixtures are locked in, you can finalize the exact spatial clearances required for the open enclosure.
Showerhead Height Standards
Installing the primary showerhead at a standard height of eighty inches accommodates most adults comfortably while minimizing excessive splashing. If you are adding a handheld wand on a slide bar, mount the lower bracket at forty-eight inches to ensure it remains accessible from a seated position.
Ventilation and Moisture Control
An open curbless design requires a dedicated exhaust fan positioned directly above the wet zone to capture rising steam immediately. Sizing the fan to move at least one hundred cubic feet of air per minute prevents moisture from migrating into the adjacent dry bathroom areas.
Walk-In Shower Clearance Cheat Sheet
A successful layout relies on the essential minimum dimensions for a comfortable walk-in shower, including a generous entry width and ample interior standing space. You must preserve a 24-to-30-inch entry gap to ensure the path feels welcoming rather than restrictive.
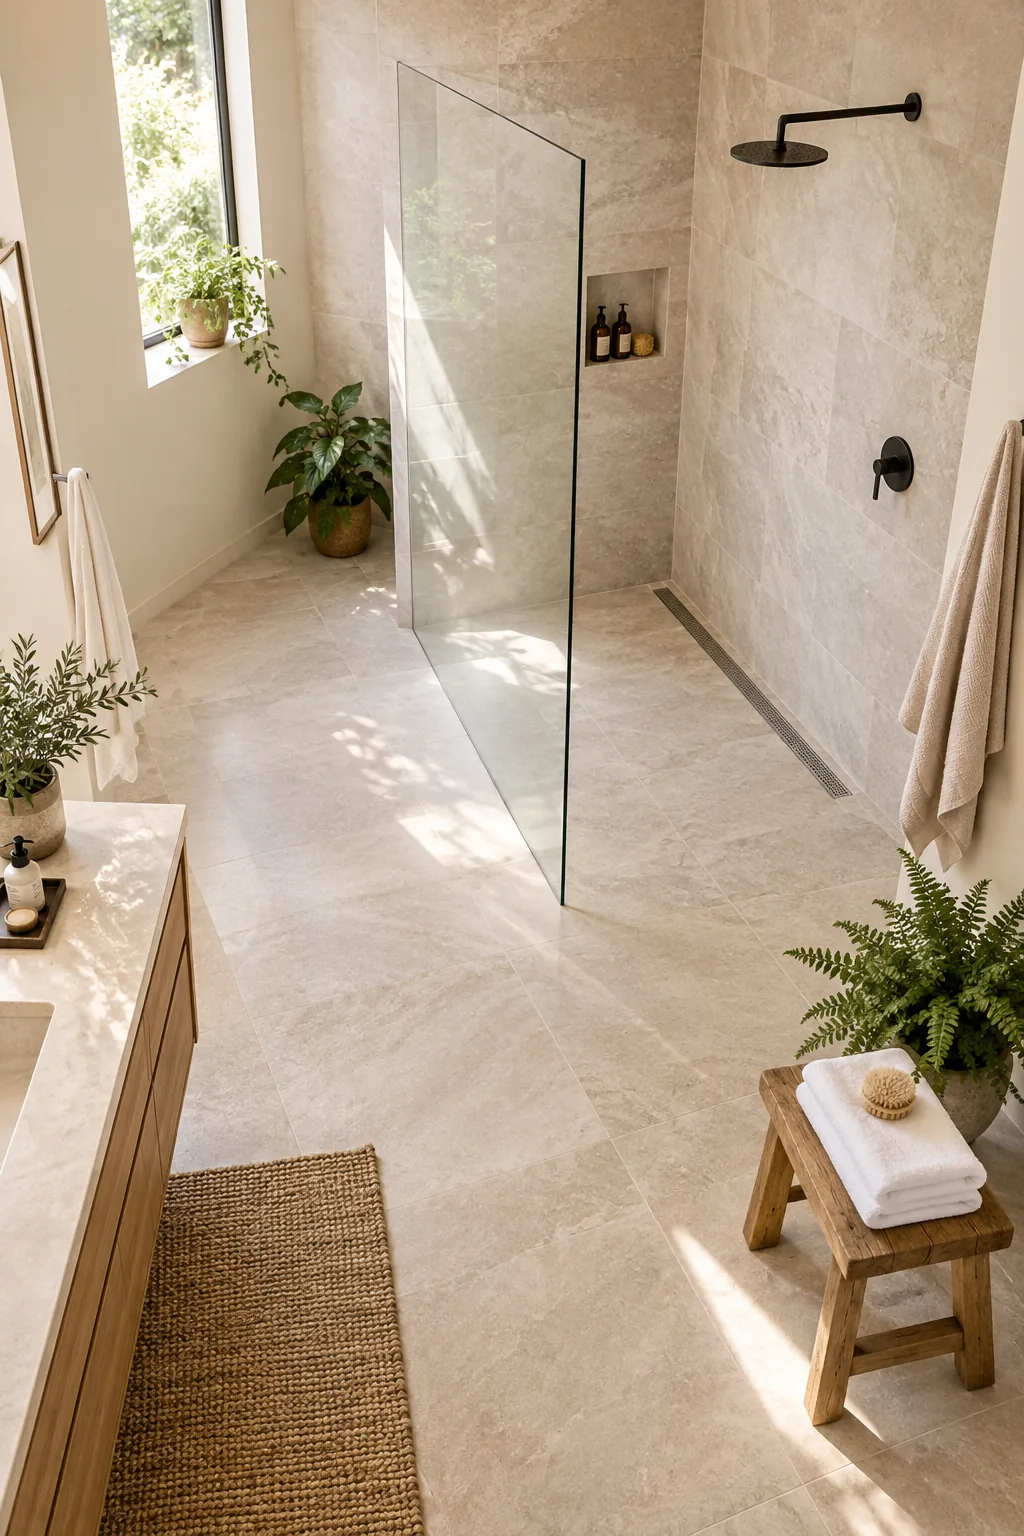
Before signing off on the final floor plan, verify these essential spatial measurements against your blueprints. These critical numbers ensure your new shower is both physically comfortable and strictly up to code.
3 Ways to Style a Modern Walk-In Shower
Discover how different materials and palettes can completely transform the same standard shower footprint.
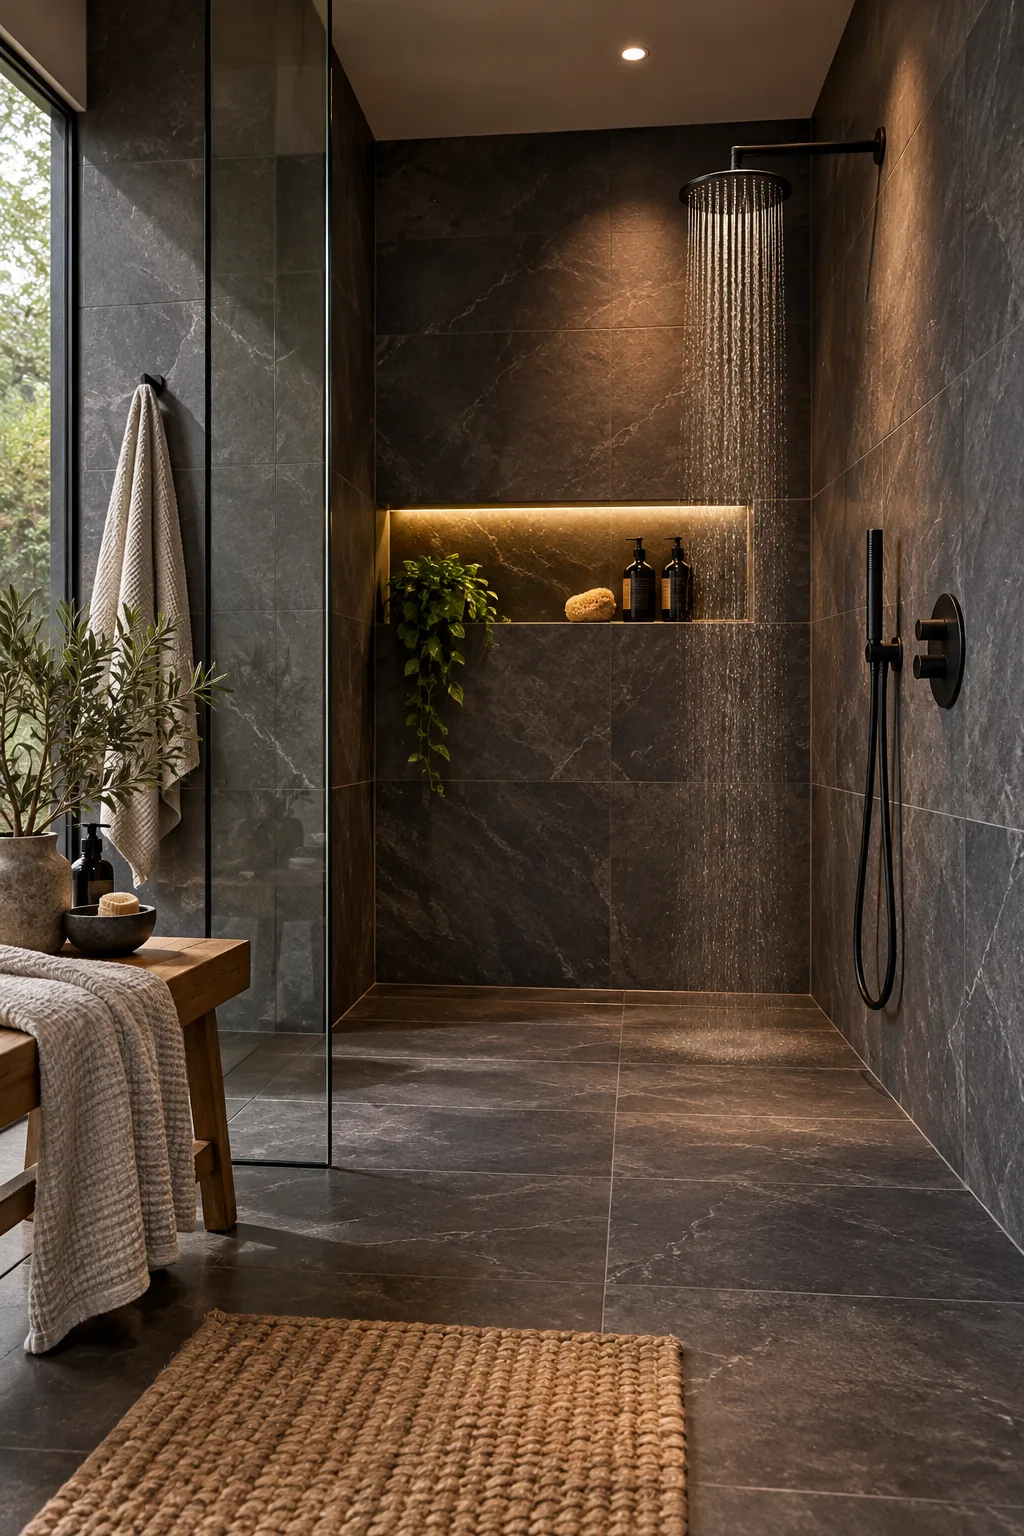
Moody Slate Wet Room: Dark charcoal tiles and matte black hardware create an intimate, spa-like atmosphere perfect for unwinding.
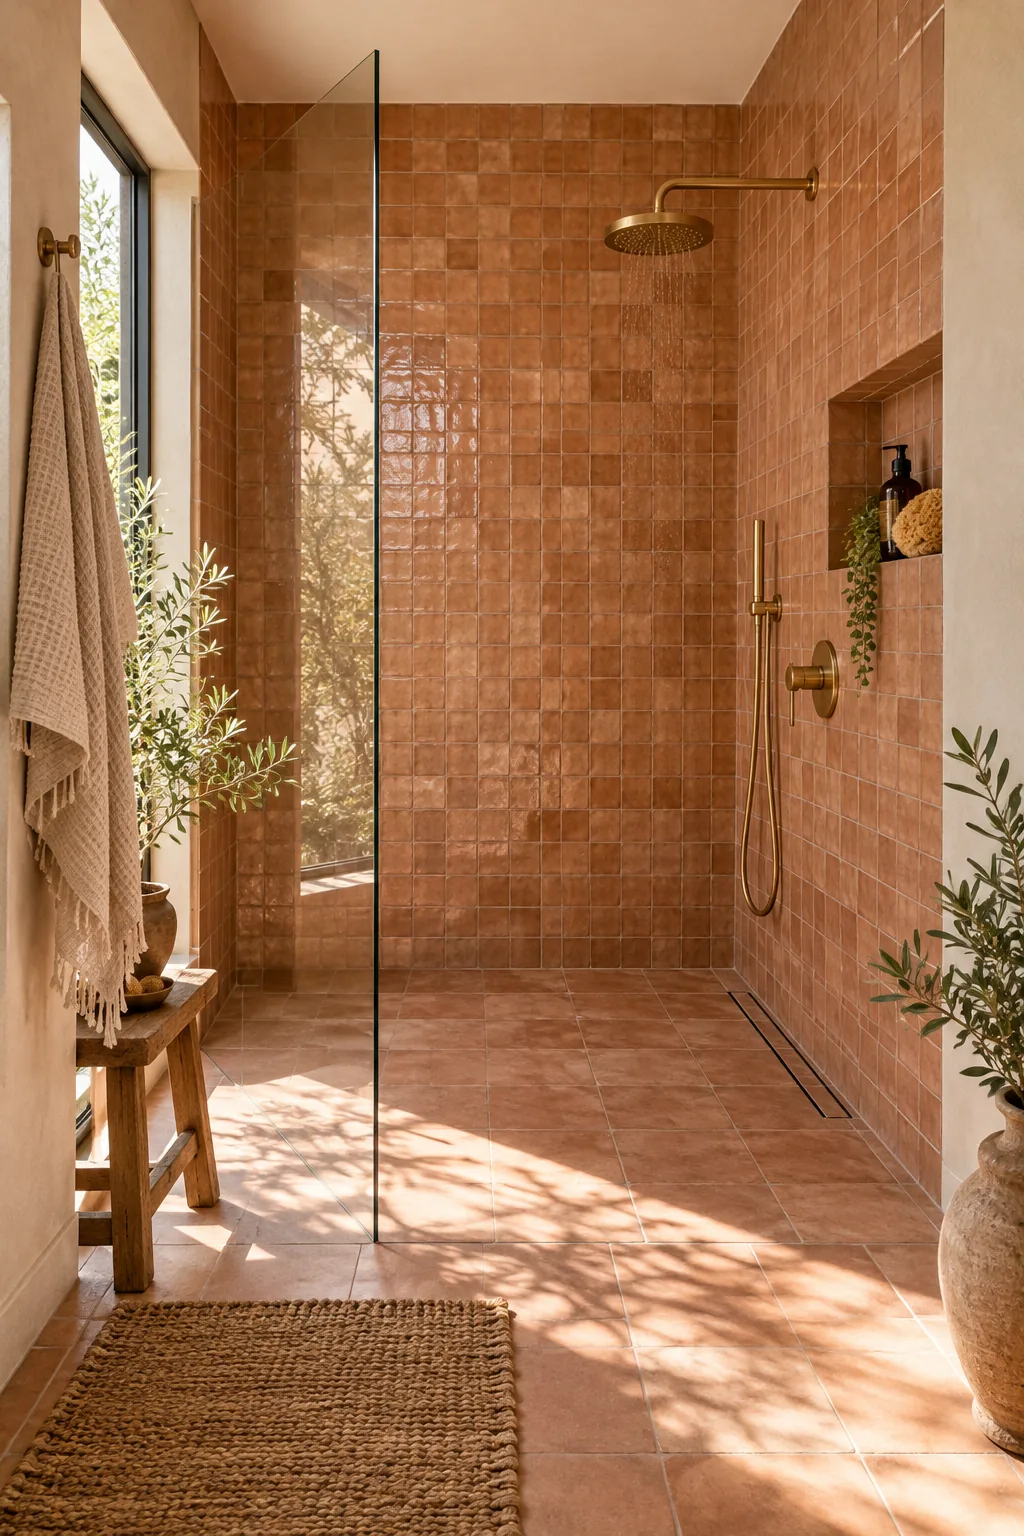
Warm Terracotta Oasis: Glossy zellige tiles bounce natural light around the space while unlacquered brass adds a living finish.
Crisp White Minimalist: Large-format marble minimizes grout lines and pairs flawlessly with polished chrome for a timeless, ultra-clean aesthetic.