Walk-in Shower Tile Layout: Get the Printable Planning Sheet
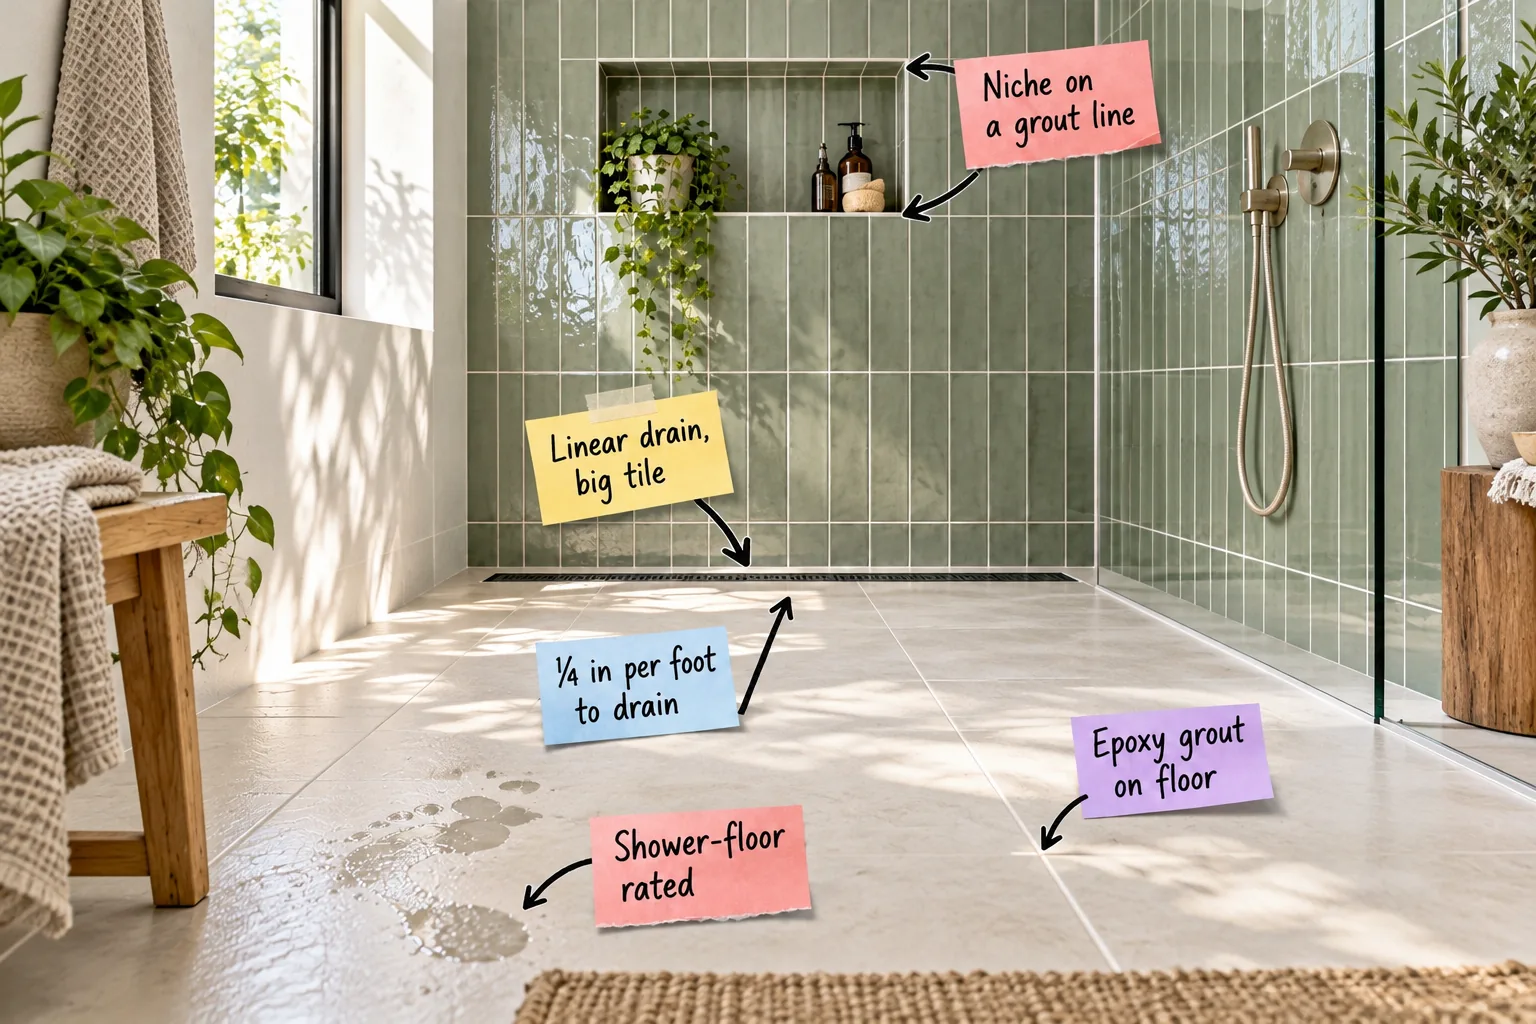
Grab our printable 2-page Walk-In Shower Tile Layout Sheet to map out your exact tile sizes, calculate the perfect floor slope, and align your wall niche with the grout lines. You will have everything you need to plan a flawless, curbless oasis before a single tile is cut.
Verifying the Shower-Floor Rating
Always check the manufacturer’s spec sheet for a dynamic coefficient of friction (DCOF) of 0.42 or higher to ensure your large matte tile is safe for wet, bare feet. In my own primary bathroom, this rating let me confidently run the same vanity stone straight into the wet zone.
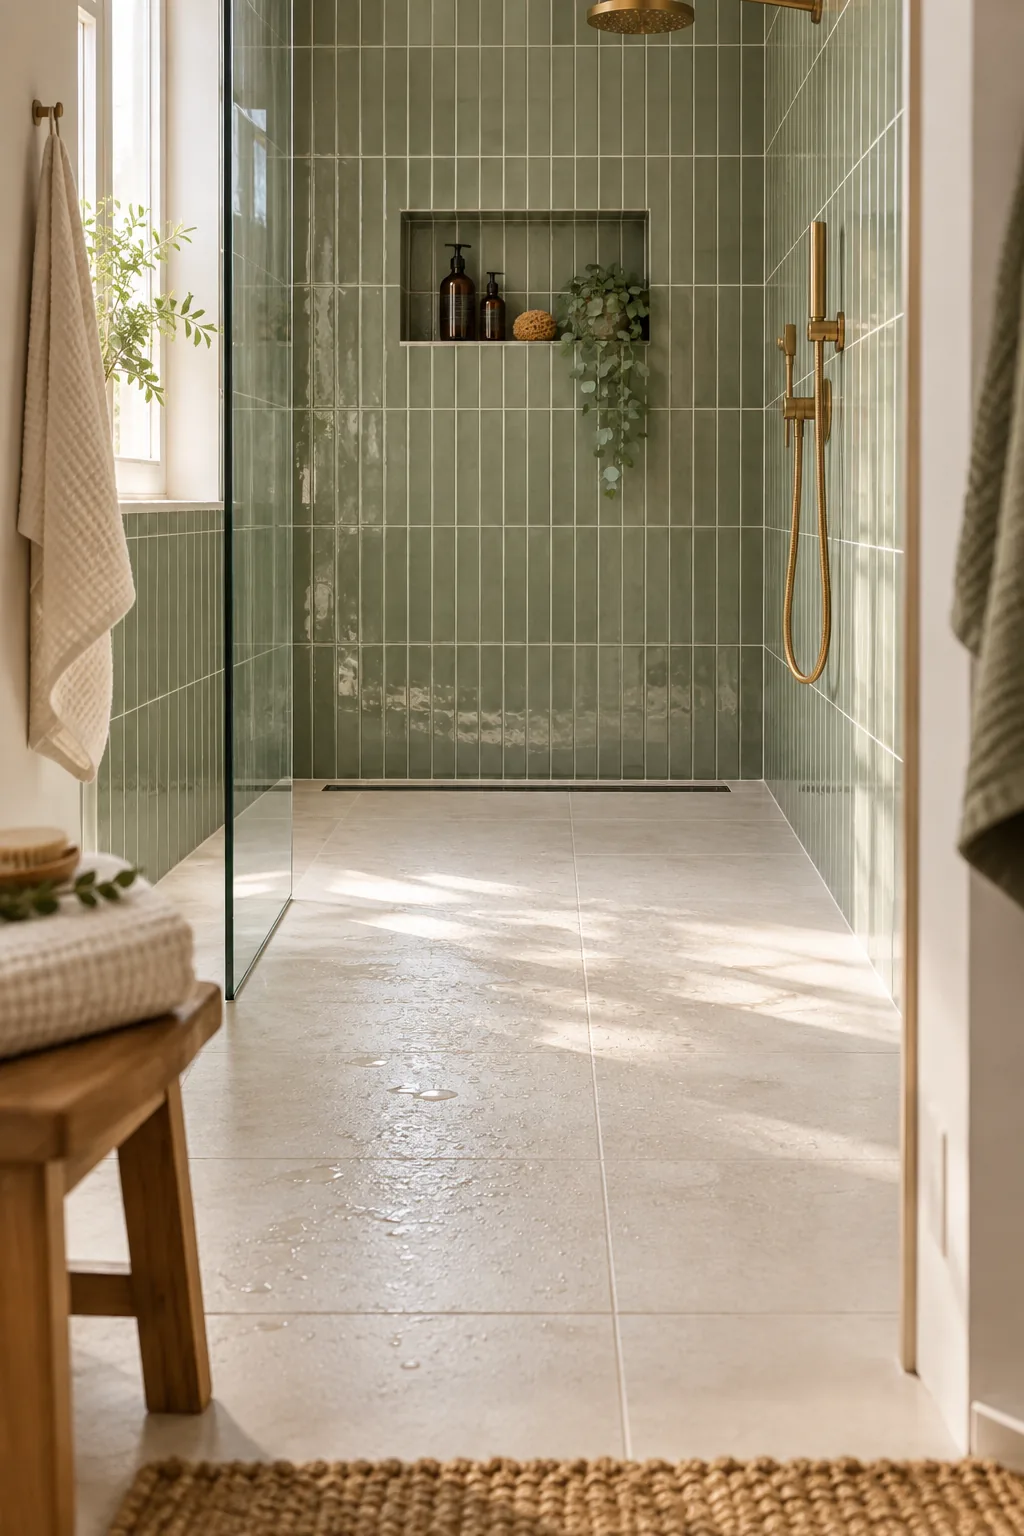
Confirming this industry standard specification early keeps your sleek design grounded in everyday safety.
Hitting the ¼-Inch Slope per Foot
A walk-in shower requires a mandatory ¼-inch drop for every foot of distance from the entry to the drain to prevent pooling while remaining comfortable to stand on.
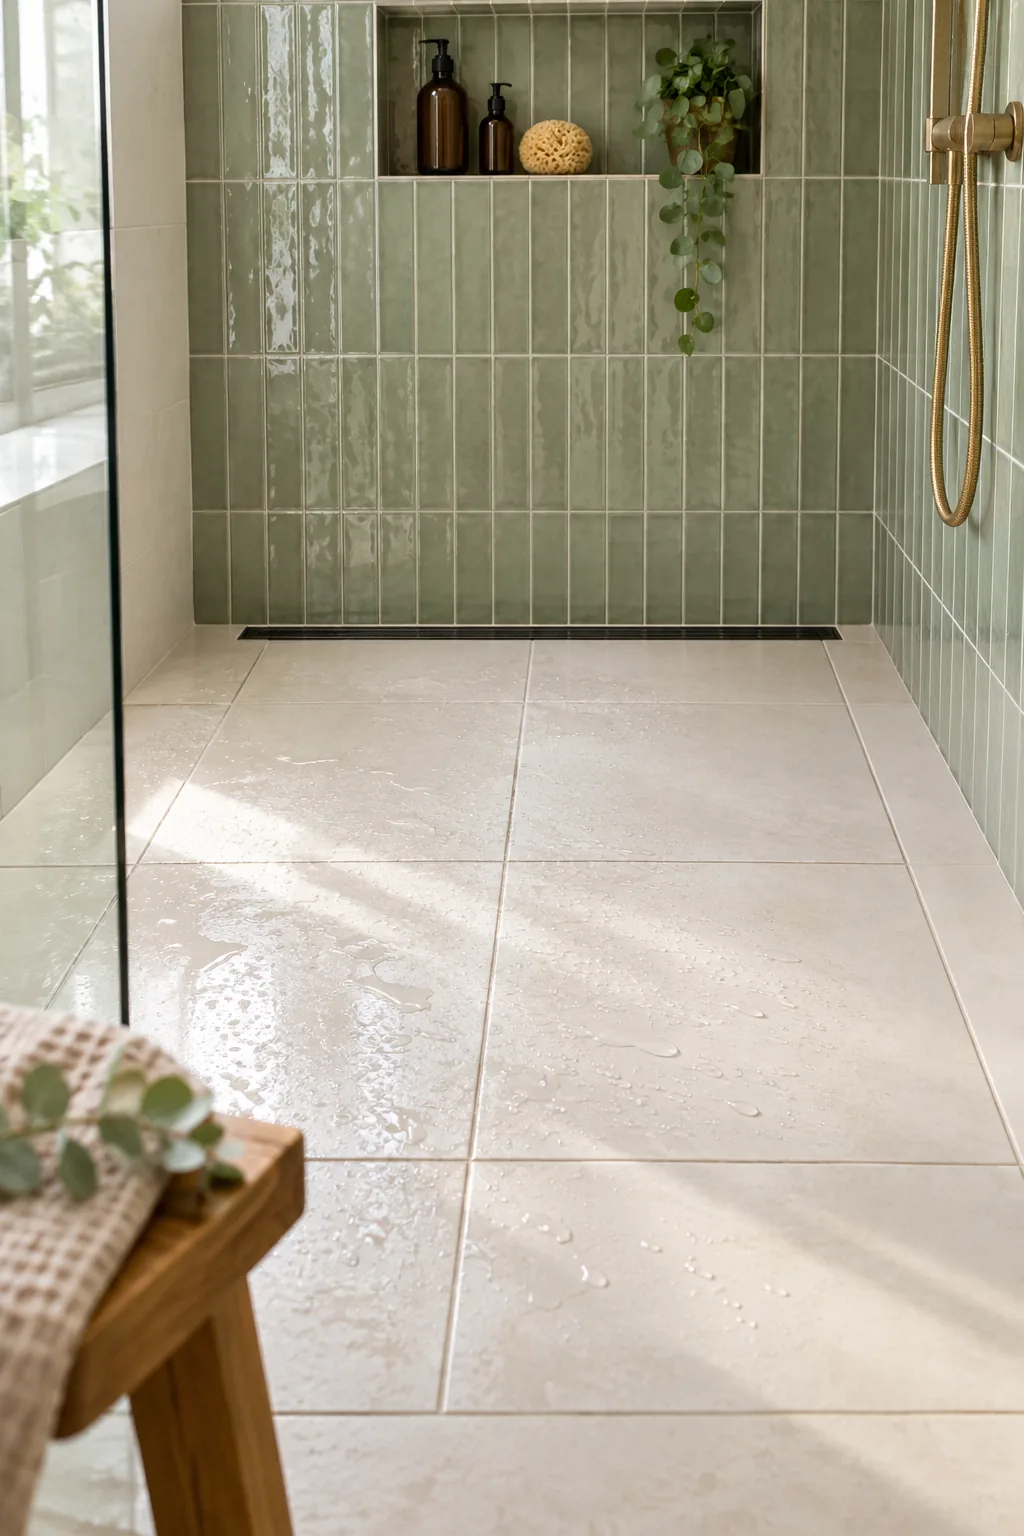
Getting the slope right is only half the battle; the transition into the room dictates whether that water stays safely contained.
Pairing Large Tiles with a Linear Drain
A slim linear drain strip along the back wall requires only a single-plane slope, allowing you to run large-format tiles into the shower without cutting them into a mosaic envelope. I used this exact pairing in a recent Denver loft project to visually stretch the narrow footprint.
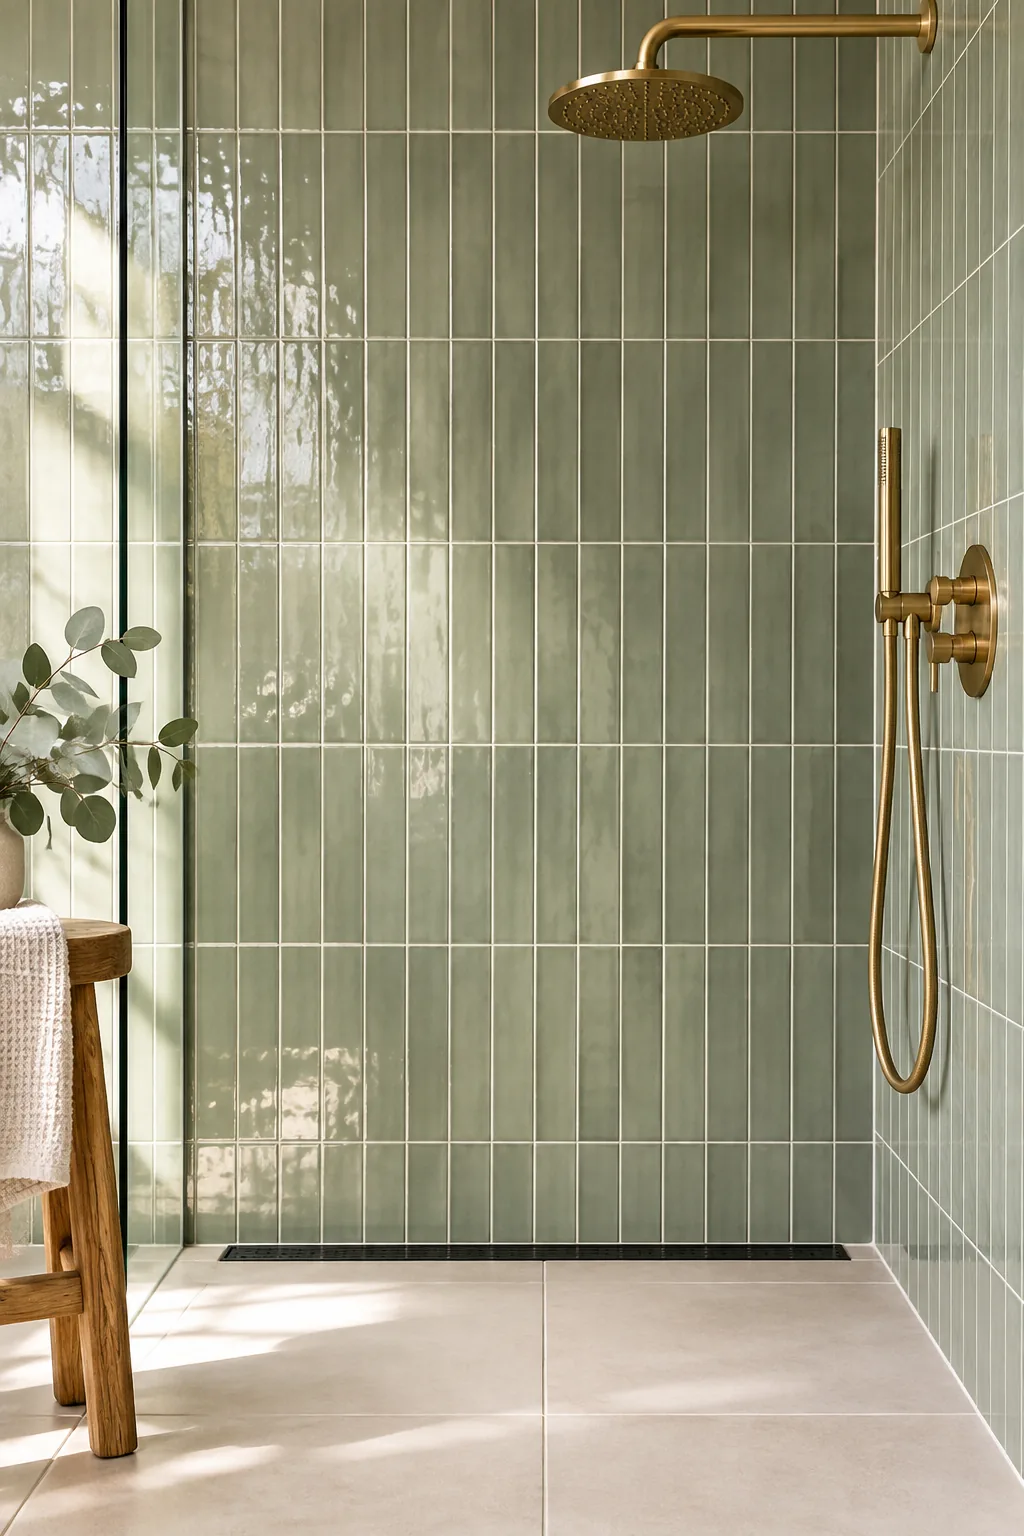
This uninterrupted surface makes the entire bathroom feel significantly more expansive and unified.
Mapping the Vertical Wall Grid
Always plan your wall layout from the bottom up to establish a predictable horizontal grout line rhythm for the rest of the room’s features.
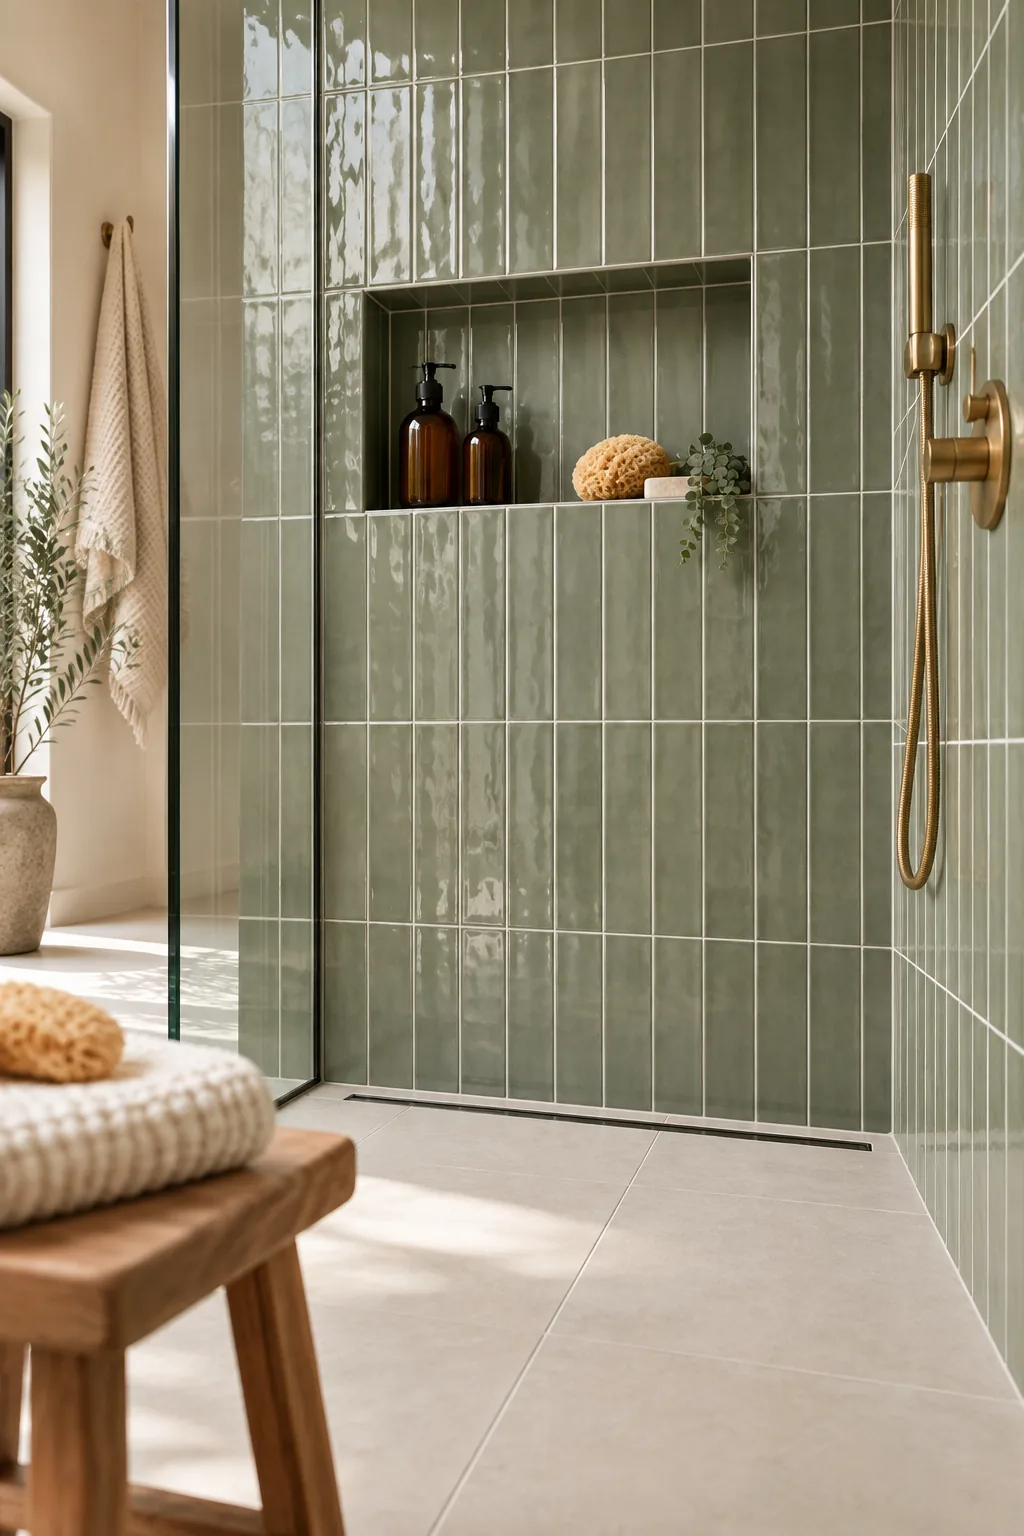
Locking in this grid early ensures your built-in elements will harmonize perfectly with the surrounding tile.
Aligning the Niche on a Grout Line
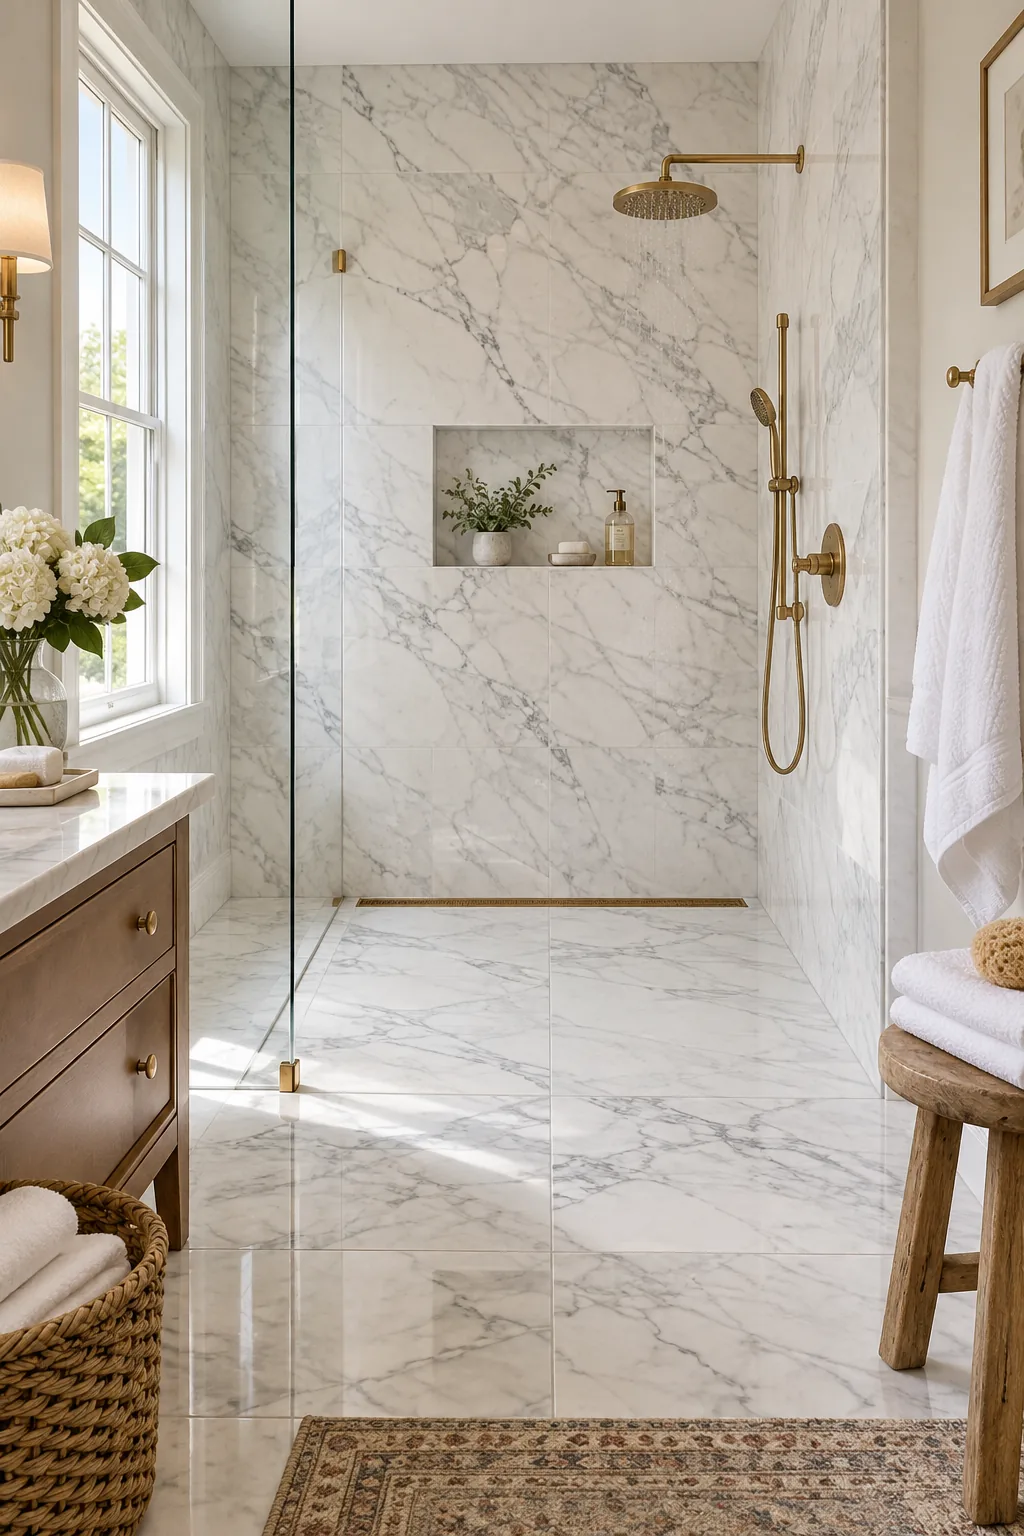
Size and position your shower niche so its top and bottom edges fall exactly on the horizontal grout joints of the wall tile.
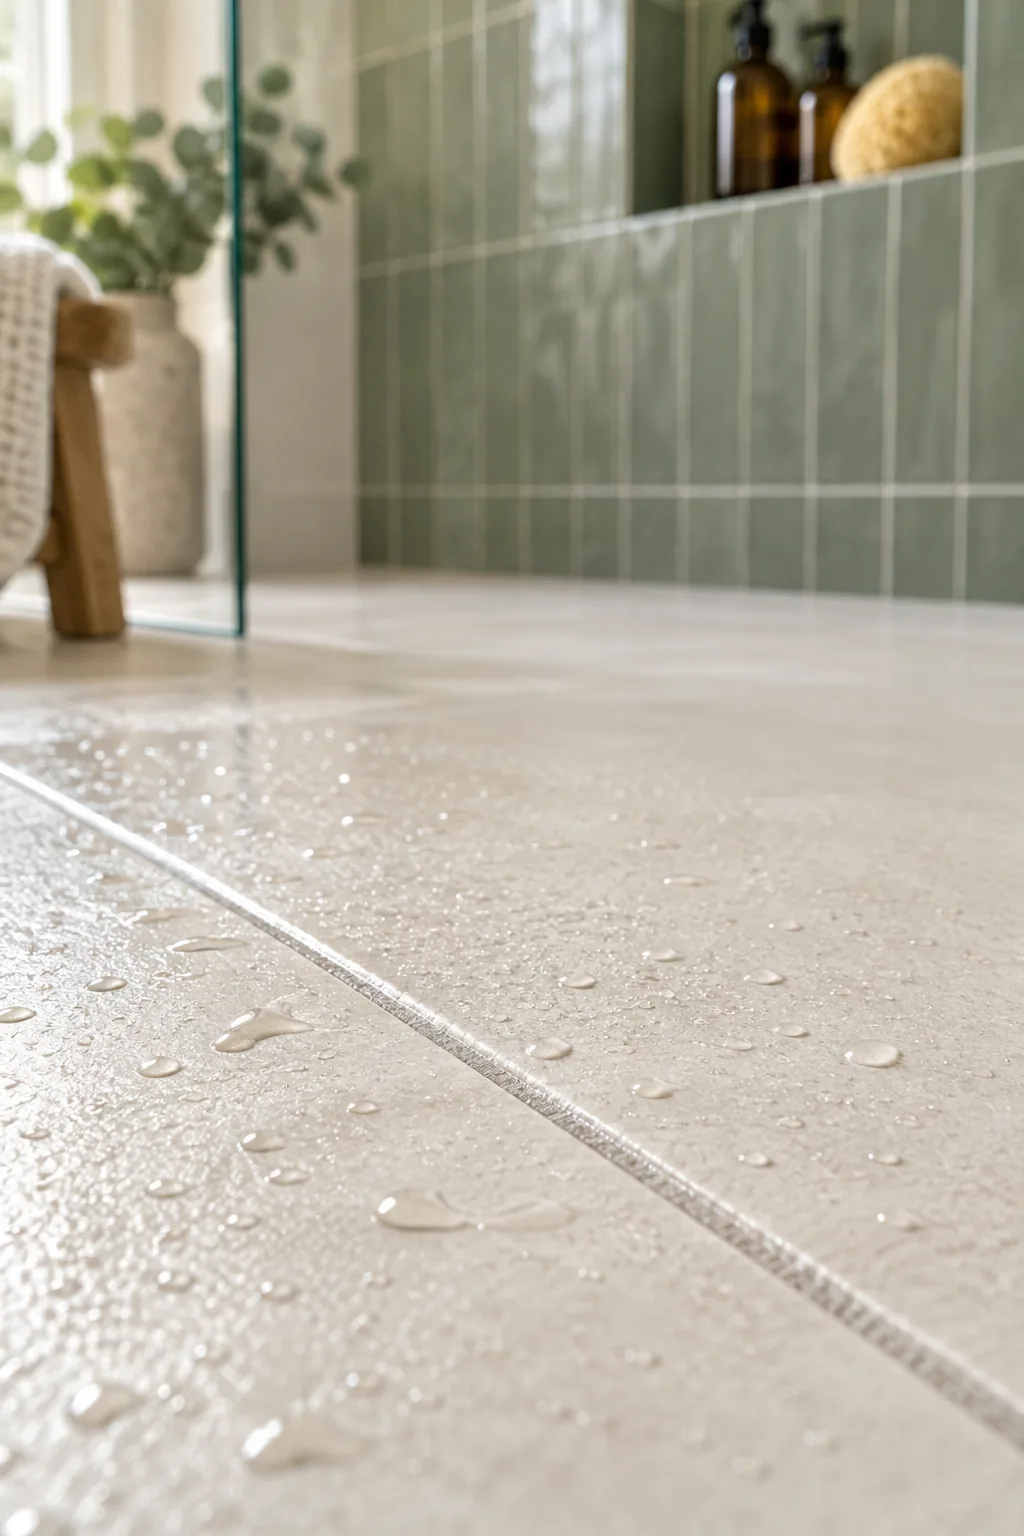
This precision eliminates awkward sliver cuts and keeps the visual grid completely uninterrupted.
| Tile Height | Niche Height (Inside) | Grout Lines Spanned |
|---|---|---|
| 3 inches | 12 inches | 4 tiles |
| 4 inches | 12 inches | 3 tiles |
| 6 inches | 12 or 18 inches | 2 or 3 tiles |
| 12 inches | 12 or 24 inches | 1 or 2 tiles |
Upgrading to Epoxy Grout on the Floor
I highly recommend upgrading to a waterproof epoxy grout specifically for the wettest zone on the shower floor.
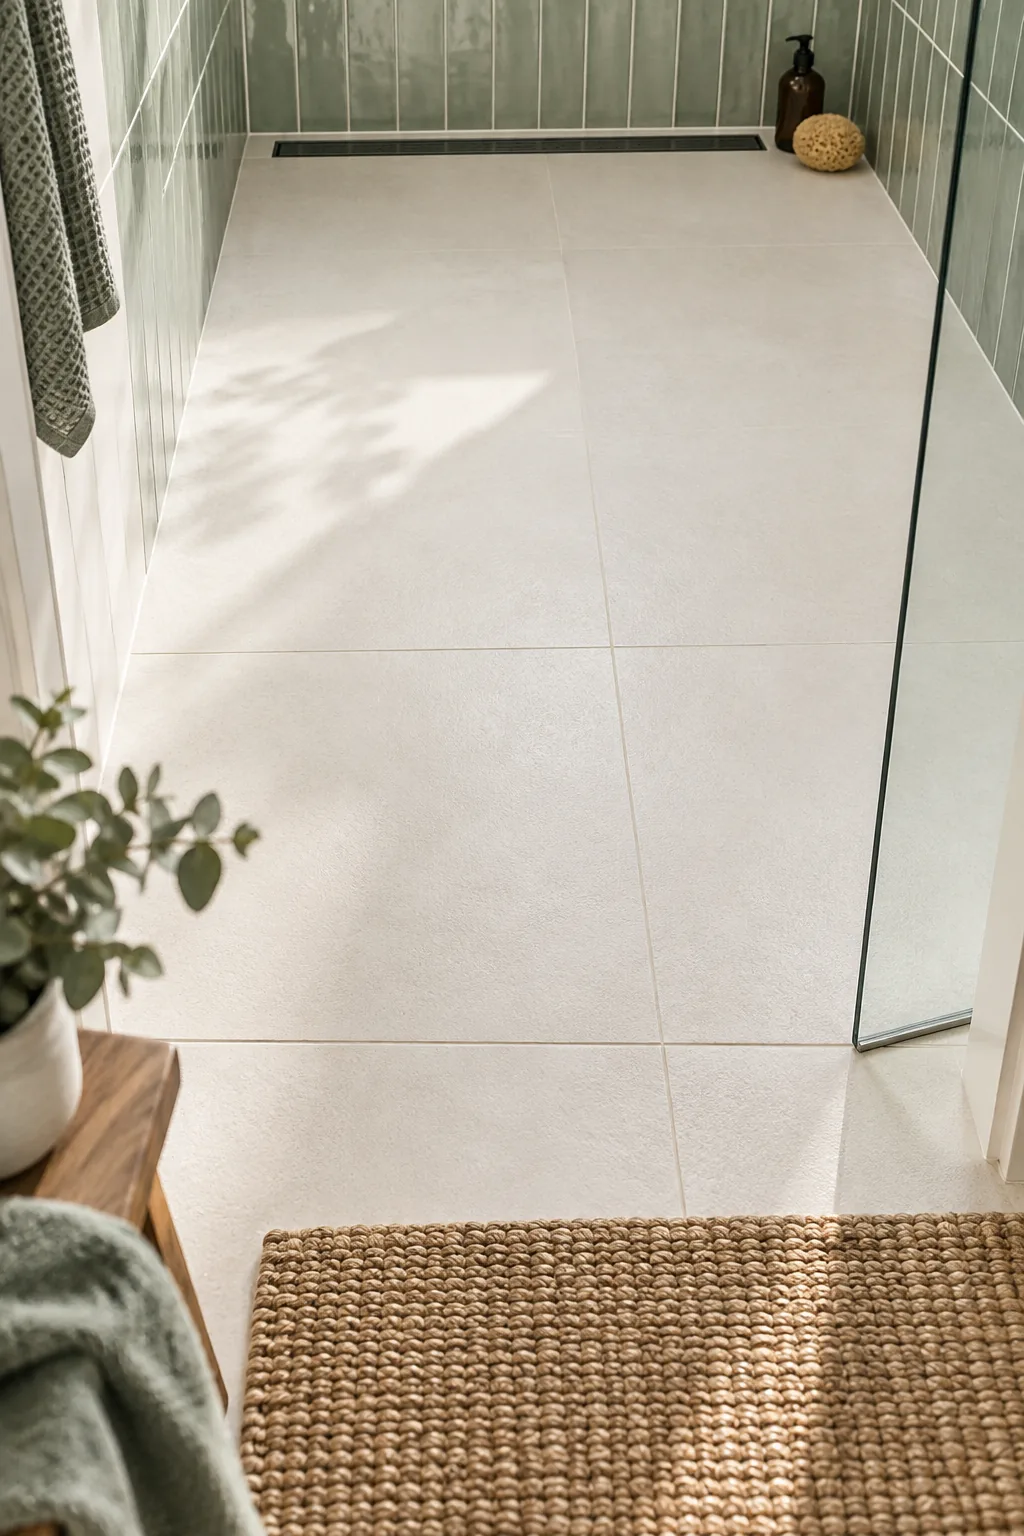
Its stain-resistant properties keep those bright, crisp joints looking brand new over time with minimal maintenance.
Smoothing the Curbless Transition
Running the exact same large-format tile continuously from the dry bathroom floor into the wet zone creates a seamless, curbless entry.
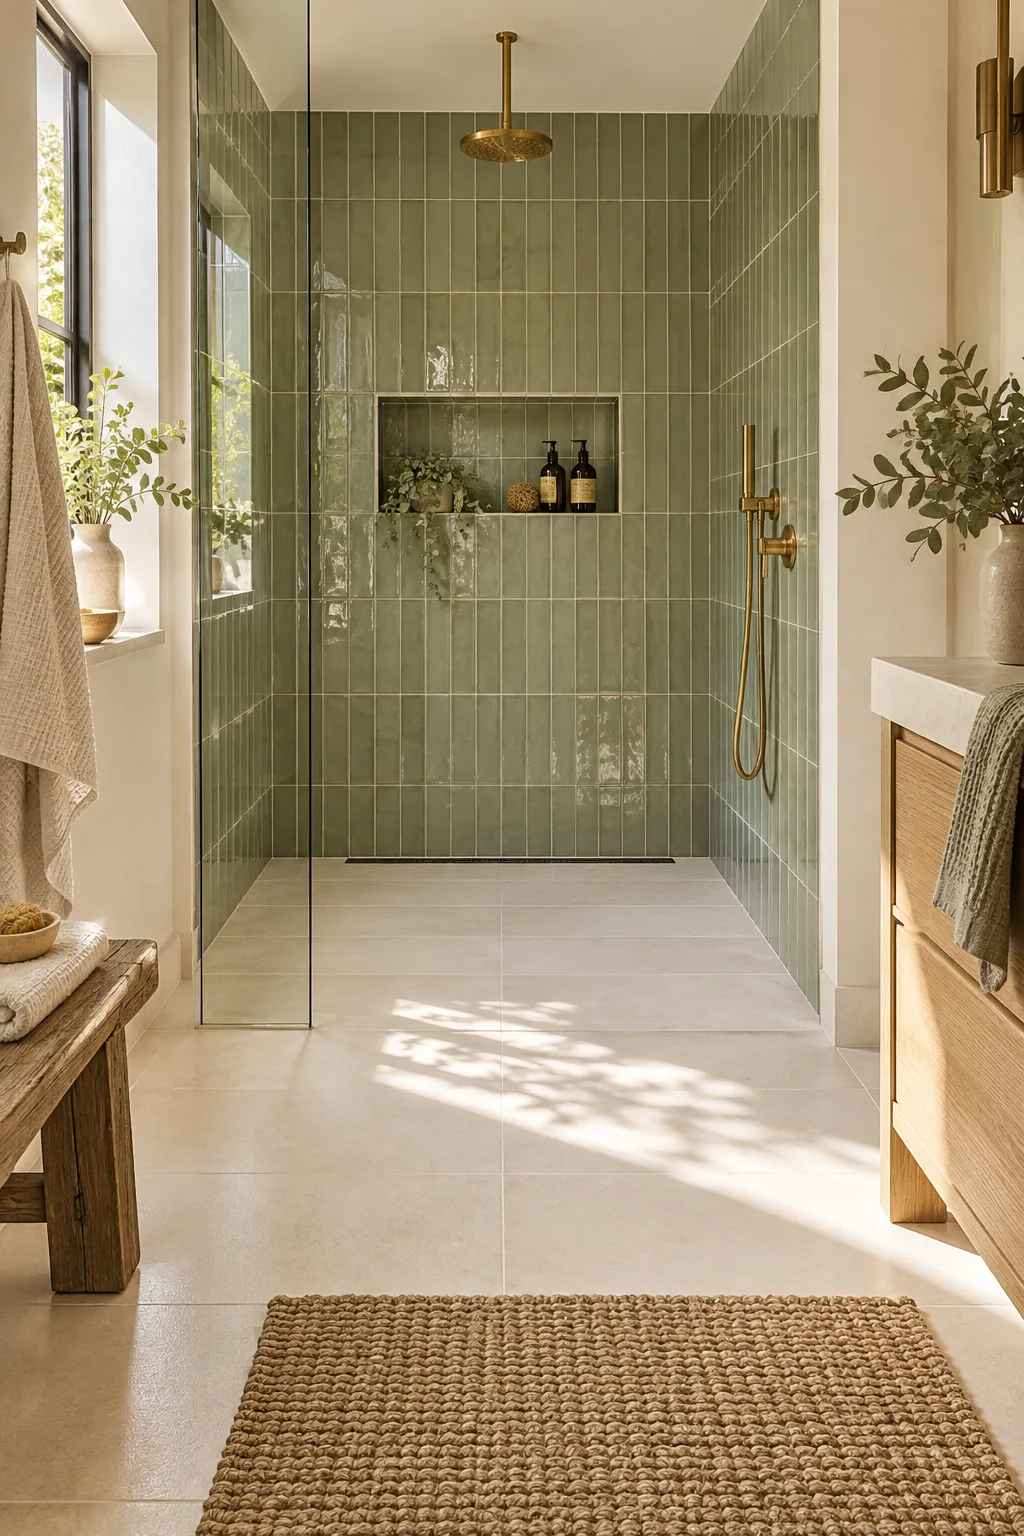
This barrier-free approach visually expands the room while embracing a clean, modern aesthetic.
Your Walk-In Shower Tile Layout Sheet
Use our printable 2-page plan to calculate your slope by drain type, reference the niche-to-grout-line sizing table, and finalize your material choices before ordering a single box of tile.
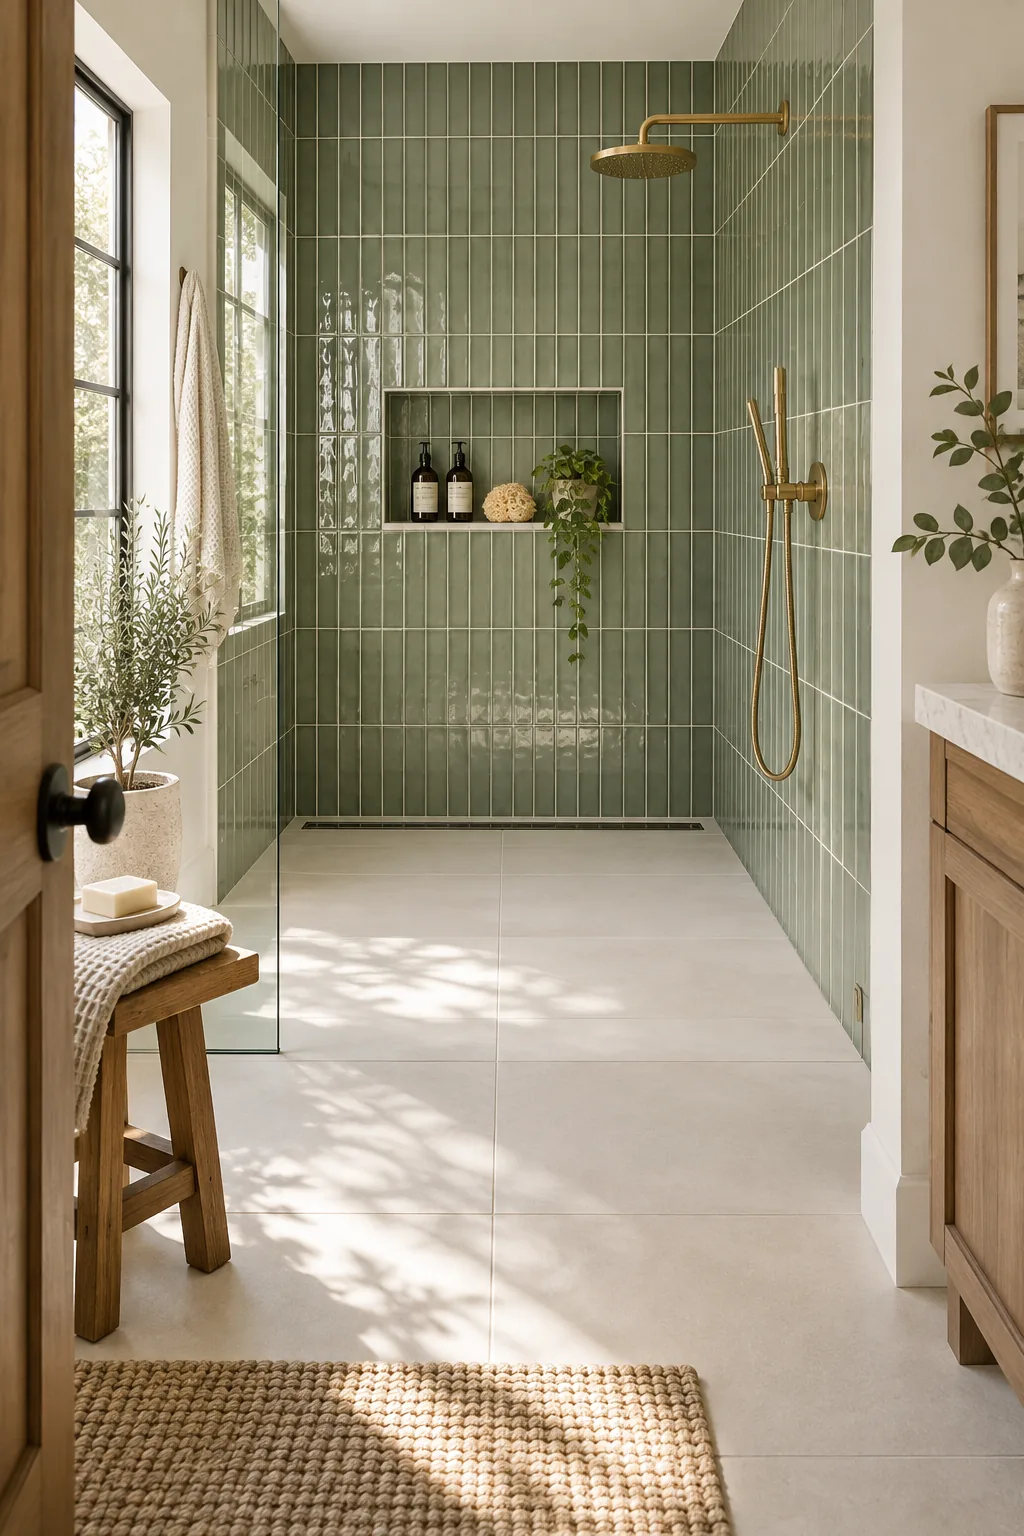
Before you hand any plans over to your installer, run through these final verifications to ensure a flawless finish.
Walk-In Shower Tile Pairings
Explore these five distinct tile pairings to find the perfect mood and material palette for your walk-in shower.
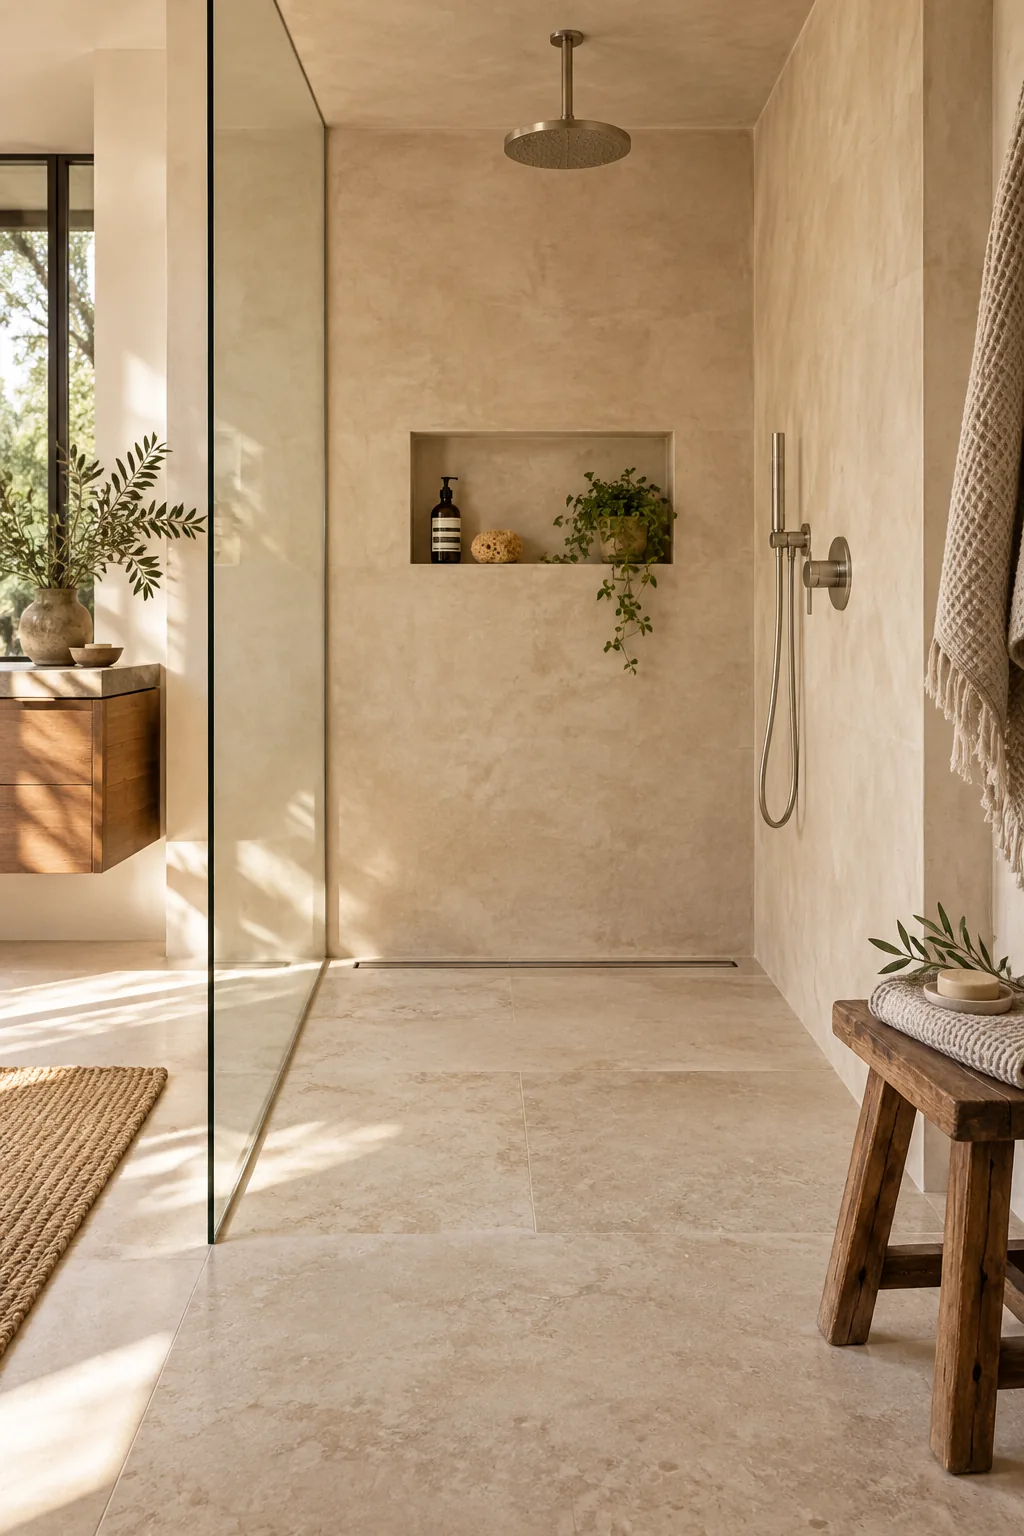
Organic Modern Plaster and Limestone: Warm beige plaster walls pair beautifully with natural limestone floors for a seamless, earthy retreat.
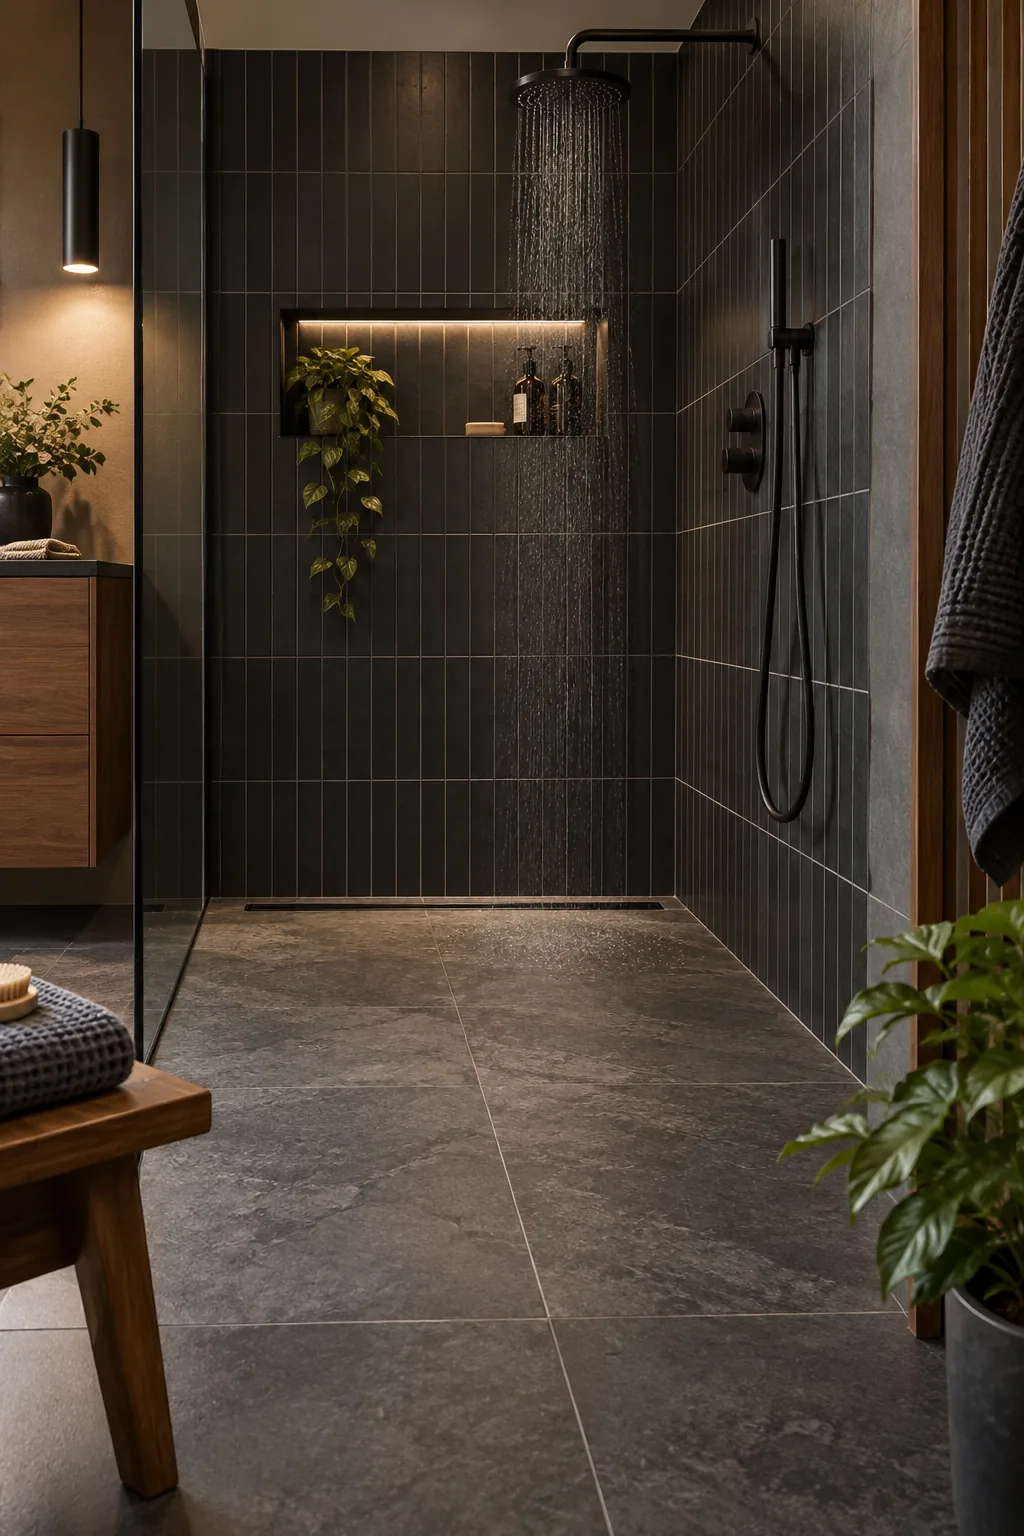
Moody Charcoal Slate and Walnut: Dark slate floors and matte black wall tiles create a striking, intimate atmosphere enhanced by rich walnut accents.
Classic Marble and Brass: Continuous marble surfaces elevate the space, while unlacquered brass hardware adds a timeless touch of warmth.
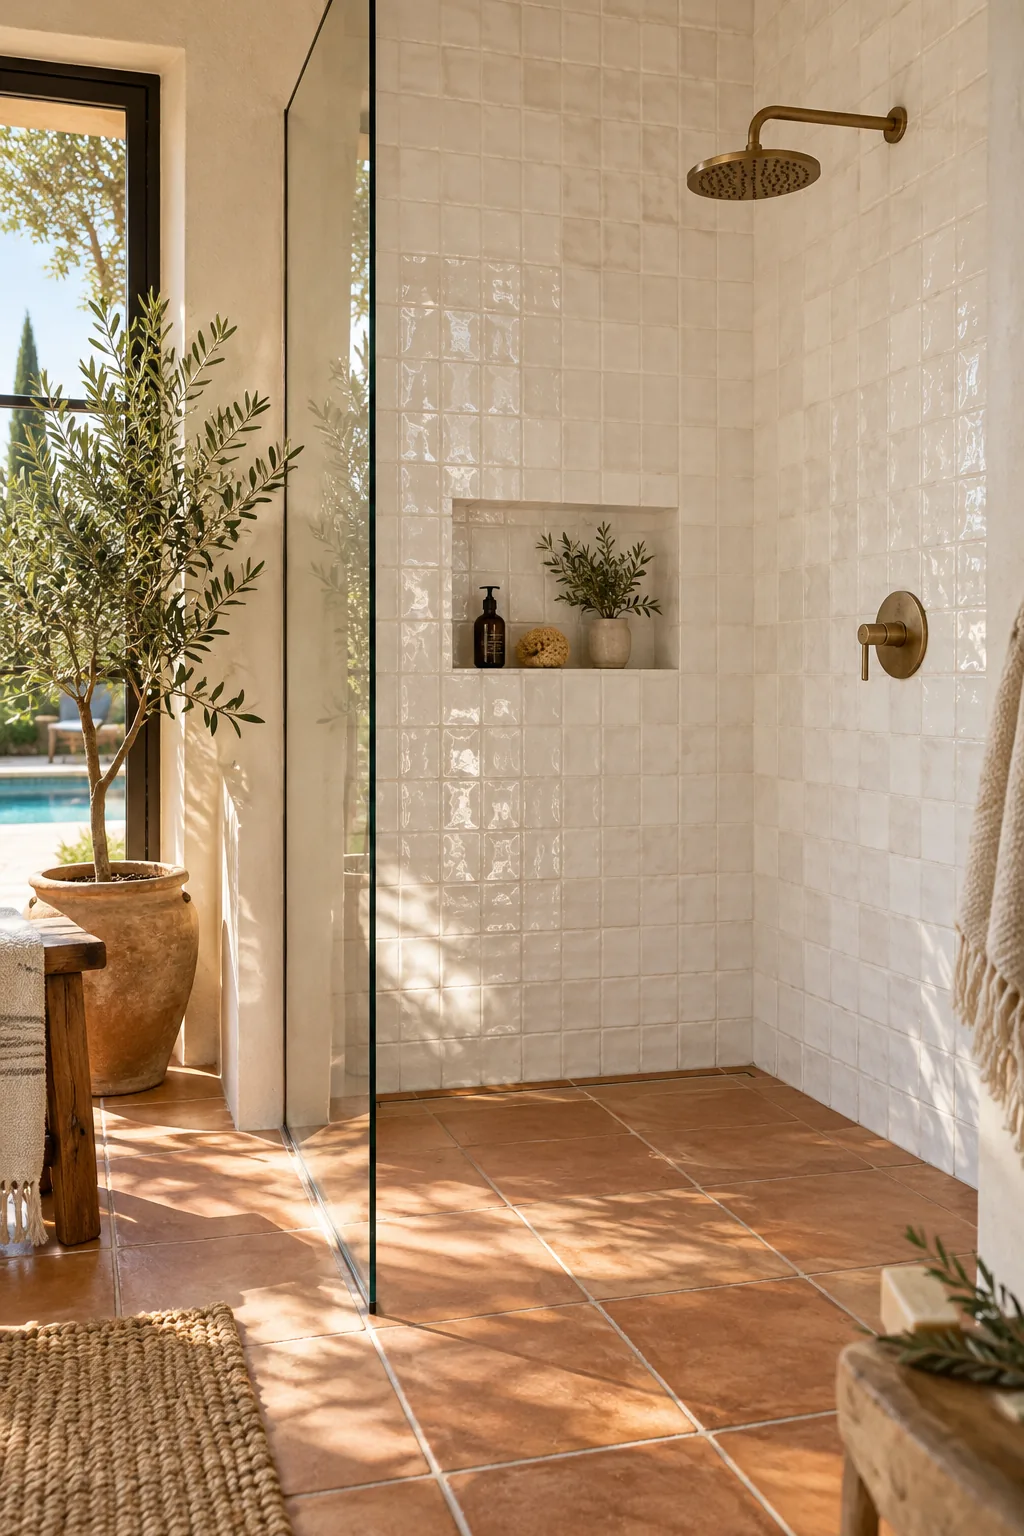
Terracotta and White Zellige: Earthy terracotta grounds the space while glossy, irregular zellige tiles bounce natural light around the room.
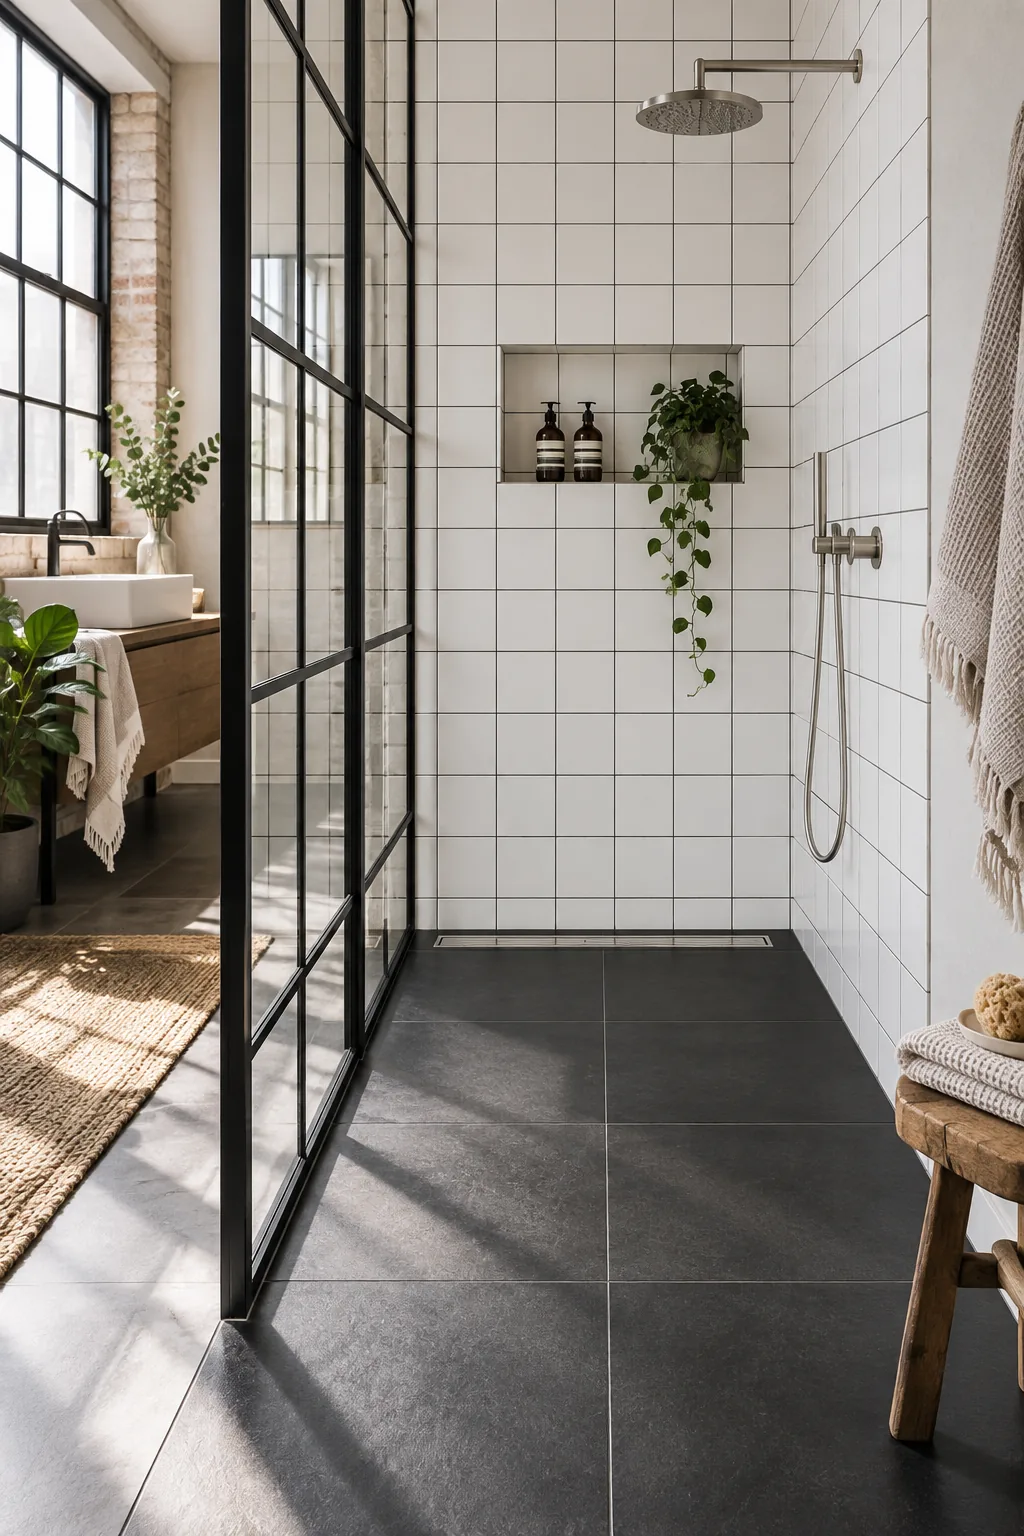
High-Contrast Urban Graphic: Crisp white tiles with dark grout lines create a bold, architectural grid that pops against matte black floors.