
Master Bathroom Shower Tile Layout and Budget Cheat Sheet
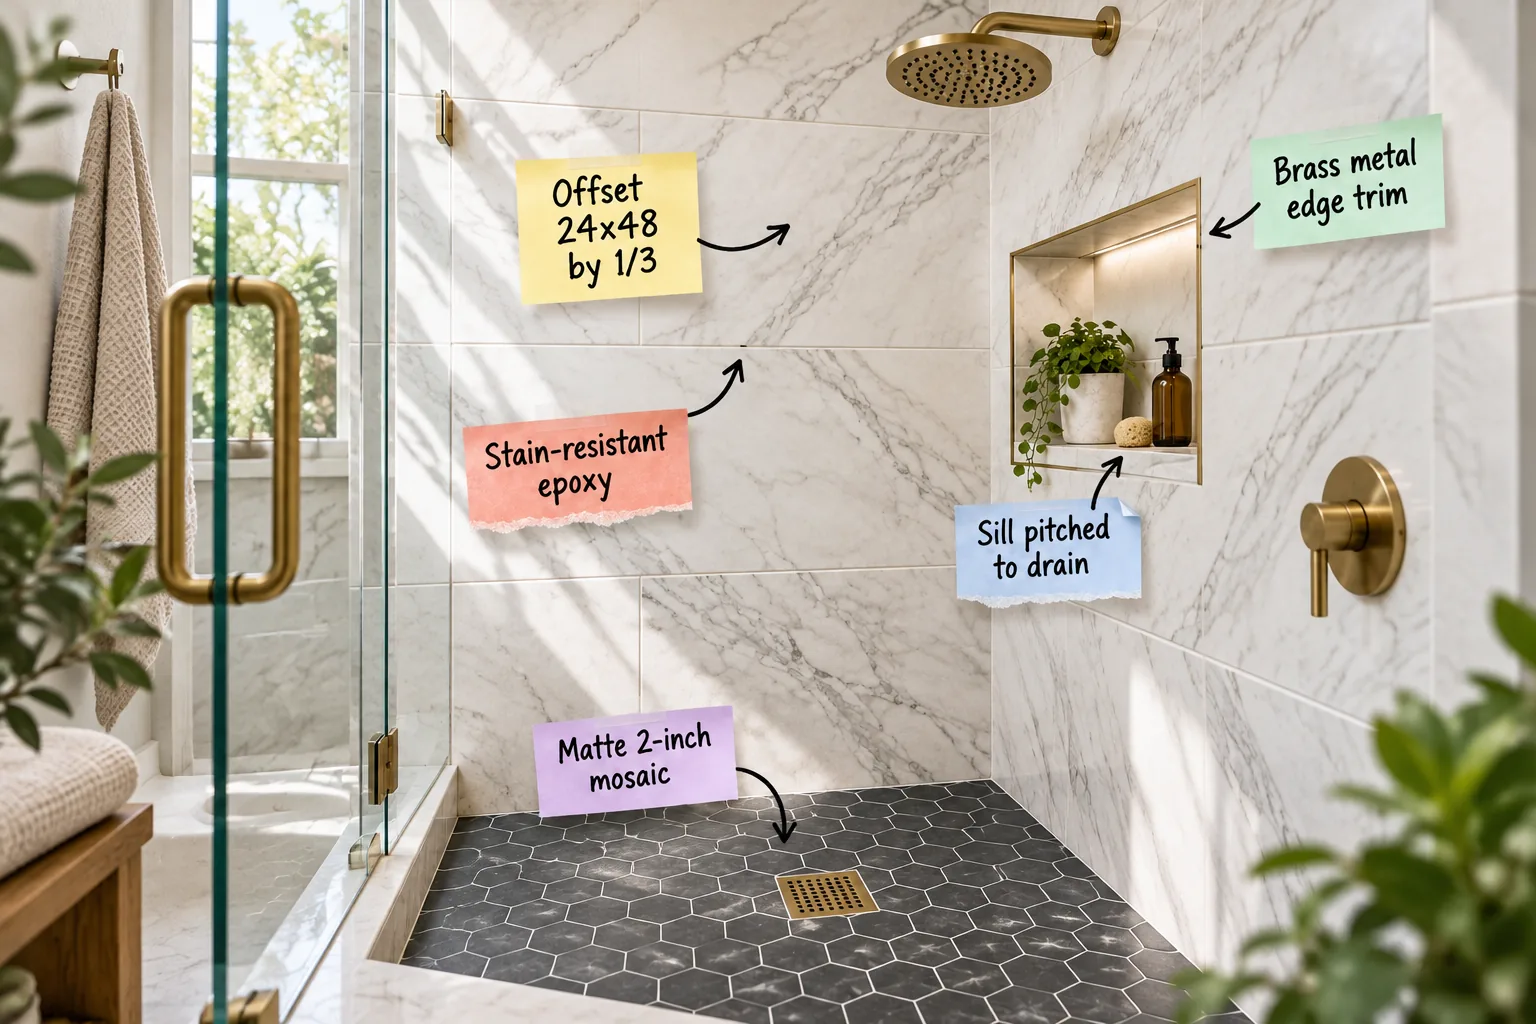
You can absolutely plan a high-end shower renovation without overspending when you use our complete tile layout and budget cheat sheet. I will walk you through calculating exact tile quantities, choosing the right patterns, and budgeting your design step by step.
Planning a High-End Shower on a Budget
We establish the baseline for a luxurious look by pairing splurge items like brass fixtures with affordable large-format porcelain wall tile.
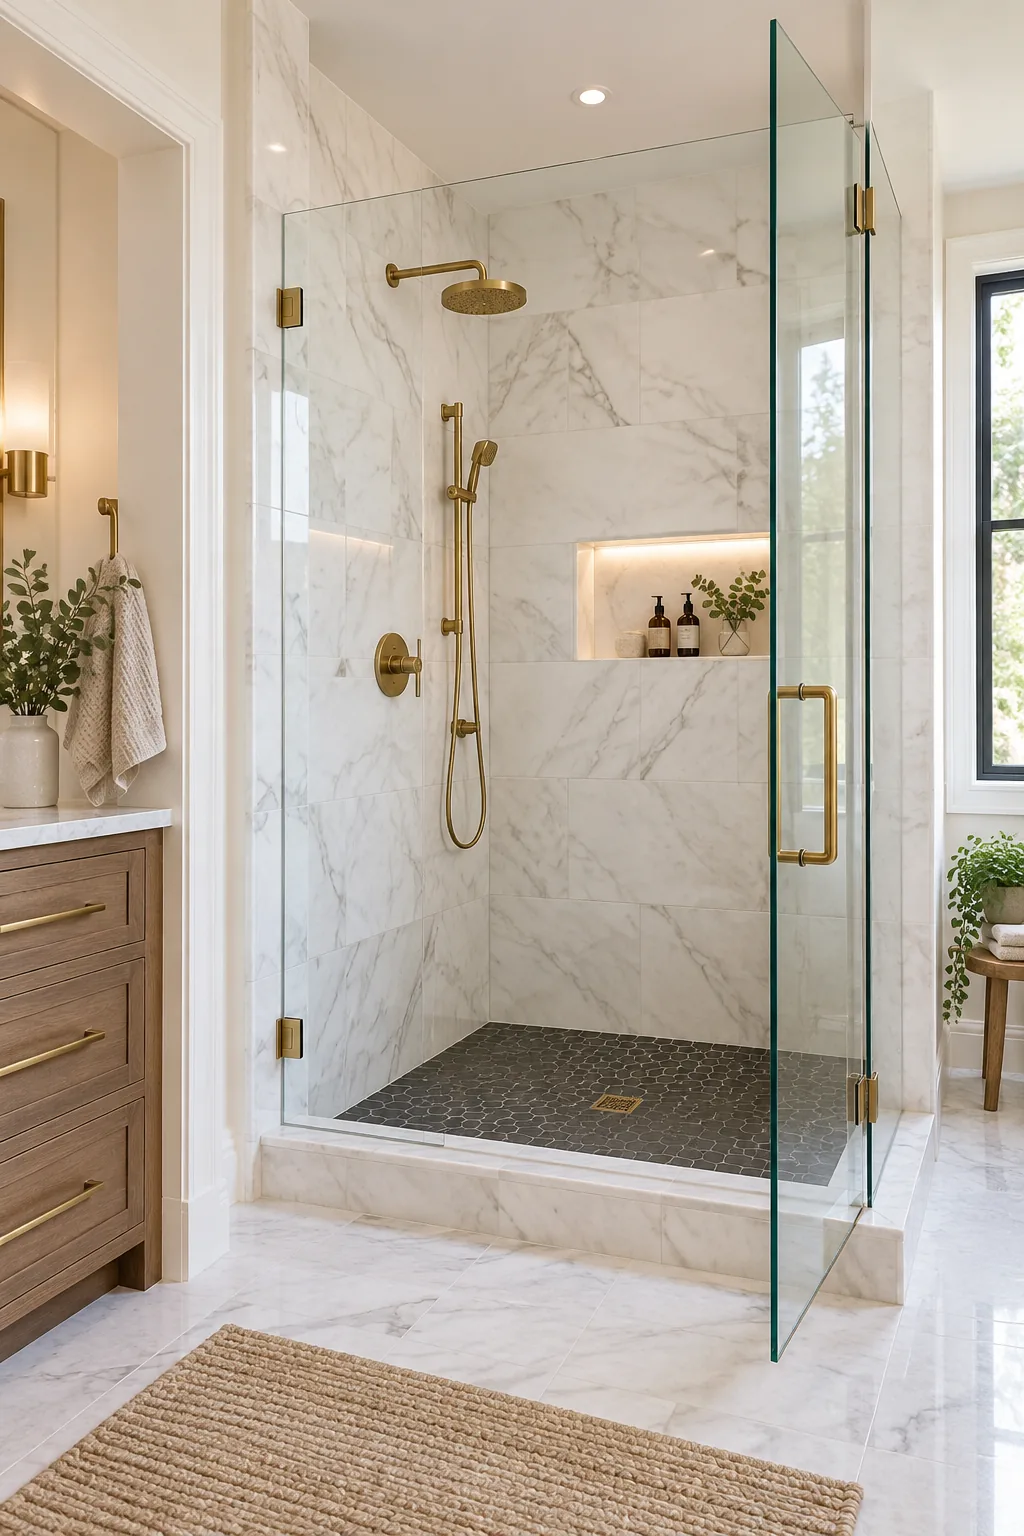
Before ordering materials, review these common calculation errors that can stall your renovation and inflate your final costs.
Mastering the One-Third Offset Pattern
When installing massive 24×48 tiles, shifting the seams by a one-third offset rather than a standard half keeps the surface perfectly flat.
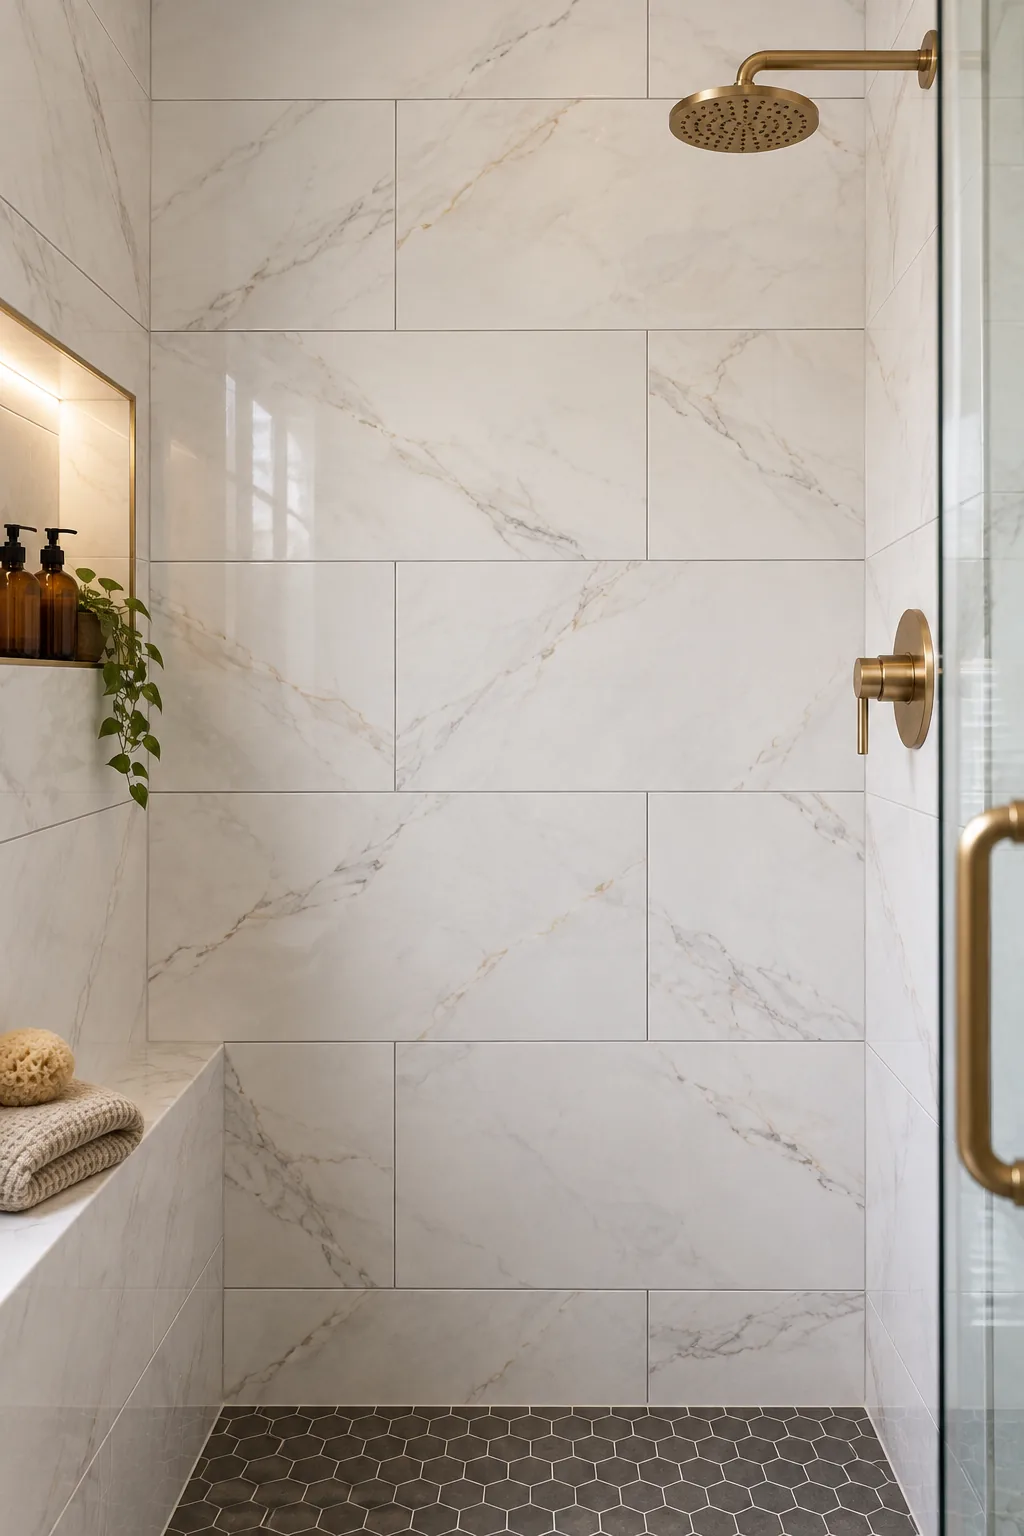
In my own Denver master bath, using this exact offset kept the massive wall tiles perfectly flush and created a beautifully balanced, seamless look.
Selecting a Matte Mosaic Floor Tile
Transitioning to a matte 2-inch mosaic on the shower pan serves both structural and safety purposes.
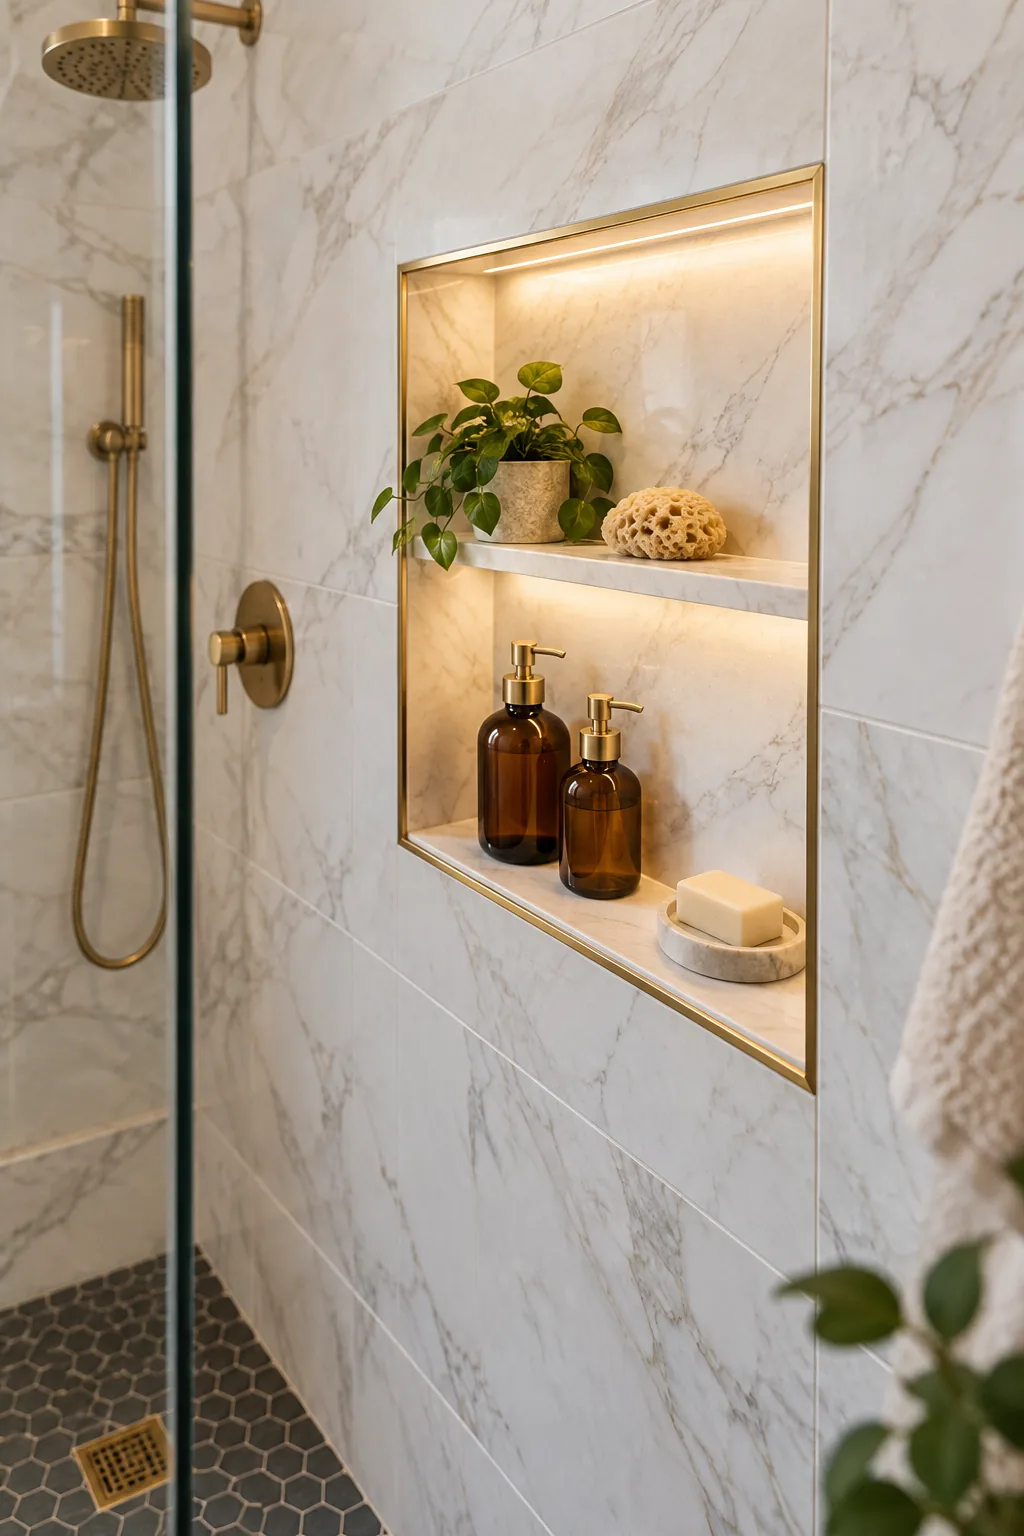
The small format allows the floor to slope properly toward the drain, while the matte finish provides essential slip resistance on wet surfaces.
Sizing the Recessed Wall Niche
Proper spatial planning ensures your built-in shower niche fits neatly between standard 16-inch wall studs without structural modifications.
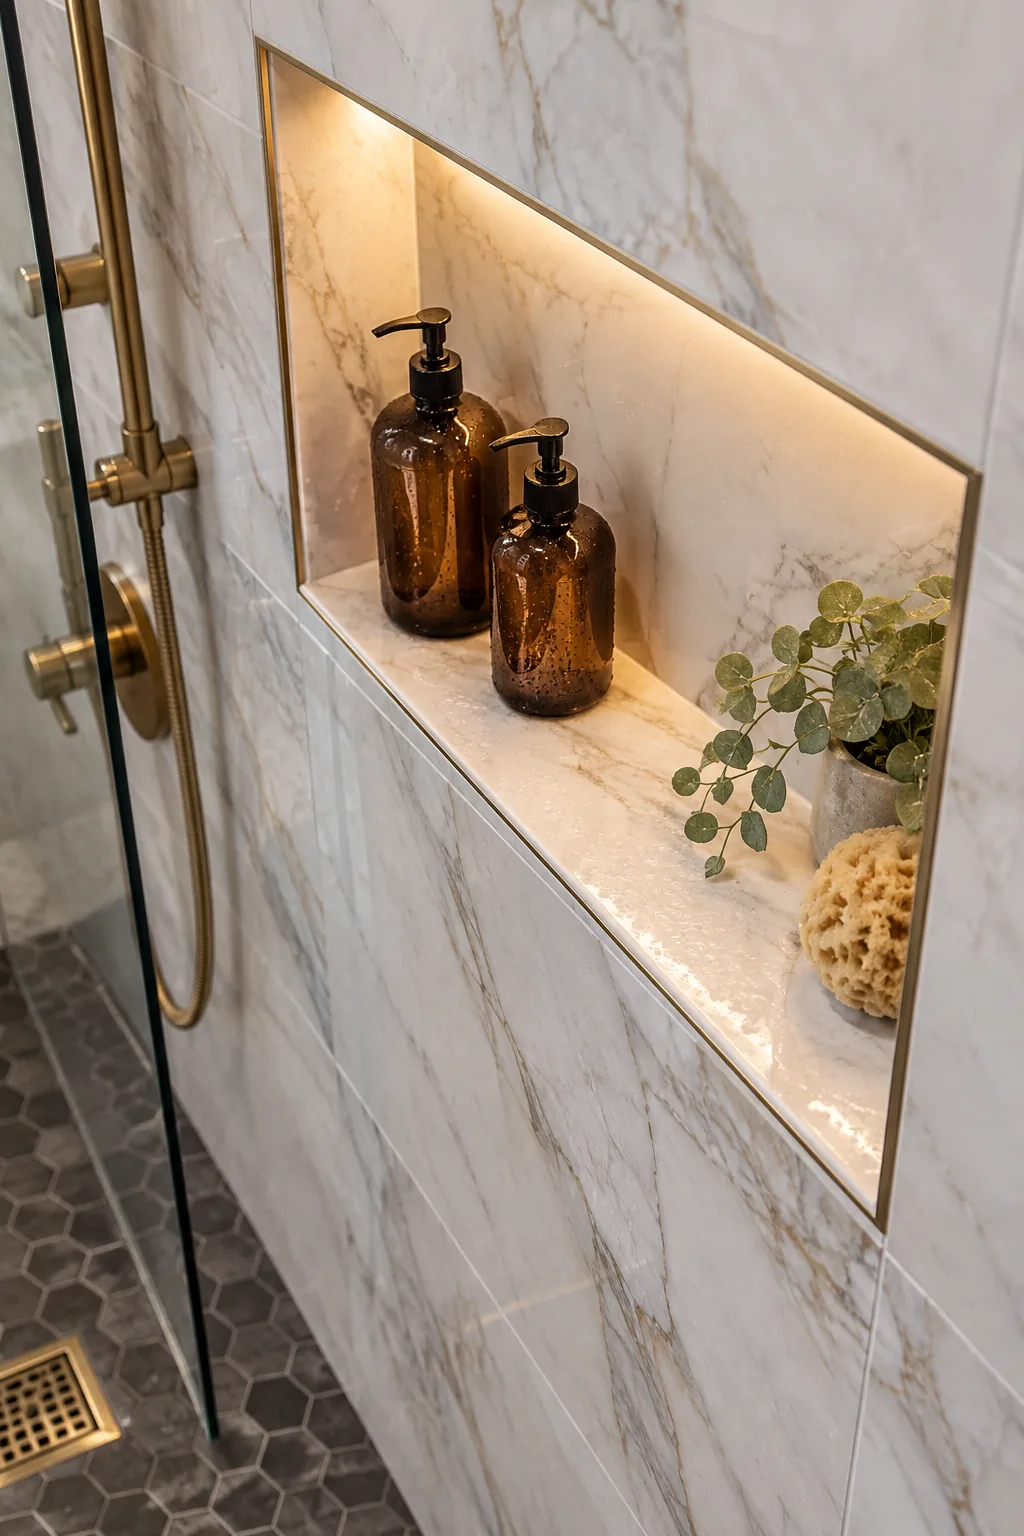
You should always align the top and bottom of the niche opening precisely with the surrounding grout lines for a clean, symmetrical finish.
Pitching the Niche Sill for Drainage
The most critical waterproofing step for your recessed shelf is ensuring the bottom sill is pitched to drain.
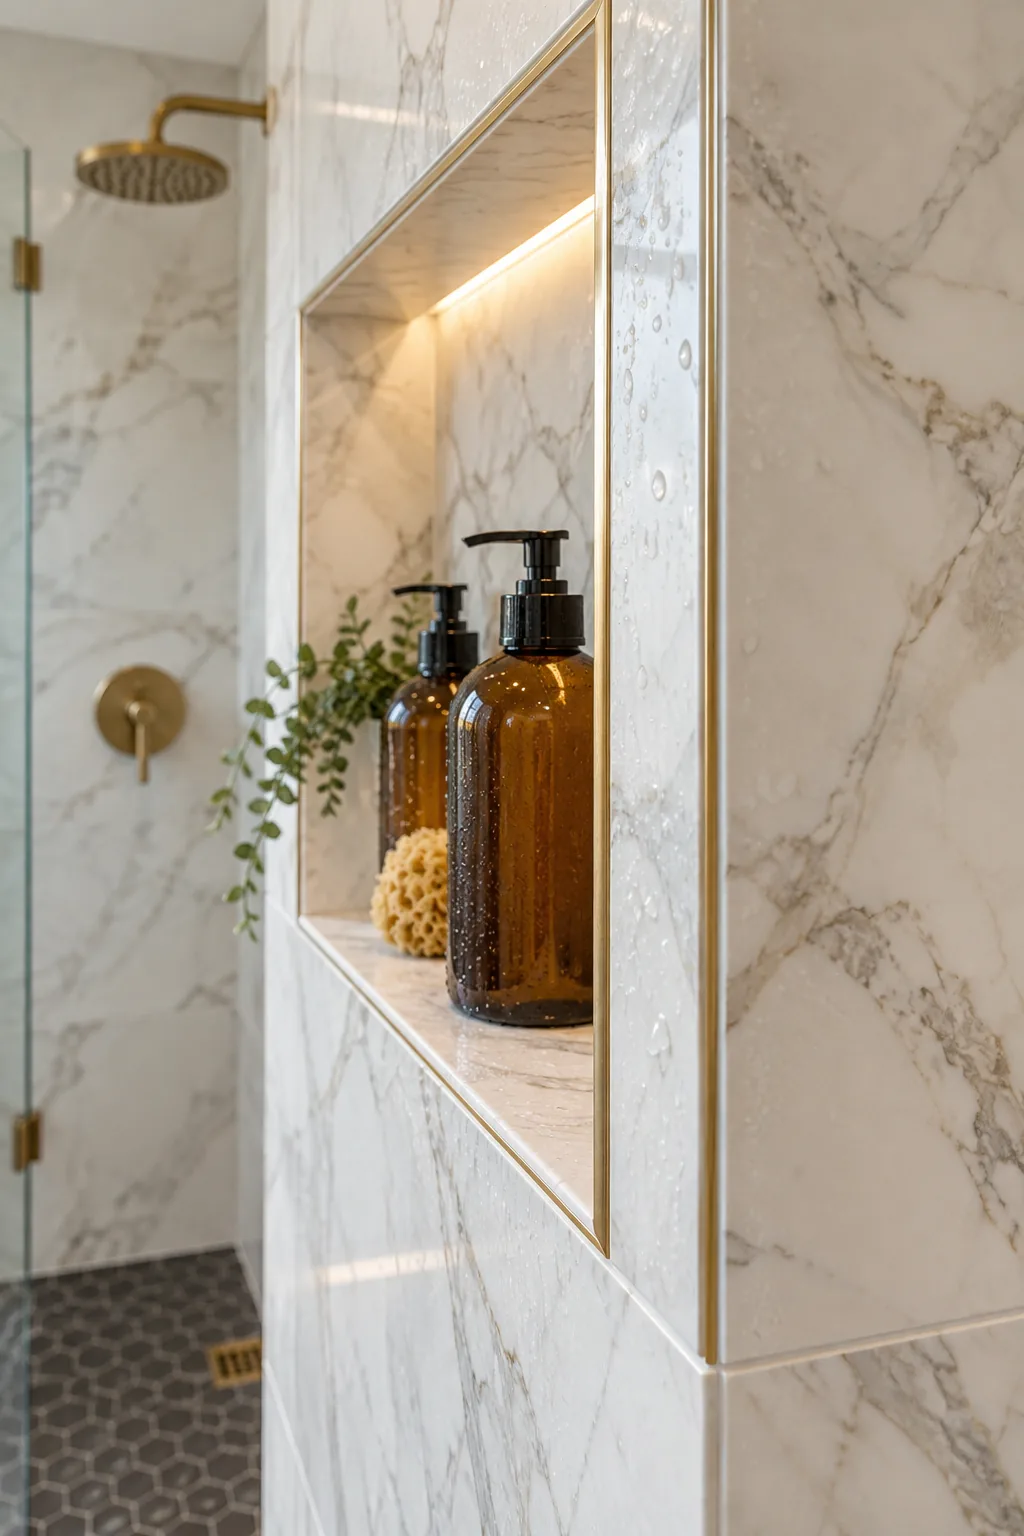
Angling the sill slightly downward guarantees that water runs off immediately rather than pooling and damaging the grout.
Finishing Corners with Brass Metal Trim
You can easily finish outside corners and protect exposed tile edges by coordinating the trim with your overall hardware design.
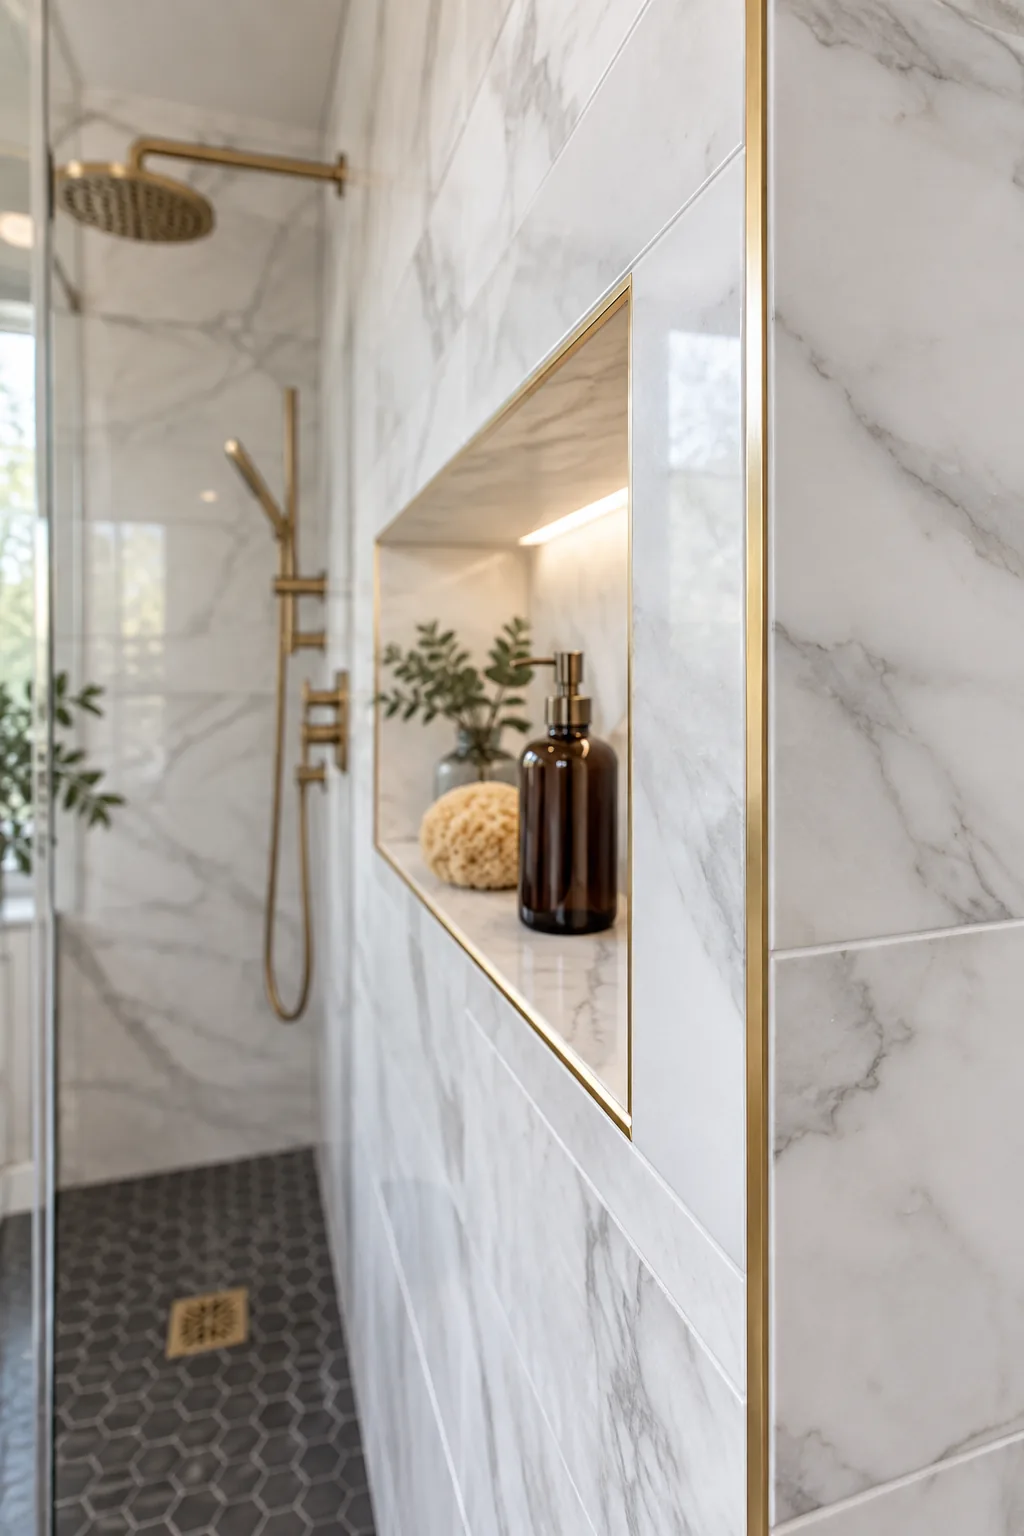
Installing a thin brass metal edge trim creates a crisp, modern transition without the added expense of custom ceramic corner pieces.
Upgrading to Stain-Resistant Epoxy Grout
Upgrading to a stain-resistant epoxy justifies its slight upfront cost because the material naturally prevents mildew. I used this in a recent client project, and their bright white grout lines remain perfectly crisp without any annual sealing.
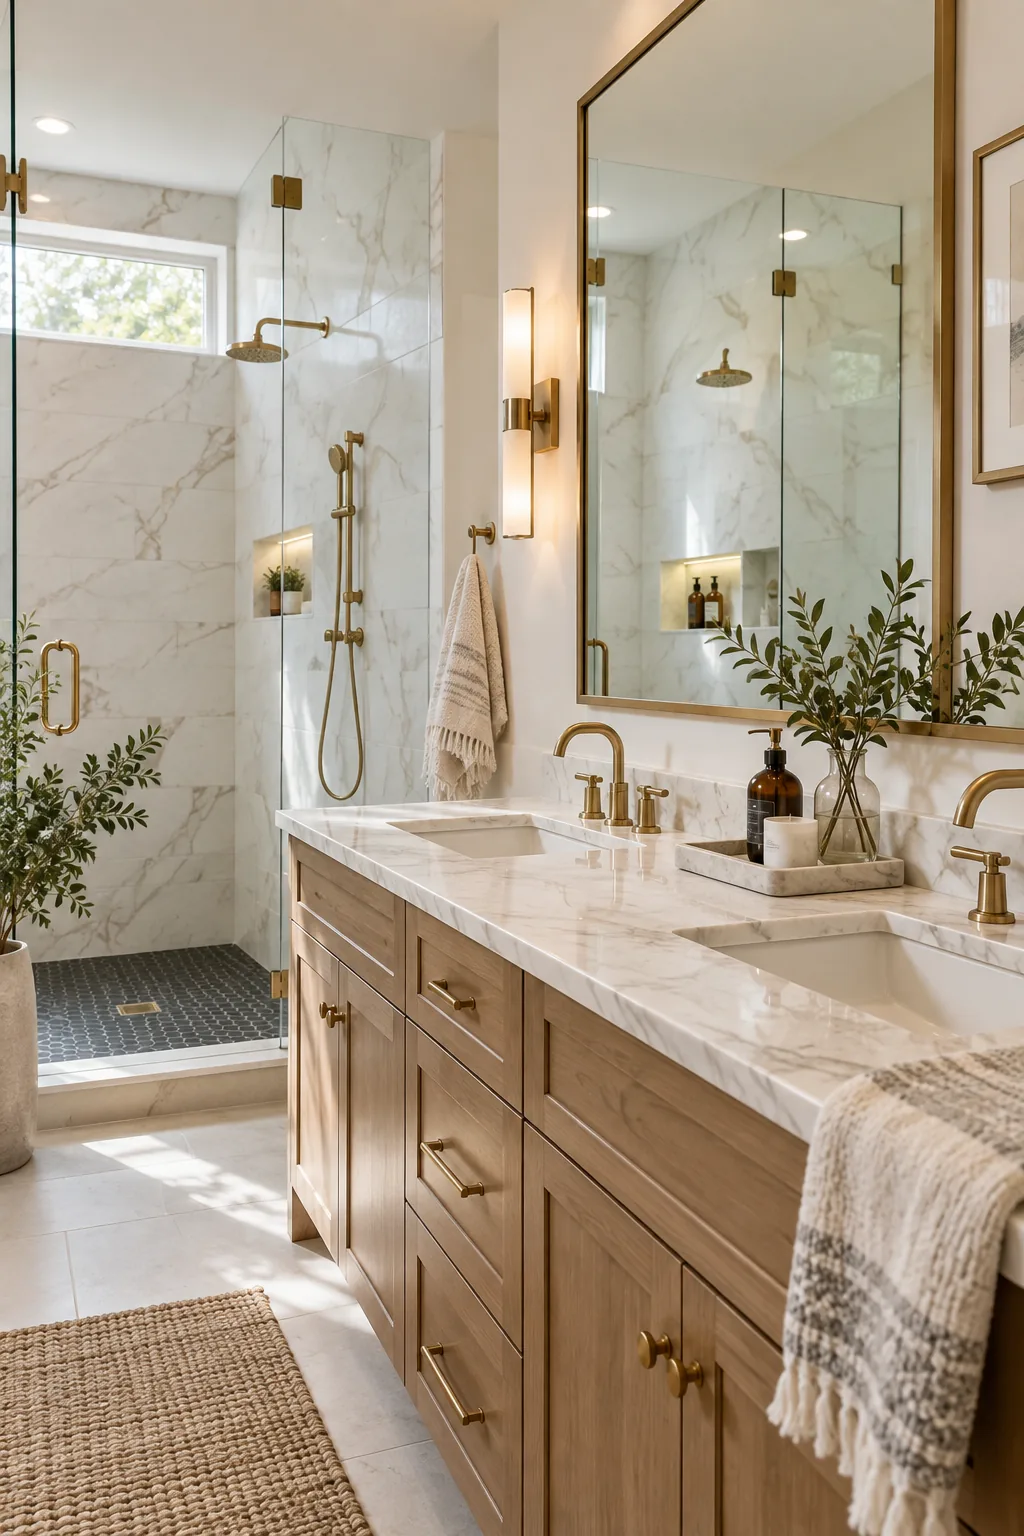
Because this high-performance material hardens much faster than traditional cement mixtures, adjusting your installation pacing is crucial.
More Shower Tile Design Ideas
Explore how different tile formats and color palettes can completely change the mood of your bathroom.
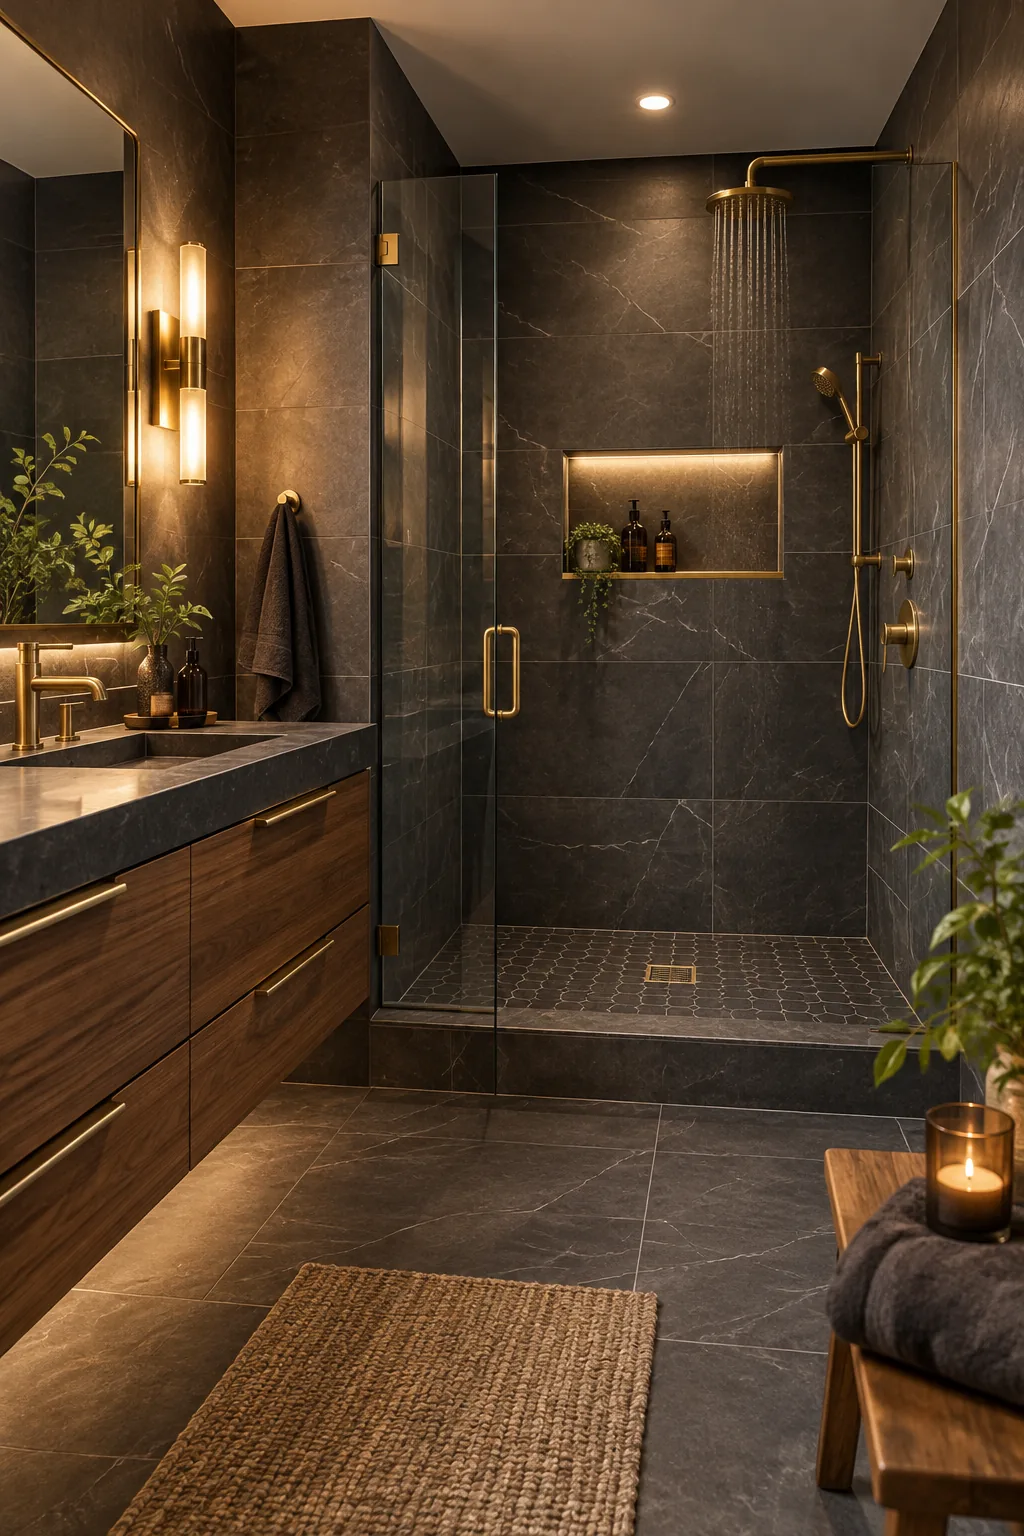
Moody Slate and Brass: Dark charcoal tiles create a dramatic, intimate atmosphere that makes brushed brass hardware pop beautifully.
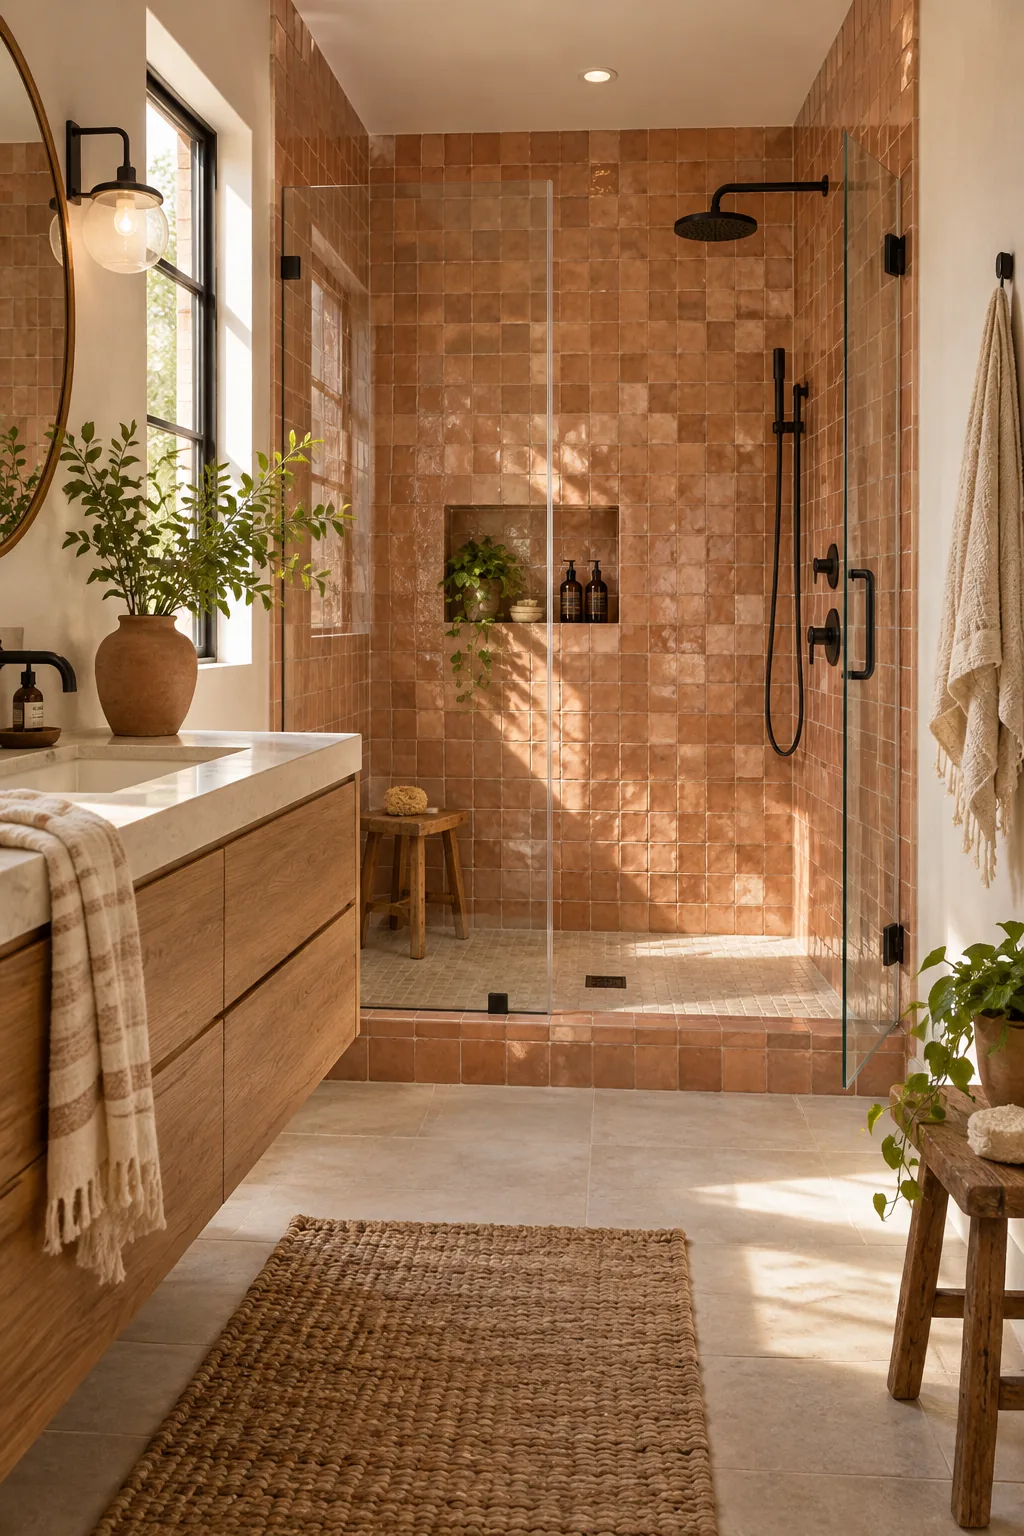
Warm Organic Terracotta: Glossy terracotta tiles bring natural warmth and handmade texture, grounding the space with an earthy feel.
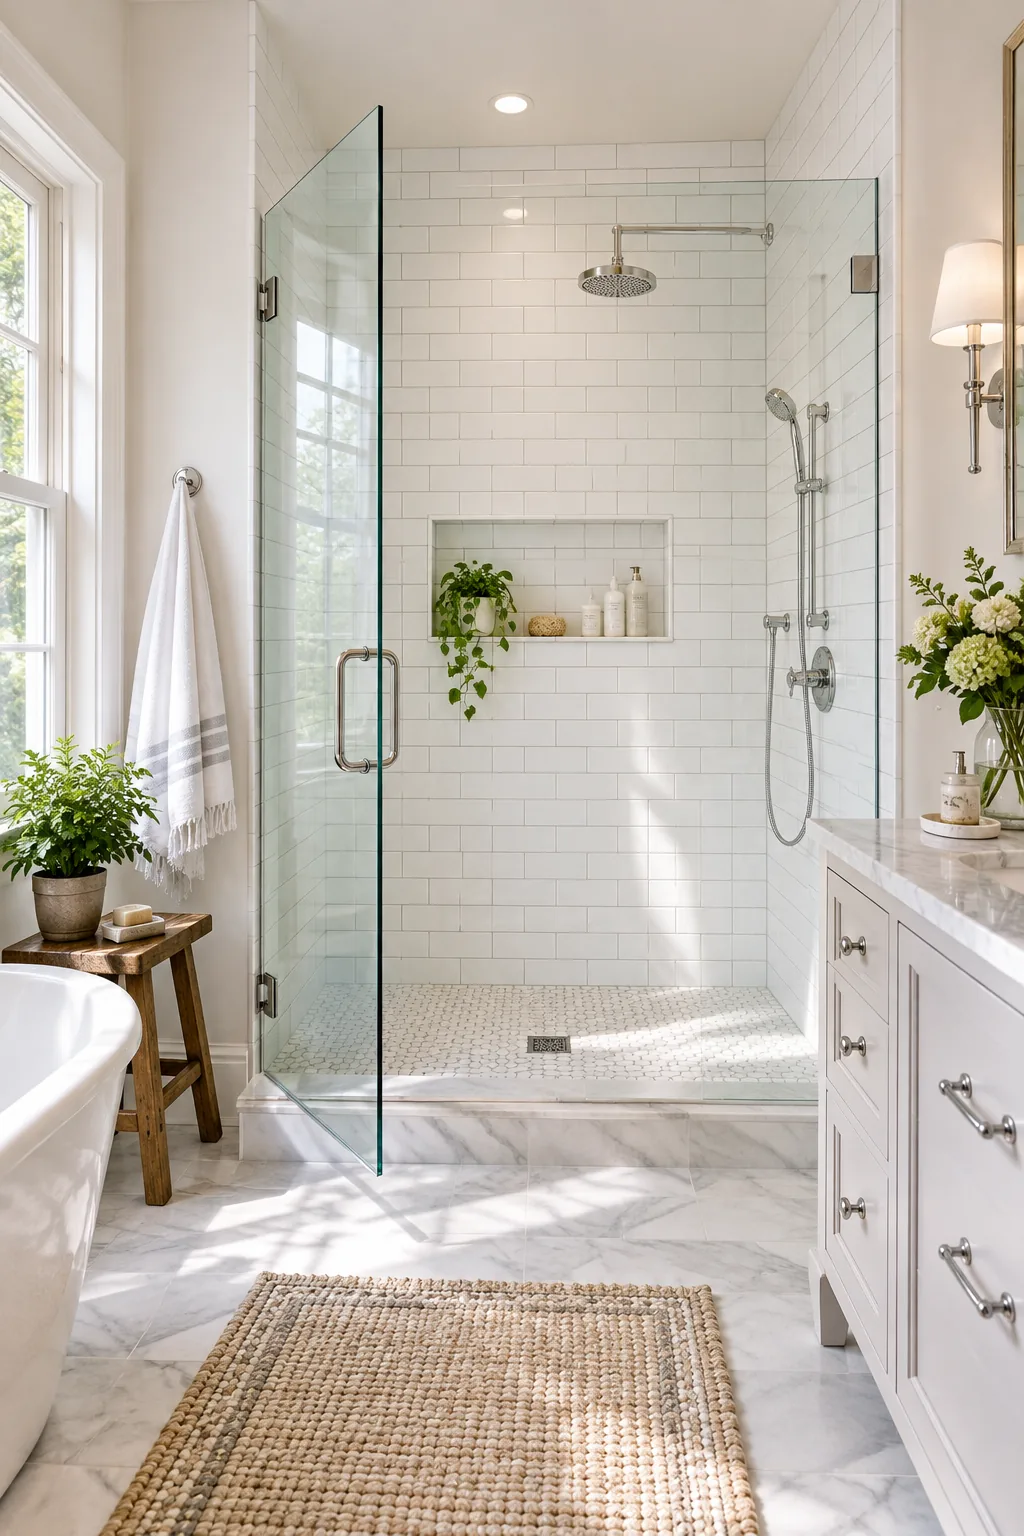
Classic Stacked Subway: A vertical stacked arrangement gives traditional white subway tile a slightly modern, height-enhancing twist.
Your Tile Layout and Budget Cheat Sheet
Now that you understand the mechanics, you can download your complete tile layout and budget cheat sheet to execute this exact design.
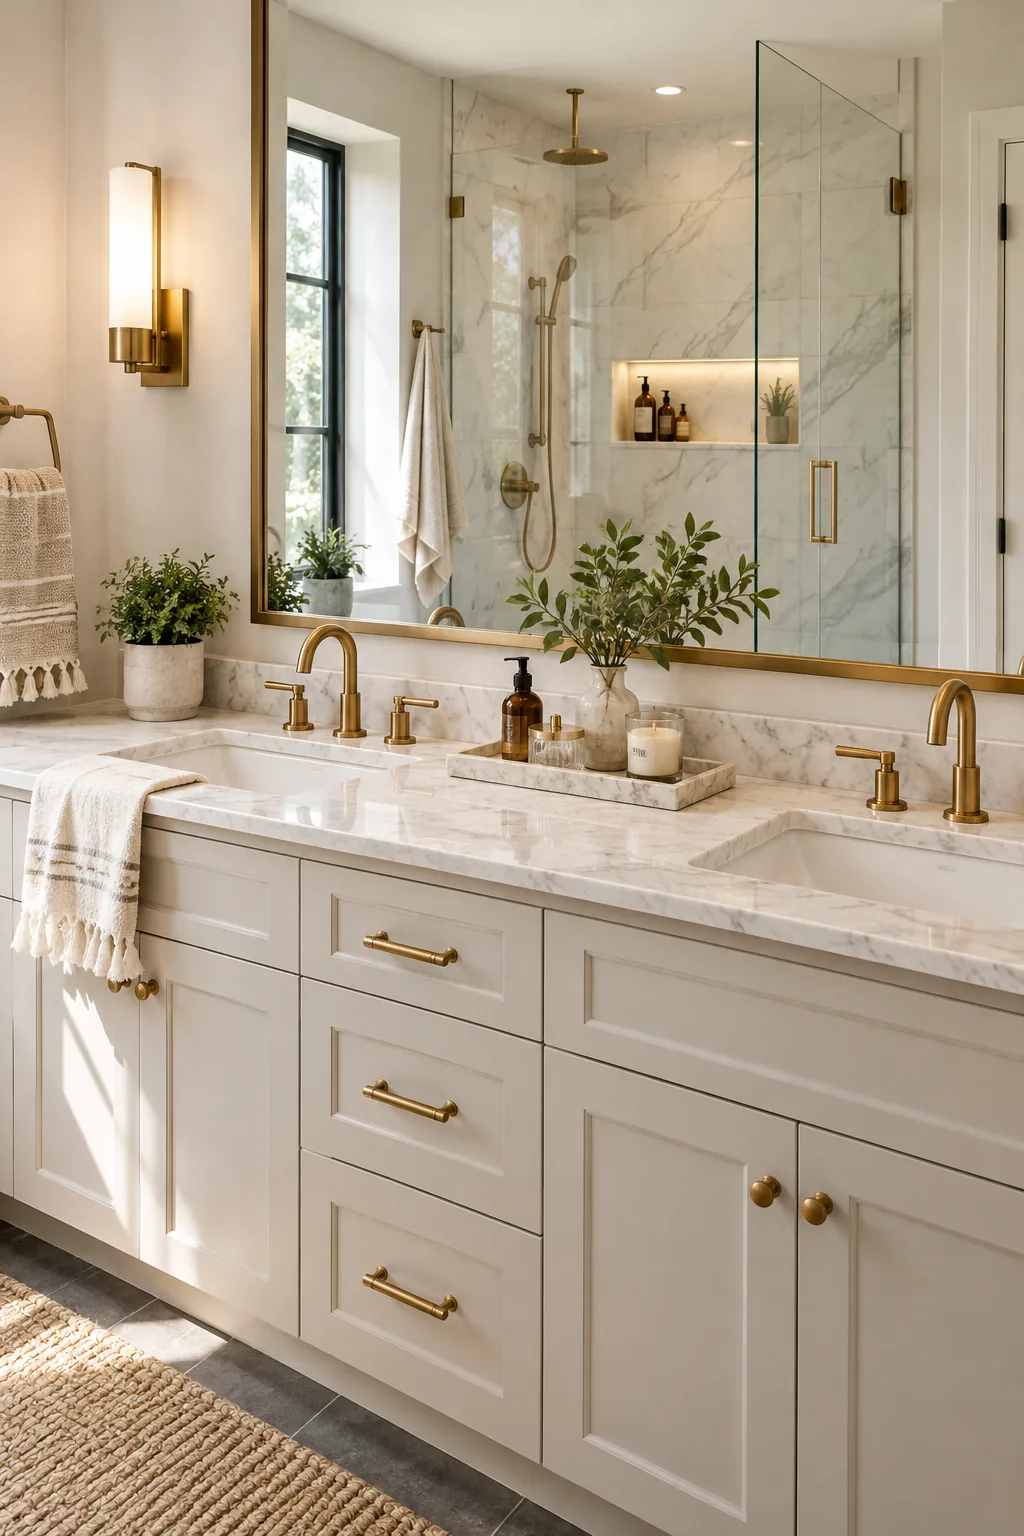
Use the provided layout diagrams, material checklists, and budget tracking formulas below to calculate your exact quantities and keep your high-end renovation on track.
- Enter your wall dimensions to calculate the large-format tile required.
- Input your floor square footage to determine the mosaic tile count.
- Add your selected hardware and epoxy grout costs to finalize the budget.