
Hot Tub Surround Build Sheet: Cut Lists for 7 to 8 Ft Spas
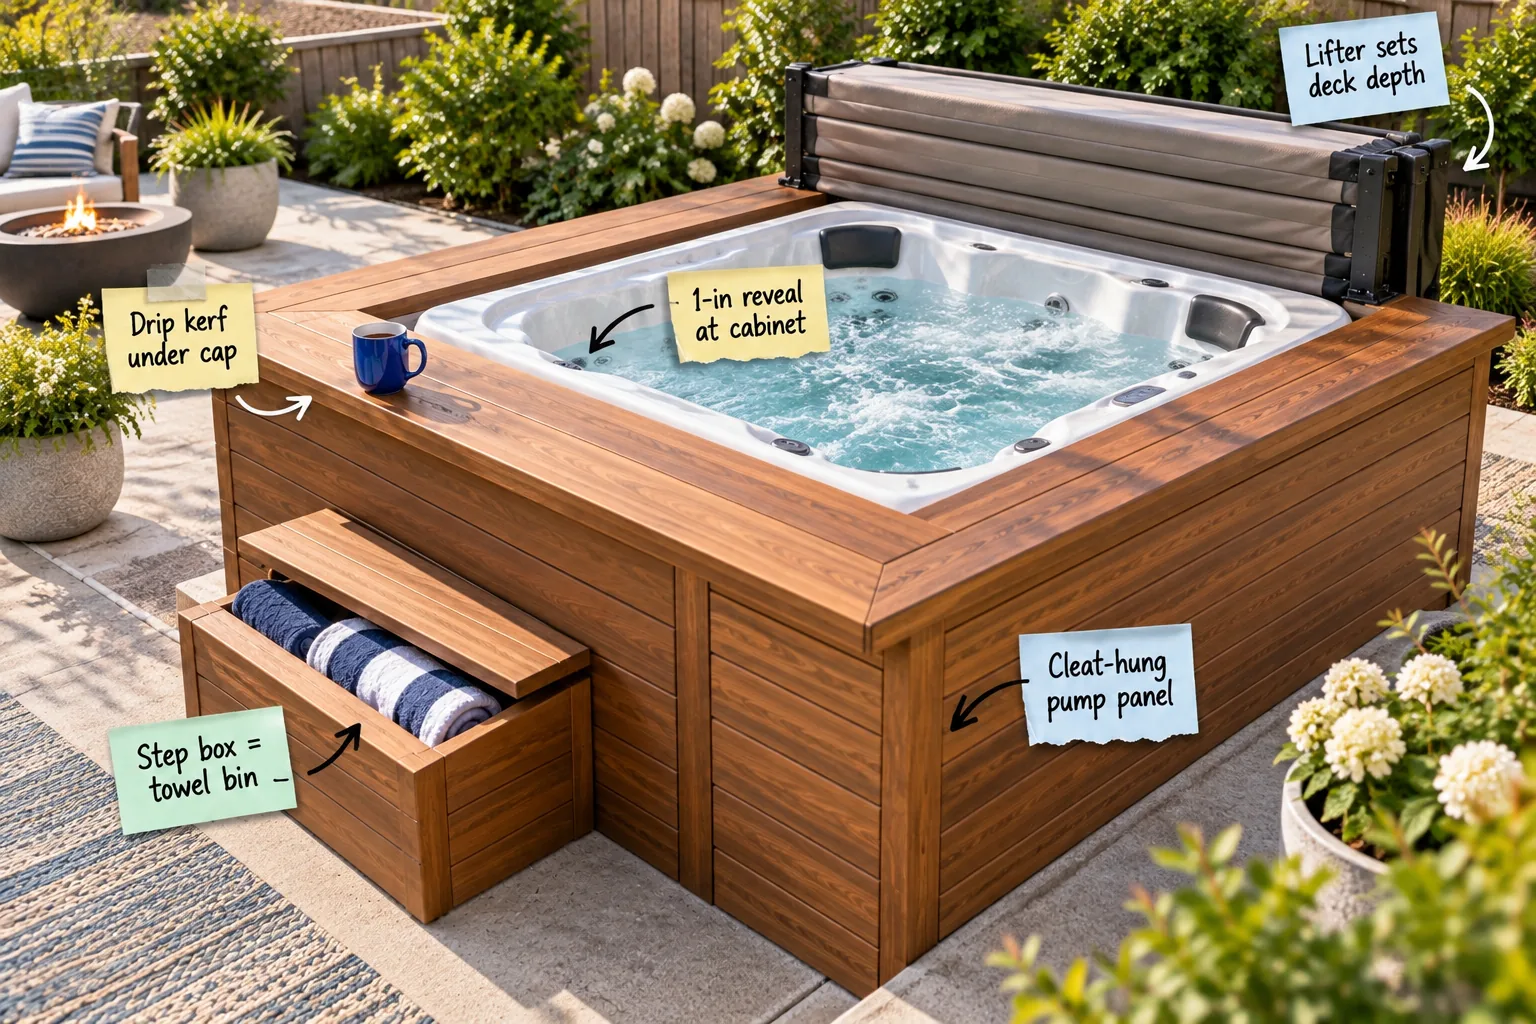
Grab your two-page hot tub surround build sheet below to download the exact cut list for your spa size and frame a custom surround with hidden storage. I designed this printable clearance chart so you can build a seamless cedar-toned deck today.
Setting the Rear Deck Clearance
The cover lifter dictates your minimum footprint, so you must always leave 18 to 24 inches of clearance directly behind the spa. This open deck depth allows a standard fold-back cover lifter to operate smoothly without scraping against a backyard fence.
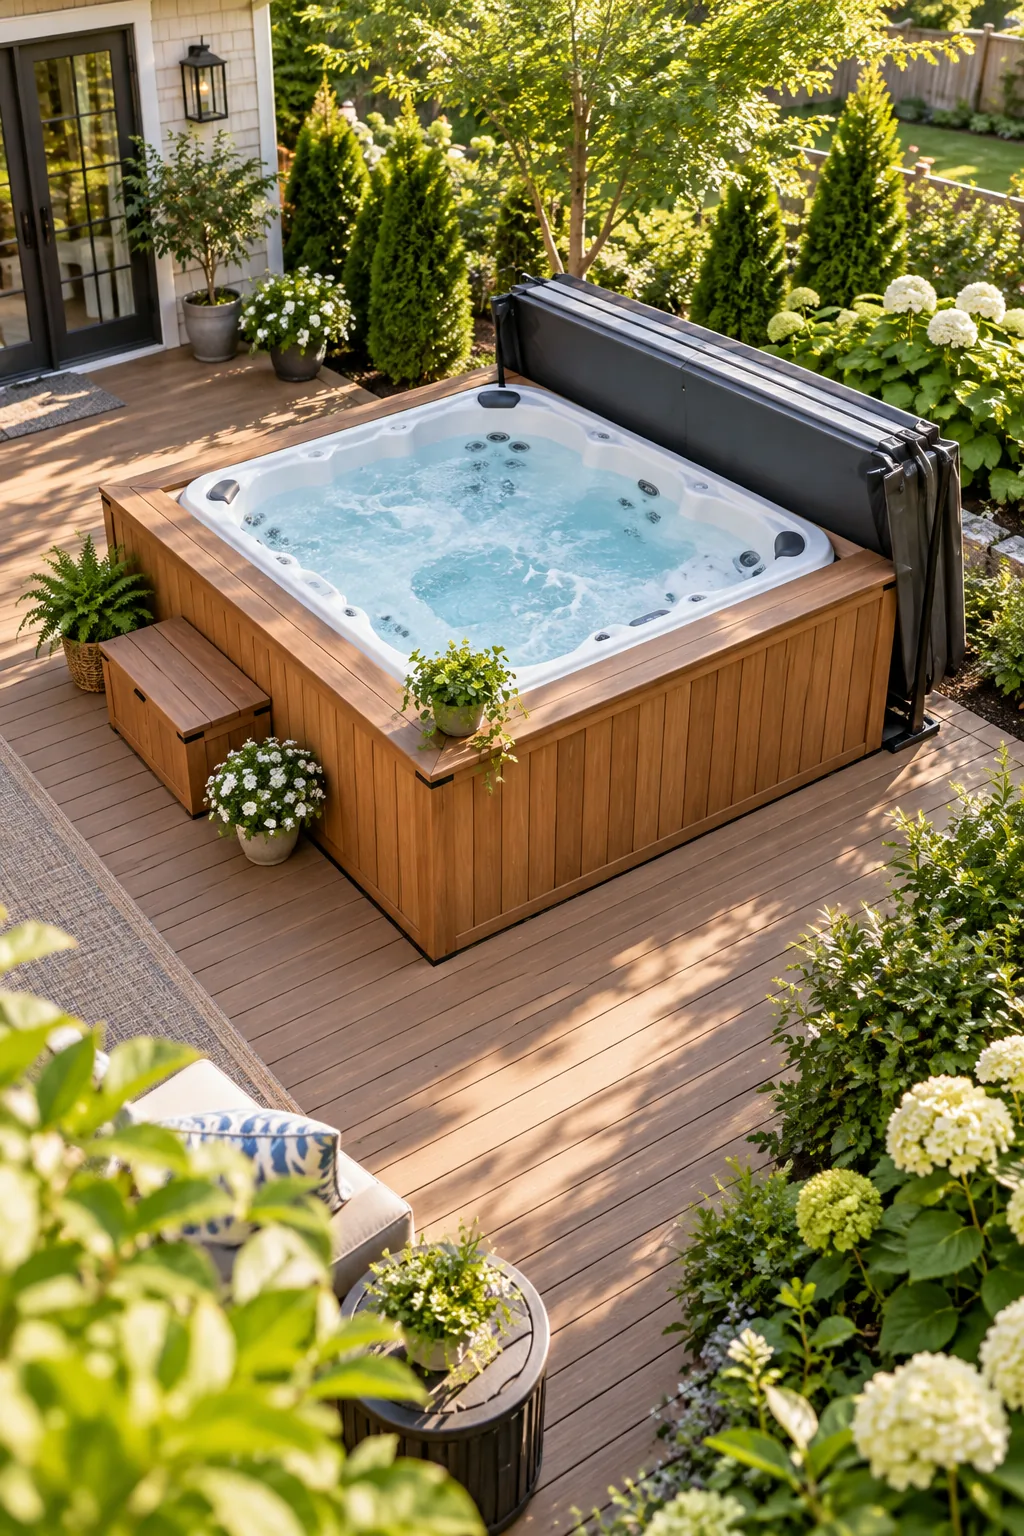
Before committing to the final spa placement on your patio, verify these three spatial requirements to avoid costly moving fees later.
Inspecting the Subpanel Requirements
Your new hot tub requires a dedicated GFCI subpanel installed directly in the line of sight from the tub. Checking these specific local electrical code requirements before building the surround ensures your final inspection passes without requiring you to tear down newly finished carpentry.
Mapping the Electrical Conduit
Your electrician absolutely needs a clear path to run the heavy 240V line before the wooden surround goes up. Planning a dedicated channel under the decking ensures the thick gauge wire stays safely hidden while remaining fully accessible for future upgrades.
Leveling the Concrete Foundation
A modern hot tub weighs thousands of pounds when fully filled, requiring a perfectly flat, heavily reinforced pad. Pouring a level 4-inch concrete base prevents the acrylic shell from warping and keeps your custom wooden surround properly aligned over time.
Choosing the Cladding Material
I always recommend using composite decking material in a warm cedar tone instead of natural wood for this high-moisture splash zone. Composite boards completely prevent rot, significantly reduce seasonal maintenance, and easily handle the constant humidity immediately surrounding the heated tub.
Selecting Hidden Deck Fasteners
To keep the exterior fascia looking pristine, install all composite boards using specialized hidden clip systems. These small metal fasteners slide directly into the grooved edges of the decking, holding everything incredibly tight without leaving any visible screw heads to rust.
Defining the Cabinet Reveal
You must leave a 1-inch reveal between the acrylic spa lip and the inner edge of your surround cap. This crucial shadow gap prevents the rigid wood framing from aggressively rubbing against the expanding acrylic shell when the tub heats up.
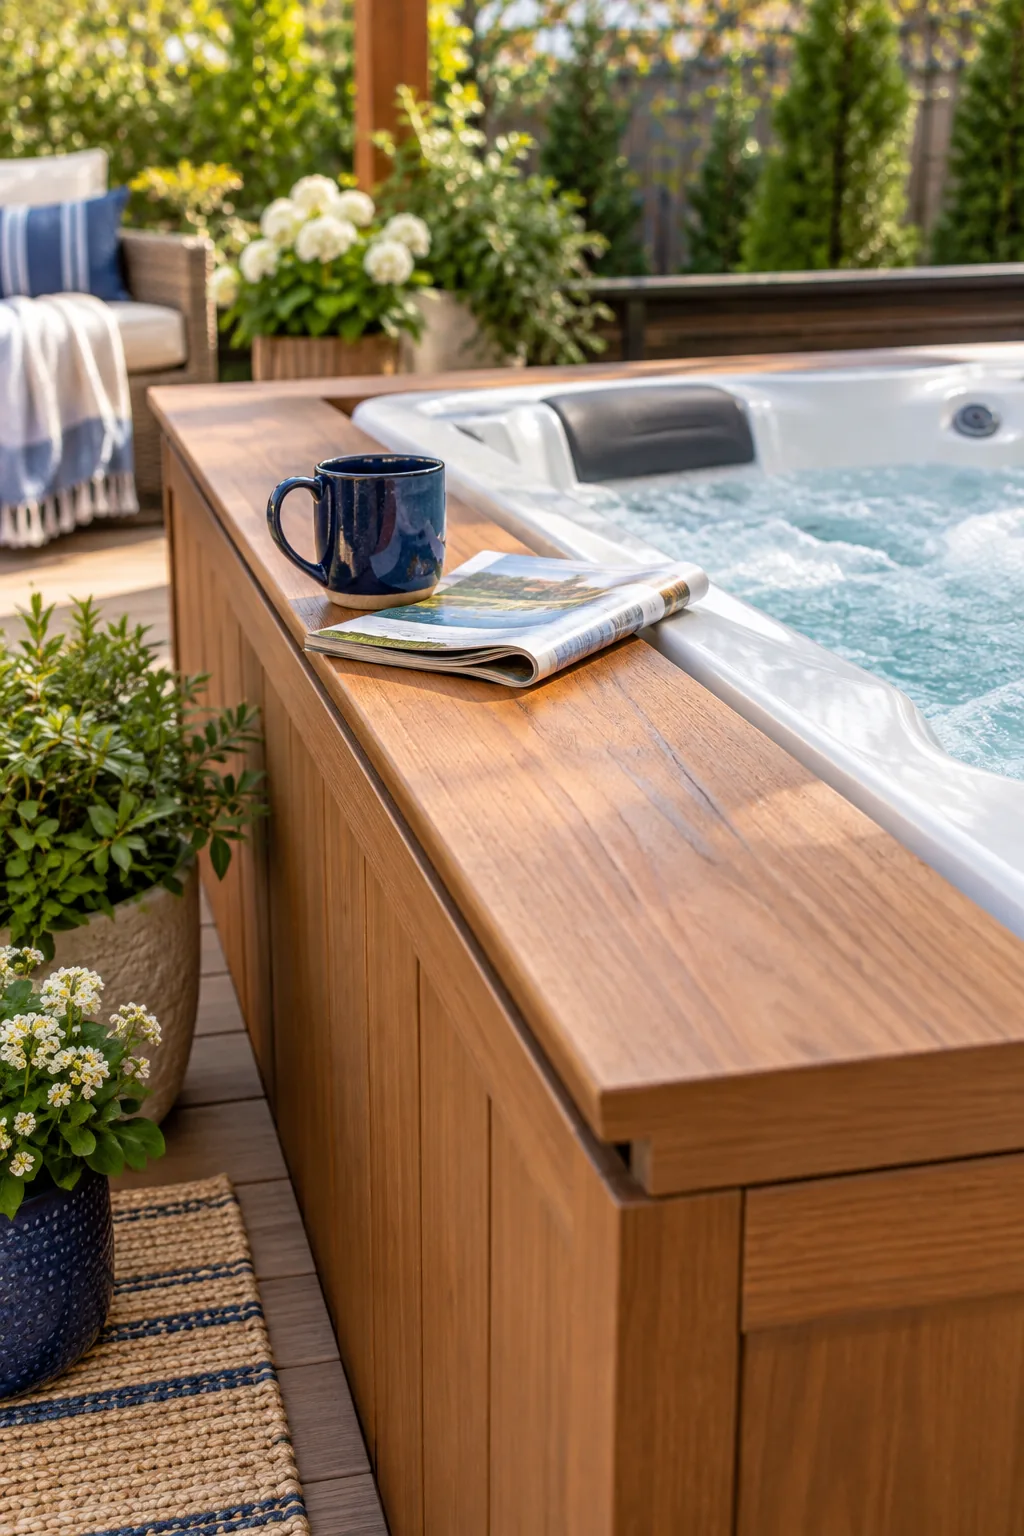
Planning for this small perimeter gap also easily hides any manufacturing variances or slight outward bows in the heavy tub shell itself.
Accounting for Acrylic Expansion
Hot tubs naturally swell slightly when filled with hundreds of gallons of heavily heated water. Leaving adequate breathing room around the upper lip guarantees the fiberglass-backed acrylic will never crack from pressing tightly against your rigid wooden framework during peak summer.
Framing the Base Structure
Your surround frame must be entirely self-supporting using pressure-treated 2×4 lumber spaced 16 inches on center. When I built my first surround here in Austin, I mistakenly attached a ledger directly to the cabinet, which completely voided the expensive spa warranty.
Spacing the Vertical Supports
Building a robust skeleton requires placing vertical studs exactly 16 inches apart along every wall. This standard spacing provides enough structural integrity to support the heavy cap ledge while ensuring your exterior composite cladding will never sag or warp between posts.
Applying Joist Tape
Moisture trapped between the composite decking and the treated pine frame inevitably leads to premature structural rot. Rolling a layer of waterproof acrylic joist tape over the top of every framing member provides a crucial barrier that extends the life of your entire deck.
Planning the Mitered Corners
Cutting precise 45-degree angles for the top ledge creates a beautiful, professional picture-frame finish. Using a reliable sliding compound miter saw ensures these corner joints meet perfectly flush, giving your backyard project the polished look of high-end custom patio carpentry.
Installing Corner Brackets
The heavy upper cap ledge takes a significant amount of abuse as people constantly sit and lean against it. Reinforcing the mitered interior joints with heavy-duty galvanized steel corner brackets prevents those crisp 45-degree angles from slowly separating as the wooden structure naturally settles.
Detailing the Cap Ledge
The wide upper ledge gives everyone a convenient spot to set their drinks, but water management remains key. Cutting a shallow 1/8-inch drip kerf along the underside of the overhanging cap board stops splashed water from running down the surround face.
Cutting the drip groove is much easier to do on the ground before the boards are permanently attached to the frame.
Sanding the Cap Edges
Nobody wants a painful splinter while relaxing in the water, so easing the sharp corners is absolutely mandatory. Running a fine-grit sanding block along the inner rim creates a incredibly smooth, comfortable edge for bare skin to brush against safely.
Sealing the Cut Ends
Every time you cut a piece of pressure-treated lumber, you expose vulnerable untreated wood to the damp outdoor environment. Brushing a thick coat of copper naphthenate wood preservative onto every exposed end grain immediately stops insidious rot from taking hold inside your hidden framing.
Securing the Access Panel
You need a reliable way to reach the equipment bay for maintenance without ruining the seamless look with screws. I hung my own side panel on heavy-duty French cleats, which makes popping it off for quick filter changes incredibly simple.
Adding Equipment Ventilation
The spa’s internal pumps generate significant heat that requires a reliable escape route to prevent overheating. Leaving a slight gap near the very bottom of your removable panel ensures adequate airflow, keeping the motors running cool during long summer soaking sessions.
Routing the Pump Cables
The heavy power cables running to the spa controller need to remain completely isolated from any sharp wooden edges. Drilling oversized holes through the internal framing studs allows you to route these thick wires safely while leaving plenty of slack for future pump maintenance.
Building the Entry Step
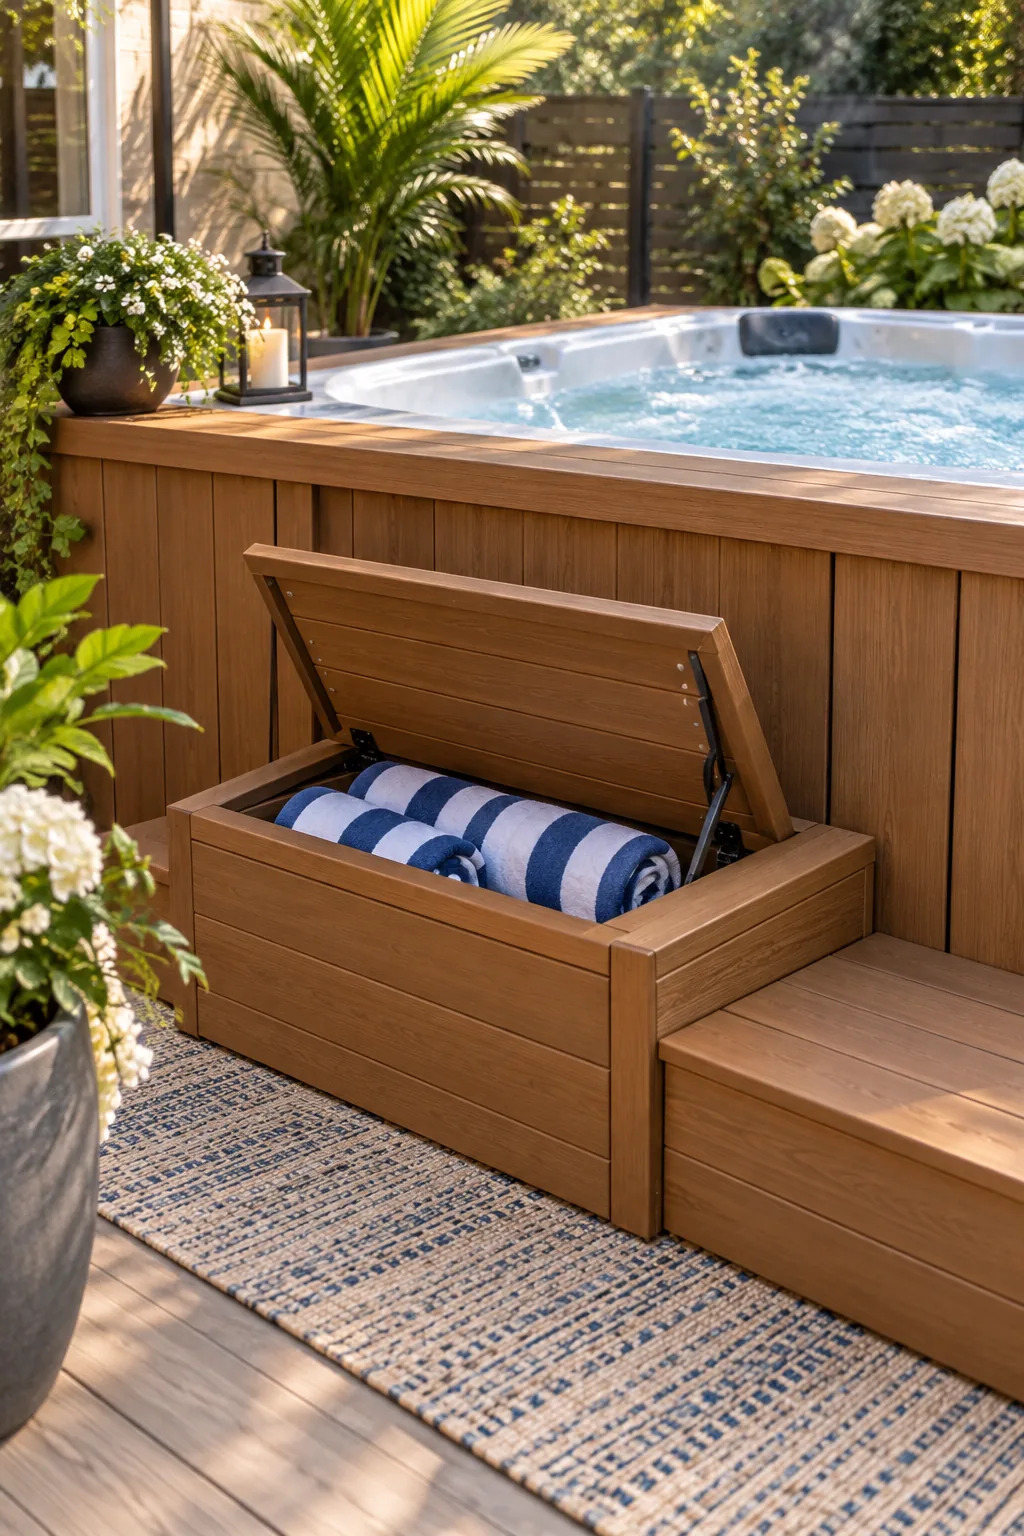
Construct a standalone step box that matches your surround cladding to make climbing in safe and easy. Adding exterior-grade stainless steel hinges to the top tread instantly turns that empty cavity into incredibly practical, waterproof storage for your outdoor space.
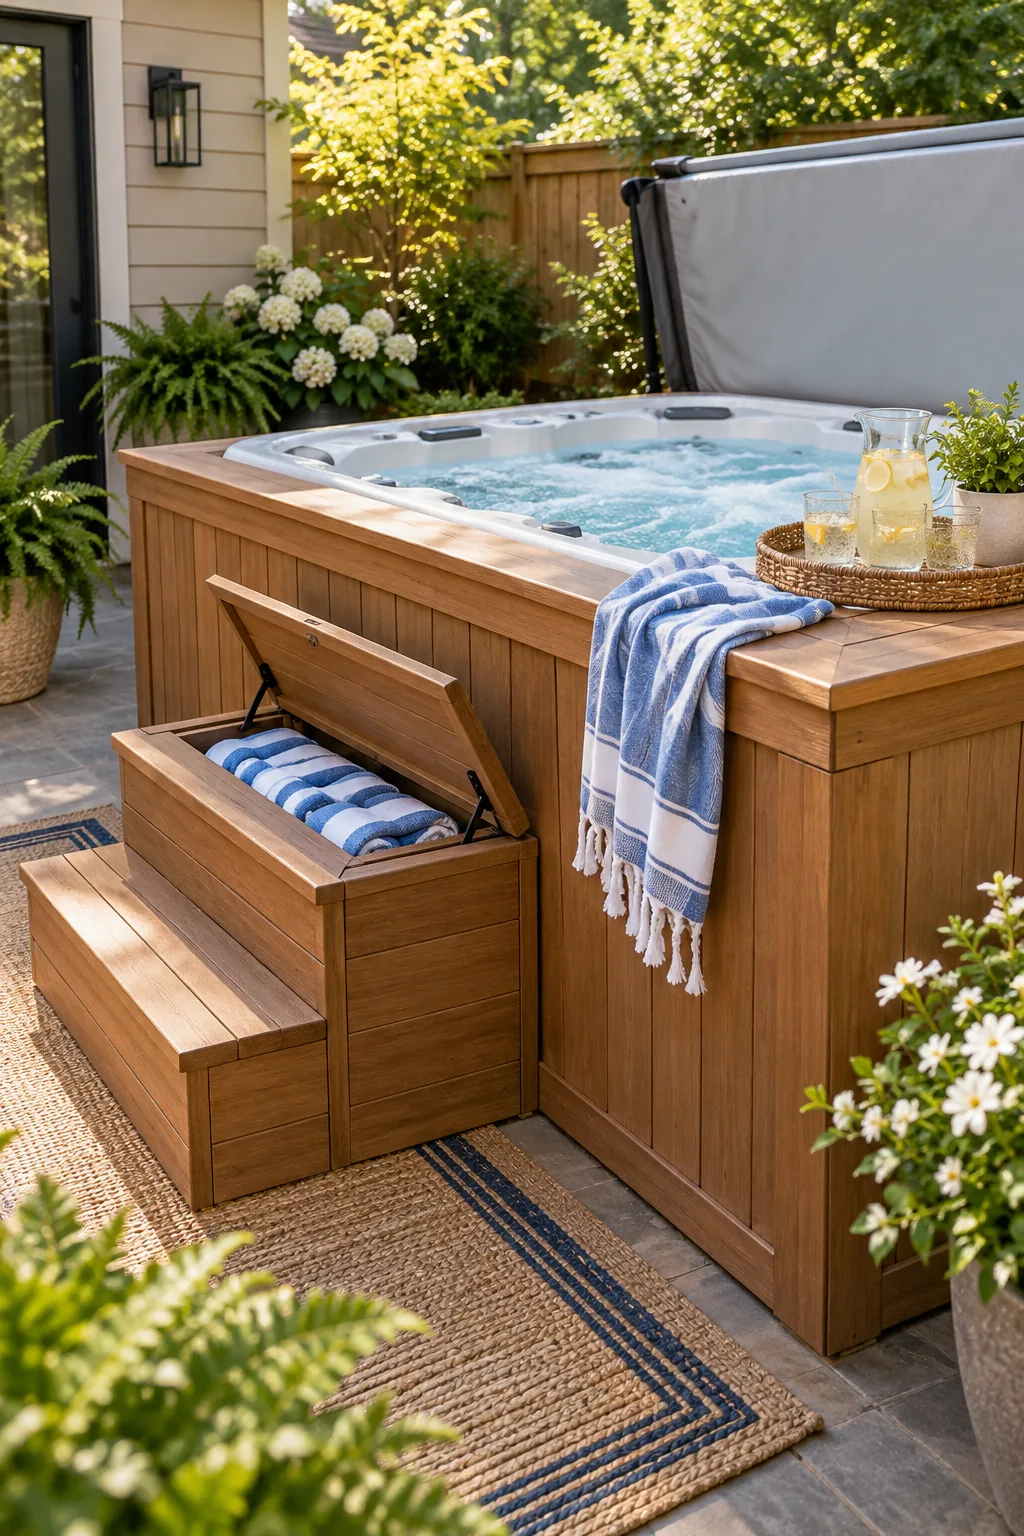
This hidden bin is the perfect dry spot to stash rolled towels and water-balancing chemicals right where you need them most.
Sizing the Step Tread Depth
Basic safety dictates that your entry stairs need a generous footprint to accommodate wet bare feet securely. Follow these exact tread and riser dimensions to build a comfortable, highly slip-resistant staircase that feels completely natural and safe to climb every time.
- Cut the stair stringers for a maximum 7-inch vertical riser height.
- Ensure the horizontal step tread measures at least 11 inches deep.
- Leave a 1/4-inch drainage gap between the composite tread boards.
Sealing the Storage Interior
To keep your fresh towels perfectly dry, meticulously line the inside of the step box with waterproof silicone caulk. Sealing every interior corner prevents morning dew and errant splashes from seeping into your freshly laundered supplies during heavy spring rainstorms.
Protecting the Wood Finish
If you opt for natural cedar instead of composite, you must seal the end grain and apply a penetrating UV-resistant oil. I have to reapply oil to my patio furniture annually to maintain that warm tone against the intense Texas sun.
Maintaining the Cedar Tone
Natural wood quickly fades to a dull silvery gray if left untreated in the harsh outdoor elements. Brushing on a high-quality exterior stain with built-in mildewcides preserves that rich, vibrant color while repelling damaging moisture from heavy seasonal rainstorms and splashes.
Calculating the Lumber Order
Buying the correct amount of material upfront saves frustrating mid-project trips to the hardware store. Use this quick reference chart to estimate the primary framing and cladding materials needed for a standard installation.
| Spa Size | 2×4 Framing | Fascia Boards | Cap Ledge |
|---|---|---|---|
| 7 ft Square | 32 boards | 18 boards | 4 boards |
| 7.5 ft Square | 36 boards | 20 boards | 4 boards |
| 8 ft Square | 40 boards | 22 boards | 5 boards |
Hot Tub Surround Style Ideas
Find the perfect material and color combination to match your outdoor living space.
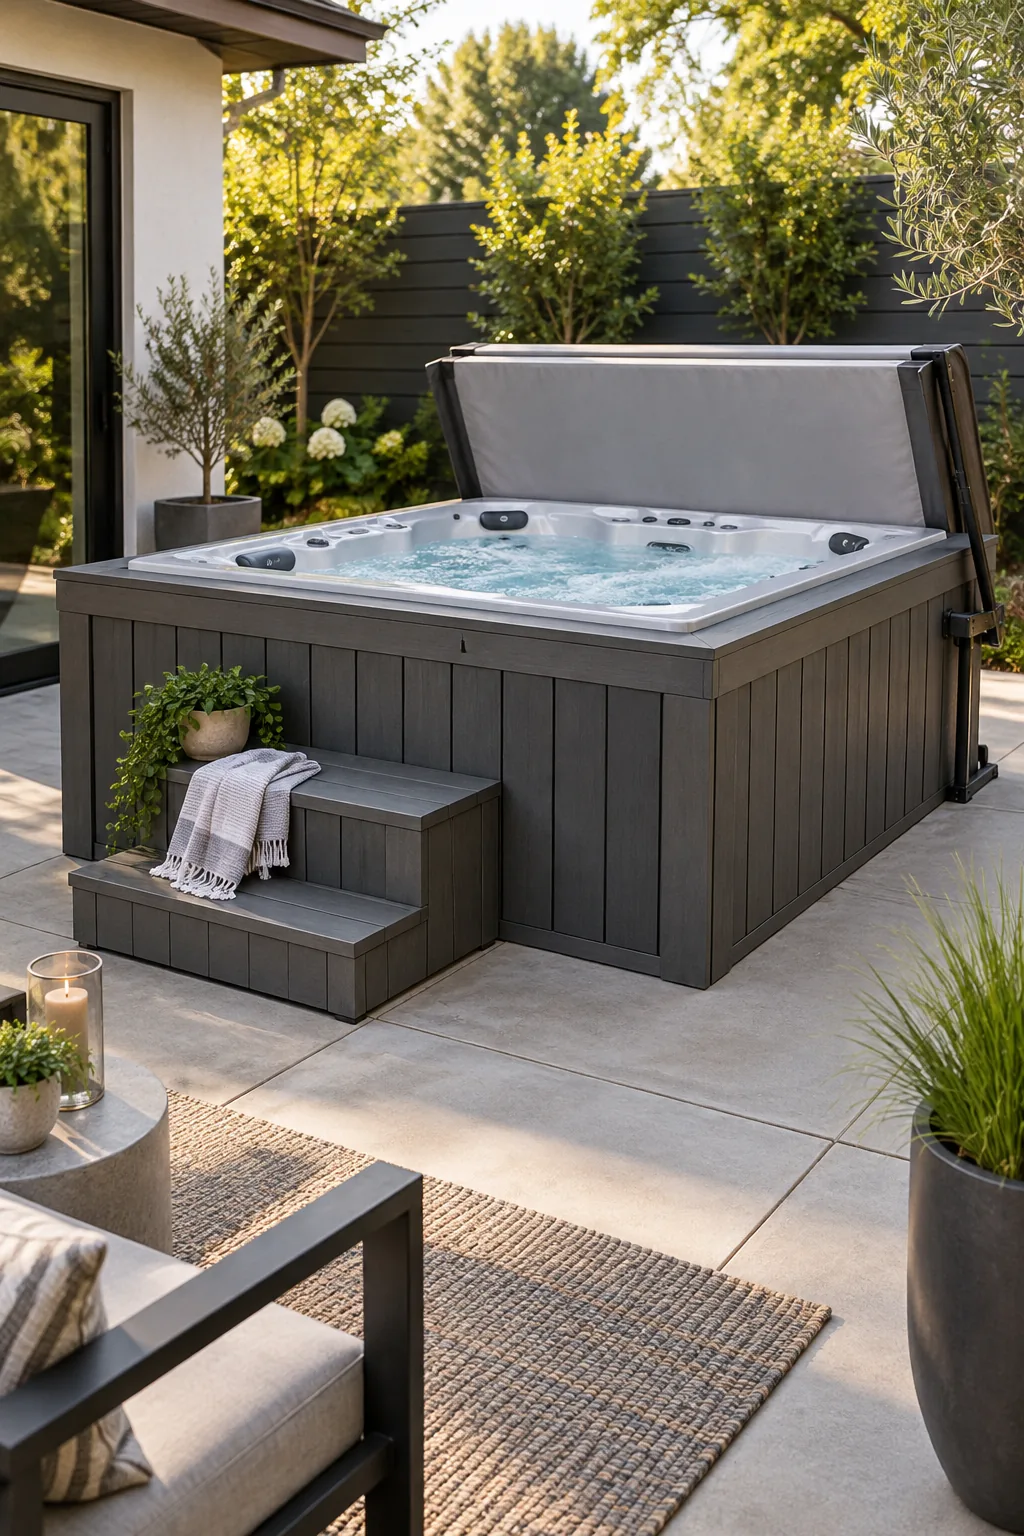
Modern Charcoal Composite: Dark gray vertical boards create a sleek, architectural finish that pairs perfectly with poured concrete patios and minimalist black metal outdoor furniture.
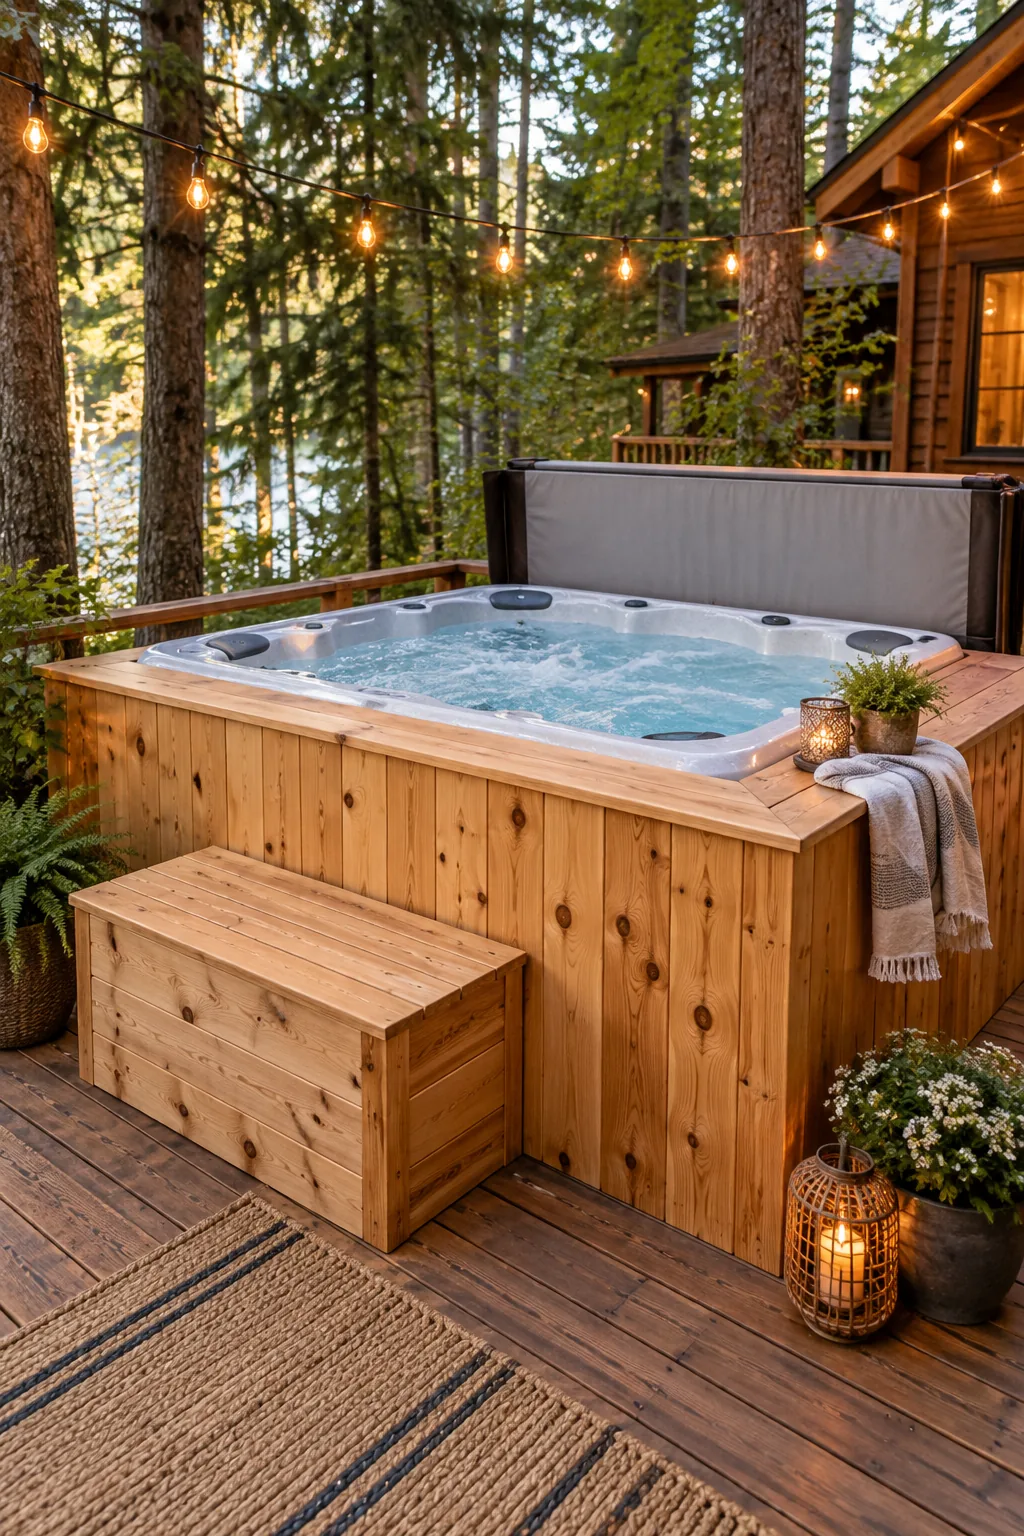
Rustic Natural Cedar: Unstained knotted cedar boards develop a beautiful silver patina over time, blending seamlessly into heavily wooded backyards and cabin-inspired outdoor spaces.
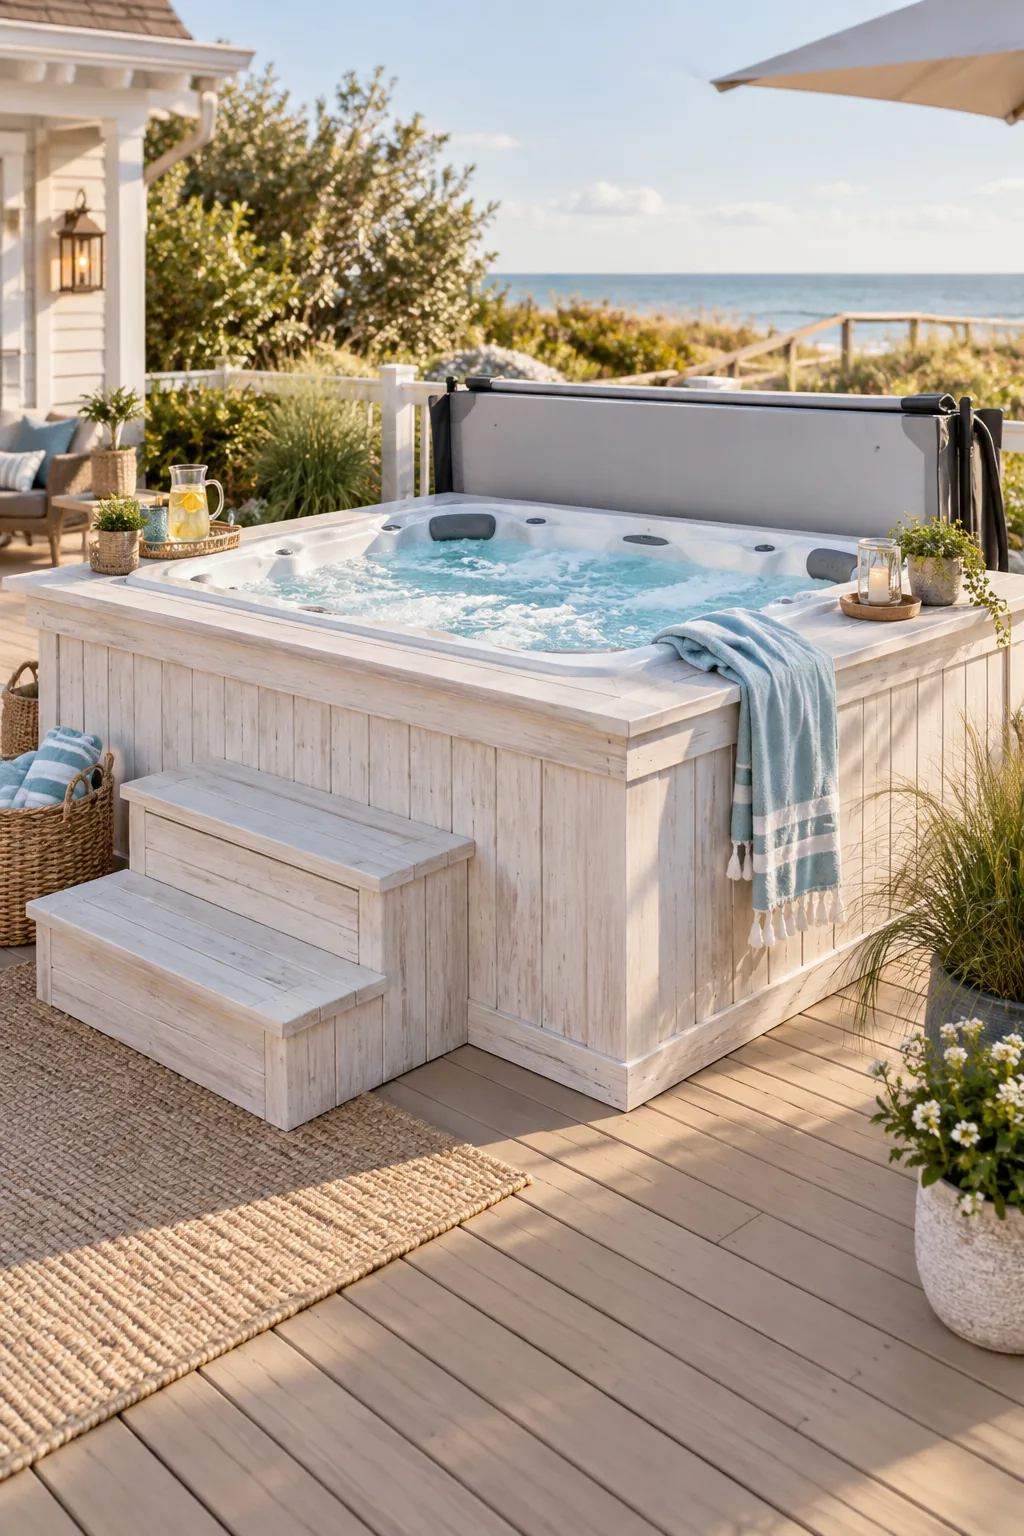
Coastal Whitewashed Pine: Lightly stained white boards give the bulky spa a breezy, beach-house feel that looks stunning next to sea-glass accessories and sandy-toned decking.
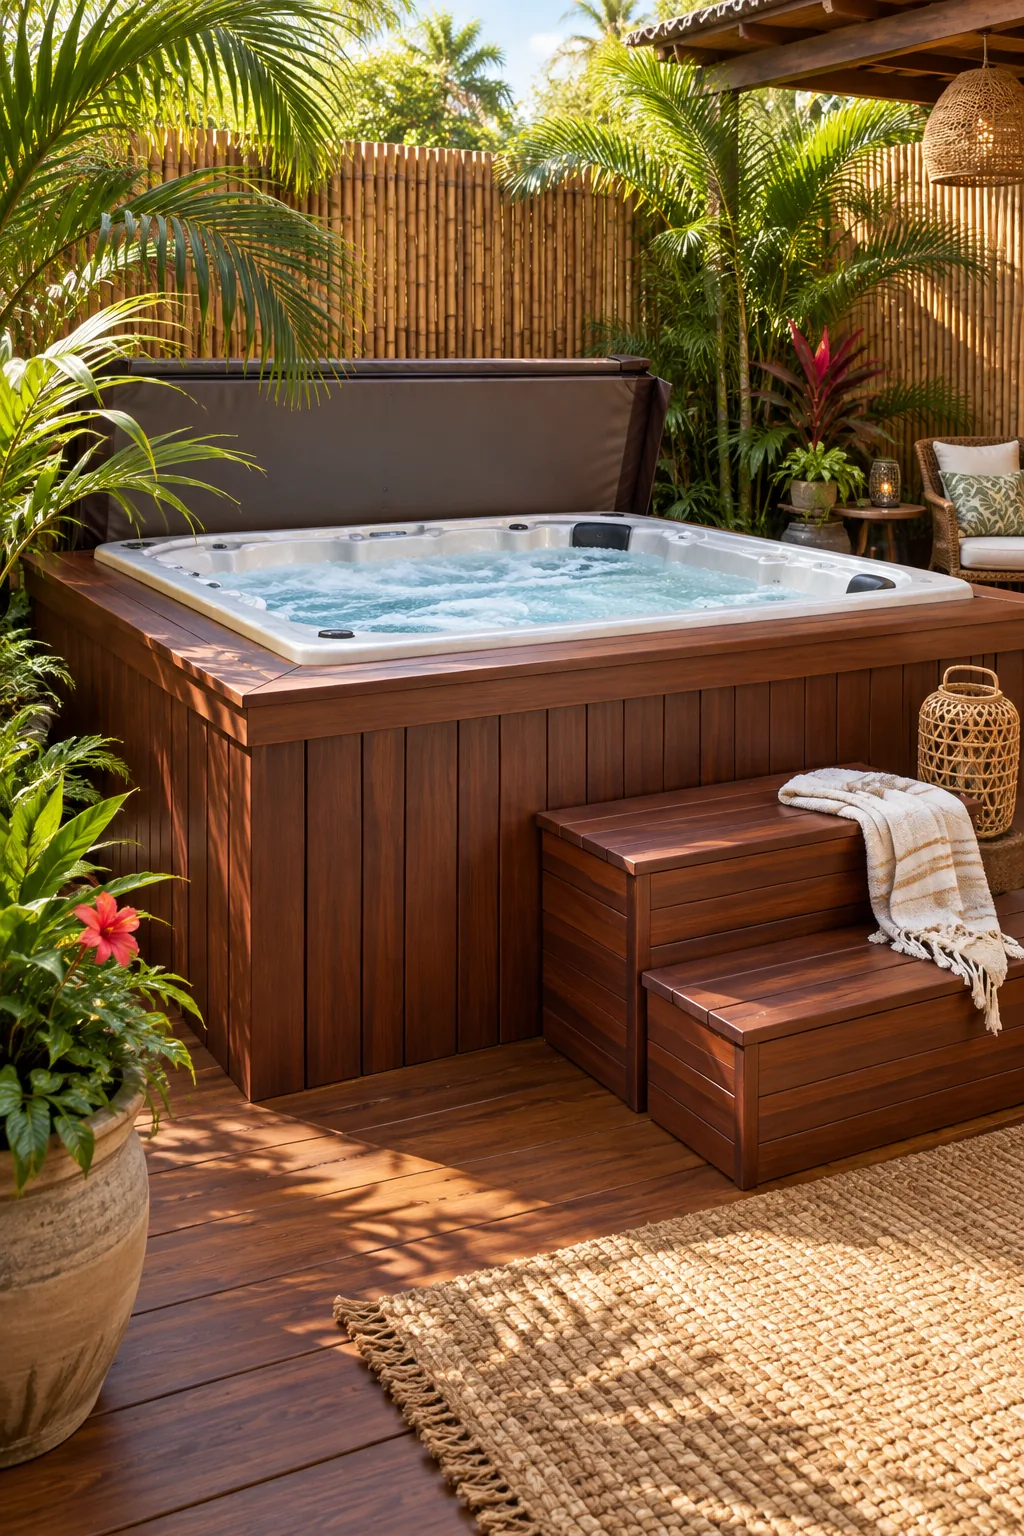
Tropical Mahogany Tones: Deep reddish-brown composite cladding adds a luxurious resort-like warmth, especially when surrounded by oversized potted palms and natural bamboo privacy screens.
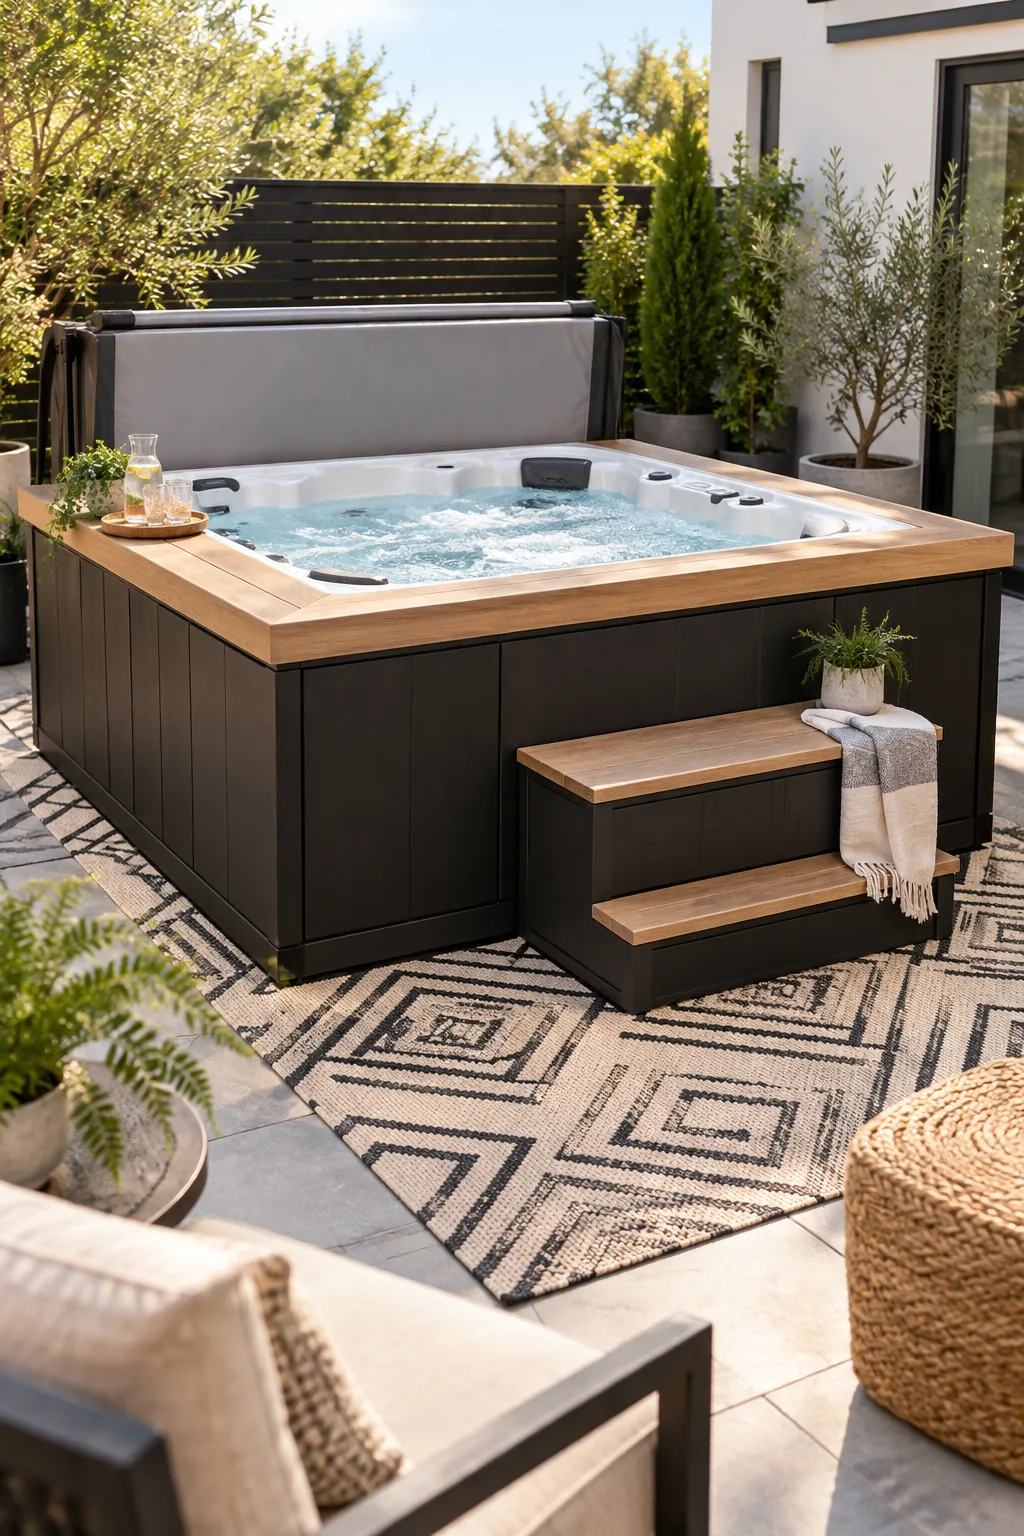
Two-Tone Contemporary: Pairing matte black cabinet panels with a light oak-toned cap ledge visually breaks up the height and ties into modern geometric patio decor.
Print the Surround Build Sheets
Grab the downloadable two-page PDF build sheet below to get the complete cut list, clearance chart, and step-box dimensions. I used these exact measurements for my own 8-foot square spa, and it took all the frustrating guesswork out of the lumber order.
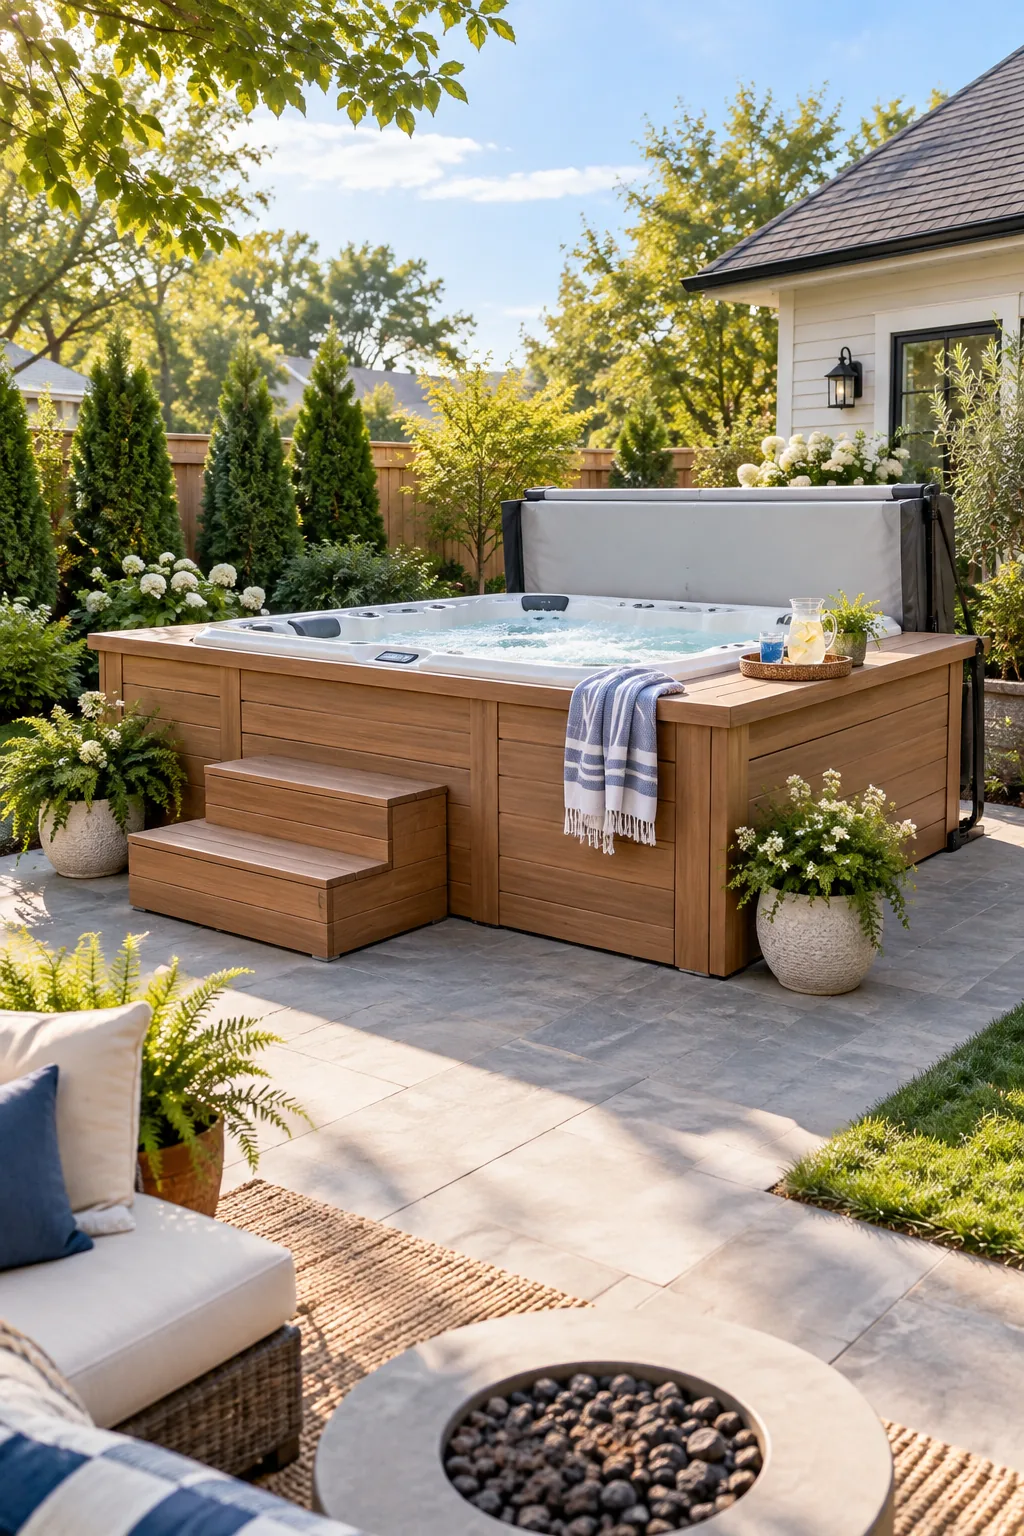
Use these pre-calculated dimensions for 7-foot, 7.5-foot, and 8-foot square spas to guarantee your custom surround fits perfectly on the first try.