Tub to Standup Shower Conversion: The 60-Inch Layout Guide
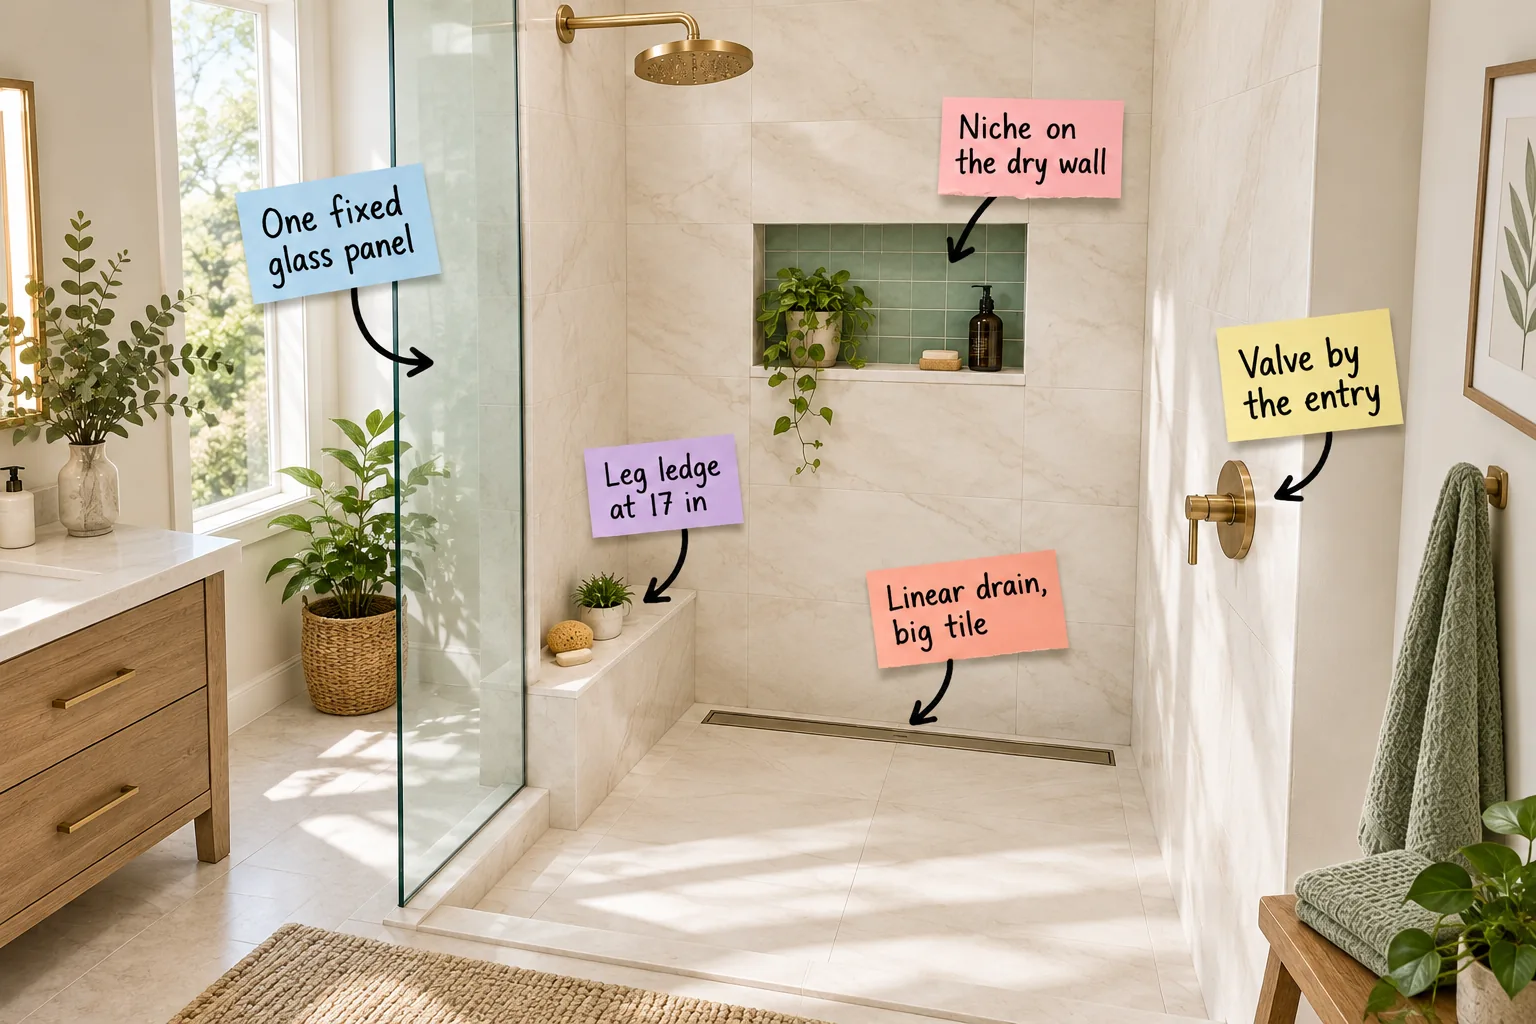
If you are planning a tub to standup shower conversion, you will be able to hand your contractor our free Tub-to-Standup-Shower Layout Sheet to guarantee precise placement for every fixture, ledge, and drain in your new 60-inch space.
The 60-Inch Conversion Layout
A standard 60-by-30-inch tub alcove provides the perfect footprint for a spacious walk-in shower without requiring you to move the main plumbing walls or alter the bathroom’s structural joists.
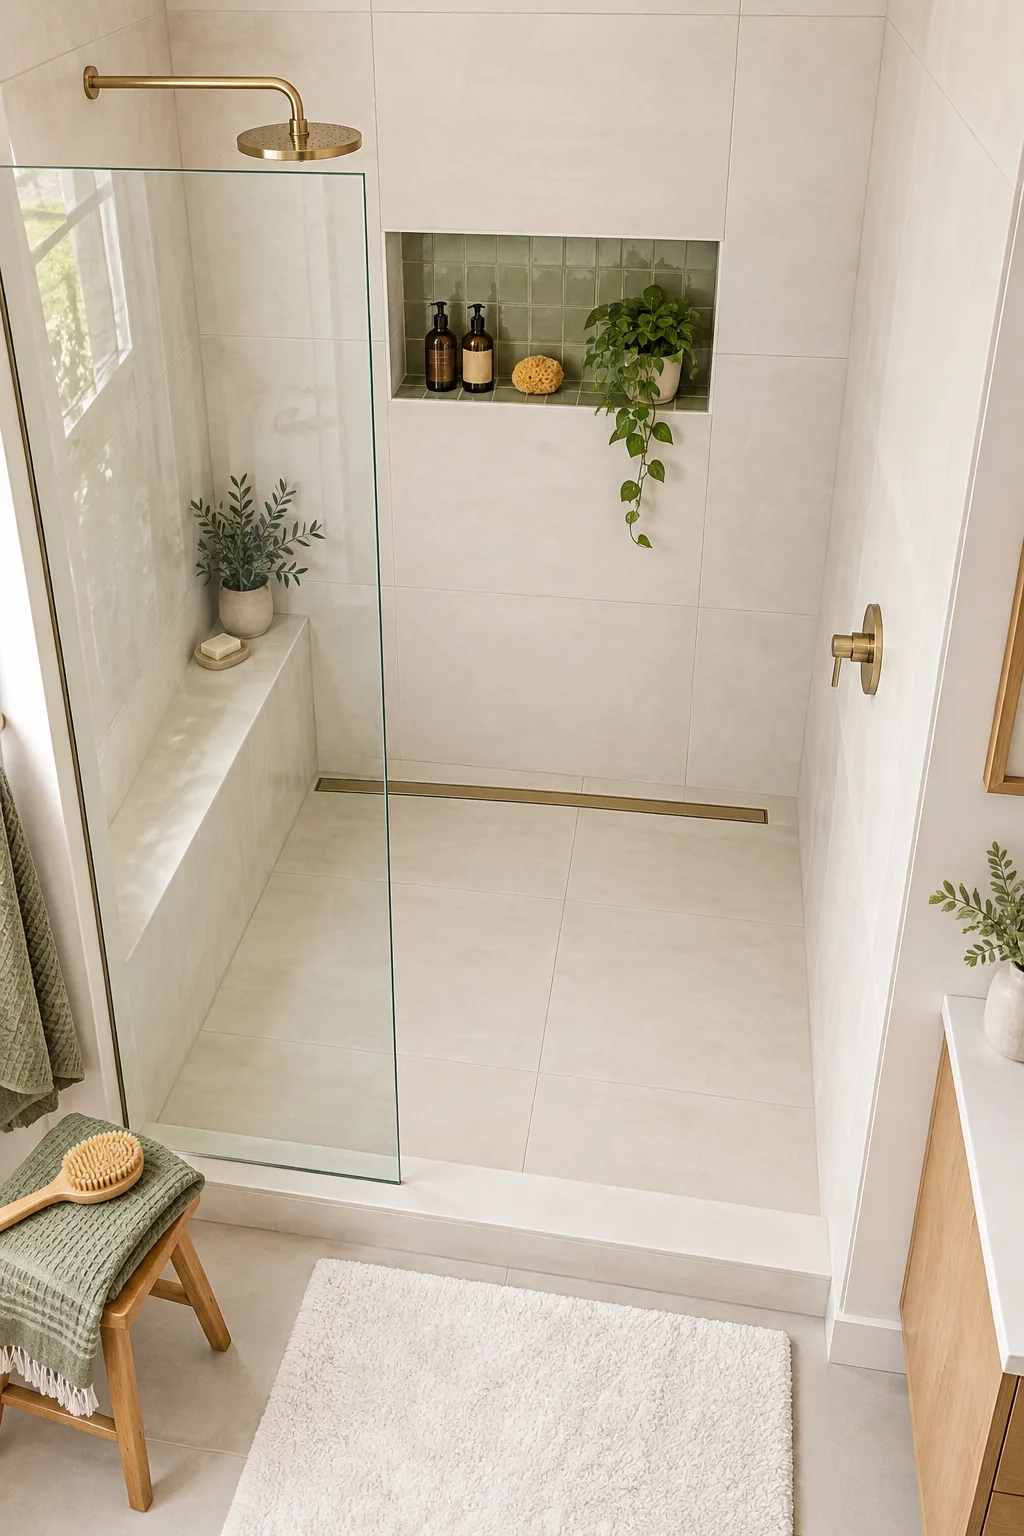
You can download and print the two-page layout sheet right now, securing the exact centerlines and framing dimensions needed to keep your tile installer and plumber perfectly aligned.
Demolition and Subfloor Preparation
Once the old fiberglass tub is removed, inspect the exposed subfloor for any water damage, ensuring you have a perfectly level structural base before installing the new shower pan.
Planning the Curbless Entry
If you want a seamless transition from the bathroom floor into the shower, you must lower the subfloor between the joists to accommodate the thickness of the sloped mortar bed.
Framing the New Shower Footprint
Before the cement board goes up, your carpenter needs to install horizontal 2×4 wood blocking between the wall studs to support the heavy glass panels and heavy brass plumbing fixtures.
| Fixture | Centerline | Height | Blocking |
|---|---|---|---|
| Mixing Valve | 12 in from entry | 38 to 42 in | 2×4 wood |
| Showerhead | Centered on back | 78 to 80 in | 2×4 wood |
| Niche Bottom | Between studs | 48 in | Horizontal 2×4 |
| Leg Ledge | Back corner | 17 in | Plywood base |
| Linear Drain | 2 in from wall | Floor level | Subfloor recess |
Solid blocking prevents your heavy frameless glass hinges or extended brass showerhead arm from pulling away from the drywall over time, ensuring a rigid and permanent installation.
One Fixed Glass Panel
Covering half the opening with a single frameless fixed glass panel blocks the spray while keeping the space airy, a layout I used in my own Denver guest bath to eliminate a clunky swinging door.
- Measure the total alcove width after the waterproof backer board is fully installed.
- Subtract your desired 26-to-30-inch open entry width from the total span.
- Order a custom 30-to-34-inch frameless panel to cover the remaining shower footprint.
Leaving a comfortable 26-to-30-inch open entry allows you to walk in freely without turning sideways, while still containing the splashing water safely within the designated wet zone.
Installing the Glass Hardware
Select minimal brass or matte black mounting clips that match your plumbing fixtures, keeping the visual focus on the beautiful tile work rather than bulky metal channels.
Securing the Frameless Glass
Anchor the glass directly into the reinforced wall studs and floor blocking using heavy-duty screws, ensuring the panel remains completely rigid even if someone accidentally leans against it.
Valve Placement by the Entry
Mount the mixing valve on the side wall near the open entry, roughly 38 to 42 inches above the floor, so it remains easily accessible from outside the glass.
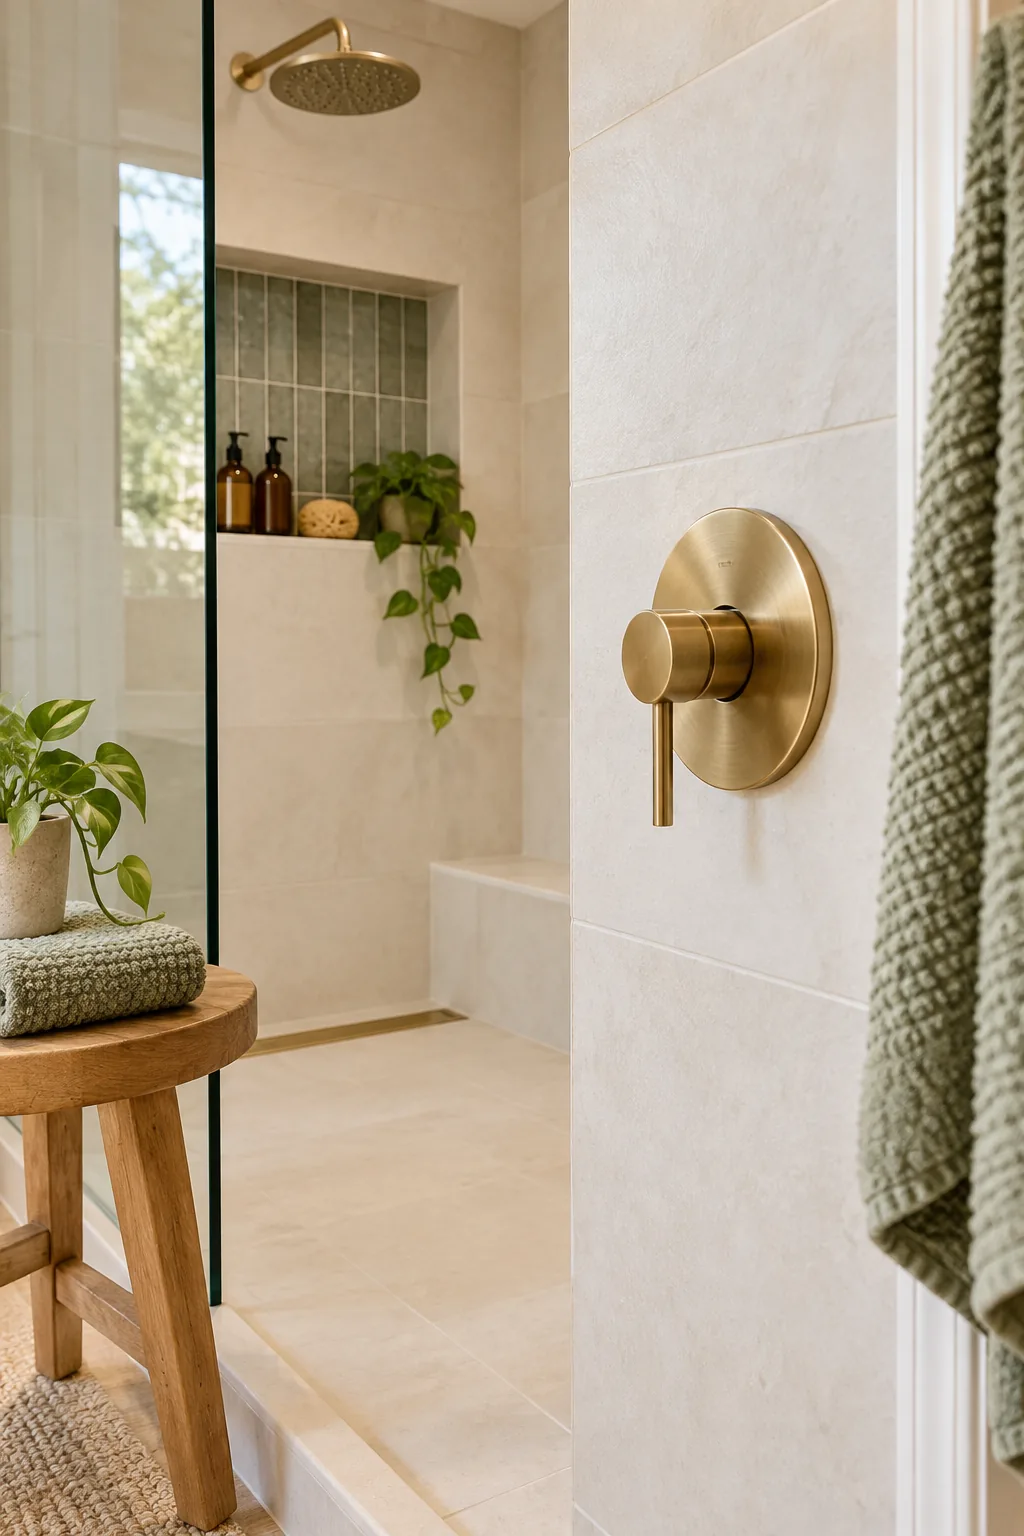
This offset placement allows you to reach in and turn on the water without getting hit by the cold initial spray, keeping your arm and clothing completely dry.
Routing the Supply Lines
Run the hot and cold PEX or copper supply lines through the side wall framing before wrapping them cleanly around to the back wall for the overhead showerhead connection.
Securing the Mixing Valve
Anchor the brass valve body firmly to the wood blocking so the heavy decorative trim plate will sit perfectly flush against the finished tile surface without wobbling.
Showerhead Height and Reach
Position the showerhead high enough for the tallest user, typically 78 to 80 inches from the finished floor, which finally solved the awkward stooping problem my husband faced in our primary suite.
Ensure the shower arm extends far enough from the wall so the water stream lands comfortably in the center of the standing zone, giving you plenty of room to rinse.
Selecting the Shower Arm
Choose an 8-inch or 10-inch angled brass arm to project the water past the wall, ensuring you have ample space to wash your hair without hugging the wet tile.
Niche on the Dry Wall
Locate the recessed storage niche on the wall opposite the showerhead to keep your delicate bar soap and expensive shampoo out of the direct, heavy water stream.
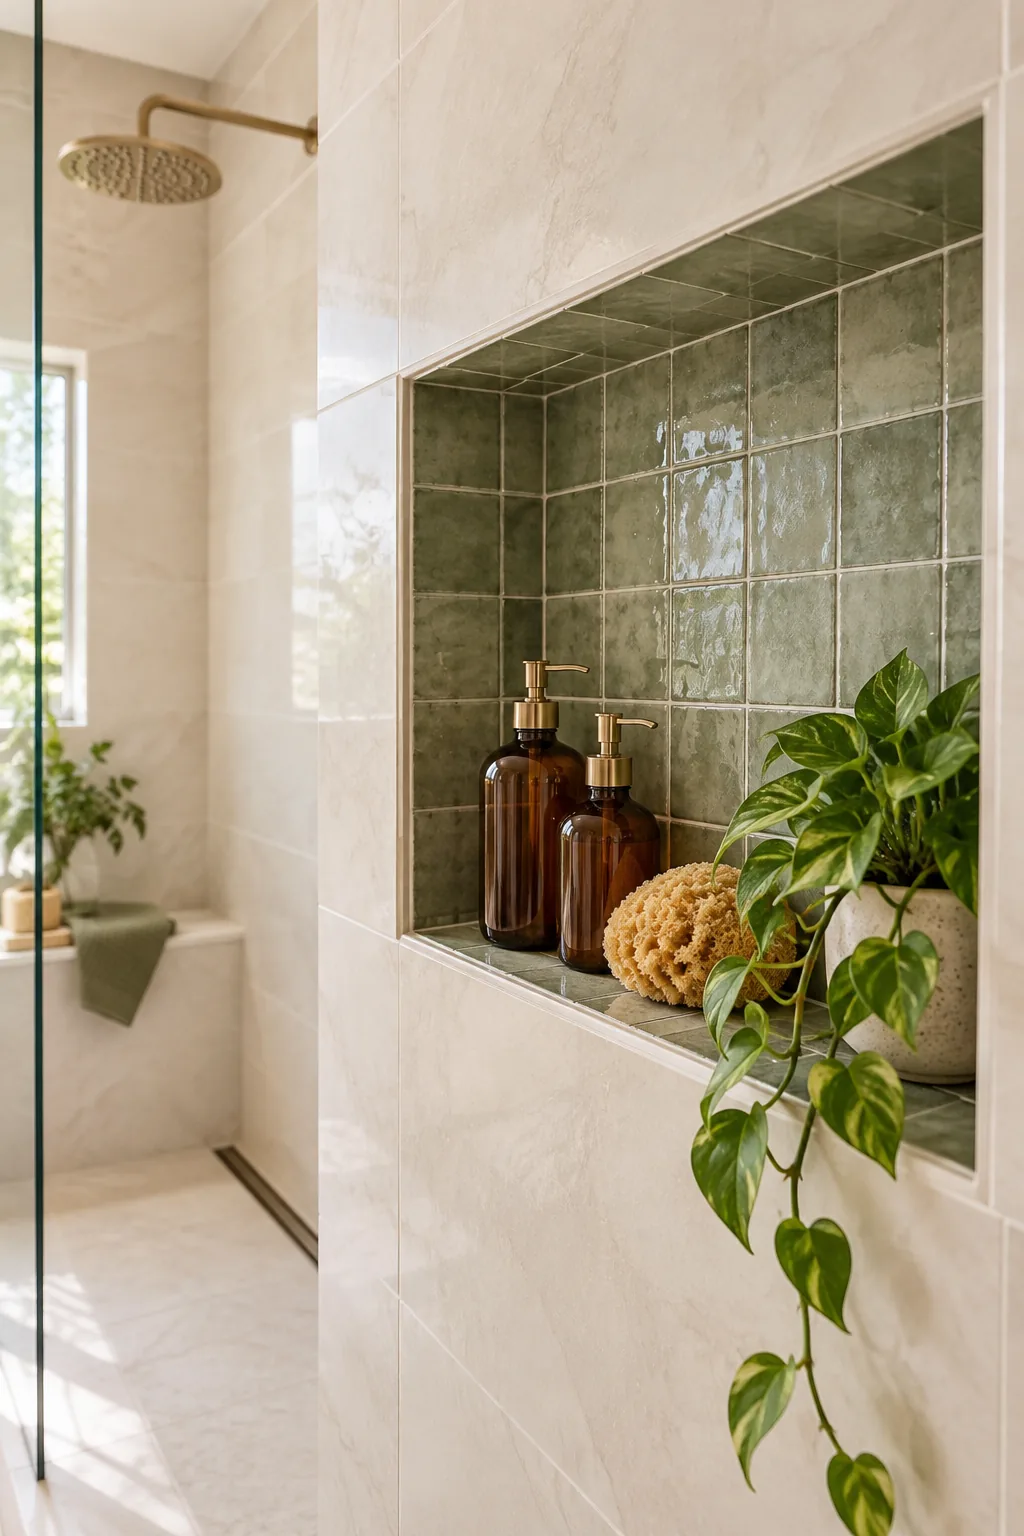
Position the bottom ledge around 48 inches high for effortless reach while standing, ensuring water never pools around your bottles and creates stubborn soap scum.
Framing the Niche Cavity
Size the rough wall opening to align perfectly with your chosen tile dimensions, which prevents awkward sliver cuts around the edges of the recessed storage box.
Building the box between existing 16-inch on-center studs provides plenty of width for oversized pump bottles while keeping the structural framing completely intact.
Waterproofing the Storage Zone
Coat the entire recessed cavity with a liquid membrane or wrap it in specialized sheet waterproofing to prevent hidden moisture from seeping into the vulnerable wall cavity.
Leg Ledge at 17 Inches
Build a shallow recessed tile ledge or corner step exactly 17 inches off the finished floor, a detail I added to a recent Wash Park remodel because a built-in bench would have eaten up their limited space.
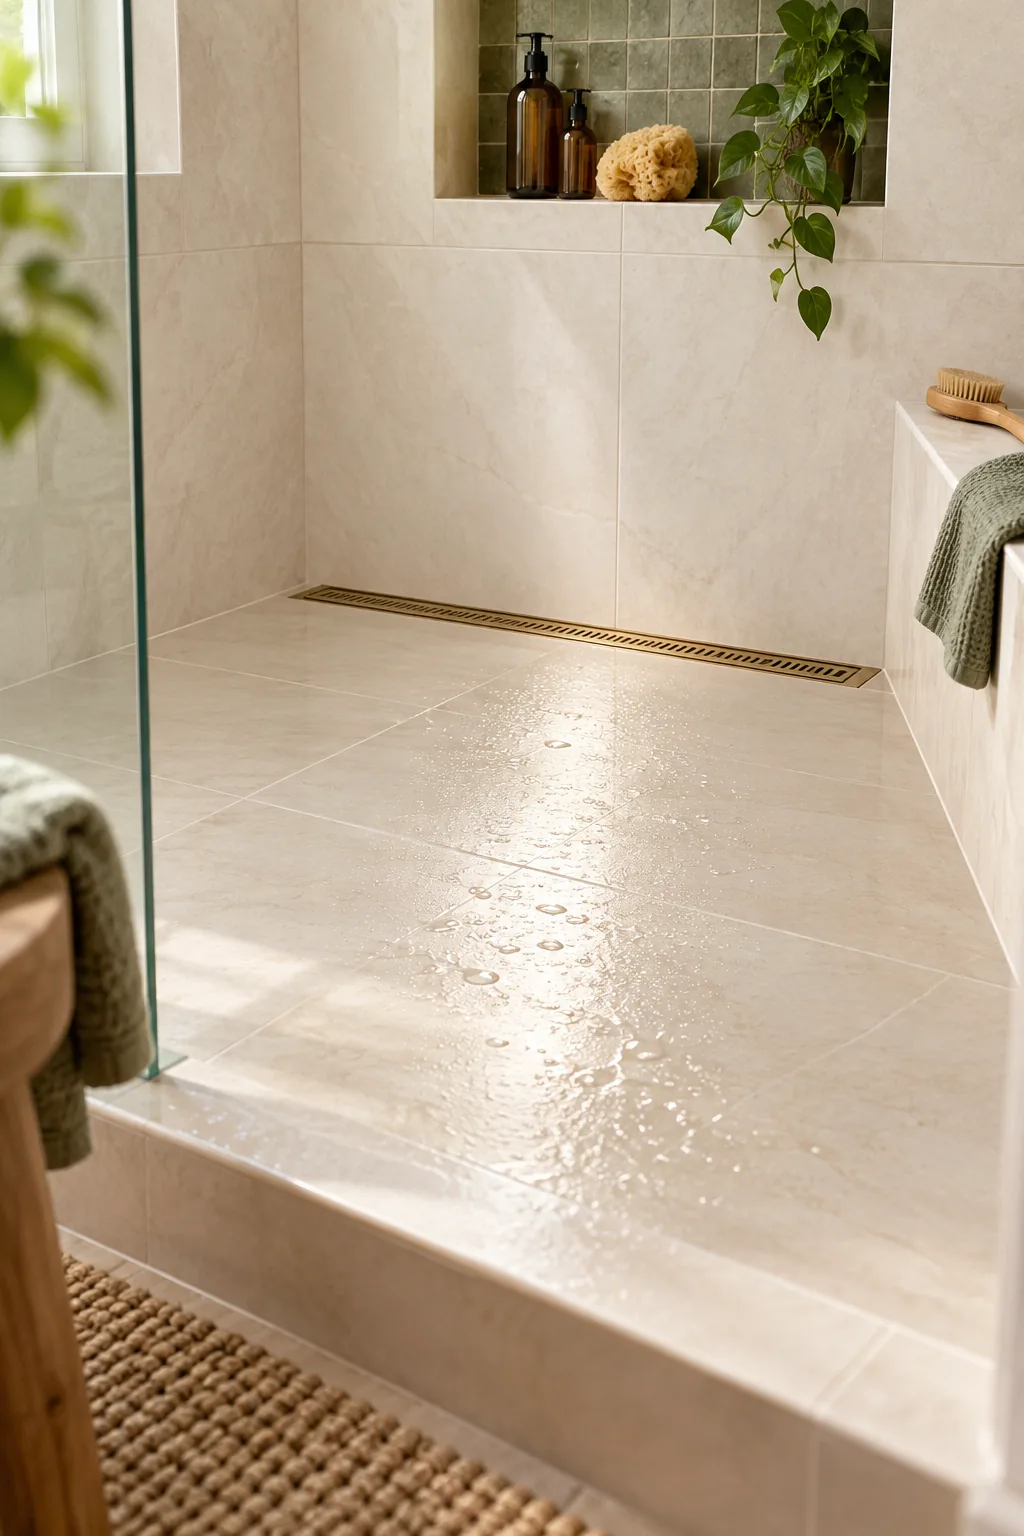
This provides an ergonomic, comfortable height for resting a foot while shaving, leaving the main standing area completely unobstructed for a spacious daily shower experience.
Pitching the Ledge for Drainage
Angle the top surface of the corner ledge downward by a quarter inch so water naturally flows off the edge and down to the floor, preventing slippery mildew buildup.
Large Format Floor Tile
Using oversized porcelain tiles on the shower floor minimizes distracting grout lines and creates a seamless, high-end look that feels incredibly smooth and luxurious underfoot.
Mortar Bed Requirements
This large-tile aesthetic requires a single-slope mortar bed rather than a traditional center-drain bowl, which would otherwise force your installer to make unsightly diagonal envelope cuts.
Grout Lines and Traction
Select a matte or highly textured finish for your large floor tiles to ensure you maintain safe, reliable traction even when the surface is wet and covered in soap.
Selecting the Right Grout
Use a high-performance epoxy or urethane grout for the floor joints, which strongly resists stains and chemical damage while keeping the minimal lines looking crisp and clean for years.
Connecting the Waste Line
Adjust the PVC waste pipe to sit flush with the subfloor at the back wall, ensuring the new linear drain trough will drop in seamlessly without requiring structural joist modifications.
Testing the Waterproofing
Plug the drain and fill the completed waterproof pan with water for a full 24 hours to verify there are absolutely no leaks before the first piece of tile is set.
The Back-Wall Linear Drain
Install a slim linear drain along the back wall to catch the water from the single-sloped floor, keeping you from ever standing on an uncomfortable metal grate.
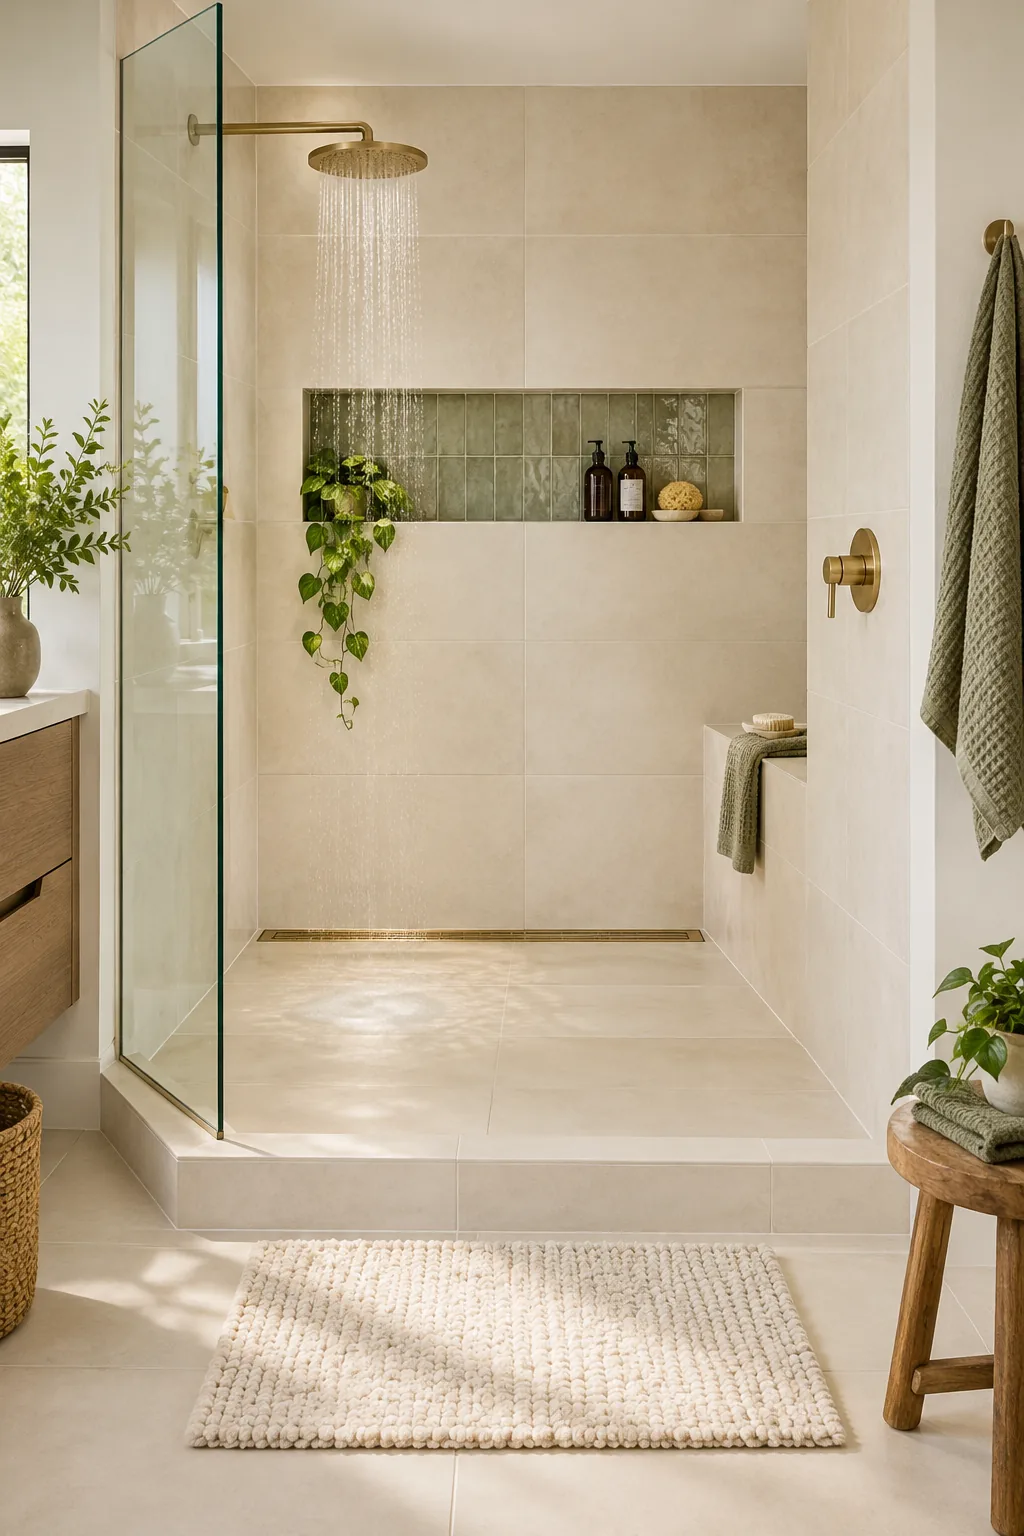
Before the final decorative grate goes on and the floor tile cures, you must verify the underlying plumbing mechanics to prevent catastrophic future leaks.
5 Ways to Style a 60-Inch Standup Shower
Explore how different materials and finishes can completely change the mood of the exact same layout.
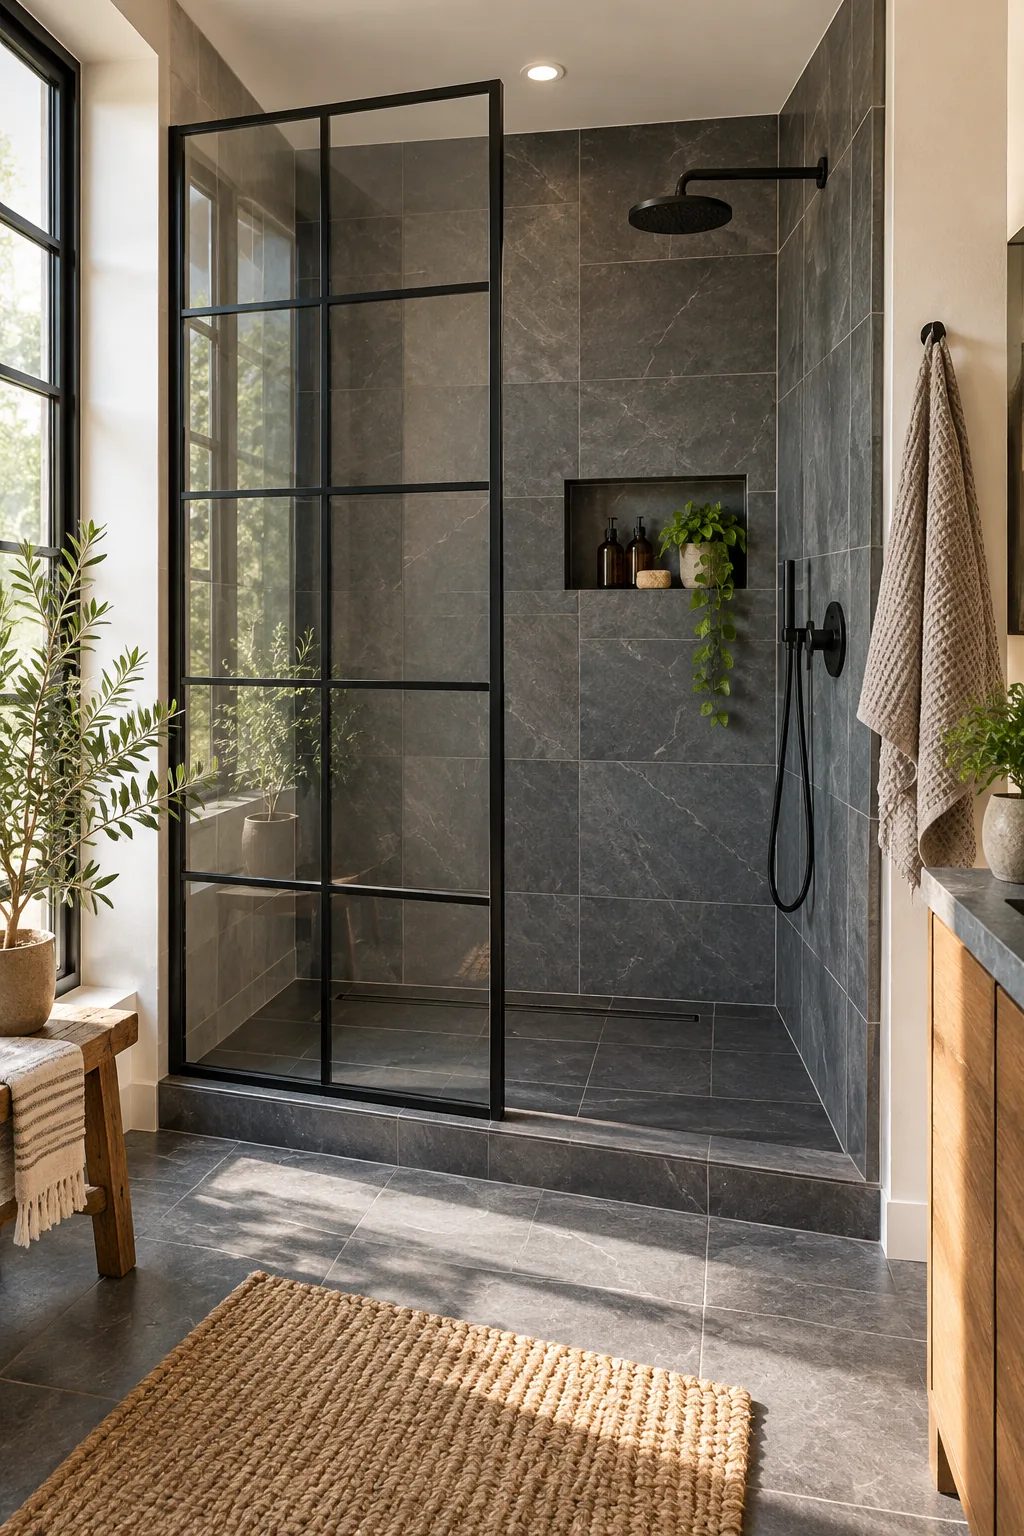
Industrial Grid and Slate: Matte black windowpane glass and dark slate floors give this conversion a striking, modern industrial edge.
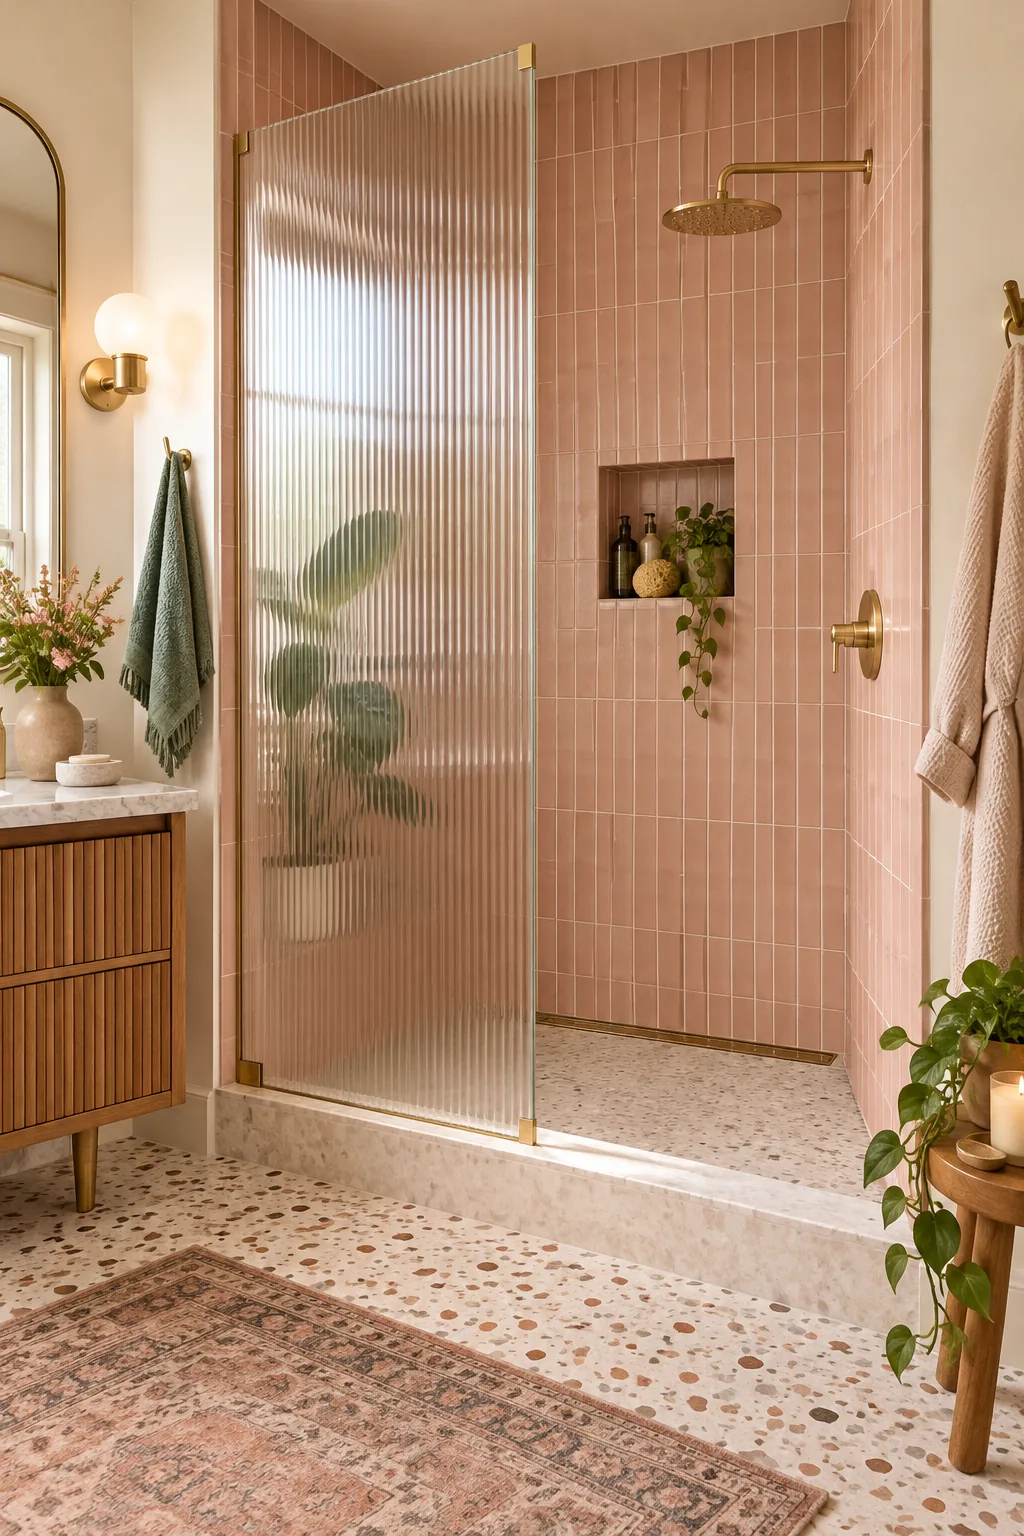
Retro Glam in Blush: Fluted glass provides extra privacy while vertical blush pink tiles draw the eye upward to make the ceiling feel taller.
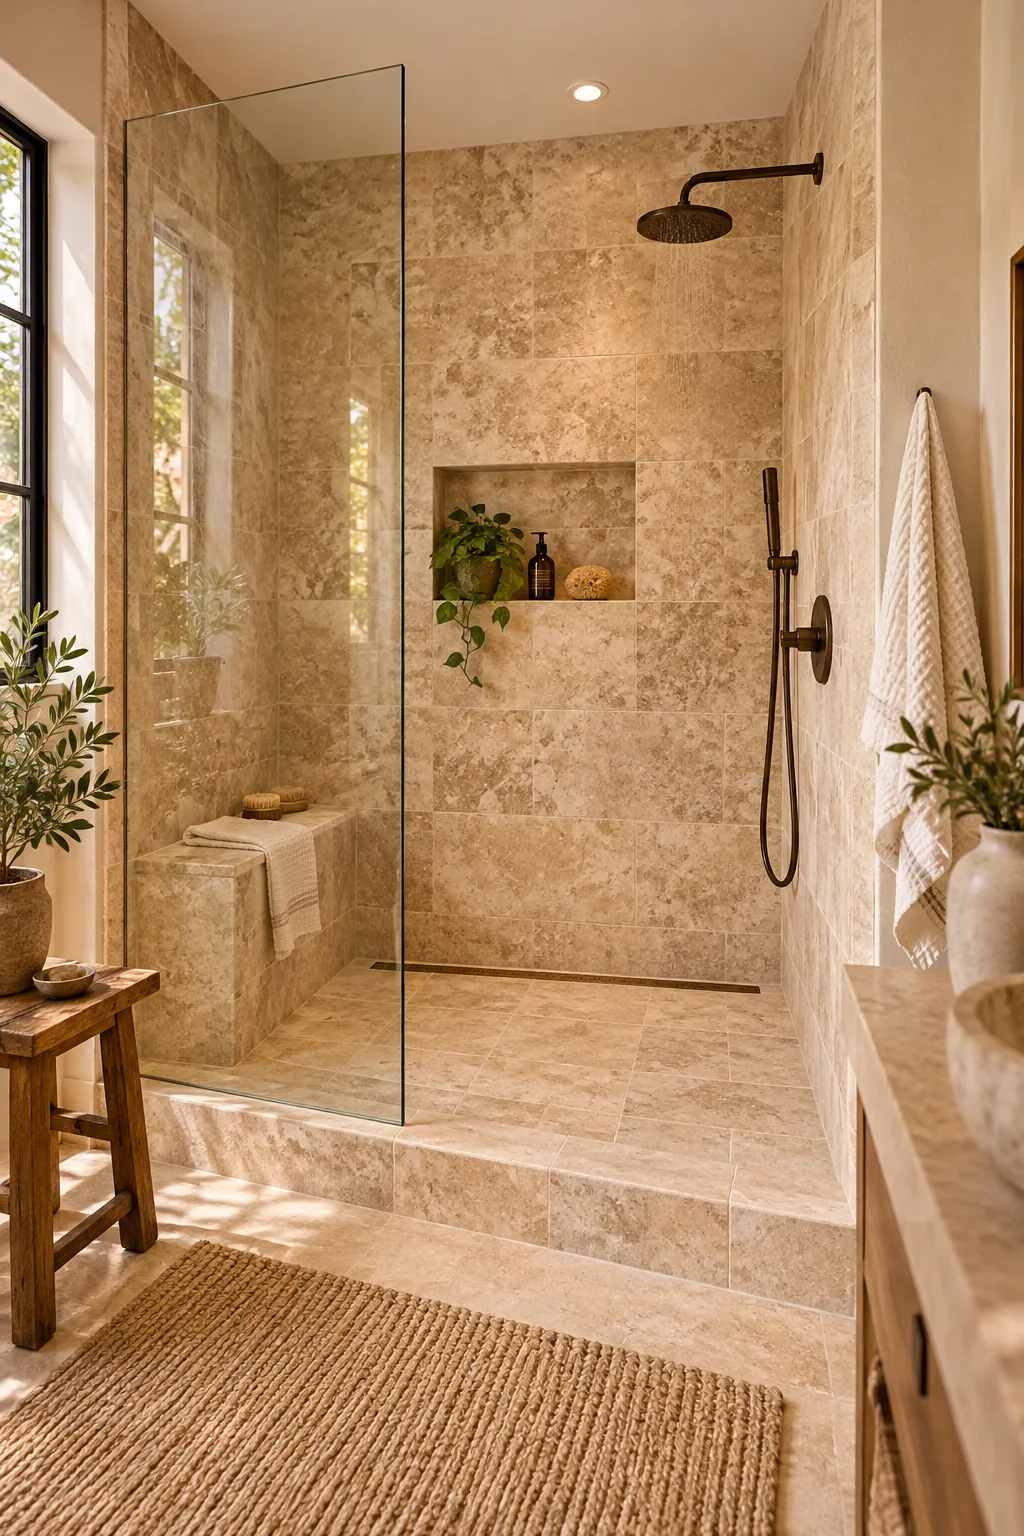
Warm Organic Travertine: Wrapping the entire alcove in natural travertine stone creates a seamless, earthy spa environment that feels incredibly grounding.
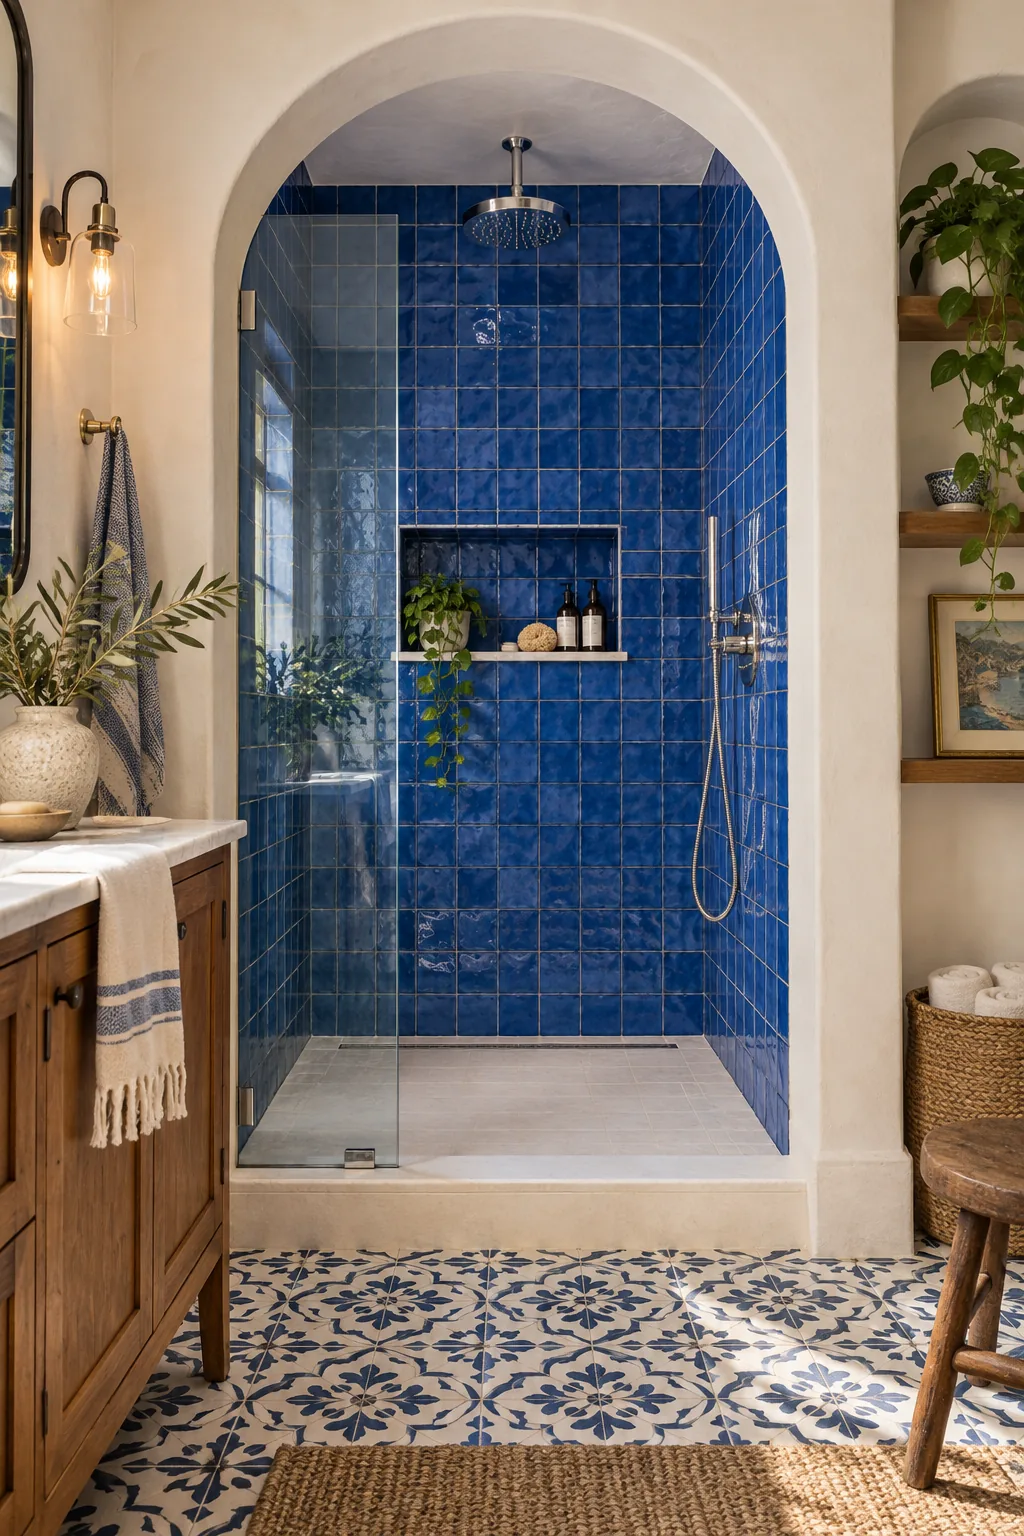
Mediterranean Arched Entry: Framing the entry with a soft arch and filling the alcove with vibrant blue zellige brings instant Mediterranean character.
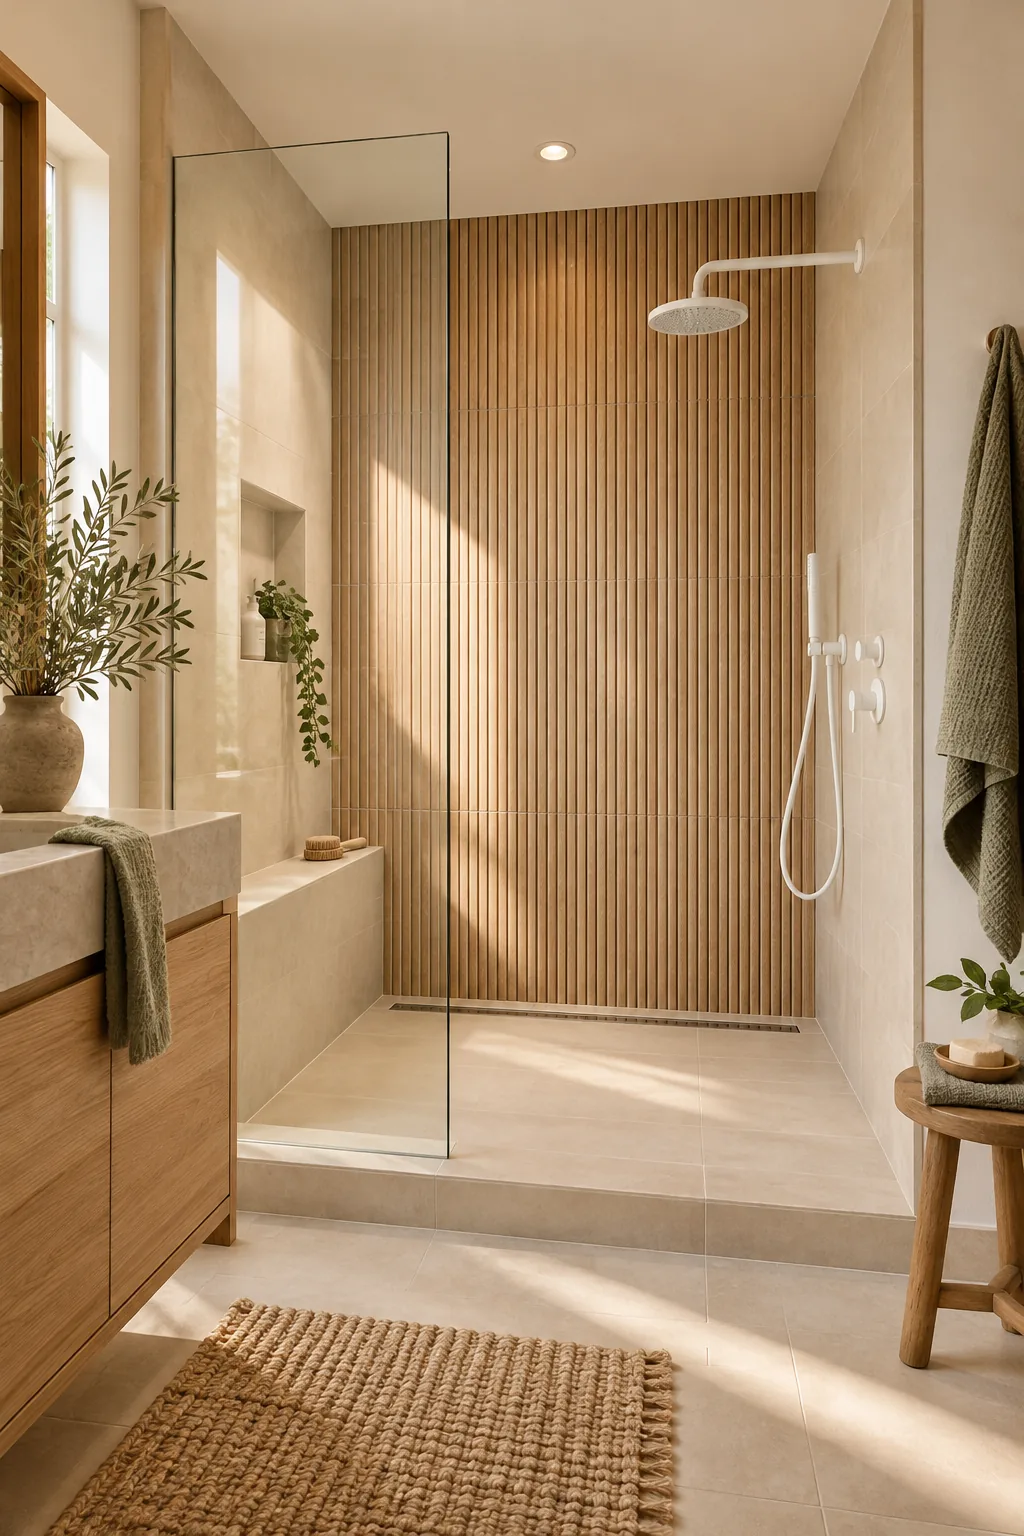
Minimalist Japandi Wood-Look: Reeded wood-look porcelain tile adds incredible warmth and texture while maintaining the waterproof durability needed for a shower.